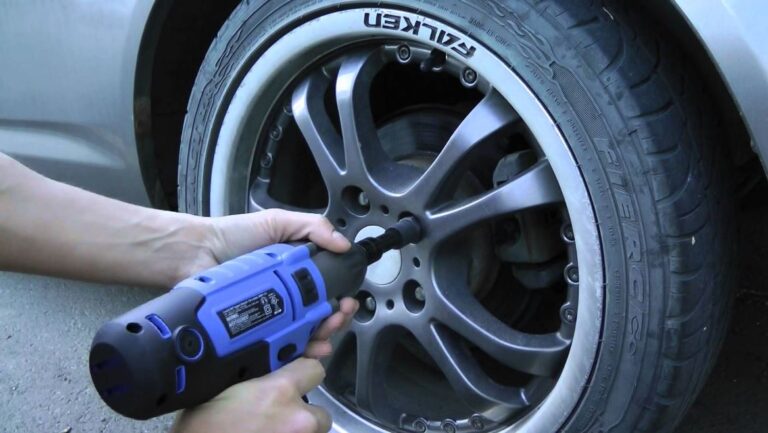
Tightening the lug nuts on your wheels to the correct amount of foot-pounds of force with a torque wrench is one of the more overlooked car care musts. We all hear of shops just impacting lug nuts back on your vehicle after a service, but with this guide we are going to show you exactly how to use a torque wrench to ensure your vehicle’s wheels are snugged up to the correct specifications.
In this guide, I will be using both a standard click style torque wrench and a digital torque wrench. There is different technology behind each wrench, but the goal is the same. My basic torque wrench is perhaps the cheapest you can buy, a Pittsburgh Pro 1/2″ Click Stop Torque Wrench, while my Craftsman 1/2″ Digital Torque Wrench is a bit pricier. I will be showing how to use them on my daily driver BMW E92 M3.
You can think of a torque wrench as both a wrench and a measuring stick combined. For the measuring part, you have to set your wrench up to a torque amount you are measuring for.
On a standard click style torque wrench this is achieved by twisting the bottom knob until you screw the handle to the appropriate torque. On a digital torque wrench this is achieved much easier, by simply pressing the up or down buttons on the wrench until you get to the torque number you want on the screen.
A digital torque wrench allows you to be more sure of the exact torque number you have set. For example, my M3 lug nuts require 88 lb-ft of torque. On a click style, I twist the knob to 90 lb-ft of torque and back it down a smidge near what would look like 88. Where as on the digital torque wrench, I can set it to go to exactly 88. Setting it across different measurements like lb.-ft. and nm is also much easier on a digital wrench.
After setting the wrench to the required torque specification, attach the socket in the socket size of your lug nuts. Depending on the depth of your wheels a socket extension may be needed.
Once your wrench is all set up, you are ready to torque your first lug nut.
Put the socket over a lug nut. Pull down from above on the wrench with the socket on the lug nut. If it is continuing to spin then keep tightening the lug nut until it is tight.
The first big difference I mentioned was how you set each wrench, but each wrench also has unique different ways to let you know you put the torque force on the lug nut as well.
On the click style wrench, you will hit a point where you will hear and feel a forceful “click.” At this point, you can stop tightening, as the nut is torqued to the correct specification. This is why they call it a click-style torque wrench.
On the digital wrench, you will hear an audible beep with a green light. When it changes to a red light you know the nut is torqued to spec.
In many things in life, you simply move on to the next closest thing, but not with lug nuts.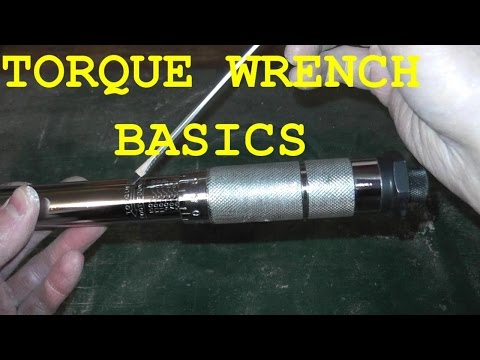 When I first began attending track days, the instructors would say “be sure to torque your wheels” without any information on how to do it. So I imagine so many vehicles are unsafely torqued out there.
Once you torque one lug nut, you must move to a lug nut across from it, not one next to it. As the image example above shows, if you torqued the lug nut highlighted with a green star, then you would move to either lug nut across from it marked with a green check, not the two red X’d ones.
Continue torquing the lug nuts in this ‘across from’ pattern until they are all torqued to your set value.
This step is only needed for the old manual click style wrenches. Inside that wrench is basically a spring, and you don’t want that sitting compressed until its next use, as it may start to lose its calibration. You need to “back down” the torque setting on the wrench, to a value less than 20% of the total ability of the wrench. So if the wrench can do up to 100 lb.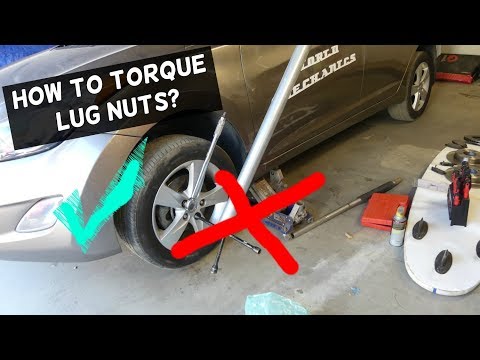 -ft., then set it to 20 lb.-ft. before putting it away.
The digital torque wrench does not require any special resetting after use. You can simply put it in your toolbox.
If you followed these steps your wheel is now safely torqued. Baring a manufacturer defect, you should be able to go left without your wheels going right.
Last updated on October 26th, 2022 at 10:03 pm
A simple torque wrench is usually the difference between an overtightened or under tightened lug nut and one that’s properly tightened.
If you work on cars or any other machinery where you have to tighten nuts and bolts such as those found in car suspensions, the engine, wheels and even brakes, knowing how to use a torque wrench is super essential.
When we mention the word torque, it means the the force that rotates an object about an axis or about a circular part. So when you rotate a nut or bolt to tighten or loosen it, you’re applying torque or rotating force to the nut or bolt.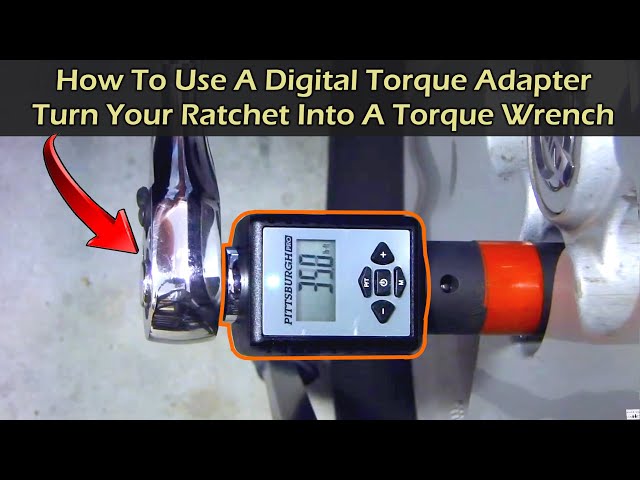
When you rotate them to an extent, it starts getting harder to rotate and at a certain point, it stops rotating. That means it has reached its maximum torque. Rotating it further than that extents damages the thread, or worse can even break the bolt.
That is why nuts and bolts can be over tightened or under-tightened. Overtightening wears down the thread and gets it damaged. Under-tightening is also risky, just as in car tires, the nuts can come loose if they’re not tightened properly. That’s is why having a torque wrench is very important.
It allows you to tighten nuts and bolts to their specific torque ratings. Each nut and bolt have its specific rating you should not exceed.
Tightening the nut or bolt over that rating can damage them. Using a torque wrench, you can be able to avoid that situation, and tighten them to their specific ratings or specifications from the manufacturer.
This will prevent you from wearing them out when you over-tightening them, or prevent you from putting yourself in danger when you under-tightening them.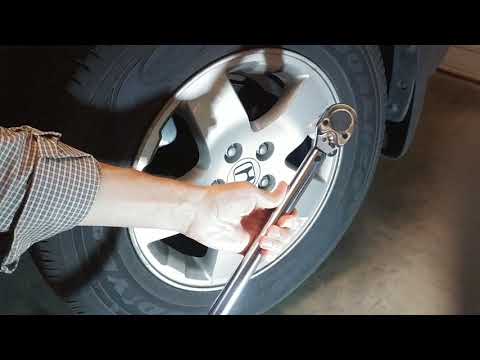
Now that you know what a torque wrench is, it’s important that you know the different types you can make use of.
Table of Contents
There’re different types available today. They include:
Among the different types listed above, the click type is the most common one. It’s the one you’ll most often come across.
So, I’m going to show you how to use it during your next project.
Related: 23 Types Of Wrenches And Their Uses
Say you have a flat tire and you want to change to your spare tire, you have to loosen all the nuts holding the wheel to the car suspension, and you’ll have to tighten them again once you’ve replaced the wheel.
The following steps will show you how to use a torque wrench to tighten the lug nuts when you put in the spare wheel, so you don’t over-tighten or under-tighten them.
In this example, I’m going to be using the click wrench to explain the process because it’s the most common one you’ll likely find.
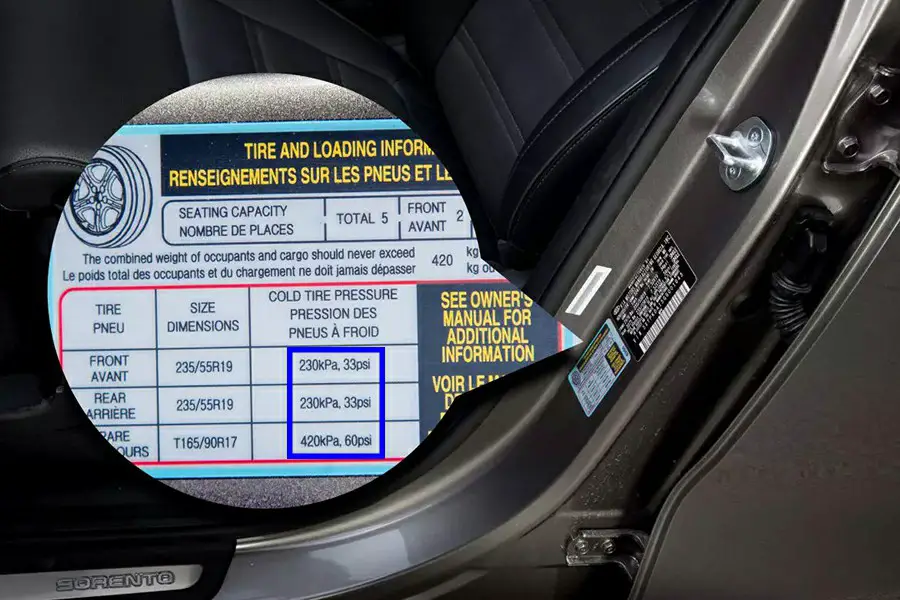
First step is to know the torque specifications of the nuts and bolts you’re trying to tighten down. To know that, check the service manual of the vehicle you have.
Inside the service manual, you’re going to find the basic procedure to repair the vehicle part you’re trying to repair, and you’re also going to find the torque specs or ratings of each nut and bolt you’re going to tighten.
Now, say you’re trying to replace the wheel of your car, then you should check your service manual and see the specs of the lug nuts holding the wheel.
The lug nuts in most wheels are tightened down to a 100 lb-ft. Once you know the specs, it’s time to grab your wrench.
Related: 5 Best Impact Wrenches For The Most Stuck Nuts And Bolts
Get the correct size of wrench.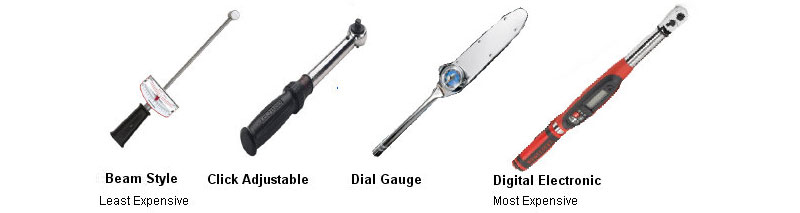 There’re 3 main sizes of torque wrenches you’re going to find, which include the ¼ inch drive, the 3/8 inch drive and the ½ inch drive.
If you’re working on cars, most of the time, you’re going to be using the ½ inch drive. Since you’re trying to change the wheels, you need to grab the ½ inch drive.
Related: Essential Car Maintenance Tools and Gear Every Car Owner Needs
The next step is to adjust the wrench to the torque specs or rating of the lug nuts, which is 100 lb-ft. To do that, loosen the little adjustment knob at the back of the wrench so the handle can be free to rotate and move back and forth.
Once the handle rotates freely, rotate the handle until the 0 inscribed on the handle lines up with the 100 lb-ft line on the bar.
If you want 101 lb-ft of torque, rotate the handle forward until the 1 mark on the rotating handle just exceeds the 100 lb-ft line. If it’s 102 lb-ft, rotate it forward again, clockwise until the 2 mark on the rotating handle just exceeds the 100 lb-ft line on the bar.
If you want 99, rotate the handle anti-clockwise downwards one click down from the 100 lb-ft line on the bar, so the 9 mark on the handle lines up just before the 100 lb-ft line.
That’s how to adjust a click torque wrench.
Now, since we’re tightening the lug nut to a 100 lb-ft, we have to line up the 0 mark on the handle with the 100 lb-ft mark on the bar.
Once it’s all lined up, tighten the adjustment knob at the back of the wrench so the handle doesn’t rotate and the settings does not change when you’re trying to tighten down the lug nut.
After you’ve adjusted the wrench to your desired torque, it’s time to tighten the lug nuts.
To do this, get your socket and insert it in the wrench, put it in the lug nut and start tightening clockwise until you hear a click.
The click sound means you’ve reached your desired torque. So you have to stop tightening that lug nut and move on to the next.
Tighten the rest of the nuts just the same way.
Once you’re through, you can stow away your wrench, with the peace of mind that your lug nuts have been tightened to the correct ratings. So, you don’t have to worry whether you’ve over-tightened or under-tightened them.
Sharing is caring!
2 shares
Today, a torque wrench is one of the most common devices in the field of repair of various equipment. What is a torque wrench used for? The tool is needed in order to transfer the necessary force to the fastener, which ensures reliable fixation of the fastened parts. Despite the fact that this device has been used for about 100 years in various fields of activity where threaded connections are found, some people have a question about how to properly use a torque wrench.
In order to transfer the necessary force to the threaded connection, any torque wrench must be used correctly.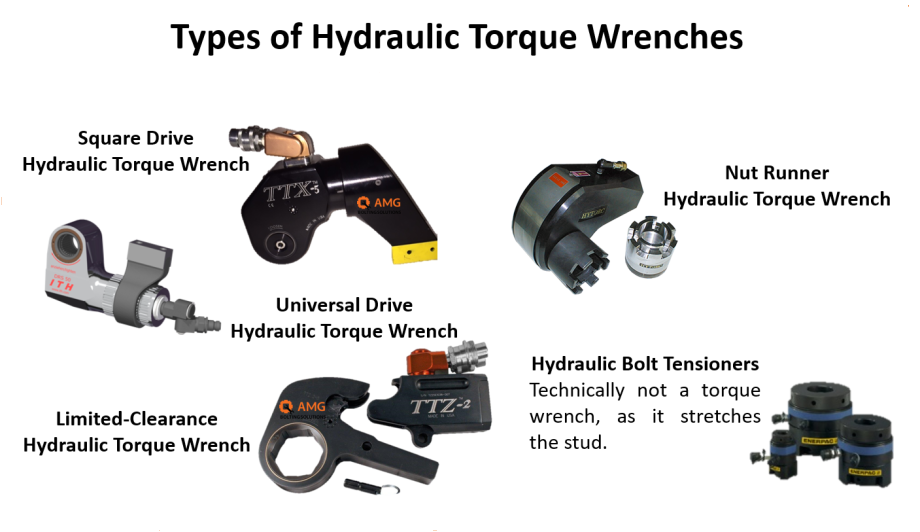 When using the tool, you must follow the basic recommendations and rules for using a torque wrench:
 Therefore, annually or more often it is necessary to check and adjust (calibrate / verify) the instrument on a special stand in order to increase the accuracy of the instrument.
After reviewing the basic instructions for using torque wrenches, we suggest that you figure out how to properly tighten the bolts with a torque wrench of different types of this tool. In the previous article, we discussed the main types of torque wrenches, their features, advantages and disadvantages.
This type of wrench is the most common and popular tool among professionals and amateurs. During operation, it is not necessary to control the force values. The principle of operation of a torque wrench is as follows: when a pre-set value of force is reached, the key will make a click, which means the completion of work and the tool, slipping, will not transfer more force to the fastener than was set on the tool scales.
In order to correctly use a click-type torque wrench, you need to know how the desired value is set using the main and auxiliary scales.
Click type torque wrench instruction manual:
Now you know how to set the torque on the torque wrench. Depending on the version of the key, the scales may have certain differences, for example, different scale divisions, the type of scale execution or the designation of the force in different measurement systems (N/m, Kg/m or in lbf/ft). The AIST catalog contains a variety of click limit wrenches.
It is necessary to tighten the threaded connection until the characteristic sound of the key, which notifies that the set force has been reached. When clicked, a special latch of the key mechanism will work, which will not allow more force to be transferred to the fastener than was set on the tool. After completing the work, it is necessary to set the key to the minimum value of the torque range and tighten the key lock.
We offer you to watch the video instruction: “How to use the click torque wrench”
Similar models of torque wrenches for a car are the most popular on the market. Having a low cost, the tool is easy to use, provides the necessary accuracy and is easy to use.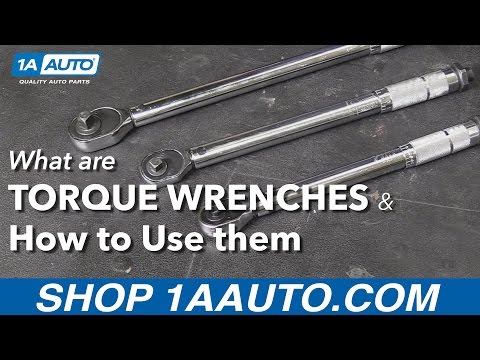
Unlike the previous type of tool, the arrow key does not have the ability to set the force in advance. The start of the controlled range of torque wrenches is from 0 Nm, so the value of the applied force must be controlled during operation, which may not seem very convenient, especially in hard-to-reach places. At the same time, the measurement accuracy leaves much to be desired, since more force can be applied to the fasteners, so extreme care must be taken when working.
How does this type of torque wrench work? The principle of operation is quite simple. During operation, the handle with the scale of values \u200b\u200bshifts at a certain angle, and the pointer remains motionless.
Before using a torque wrench of this design, it is necessary to study the values of the scale measurements and determine the position of the pointer at which it is necessary to complete the work.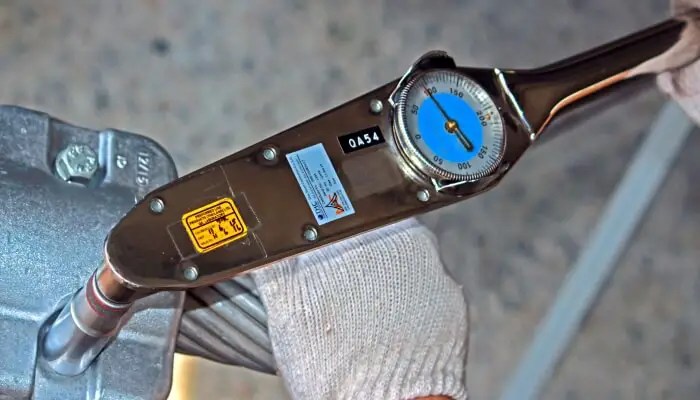 The scale of the key can have different force measurements. It can be not only the usual N / m, but also Kg / m or Feet pounds (lbf / ft), so before tightening it is necessary to determine exactly at what scale value it is necessary to end the force.
How to use a torque wrench with an arrow:
After watching the video, it will become clear how to use the arrow torque wrench correctly.
The first two versions of the tool are scale torque wrenches.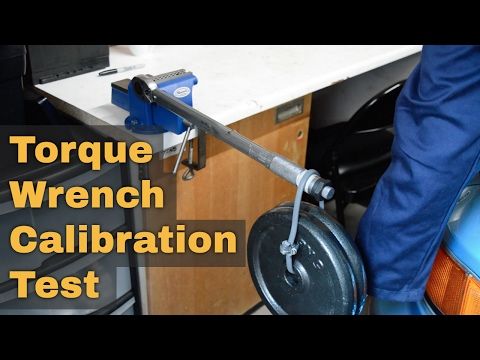 In the first case, the force is set using scales, and in the second, it is controlled by a scale.
This type of tool is similar to the limit key, only instead of a spring mechanism, the digital key uses an electronic “stuffing”, due to which the force is measured. The principle of operation of an electronic torque wrench: the required value is also set in advance, and when it is reached, the key emits an audible signal to indicate the completion of work. On the digital display, you can control the changes in the applied force at a specific point in time.
The entire range of this tool is a measuring instrument, so the keys require careful storage and must be used strictly for their intended purpose.
Before purchasing a tool, we recommend that you familiarize yourself with the material - Selection guide for torque wrenches
Content
Anyone who changes tires on their car by themselves is familiar with a torque wrench. But this is not its only purpose. The following information, a number of recommendations and tips will tell you how to use this tool and how to choose the right one.
First you need to understand what torque is.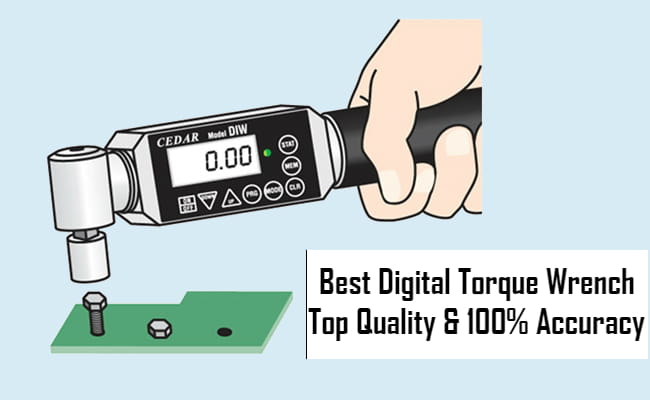 After that, you can talk about how to use a torque wrench.
In physics, this concept is understood as a force acting on a pivot point with the help of a lever arm. The formula for the law of a lever is: torque = force (N) x lever arm (m).
The unit of measurement is called the newton meter (Nm). Newton denotes the acting force, and meters denote the length of the arm of the lever.
The difference between torque and power is clearly illustrated: as the name suggests, torque causes an object to rotate. Thus, it indicates how much force is acting on the vehicle's drive shaft during rotation.
Force, on the other hand, speeds things up linearly. Power is the product of a force and the speed of that force. Power and torque are key metrics that depend on engine speed.
Interesting! How to choose the right drill for your home
Now you can make out what a torque wrench is and why it is closely related to torque. In the same way that physical force indicates momentum in a certain direction for linear motion, torque indicates energy that "turns" a body, so to speak.
The best way to think of this is with a wheel. Torque causes the wheel to rotate. If we consider this on the example of a bicycle with the brake on, then the wheel will not move. If the torque exceeds the body's resistance, it will fail at its weakest point. That is, if you press the brake, the bike will stop moving.
Torque wrench and torque become interesting when the connection is made by axial rotational movement. Simply put: through a screw connection.
Interestingly, it usually doesn't matter how much force the screw itself can absorb. Returning to the wheel example already given, this means that the decisive factor is not the force with which the wheel presses on the bolts along the axis of the bolts. Bolts or screws can usually absorb huge forces so that the critical range is hardly reached here. Instead, torque is required to drive a nut into a mating thread with a precisely defined force on the screw, or to drive a screw into a mating thread with a given energy.
The goal is quite simple: the screw connection must be so tight that the screw or nut cannot loosen under normal conditions, even as a result of vibrations or thermal stresses. On the other hand, the screw must not be tightened so much that the material of the screw itself loosens when turned. In the direction of rotation, the load capacity of metal is much lower than the resistance to linear forces. The point is to tighten the screw or nut so that it no longer loosens, but also does not break.
Since today screws, bolts and nuts are subject to strict regulation, the required force can be determined very precisely. It is also possible to determine from which force one should be wary of damage, i.e. which moment must not be exceeded.
Now you need the right tool to really benefit from knowing how much you can and should tighten a threaded connection. Such a tool is a torque wrench. It allows you to adjust the torque applied to the fitting during tightening.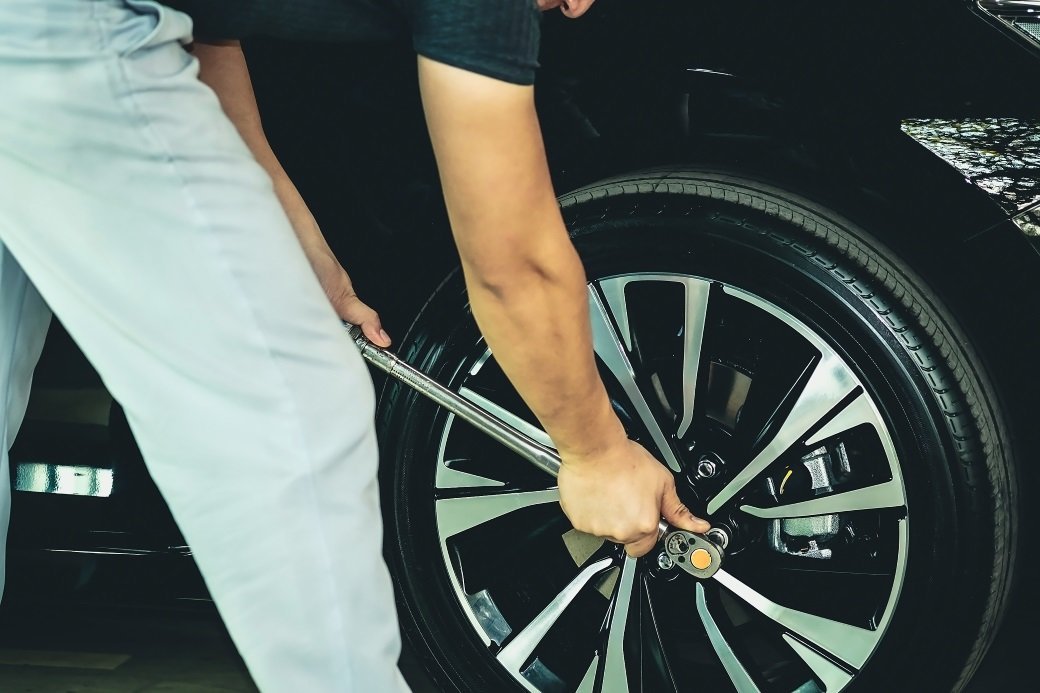 But here it is important to know how to use it correctly.
Interesting! How to choose a torque wrench: rating of the best
What is behind the name torque wrench and what are the parameters of this device? The basic design is pretty simple. Like conventional socket wrench sets, the torque wrench has a handle and socket for different size sockets. It can be used without problems with a standard socket wrench set for various screw sizes.
On the other hand, the heart of any torque wrench lies between these two more common components. Depending on the type and design, the applied torque is either detected and displayed between the socket wrench and the handle, or it is limited. We can say that torque wrenches usually either display the torque so that the user can adjust the energy expended, or limit the torque of the socket wrench to a set upper value.
The most commonly used shifting function is not an essential part of the torque limiting function, but rather a suggestion for easy wrench handling in general, which is also known from any simple socket wrench set.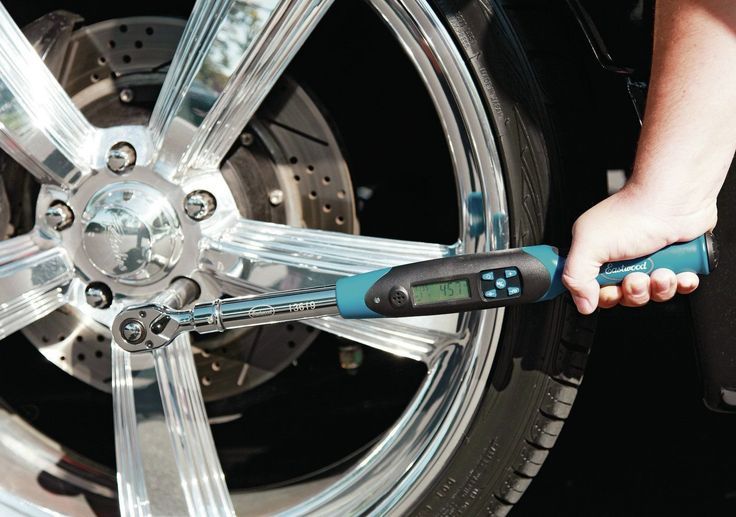 It is usually built into the key head and allows easy switching from clockwise to counter-clockwise rotation.
The principle of operation here is quite simple. Since this is a precision device, before any measurement it is necessary to first ensure that it is calibrated to good values.
To use a torque wrench, start by placing the wrench on a bolt or screw. After the key is inserted, you can start to gradually press it to turn it. The dial shows progressive torque value. Knowing it in advance, you can stop without fear that you did something wrong.
For arrow wrenches, start by entering the screw or nut torque value. The pressure is applied gradually, and as soon as the specified value is reached, the alarm mechanism is triggered. Stop after the signal.
It is important to reset the values to zero after each use.
There are three types of torque wrenches.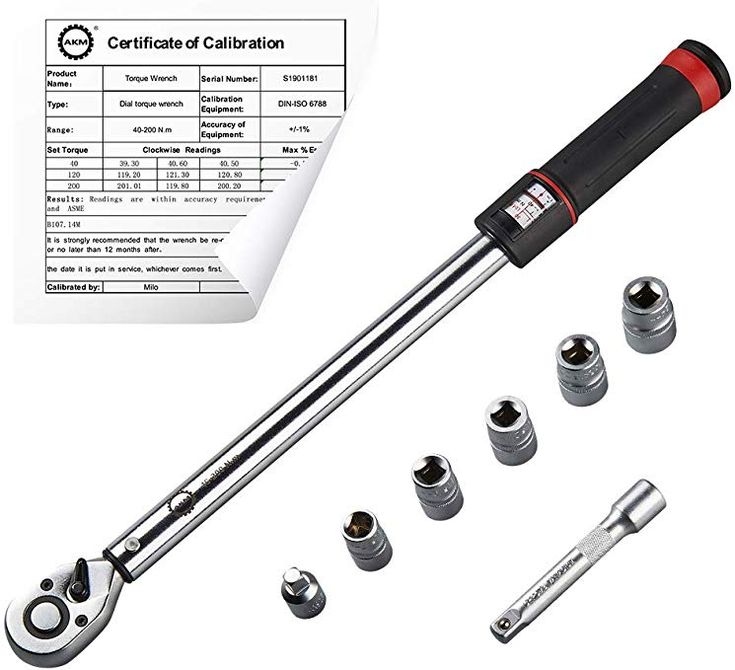
If you're looking to buy a good torque wrench, there are a few important things to keep in mind.
The torque wrench is an indispensable tool in the automotive industry. Improper use can lead to serious accidents. Therefore, it is very important to configure and use it optimally so that there are no problems later.
How to use the tool correctly?
It is important to ensure that the lock is always unlocked when adjusting.
Turn the locking screw from time to time while increasing the torque.
This tool beeps when the correct torque is reached.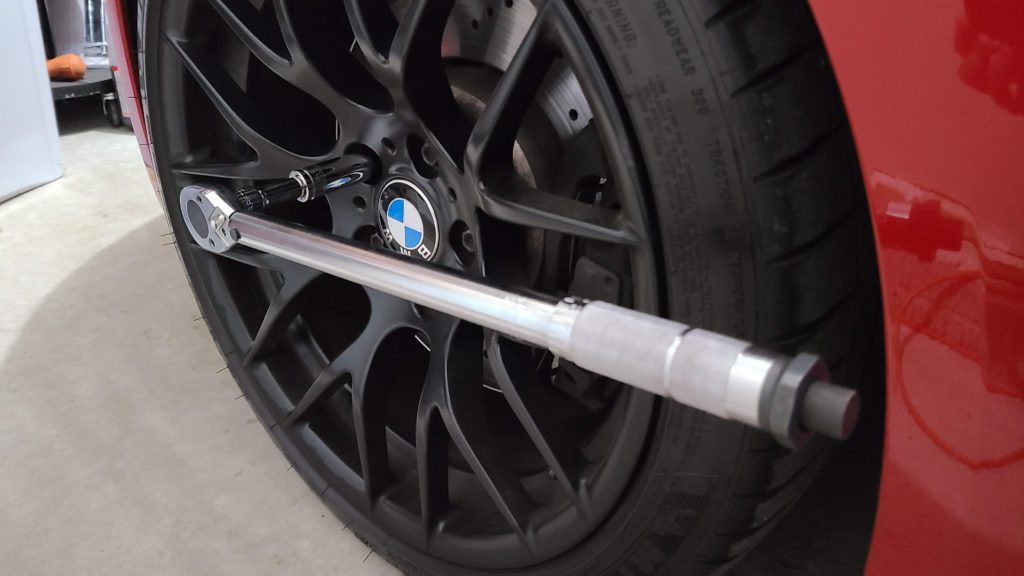 This type of wrench has a spring-loaded lever that is adjusted by turning the handle to the desired position. The lever breaks, creating a click when the desired torque is reached. Most types of escapement wrenches have a ratchet and can be used to tighten or loosen. Experts recommend choosing just this type of wrench for bolts located in hard-to-reach places.
Interesting! Jigsaw sawing technology
Using this tool is very easy. In the process of tightening the bolted connection, the metal handle bends. This bend relative to the zero of the scale is fixed by the arrow.
They are also called digital torque wrenches. They have no moving parts and are powered by an electrical sensor built into their design. They detect the applied torsion force and display it to the user on a digital display. These tools include small chips that contain a USB key to record measurements taken. If necessary, these measurements can be viewed on a computer.
To set up the appliance at home, you need to follow a few simple steps.
Lever length is the length of the handle. It can be calculated using a roulette wheel.
You need a canter to calculate the force.