Posted by Jefferson Bryant Know How
Flat tires tend to happen at the worst time in the worst places. If you are on the road or outside of normal business hours when your vehicle has a flat and the spare is missing or no good, you might feel stranded, but there is an option—a tire plug kit. This is something that anybody can do, you just need the right parts.
Liquid tire repair might get you down the road, but it could make your tire repair difficult and possibly damage the TPMS (Tire Pressure Monitor System) unit inside the rim itself depending on the formula. The best solution for an emergency tire repair is a tire plug. Made from cork and a gooey adhesive that keeps it place and seals the tire, a tire plug repair is an excellent way to get your car back on the road until you can get to a tire shop for a proper internal patch.
Installing a plug in your tire works for pierced tread area only. You cannot fix sidewall damage, compression breaks (from potholes, gravel roads or curbing) or any other type of catastrophic tire damage. The most common road hazards you will find are punctures from nails and screws. Fixing these issues are perfect for the good old fashioned tire plug. If you are wondering how long does it take to plug a tire, then the answer is just a few minutes. Most of the time is spent preparing to perform the plug itself. Here’s how to plug a tire with a plug kit.
You will need the following to make a tire plug repair:
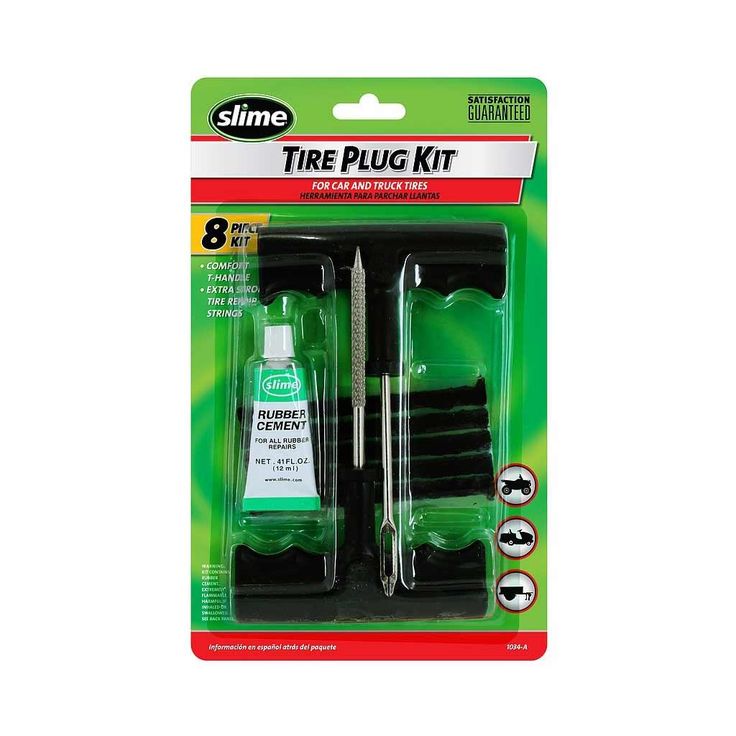
There are all kinds of tire plugging kits, but you want the most complete tire repair kit which comes with the plugs, the installation tool, and the reamer tool.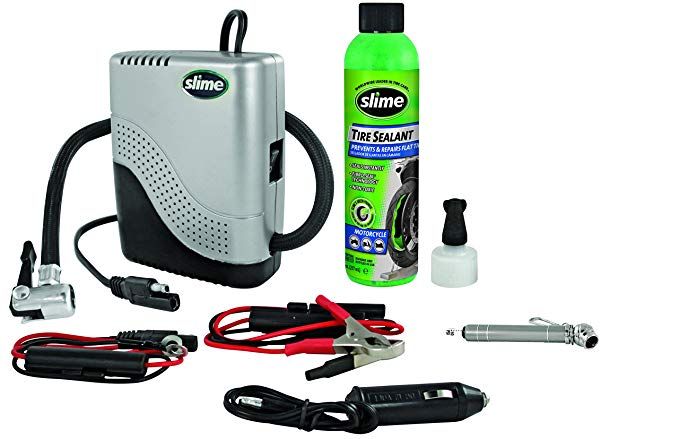 Some flat tire repair kits just come with the plugs and installer, but the reamer tool is a necessary component to a good repair. Some tire plugging kits also come with liquid cement. You can use it or not, but the cement helps make a more permanent repair.
Locate the puncture. If you don’t see or hear the puncture, spray some soapy water on the tire and look for bubbles.
This is a small staple that was dropping tire pressure by 20 psi in about 12 hours. It needs to go.Remove the offending item. This is usually easy, but sometimes the nail or screw is worn down, making it hard to get a bite on it. This is where the side-cutters come in really handy. You will want to position the tire where you get the most leverage.
Side cutters work best for removing these items, as they can grip small round objects better than regular pliers.Insert the reamer. This will take some effort, as you have to push it through the steel belts. Use a twisting motion and push it into the tire. Once the reamer is through, saw it in and out of the tire a few times to really make a nice hole for the plug. Yes, it is counter-intuitive, but it is necessary.
Push the reamer all the way and then saw it in and out a few times to make a clean hole.
Prep the plug and installer. Pull a plug off the strip and push it through the eyelet of the installer tool. The pliers will make this easier. Push a little through, grab it with the pliers and pull the plug halfway through the eyelet.
Pull a cork strip from the tire plugging kit and grab the installer tool, which looks like a large needle with a slit in the eye.Threading the sticky cork tire repair plug is not easy, but if you can get it squished into the hole, you should be able to pull it on through.
 The side cutters might help.
Insert the plug into the tire. If the kit has liquid cement, apply some to the plug before inserting it into the tire. Simply push the installer into the hole in the tire until the plug is about 3/4 of the way in. Twist the installer tool 90-degrees and pull it out. The plug will stay in the tire and the tool will come out nice and easy. You may trim away the excess plug or leave it to wear away as you drive.
Push the tire plug into the hole. Don’t twist the plug as you push it in, just go straight down and stop when there is about a 1/2-inch exposed.This is what you should see when the tire plug is installed.
Once the tire repair plug is in you can now twist the handle 90-degrees and pull the tool out.
Fill the tire to the proper PSI. If you have a portable air compressor, this will make things easy. However, if you do not, you need to get air very soon.
All done. You can trim the tire plug or leave. You will need air, so don’t go driving until you have the tire aired up.
Every automobile you own should have an emergency tire plug repair kit in the tool box, along with a portable air compressor. These emergency repairs are quite good, but for a long term repair, you should take the vehicle to a tire shop for a proper repair as soon as possible. They will know the best way to patch a tire for your type of damage.
Check out all the steering & suspension parts
Categories
Know How
Tags
emergency repair, flat tire, flat tire repair, patch flat tires, sealant, tire maintenance, tire plug kit, tire pressure, tire safety, tire wear, tires, wheels
A life-long gearhead, Jefferson Bryant spends more time in the shop than anywhere else.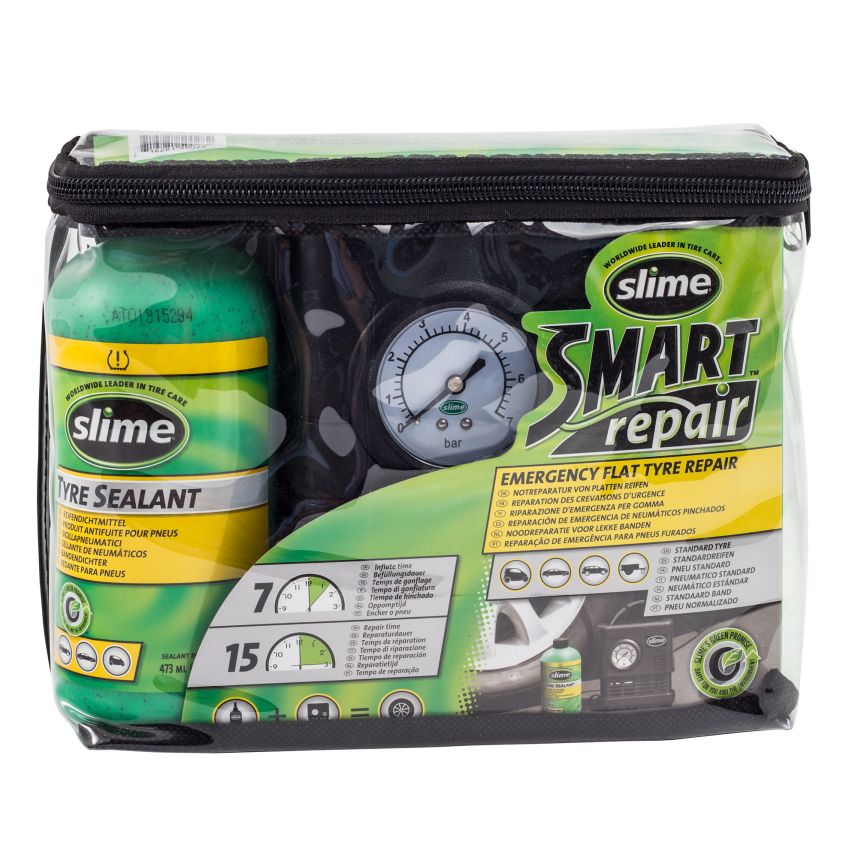 His career began in the car audio industry as a shop manager, eventually working his way into a position at Rockford Fosgate as a product designer. In 2003, he began writing tech articles for magazines, and has been working as an automotive journalist ever since. His work has been featured in Car Craft, Hot Rod, Rod & Custom, Truckin’, Mopar Muscle, and many more. Jefferson has also written 4 books and produced countless videos. Jefferson operates Red Dirt Rodz, his personal garage studio, where all of his magazine articles and tech videos are produced.
Spend $10 and 15 minutes in your garage and save hours repairing and patching flats. Slime Tire Sealant is a lifesaver.
RATING: Exceptional
MSRP: $10
BEST FOR: Everyone! Spend $10 and 15 minutes in your garage and save hours repairing and patching flats.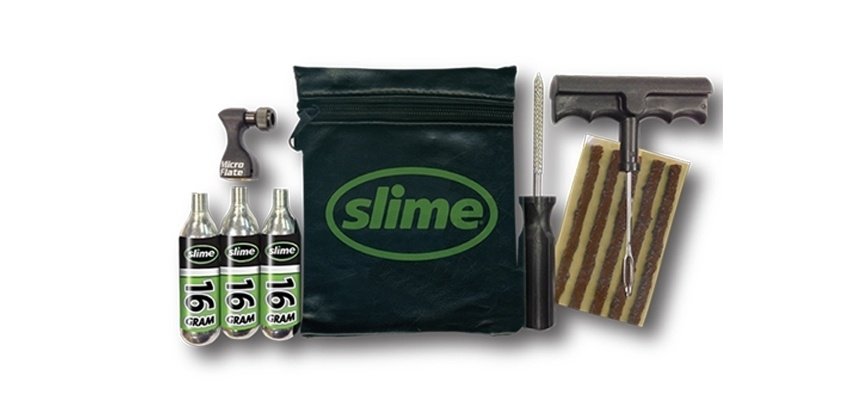
View on Amazon
PROS:
CONS:
Flat tires are a pain. Not only are they frustrating for kids and parents, they often sideline a bike for weeks. Fortunately, preventing flats is as simple as spending $8 at Walmart (or $10 on Amazon) and 15 minutes in the garage. Tire sealants is essentially a fiber-filled “slime” that coats the inside of a bike tube to quickly and efficiently repair and prevents flats. In most cases, Slime only needs to be added to a tire once and prevents flats for essentially the life of the tire or tube.
In the four years we have been using Slime in our kid’s bike tires, we have only experienced one flat after our son rode through a field of thorny weeds. Honestly, with all the bike riding that gets done around here, I can’t imagine life without tire sealant! The most widely available brand is Slime and is sold at Walmart, Target, most automotive parts store and Amazon.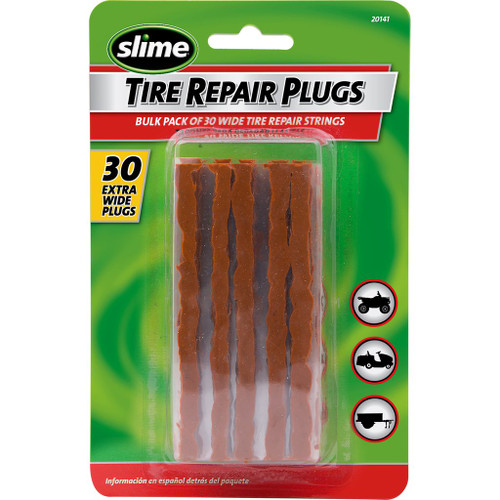 You only need about 2 oz. of slime per 12″ tire, so the 8 oz. bottle sold in the bicycle section is sufficient for two bikes. If you have several bikes to seal, consider heading over to the automotive department where the Slime tends to be cheaper by the ounce.
In order to add the Slime you will need to remove all the air out of the tire, so be sure to have a bike pump nearby before you start.
The inner valve of the tire stem valve must first be removed before you can add any slime. While it sounds daunting, it is actually quite easy to remove using the included tool.
Once the valve is out, it’s time to add the Slime. You will need to add about 2 oz. to a 12″ tire (1/4 cup) and about 2.5 oz. for a 16″ tire. For larger tires a chart is given on the back of the slime container.
Once the Slime is in place, use the tool to re-insert the core. Next, inflate the tire to the correct PSI (listed on tire sidewall) and then spin the wheel to allow the Slime to evenly distribute throughout the tire.
Repeat steps with the second tire and then you are ready to ride. Slime does not require any waiting period, allowing the bike to be used right away.
FTC Disclosure:Affiliate links are included in this review. No monetary compensation was provided for this review. The product reviewed was purchased by Two Wheeling Tots and not supplied by the manufacturer. All opinions and images are that of Two Wheeling Tots LLC. All content and images are copyrighted and should not be used or replicated in any way. View our Terms of Use.
One of the problems that can take the driver by surprise is a flat tire on the road. Such unpleasant moments can be created by an ordinary small nail or self-tapping screw, which can pierce tires. What to do in this case? Do not immediately look for a service station or buy new tires. You can easily repair your wheel yourself using a tubeless tire repair kit.
It is not uncommon for a car's wheels to be pierced by a nail you hit on the road. What to do? First of all, it is necessary to get a piercing object from the puncture site. But to do this is not so easy. If you pull out a nail, for example, with ordinary wire cutters, then a hole will remain in its place, through which air will escape from the chamber, and you will not be able to use your vehicle.
Do-it-yourself tubeless tire repairs are easy if you use a repair kit. The tire repair kit is a set of tools and accessories, among which you can find everything you need:
 The use of this device will simplify the subsequent repair and patching of a hole in the tire.
 This simple tool kit allows you to quickly make minor repairs to your wheel after a puncture. You will spend about 10-15 minutes on the whole job. The repair kit, which includes a set of tools, harnesses and glue, is inexpensive. You will be able to repair a car tire yourself, without resorting to the help of a tow truck. nine0004
Do-it-yourself tubeless tire repair will save you money on services. Removing the nail from the wheel and sealing the resulting fistula is easy. It is advisable to watch a video of the work being done, which will allow you to get an idea of all stages of the repair. What are the steps for self-repairing a tire?
One of the first tasks is to completely remove the sharp object from the tire rubber. This can be done with ordinary nippers. The repair kit does not have such a tool, but every driver in the garage can definitely find it. Why pull out the nail? Performing this stage of work will allow you to simplify the subsequent repair with a rasp and the application of a tourniquet to the puncture site. nine0004
To repair the puncture site, insert a tourniquet coated with adhesive. To do this, you need to prepare a hole in the rubber. Before removing a metal object from the tire, prepare a rasp. Apply glue from a tube to the metal pin of the tool. Only after that you can proceed to remove the nail or self-tapping screw.
One of the important points is the sequence of actions. As soon as you pulled out the nail, you must immediately insert the rasp, which is included in the repair kit, into the resulting hole. This is necessary in order for the wheel to flatten. nine0004
After installing the tool on which the adhesive has been applied, a hole must be drilled. After watching a few videos, you can understand how best to do this. The ribbed surface of the metal base of the tool smoothes the edges of the hole in the rubber. How is the integrity of the tire restored? The harness, on which the glue is applied, is securely fixed to the rubber of the wheel, which leads to sealing of the breakdown. The video will allow you to visually consider the process of sealing a tire puncture with a tourniquet. nine0004
To seal your rubber, you need to:
It is desirable for every driver to have in his arsenal a special kit for repairing rubber in case of a puncture. Due to the ease of use and low price, these kits have proven themselves in the market. The kit is designed to work in various conditions.
The advantage of using this kit is a quick and high-quality do-it-yourself rubber repair. You can use such a kit both in the garage and in emergency situations when a wheel is punctured on the way. Practical use of this method has shown that it takes about 10–15 minutes to complete the entire job. After that, the wheel can be inflated with air to the desired pressure. nine0004
Contents
One problem that can surprise a driver is a flat tire on the road. Such unpleasant moments can be caused by an ordinary small nail or self-tapping screw that can pierce tires. What to do in this case? Do not look for a service station and do not buy new tires right away. You can just as easily repair a wheel yourself using a tubeless tire repair kit. nine0004
A special set of tools and materials that should be in your boot will save you time and money. The tubeless tire repair kit is easy to use so you don't need to have car repair experience. The repair kit contains all the necessary components for a quick and efficient wheel repair. This compact set easily fits in your glove box or trunk, so you can use it whenever you need it, even on the go. You can find various videos on the Internet about what these tools are and how to use them. nine0004
It is not uncommon for a car wheel to be pierced by a nail driven into the road. What to do? First, remove the pierced object from the pierced area. But not everything is so simple. If you pull out a nail, for example, with ordinary pliers, a hole will remain in its place, through which air will escape from the chamber and you will not be able to use the vehicle.
Do-it-yourself tubeless tire repair is not a difficult task if you use a repair kit. The tire repair kit is a set of tools and accessories, among which you can find everything you need:
Quickly perform minor puncture repairs with this simple tool kit. You will spend about 10-15 minutes for the whole job. The repair kit, which includes a set of tools, harnesses and glue, is inexpensive. The tire can be repaired independently, without the help of a tow truck. nine0004
Do-it-yourself repair of tubeless tires will save you on services. It is easy to remove the nail from the circle and close the resulting fistula.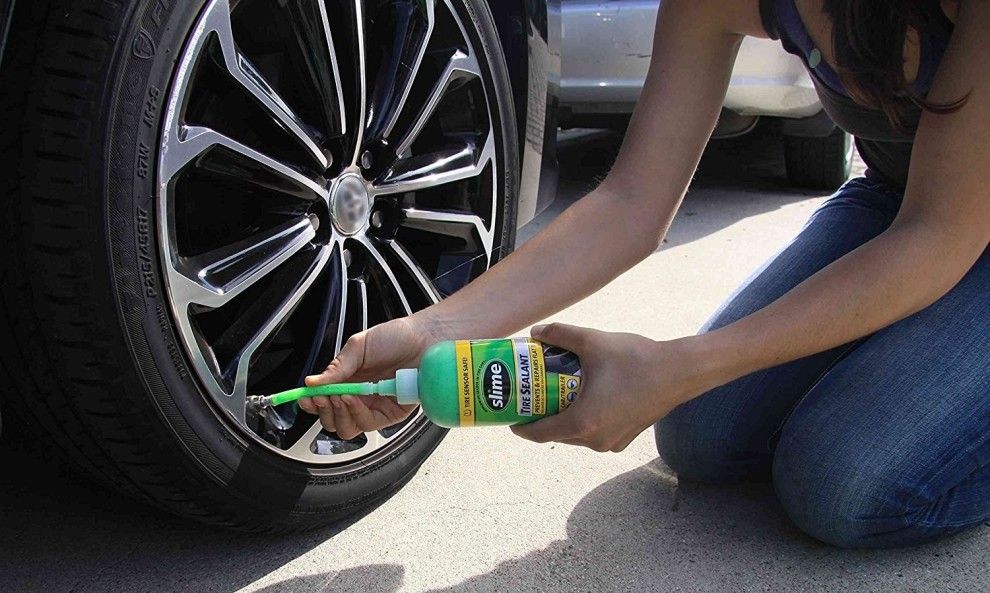 It is advisable to watch a video of the work, which will give an idea of \u200b\u200ball stages of the repair. What are the steps for self-repairing a tire?
One of the first tasks is to completely remove the sharp object from the rubber of the wheel. You can do this with regular pliers. There is no such tool in the repair kit, but any driver will definitely find it in the garage. Why pull the nail? The implementation of this stage of work will simplify the subsequent repair with a rasp and putting on a harness on the puncture site. nine0004
To protect the injection site, put on a tourniquet with adhesive on it. To do this, prepare a hole in the rubber. Before removing the metal object from the tire, prepare a rasp. Glue should be applied to the metal pin of the instrument from the tube. Only after that you can proceed to the removal of the nail or self-tapping screw.
One of the important points is the sequence of actions. After removing the nail, immediately insert the rasp, which is included in the repair kit, into the resulting hole.
This is necessary for the wheel to be straight. nine0004
After installing the tool on which the adhesive has been applied, a hole must be drilled. After watching a few videos, you will understand how best to do this. The ribbed surface of the metal base of the tool smoothes the edges of the hole in the rubber. How is tire integrity restored? The adhesive tape is tightly attached to the tire rubber, sealing the puncture. In the video you can see what the process of sealing a punctured tire with a tourniquet looks like.
To seal the tire:
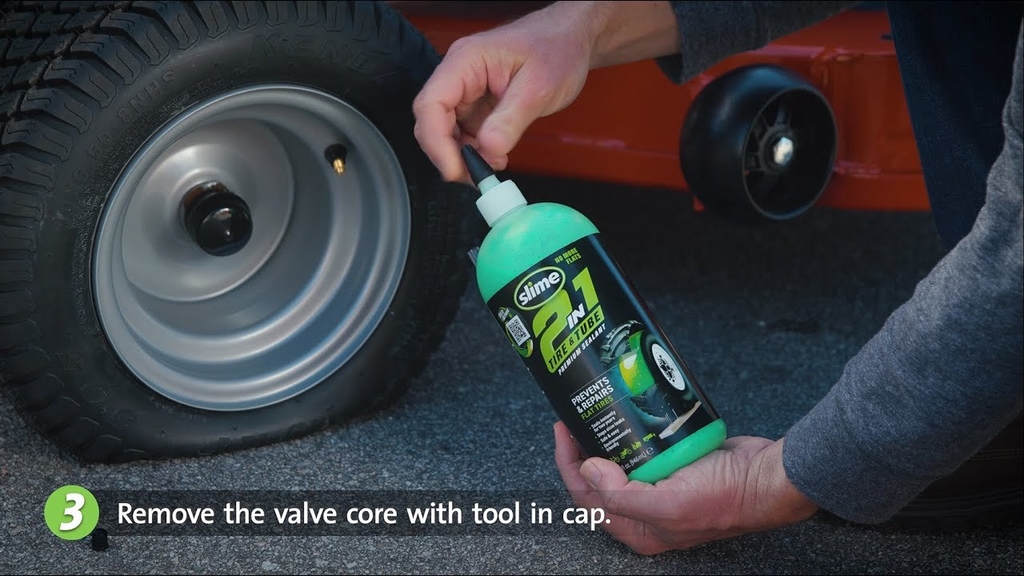
After all these steps have been completed, you need to attach special material to the tire. The tourniquet is securely attached to the internal cavity of the puncture with glue. Then it is enough to cut off the excess material with a knife. In the posted video, you will see how to properly put on the tourniquet and remove the awl from the gum. nine0004
It is recommended that every rider have a punctured tire repair kit in their arsenal. Due to the ease of use and low price, these kits are well established in the market. The set is designed to work in various conditions.
The advantage of using this kit is a quick and high-quality do-it-yourself rubber repair. Such a kit can be used both in the garage and in emergency situations when a tire is punctured on the road. The practical application of this method showed that the implementation of all actions takes about 10-15 minutes. The wheel can then be inflated with air to the desired pressure.