If your air filter looks like this, you aren’t doing your engine any favors. Time to get cleaning!
It takes many components to keep your ATV or Side-by-Side engine running in peak form. One of the most important is how your air filter keeps clean air flowing to the heart of your machine.
Most likely your ATV was equipped from the factory with a foam air filter with multiple layers, though some still use a paper filter. It makes no difference which you use, but it does matter how you care for it. The foam filter can be washed out by hand (using gloves of course) but may require some chemical form to break down the oil on the filter without destroying the glue that holds it together. The paper filter, however, is simply brushed off and hit with a light blast of compressed air to get rid of most of the debris.
Many different companies are looking to get your attention when you come looking for a new filter. Some will tout high horsepower gains and this is where I start to get really leery of incredible feats that the filtration device will bring to the game. Great gains in horsepower are not normally achieved through the perforations in an air filter alone. To get more clean air through you have to let more debris pass the block as well. In my opinion, high performance filters are good for a few rides and then your engine will suffer.
Read our 10 Cheap Ways to Improve Your ATV or UTV
While cleaning a paper filter is a fairly simple process, a foam filter is a little different. Foam filters need to be oiled in order to be at their very best when protecting the engine. Here are a few easy steps to getting your foam air filter working its best.
A clean work area is important for a job like this. We picked up an air filter cleaning kit from Twin Air to help us get the job done.
1. A clean work area always makes for a successful filter service. You need a cleaning tub or bucket of some kind and if there are sensitive things lying around that do not need a dose of cruddy filter oil on them well you better move those too.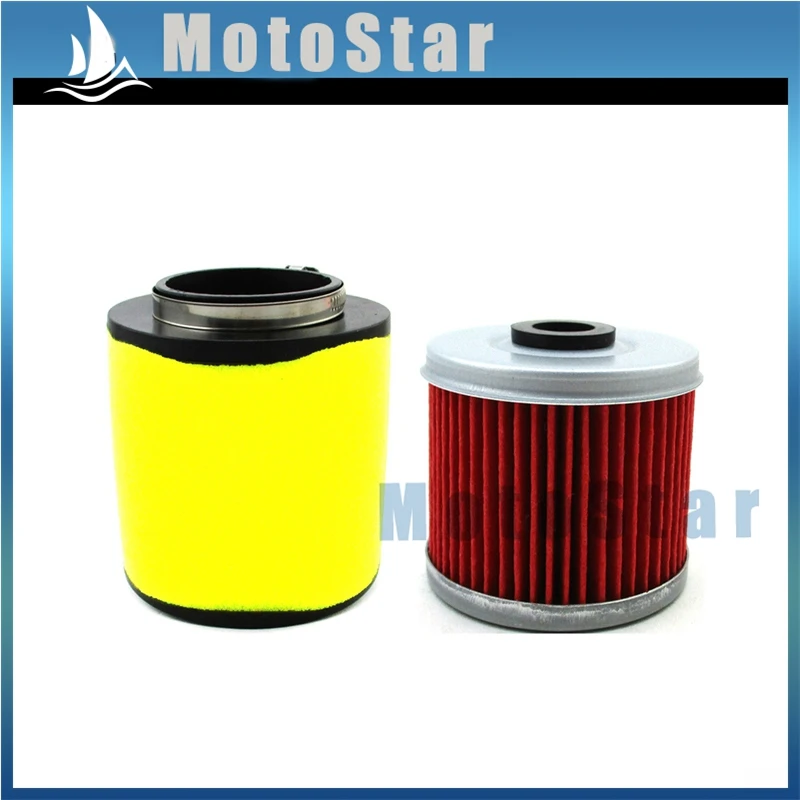 We love our Twin Air Filter cleaning kit (TwinAir.com), which comes with two tubs (one for oiling and one for cleaning) and stands for drying the filter through the two stages of cleaning. This kit also comes with Twin Air filter oil, filter cleaner, rubber gloves and contact cleaner for the air box.
Wash away the grime with some cleaning solution, but be gentle.
2. Pour a moderate amount of cleaning solution (make sure you use a cleaning solution that will not damage the filter) into a clean bucket and gently massage the filter in the solution. Do not pinch pull or twist the foam filter too hard as you will likely destroy it. This should begin to break down the filter oil and dirt from the filter. As you squeeze the filter and roll it in the cleaning solution look for any separations in the filter seams or tears in the material.
Read about How To Tow ATVs Safely and Securely
Once the filter is clean, look it over carefully for any damage.
Caution: Do not use gasoline or other highly flammable chemicals to clean your foam filter as it can and will break down the glue that holds the filter together..
Oiling the air filter is what allows it to catch incoming dust and debris before it gets to your engine.
3. Once you have cleaned the filter and allowed it to dry out its time to oil the fresh foam again for a return to the air box. We poured our Twin Air filter oil over the filter and again, gently worked the oil into the filter. Make sure you get oil on every surface and in between layers if you use a multistage filter such as this Twin Air product.
It makes no sense putting clean air filter in a dirty air box. While your filter is drying, give the air box a good once over.
4. After you have oiled the filter and pressed out any excess oil you’ll need to let it air dry for a couple of hours. This can be done in the air box of the machine but you should allow time for the oil to become tacky before riding the machine. While the filter was tacking up we took the time to clean out the air box itself. Using the Twin Air contact cleaner we carefully sprayed out the air box. Be sure to remove the plug in the bottom of the box and add a pan or small bucket below to catch the residue.
Learn about Winter ATV Riding Essentials
Caution: Be careful when spraying anything into the air box as you do not want to get trash or debris up into the throat /intake of the box that might find its way into your motor. Typically we would stuff a clean shop rag in the hole.
A little waterproof grease will help keep contaminants out of your engine.
5. The filter is almost ready to go back into the air box, but first you apply a thin layer of waterproof grease to the sealing edge of the filter to keep it from allowing any contaminants in unexpectedly.
The finished product!
Cleaning your air filter is very important to the life and performance of your ATV or Side-by-Side.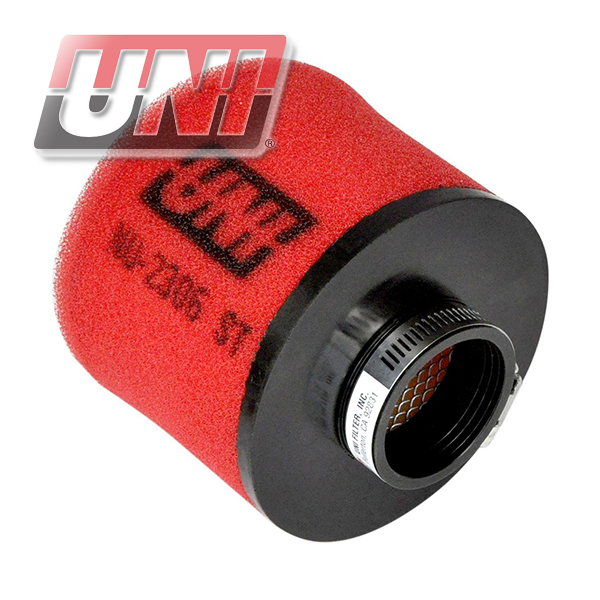 Do not let this one part go unnoticed or you may find yourself buying a pricey motor instead of a simple filter!
There are many things that you should do in order to maintain your ATV in good shape. In this article we are just going to explore the steps to clean the air filter of your ATV which, even though it sounds like a minor thing to do, which you shouldn’t pay that much attention, you should.
A clean air filter on an ATV avoids future problems on the engine. Sometimes you can clean the foam from your filter by hands but other times you may need some chemical assistance. While paper filters are easy to clean, foam filters can be a little bit trickier.
So, the first step is actually checking what kind of filter your ATV has. Most ATVs have the foam type filter. You will also want to purchase, if you don’t already have them, the right products for the process. You won’t need much apart from a cleaning solution and a waterproof protection.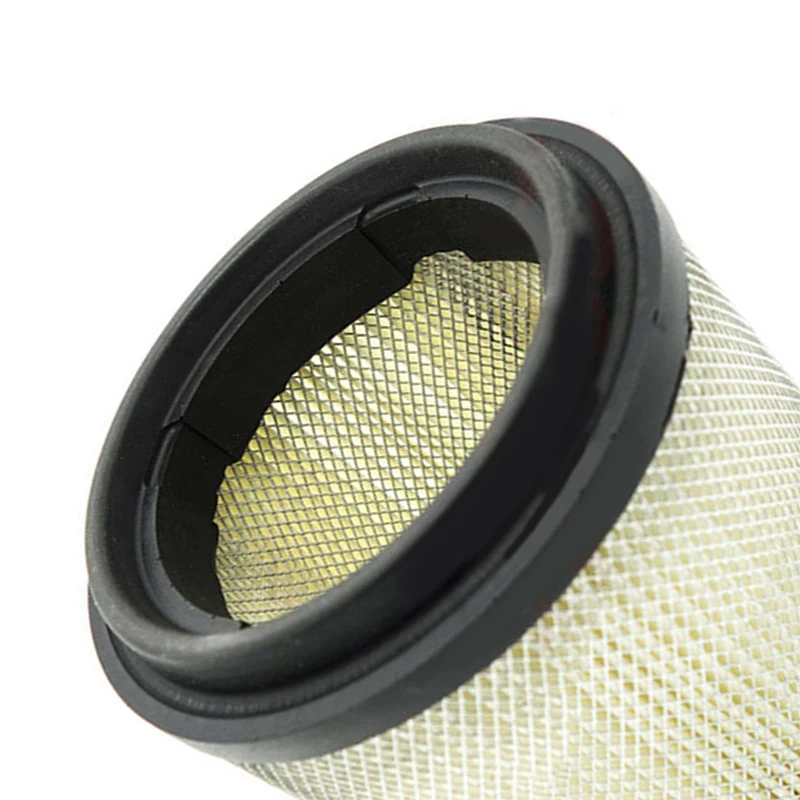 You don’t have to worry about this yet since we will explain in more detail what the right products to use for your type of filter are.
Besides that, check if you have a bucket or another type of big container and a tray or something similar. If you follow the steps you won’t have any troubles cleaning the air filter of your ATV because it’s a very easy process to go through.
Cleaning Solution: If you want to soak you filter overnight to really deep clean it, try this Air Filter Cleaner found here from Amazon that I use.
Oil Treatment: You need to treat the filter after you clean it. I recommend this kit that has an Oil Treatment Spray found here on Amazon.
A Bucket: To clean the filter in.
A Tray: Or piece of cardboard to lay under the air filter box.
The first thing you will need to do is to find a large container (like a bucket for example) in which you will wash the filter.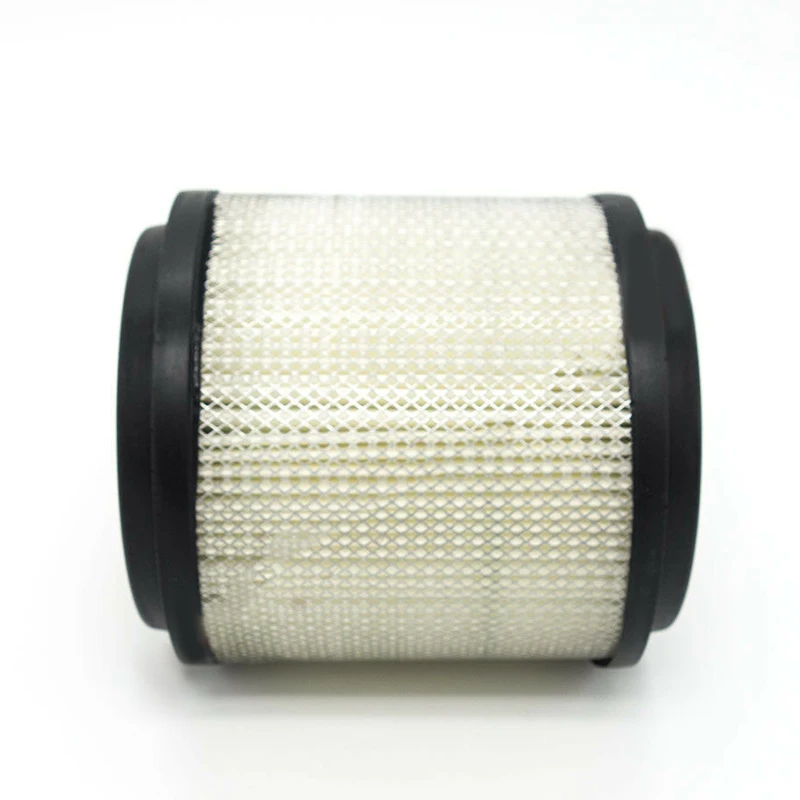 Keep in mind that, wherever you decided to set your work/cleaning space, you should put away anything that you may damage accidentally while cleaning the air filter.
The next step is to pour the cleaning solution into your bucket as directed. Be sure that it is the right one for your type of filter, otherwise you can damage it. Do not immediately rub the filter because you can tear it apart. Instead, carefully massage the filter into the solution.
When doing this, you should be looking for signs that you are breaking down the oils from the filter into the solution. After making sure that you managed to take all the debris and oil out from the filter, always rubbing it carefully, transfer the filter into another bucket with clean water.
After transferring the filter into a bucket with clean water try to check, ever so gently, for potential tears or other type of damage in the filter to make sure everything is okay. Please do not use gasoline to clean a foam filter since gasoline or other flammable chemicals can create damage to the filter.
Then, you need to put your filter aside and let it dry completely. Remember that this is not about rushing the process, the filter needs to be completely dry to move forward. So, now that you made sure that your filter is completely dry, you will have to apply fresh oil to the filter.
The same way you had to remove all the debris from the filter very carefully, you will also have to oil the filter very carefully. When doing this, you need to be sure that all the filter’s surfaces are equally oiled as well as the layers. Take your time when working the oil into the whole filter.
Once more, after you oiled the filter you will need to let it rest for a few hours to dry the oil (also, make sure to take the excess of oil out of the filter by squeezing it gently before you let it dry).
This time you don’t need to be sure that the filter is completely dry. In fact, the filter can be left to dry in the air box. So, if you have the time which we advise you should, only put the filter in when the oil is almost dry.
If you are having doubts for when you know when the filter is ready or not, you should check for a change in the thickness of the filter oil. When the oil is looking thicker, almost with a tacky feeling than you know it’s ready to go into the air box.
When inserting the filter in the air box be sure to use an indicated product to spray the inside of the air box with and remove the plug in the bottom of the box. The reason why you want to do this is to guarantee that there won’t be any excess oil trapped inside. For that you will need to place a tray or another tray-looking recipient to catch the excess with.
The last step of cleaning an air filter of an ATV is to find a waterproof product to finalize the process. These kind of products are usually based on a grease-like protection. The reason why you will want to use a product like this is to prevent other contaminants from going into the filter unnecessarily, by sealing the edge of the filter.
This part is not completely necessary but can help extend the life of your ATV. This way, your filter will last longer until the next time you will have to take it out to clean it again. Besides, it will ensure the best performance of your ATV for a much longer time.
If you followed all these steps then you most likely didn’t experience any troubles when cleaning the air filter of your ATV. You will find that, with the right tools and products there is really no reason for not doing this in the comfort of your home (or home garage).
Like you might have noticed when reading through the steps, even though this is an easy thing to do, it’s not a fast process. The main reason is the whole wait for the filter to dry two times thing. However, it is worth being patient when cleaning the air filter to ensure that your time won’t be wasted and to end up with a perfectly cleaned air filter ready to go into your ATV. Otherwise, if you rush the process you can easily accidentally damage the air filter to the point where it can’t be used again and then you would have to find and buy another one.
Sharing is caring!
11/23/2015
Many different filters are used in automotive systems. Their general purpose is to cleanse the corresponding flows that affect the functioning of the engine or other components of motorized equipment. One such filter is the air filter. It cleans the air entering the engine from road dust and various impurities that harm the engine. The absence or poor performance of the air filter significantly reduces the life of the engine, and if it is not replaced, flushed and lubricated in a timely manner, the engine of your ATV will become much noisier, its power will begin to drop, and eventually the motor may refuse to work at all.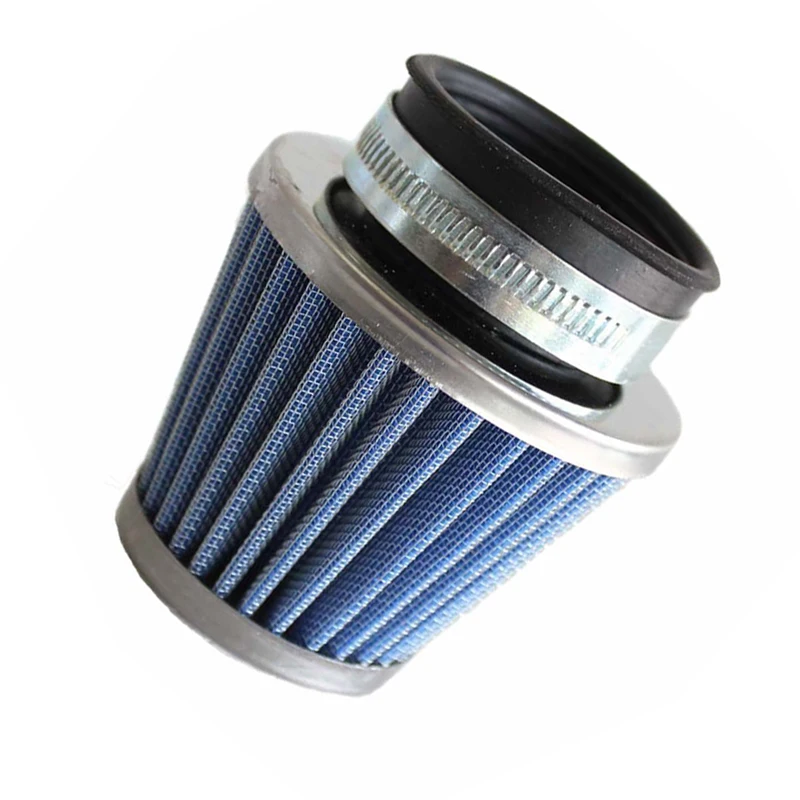 In the case of replacement or high-quality cleaning of the air filter, there will be a decrease in noise and an approximation of the air flow to a uniform distribution.
For ATVs, the problem of the air filter is the most acute, compared to other modes of transport. This type of equipment is used when traveling over rough terrain, where there is much more dust than on roads. All summer long you rode your ATV around the neighborhood in large numbers, of course, now you need to replace or flush its air filter, otherwise next year you won’t be able to conquer the slopes so famously.
Ambient air enters the carburetor through the ATV's air filter, which sooner or later (depending on the ATV's operating conditions) becomes clogged with dust and aerosols contained in the ambient air. Dust is the main "enemy" of ATVs, because off-road driving in dry weather is necessarily accompanied by clouds of dust. Imagine now the condition of the air filter of an ATV after a long ride on a dusty off-road.
Of course, it is difficult to come up with some kind of general average figure for the mileage after which it is necessary to clean or replace the air filter - it all depends on your driving style and the quality of the road surface. In any case, after extreme rides, including swim rides, it is recommended to check the condition of the air filter.
So, let's proceed to the inspection and cleaning of the air filter. Typically, an ATV air filter is located under the seat, in a sturdy plastic case with a bolt-on cover. Unscrew the bolts, remove the housing cover and remove the filter. If the filter is paper, then it must be blown through with a compressor, but it is better to replace it with a new one. But more often in ATVs, foam rubber filters impregnated with a special liquid are installed. If the foam rubber is elastic enough, devoid of visual defects, then it can be washed, otherwise, you need to spend money and buy a new filter element.
Soiled foam rubber can be washed in gasoline: pour about a liter of gasoline into a container, lower the filter into it and rinse it, wringing it out periodically. Next, the foam rubber must be dried and soaked with a special liquid or ordinary engine oil, gear oil is also suitable. Among the disadvantages of washing in gasoline: fire hazard and the possibility of destruction of foam rubber, since not all types of foam rubber have gasoline resistance.
Therefore, we suggest you use a more “humane” method for foam rubber - washing in a regular washing powder or any other detergent. In addition, as practice has shown, this method gives excellent results. After washing in powder, the air filter must be dried and impregnated with a special liquid, engine or transmission oil.
After putting the filter element into working condition, do not forget to clean the filter housing itself from dirt and dust. And then: laying the filter, screwing the housing cover, installing the seat and - you can go out again!
Cleaning is, of course, good, but do not forget that the filter sometimes needs to be changed.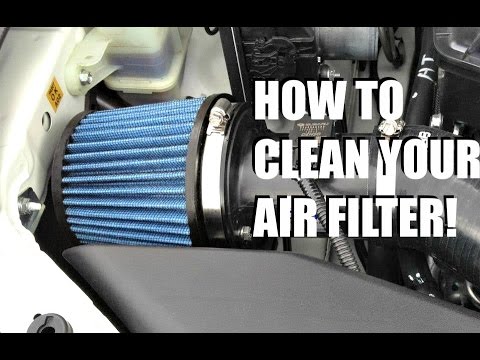 Inspect the filter for damage, tears, disintegration and shrinkage of the foam. Keep an eye on the condition of the air filter, and may the health of your ATV engine come with you.
For combustion, gasoline in the carburetor chambers must be mixed with oxygen. Oxygen enters the carburetor, passing through the air filter, and the gasoline-air mixture enters the combustion chamber of the ATV engine.
Let's imagine what happens when the air filter is clogged: less air enters the carburetor, the fuel mixture is enriched with gasoline, fuel consumption increases, there is a loss of power at low speeds, carbon deposits increase in the combustion chambers, there are difficulties in tuning the carburetor.
The main source of air filter clogging is dust. An ATV is an off-road vehicle, and therefore it is not difficult to imagine what happens to the air filter after 500 km. run.
Of course, it all depends on the driving style, and it is very difficult to find an average mileage after which you need to pay attention to the air filter.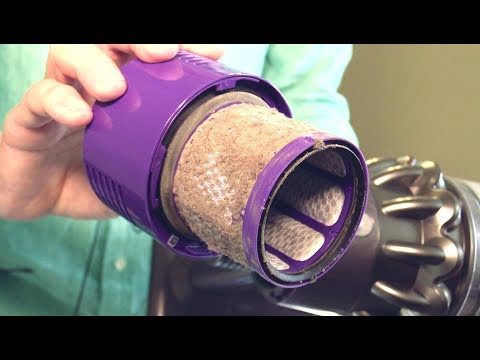 I can only say that cleaning the filter should be done as often as possible, because the health of the ATV engine directly depends on this.
After trips - swims, checking the air filter is mandatory.
During operation, you will calculate the sequence of checks yourself, based on your driving style.
The air filter housing on an ATV is usually located under the seat, the cover is attached with 4-5 bolts. We need to unscrew the bolts, remove the cover and remove the filter element.
The filter is usually made of foam and impregnated with a special liquid. There are also dry filters made of paper (blowing with air under pressure or changing to new ones), but, as a rule, very rarely, so we'll talk about washing and cleaning the foam air filter.
Basically, 3 cleaning methods are used:
When using any of the above methods, after washing the filter element, do not forget to clean the air filter housing itself from contamination.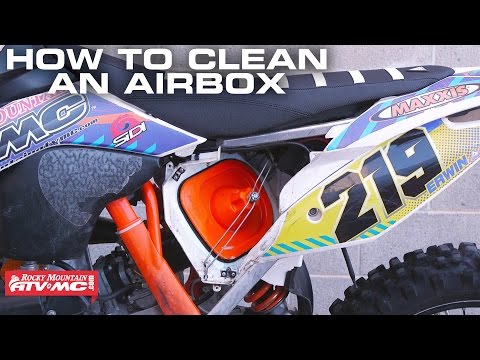
1) Filter flushing with special liquids (rarely used due to high cost)
2) Filter flushing in petrol. It is very simple to perform, pour 0.5 liters of gasoline into the container, immerse the filter in the container, rinse and wring out. Repeat the procedure several times. Then dry the filter and saturate it with a special agent or ordinary two-stroke oil, transmission oil is also suitable. The downside of this procedure is that some types of foam rubber are exposed to gasoline, breaking down, foam rubber in the form of small pieces gets into the carburetor and, accordingly, gives us a lot of trouble disassembling and cleaning the carburetor.
3) Washing the filter with water and powder or any dish detergent. The most humane method for foam rubber 🙂 and, as practice shows, this method allows you to most effectively get rid of pollution.
Stir the powder or detergent in water, carefully wash the filter, then rinse it thoroughly in running water.