A slow tire leak is more than just a nuisance. A leak can lead to low tire pressure. Not to mention, prolonged running on an underinflated tire can lead to more extensive tire damage or even cause a dangerous blowout.
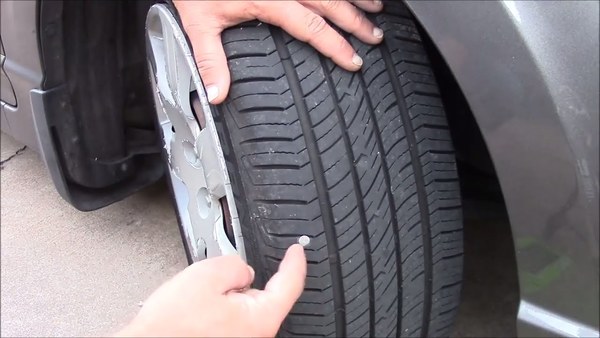
If you’re experiencing a slow leak, here are some things to look for:A tire puncture: It is a common misconception that a puncture will cause the tire to immediately go flat. However, in many cases the object that caused the puncture remains lodged in the tire and prevents the air from leaking out quickly. As with all tire leaks, it is important not to ignore a puncture. Eventually to object will either wear down and/or work its way out of the tire. For more on this read our article How to Repair a Tire with a Safe, Permanent Fix.
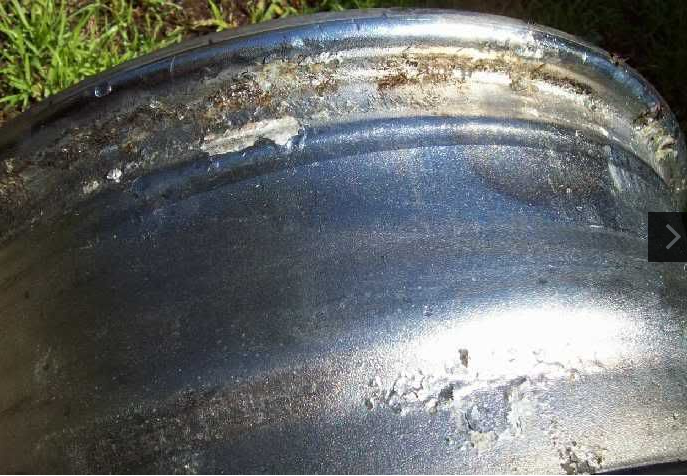
Wheel damage: Another common cause for slow tire leaks is damage to the area where the tire bead meets the rim. This type of damage is typically cause by the driver hitting the curb, taking a speed bump at high speeds OR those dreaded potholes! The impact deforms the wheel’s metal surface which may cause the tire to pull away from the mounting surface of the wheel.
Valve stem damage: The third most common cause for slow tire leaks is worn out or damaged valve stems. Time, use and exposure to elements can cause your valve stems to wear out and cause leaks.
Diagnosing your tire leak:
If your vehicle is equipped with TPMS, you will know right away if you have a leak. If the sensor light on your dashboard goes off, you inflate all the tires back to proper pressure and the light goes back on a few days later – you likely have a leak. If your vehicle does not have TPMS, its important to check your tire pressure regularly.
Once you’ve identified that you have a leak, use TECH Chek to locate the source of your leak. Simply spray the product all around the tire.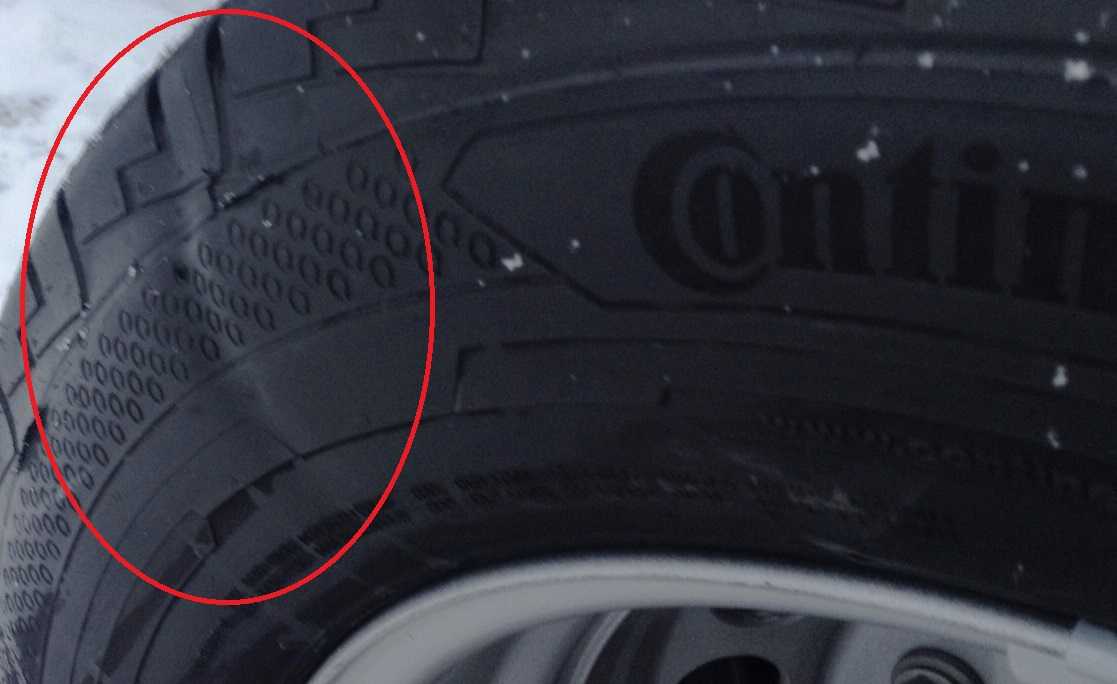 Where the surface of the tire begins to bubble is likely the source of your leak.
It’s important to have your tire diagnosed by a professionally trained tire shop or mobile tire repair service as soon as possible. In the case of a puncture, you may want to use a tire repair kit to keep your tire properly inflated until you can have it serviced. The leak should then be permanently fixed using a proper tire repair consisting of a cured rubber stem and repair unit.
If the leak is caused by a damaged valve, a trained tire technician can typically replace the valve at a minimal cost. In some cases, however, the tire may need replaced.
If the leak is caused by a damaged wheel, a tire technician may be able to reseat and seal the tire using a bead sealer. However, if the damage to the wheel is significant, unfortunately that means you may need to replace the wheel itself.
To read more about the types of damage that can and cannot be repaired, click here!
So, you have a flat tire or one that’s leaking air.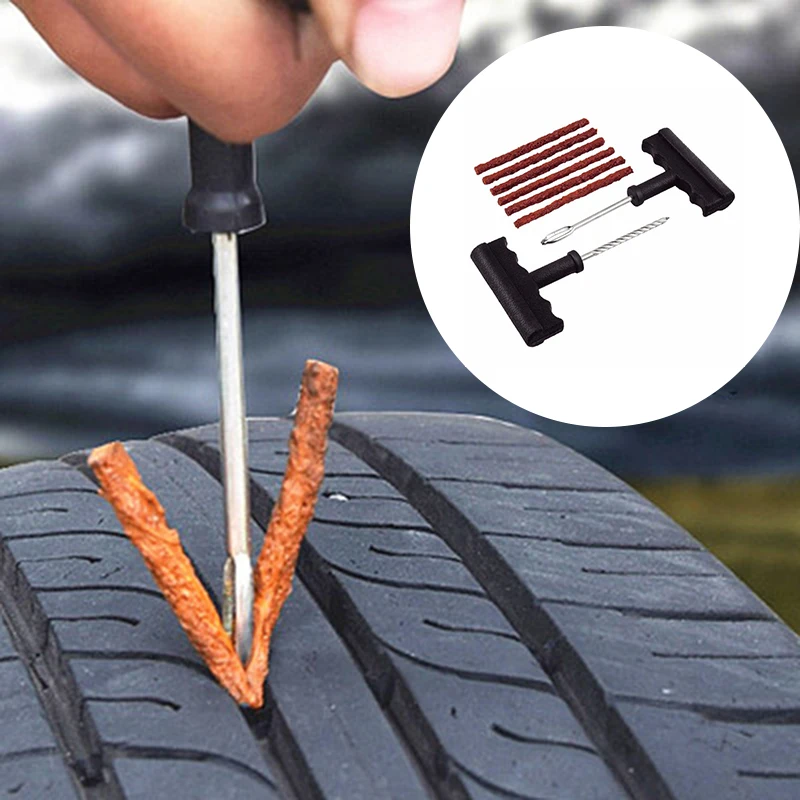 It’s not the end of the world. Luckily there are safe and cost-effective ways to properly repair most tire punctures. The purpose of this article is to show you the difference between a safe, permanent repair and a temporary string, plug or patch repair.
According to the National Highway Traffic Safety Administration (NHSTA) and the Tire Industry Association (TIA), the only method to properly repair a tire puncture is to fill the injury with a repair stem and back the stem with a repair patch. This is commonly known as a combination repair or a patch/plug repair.
Patch/plug repairs are most often performed using a one-piece repair unit that combines the repair stem and cap (or patch) into one unit. However, special circumstances may require the use of a two-piece combination repair (ex. If the angle of the puncture exceeds 35 degrees). The repair is then permanently bonded to the inside of tire and through the injury channel using a cold, chemical vulcanizing process. The repair essentially becomes part of the tire, creating an air-tight seal that keeps air in and moisture and contaminants out (more on this procedure below).
Emergency roadside plug repairs are NOT intended to be a permanent tire repair. Plugs and string repairs are designed to get you back up and rolling long enough to get home or to the nearest service center to perform a proper tire repair.
The common misconception with plug and string repairs is that because they hold air, they are safe to use. While it is true that many plug repairs do a great job of keeping air in the tire, that’s only part of the equation. Because they’re not completely sealing the injury, plug repairs may allow air and moisture to penetrate the body of the tire. Over time, this could lead to a dangerous (or even deadly) blowout.
A Patch-Only Tire Repair Leaves Your Tire Susceptible to DamageA tire repair that uses only a patch is also NOT considered proper or safe. A properly installed patch will do a great job of allowing the tire to hold air. However, similarly to the plug-only repair, the patch does not fill the injury channel. Therefore, air and moisture could seep into the tire from the tread surface and eventually damage the tire.
Only a proper patch/plug repair completely seals the puncture from inside the tire and through the entire injury channel. There are a few extra steps necessary to perform a proper tire repair in accordance with industry guidelines. We’ve developed a simple acronym to help organize and remember the steps: R.E.P.A.I.R.
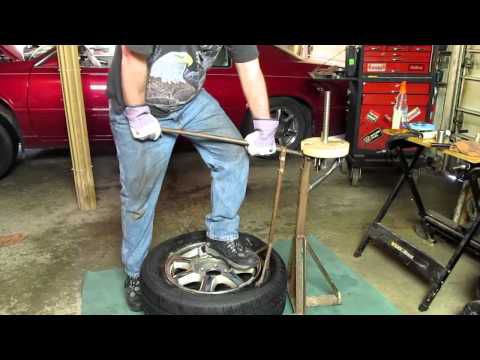
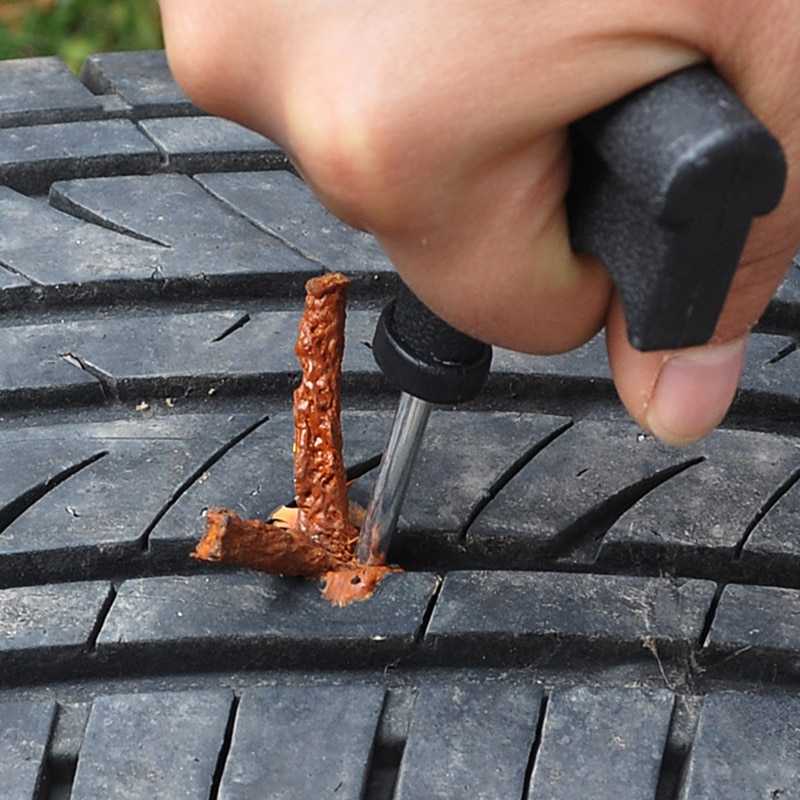 First, the injury is drilled out using a carbide cutter to strip away and damaged cords or belts. Next, the inner liner is cleaned and buffed to a slightly rough texture. This also helps maximize adhesion of the patch/plug repair.
There are a number of factors that may determine whether or not your tire is safe to repair. These factors fall into three main categories:
The occasional flat or leaky tire is an unavoidable part of life. But, taking shortcuts to repair it can be dangerous to you and your passengers. Take the time and do the research to do the job right and/or find a reputable tire repair shop trained in proper tire repair procedure.
Slow leaks occur when a tire punctures after driving over a sharp object that is stuck in your car's tire. Common culprits include nails and screws. Air slowly leaks out at the puncture site, reducing pressure and causing your tire to lose performance.
Contents
Determine which tire has a slow leak. The tire may be noticeably smaller or softer to the touch due to the reduction in the amount of air inside. Use a pressure gauge to determine if the tire pressure is lower than the other tires, if necessary.
Break a vehicle tire that is diagonally across from a slowly leaking tire by placing a wood block or wedge behind it. Blocking or stabilization prevents the vehicle from moving. If you have a manual transmission vehicle, apply the emergency brake for added protection.
Try to find the object causing the slow leak. If you can see it and can reach it safely, you don't need to lift the car. If you cannot see the object, read your owner's manual and raise the vehicle.
Inspect the wheel for foreign objects or puncture marks. If you can't see anything, spray the tire with the soapy water you made by adding liquid soap or cleaning spray to the water. You should see visible bubbling at the site of the slow leak.
Remove the source of the leak, such as a nail or screw, with pliers or a screwdriver. If you find the puncture site but the sharp object is not removed, the object may have fallen out while driving.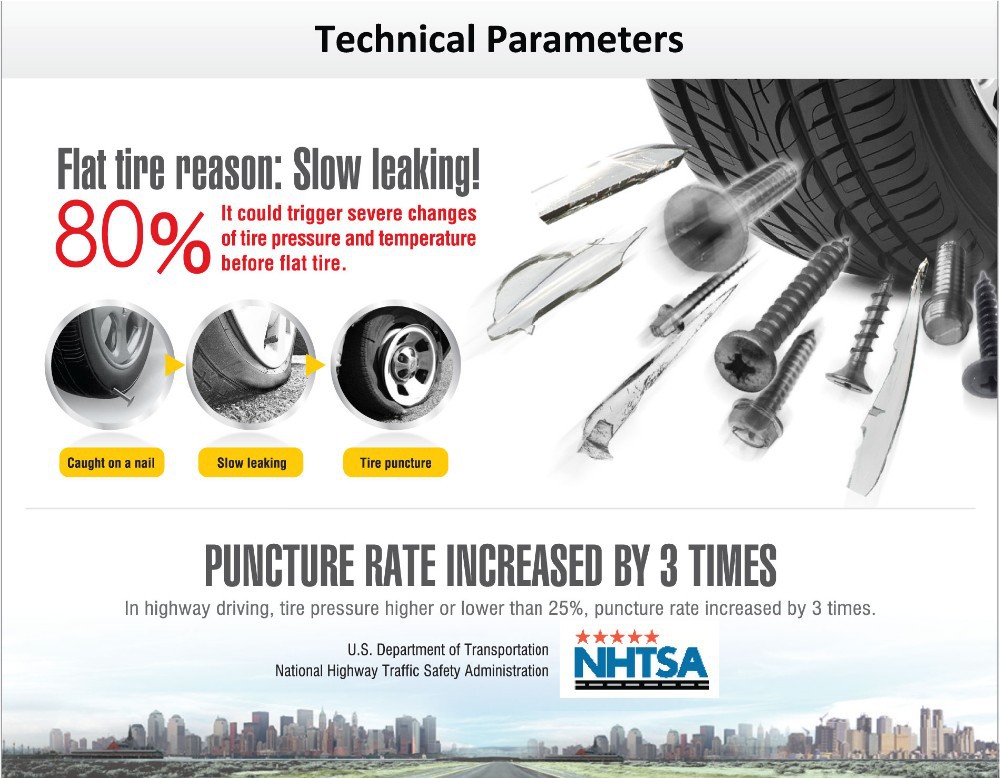 Continue your renovation.
Insert a plug into the end of the insertion tool included in the repair kit. The cork is a thin rubber cylinder, and the insertion tool is similar to a screwdriver with a "T"-shaped handle.
Grasp the T-handle and align the plug with the puncture site. Insert the plug into the puncture site by pressing down on the T-handle, leaving about half an inch of the plug protruding from the tread.
Carefully pull the T-shaped insertion tool out of the tire. Now the fork is in place.
Add air to your tire using an air pump such as the pump at a gas station and fill to the recommended pressure. Find the recommended pressure inside your car's door jamb, if you're not sure - look for a number followed by "psi" which means pounds per square inch. Pay special attention when adding air in extreme weather conditions, but never over- or under-inflate tires depending on temperature.
Lower the vehicle carefully if you raised it and remove the jack.
Check the tire pressure again using a pressure gauge. If the pressure is held at the desired level, you have successfully fixed the wheel. Cut off any excess cork protruding from the tire using a razor blade.
 09.2017
 Dear Sirs!
We present to your attention a unique remedy for the fighting of car tires for passenger, cargo and specialized equipment - Ride - On .
According to the NHTSA, tire failure is the #1 cause of vehicle breakdowns. The most common cause of tire burst is insufficient pressure, especially on domestic roads. wheels during the TOTAL LIFE OF THE TIRE !
After Sealant Ride – On , Repair Yourself!
In the event of a puncture in the crown area of the tire with objects up to 0.63 cm in diameter, the spinning tire's centrifugal force and internal pressure force the Ride-On into the hole, sealing it instantly.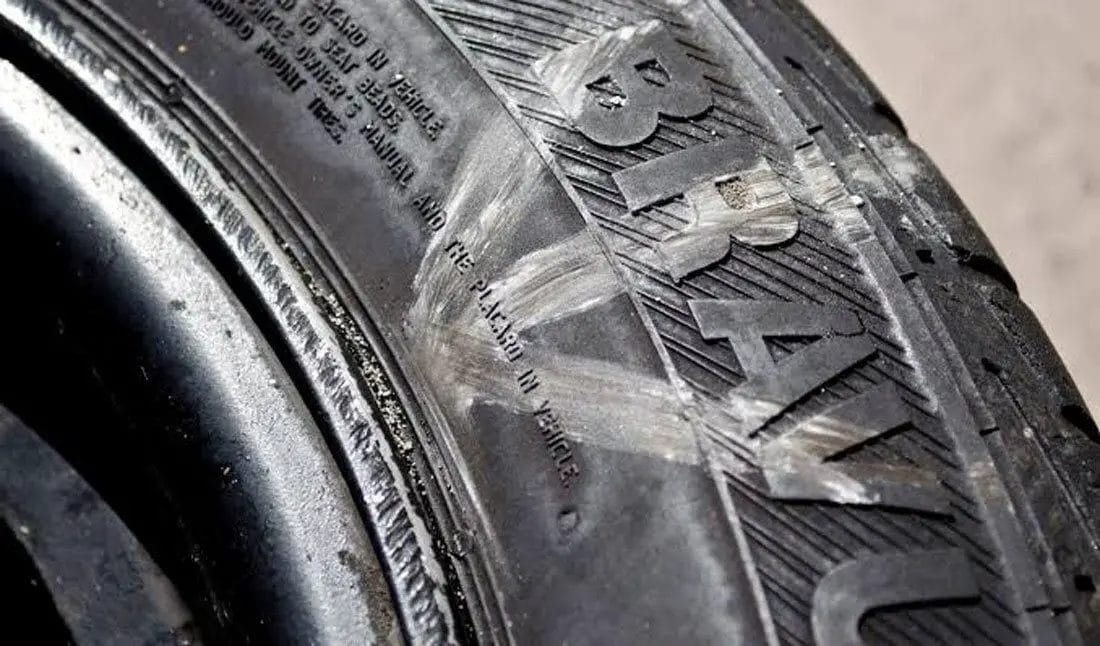
Ride - On will stop a puncture before it stops you!
In addition to the above, a one-time installation of Ride-On hydrodynamically balances the tire, while reducing road noise and vibration throughout the life of this tire. While Ride-On can work in conjunction with traditional wheel weights, you simply won't need them anymore.
Ride-OU tool surpasses traditional lead loads for wheels, which sometimes fall off and as the tire is worn requires periodic re-balance
Ride-on is Green Alternative with lead for wheels, which are already prohibited in certain US regions and throughout the EU.
Main difference Ride – On from sealants that are already on the Ukrainian market:

Tool Ride – On easy to install in used tires at the same time
As needed Ride – On also washes off easily. Just add water, dissolve and rinse . When removing the tire from the rim, the agent remains (adhered) in place, does not spill and splashes on the sides. Ride-On :
HDOTR (Heavy Duty Off-Road) - This formula is designed for off-road vehicles that need extra protection in extreme operating conditions. The HDOTR formula was developed for military, construction, quarry equipment, garbage and waste carriers, or any other critical vehicles moving at speeds up to 50 km per hour and requiring protection against punctures by objects up to 13 mm in diameter. Freeze protected down to -40 C.
TC&S (A/C & Sealant) is an industrial grade, specially formulated preventative tire sealant that protects the tires and rims of vehicles traveling at speeds up to 50 hours. The TB&S formula will provide protection against punctures by objects up to 6.5 mm in diameter. It is protected from freezing at temperatures to -20 C.
TB & S (ballast and sealant) -this is non-toxic, non-explosive, not containing glycol concentrated tire ballast and sealant, designed to dilute 3: 1. The TB&S formula is ideal for applications that require additional liquid ballast weight as well as protection of the tire sealant against punctures by objects up to 6.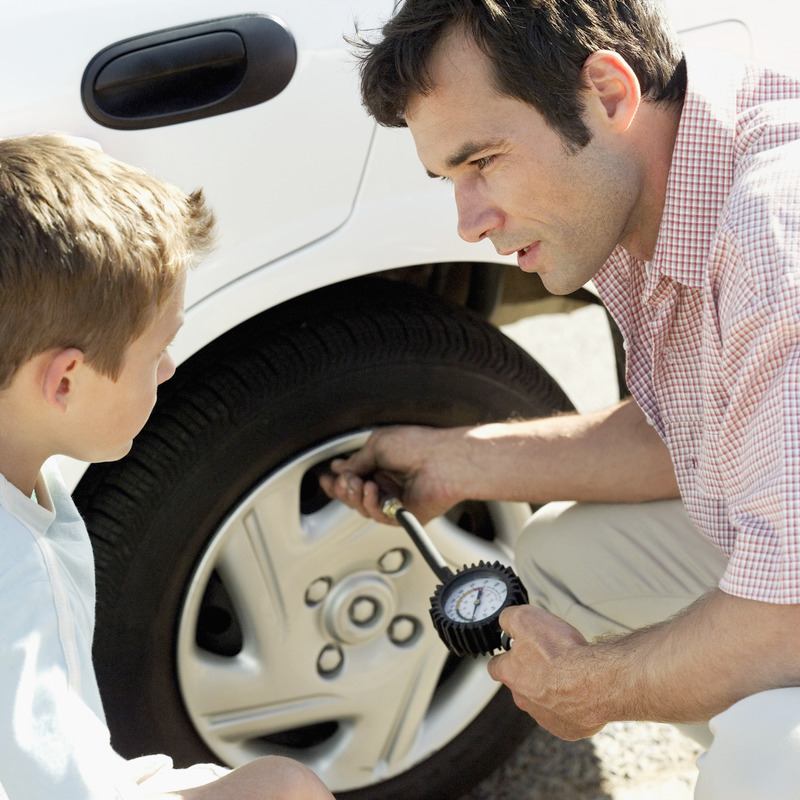 5mm in diameter. This product is designed to be used in tires filled with TV&S at least 1/3 full.
The freezing point depends on the type of dilution liquid. When mixed with ethylene glycol or propylene glycol, a freezing point of -40 C or lower may be reached.
TC&B (A/C & Ballast) is a specially formulated ballast and cooling solution to protect the tires and rims of agricultural, industrial, mining and construction equipment. The TC&B formula is an excellent alternative to traditional, environmentally hazardous, corrosive and harmful to tires and rims ballast fluids. The TC&B formula extends tire life by lubricating the liner, preventing tires from heating up during operation, and combats tire and rim oxidation and pressure loss through etched vents, o-rings, and bead rings. TC&B reduces the time and labor associated with refitting "welded" off-road tires.
 3 mm in diameter, incl. multiple punctures. Helps seal slow leaks that cause tires to gradually lose pressure.