This article will review compatibility issues and considerations when purchasing bicycle tires and inner tubes. Aspects of performance and the type of ride resulting from the choices will not be reviewed.
1
When selecting tires and inner tubes for a bicycle, it is important to get compatible components. There are many different tire and wheel sizes available. Unfortunately, the bicycle industry has not always had consistently clear nomenclature for tire standards.
Tires are made with a steel wire or fabric cord molded into each edge of the tire called the “bead”. The tire bead effectively forms a circle and the diameter of this circle determines the tire fit to the rim. The tire bead is sized to fit into the rim bead seat, which is the area below the outer rim edge.
BEAD OF TIRE AND BEAD SEAT OF RIMDo not attempt to mix tires and wheels with different bead seat diameters. Although the bead seat diameter determines the tire and wheel fit, there is little consistency between manufacturers in how tires are labeled or identified. Different countries at times have used different nomenclature in marketing and labeling their tires. This causes confusion when selecting a tire for a wheel and frustration when installing a tire.
An antiquated but still common system uses “inch” designations, such as 26-inch, 27.5-inch, 29-inch. The inch size does not refer to the bead seat diameter or measurement. In fact the number of the inch designation has no actual inch measurement associated with it. It is simply a code of the vaguely approximate outside tire diameter. For example, there are several 26-inch tires that use different bead seat diameters. A 26 x 1 3/8 inch tire, for example, will not interchange with the common MTB 26 x 1.5 inch tire. There are three even more obscure tire standards also referred to as 26-inch diameter, but none are interchangeable. As a rule, tires marked with fraction sizes, such as 1/2, 3/4, etc., do not interchange with tires marked in decimal sizing, such as 0.5, 0.75, etc. For example, a 26″ x 1-1/2″ tire does not interchange with a 26″ x 1.5″ tire. There is not a logical reason for this system, it is simply what manufacturers have offered for nomenclature when selecting a tire.
Another common yet misleading system is the older French system of sizing. The numbers are reference numbers and are not accurate measurements of anything. Road bicycles commonly use a 700c tire that has a bead diameter of 622 mm. The “700c” does not refer to bead diameter. The “c” is simply part of the code system. There are also 700a and 700b tires and wheels, but none interchange with the more common 700c. Additionally, the 650b tires and wheels will not interchange with the 650c tires. There is not a logical reason for this system, it is simply what manufacturers have offered for nomenclature when selecting a tire.
The ISO (International Standards Organization) system, also known as the ETRTO (European Tire and Rim Technical Organization) system, is now becoming more commonly used and understood. The ISO system uses a two number designations for both tire and rim sizing. The larger number is always the bead seat diameter. Rims and tires with the same number are made to fit one another. For example, tires marked 622 will fit rims marked 622, because the bead seat diameter is 622 millimeters for both. Look for this sizing system on the tire.
Rims also come labelled in ISO sizing, in the form of a two number system. The smaller number is the width in millimeters inside the rim sidewalls. Generally, a wider rim will accept a wider tire. A narrow tire on a relatively wide rim will mean the tire profile shape will be less rounded. A wide tire on a narrow rim will result in less support for the tire in cornering, which can cause the tire to laterally roll or twist. Additionally, rim caliper brakes will have very little room to clear the tire with a very wide tire on a very narrow combination. As a loose rule, the ISO tire width should be between one and a half to two times the ISO rim width. A rim with a width of 25mm between the sidewalls should use an ISO tire width of about 37–50mm.
Another consideration in selecting tires is the frame and fork. Although a tire might be correctly and safely fitted to a rim, the frame may lack clearance for the size. Inspect the bike if you are changing to a larger tire profile.
2
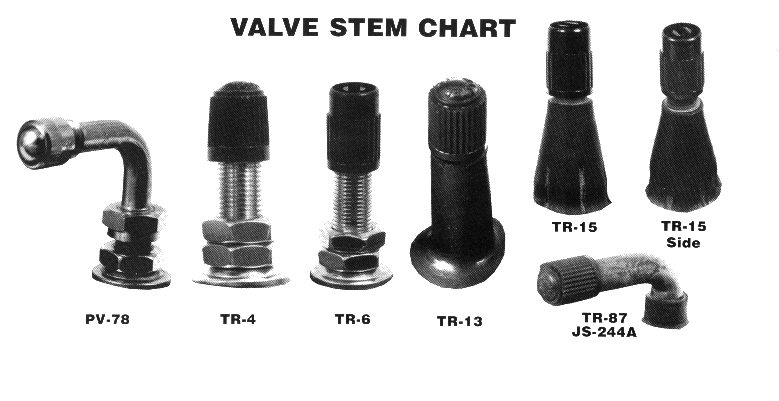
There are three types of valve stems on bicycles, Schrader, Presta and Woods (“Dunlop”).
Valve Stem Types (L-R): Schrader, Presta, Woods (Dunlop)The Schrader or “American-type valve” is common on cars and motorcycles. It is also found on many bicycles. The valve stem is approximately 8mm (5⁄16 inch) in diameter. The valve core consists of an internal spring plunger to assist in shutting the valve after inflation. The length of the valve can vary and should be longer for tall or deep rims.
The Presta or French-type valve is common on mid- and higher-priced road bikes and on higher-priced mountain bikes. Presta stems are nominally 6mm in diameter and thinner compared to the Schrader valves. At the top of the Presta stem is a small valve locknut, which must be unthreaded before air can enter the tube.
Some brands of Presta tubes use a valve shaft that is fully threaded and usually include a locking nut or ring. These come with an extra locking nut or ring. Loosen the ring by hand and remove it before installing the tube. Install and fully inflate the tube. Then install the lockring and snug only by hand. When deflating the tube, loosen and remove the nut first.
Some makes and models of Presta inner tubes use a removable valve core. Inspect the end of the valve for two wrench flats. Use a valve core tool such as the Park Tool VC-1 or a small adjustable wrench to secure or remove the core.
Inner tube valve stems are available in different lengths. Rims with a very tall cross section require longer valve stems (60 mm or 80 mm). There are valve extenders available that screw onto the Presta valve and allow the tube to be inflated (figure 2.38). If the inner tube uses a removable valve core, use an extension that screws into the valve’s inner threads. There are also designs that are simply a tube to lengthen the stem but do not permit the Presta valve locking nut to be secured. If the locking nut cannot be closed, the valve may leak. Extenders that do not allow the valve nut to be tightened may allow the tube to leak slowly.
Left: removable valve core with double-threaded extender. Right: simple valve extender with lock nut looseThe wheel rim valve hole should match the valve of the tube. If a rim has been made with the smaller valve hole for Presta valves, it can be typically drilled and enlarged safely to the 8 mm size by using an 11⁄32 inch (8. 5 mm) hand drill. After drilling, use a small round file to remove any sharp edges. Rims that are less than 15 mm outside width should not be drilled. It is also possible to use the smaller Presta valve in a rim intended for the larger Schrader by using an adapter sleeve.
A third valve type is the “Woods” or Dunlop valve. These are seen on less expensive bikes outside the United States. The stem looks like a combination of a Schrader and a Presta stem. The top of the stem is narrow, with a large locking ring under it, and then the main shaft.
To deflate the Dunlop valve, partially unthread the nut. Pull on the tip of the valve if air is not already escaping. Remove the nut fully after the inner tube is deflated. Remove tire and tube as any other.
To inflate the Dunlop valve, use a Presta compatible pump head. Simply engage the head and inflate. Remove the head. There is no need to unthread the locking ring.
The tube should match the tire size diameter closely. However, tires that are close in bead diameter may use the same inner tube. For example, an inner tube for an ISO 630 tire (27-inch) will also fit an ISO 622 (700c) tire.
The inner tube should also match the tire width, but, because inner tubes are elastic, one inner tube may fit a range of tire widths. If the inner tube is too narrow for the tire width, it will become very thin when inflated inside the tire body. This will cause it to be more susceptible to punctures and failures. If the tube is too wide for the tire, it will be difficult or impossible to properly fit inside the tire casing and seat in the rim. Part of the tube may stick out of the tire and blow out when the tire is fully inflated.
3
The following table shows only some of the bicycle tires made. These are listed by ISO diameters (bead seat diameter).
| Tire Labels for Inch or French Standard | ISO (ETRTO) Bead Seat Diameter | Common Uses & Notes |
|---|---|---|
16″ x 1″ to 2. 2″ 2″ | 305 | Juvenile BMX bikes |
| 349 | Recumbent | |
| 18″ | 355 | BMX |
| 18″ | 400 | BMX |
| 20″ x 1″ to 2.2″ | 406 | Juvenile bikes, BMX, freestyle bikes, recumbents |
| 20″ x 1-1/2″ or 1-3/4″ | 419 | BMX, older Schwinn bikes |
| 20″ x 1-1/8″ and wider | 451 | BMX bikes |
| 24″ x 1.0″ to 2.0″ | 507 | Junvenile MTB bikes, some small road bikes |
| 24″ | 520 | BMX |
| 24″ x 1-3/8″ | 540 | Wheelchair tires |
| 24″ x 1-3/8″ | 547 | Older Schwinn tires |
| 26″ x 1.0 to 4.8″ | 559 | MTB bikes and fat tire bikes |
| 26″ x 1 1/2″. Also called 650C | 571 | Smaller road bikes, some specialty tri-athlete bikes |
27. 5″ or 650B 5″ or 650B | 584 | MTB Bikes in 27.5″ sizing |
| 26″ x 1-3/8″ | 590 | Commuter bikes |
| 26″ x 1-3/8″ | 597 | Older Schwinn bikes |
| 700c | 622 | Common road bike, hybrid and others |
| 27″ x 1-1/4″ | 630 | Older USA road bikes standard for mass market bikes |
What are the different bike tire valve types, you ask? Well, as you can see in the image above, there are several different options when it comes to tire valves.
The three main bike tire valves available are Schrader valves, Presta valves and Dunlop valves (Woods valves).
These three bike tire valves are easily identified by their unique appearance and are all operated differently.
Throughout this short article, I’ll talk you through every valve type, covering the pros & cons of each valve, which valve type you need for your bike and the history behind each valve.
Ready to become a bike tire valve expert?…. Not a hugely desirable title. I get it! But you never know when you’ll have an issue with these fiddly little systems.
Add a header to begin generating the table of contents
If you’re a keen cyclist, you’ll likely know what a Schrader valve is, and if you own a road bike, you’ll probably have used a Presta valve before. But what is a Dunlop valve?
If none of the above meant anything to you, don’t worry! These are simply three different bike tire valve types.
Just below, you’ll find a detailed breakdown of each valve type, and then towards the end of the article, I’ve put together a few simple guides on how to change valve types and answers to popular bike valve FAQs.
If you know what bike tire valve type you want to learn about already, use the buttons below to navigate to each section.
Schrader Valves
Presta Valves
Dunlop Valves
Tubeless Valves
The Schrader valve is the most universally used and known valve variety. They’ve been used most motor vehicles and bicycles since their invention in 1891, courtesy of August Schrader.
A Schrader valve has a wide valve stem, into which a small valve core is inserted.
Schrader valve cores use a small spring that keeps the valve in the closed position.
When the valve’s spring is depressed, the valve opens, and air can pass through the Schrader valve.
Schrader valves are also referred to as American valves, as they were patented in the United States in 1893, just two years after their invention.
Schrader valves are shorter, wider, less fragile, and typically cheaper than Presta valves.
Using a Schrader valve is very simple once you know what to do!
The steps below will teach you how to inflate or deflate a tire or system that uses a Schrader valve.
Presta valves are a type of valve used to control the airflow into and out of the inner tube of a bicycle. They’re long and narrow and are found on the majority of modern bikes.
Invented by Frenchman Etienne Sclaverand Presta valves are often fittingly referred to as the French valve.
The exact date of invention for the Presta valve isn’t known, but it’s thought to be just after 1880.
Presta bike valves are lightweight and are made in varying lengths to accommodate wheels with deep-section rims, typically found on road bikes.
Presta valves contribute to a stronger wheel, as their thin valve stem only requires a small hole in the rim. Nowadays, Presta valves are found on most modern bicycles.
Due to their thin stem and partially external valve mechanism, Presta valves are more fragile and slightly more expensive than other types of bike valves.
Using a Presta valve involves one more step than other bicycle valve types. That being said, it’s still straightforward to inflate or deflate an inner tube that uses a Presta valve.
Follow the steps below, and you won’t have any trouble:
 External threading on the stem allows the use of rim nuts.
Dunlop valves, also known as Woods or English valves, aren’t common in the USA or the UK. Several European countries use them, but they’re primarily used across Asia and in multiple developing countries.
Invented by C. H. Woods, the Woods valve (modern Dunlop valve) quickly replaced the original valve created by John Dunlop.
The modern Dunlop valve is much easier to inflate and maintain than the original, which used a tight rubber sleeve to regulate airflow.
This rubber sleeve often deteriorated over time, meaning more maintenance was required to keep them functioning correctly.
Unlike Schrader and Presta valves, the Dunlop valve doesn’t require a special tool to remove its core. Their straightforward maintenance and robust stem are perhaps why Dunlop valves are so popular in the developing world.
The Woods valve has a similar-sized stem to a Schrader valve. However, it requires a Presta pump to inflate unless used with a bike tire valve adapter
The stem size of a Schrader and a Dunlop are the same. Therefore, these two valves can be used interchangeably on wheel rims.
Inflating a Woods valve tire is very easy. All you’ll require is a Presta compatible pump.
Unlike Schrader and Presta valves, Woods valves can’t be deflated by depressing a valve core pin.
Instead, to deflate a Woods valve, you’ll need to remove the valve core to allow pressure to be released from inside the tire.
Remove valve stem capRemove valve top nutGrip tight and slowly remove valve core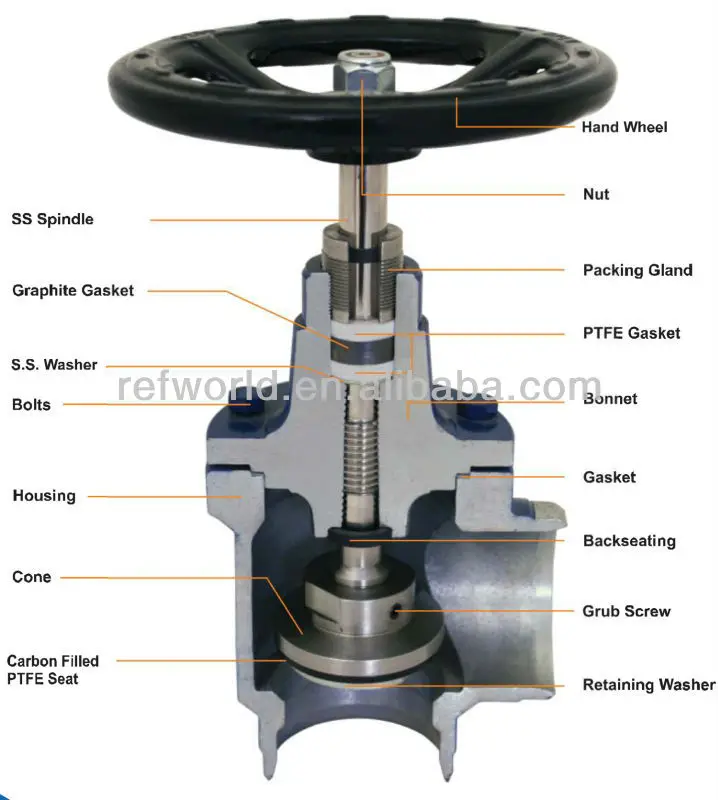
Tubeless valves work with tubeless wheel setups. Presta and Schrader tubeless valves are available and are simply a valve on its own without the inner tube.
Instead, the tubeless valve has a rubber base that seals against the inside of a wheel’s rim to maintain air pressure inside.
Cyclists that ride tubeless tires normally add a sealant liquid inside the tire.
When inflated, the sealant plugs any leaks and should a rider have a puncture, the sealant will be forced out of any puncture holes, quickly resealing the tire so that it can be reinflated.
As this tubeless bike valve is a Presta valve, scroll up to read about the anatomy of a Presta valve.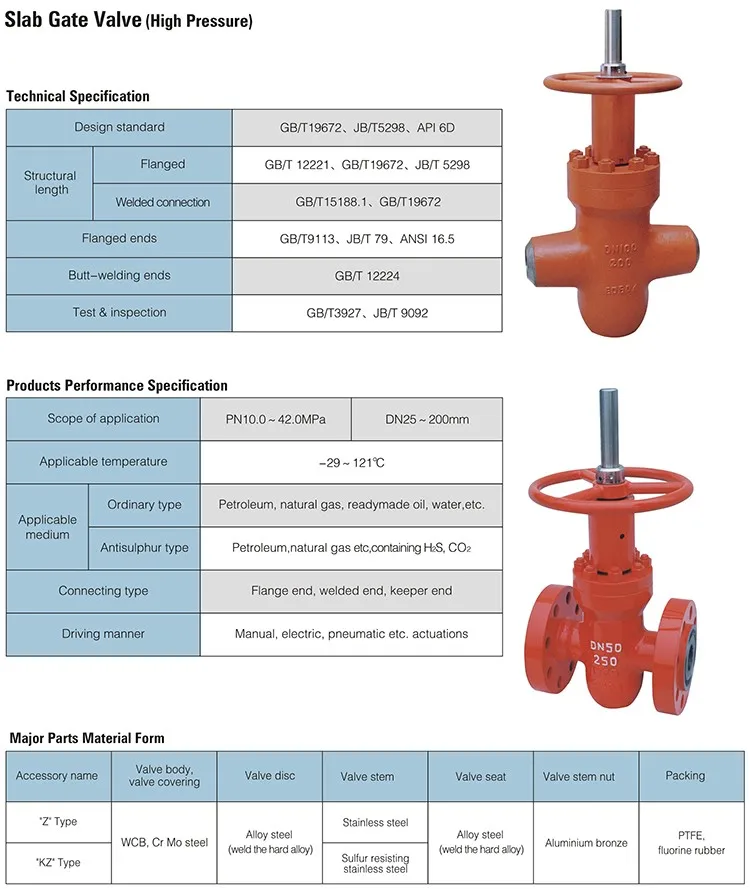
Otherwise, the only unique feature of tubeless valves is their rubber bung.
Bike tire dust caps act as an added layer of protection for your valves.
They prevent any excess dirt, buildup, or debris from entering the valve and potentially damaging it over time.
Dust caps are inexpensive and, therefore, very accessible to every bike owner.
Custom valve stem caps are also a great way to customize your ride for a low price.
If your bike valve stem caps are missing or you’ve been cycling without them, this short article explains why you NEED to replace them.
Stem valve nuts are fitted on threaded valves and prevent your tire valves from sinking into your rim when inflating your tires.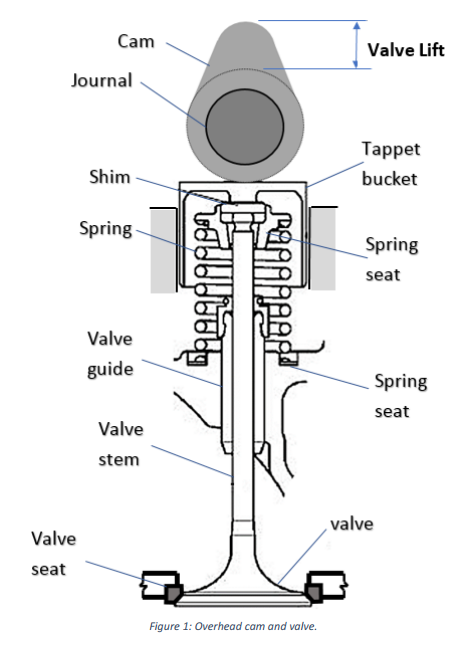
There’s an ongoing debate on whether stem valve nuts should be left on after tires are inflated.
To be completely honest, once you’ve inflated your tires, whether you leave the valve nut in place or remove it, won’t make much difference.
Some cyclists complain their stem valve nuts rattle whilst cycling. If this is the case, remove them and keep them somewhere safe for the next time your tire pressure is low.
Whilst Presta and Dunlop stems have a similar diameter, the nuts they use aren’t interchangeable.
Where there are multiple valve types avalible, cyclists often find themselves with the wrong pump for their bike tire valve type.
If you’re in this position, don’t worry. You won’t have to replace your inner tubes. All that’s needed is a valve adapter to convert your existing valve into a valve type compatible with your pump!
If your bike uses Presta valves, but your pump only works with a Schrader valve, a simple Presta to Schrader valve adapter will do the trick.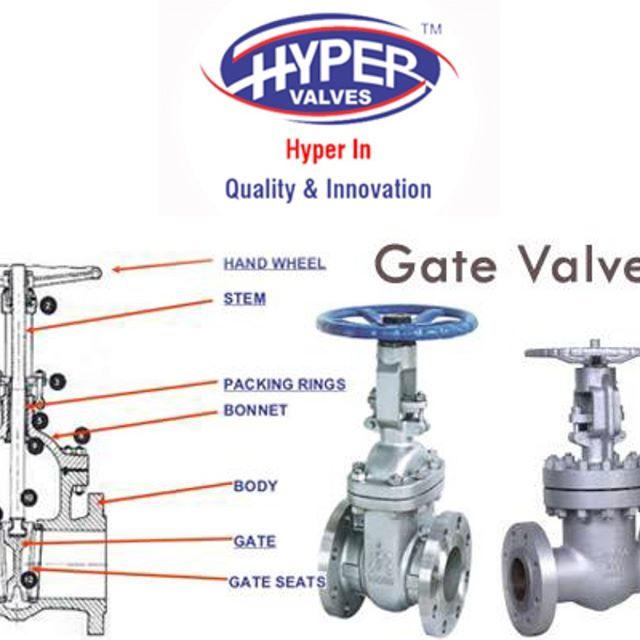
Similarly, if you have Schrader valves on your bike but your pump is for Presta valves, you can easily pick up a Schrader to Presta valve adapter for a very reasonable price.
Presta valve extenders are used to extend the length of your Presta valves.
Presta valve extenders are used by cyclists who use deep-section rims, whereby the standard length valves aren’t long enough to pass through the rim or for the pump to connect to.
While helpful, one disadvantage of Presta valve extenders is their ability to rattle while a bike is in motion. However, there are a few steps you can take to reduce rattling that I explain below.
Another issue you should be aware of before attaching a Presta valve extender is that they increase leverage on the valve, so if care isn’t taken when installing, they can damage the valve or the inner tube.
If you need to use a bicycle valve extender but haven’t done so before, follow this brief guide for the best fit:
Before we begin, you’ll need:

Valve stem cores are the part of a valve that regulates airflow in and out of the tire or system.
Schrader, Presta and Dunlop valve cores all work in different ways.
Schrader valves are spring operated and allow air to flow freely into or out of the tire/system when the central core pin is depressed.
Presta valve cores use a similar central core pin, although it’s not spring-loaded. Instead, it uses a valve core nut.
When a Presta core nut is loosened, the central valve pin can be depressed, but when tightened, the valve core pin is held in a closed position.
Dunlop valve cores only allow air to pass into the tire. Therefore, to deflate a Dunlop tire, the valve core needs to be fully or partially removed.
Not all tire valve cores are removable, so it’s worth paying attention to this when buying a new inner tube or replacement valve.
The correct valve type for your bike is equally as important as using the right inner tube.
The questions below will provide additional knowledge to ensure you know what you’re doing regarding any valve-related issues!
If you’re unsure which valve type you need for your bike, inspect the valves you have on your bike and compare them with the pictures shown above in the article.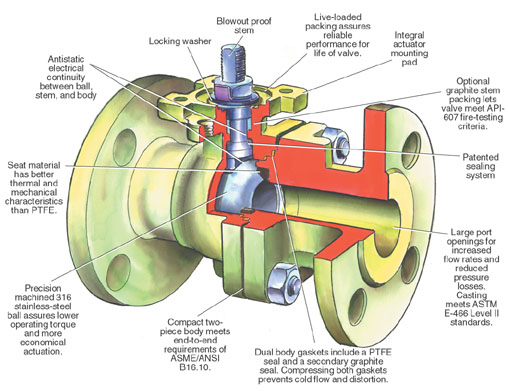
If your wheels don’t have inner tubes in them at the moment, a Presta valve is probably your best bet, especially if your bike is modern.
Almost all new bikes use Presta valves, and they’re compatible with Schrader and Dunlop rims, so if you’re unsure, Presta valves will be a fail-safe option.
The length of the tire valve you use depends on the rim depth of your wheels.
The larger your rim depth, the longer your valve length should be. A correct size valve will allow you to attach a pump and inflate without a struggle.
The best way to decide what valve length you require for your bike is to measure the depth of your wheel rim from either side of the valve hole.
Once you’ve measured your wheel rim depth, add 15mm to your measurement, this will ensure you’ll be able to attach a pump to the valve once assembled!
While it is possible to put Schrader valves or a Presta rim, you must widen the valve’s hole to achieve this.
I don’t recommend drilling the hole yourself, as this can damage the structural integrity of your bike’s rim if not done correctly.
In most cases, you won’t have the specialist tools required for the job, and instead of paying someone to drill your rims for you, it may be worth getting some new rims instead.
You can use Presta valves on Schrader wheel rims, but considering they are much thinner than a Schrader valve, they’ll likely be loose, and this can damage the inner tube.
You can get a rim valve hole grommet, which will hold the Presta valve in place and help prevent your inner tube from catching the valve hole.
However, using a grommet still won’t guarantee that the rim won’t wear down your inner tube. So I’d only recommend using a Presta inner tube on a Schrader rim if no alternative is available.
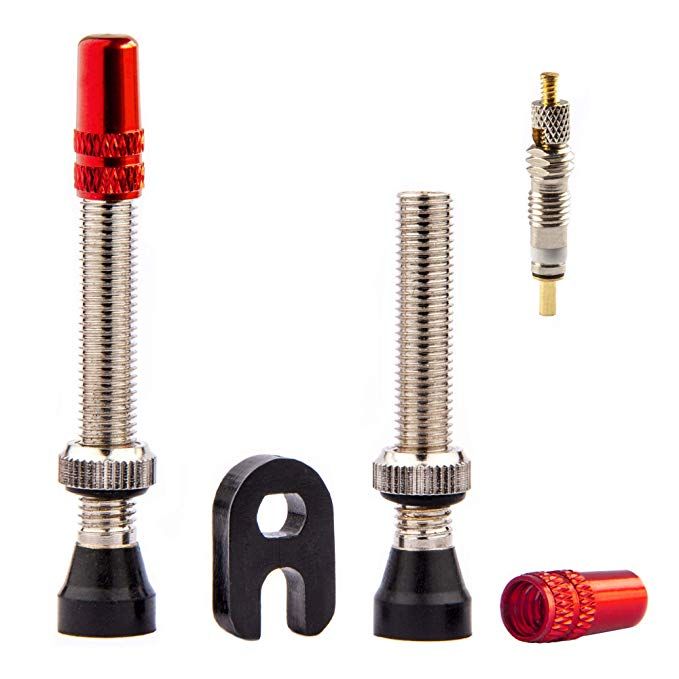
To inflate a Presta Valve with a Schrader compatible pump, you’ll want to get hold of a Presta to Schrader adapter.
Once you’ve got hold of the correct valve adapter, screw it onto the Presta valve, and you’ll then be able to use the Schrader pump to inflate it.
If you only have access to a Schrader bike tire pump, don’t panic.
In this guide, I give a short yet detailed explanation of how you can inflate your Presta tire without an adapter.
All you’ll need is a Schrader pump (with locking capability) and a Presta valve stem cap (dust cap).
Learn this nifty bike hack here.
The valves on your bike are very easy to find! Bicycle valves are short metal tube-like structures that protrude from the front and rear wheel rims.
Don’t get your valves confused with your spokes, though!
If you’re struggling to find your valves, my complete guide on bicycle anatomy will point you in the right direction!
If your Schrader valve isn’t working correctly or you suspect it has a slow puncture or leak, it’s best to run your inner tube through a bowl of water whilst inflated.
If air is escaping from your inner tube, the leak will release bubbles into the water.
If the inner tube itself is damaged, you can get a repair kit to mend it, or if it’s damaged beyond repair, get yourself a new replacement.
If the leak is coming from the valve core and your Schrader valve has a removable core, you can replace the core by using a core removal tool and getting hold of a replacement core.
Hopefully, your bike valve-related questions have all been answered!
It took me a while to put together this detailed guide, so it’d be great if you could leave some feedback below.
If you think something is missing from this guide or if there’s any way I can make the information clearer, let me know, and I’ll make changes so that the content continually improves for the next readers!
If you aren’t already, make sure to use a good quality bike lock to secure your bike.
Whilst a decent lock will cost more money, it’ll be cheaper than replacing a stolen bike!
As always, lock it or lose it.
Ciao for now.
| ||||||||||||||||||||||||||||||||||||||||||||||||||||||||||||||||||||||
| © 2022 NPO Promelektroavtomatika LLC. Founded in 1997 | ||||||||||||||||||||||||||||||||||||||||||||||||||||||||||||||||||||||
Atrac pioneered the design and manufacture of economical high performance engine valves for various applications. We have the capability and capability to design and supply high performance engine valves as per your requirement according to the chemical and metallurgical specifications you specify.
The intake and exhaust valves used in an internal combustion engine are made from different materials to suit different conditions. Intake engine valves are made of silicon alloy steel and exhaust valves are made of chromium-nickel silicon alloy steel (for high temperature and high voltage service). Engine valves are also available with a liquid nitriding process or hard chrome plating, which increases stem surface hardening. With every valve design, we aim to maximize durability through higher fatigue and tensile strength.
3.6 million per year
21/4 N, BI-METAL, EN18 -52
48 to 53
54 to 57
