istockphoto.com
Experienced cyclists know punctures occur frequently, so it’s important to learn how to change a bike tire even if you are a more casual cyclist. When your bike tire is punctured, you may be able to repair it yourself. But if the damage is too extensive, or the tire is already severely worn, then replacing the tire may be necessary.
Typically, bike owners cannot repair large breaks, splits, or punctures with a tire patch kit. Similarly, any significant signs of tire wear, strain, or cracks should indicate it’s time to replace a bike tire. Most cyclists learn how to fix a bike tire to deal with minor punctures and replace one after more severe damage has occurred. If you need a refresher, are new to cycling, or are getting into bike maintenance, then follow the steps below to learn how to change a bicycle tire.
Tools & MaterialsTo access the bike tire, either put the bike on its side or stand it upside down, resting on the handlebars. However, some cyclists avoid placing the bicycle upside down because this position could damage the handlebars or seat. Choose the position with which you feel the most comfortable. Another option is to invest in an upright bike stand that can position the bicycle off the ground while you work. If you are laying the bike on its side, make sure the chain side faces up.
Advertisement
If you are replacing the back tire, then it’s important to adjust the gears to the smallest ring beforehand to make it easier to remove the tire. The smallest ring is the outer gear of the bike.
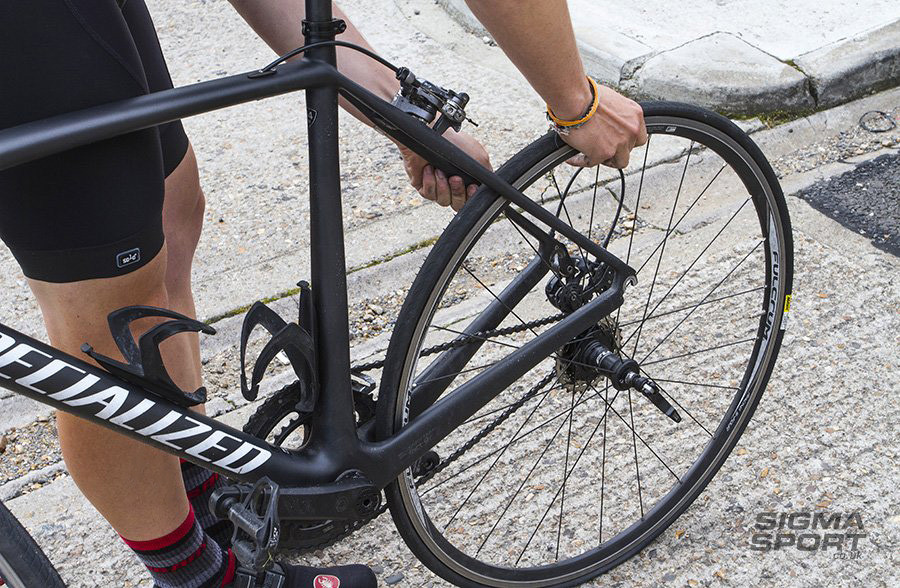
If the bike includes a quick-release lever, it will be located in the center of the bicycle wheel. Loosen and remove the lever by pulling up and turning the lever 180 degrees. Then set it aside for reinstallation. This should free the wheel to allow the damaged tire to be replaced. However, many bikes don’t come with a quick-release lever. If this is the case, then a wrench is needed to loosen the nut in the center of the wheel.
Typically, a 15 millimeter wrench will be the correct size to loosen and remove the wheel nut. Keep in mind that you can also check the bicycle manual or the manufacturer’s website for details on how to remove your specific bicycle tire. Additionally, if the nut is seized, WD-40 or a similar lubricant can be used to help loosen the threads and remove the nut.
RELATED: How to Change a Car Tire Like a Pro
istockphoto.com
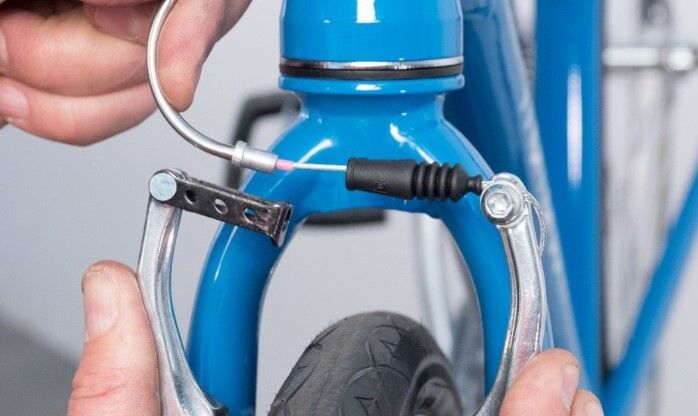
If you attempt to remove the wheel without detaching the brake cables, the force can damage the cables. On some bikes, the brake cables will disconnect automatically when the quick-release lever is removed, but the brake calipers must be squeezed in order to release the cables in most cases.
Don’t forget to lift the chain off of the gears when replacing the rear wheel on a bike.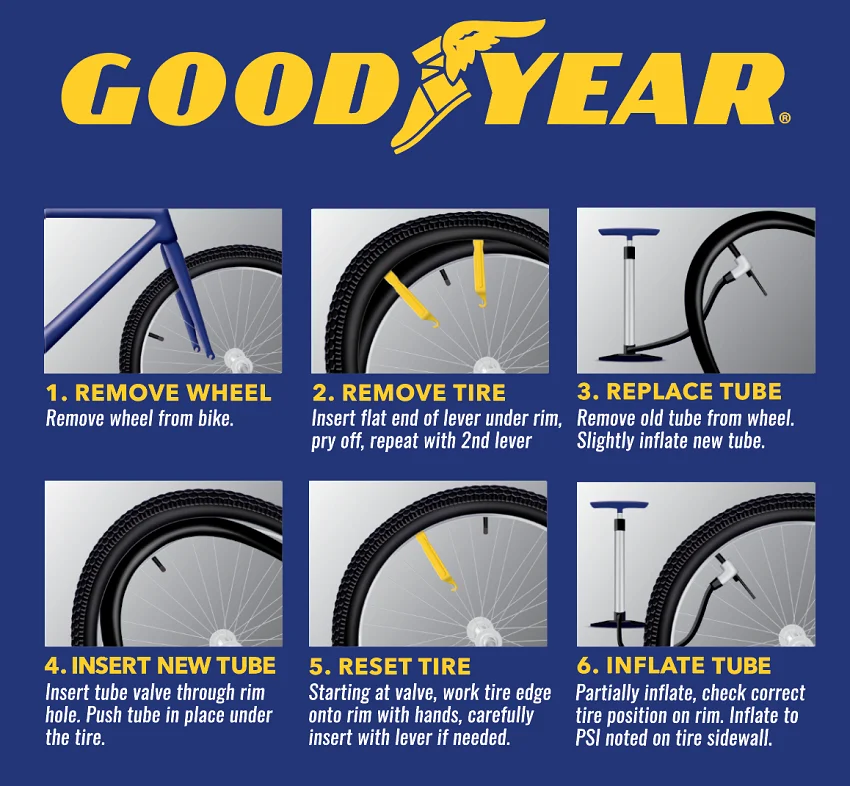 Once the chain and brake cables are disconnected and the wheel nut or quick-release lever has been removed, you can lift or pull the tire out of the forked slot where it usually sits on a bicycle.
Advertisement
To remove the rubber tire from the metal wheel, the tire needs to be deflated completely. Take off the air valve cap and set it aside for reinstallation. Release the air from the tire with a wrench by pressing down on the plunger inside the air valve. Alternatively, your bike may have a Presta valve or a Dunlop valve; these need to be pulled up to release the air.
If the air valve has a retaining nut or lock ring securing it to the wheel’s rim, then loosen and remove the part, placing it with the air valve cap for reinstallation at a later stage in the process.
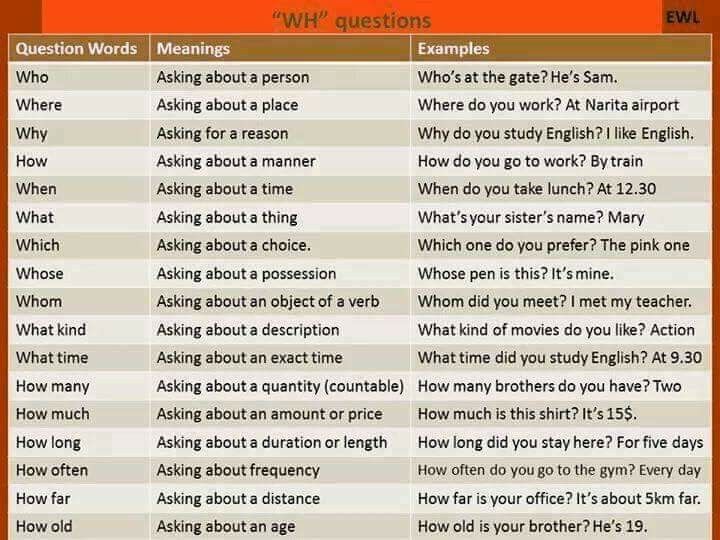
The deflated tire will still be difficult to remove from the rim of the wheel.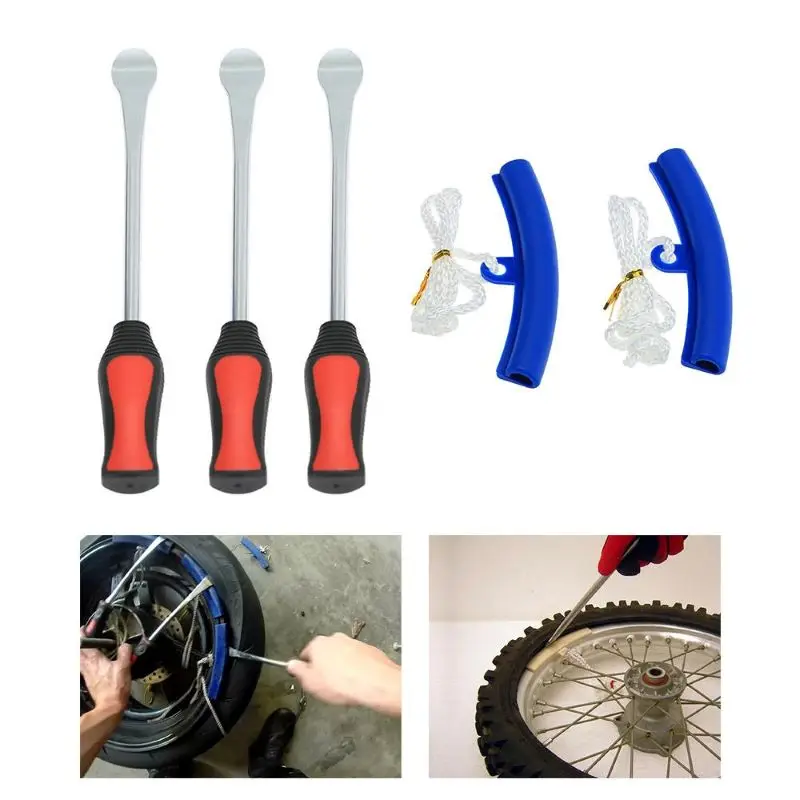 First slide a tire lever between the rim and the tire, then use leverage to pop the edge of the tire up out of the rim. Secure the tire lever to the spokes of the wheel and use a second tire lever on another section of the tire. Work the second tire lever around the rim of the wheel until the entire side is free. This should give you enough space to reach inside the tire and pull out the inner tube.
Once you have removed the inner tube, you should be able to take the tire off the metal wheel by rolling or twisting the tire over the edge of the rim with your hands. Work your way around the outside of the wheel until the tire is free, and inspect it for any serious damage. In many cases, only the inner tube needs replacing, but if there is severe damage to the outer tire, then it will also need to be changed.
Advertisement
RELATED: 15 Clever Bicycle Storage Ideas for Any Space
Take the new tube out of the packaging, making sure to remove the dust cap, lock ring, and valve cover.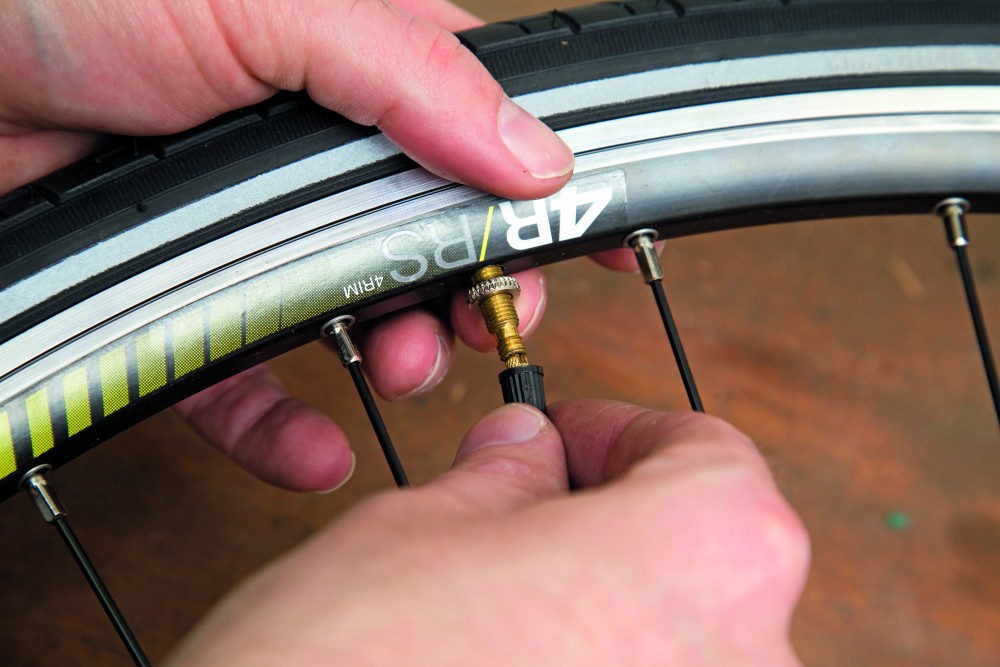 Unfold the tube and check to make sure it has no pre-existing damage, then connect it to a bike pump or tire inflator to add air to the new tire tube. Do not fill the tube all the way just yet.
The purpose of adding air at this stage is to help the tube hold its shape and avoid damage caused by pinching, bending, or twisting the tube while reinstalling it. Put any small parts in a safe spot to make sure that they are not misplaced.
istockphoto.com
Whether installing a new tire or refitting an old tire with a new inner tube, it’s recommended to inspect the inside and outside walls of the tire for any existing damage, severe wear and tear, or sharp objects that could cause additional damage before installing the inner tube. Refit one side of the tire on the rim of the wheel, ensuring the tread is pointed in the correct direction.
Slide the air valve through the valve hole and feed the inner tube into the hollow space inside the tire and wheel rim.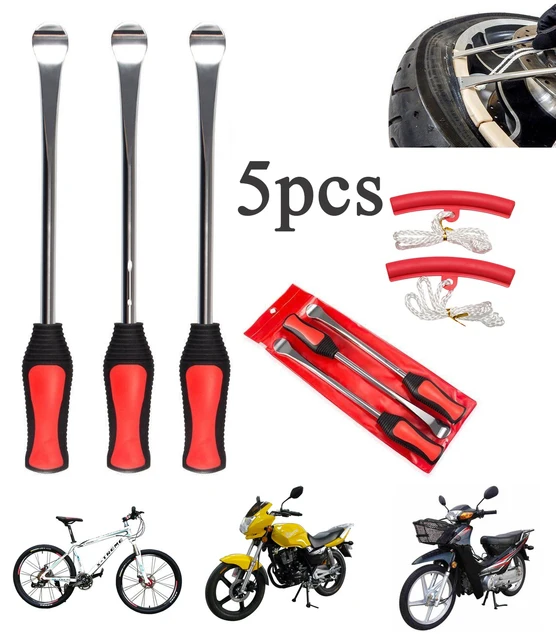 With the tube in place, twist the outer edge of the tire so that it slips into the wheel rim. Try to start near the valve and finish across from it—the tire will be looser in this position. If the tire resists too much, you may need to let some air out of the inner tube or use a tire lever to help position the last section, where the tire is the tightest. Also, remember to reinstall the lock ring or valve retaining nut if your bike has one.
Advertisement
RELATED: 5 Bike Racks to DIY on the Cheap
Use a bike pump or home air compressor to fully inflate the inner tube. If the PSI is not written on the tire, you can refer to the bicycle manual or manufacturer’s website for the appropriate air pressure. Don’t forget to put the cap back on the air valve to prevent accidental tire deflation during use.
Slide the wheel back onto the bike and secure it with the quick-release lever or wheel nut, as applicable. Reattach the brake cables and lift the chain back onto the gears if you replaced the rear tire. Rotate the wheel to ensure it spins freely, then place the bicycle upright and test the repair with a short ride. Make sure to clean up any old parts and dispose of old tires through local recycling facilities. Some bike and car shops also have programs for accepting old tubes and bike tires.
istockphoto.com
Regular bicycle maintenance and proper storage can help keep a bike in top condition over years of ownership. Always replace or repair any tire damage as soon as possible to avoid bending a bike’s wheel. Also, during the repair or replacement process, make sure to keep track of all small parts, like nuts, lock rings, or valve caps. While small in size, their purpose is essential to the bicycle’s function, and losing one during a repair can create another problem needing to be resolved before the bike can be used again.
Advertisement
Updated: Jun. 09, 2022
Next Project›
Family Handyman
Follow these simple steps for replacing a punctured bicycle tube. You can even fix the flat on the go if you have a spare tube, tire levers and a pump.
By the DIY experts of The Family Handyman Magazine
Step 1: Remove the tire and old tubePry under the bead of the tire with one of the tire levers and hook it to a spoke. Move over about 4 to 6 in. and insert the other tire lever. Pry it down and then slide it along the rim to release the tire.
The first step of how to change a bike tire is to release the brake and loosen the axle nut so you can remove the wheel from the bike. Most bikes have a quick-release mechanism on the brake and a quick-release lever on the axle. If you’re not sure how to remove the wheels on your bike, check the manual or visit your local bike store and ask someone on staff to show you how.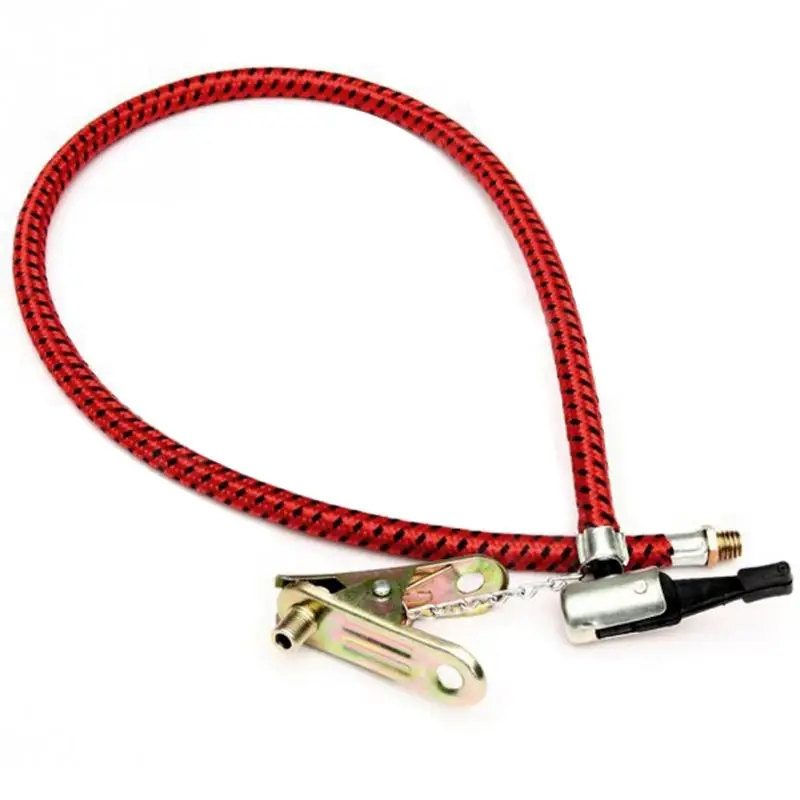 Do this before you have a flat so you’ll be prepared. For a guaranteed trouble-free fix, buy a new tube rather than patching the old one (see “Valve Types” below).
After removing the wheel from the bike, the next step is to take one edge, or bead, of the tire off the rim so you can remove the damaged tube (Photo 1). Pull out the tube. Then remove the tire completely from the rim, put it around your neck like a necklace and turn it inside out while running your fingers along the inside to feel for sharp objects. Be careful, though—there could be bits of glass lodged in the tire.
If you don’t want to walk home after having a flat, here’s a tip: Assemble a tire repair kit like this. A repair kit is one of the most valued bicycle accessories you’ll want. You can put it in a resealable plastic bag and tuck it in a knapsack or buy a small pack that straps under your bicycle seat. Not including the seat pack, the kit cost us about $38.
Step 2: Install the new bike tubePartially inflate the new or patched tube and insert the valve stem into the hole in the rim. Then work the tube into the tire.
Press the bike tire back over the rim, being careful not to pinch the tube. If it’s too tight to push the last section by hand, use the tire levers to pry the bike tire onto the bike rim.
After checking the tire, put one bead back on the rim, leaving the other side loose so you can install the new (or patched) tube (Photo 2).
Photo 3 shows how to push the second tire bead back onto the rim after the tube is in place. When the tire is completely installed, check all around on both sides to make sure the tube isn’t pinched between the tire and rim. To do this, push against the bead and look into the space between the tire and rim to be sure it’s clear.
Now you’re ready to fully inflate the tire. But there’s one last thing to watch for. Occasionally the bead may not seat properly on the rim, so stop before the tire is inflated to full pressure and rotate the wheel while you inspect the area where the tire and rim meet. If you see a spot where the bead isn’t seated in the rim, let a little air out and work the bead into the rim with your fingers. Then inflate the tire to the pressure listed on the side. Reinstall the wheel and spin it to make sure it’s centered between the brakes and rotates freely. If you’ve done an emergency repair using the CO2 cartridge, you may not have enough pressure. When you get home or to a bike store or gas station, fill the tire.
When you go to buy a new tube, take the old tube with you and match the valve. Presta valves have a nut on a threaded shaft that seals the air in and must be loosened to inflate the tube. You need a pump that’s compatible with a Presta valve to inflate these tubes. If you have Presta valves on your bike, keep a Presta-to-Schrader adapter with you so you can use a gas-station air pump to inflate your tire.
Next, check out how to change a car tire.
Originally Published: August 28, 2019
ⓘ
Throughout the life of a bicycle, you will need to clean, lubricate and possibly repair various parts. If you ride often and like to diversify the route, then eventually one or both of your tires will wear out, and the chamber will be blown out more than once due to a puncture. Therefore, it is important to be able to repair the cut, as well as replace the tire and tube.
It won't take you long to learn. The main thing is to carefully and consistently follow the steps below. Trust me, changing tires or tubes is easy.
1. Turn bike upside down with wheels .
You can mount the bike in a dedicated repair stand or hang it with the frame securely fixed. The wheels should turn freely without any resistance.
It can be secured with nuts on an axle that needs to be loosened (usually a cheaper version of the bike).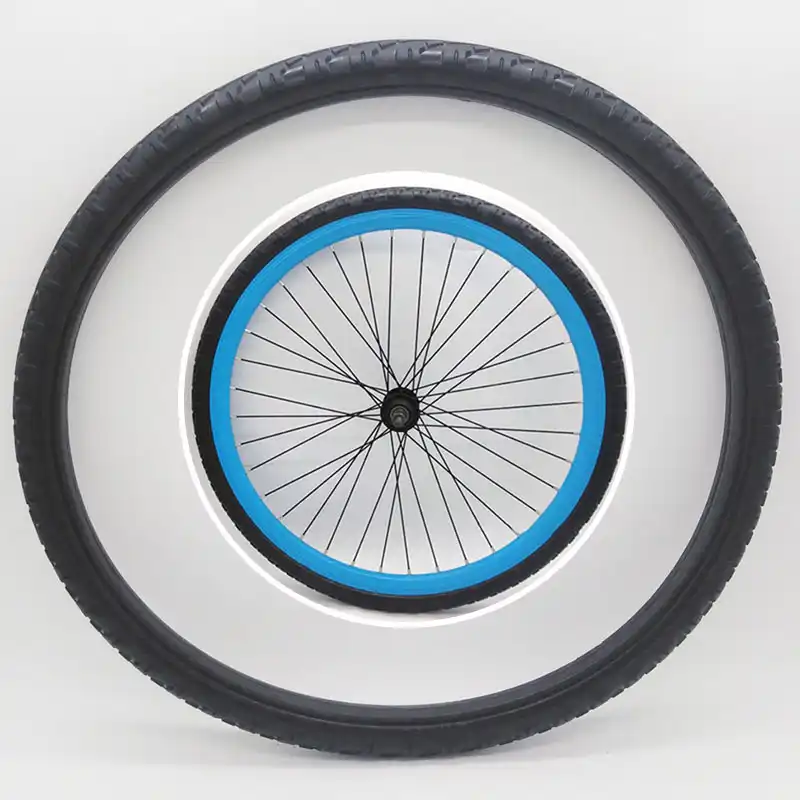
Depending on the make of your bike, the wheel can also be secured with a quick-release lever (eccentric) that needs to be released. Also, there are mounting options directly on the axle, when the axle parts (hex bolts) are directly tightened and thus fix the wheel in the feathers. As a rule, such axles are quite wide, hollow inside and are installed on more expensive models of bicycles (most often mountain bikes).
If you have V-brakes (rim brakes), open the mechanism by releasing the springs. You can also loosen the cable, but you need to remember to fix it after reinstalling the wheel. This is done so that you can remove the wheel, since (when the brakes are working) the pads will hold the tire.
If you have disc brakes, you can remove the wheel without any additional steps.
3. Remove tire from the wheel rim.
Locate the nipple and select a location on the opposite side of the wheel. Using the bead (a tire removal tool that looks like a spoon, spatula), separate the tire from the wheel rim and fix the bead on the spoke. Repeat the procedure with the second bead at a distance of about 2.5 cm from the first. Continue doing this around the wheel until you can completely remove the tire.
Please note that if you need to seal or replace the inner tube, it is not necessary to completely remove the tire. It is enough to disassemble one side to get the camera. This will make the next process easier.
4. Check and clean the inside of the tire for debris.
Look for anything that could cause cuts or punctures. Specifically, spikes, glass shards, and metal shards. After all, often what cut the tire and / or pierced the chamber remains in the tire and can ruin it again.
5. Find holes or cuts in the tire and tube .
To find punctures, you can inflate and submerge the tube in water, watching carefully for air bubbles. You can also do this without water, but only if the puncture is large enough. Otherwise, you simply will not hear where the air is leaking from.
If you clearly see a hole or a wide cut on these parts, then you will most likely need to purchase a new tire and tube. It will be possible to glue only with slight damage to the material. During a puncture, the tire does not need to be sealed at all, since it itself tends to shrink and not expand the hole.
6. For , glue the holes with repair kit .
Take a piece of sandpaper and sand the area around the puncture. It is also desirable to degrease it for better adhesion to the patch. Take a patch and, using glue, patch the puncture. Firmly press the patch and its edges, smooth with your fingers (the back of the screwdriver will work too).
7. Wait a few minutes for the adhesive to set .
Insert the tube into the wheel and inflate to the maximum possible pressure (the value is indicated on the tire).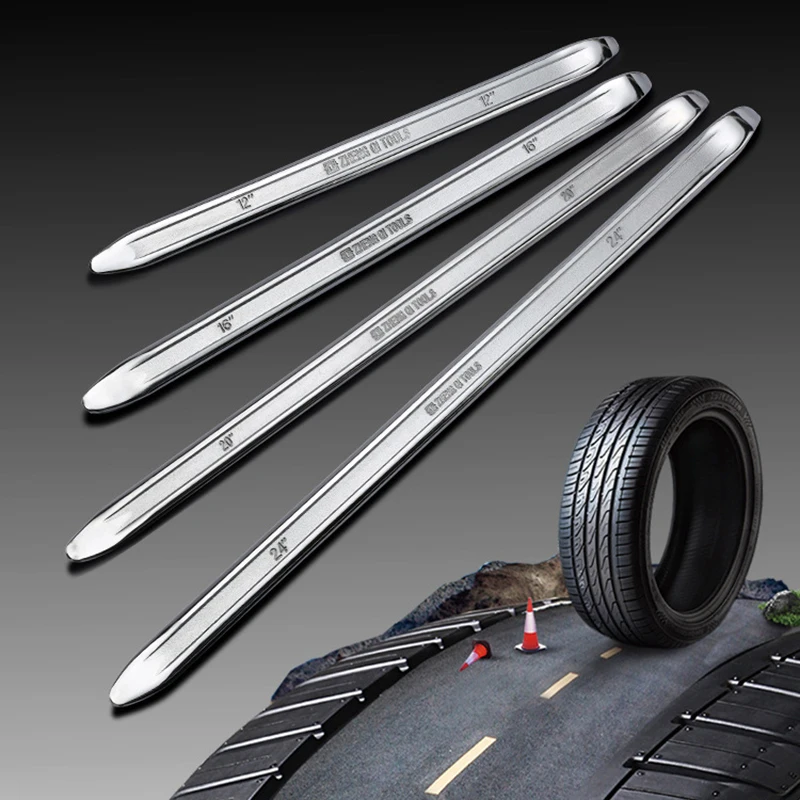 Thus, the tire will press the patch to the chamber, and the patch itself will finally stick to the stretched surface of the chamber, which is what we need. If this is not done, then the patch will dry to the tightened surface of the chamber and may peel off when inflated. When installing the camera, do not forget that it should “lie down” without kinks and twists.
8. W Replace tire if necessary.
If your goal is to replace a tire, then take apart the old one, remove it and take a new one. Insert one side of the new tire into the rim, and bolster the other side with the beads. Often, when installing a new tire, this action can be easily performed with your fingers, without the help of any tools. Make sure your tire fits into the rim, doesn't come out anywhere, and is evenly distributed. Pump up the wheel.
9. Insert the wheel into the slots on the bike fork or stays.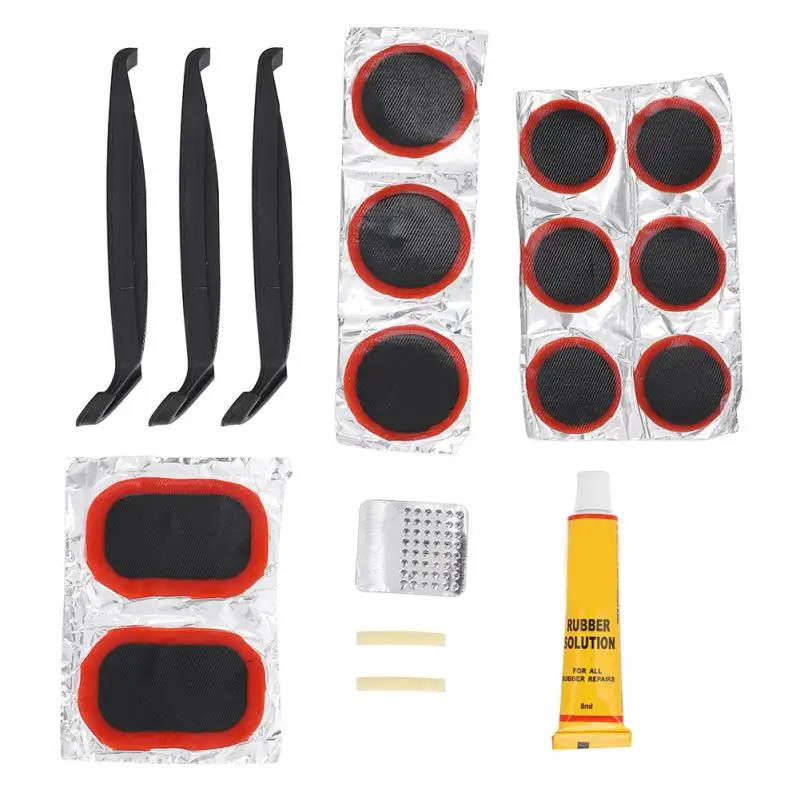
Fasten the axle. Don't forget to fix the brakes!
That's it. We remind you that you can change tubes and tires in the workshop of the Goldenbike store. Stay with us!
Unfortunately, the violation of the integrity of bicycle tires and tubes is far from rare, so the topic of our article today is how to remove a tire from a bicycle wheel and put it back on. To successfully cope with this task, you need to at least superficially know the design of a bicycle tire and know the special terminology. So let's get started.
Bicycle tire includes 4 parts:

Its purpose is to securely fasten the tire to the wheel rim of the bike. The materials for its manufacture are Kevlar (most often), synthetics or steel wire. Steel beading cable - the most budgetary. The cost of Kevlar cables is much higher, they have less weight, they are easy to store when rolled up. Kevlar cable can be taken with you on a trip as a backup. It won't take up much space.
This is its carcass, or base. This element largely determines the strength of the tire. This is a diagonal weave of nylon threads. Weave density is determined by the number of threads per 1 inch. This figure is in the range of 24-130. Naturally, the higher this figure, the better the strength qualities of the tire.
This is a rubber cover. There are two varieties.
 It is used in tourist and city models of bicycles;
 This is the part of the tire that is in direct contact with the road. The performance of tires depends on the tread depth and type of pattern.
Bicycle tires are made from conventional rubber or polymeric materials. Rubber has a better grip on the surface, but in terms of wear resistance it is inferior to the compound. The cost of the compound is lower, but when driving off-road, it has proven itself better than rubber. By type, 4 main types of tread can be distinguished: slick, semi-slick, mountain, winter. Each of them behaves better in the environment for which it was created. Slick on the road, semi-slick off-road, dirt road, the winter tread has a spike for ice.
You may need to remove a bicycle tire in the following cases:
 In this case, the tire is removed, the punctured bicycle chamber is replaced with a whole one, and then the wheel is reassembled;
 If desired, the tire can be removed and replaced without the use of tools (this will be discussed in detail). But, if you follow all the rules, you may find it useful:
To remove a tire from a bicycle wheel, proceed as follows:
 At the same time, try, if possible, to remove the air as completely as possible so as not to touch or damage the bicycle chamber;
 To mount, proceed as follows:
It remains to mount the wheel and apply the brakes. When working with a tire, do not forget that the camera is made of soft and thin material. All actions must be carried out so as not to damage the camera.
The possibility of a tube puncture always exists. The situation when you need to remove a tire can be taken by surprise, so that you do not have any tools with you. It's almost impossible to do this without tools. To replace it, you must have a spare kit if you took it and what kind of tool you still have. By default, we will assume that you still took the wheel repair kit for a bike ride. So, if you don't have montages, how can you deal with this problem?

For a comfortable ride on a bicycle, an important point is the optimal tire inflation. With insufficient inflation, the cyclist has to exert more force while riding, the bicycle tires wear out faster. Over-pumping reduces traction, makes the ride harder, and increases the risk of tube puncture.
To minimize the risk of punctures, look for tires with good side coverage when purchasing. Another indicator is cord weaving. The denser it is, the better the product. A useful device is a special anti-puncture tape located between the tire and the chamber.
Be sure to bring a tire repair kit with you when you travel. This will allow you to quickly deal with the trouble.
To repair tubeless tyres, bikers typically use:
The most common repair tool is a cord harness. This is a nylon strip impregnated with an adhesive compound.