By Gerow
Updated
The random midtrack stones in this trail, near Canazei Italy, left a handful of riders trying to plug punctures in their tires last summer. All photos by Gerow.
This scenario is as common as it is unfortunate: You mount a new tubeless tire and roll out to test it on your favorite track. Maybe you push a little harder than usual through a corner or rock-garden to check the grip. Then you hear it: the ever-dreaded “pang!” of a rock striking acutely against your rim and cutting your tire. You find the hole and realize it is too large for any tire plug to fill. Find a dollar bill or candy wrapper to cover the puncture, tube it, and head on home.
If you’re like me you spend more money than you can actually afford on your bike. People who look at it without knowing you might think you also have diamonds on the soles of your shoes. The truth of the matter is that you paid a good chunk of your weekly salary for that tire, and you can’t afford to buy a new one any time soon. Let’s see if it’s repairable.
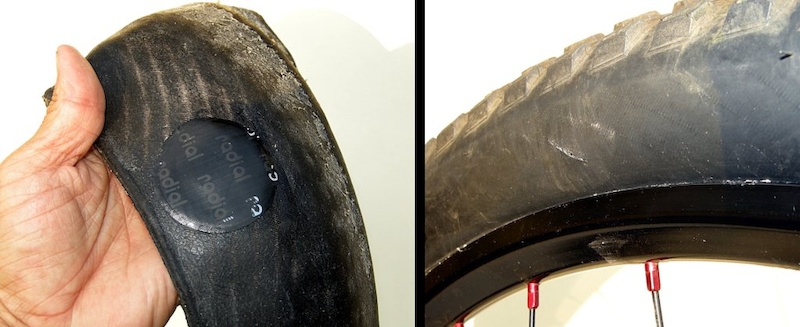
I tried to repair this hole trailside with tire plugs, but even after folding the plug in half twice the sealant couldn’t fill it in. I threw my only tube in and rode delicately for the rest of the day.
Once you’re back home, remove the tire and tube, drain any remaining latex, and mark the location of the puncture on the inside and outside of the tire. This will make the hole easier to locate. Place a piece of tape on the outside of the hole as a waypoint for later.
Clean the inside of the tire where the puncture is with dish soap and water until there is no sealant left near the hole. Depending on your chosen sealant, this may require some hefty elbow grease.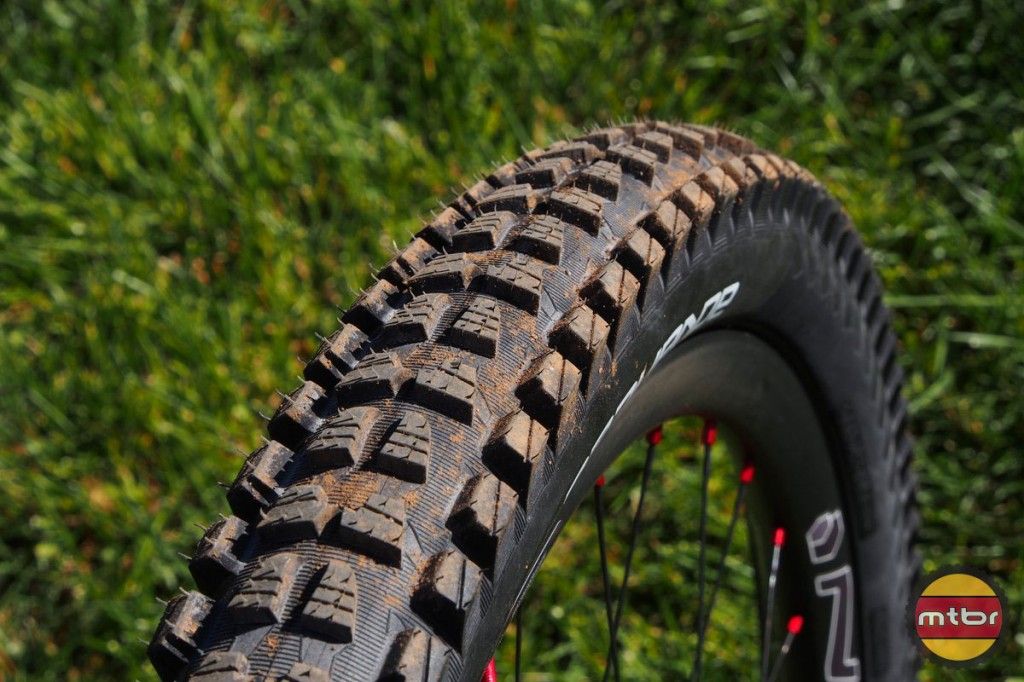 Clean about a 5cm (~2in) radius around the hole to give yourself plenty of room to work with. Once you have a nice clean circle around the hole you will want to wipe the surface with rubbing alcohol to remove any leftover soap or oils.
Take a piece of fine sandpaper or a ball of steel wool and rough up the cleaned area. Sand the tire until all of the clean surface is dull and marred with abrasions, but not so much that you start making the tire thinner.
This next step is a bit subjective, depending on the size and location of the hole in your tire. If the hole is too large for a tire plug to fill, you have some work to do. Try the following steps.
 Pump the tire slightly higher than the pressure you prefer to ride with so that you will be able to see how the hole reacts with weight and impact pressure. If the patch is not bulging out of the hole when you put your weight on the bike, and the hole remains mostly closed, you are ready to ride. Remember that this is a repair to save your tire and some cash, and may not result in the tire performing as well or lasting as long you had hoped.
Sandpaper, epoxy, and a chunk of old tire.
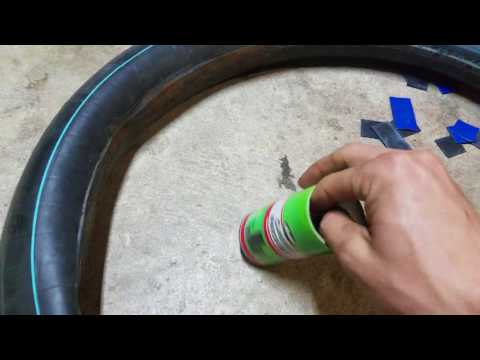 I like to cut a piece from the center of the old tire’s tread, as that is the strongest part. After making sure that the initial inner tube patch is still securely glued, and the surface is re-sanded and clean, slather a healthy layer of epoxy on the non-tread side of the chunk of tire and glue it over the area where the hole is. Keep applying pressure to the whole tire chunk until it is fully dried. Most epoxies have minimum temperature requirements and drying times, so be sure to read up. Once the epoxy is secure and dry, re-mount the tire as before.
The finished product. Knowing that I will ride this particular tire for at least another six months, I opted for the burly fix.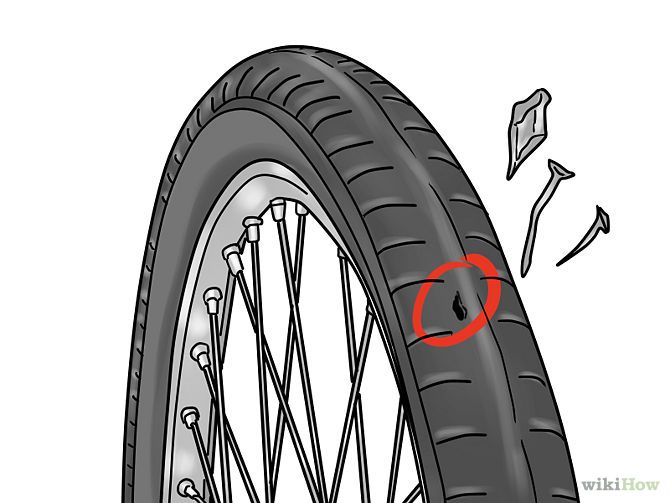 I tried to capture the puncture in a photo after re-mounting the repaired tire, but there is nothing to see. The hole is no longer visible, and the tire maintains its shape where the patch is.
BONUS TIP: If your tubeless setup is leaking air at the valve, wrap the base of the valve in PTFE tape (aka plumber’s tape) before inserting it in the rim. The tape will compress and seal any small gaps.
The above may seem desperate, but I have patched tires that rolled through an additional year with these tricks. If your tire still has tread life left when it tears, it’s likely worth trying to fix.
This Sardinian goat has rock protection sorted out.
If you have other tire repair tactics, please share them in the comments below.
Singletracks may receive compensation for purchases made through any affiliate links in this article.
While a tubeless setup is certainly less likely to puncture than a tubed tire, there is still a possibility for air loss.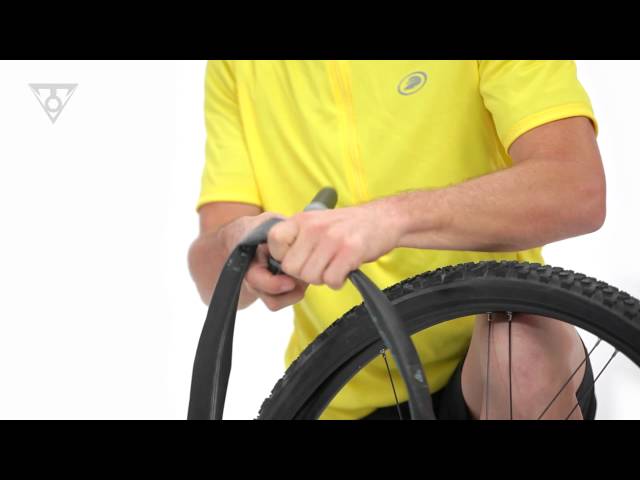 Therefore, you should be prepared with the correct knowledge and tools to fix a tubeless puncture on the trail and at home. Here are the most common tubeless issues you might encounter and how to fix them!
Never heard of tubeless? In our ultimate guide to MTB tubeless, we explain everything you need to know about tubeless setup, tires and much more!
There are a host of different scenarios that lead to a puncture or air loss on the trail but in the end, you always have one goal: seal the system so it can hold air again. With a tubeless setup, this job is often quickly taken care of by the sealant, meaning small thorns etc aren’t that problem. IMPORTANT: renew your sealant every 6 months (or every time you change a tire) to make sure it is able to work as effectively as possible.
Luckily, tubeless punctures are relatively rare. However, if you do find yourself with a deflated tire this guide will help you get back on the trail ASAP! We also recommend carrying a spare tube, just in case!
Depending on the severity of the problem, fixing a tubeless puncture can take less than a minute with the right tools. You will need a mini-pump (or Co2 cartridge and inflator), a tubeless tire plug set (click here to read our tire plug group test), a tire patch and a tube for the worst case. Luckily, it is possible to store all of these tools without needing to wear a backpack. They will easily fit into a hip pack (we tested 24 in a big hip pack group test), or even on your bike.
Fixable on the trail? Yes
Time needed for repair: 1-5 minutes
This kind of puncture is caused by small thorns, sharp rocks or nails etc on the trail. It is probably the most common tubeless puncture, and luckily also one of the easiest to fix. In fact, you might have already punctured on the trail without realising, as the tubeless sealant in your tires often seals these small punctures immediately. If, however, the hole is too big for the sealant to fix on its own – often caused by a pinch flat – you will need a tubeless plug kit. The first step is to find the hole (or holes) and wipe away any surrounding dirt. If you are riding in a group, ask a buddy to keep their finger over it to minimise air-loss. Then, quickly thread the tire plug through the plug installer.
Depending on the size of the hole and the plugs, there are two techniques to plug the tire. For smaller punctures, push the plug into the hole until it fully disappears inside the tire. Then carefully pull the installer out, until 5-10 mm of the plug is visible. Use your fingers to hold the plug in place and remove the installer. If you are sealing bigger punctures with larger plugs, push the plug into the tire just over halfway, so that a “V” shape is left, and remove the installer.
Once the plug is installed, spin the wheel to let the sealant coat the tire and re-inflate if needed. In our experience, if installed correctly, tubeless plugs can last the lifetime of the tire and do not need to be removed. However, it is worth trimming the exposed plug to prevent it from ripping out under heavy braking.
Fixable on the trail? Yes
Time needed for repair: 1-5 mins
You’re flying down the trail, pushing around a tight berm and suddenly hear a loud “braaaap”! Your rear tire is not leaking, but it has definitely lost air… What happened?! You have rolled the tire so hard across the rim that the tire bead has pulled away from the rim, briefly letting a lot of air escape, before popping back in place and closing the gap between the rim and tire. In short, you have burped a tire. There are two possible causes: either you were running very low tire pressure, compromising your tire’s stability or you just hit the turn really really hard. Either way, the fix is simple. All you have to do is re-inflate the tire and keep riding. We recommend checking out our Tire Pressure Guide to find your perfect pressure and prevent burping in the future. You should also top up your sealant before your next ride, as you most likely lost some during the burp. If you burp on a regular basis, even with high tire pressures, you are very likely running a tire that is too wide for your rim width.
Fixable on the trail? No, install a tube and fix at home
A cut sidewall is usually caused by long, sharp rocks which cut a long slit into the tire. These punctures are too big for tire plugs and sealant to seal. Your only option is to install a tube and ride home. If the cut is really big, try protecting the tube by sticking some tape or plastic etc in between the tire and the tube. Depending on the severity of the damage, you can try fixing the tire at home by thoroughly cleaning the tire inside and out, roughening up the inside of the tire with sandpaper and applying a tire patch with vulcanising glue. Otherwise, the tire is a write-off.
Fixable on the trail? No, install a tube and fix at home
Time needed for repair: 20+ mins
If a spoke punctures through the tubeless rim tape, you will quickly start losing air through the spoke holes. Unfortunately, there is no easy fix and you will have to install a tube to get you home (make sure the spoke is not protruding into the rim bed!). In order to fix the issue at home, remove the tire and the rim tape and clean the rim thoroughly. If spoked snapped, replace it… Make sure you know why the spoke punched through the tape: check for even spoke tension and make sure your rim is an intact running true. Re-tape the rim (with new tape) and set up tubeless. Check out our Ultimate Guide to Tubeless for everything you need to know!
Fixable on the trail? No
If your rim is damaged and leaking air, it’s time to (carefully) head home.If you have dented your rim and it is losing air, the only option is to install a tube and carefully ride home. Make sure to thoroughly inspect the rim first – if the damage is too bad you will have to walk back.
Fixable on the trail? Likely
Time needed for repair: 5-10 mins
If your valve is leaking, try tightening the lock-nut that holds it in place. Sometimes they rattle loose, causing the leak. Admittedly, we all have bent or somehow messed with our valve core trailside. When releasing air for example… If your valve core is broken, no need to panic. You often carry one around inside your spare tube without even knowing! Remove the core from the spare tube, carefully remove the one from the tubeless valve (this will let all the air out of the tire) and install the spare valve core. Pump the tire back up and ride on.
Are you doing everything right, yet still ending most rides in deflated disappointment? You are probably running the wrong tires! Luckily, we have put together a massive tubeless MTB tire group test, so you can find the perfect tire for your bike!
With the correct setup and tire choice, tubeless punctures are very rare. However, if you are caught off-guard and puncture, we hope the tips above will get you back onto the trail ASAP. Tubeless punctures are not scary, and definitely not a reason to stick with a tubed setup. Remember, you can always install a tube and ride home!
Did you enjoy this article? If so, we would be stoked if you decide to support us with a monthly contribution.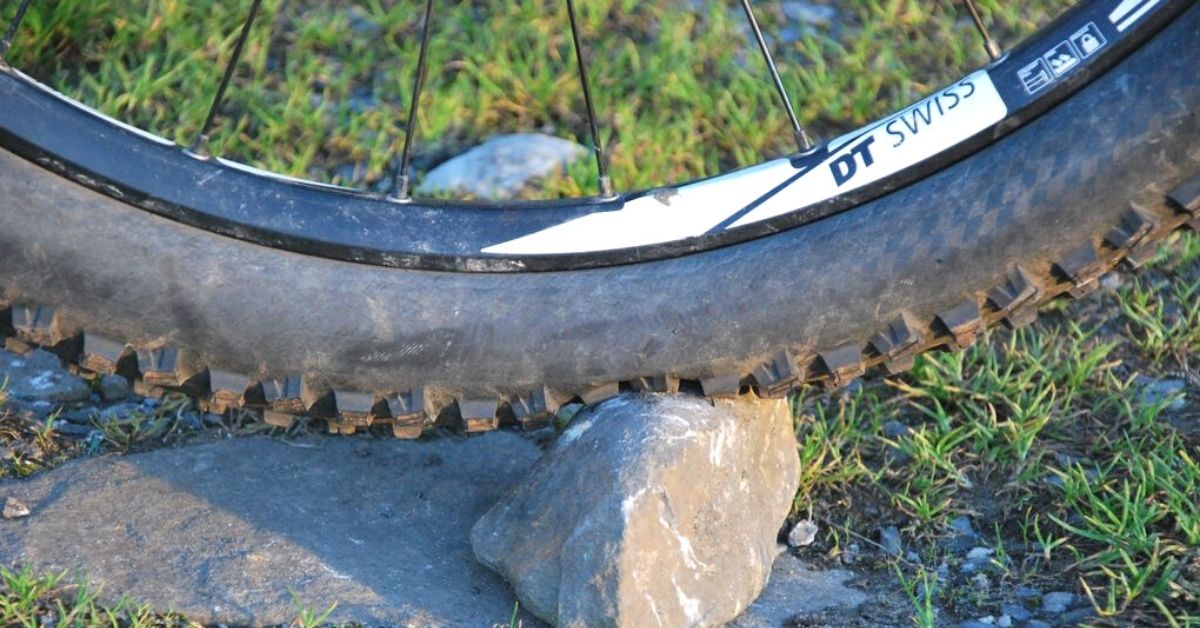 By becoming a supporter of ENDURO, you will help secure a sustainable future for high-quality mountain bike journalism. Click here to learn more.
Words: Finlay Anderson Photos: ENDURO Team
Contents
First of all I need to give some advice to those cyclists who find this article on the Internet, but they do not have anything with them: no repair kit, no bike first aid kit.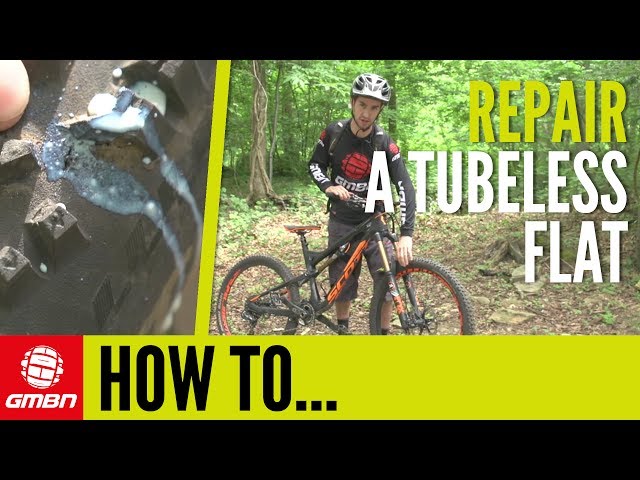 If there is absolutely nothing to glue the wheel with, then you can continue the journey, however, with some precautions.
Tips if there is nothing to repair the camera:
 But in order not to burn with shame, looking friends in the eye, it is better not to do this.
 So, every self-respecting biker should have a repair kit in order to seal the wheel properly. Moreover, its weight and volume is very small. Recently, very small and convenient bicycle first-aid kits have appeared that do not require rubber glue, and therefore time. Plugged it in and went. It used to be, in Soviet times, that you first had to coat the chamber with rubber, wait for it to dry, then apply it again ... Currently, you can glue a bicycle wheel very quickly.
What you need to take with you to seal the wheel on the bike:
Fitting kit. Ideally, you need to have three pieces, with skill you can get by with two. As a child, I had to make do with a spoon, which is very convenient in order to "hook" the camera.
Pump. If there is no pump, then everything else is in vain. You don't have to spend money on a pump.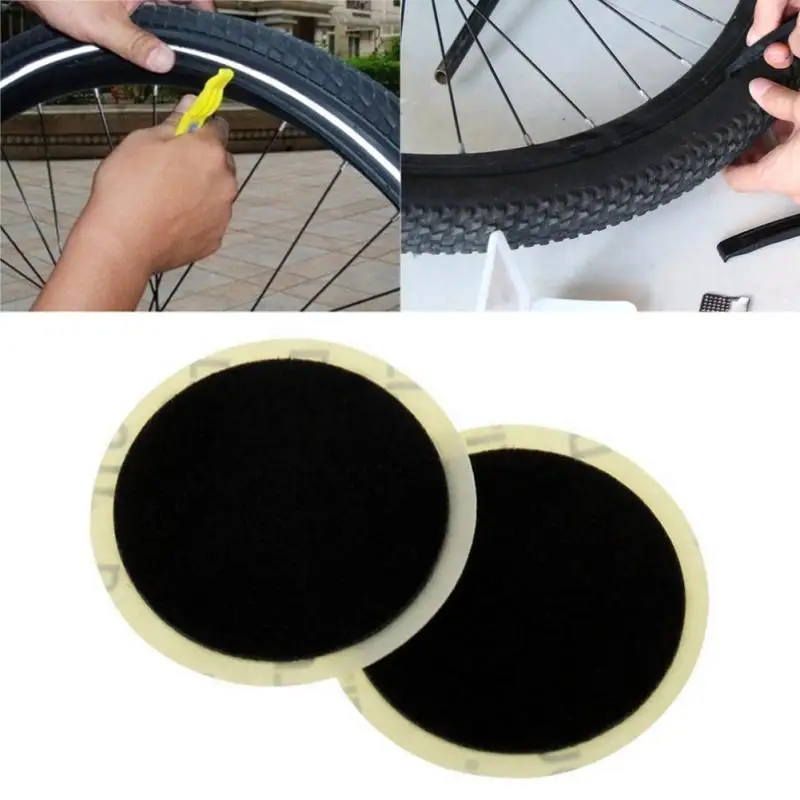 Years of experience show that the best, compact, lightweight and reliable folding telescopic pumps are made in Taiwan, the Philippines and Europe.
Russian pump manufacturers, even under the conditions of the “import substitution” policy, produce a miserable semblance. Our pumps are disposable products that allow air to pass through, which must be held with both hands, etching from a cable that does not screw on the valve, and if screwed on, then only once due to poor quality steel.
Bicycle patches. Usually they are included in the set and are both round (for punctures) and oval (for tears). In extreme cases, you can cut them yourself. In this case, you will need rubber glue. Modern kits include self-adhesive patches.
Tip: use the same old tube as a source of patch rubber. In this case, the curve of the rubber will ideally fit the curve of the chamber. In the event that you find flat patches, you need to glue them well around the edges, and when installing, make sure that they do not come off.

Metal mesh, sandpaper. With this tool, you will need to clean the chamber to give the rubber a velvety finish for more precise grip, as well as for degreasing. A 2x2 cm piece is enough.
Rubber adhesive. With its help, the rubber of the chamber is first primed, and then gluing occurs, that is, it is used twice. Glue, as well as self-adhesive patches, must be checked before the start of the season. Otherwise, you may find yourself in a situation where sealing the camera is simply impossible, since everything has dried up.
What kind of glue can be used to glue the camera, except for rubber? The masses have tried everything: from cyanoacrylate and Moment glue to epoxy resin, which is capable of pouring everything tightly. It is best to use rubber glue because of its affinity for the camera material. Cyanoacrylate and epoxy make the material brittle and unreliable joints.
In addition, rubber glue is inexpensive, sold in miniature tubes, which are enough for the whole season.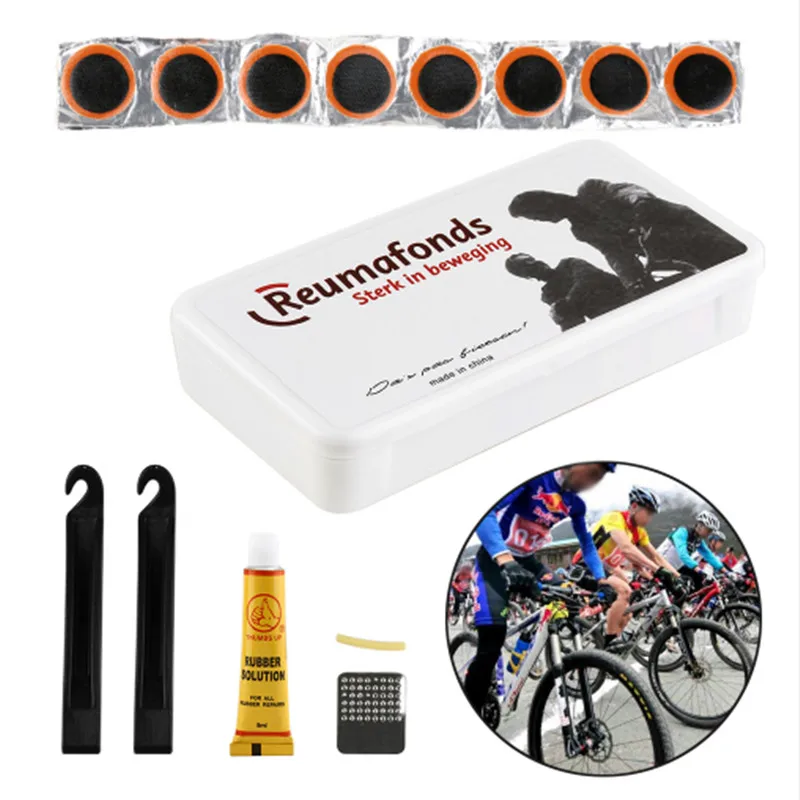
These are all the basic tools and accessories to be able to comfortably seal the bicycle tube.
Tip: you can take a small bicycle handle and a small bottle of water if you are not bringing liquid to drink. This is useful to make it easier to find the puncture site. In addition, a LED headlamp will not hurt, which the cyclist should always have in case they have to do something on the route at night.
It's time to practice. We present the complete algorithm of action. Let's try to be brief, because sometimes there is so much written on the Internet...
 Many advise starting next to the chamber valve, many on the opposite side. The second method seems to be preferable, since at the beginning of the tire removal process, lateral loads are possible and the valve can simply be torn off, especially if it is at an oblique angle to the rim plane.
If there is no water source, you can bring the camera to your face. The most sensitive place is the lips. If you bring the camera to your lips, and even pre-wet them, you will feel the lightest breath.
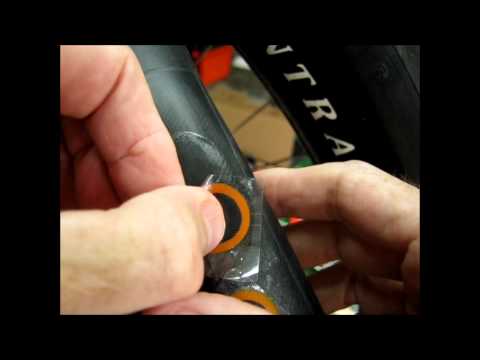
If you have rubber adhesive, you need to follow the instructions: first lubricate the cleaned area, wait a few minutes and press the patch. This wait is necessary so that the glue is thicker, and the patch does not move relative to the puncture.
That's actually all that can be said about the repair of the bicycle inner tube.
In conclusion, we can say that even an experienced biker cannot always avoid a puncture. A detour of planks, sparkling fragments is possible if they are visible. But it happens that a lone screw stands on a hat, lost in the mud, and a puncture is inevitable. In the most annoying cases, in one trip, you can puncture two wheels on a bicycle at once, having run into the same obstacle.
views 30108
If you don't know how to seal a bicycle inner tube, then everything is quite simple - you only need glue and a patch. But wrenches, hexagons, disassembly, a container of water and a vise will also come in handy. The set is enough, so you can carry out repairs in any conditions.
Do-it-yourself repair of the bicycle chamber is carried out according to the following algorithm:
 Then the film is removed from the patch, the adhesive is applied. It is pressed to the puncture site and held for several minutes;
 Sealing a bicycle wheel tube is easy - just remove it, patch the puncture site with a patch and put it back in place.
How to seal the bicycle inner tube with a repair kit is understandable, but what to do if it is not there, but repair is necessary? For example, a patch can be made from any rubber. Any glue is suitable, but the main thing is not to choose industrial.
There are also critical moments. In some cases, it is necessary to close the hole without glue and without removing the wheel. The patch is applied so that when inflated, it is pressed with strong pressure. But in this case, you need a pump.
If you don't have a rubber patch, a dampened plastic bag or duct tape will do, but only if you don't know how to seal the inner tube of your bike to get home, because the wheel won't withstand heavy loads.
Another option is vulcanization. This requires special tools, but the result is reliable. The point is that the patch and the camera are pressed against each other. Thanks to heating, both elements form a single whole. Before you seal the camera at home, think about vulcanization.
Even if you know how to properly seal a bike inner tube, it's worth learning how to avoid a puncture.
One of the most interesting options is cameras that can be sealed by themselves. Resin or a special gel is poured inside. When a breakdown occurs, the substance flows into the puncture point and seals it. In this case, it will be possible not to think about repairs for some time, but it will still have to be done sooner or later.
It is worth following a few simple recommendations to prevent a puncture: