Anyone who has been riding bikes for a while can tell you that sooner or later, you’re going to get a flat. Even with tube sealant that prevents flat tires for up to two years, it’s just an unavoidable occurrence. When flats occur, the best thing you can do is be educated and prepared to patch the tube so that you can quickly get back on the road. Let's get started:
Materials NeededConsider these different flat tire scenarios: The at-home repair scenario where you're walking your bike into the garage and notice that the back wheel is sagging a little bit—you have a flat. Or, the on-the-trail repair scenario where 20 miles into a 50 mile ride, you go down hard on a rock and get a nasty pinch flat.
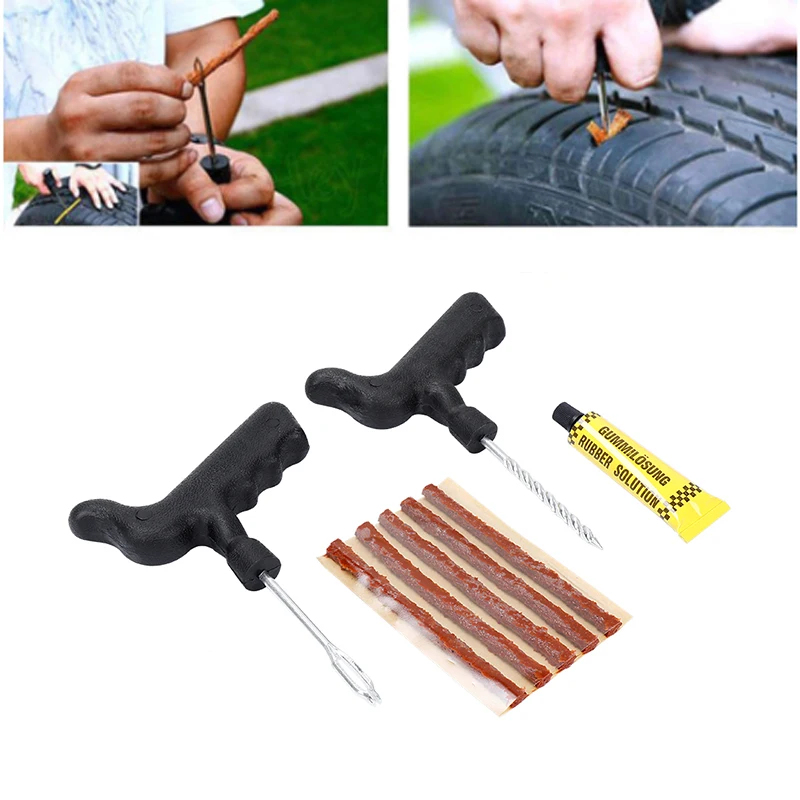
We’re going to walk you through some of the materials you’ll need for either situation, and then how to use them for both. Here’s a list of some things you will need to repair your tube.
Follow these 4 easy steps to patch your bicycle tube and repair your flat.
Step 1. Remove Your Tire
Take your tire lever and hook it around the outer edge of the tire (the bead) to get it off of the rim. Once you have the tire lever under the tire rubber, hook the other end of your tire lever around one of your spokes to keep the tire elevated. With a second tire lever, work your way around the rim, taking the tire out of the bead until one side has been completely removed from the rim.
Step 2. Find the Leak
If the puncture or gash in your tube is not easily apparent, you’re going to need to fill the tube back up to locate where the air is escaping from. There are a couple of different ways to find the leak. The layman’s way would just be to run your hand along the tube and try to feel it out.
The bucket of water method that we mentioned earlier, however, is a more accurate way. If you’re at home, fill your sink or a large bucket full of water and submerge each end of the tube. Watch for air bubbles escaping from your tire to locate your problem area.
Make sure you submerge each side, as there may be more than one puncture. Be sure to check the inside of the tire to make sure that the puncture-causing object has been removed. Once located, mark that spot with your tire marking chalk.
Step 3. Patch the Hole
When patching the hole in your bicycle tube, make sure that the area around the puncture is clean so that the patch will stick. Using the scuffer from your patch kit (sand paper or emery paper will also do the trick), rough up the area around the puncture so that your adhesives have something to grip.
If your patches don’t require glue, simply press them firmly over the hole. For patches that do need glue, add a layer of glue and spread it evenly around the area. Wait for the glue to get a little tacky, and then press on your patch. If you have the materials available to you at home, some cyclists will sprinkle talcum powder on top of the patch so that that patch/adhesive doesn’t stick to the inside of the tire.
Step 4. Put It All Back Together
Put a little air into your tube and then put it back in the tire, making sure, again, that there are no foreign objects remaining in the tire. Be sure to insert the tube and tire back into the rim using only your hands, as the tire levers may pinch the tube and cause another flat (we certainly don’t want that after all your hard work).
Once you’ve pushed the tire back in and the valve stem is securely inside the tire, inflate your tube back to maximum pressure, being sure to check the tire one more time to make sure that the bead is installed snugly. Ready to ride!
in: How To, Skills
Brett & Kate McKay • May 26, 2022
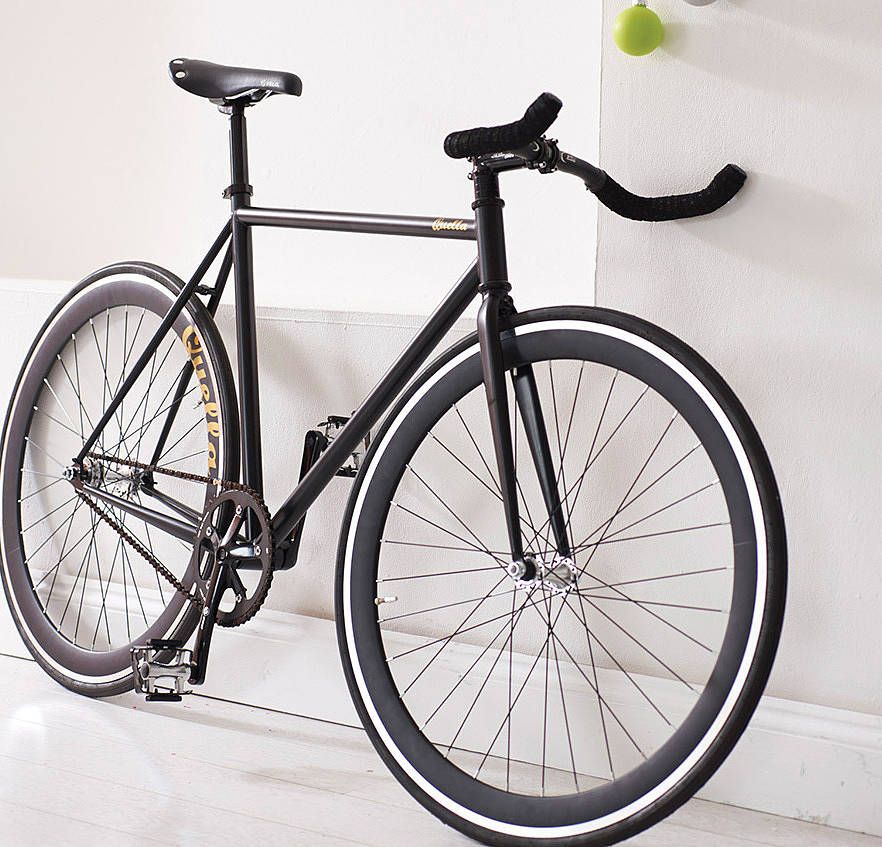
The bicycle is one of the greatest tools of self-reliance.
Without any need for electricity or gas, it can carry you far distances.
But bikes only work towards your self-sufficiency if you know how to maintain them. They may have fewer complications than an automobile, but they’re still machines that can break down and need to be repaired.
Several years ago Kate and I bought some bikes for ourselves (our kids already had them) so we could take family rides on Tulsa’s many pleasant bike paths. But I realized that I didn’t know beans about how to maintain our new purchases. If one of us got a flat tire, I wouldn’t know how to patch it. If my brakes were acting wonky, I’d be hosed.
So I set out to learn some basic bike maintenance and repair. It’s been fun. I thought I’d share what I’ve learned with you all in a new series: Bike Maintenance 101.
In today’s inaugural class, we’re kicking things off with how to patch a hole in your inner tube. I remember watching my dad patch a hole on one of my bike tires as a kid.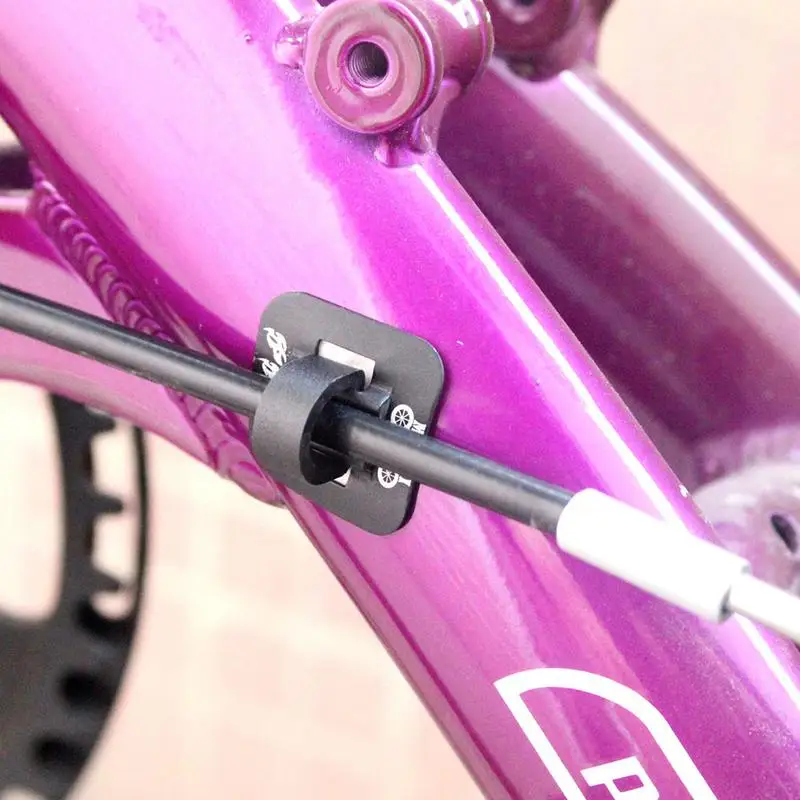 It looked like a huge pain in the butt. But I learned that it’s surprisingly easy. Here’s how to do it.
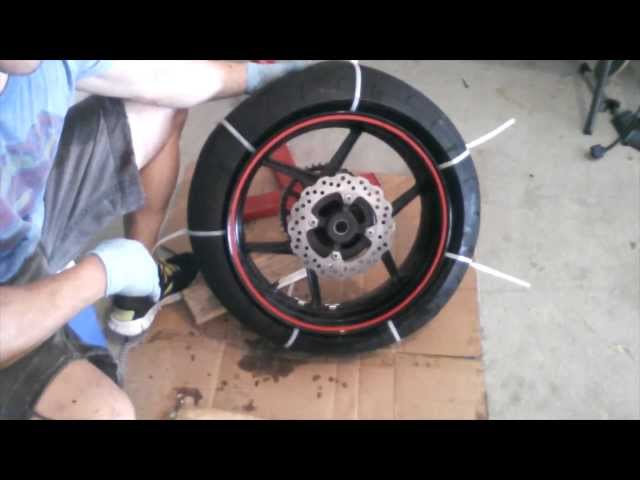
Let’s get that wheel off so we can get to our flat inner tube.
I like to flip my bike upside down. It makes it easier to work with your wheel. I don’t have one of those fancy bike holders you use to work on your bike.
Getting wheels off a bike is a breeze with today’s quick-release systems. It’s pretty much the same for all bikes. The only difference you’ll encounter is how you’ll disconnect your brakes. That will depend on what type of brakes you have on your bike. Here’s how I removed the wheel on my bike with v-brakes.
It’s really easy to disconnect a v-brake. You squeeze the two brake arms together and unlatch the cradle from the noodle (that’s the thing with the rubber tip on it).
Flip the quick-release lever open and unscrew it until you have enough space to remove the wheel.
You don’t have to take the quick-release rod out of the hub, but if you want to, that’s fine. I think it’s easier to work with the tire without the quick-release rod still in the hub, so I take it out.
Wheel removed!
Time to get the tire off the wheel so we can get to the inner tube. Tire levers will make this job much easier. You can buy them on Amazon. They’re cheap.
Place your first tire lever between the wheel and the tire. You want to get the lever underneath the lip of the tire so you can pry it away from the wheel.
To keep the lip of the tire from going back into the wheel, hook the tire lever into one of the spokes. This will keep your tire and wheel separated, making it much easier to get the rest of the tire off of your wheel.
Place the second tire lever next to your first tire lever. Get it under the lip of the tire. You’ll slide this lever around your wheel to separate the rest of the tire from the wheel.
Here’s what your tire will start looking like as you slide that second tire lever around your wheel. It’s hard at first, but gets easier as you progress. As you can see, more and more of the tire lip is over the rim of the wheel.
Tire successfully removed from wheel. Now it’s time to remove the inner tube from the tire.
Inner tube will be tucked inside your tire. Just pull it out.
There’s the hole.
Get your patch kit.
Inside my patch kit is a metal square that has a bunch of little bumps on it. It’s almost like a cheese grater. Use it to lightly scuff up the area on and around the hole. If you don’t have a little metal cheese grater in your patch kit, you can use sandpaper to prep your patch area. The scuffing will give greater adhesion to the patch.
Use a moderate amount of rubber cement. Spread it evenly around an area 1/2″ around your hole.
Pick an appropriate sized patch for your hole. Since mine is so small, I used the smallest patch. Remove the foil backing and stick patch onto the hole.
Peel away the plastic film on top of the patch. Press edges down firmly. Bam! Hole is patched.
Inner tube back in tire.
Tire back on wheel. Getting the tire back on the wheel can be a bit tricky. You may need to use your tire levers to help you get the lip of the tire inside the wheel’s rim. Just make sure you don’t pinch your inner tube between the tire and the wheel. You’ll risk creating a puncture in your inner tube. Once you get your tire back on the wheel, inflate your inner tube and then put your wheel back on your bike.
You can patch your inner tube a few times and not have a problem. If you have more than three patches, you might start noticing that your tire goes flat overnight and you have to pump it up if you want to use it. After your third patch, chuck your old inner tube and replace it with a new one.
Want to start taking action on the content you read on AoM?
Join the Strenuous Life
Learn More
Top 5 articles
The frame is the basic structural element of the bicycle, on which all other parts are mounted. Equipped with one or two pendants. It is designed for the intended use of the bike and reflects the style of riding constructively. Materials for manufacturing
The frame is the basic structural element of the bicycle, on which all other parts are mounted. Equipped with one or two pendants. It is designed for the intended use of the bike and reflects the style of riding constructively.
Bicycle injury problems can result from incorrect assembly or disassembly techniques, careless driving, accidental accidents. In case of severe damage, it is necessary to repair the bicycle frame in a special workshop.
Repairing this type of damage starts with disassembling the bike. First, both wheels and the saddle are removed, then the fork is disassembled, and the connecting rods are removed from the carriage shaft.
Minor pipe bends can be straightened out. This requires a specially made steel mandrel. Rigid metal frame tubes are not always straightened. The bent sections in this case are heated by a blowtorch burner. After straightening the pipes, the frame is checked for alignment. If a deviation of the seat or head tube from a single plane is detected, it is necessary to eliminate the misalignment. This is done using a vise and a steel mandrel.
Deep cracks, breaks and breaks are repaired in a more complex way. This work uses welding.
Despite the structural advantages and the expected long service life, carbon frames suffer damage under certain conditions.
If you have similar problems, please contact us. In our bicycle workshop you will receive a qualified repair of the carbon frame of the bicycle using the most modern technologies and equipment. We will help you not only fix the problem, but also prevent it. We always have in stock the necessary repair kits, carbon fiber, hardeners, resins and a special anti-gravel film to protect the frame from damage.
To place an order, call +7 (495) 123-22-23 in Moscow and +7 (812) 309-87-07 in St. Petersburg or leave a request on the website.
0169
Some faults can be prevented, for example by setting protection. Read more about this in the article "How to choose the protection of the main components of a bicycle." And here - about how the bike works.
The bike needs regular maintenance, especially before the start of the season. Static parts (bolts, bushings and connecting rods) periodically become loose. The undercarriage needs to be cleaned and lubricated, and the tire pressure checked.
Contents
Bladder puncture
Brake repair
Jump chain
Figure eight on wheel
Play
If the puncture is single, for example, from a nail or a thorn, you can put a patch.
Patches and adhesive are usually included in a standard bicycle repair kit. Read more about this in the article "How to use bicycle repair kits".
To repair a puncture :
The bicycle must be placed on the saddle.
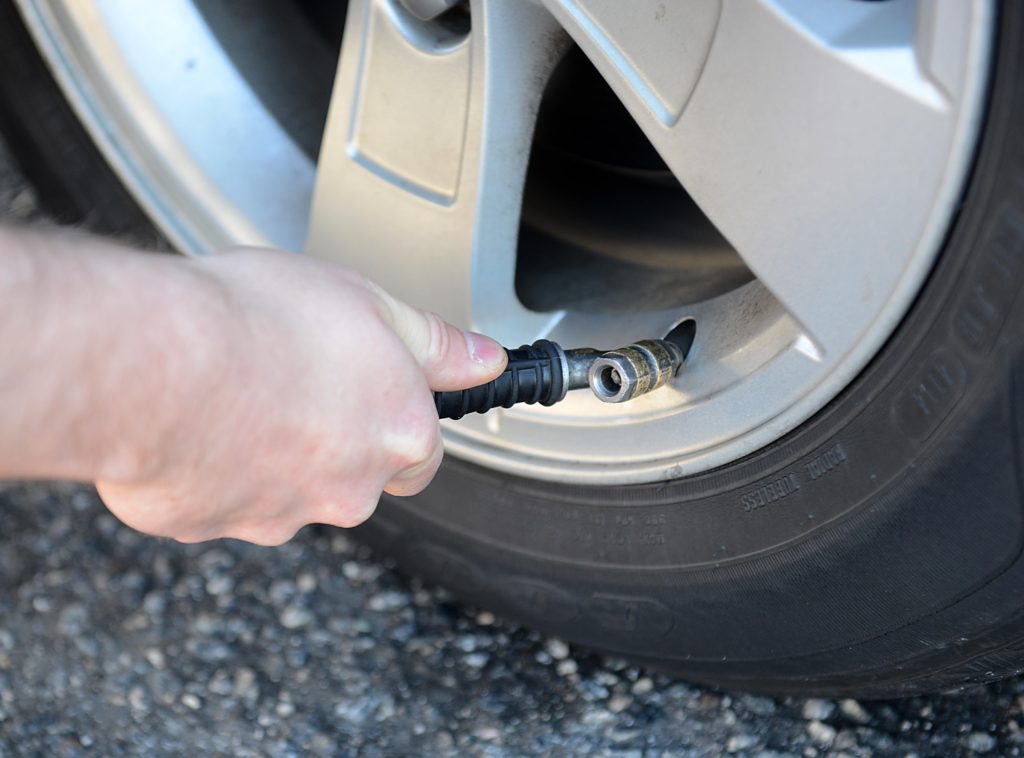
Purge air from chamber.
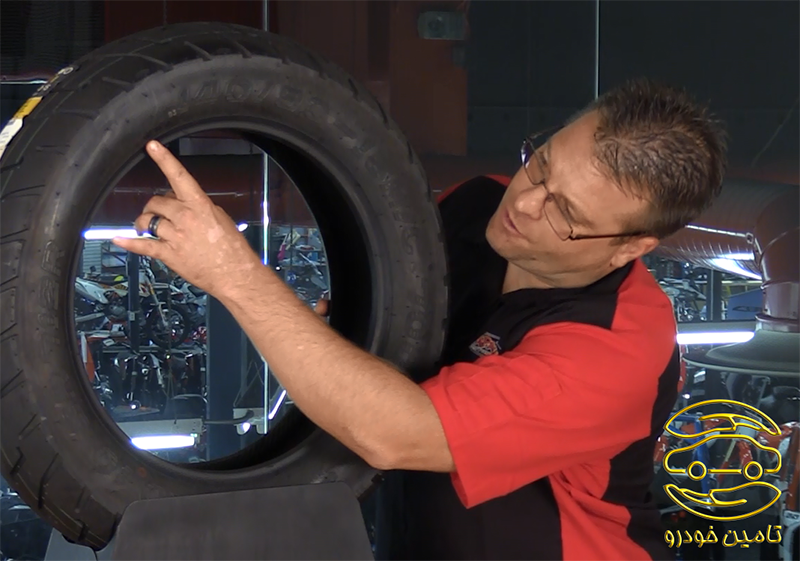
Pull out the tire using a set of pryers. If they are not available, any flat screwdriver with a blunt end will do.
Determine the location of the damage: pump up an empty chamber, squeeze and listen for the hiss. Another option is suitable if there is water nearby: lower the inflated chamber into the water and determine the puncture site by air bubbles.
The found place must be marked and cleaned with sandpaper.
Attach self-adhesive patch.
Slightly inflate the bicycle inner tube, place the inner tube in the tire and bead the tire with the kit.
Inflate the bicycle inner tube.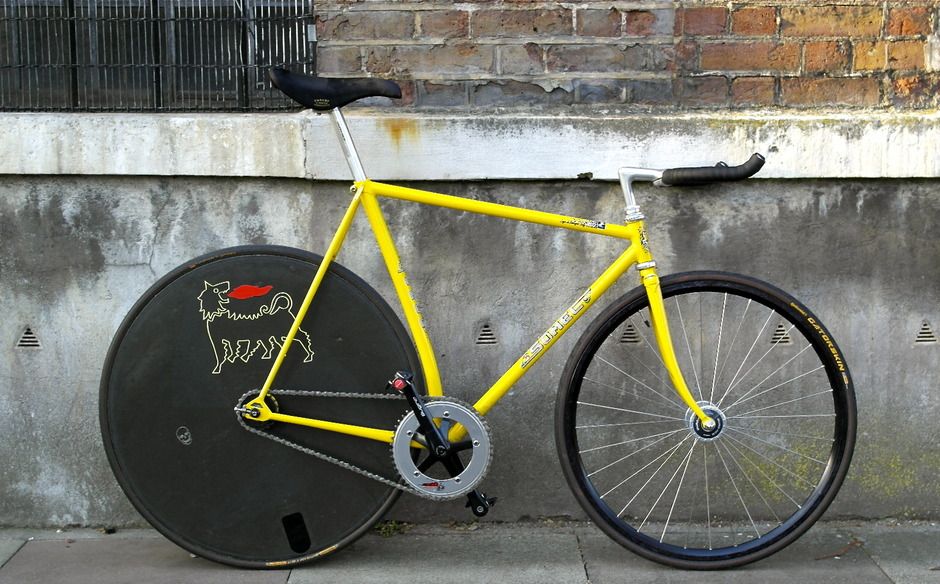
Important! Always take a repair kit or spare tire with you on long trips
If this is not available, you can do this in the field:
Can be pre-filled with tire and puncture sealant. In case of damage, it penetrates the hole, preventing air from escaping. There are different sealants for different tires.
Bicycle tools
519₽
649 ₽
Cyclotech | Multikey Cyclotech CT-6
Buy
Cyclotech | Scraper Cyclotech
Buy
Dayton | Lubricant Daytona Multispray 6 in 1
Buy
Dayton | Chain lubricant for dry weather with Teflon 100 ml Daytona
Buy
$1. 99
99
$2.99
Stern | Repair kit Stern CT-S2
Buy
$6.99
$79.99 Cyclotech | Multikey Cyclotech CT-10
Buy
Dayton | Wet Weather Chain Lubricant Daytona 100 ml
Buy
Dayton | Lubricant Daytona Multispray 6 in 1
Buy
$35.99
$43.99
Topeak | TOPEAK Multi Key
Buy
Dayton | Daytona chain cleaner
Buy
Dayton | Cycling Shampoo Daytona
Buy
1999 ₽
Cyclotech | Cyclotech chain cleaner
Buy Now
EXPERT TIP
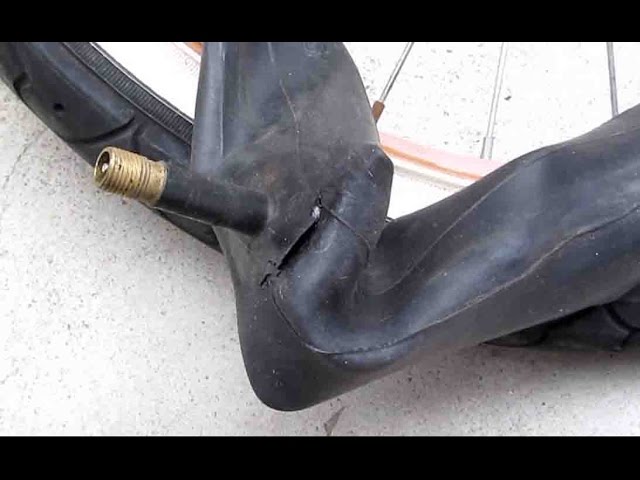
The most annoying type of puncture is the double snakebite type.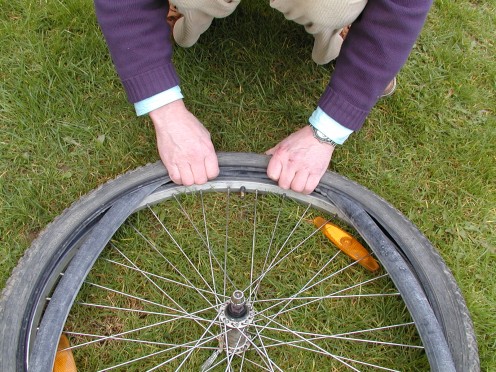 They appear during aggressive riding, hitting a sharp stone or curbs. Self-adhesive patches may not work. Worth using permanent repair kits
To avoid or reduce the likelihood of such a puncture, it is necessary to maintain working pressure in the chambers.
Signs that something is wrong with the brakes:
Manufacturers make special notches on the product to help determine system wear.
If the pads are so worn out that the slots on them are no longer visible, these parts must be replaced promptlyReplacing worn pads with new ones :
Release the brakes and forcefully remove the brake jacket from the holder.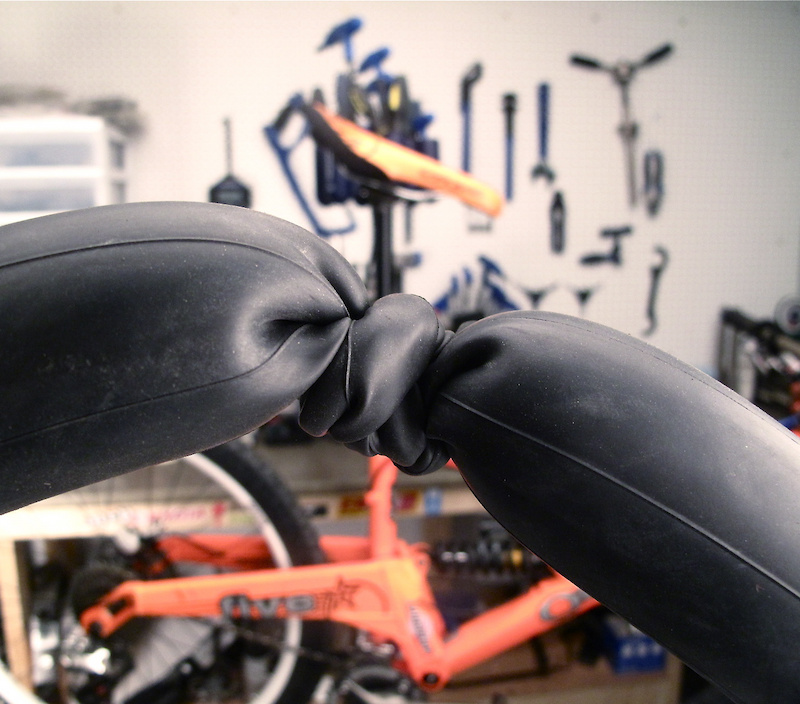
Unscrew the screw fixing the pads.
Pry off and remove the old block, install a new one in its place.
Shoe adjustment :
The shoe must be level with the rim and, when checked for clearance, must be parallel to the rim in both the open and brake positions.
When the wheel is rotated, the pads must be pressed exactly along the rotation vector, without deviating from it.
Tension adjustment :
Fine adjustments are made using a special screw on the brake lever.
If this is not enough, you need to loosen the bolt on the brake foot and stretch or tighten the cable, then tighten the bolt.
After the brake pads, the chain is the second element that most often needs to be replaced. High-quality chains on city bikes wear out after several thousand kilometers.
Why does the bike chain come off:
Chain slack can be removed by simply shortening it. To do this, you need to remove several links. Modern chains are easy to dismantle, they are made with special locks.
The chain must be periodically cleaned of old grease, new grease applied, tension adjusted.
If, while driving, the wheel touches the feathers and pads, it means that the rim has been deformed, the wheel is no longer round.
It is common for cyclists to find a loose wheel after a hard hit or a bad ride over an obstacle.
Important! It is difficult to straighten the rim and properly tighten the spokes at home. This will be a temporary measure, subsequently it is necessary to contact a specialized service
The deformation of the wheel, in which it takes an oval shape, is associated with uneven tension of the spokes inside the rim.
To correct defect , the knitting needles are pulled up from both sides (bottom and top), starting from the central knitting needle. It is necessary to monitor the number of turns of the spoke key so as not to drag the spokes into the "eight" or not to aggravate the already existing "egg" Backlash is the space between tightly fitting parts that develops when they begin to loosen. As a result, vibration occurs when driving. There is a backlash of the wheel, carriage or steering wheel.
Causes of backlash:
Removing wheel play:
If there is little play, it is enough to find loose locknuts and tighten them with a suitable wrench.
If, after turning the bike over on the saddle and swinging the wheels, you find that they stagger from side to side, then the play is serious and you need to contact the service center.
To check the bearings you need:
Remove the wheel.
Rebuild the bushing, paying attention to the integrity of the bearings, the condition of the axle and its components.
Important! It is not safe to continue riding with backlash. The hub may fail, which threatens to completely change the spokes in the wheel and deform the rim
Lubricants for bicycles
Dayton | Lubricant Daytona Multispray 6 in 1
Buy
Dayton | Wet Weather Chain Lubricant Daytona 100 ml
Buy
Dayton | Chain lubricant for dry weather with Teflon 100 ml Daytona
Buy
Dayton | Lubricant Daytona Multispray 6 in 1
Buy
Dayton | Daytona chain cleaner
Buy
Dayton | Cycling Shampoo Daytona
Buy now
If, in addition to a loose wheel, you hear a cracking sound while driving, it is most likely a bushing problem. In case of severe damage to this part, it will have to be replaced.
To replace bushing :
Lower the wheel.
Remove tire, inner tube and rim tape.
Unscrew the nipples from the spokes using a special screwdriver and the appropriate spoke wrench.
Pull out the bushing and replace it with a new one.
Assemble the wheel.
For handlebar play diagnostics apply the brake and move the bicycle forward then backward. If you find that the handlebar wobbles, you need to:
Using a hex key, loosen the bolts on the handlebar stem that fix it to the fork stem.
Tighten the hex bolt, which is located on top and tightens the stem-fork-steerer system.
You can combine the process of tightening the bolt with moving the bike back and forth with the front brake applied. Thus, the backlash is eliminated more completely, and all working parts sit in their places.
Check the stem-fork-steerer system again for play and make sure there is no movement under the fingers.
Align the handlebar so that it is perpendicular to the wheel and tighten the fixing bolts on the stem. The steering wheel must turn freely.
Important! If the minimum play is ignored, threads, bearings and bushings may be damaged.
The bottom bracket of a bicycle is the part that connects the crank arms to the frame and makes the pedals spin. Carriage play may occur after a long drive on rough roads. If it is not eliminated in time, you may encounter a violation of the clarity of gear shifting or damage to bearings and cups.
The play can be eliminated by a simple adjustment:
Remove the left connecting rod.
Clean the carriage tube, cups and carriage shaft from dirt.
Remove the jam nut from the left bottom bracket cup.
Use the special wrench to loosen the left carriage cup.
While swaying the right crank (the crank is mounted on the shaft), smoothly turn the left bottom bracket cup until the play disappears (it becomes impossible to sway the right crank).
After the play on the shaft disappears, tighten the left bottom bracket cup until a slight resistance appears when the bottom bracket shaft (right crank) is rotated by hand.