Delivery options and delivery speeds may vary for different locations
Sign In
or enter a zip code
Email * Password *
REPAIR & HOW TO
MAINTENANCE
TROUBLESHOOTING
GUIDES
TIPS & TRICKS
ALL ARTICLES WATCH VIDEOS ABOUT US SHOP PARTS CONTACT US
When the battery in your Honda ATV keeps dying, the problem may not be the battery itself, but rather the machine's charging system.
Watch the video above or read on below to learn how to test the battery, the stator and the regulator/rectifier, which make up the charging system of a quad.
NOTE: We did our troubleshooting on a Honda TRX 400EX, but the steps are the same for most ATVs, although the layout of the components may vary.
Tools Needed – Troubleshooting Honda TRX400 Charging System ProblemsNOTE: You’ll need a multimeter with diode function to test the regulator/rectifier unit. We also highly recommend you invest in a battery charger/tender that is capable of not just charging the battery, but will service and protect it when the ATV is in storage.
Troubleshooting the Charging SystemThe charging system on a Honda TRX 400EX and most other ATVs is made up of a stator that provides AC power; a regulator/rectifier unit that converts the AC power to DC power and sends it to the battery; and a battery that stores the power and feeds it to the various electrical systems.
Set a multimeter to DC volts and with the ignition off, connect the multimeter to the positive and negative battery terminals. The reading should be between 12.5 volts and 13 volts. If the reading is below that, the battery should be charged and the static voltage test repeated. If the reading is still below 12.5 volts, the battery needs to be replaced.
Dynamic Voltage TestSet a multimeter to DC volts, start the engine, let it idle, and connect the multimeter to the positive and negative battery terminals. The reading should be at least 14 volts. If the reading is 14 volts or above but the battery is failing to hold a charge, diagnose the battery with a battery tester. If the reading is below 14 volts, the charging system isn’t providing enough current to the battery and needs to be tested.
Watch the clip below to see the battery testing segment of our Honda TRX 400EX charging system video.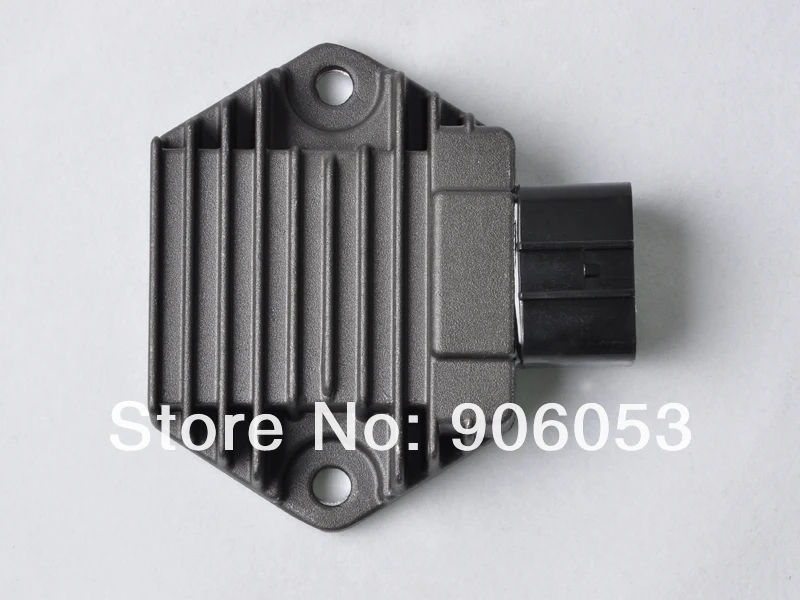
Disconnect the negative and positive battery leads, always starting with the negative lead first. Connect a battery tester to the battery, then select the battery model in the tester’s on-screen menu and set it to run a full test diagnosis. The tester will show you the battery’s health, how much charge it’s capable of holding, and whether it needs replacing or not.
Watch the clip below to see the battery diagnosis segment of our Honda TRX 400EX charging system video.
Replacing the BatteryThe Honda TRX400EX uses a YUASA YTX9-BS battery. The YTX9-BS is a dry AGM (absorbent glass mat) battery, which means liquid electrolyte must be added before the battery can be charged and installed.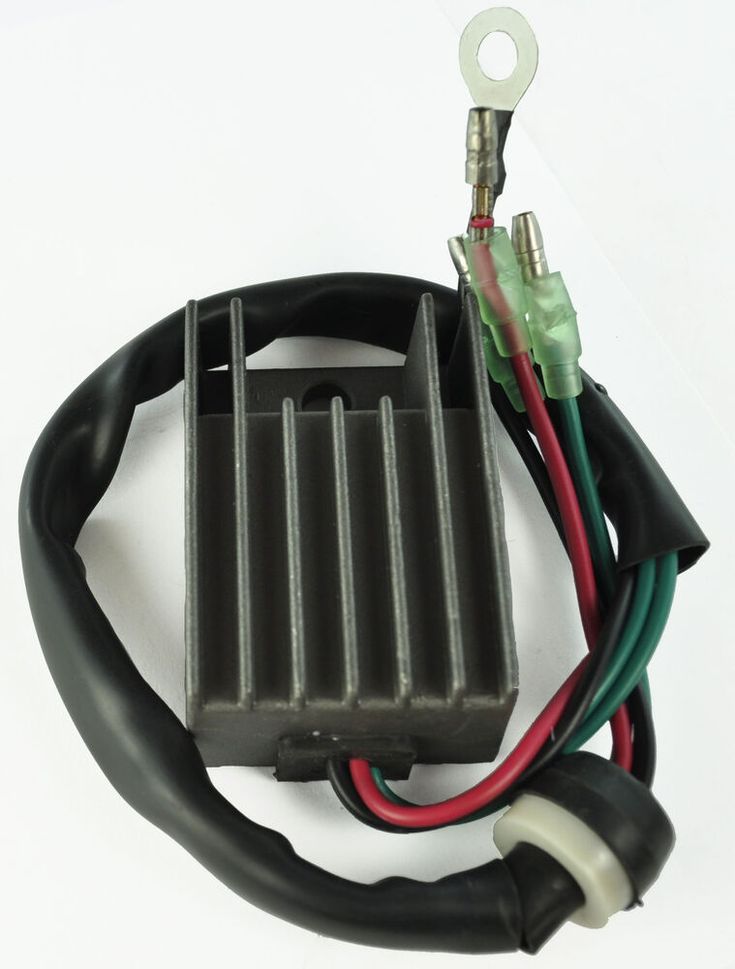
Adding electrolyte to battery:
Remove the old battery from the TRX400 and install the new battery, which is held in place by a bracket with a bolt at the top and bottom. Reconnect the battery leads, starting with the positive.
Watch the clip below to see the battery replacement segment of our Honda TRX 400EX charging system video.
Troubleshooting Honda ATV Charging Problems: Stator TestingInsert a pair of back probes against the red wire and the yellow wire at the wire connector on the regulator/rectifier unit.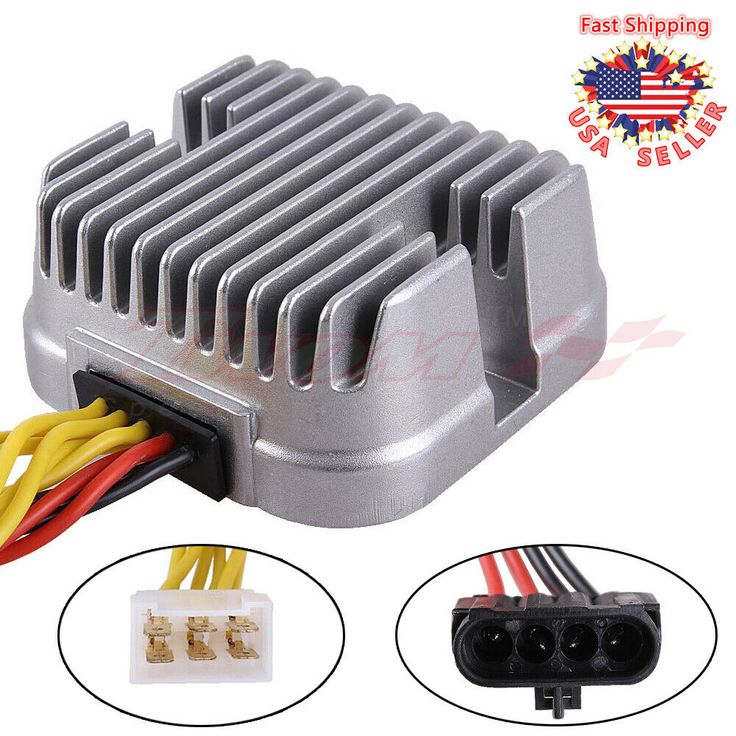 Connect the probes to a multimeter and set the meter to AC volts, then start the engine and let it idle.
The multimeter reading should show the regulator/rectifier unit receiving AC voltage in excess of 15 volts, which means the stator is working correctly. If the regulator/rectifier isn’t receiving adequate voltage, the stator is failing or has failed and must be replaced. If the stator is working properly, the final component to test is the regulator/rectifier unit.
Watch the clip below to see the stator testing segment of our Honda TRX 400EX charging system video.
Troubleshooting Honda ATV Charging Problems: Regulator/Rectifier TestingSet the multimeter to diode. Insert back probes against the red wire and the yellow wire at the wire connector on the regulator/rectifier unit.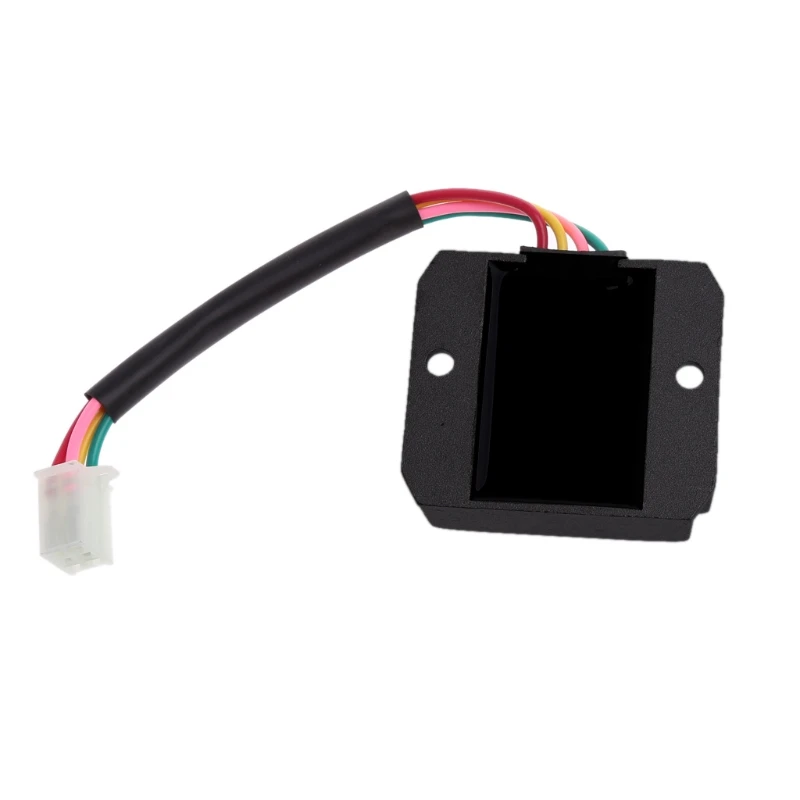 Repeat the process against the red wire and the pink wire. The multimeter reading should read about 0.5 volts for each. If the readings are any different, the regulator/rectifier unit is faulty and needs replacing.
NOTE: The color coding of the wires will vary between ATV makes and models. Check your service manual for the correct wire colors.
Watch the clip below to see for the regulator/rectifier testing segment of our Honda TRX 400EX charging system video.
body
Delivery options and delivery speeds may vary for different locations
Sign In
or enter a zip code
Email * Password *
REPAIR & HOW TO
MAINTENANCE
TROUBLESHOOTING
GUIDES
TIPS & TRICKS
ALL ARTICLES WATCH VIDEOS ABOUT US SHOP PARTS CONTACT US
When your Honda ATV is having charging system problems, troubleshooting the issue only requires a few simple tests.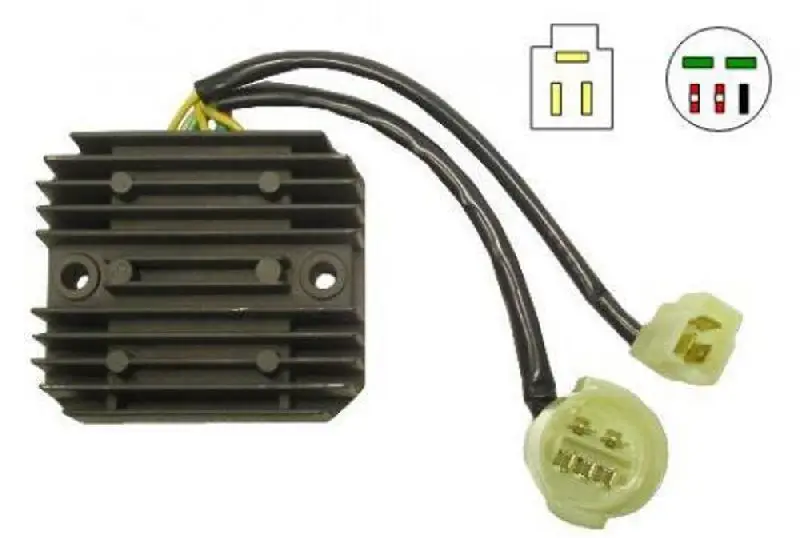
An ATV’s charging system is made up of three basic components that work together to get your machine running: a battery, a stator and a regulator-rectifier. Watch the video above and read on below to learn how to troubleshoot charging system problems on a Honda Rancher TRX420.
Tools Needed – Troubleshooting Honda Rancher 420 Charging System ProblemsTo get to the charging system on your Honda Rancher, simply pop off the seat by lifting the tab behind it and pulling it out, then sliding off the panel below it. No tools needed.
Watch the clip below to see how to access the charging system on a Rancher 420.
Start with the simplest thing first: testing the battery.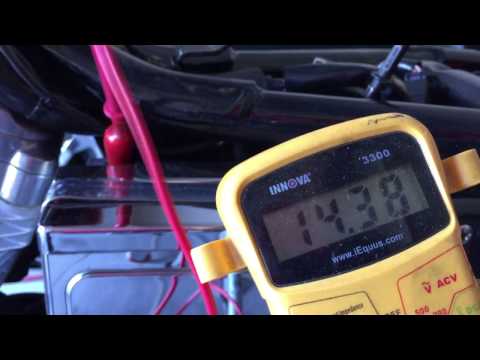 The most common electrical and charging system problems usually stem from a weak or dead battery.
Set a multimeter to DC volts and with the ignition off, connect the probes on the multimeter to the respective positive and negative battery terminals.
A healthy reading should be above 12.3 volts. If the reading is below that, set the multimeter to AC volts, start the engine and let it idle. The AC voltage reading should also be at least 12.3 volts.
If the reading is below that, the battery might still run but it’s not getting enough charge, which will end up killing the battery. The next step is to test the stator.
Watch the clip below to see the battery testing segment of our Honda Rancher 420 charging system video.
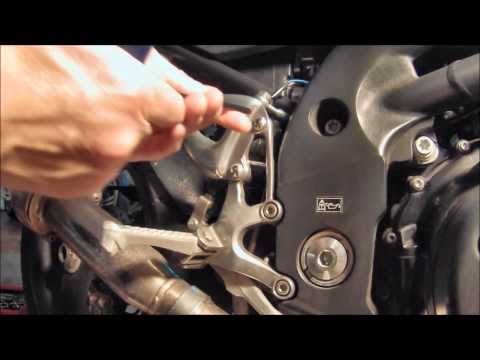
To test the stator, push the button or lever on top of each plug connected to the regulator-rectifier, and use a screwdriver to gently pry off the two plugs that connect the battery (the one with two wires) and the stator (the one with three wires) to the regulator-rectifier.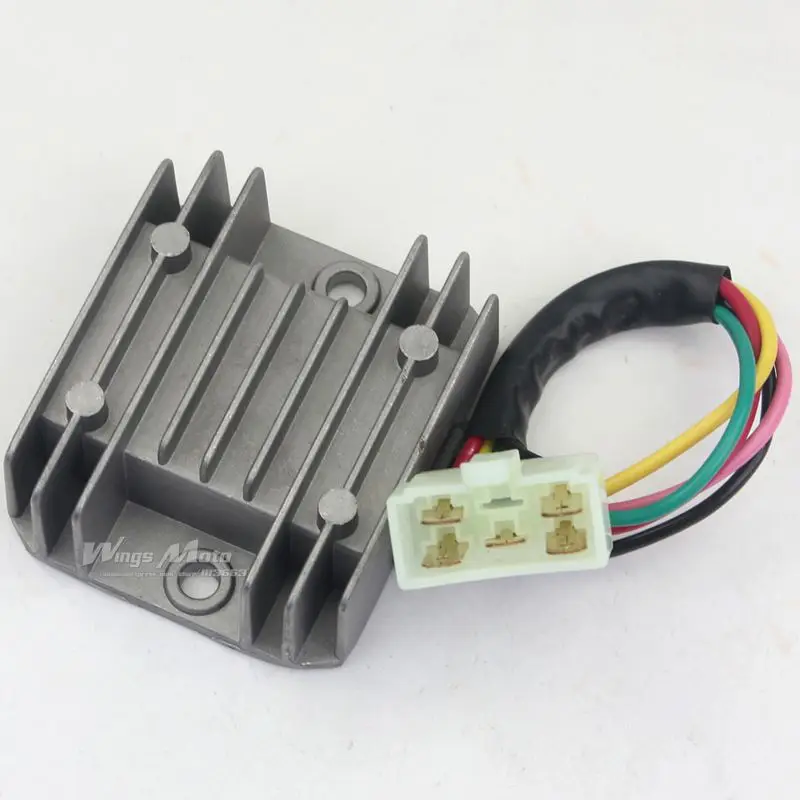
Set the multimeter to AC volts, then start the engine and let it idle to get an AC voltage reading. A healthy AC voltage reading will be between 18 and 22 volts.
Connect the probes of the multimeter to each phase of the stator plug in the following sequence to get a voltage reading:
Each phase or winding should produce a voltage reading of 18 or above. Any reading below that from any of the three phases means the stator needs to be replaced. Otherwise, the stator is working as it should.
If the stator is healthy, the culprit for your ATV’s charging system problems is going to be the regulator-rectifier, which should be tested next.
Watch the clip below to see the stator testing segment of our Honda TRX 400EX charging system video.
Troubleshooting Honda Rancher 420 Charging Problems: Regulator/Rectifier TestingRemove the regulator-rectifier from the unit by taking off the 10mm bolts that hold it in place, then set the multimeter to diode.
NOTE: This test is only meant for this particular ATV’s regulator-rectifier. Testing procedures for regulator-rectifiers vary between manufacturers.
For the forward bias diode test, ground the negative probe of the multimeter into the battery connection port of the regulator-rectifier and using the positive probe of the multimeter, touch each one of the three diodes inside the stator connection port. Each diode reading should produce about 0.5 volts.
For the reverse bias test, ground the positive probe into the battery connection port and check each diode in the stator connection port again with the negative probe.
If any of the diodes reads anything other than 0.5 on either test, such as an OL (open loop/open circuit), the regulator/rectifier unit is faulty and needs to be replaced.
Installing and Testing New Regulator/RectifierInstall a new regulator-rectifier, then crank up the engine, set the digital multimeter to DC volts and connect it to the battery just to make sure the new regulator-rectifier unit is charging.
The new regulator-rectifier should produce a reading of 14 volts or above. Anything less than 14 of course means the unit is faulty, but otherwise the new regulator-rectifier is working properly.
Watch the clip below to see the regulator/rectifier testing and installation segment of our Honda Rancher 420 charging system video.
body
ATV electrical system failure is a serious problem. And if this situation occurs, you should first check the ATV regulator relay. It is this node that most often fails both on expensive equipment and on Chinese devices from the catalog https://dvako. com.ua/kvadrocikly/. So how do you diagnose a relay?
The Regulator Relay is an important component of the quad's electrical system and is responsible for maintaining the voltage within the operating range. The fact is that the generator is responsible for converting power into energy. But the voltage of the current it generates directly depends on the rotation of the shaft, energy consumption and even environmental conditions. And to smooth out the differences, a relay-regulator is used.
System element performs several tasks at once:
That's why it's important for a rider to know how to test an ATV's regulator relay. This will help to avoid damage to the electrical system, rapid battery discharge, and even ignition of components.
If a component fails, it will cause a number of problems. For example, if the voltage in the system is low, the battery will simply stop charging. There will also be problems starting the ATV, and its headlights will begin to shine dimly.
High voltage will damage the battery of the quad. A white coating will begin to form on the battery, the amount of electrolyte will decrease or it will begin to boil.
That is, replacement or repair of the ATV voltage regulator relay is necessary if:
If any of these problems occur, you need to figure out how to test the regulator relay on the ATV.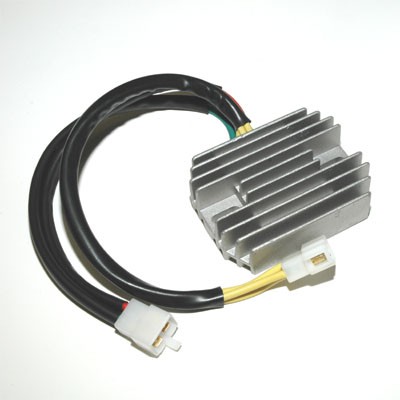
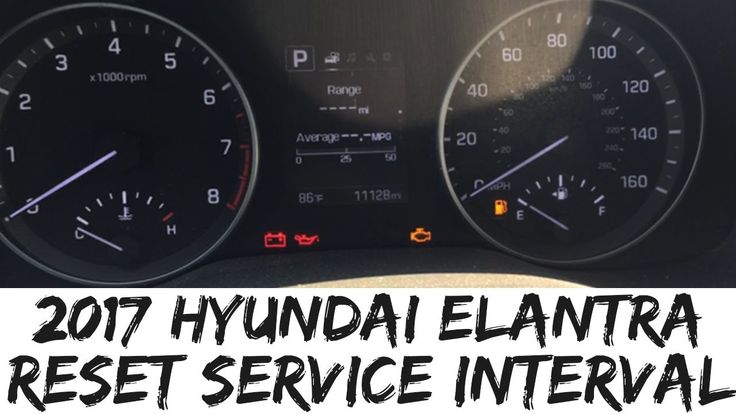
The first step in identifying the problem is to check the battery voltage. You need to turn off the quad and use a multimeter to take readings from the battery. After that, you need to start the engine of the ATV. If the battery is charging, the voltage should rise. But if there are problems in the system, the numbers, on the contrary, will decrease.
So how do you test the ATV regulator relay? To do this, we need to dismantle the component or open access to it. After that, you should set the multimeter to the dialing mode up to 200 kOhm. Then you need:
In the first position, you should have readings in the range of 18-19 kOhm. But in the second position of the probes on the multimeter there should be no more than 33 kOhm.
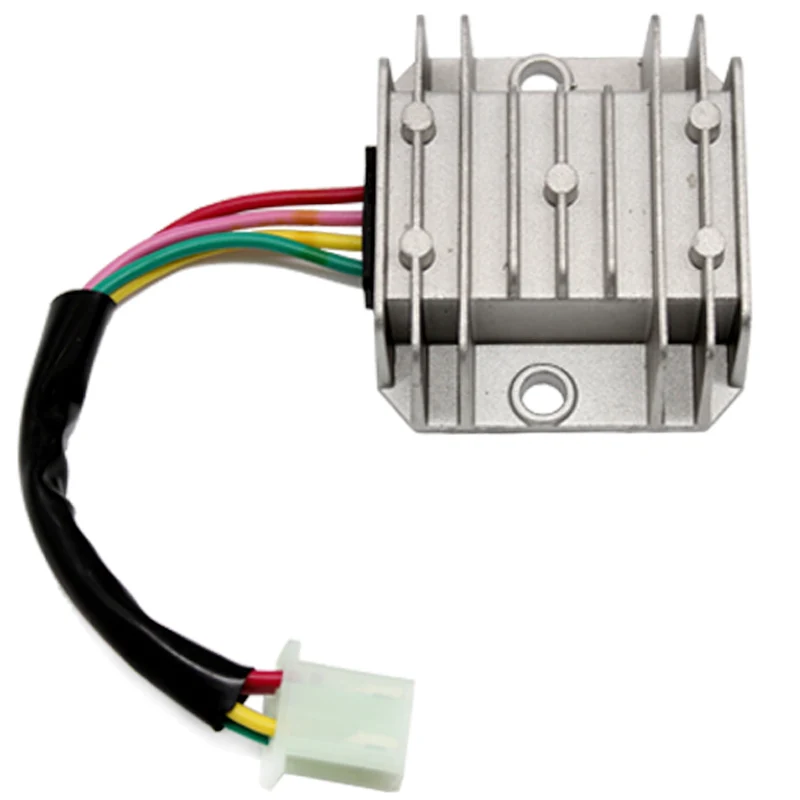
Please note that there is a relay with 5 wires (red, green and three yellow). In this case, you should check if there is a short circuit between the plus and minus of the element. If there is no resistance, then it is necessary to replace or repair the ATV relay-regulator.
Then you should switch to dialing mode and connect one probe to minus. The second probe alternately checks all the wires coming from the winding. In this case, the diodes should not show any results. Then reverse the polarity of the probes and repeat the procedure (readings must be greater than zero). A similar call is performed with a plus.
Regulator-Charging Relay for Motorcycles Honda, Yamaha, Suzuki, Kawasaki, Ducati, KTM, Harley Davidson.
Sort by: name price popularity
Page: 1 | 2 | Show all
Add to compare list
Charging relay BMW F650CS, F650GS 99-11, G650X, F800S, F800ST 07-11
Charging relay for motorcycle BMW F650CS, F650GS 99-11, G650X, F8001S
Add to Compare
DiscountHit
Charging Relay Honda CBR1000RR, CB1000R SC60 08-13, CBR600rr CB600 Hornet PC41 07-12, DN-01 (NSA700A) 08-09, NC700X 12-.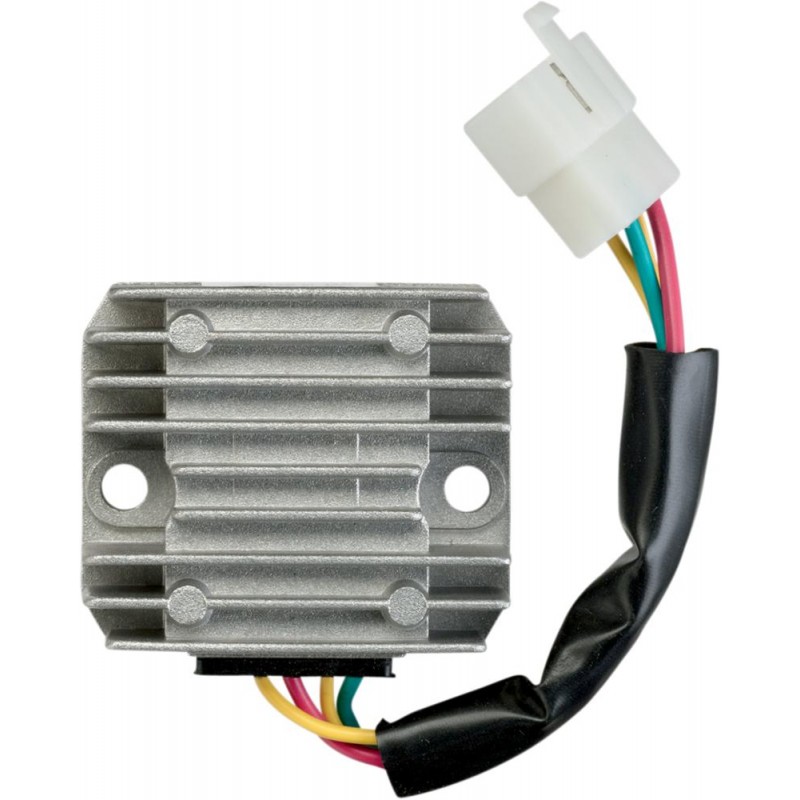 , sh400.
Motorcycle charging relay for Honda CBR1000RR, CB1000R SC60 08-13, CBR600rr CB600 Hornet PC41 07-12, DN-01 (NSA700A) 08-09, NC700X 2012-., sh400.
Add to comparison
Discount
Honda CBR250 charging relay, CB-1, CB400SF, CB400VTEC, CBR400, CBR600, CBR900, VFR750, CBR1100XX
charging relay for motorcycle Honda CBR250, CB-1 CBR400, VFR400-RVF400, CBR600, CBR
Charging Relay for Honda XL700V8 Transalp 2008-2010
Charging relay for Kawasaki motorcycle ZZR400-1, ZZR400-2, ZZR600, ZXR250, ZRX400 1990-2007.
Add to Compare
DiscountHit
Charging Relay Suzuki AN150 Burgman 95-00, UE125-UE150 01-11, GSX250 91-97, RGV250 88-96, GSF400 Bandit 91-90, GSX7-934, RF400, GS500 89-09, RG500 86-87, DR650 90-91
Charging Relay for Suzuki AN125-AN150 Burgman 1995-2000, UE125-UE150 2001-20191, GSX250 1991-1928. GSF400 Bandit 1991-1993, GSXR400 1987-1994, RF400, GS500 1989-2009, RG500 1986-1987, DR650 1990-1991.
Page: 1 | 2 | Show all
Some theory of the charging system.
When we start the motorcycle, the generator starts to work, namely to generate current.
From the generator, the current goes to the voltage regulator relay, and from the regulator relay to charge the battery and power the motorcycle's on-board network.
The alternator produces alternating current and the voltage varies depending on the engine speed, from about 50 to 90 volts, alternating current, and the operating voltage of the motorcycle is 12 - 15 volts, direct current.
In order to convert alternating current into direct current and maintain a given voltage in the region of 12 - 15 volts, a voltage regulator relay is needed, the failure of which can be legends.
However, it is not always the voltage regulator itself that causes the failure of the motorcycle charging system.
General scheme of work.
Voltage regulator test.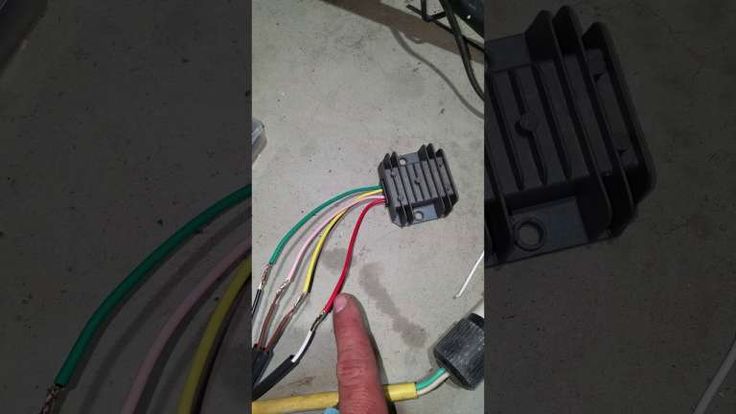
Everything is a little simpler here.
• Connect the tester to the battery in DC current measurement mode.
• Start the engine.
• Turn on high beam headlights.
• Set engine speed to 5000 rpm and hold in this position.
• We look at the tester readings.
• With a working charging system, the voltage should be within 13.2 - 15.5 volts according to the manual.
My testimony, for comparison.
Engine not running, (ignition off), battery voltage.
Engine running, idling, headlight off.
Engine running, rpm 5000, headlight on high beam. (It is advisable to keep the speed as accurately as possible in the region of 5000 rpm, as this affects the readings).
The result of the test shows that the voltage regulator relay is working properly.
Measurement results may differ for everyone, the main thing is to pay attention to two important indicators: (For example, I have 12.