We independently review everything we recommend. When you buy through our links, we may earn a commission. Learn more›
FYI
We’ve looked over this guide and stand by the advice and picks we recommend here.
If you own a bike, you need a flat-fixing kit. It’s really that simple. Sure, maybe you’ll get lucky and get a flat close to a shop, or the buses will be running on time for once, but even with all that going for you, getting stranded across town will cost you time, money, and precious sanity. You can put together a great kit in less time than it takes to read this guide.
We spoke to a broad spectrum of cyclists—from a pro racer to a bike messenger turned mechanic to a touring cyclist who has logged thousands of miles throughout Europe—to find out what items they find indispensable. We sorted through 40 tire levers, almost 30 different kinds of patches, 120 different hand pumps, and nearly 60 seat bags before we narrowed our choices for testing. And then we changed and patched tires more than 50 times, using four different bikes, five different wheels, six different tires, and almost 10 different sizes of tubes. After more than 100 hours of combined testing, we agree these essentials are some of the best you can buy.
To get started, we consulted a broad array people for this guide, with a wide variety of cycling styles.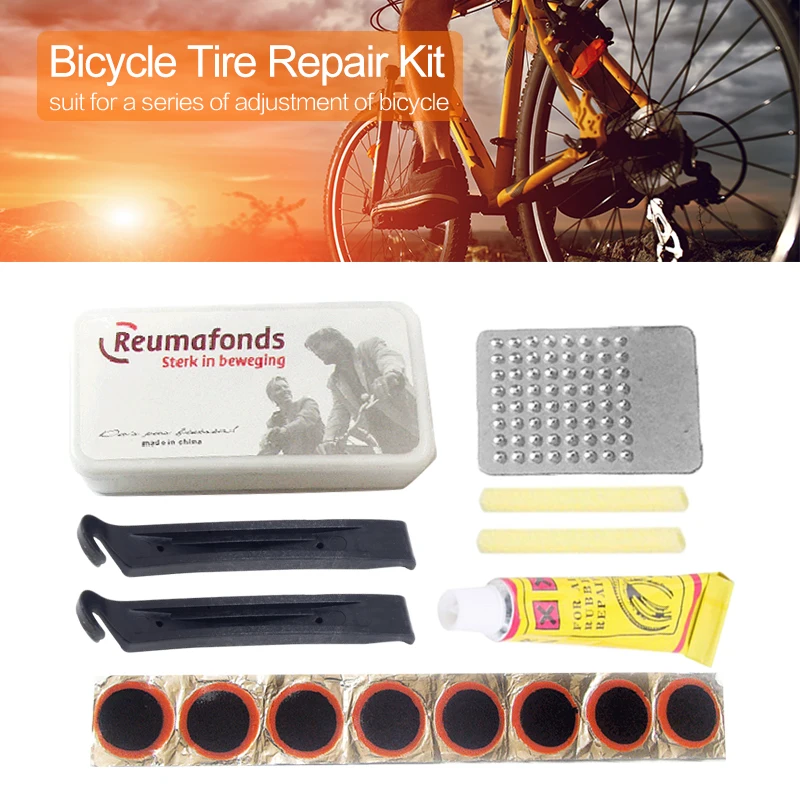 They’ve all put together kits that are unique to their personalities and needs. It’s a deep, satisfactory joy to lay out a finely curated kit, and we’re hoping you’ll find a carry method that speaks to you.
Ramona Mark’s touring kit. Photo: Ramona Mark
Scott Karoly’s commuter kit. Photo: Scott Karoly
Alison Tetrick’s road kit. Photo: Alison Tetrick
Ramona Mark’s touring kit. Photo: Ramona Mark
When I interviewed Ramona Marks, she was a mechanic at Bicycle Kitchen in LA. She has logged thousands of miles touring the world on her bike since 2010. Her kit is outfitted with gear that makes life easier for a touring cyclist, such as some full-size tools, which make frequent field repairs more manageable.
I spoke to Scott Karoly, a sales associate at Alameda Bicycle, who carries the essentials for his urban commuting, plus some special wrenches for his specific bike.
And I spoke with Alison Tetrick, a pro athlete and member of the board of directors for USA Cycling. She carries a downsized road-riding kit and relies on CO2 cartridges for fast inflation, because she gets two or three flats a day, every day.
I also spoke with resident mechanic Cari Z at (the sadly now closed) Bay Area Bikes in Oakland, California, a former messenger who had a dozen sneaky tricks for changing tires, carrying tools, and preventing flats (but, alas, no photos of her bike bag).
We focused on tools that would be useful to a commuter—someone trying to use a bike as a functional way to get around town, as opposed to riding recreationally (road biking and mountain biking). That said, it’s a wild and wooly bicycling world out there, and the streets are packed with so many different bikes, all shapes and sizes, new and old. Customizing your flat-fixing kit has advantages over buying a preassembled kit that always contains a tool (or two or three) that’s a piece of junk, or you don’t need.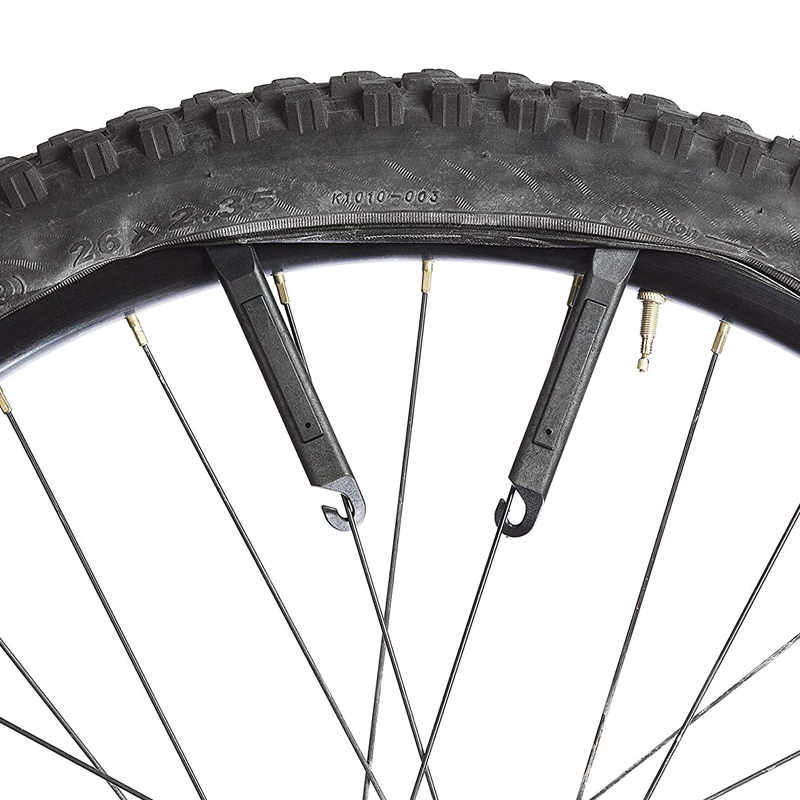 Or it’s missing something you do need. If you build your own kit, at least you know everything works. And you can add only what’s necessary for your specific bike without ending up with stuff you don’t need.
Road riders need lightweight, tiny tools that can fit into jersey pockets. A lot of those items are made of carbon fiber, which is lighter than aluminum. Other iconic trappings of road riding, like CO2 cartridges and spandex outfits, are also geared toward minimalism, but all of that downsizing comes at a cost. Commuters don’t have to be as concerned with weight, so unless you covet something specific, don’t spend the extra money.
Mountain bikers are in a different world of repair entirely, one that borders on the comedic absurd. It includes large pumps designed to fill up big, fat tires that squish over things, and a medley of assorted slimes meant to be injected into tubes or tires. In that world, the number of days it takes you to fix your tire and return from the wilderness is a badge of courage—bonus points if you’re bleeding—and we’re guessing that’s not what you’re going for next time you set out for groceries.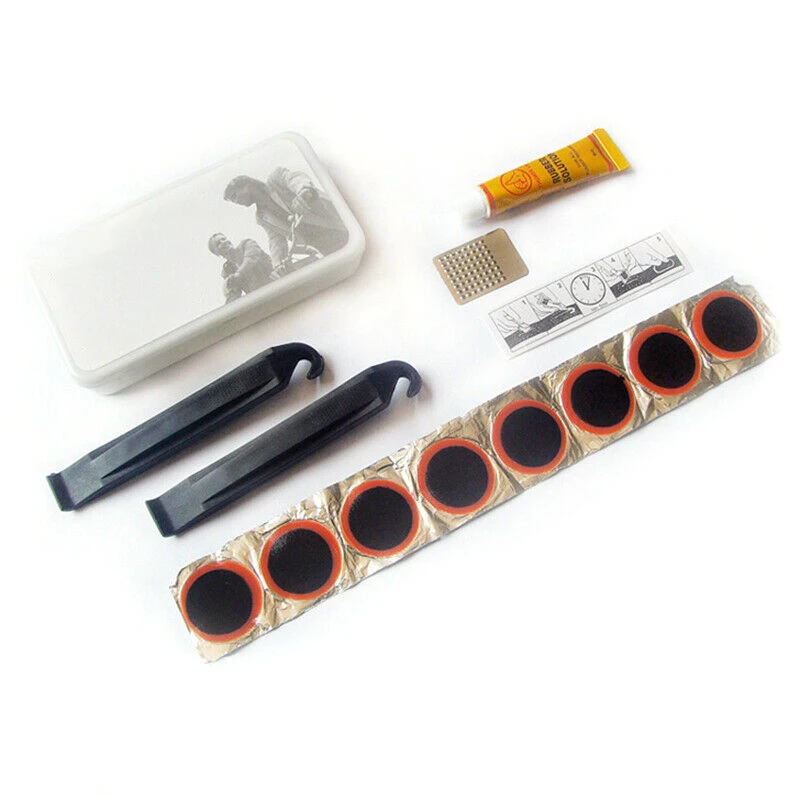
Commuters need products that are effective and reliable. The day you need them, they have to work. The essentials listed in this guide are the items you must have if you ever hope to get going again after having a flat. If you do nothing else, pick up these three things and take a second to learn how to use them.
A good patch will stick to your tube enough to keep air from leaking out. A great patch will act like a second skin and actually strengthen the tube where it’s applied, flexing and stretching with the tire. After 36 hours of testing, our official endorsement goes to the Rema TT 02 Touring Repair Kit. Its patches do everything other patches do, just better. The edge of the patch is also ruffled, which provides more edge surface area to bond—that’s a good thing.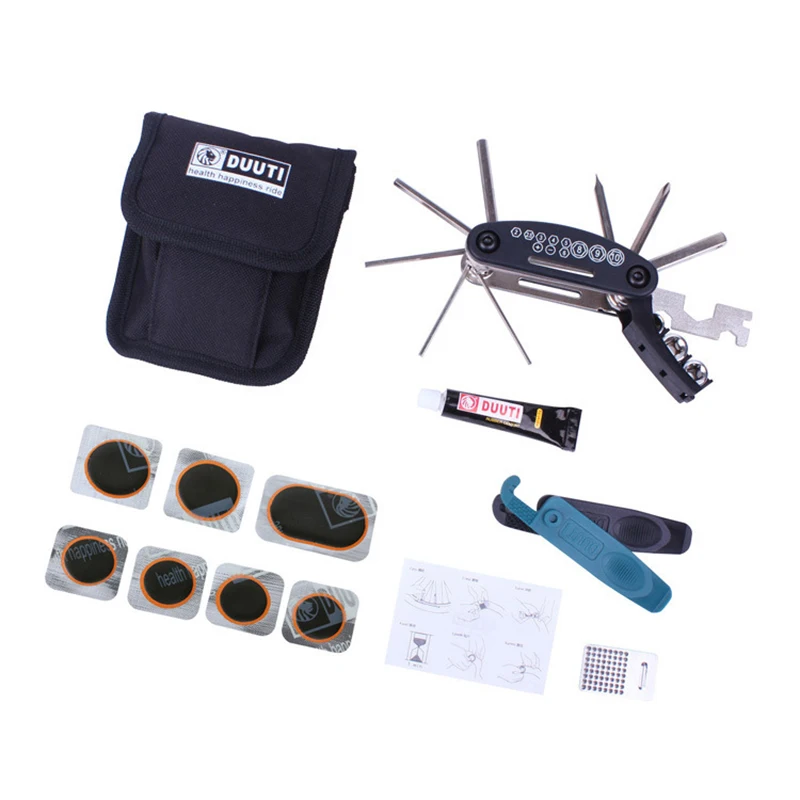
Patch kits come with patches in a few different sizes, a small bit of sandpaper, and a tube of vulcanizer. Vulcanizer is the “glue.” Cari Z, who was a mechanic at Bay Area Bikes at the time of our interview, explained, “Vulcanization is the chemical bonding process that takes place between patches” and the tube.
An up-close view of the ruffled edges on Rema’s patches. Photo: Kyle FitzgeraldThere are patches that don’t require vulcanizer—the infamous peel-and-stick. One brand, the Park Tool GP-2, has some genuinely enthusiastic endorsements, so we tested it. I applied Park Tool patches to four different tires, at three different psi levels (60, 90, and 120). Three of the four didn’t hold—two released within minutes. The fourth deflated overnight. I redid the test, but repeated a second time, they all leaked within a day.
Though I often have colleagues and acquaintances text me smug anecdotes of their peel-and-sticks working, I am not convinced they’re actually working.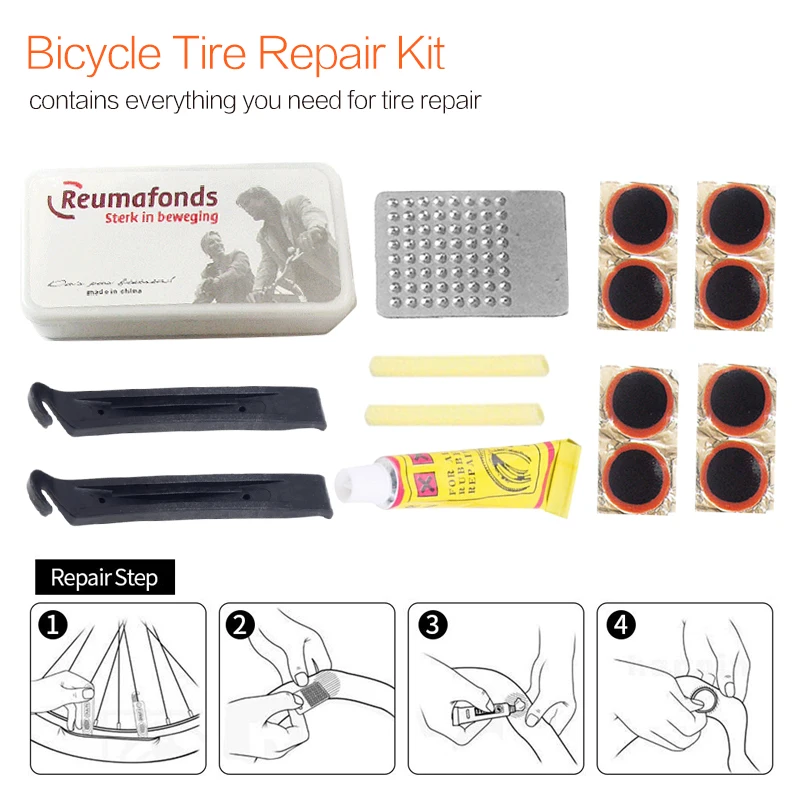 They could possibly be pressed firmly up against the tire rim, or some other incalculable magic, but if it were me I’d toss those in the garbage and get serious. This is bike repair, people.
In addition to the Rema patches, put a new tire tube in your kit. The best method for dealing with a flat roadside is to swap out the tube and save the task of patching for later. If you’re not sure what size your tires are, it’s printed on the sidewall of the tire. This inner-tube buying guide has some photos of where to look. What brand is almost irrelevant as many tubes get manufactured in the same place, so whatever your local shop has behind the counter for under $10 will work fine. The only reason to spend more would be to save weight.
Now you might be wondering: “I’m carrying a tube; why carry patches at all?” As insurance for the unforeseeable. Wirecutter senior editor Christine Ryan admits she didn’t use to pack them, but said, “I’ve regretted that decision when I’ve had a flat on a ride, used my spare tube, and then, half an hour later, had a second flat.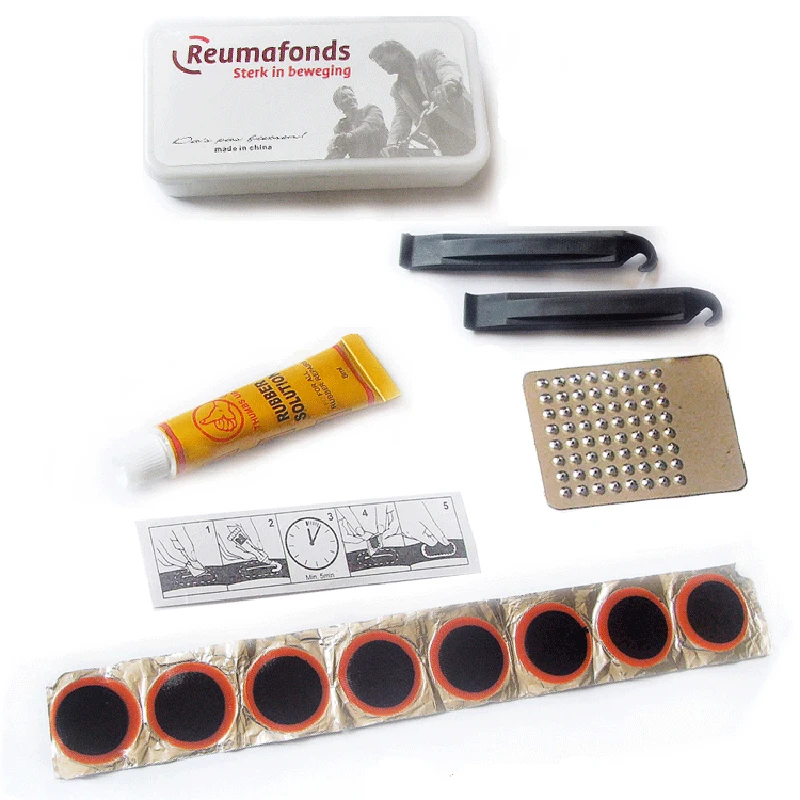 Also, lots of people aren’t very good at figuring out—or don’t take the time to figure out—what caused their flat and remove the cause: thorn, eensy bit of glass, whatever. Then they promptly have a second flat, and everyone else laughs at them.”
So don’t get laughed at by your cycling brethren—be the hero instead. Always check your tire for what caused the flat, get rid of it, and drag around a patch kit just in case.
Pedro’s levers are cheap, effective, light, and near indestructible.
Every expert I spoke to recommended Pedro’s Tire Levers by name. They have a wide body—a different shape than other models we tested—and that prevents breakage, but more important, the broad, flat surface area of the tip helps it stay locked under your tire. When a lever slips from under the bead of the tire, you can end up repeatedly scraping your knuckles on the spokes of the wheel, which is so annoying. Pedro’s levers are small enough to fit into a saddlebag, are sold widely in bike shops, and even come with a lifetime guarantee. If one breaks, Pedro’s will replace it.
More than any other tool in the kit, a reliable lever makes changing a tire easier, especially if you have road bike tires, which are difficult to remove. However, throughout testing, levers seemed to be the one item more prone to failure and poor design than anything else. For example, I found a random orange lever floating around my basement and I threw it in the test pool for fun—it seemed solid enough ... until I began prying at the rim of a tire. It bent directly in half, slowly and smoothly, like taffy, and then was boomerang shaped forevermore.
The Pedro’s lever slipped only once throughout testing, though that may have been my fault because I was spaced out after changing 16 different tires. So they’re not foolproof, but they are far and away more reliable than the next closest competitor, from Park Tool, because the small, rounded tip on that one is hard to keep seated under the tire. Not impossible, but I wouldn’t choose it over Pedro’s.
Versatile and compact, this pump will fill the flat-fixing needs of any commuter while on the road. (It also comes in a slightly larger, but otherwise identical, “medium” size.)
Bicycle hand pumps aren’t substitutes for floor pumps. They will never work as well—pumping a tire without using the ground for leverage is awkward at best and demoralizing at worst. So consider this an on-the-road model only, and if you’re looking for a floor pump, check out our full guide.
The Lezyne Pressure Drive’s solid aluminum body, smooth pumping action, removable hose, and secure pump-to-valve attachment make for a handheld pump that is functional and efficient. Among all the pumps we tested, nothing reached this level of quality at the same price. (This pump comes in two sizes, small and medium. We tested the small version, but the medium is, apart from being just under two inches longer and half an ounce heavier, functionally the same.)
The standout feature is the detachable hose that accommodates both Presta and Schrader valves. To use the pump, remove the hose from its storage place inside the pump’s body. Each end of the hose is clearly marked with either “Presta” or “Schrader.” Screw one end onto the pump’s body. Then, instead of relying on friction or a thumb lock—the other two common methods of attaching a handheld pump to a valve—you screw the other end onto the threaded tip of your valve. Every time, the seal held fast no matter how hard we pumped.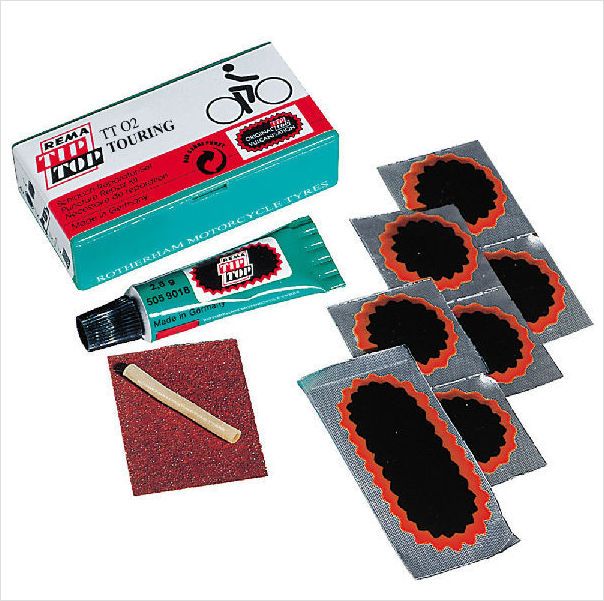 And like all hose attachments, this one reduces the odds of bending or even breaking the valve.
The Pressure Drive is advertised as a low-volume, high-pressure pump for road bikes, and we were able to get to 100 psi on our 700c tire in 300 strokes. Even though that’s a serious, sweaty workout, it’s a high bar to set for a handheld pump, one that not all of the pumps we tested could accomplish. Knowing that high-pressure road tires are this pump’s specialty, we were surprised we could fill a lower-pressure tire without taking a long, long time. It took us 150 strokes to fill a hybrid tire to 35 psi, and 290 strokes to get a mountain bike tire to 30 psi. That may sound like a lot, but those are very respectable numbers, especially given the pump’s small size.
Presta-valve partisans take note: The air-bleed button comes in handy when you’re removing the pump hose. Video: Kyle FitzgeraldWith pumps like this, which attach to a valve stem by screwing it on, it’s possible to unscrew a removable valve core while removing your pump. (There goes all your hard-earned air, in a rush!) If you like to use valves with removable cores—you know who you are—the Pressure Drive has an integrated valve core tool. This is also what you need to fix a leaky stem, which could be the cause of your flat in the first place.
If you ride a mountain bike or any kind of tire that has a very low psi rating, a high-volume, low-pressure pump may be a better choice to take on the trail with you. The Lezyne Alloy Drive is the equivalent of the Pressure Drive for mountain bike tires.
Lezyne also provides a two-year warranty that covers manufacturer defects, and you can replace worn-out O-rings and the like with replacement parts from the Lezyne site.
This sleek, pocketable, minimalistic tool gets most jobs done.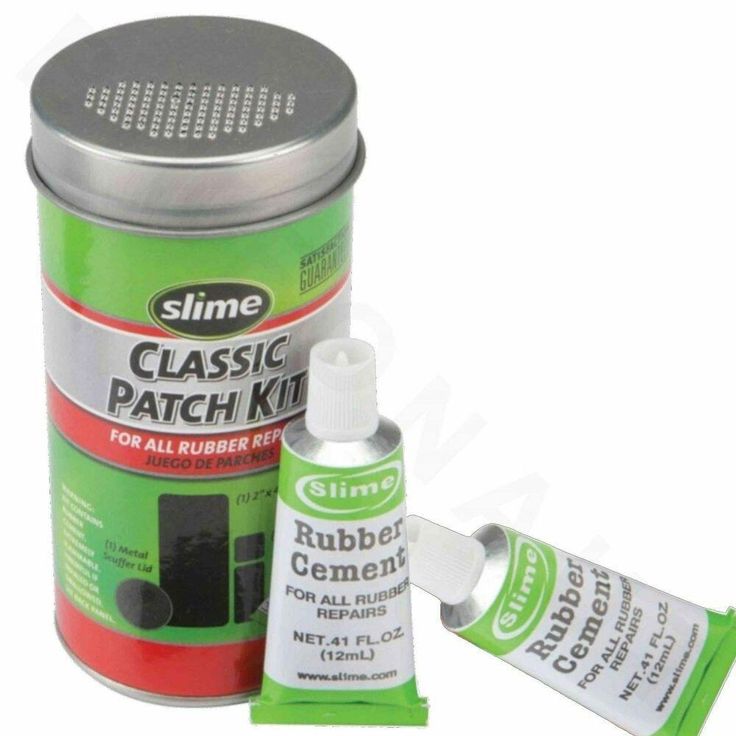
Writer Peter Flax, the former editor-in-chief of Bicycling magazine, rode over 1,000 miles and tested 15 tools for our now-archived full-length guide to multi-tools, and he concluded the Topeak Mini 9 is the best for casual cyclists. It’s tiny, it’s light, it’s easier to get some leverage with than other tools that have different designs. It’s not meant for serious wrenching on your bike, but it’s good for on-the-fly adjustments.
It includes nine tools: seven hex bolts, one torx bolt (the star-shaped one), and a Phillips screwdriver (also the star-shaped one). Like Peter says in our guide, if you have a newer mountain bike or road bike it pays to take a quick look at what types of tools you need, as torx bolts are becoming more common. And a quick glance at the bottom of your shoes or derailleur bolts will confirm if a Phillips head is the right choice.
Otherwise, this tool should serve the average commuter well. Specifically, we think you’ll find the size 4, 5, and 6 hex keys, extremely common sizes in bicycles, very helpful.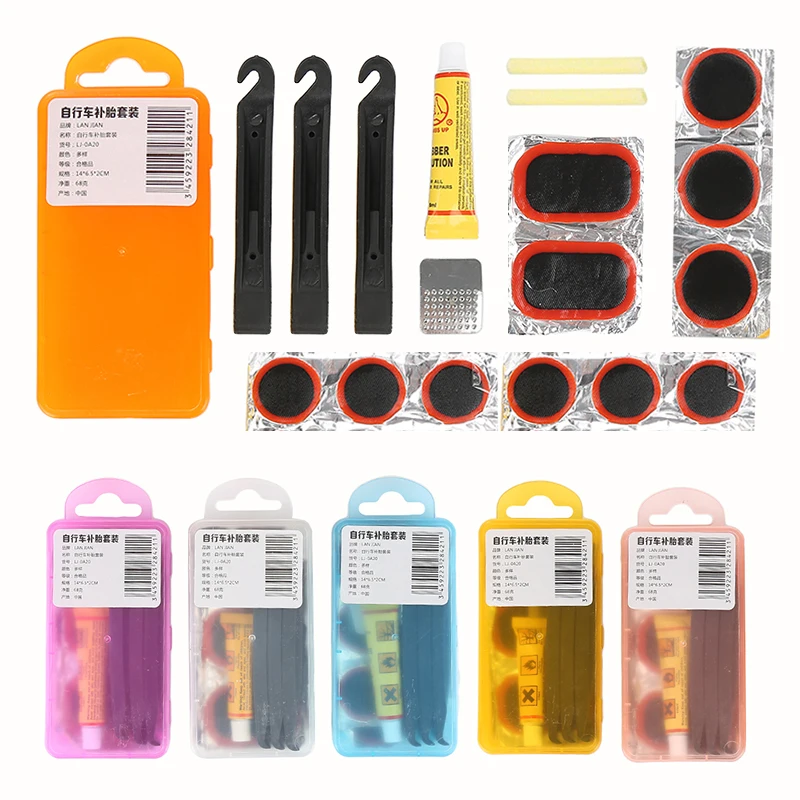 They’ll adjust seat-post heights or let you remove the saddle entirely, or tighten a loose stem that’s always rattling apart. The Phillips head will tighten loose bolts on shoe cleats or the rear derailleur. The most common use for the torx would be adjusting disc brakes if you have ’em.
Constructed identically to models that cost twice as much, this bag comes in three sizes. The medium one will hold a spare tube, a pair of tire levels, and a multi-tool—most of what you need to get back on your way.
$14* from Amazon
*At the time of publishing, the price was $16.
The BV Bicycle Strap-On Saddle Bag is the best option for your money.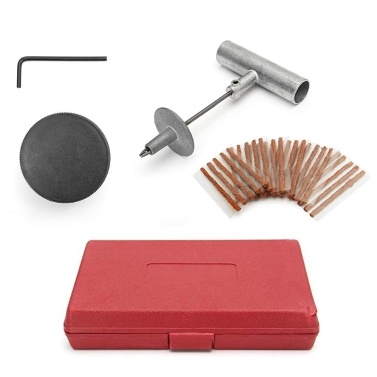 Sure, it’s some random brand, but after we compared eight popular models, we noticed it’s identical to the better-known versions, has less Velcro (which is a big advantage), and costs half as much. (It comes in three sizes: small, medium, and large.)
A size medium BV seat bag (left), and the astonishingly similar-looking Serfas Speed Bag (also a medium). Photo: Kyle Fitzgerald
This time, the Serfas is on the left—see its Velcro strap sticking up, ready to abrade your shorts? Photo: Kyle Fitzgerald
A size medium BV seat bag (left), and the astonishingly similar-looking Serfas Speed Bag (also a medium). Photo: Kyle Fitzgerald
On the left in the photo above is the medium-size version of our pick, the BV, and on the right the Serfas Speed Bag, another option much loved by Amazon users. They’re both made from the same pattern and same materials, down to the mesh and key fob in the interior. The BV, however, is half the price.
One key difference, which you can see in the photo, is that the BV uses buckles instead of Velcro on the straps that attach the bag to the underside of the saddle, something much more important than it may seem. A pair of bike shorts (or any shorts) will shred quickly if they’re rubbing against that tiny bit of Velcro protruding from the side of the bag, and the Velcro sure to destroy expensive sweaters and gym clothes if you stuff the bag into your backpack or messenger bag.
The fabric attachment system is low-tech, but that seems to be helpful, as it can adapt to seat rails of different widths. One fancier option you might see on more expensive seat bags is a quick-release mount that you install under your saddle. But those have a fixed width, and therefore can fit under seats with only those exact specs. Brooks saddles, for example, are too wide for such mounts.
Still, these things are fairly standardized and if you have a newer bike it’s likely you’ll have no issue getting a quick release under there if you want—but check your bike first. And as such, we’ve found the adaptability of the strap mount to be a great advantage.
Which size is right for you? It depends. Seat bags aren’t supposed to carry windbreakers or bike locks or animals.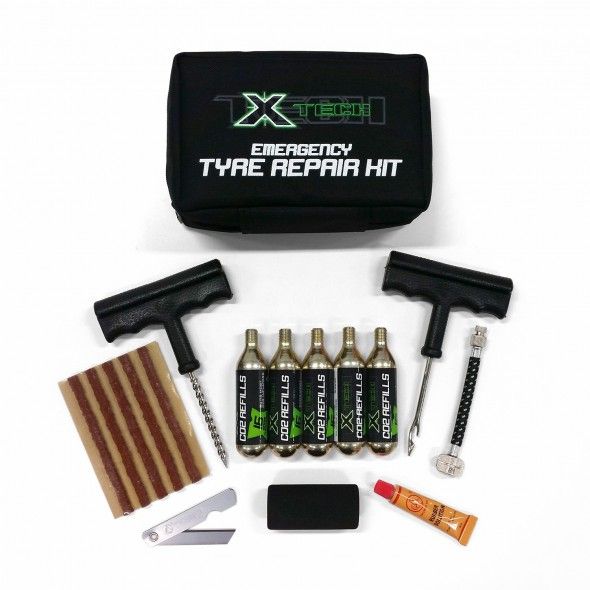 They are meant for emergency tools.
This (see the photo above) is how your patch supplies fit into the size medium BV seat bag, or 100ish cubic inches. Tube sizes vary widely—this one is smallish, for a 700c road tire. A 26-inch tire, like you would see on a hybrid bike, is much bigger.
In spite of seat bags’ diminutive size, a lot of people really, really want them to accommodate more stuff. If that’s you, the medium and large seat bag (but not the small) have an extendable gill at the bottom, which you can see in the image up top. It zips open to create more room. With it unzipped, we could cram a wallet, keys, and phone inside the medium as well.
One flaw? Seat bags can block taillights. This one has a loop on the outside you can clip your blinker to. Seat bags also typically do not fit hand pumps. No big deal, just toss the pump into your bag, stick it in a jersey pocket, or mount it to your bike (the Lezyne Pressure Drive comes with a mount).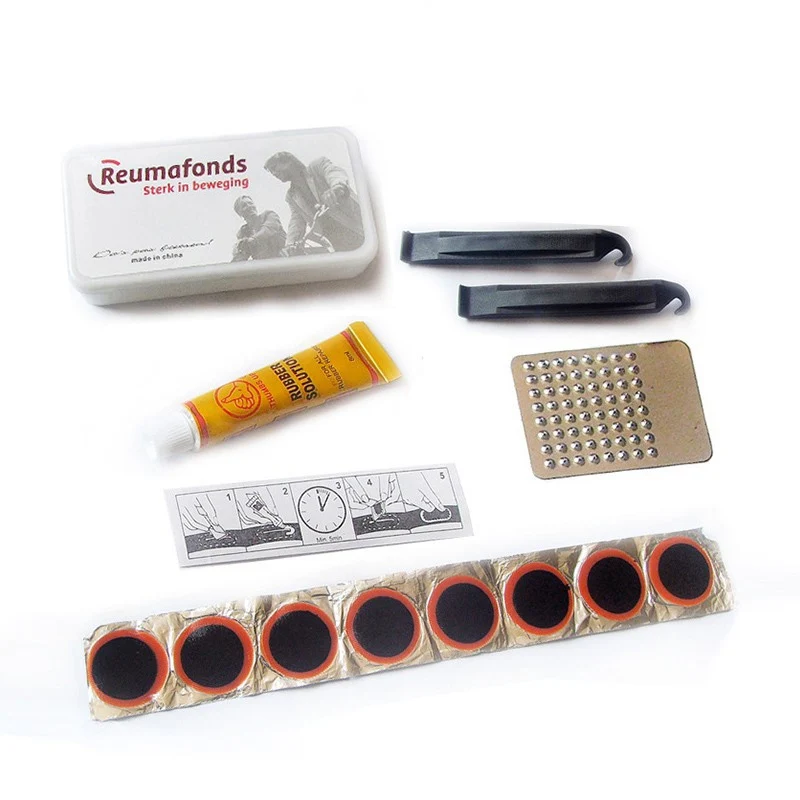
Many bikes, including older models and track bikes, have bolts attaching the wheels to the frame instead of quick-release levers. If your wheels are bolted on, in most cases you’ll need a 15 mm wrench to remove them. We didn’t test wrenches, because there aren’t that many tiny 15 mm wrenches, but the GearWrench 15mm 12-Point Stubby Combination Wrench is perfect for stuffing into a flat kit, and Amazon reviewers seem to think the same. Our experts also recommended the Surly Jethro Tule, but it’s expensive and harder to find.
First, I researched.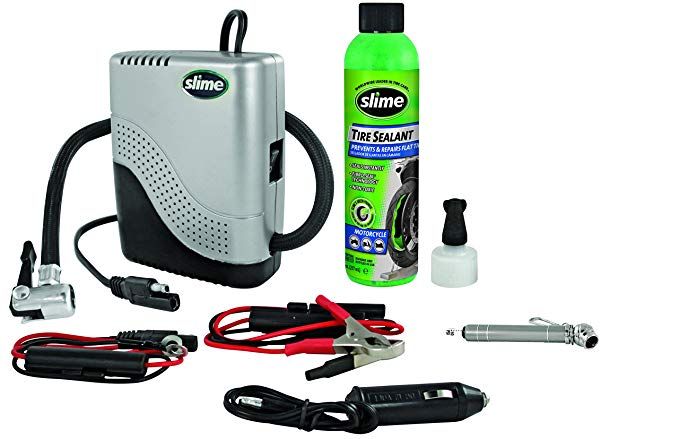 I looked at Amazon’s top-rated products and their user reviews. Then I consulted Bicycling magazine, Gear Junkie, Bike Radar, Outside, and the occasional bit by Lennard Zinn via Velonews. I also found some worthwhile discussions at Bike Forums. Then I spoke with four experts, Ramona Marks, Scott Karoly, Cari Z, and Alison Tetrick, riders from all across the spectrum, who tour, repair, and race.
We used paint pens to keep track of which patches we used on which tubes, but they also come in handy to mark where the actual hole is once you’ve located it. Photo: Eve O’Neill
The array of levers we tested, from left, were the Park Tool TL-1 lever, Pedro’s Tire Lever, Quik Stik, and the Crankbrothers Speedier Lever. Photo: Eve O’Neill
Here, the collection of handheld pumps we tested. Photo: Eve O’Neill
This is where the rubber met the road … or the tire lever met the rubber. Photo: Eve O’Neill
We used paint pens to keep track of which patches we used on which tubes, but they also come in handy to mark where the actual hole is once you’ve located it.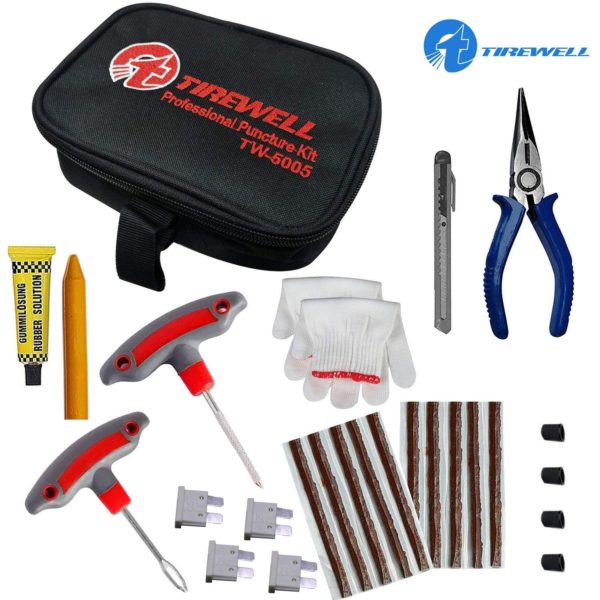 Photo: Eve O’Neill
Based on what we found, we chose the most relevant items and used them all. To test patches, I repaired holes using four different types of patches, from Novara (REI’s now-discontinued house brand), Park Tool, and Rema. Patching a tube isn’t hard but there are a few tricks, and the key was attention to detail and patience. I was extremely diligent in following proper patch procedure, which includes a thorough sanding of the entire area to be patched (for max stickiness) and properly letting the vulcanizer dry on both surfaces before applying. For the peel-and-stick patches, I went so far as to prep the area with canned air to ensure as tight a seal as we could possibly muster.
I tested four popular levers, including the Crankbrothers Speedier Lever, a Quik Stik, Pedro’s, and the ubiquitous blue Park Tool. We changed four different types of tires (mountain, hybrid, road, and track) with four different psi levels (40, 60, 90, 110) and watched how each performed.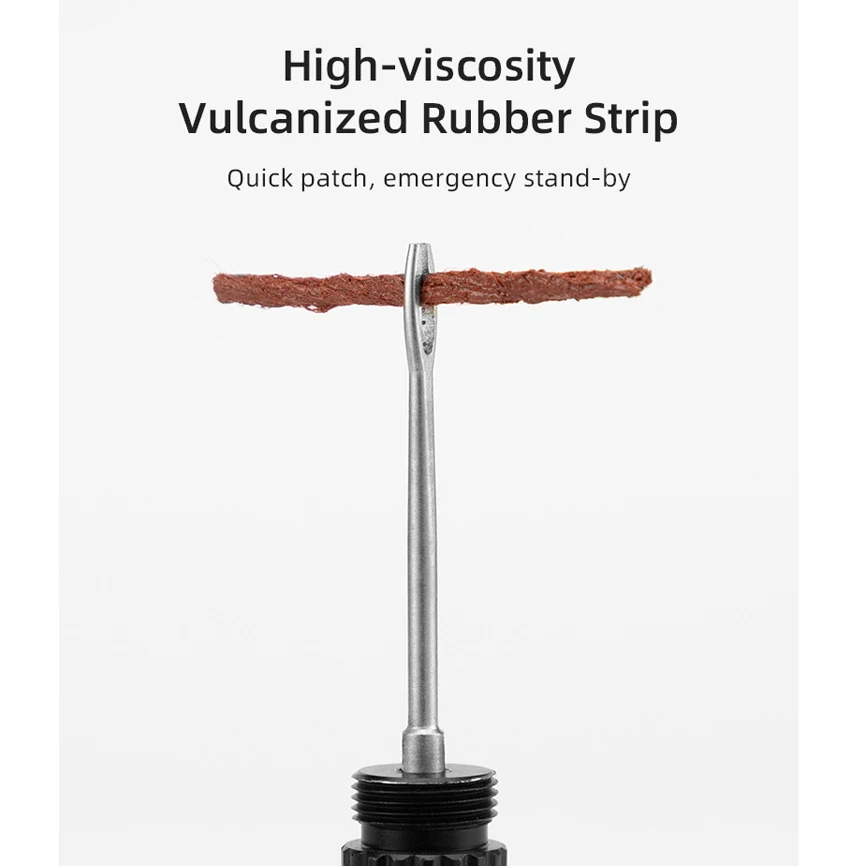
I chose to test these four levers after eliminating everything out there that’s not appropriate for a roadside emergency kit. That includes metal levers. They’re durable, but according to touring cyclist Ramona Marks, “Metal tire levers are trouble. It’s possible to rip your tube even with the plastic ones if you’re not careful, so metal is out of the question, and you don’t want to put pressure against the wheel rim with a metal lever.”
If you do, you’re asking for a bent rim, which means buying a new wheel. We also eliminated metal-core levers, which are metal levers with a plastic outside coating. I eliminated everything that looked cheap, bendable, or breakable. I also eliminated long, large single levers that would be more comfortable sitting on your at-home tool bench and difficult to carry on a ride.
We bumped a lot of product out of the test pool for hand pumps, too. You don’t need a lot of specialized design when it comes to a hand pump, so we set aside carbon models and hand pumps with two-stage designs.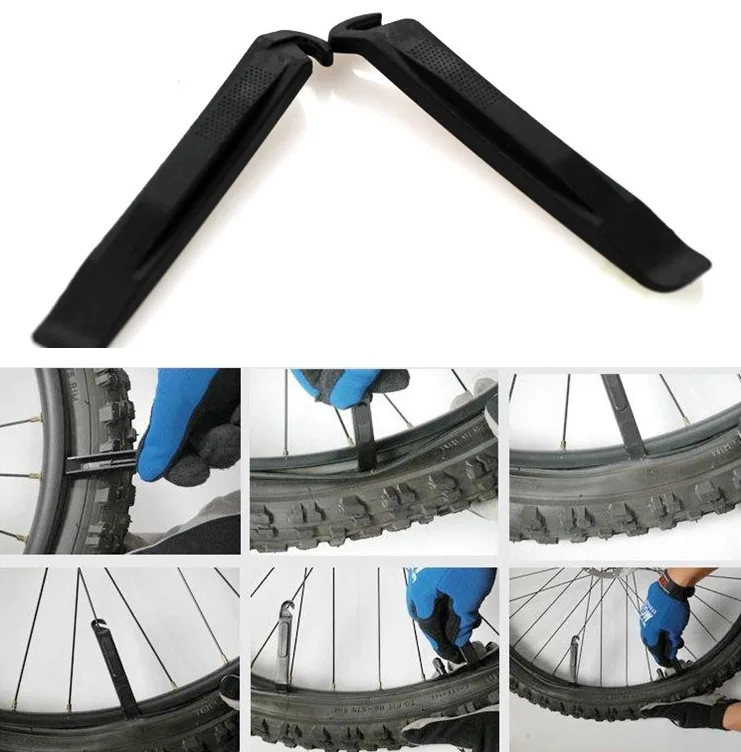 We also didn’t consider CO2 cartridges for this guide, though I’m 100 percent aware that there are commuters who use and love them.
First, carbon. You already know you don’t need it for your casual weekend pursuits, because you’re not counting ounces the way a professional road racer would. But to quote a years-old article from VeloNews, “Remember that professional athletes operate in an entirely different environment than the rest of us. They are all very close to each other in terms of fitness, and they are also all very close to being the absolute best a human being can be. In short, you’re much better off upgrading your legs and dropping body fat through proper training and diet.”
As a tester and editor subjected to a relentless onslaught of press releases highlighting the benefits of new, lightweight, (and expensive) gear, this reverse sentiment delighted me. It’s honest, and accurate.
Next, two-stage designs. There are two types of hand pump. HV (high-volume) pumps, ones that pump a lot of air but don’t have a lot of pressure, which are used for mountain bikes.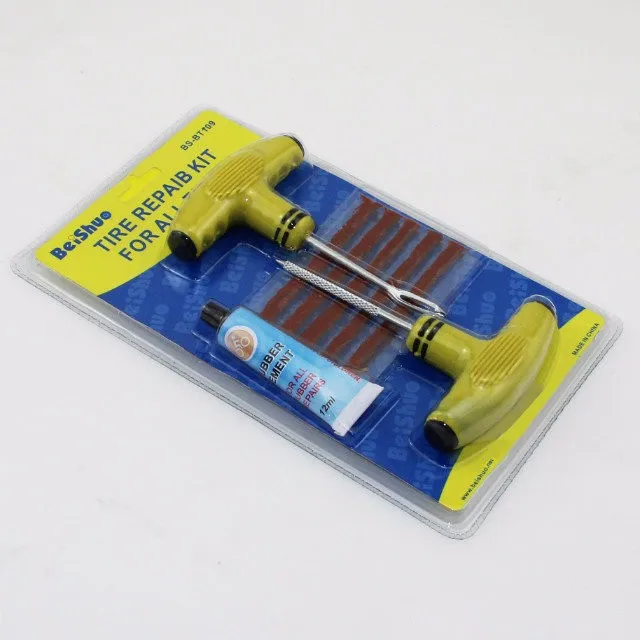 The Lezyne Alloy Drive is a high-volume pump. Then there are HP (high-pressure) pumps, which pump a small amount of air but can inflate to very high pressures and are used on road bikes. Our top pick is a high-pressure pump.
A two-stage hand pump tries to marry the best features of both types of pumps: the quick inflation of high volume that can achieve the higher psi ranges of high pressure. But to steal a quote from our floor pump guide, “You pump eight times or you pump 10 times—what does it matter?” That’s a quote from Daimeon Shanks, who at the time was a mechanic for the Garmin-Sharp pro tour team—that’s right, Tour de France, baby.
Basically, you’re stuck with toggling between systems for the advantage of a few pumps, and it doesn’t seem worth it. In the original iteration of this guide, I tested 12 pumps and inflated three different tires completely full to their psi rating, and measured how many pumps it took. Yasuda did similarly for his revamped full-length exploration.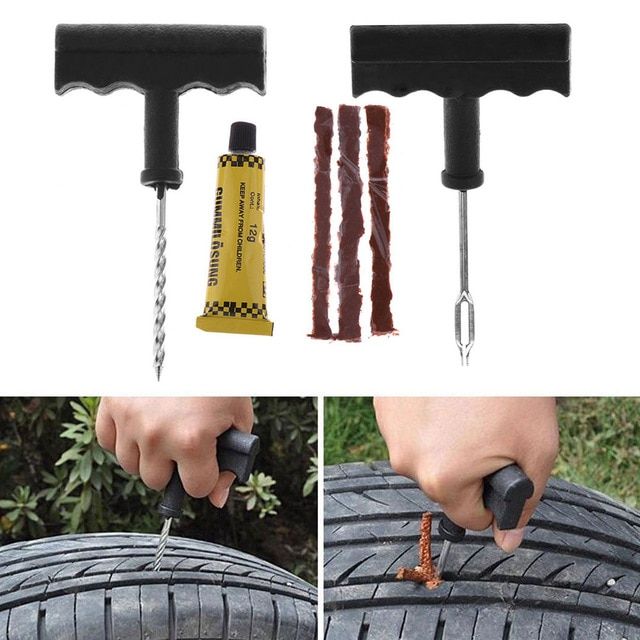 That’s 36 tires, and I can guarantee there is no difference between 50 pumps and 100—it’s all terrible.
Finally, comparing seat bags was fun. The identical construction of every model revealed itself immediately. That always feels like a win. Then we used them: attached them all to the bike, inspected them for nefarious Velcro, and vetted basic usability to determine the best option.
We like, and recommend, the Crankbrothers Speedier Lever. If you have to pick only one, go with the Pedro’s. But if you want a backup or have some hard tires to unseat, Crankbrothers is a great choice. It’s only one lever (as opposed to a set of two, like the Pedro’s) and it’s longer, so we didn’t pick it over the Pedro’s for portability reasons. But it’s an excellent tool. It has a wide handle you can grip with your whole hand.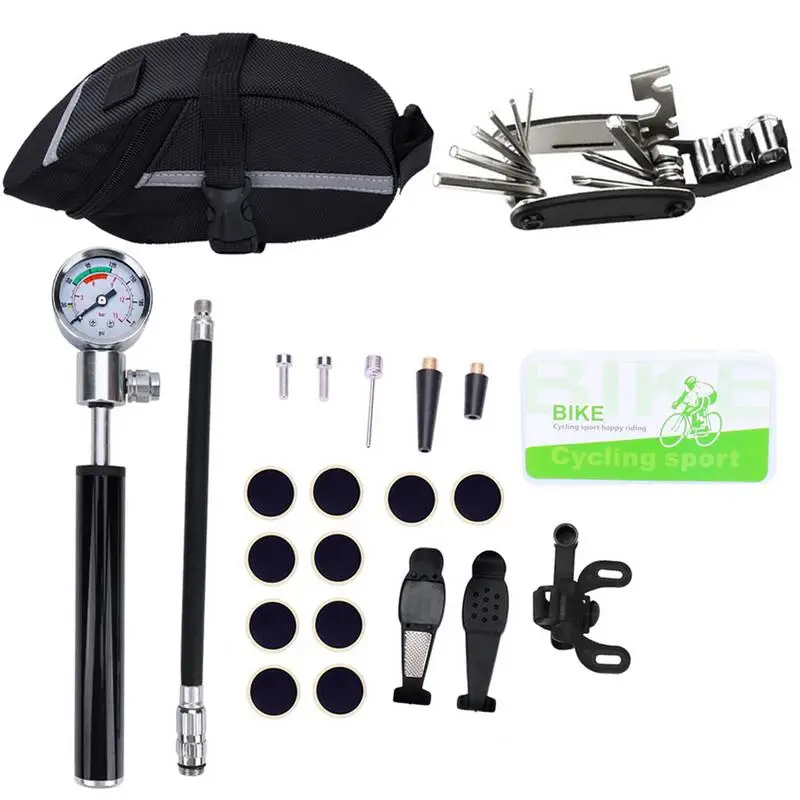 Like the Pedro’s, the tip is the right size and shape to prevent slipping and stay in place, and the shape of the handle happens to protect your knuckles if you do slip. Even in situations where I didn’t need it, I liked having it because it made me feel like a pro.
Park Tool’s TL-1 Levers were Pedro’s stiffest competition because they’re so pervasive, but not from a literal stiffness standpoint. Bike shop employees had plenty of tales of broken Park Tools—they had none about the Pedro’s. In our testing the Park Tool levers slipped, too. Park Tool released a new version, the TL-1.2 Levers, which we’ll take a look at.
People who use Quik Stiks love them. Ours removed most tires with the ease that proponents swear by. But they struggled with the road tires. The tips aren’t as broad or chisel-like as the Crankbrothers Speedier Lever’s and are harder to work in tight situations.
The Serfas Speed Bag has the same design as the BV, but is about twice as expensive.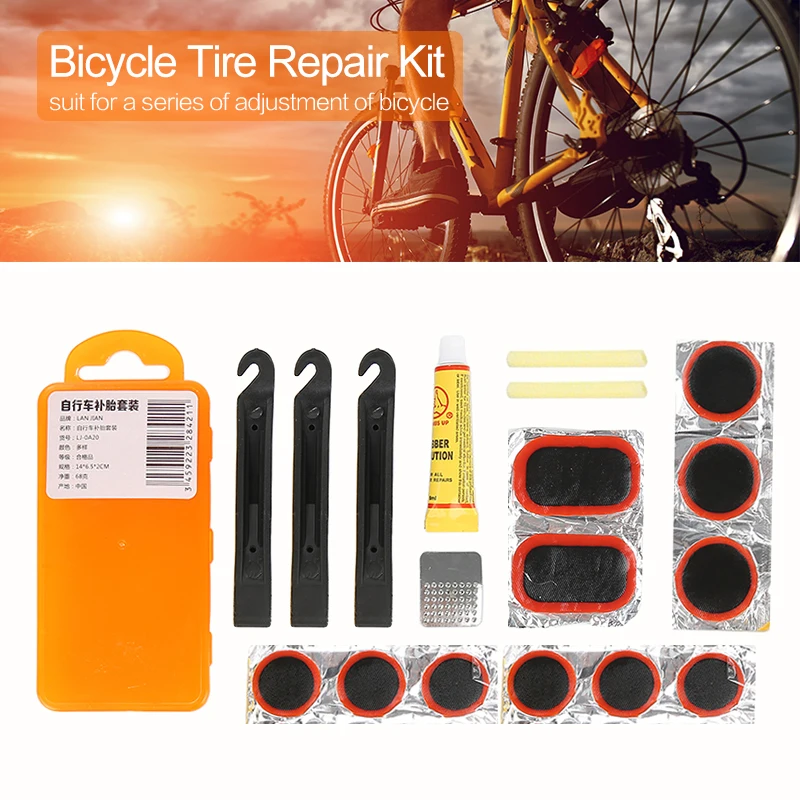 It also attaches with Velcro, which isn’t ideal.
Topeak’s Aero Wedge Pack is a slightly different shape and size than the other bags we tested, and it worked fine, but it’s more expensive and didn’t have anything better to offer than our pick.
The mount for the Topeak Aero Wedge with QuickClick did fit my seat, and the device worked as advertised. But for compatibility reasons, we like the basic models for most people.
I used the Lezyne Micro Caddy to see if a size below small would be an option for commuters, but it’s not big enough to hold larger tubes, the sleeves inside of it for levers can’t fit the wide Pedro’s, and it couldn’t fit my multi-tool (I have a pretty big one). Small is good, but this is too small, unless you’re a road bike rider.
I love the design of the Lezyne Road Caddy, which opens like a clamshell to reveal your repair kit and then folds away into the perfect shape to store in a bag or backpack. But again, this is designed specifically for road bikes and can’t fit a larger tube, restricting its practicality.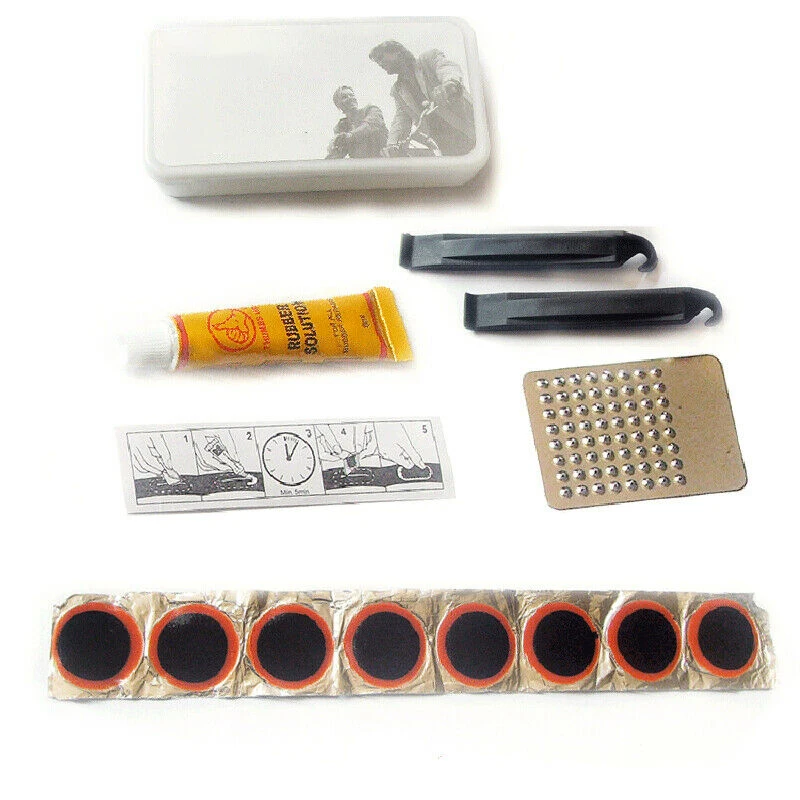
This article was edited by Christine Ryan.
Cari Z, then mechanic at Bay Area Bikes and former messenger, interview
Ramona Marks, bicycle tourer and former mechanic, interview
Alison Tetrick, pro cyclist, interview
Stephen Regenold, Hose-Equipped Mini Bike Pump Put to Test, Gear Junkie, July 5, 2013
Lennard Zinn, Technical FAQ with Lennard Zinn: Blowing up tires, taking them off, and more, Velonews, October 19, 2010
Lennard Zinn, Technical Q&A with Lennard Zinn – Large molecules and short frames, Velonews, February 3, 2009
Aaron Gulley, 8 Biking Essentials under $6, Outside, September 6, 2013
Jim Gourley, Bike weight and the myth of ‘fast’ bikes, Velo News, August 6, 2014
Scott Karoly, Alameda Bicycle, in-person interview, June 1, 2014
Eve O'Neill
Eve O'Neill is a former senior staff writer reporting on travel and outdoors at Wirecutter. She can remember the titles on her childhood bookshelf that set her in this direction: Into Thin Air, On The Road, The Call of the Wild. She has always been drawn to ideas about how to relate to, and play in, the wilderness.
by Eve O'Neill
So you’ve bought a bike (or dug your old one out of the garage). Here are some essential but inexpensive accessories to keep you safe and happy on the road.
by Christine Ryan
After 30-plus hours of research and testing, we think the Delta Cycle Michelangelo Gravity Stand is the best bike rack for storing bikes in limited-space homes.
by Eve O'Neill
After spending three years testing dozens of panniers, we’ve chosen six that’ll be great for daily duty no matter what you’re toting or where you’re going.
by Wirecutter Staff
Hard-core bike commuters share seven items—from storm-worthy gloves to rugged tires—that keep them (and their stuff) safe and dry in the winter.
Wirecutter is the product recommendation service from The New York Times. Our journalists combine independent research with (occasionally) over-the-top testing to save people time, energy and money when making buying decisions. Whether it's finding great products or discovering helpful advice, we'll help you get it right (the first time). Subscribe now for unlimited access.
Dismiss
Cycling is one of the greatest ways to get around. After getting a bike, you will also have to invest in tools like a bike helmet, a mirror, a pump, and a bike tire repair kit. Of course, these aren't all necessary if you don't ride your bike constantly. But if you do, it's important to be prepared for all sorts of unpredictable situations. And what could be more unpredictable than ending up with a flat tire?
Brand | Details |
|---|---|
DAWAY A35 Bike Repair Kit |
|
GUSODOR Bicycle Repair Bag |
|
Vibrelli Mini Bike Pump |
|
Kitbest Mini Bike Pump & Tire Puncture Repair Kit |
|
Giwil Mini Bike Pump with Repair Tool Kit |
|
YOUYOUTE Bike Tire Repair Kit |
|
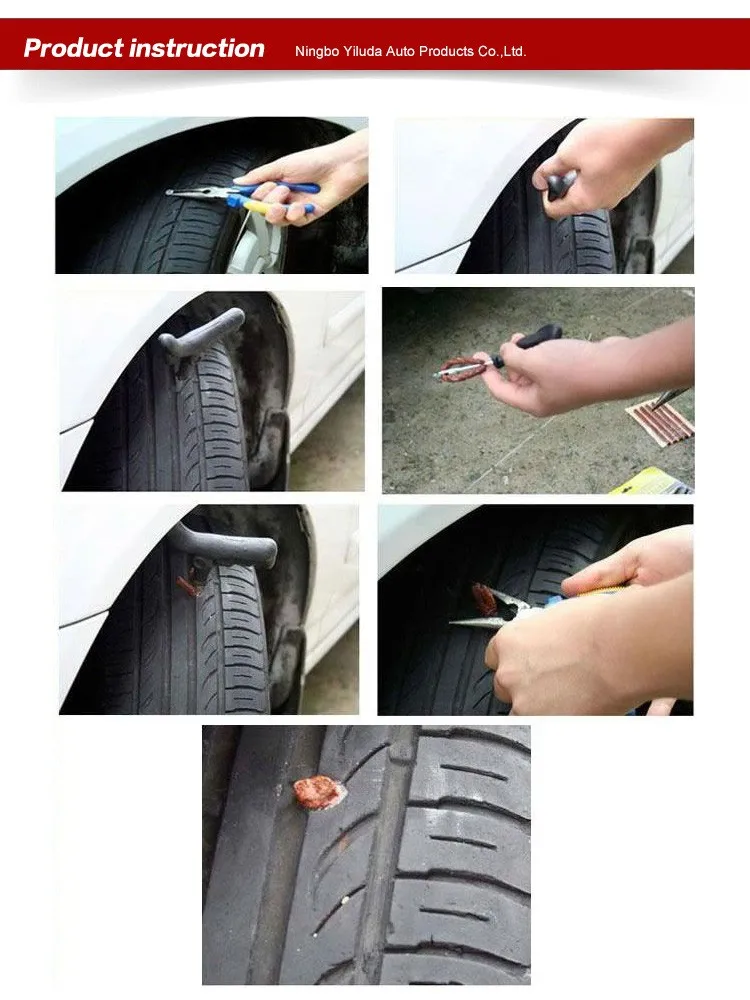
Before we move on to the best flat tire repair kits currently found on the market, you should know the steps required to fix a tire:
 Make sure that you pull over to the side of the road, to a safe place with enough room for you to work on the flat. Using the multi-tool inside your bike repair kit, remove the wheel. If the flat tire is on the back wheel, you will have to move the chain to the smallest sprocket. Use the quick release so you can take off the wheel. If bolts are keeping the wheel in place, your multi tool should have a wrench that allows you to unscrew the bolts.
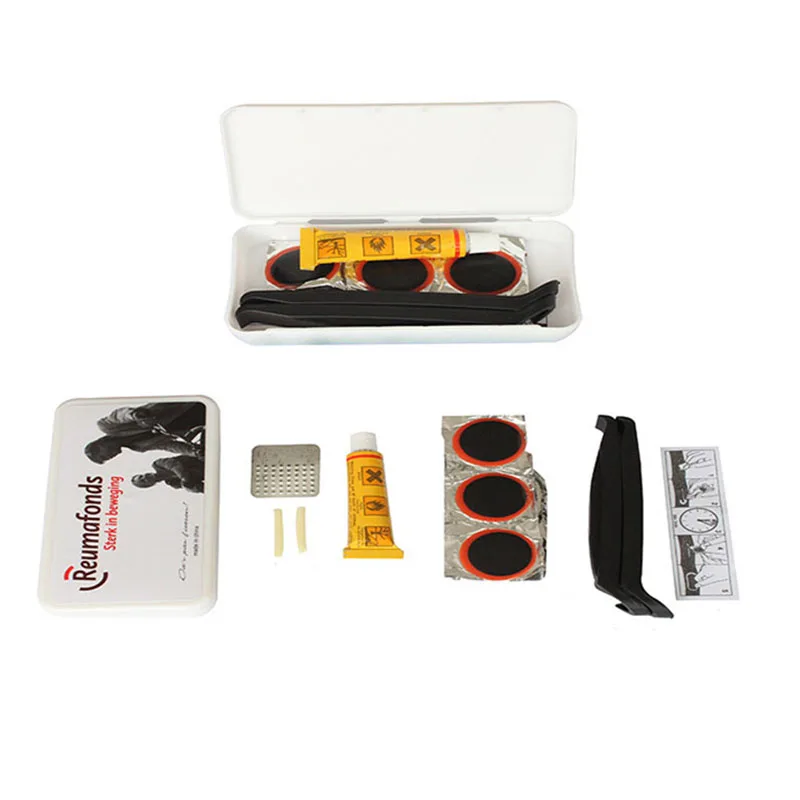
 Then, put the tire back on the wheel. Make sure that everything is back in its original place and should be safe to continue your journey.
Long story short, the best bicycle tire repair kit should have at least 2 tire levers, a multi-tool, a hand pump, and a patch kit. A white marker would be nice, but it's not mandatory. If you have a spare tube, that's even better. That would allow you to change the punctured tube with the spare and carry on with your cycling. You can identify the puncture and fix the flat tube at home.
As you're shopping for a bike repair kit, it's important to look out for the ones that contain all the necessary bike tools required. While a mini pump and patches can do the trick, you will find it really annoying and frustrating not having tire try tools to remove the tube, and you will definitely need multi-tools to remove bolted wheels. Consider repair kits that can also fix other problems with the bike.
 66 x 3.94 inches (bike frame bag measurements)
The DAWAY A35 repair kit contains everything you need to fix a flat tire for quite a good investment. The 2 centerpieces of the pack are the mini bike pump and the 16-in-1 multi-tool. The multi-tool is fully equipped with all the tools needed to get your tire fixed and get you safely to your destination: a Phillips/slot type screwdrivers, Allen wrench/inner hex wrench (2, 2.5, 3, 4, 5, 6 mm), a socket spanner (8, 9, 10 mm), a flat wrench (8 mm, 10 mm, 15 mm, 14 GE) and a sleeve extension rod. In addition to all that, DAWAY threw in a dog bone hex wrench, which is suitable for nut sizes that range between 6 and 15 mm.
The mini pump is made of alloy steel and ABS plastic and measures 7.3 inches in length when folded. When fully extended, it goes all the way up to 28 cm, which should allow for decent air pumping. It weighs less than 3 ounces, so your hands won't feel worn out after inflating the tire. It is suitable for both Presta and Schrader valves and almost any type of bike. A ball needle valve is included, which is something you don't see very often on a mini pump. The maximum pressure of the pump is 120 PSI. The pump also comes with a mounting bracket and a dust cap that keeps the valve protected.
The DAWAY tire repair kit also comes with one metal rasp, 2 plastic tire levers (4.5 inches), and 8 glueless tire tube patches. All these items are packed into a convenient bag to store underneath your saddle.
Pros
Cons
Click For Price
 87 x 3.94 x 3.94 inches
The GUSODOR kit seems to have every tool you'll need to save yourself from being stuck on the side of the road with a flat tire. But be aware that the tools included are good for fixing flat tires...and that's about it. You can't really fix anything else with what's included in the package.
The kit comprises one bike pump, a multi-tool, 3 tire levers, a set of glueless patches, all wrapped up in a very fancy and compact bag. The bag is easily stored underneath your saddle, without getting in the way as you cycle. The multi-tool contains hex key wrenches (2, 3, 4, 5, 6 mm), a cross screwdriver, and a straight screwdriver. The patches take about 30 seconds to stick firmly.
The mini pumps work with both Schrader and Presta valves, as it is universal. Each side of the hose is suitable for each of these 2 valves. While we can't say which maximum pressure the mini pump supports, we can tell you that it doesn't feature a gauge.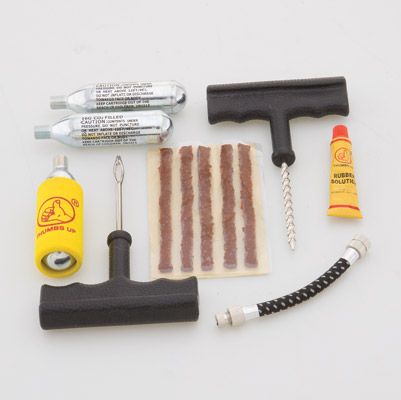
Pros
Cons
Click For Price
Vibrelli has always been one of our favorite manufacturers when it comes to bike pumps. But does the tire repair kit deliver? First of all, let's see what's inside the package. Upon ordering this kit, you will receive the Vibrelli mini pump and a pocket-sized pack with glueless puncture repair patches. The mini pump can be mounted on the frame using the included bracket. It has a maximum pressure of 120 PSI and is compatible with Presta and Schrader valves. The Super Fit Clever Valve makes it easy to connect to both valves without having to switch stuff around. The telescopic barrel extends to a maximum of 17 inches for faster pumping. It includes a sports ball needle, which is a nice addition but not something extremely useful when you're stuck on the side of the road and have to fix a flat tire.
Do we like the Vibrelli pump? Yes. Would we buy the Vibrelli kit and rely on it to fix a flat tire? No. It lacks a lot of important tools, like wrenches and tire levels. While you could probably patch the tire up with the included patches, taking the tube off and finding the puncture will be awful.
Pros
Cons
Click For Price
 4 x 2.4 x 3.5 inches
The multi-tool that comes inside the Kitbest package comes with 6 different hex wrenches, 4 types of flat wrenches, 3 socket spanners, 2 screwdrivers, and a sleeve extension rod. Aside from the multi-tool, the package also contains one metal rasp, 2 bike levers, and 6 glueless patches. As a bonus, Kitbest has thrown in a 10-in-1 hex wrench that fits nuts measuring from 6 to 15 mm.
The mini bike pump has a maximum pressure of 100 PSI and is made of PVC. The pump is 7.7 inches long, making it one of the shortest and most compact bike pumps out there. However, the pipe quality is questionable. There's a chance it will stop working long before your bike is securely filled. The items are all packed in a bike bag that features a Velcro strap for easier securing.
Pros
Cons
Click For Price
Giwil seems to understand what a complete tire repair kit looks like. Inside the package, you will find a mini bike pump with a frame mount and a strap, a screwdriver wrench, tie wraps, 2 tire pry bars, a steel filing sheet, and 2 nuts. The included multi-tool comes with Allen wrenches (2, 2.5, 3, 4, 5, and 6 mm), socket spanners (8, 9, and 10 mm), flat wrenches (8, 10, and 15 mm), a Phillips and a slot type screwdriver, a sleeve extension rod and a spoke wrench. It also features a glueless puncture repair kit.
The mini bike pump is pretty much standard. A ball needle is included, although not really helpful when you need to fix a flat tire. The maximum pressure is 120 PSI, and a dust cap covers the Presta and Schrader adaptor.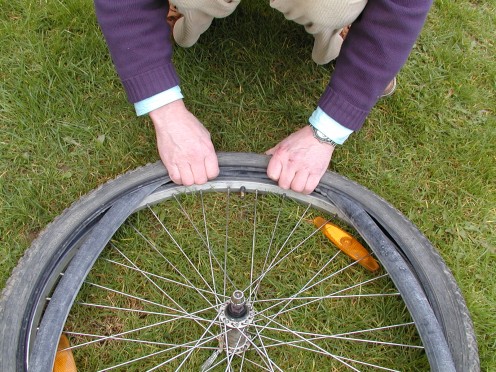 Overall, it leaves you wondering if these tools kits contain the same products with different brand tags.
Pros
Cons
Click For Price
Last but not least, we wanted to see what the YOUYOUTE kit has to offer. At first glance, the kit seems to contain pretty much everything you need to fix a flat bike tire. It includes a mini bike pump with a maximum pressure of 120 PSI. It's compatible with Presta and Schrader valves.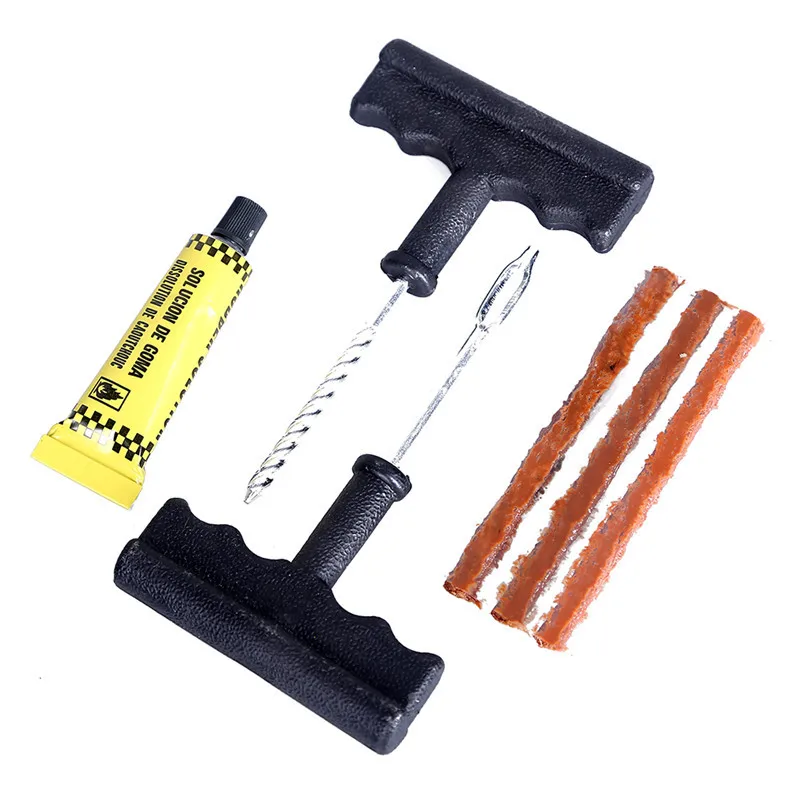 The pump comes with a mounting bracket with buckle, although it fits into the included bag. The dust cap will keep the valve protected, while the super-fit technology will ensure no air leakage while inflating the tire. When collapsed, the pump is 7.09 inches long, but it can expand to a full 18 inches. Unfortunately, the pump doesn't include a pressure gauge.
The multi-tool is made of 6 different Allen wrenches (2, 2.5, 3, 4, 5, and 6 mm), socket wrenches (8, 9, and 10 mm), flat wrenches (8, 10, and 15 mm), inner hex spanners (2, 2.5, 3, 4, 5, and 6 mm), Phillips screwdriver, socket extension rod, slot type screwdriver and spoke wrench. The package also contains 3 tire levers, a metal tire rasp, and a glueless puncture repair kit.
Pros

Cons
Click For Price
If the Vibrelli kit had included the patches and tools needed to fix a flat with as little effort as possible, it would have been our winner of the day. The pump is one of the best mini pumps on the market. But since the kit is not complete, we're going to choose the hassle-free option: the DAWAY A35. The kit provides great value for the money and comes with a 6 month warranty. The saddlebag feels extremely solid, and the reflective design makes it stand out in the dark. It has everything you'll need to fix bike tires on the go: a bike pump, a multi-tool, an included nut wrench, tire levers and glueless patches.
A ball needle is also included, although it won't be of much assistance for fixing a flat tire. Finally, the mounting bracket is a cool feature if you want to keep the pump fixed on the bike's frame, but mounting the bracket seems almost futile since it fits in the tool bag.
Home Blog Izhevsk Transport Tools and spare parts for cycling: what to take with you and when
Author: IFORGET • Date of publication: 18.03.2020
Inevitability a flat tire or a mechanical bike problem is frustrating, especially if you're ill-equipped to deal with it. Having the right tools and learning how to use them will make repairs easier and faster, and get you on the road in no time.
Having mechanical problems with your bike is less common than a flat tire, but can affect your ride to a much greater extent. Loose handlebars, a dropped seatpost, rubbing brakes: these are just some of the common problems that multi-tools or a small stock of parts can fix in no time.
You can help yourself ahead of time by making sure your bike is in the best working condition before rolling out the door. What should be checked first?
 Bicycle tubes naturally lose air over time, so keeping them at optimum pressure will reduce the risk of pinching. The recommended pressure (PSI) for your tires will be written on the sidewall. If you're unsure, check with your local bike shop and they'll be able to advise.
 Depending on what type of bike you have, match your spare parts kit to suit your trip.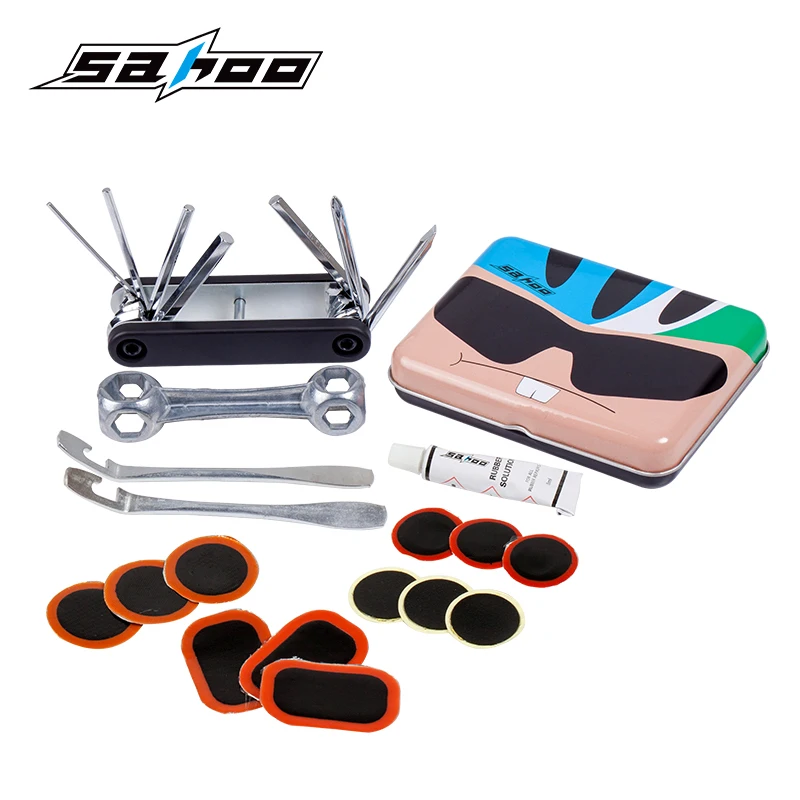 Online stores have a huge catalog of parts for mountain bikes, road bikes, city bikes, etc. Regardless of discipline, your basic spare parts kit should contain the following items:
Be the first to comment
[26.05.2022]
| [25.05.2022] Types and features of installing car covers on chairsFor any car owner, a car is a family member that needs to be taken care of. This includes the purchase of car seat covers. They are designed to protect the chair from wear and dirt.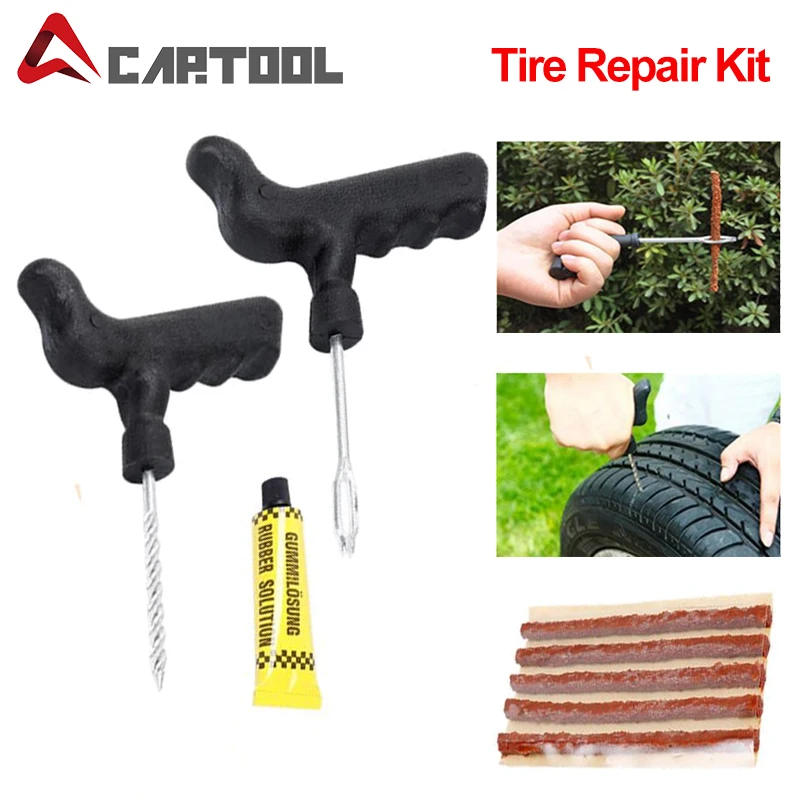 In addition, covers can instantly give the cabin comfort, a neat and well-groomed look. Types of car seat covers All covers produced for cars can be conditionally divided ... In addition, covers can instantly give the cabin comfort, a neat and well-groomed look. Types of car seat covers All covers produced for cars can be conditionally divided ... |
| [23.05.2022] Autodiagnostics with a home visit: what is it and who needs it?The appearance of the "Check Engine" icon on the dashboard is an alarm signal for the driver. Alas, an urgent check with the use of special equipment is required. If it is not possible to go to the service station, auto-diagnostics will come to the rescue with a home visit on the first call. This is an "ambulance" for any car owner. By the way, it is advisable to call auto-diagnostics in a number of other cases. N... |
| [23.05.2022] Air cargo transportationNo state can exist without a well-functioning transport and logistics system.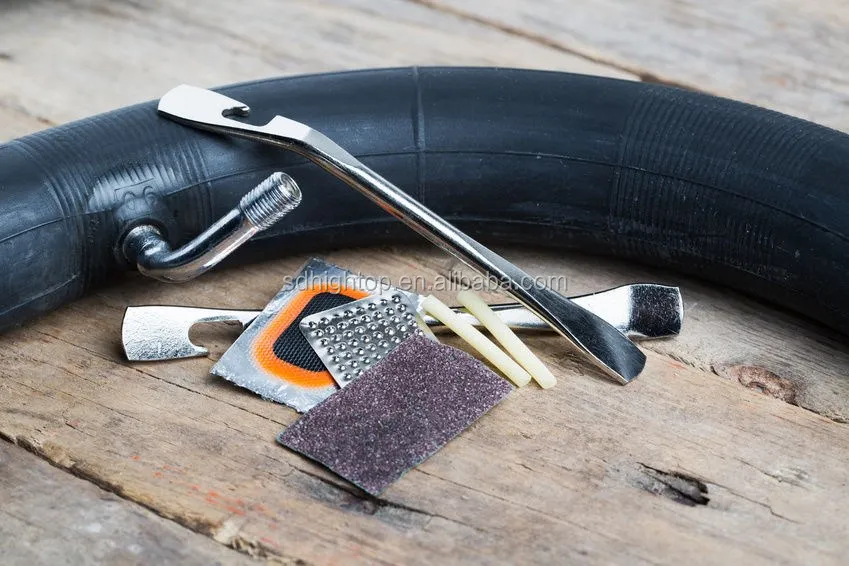 Transportation of goods is a service of particular importance not only for government agencies, but also for individuals, because everyone uses the services of transport companies. But some use trucking services occasionally, others on a regular basis. Features of air transportation Air Freight... Transportation of goods is a service of particular importance not only for government agencies, but also for individuals, because everyone uses the services of transport companies. But some use trucking services occasionally, others on a regular basis. Features of air transportation Air Freight... |
| [16.05.2022] StudioTuning is popular with customers from MoscowEven in the case of high-end cars, the interior loses its visual appeal over time during operation. To simple mechanical wear, it is worth adding inaccurate actions of passengers cutting upholstery, burning through it or seriously soiling it. In all these cases, it is worth contacting professionals who have the experience and capabilities to radically update the interior of the "iron ... |
Contents
A punctured bicycle wheel is perhaps the most common problem that a biker can face.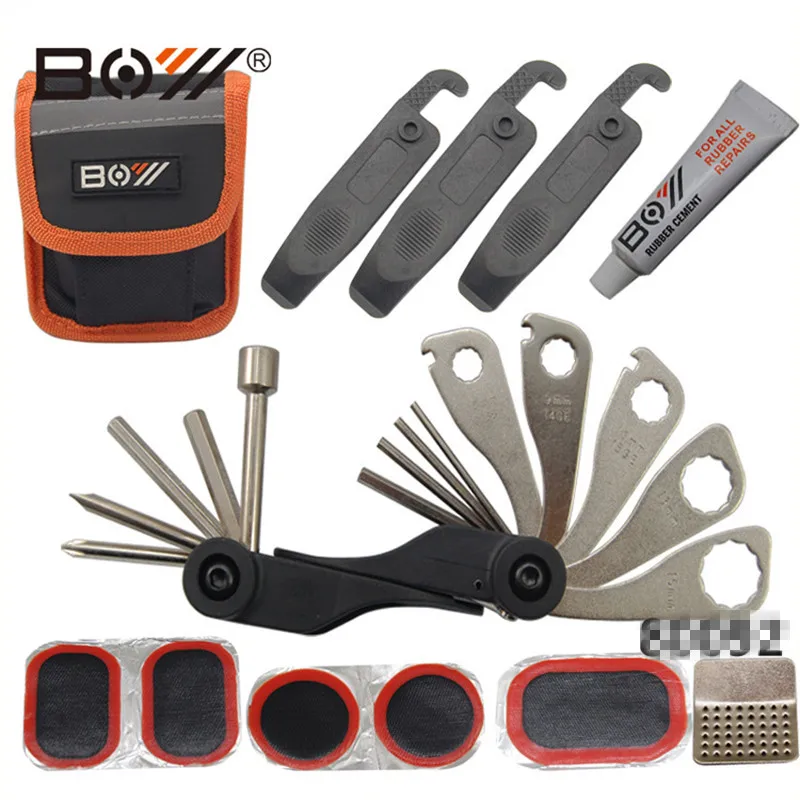 This is due to two main Russian troubles: roads like "so that the enemy tank does not pass" and fools, thanks to which broken glass, bent nails and other sharp objects are on the ground.
Driving with a flat tire is not recommended, especially if the cyclist is heavier than a 40 kg phyton. And it's not just that the bike will become less manageable, and the ride is unsafe. The tire that has lost air cushioning will “fly” first after the chamber, and then the rim together with the spokes can deform from the load that is no longer compensated for. So, so that a small problem does not turn into a big one and it does not come to replacing the entire wheel, it remains either to lead the injured iron horse in a bridle, or to look for an opportunity for urgent repairs.
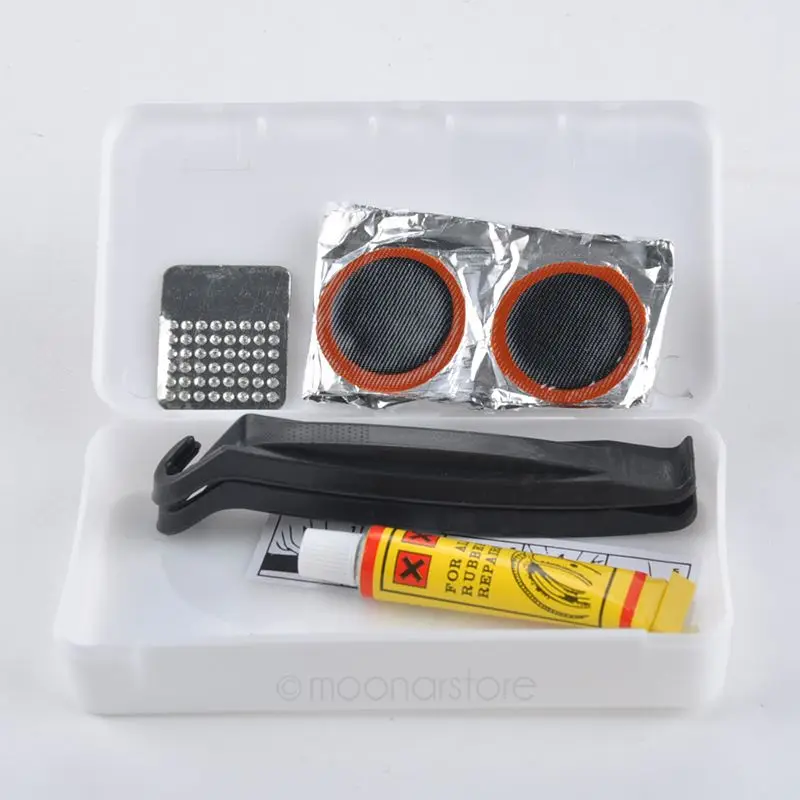
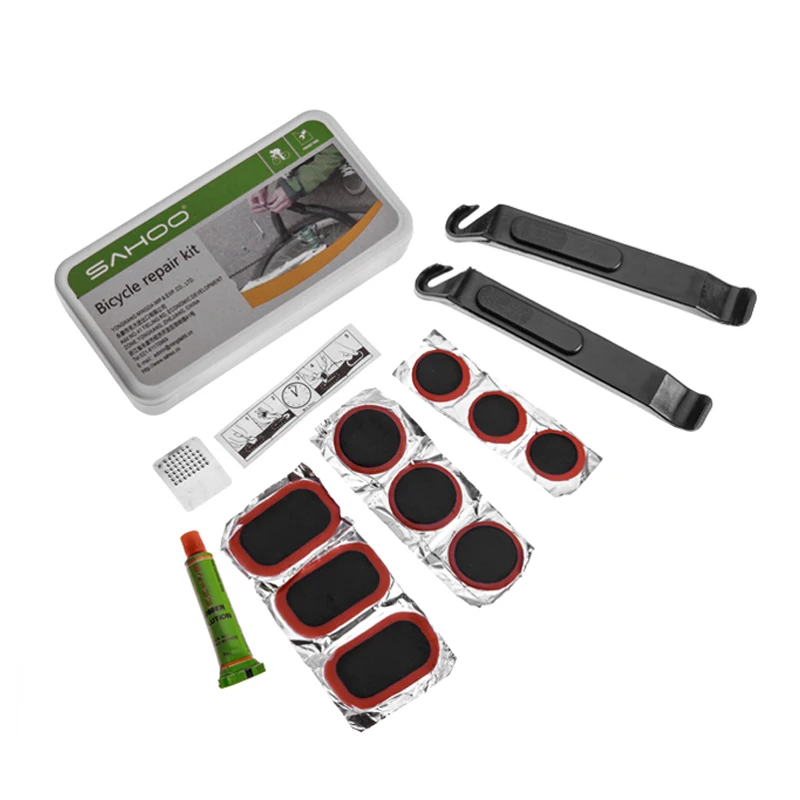
If your bike tire is flat in the middle of the city, you can take your bike to the nearest tire shop, where they will most likely help you for a small amount or even free of charge, especially if you are that same 40-kilogram fitonya.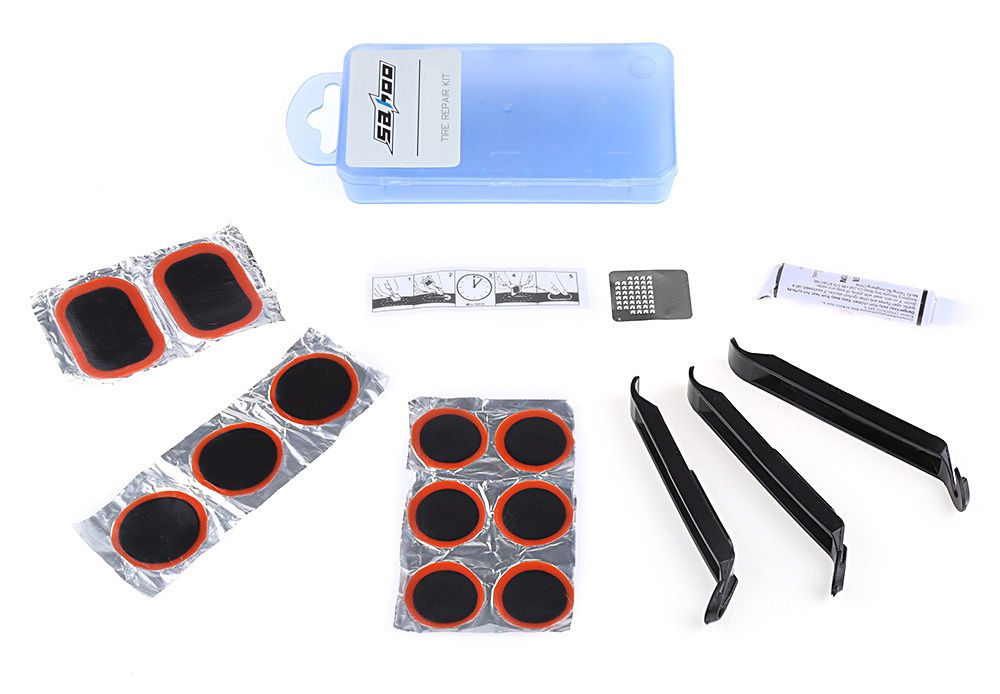 But trouble can easily overtake a cyclist somewhere far from civilization, so the best option is to carry everything with you and use it if necessary. Fortunately, a bicycle repair kit fits in a small box and weighs no more than a pack of cigarettes.
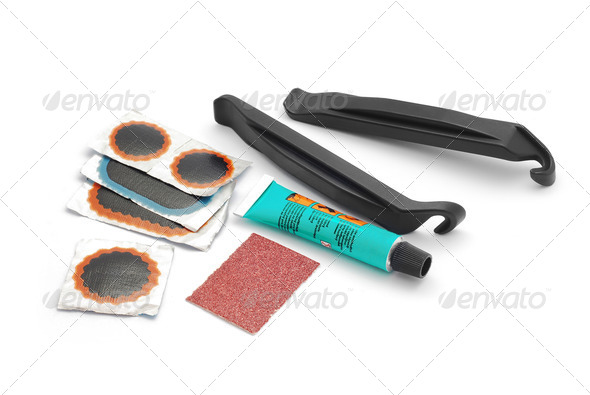
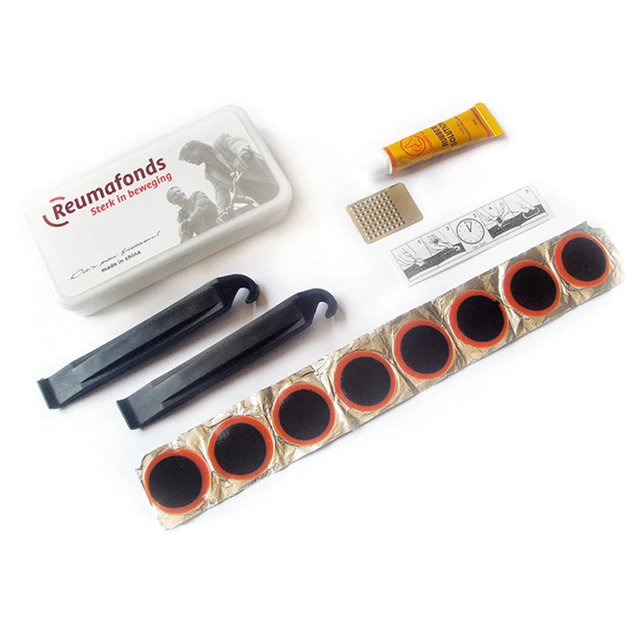
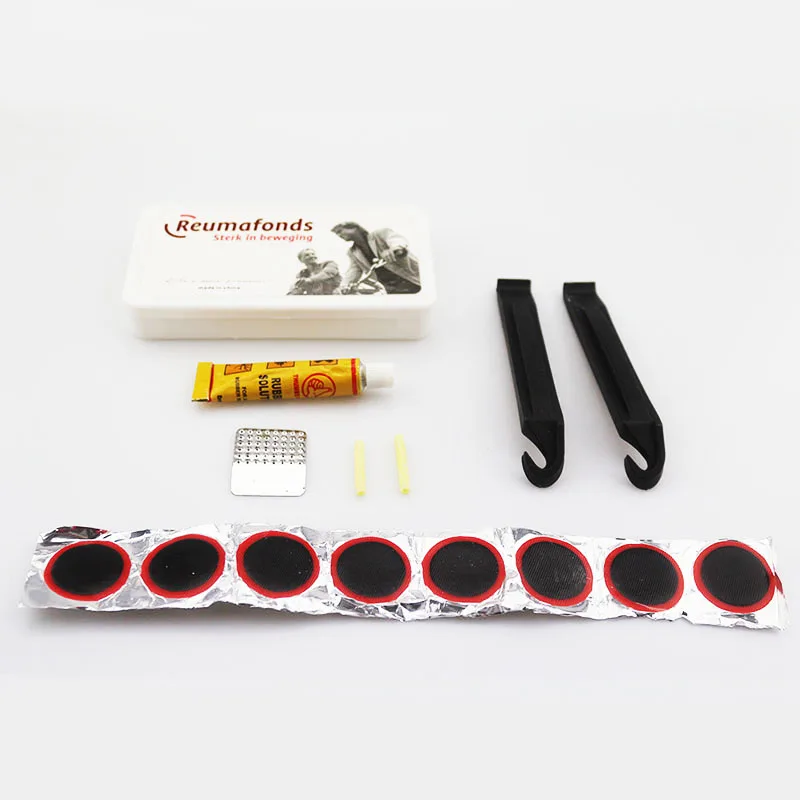
You can assemble a "first aid kit" for bicycle tires yourself, but it is much easier to buy a ready-made kit, especially since it is not a shortage at all. On the contrary, there are many varieties on sale for every taste, color and wallet.
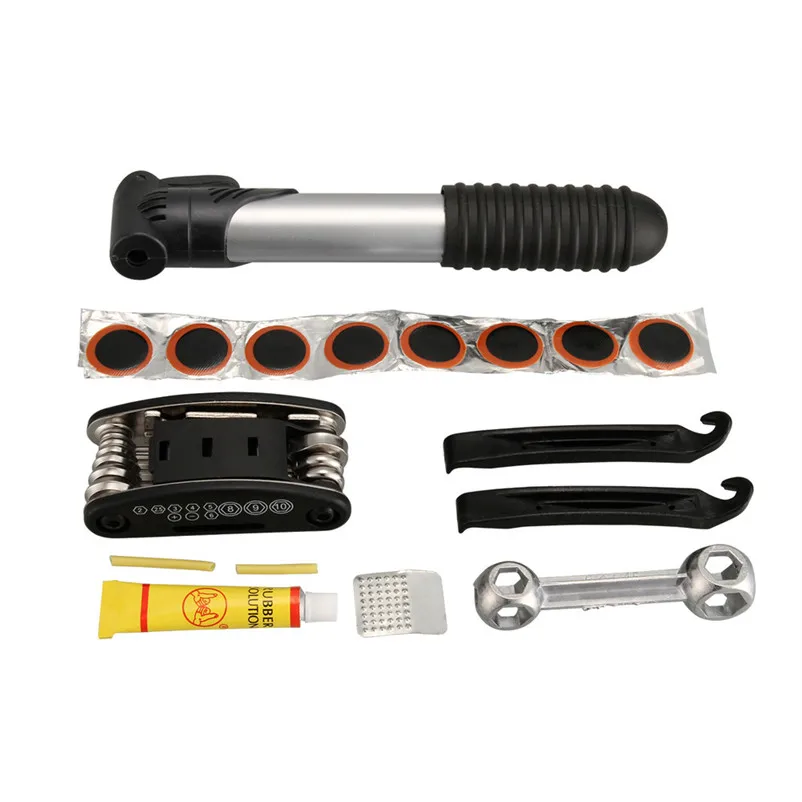
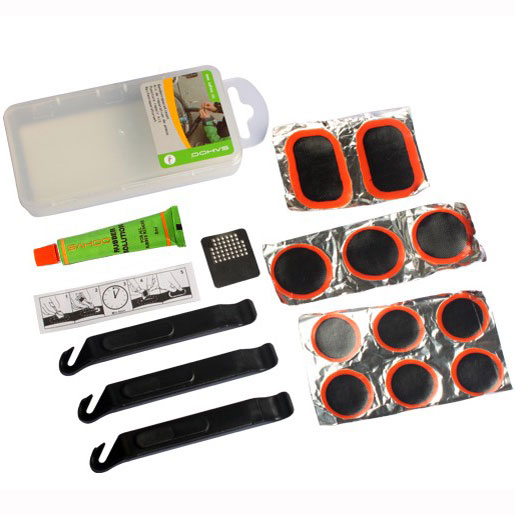
Standard bike repair kit includes everything you need to quickly and securely seal a hole in the tube and keep going. The minimum funds required for this:
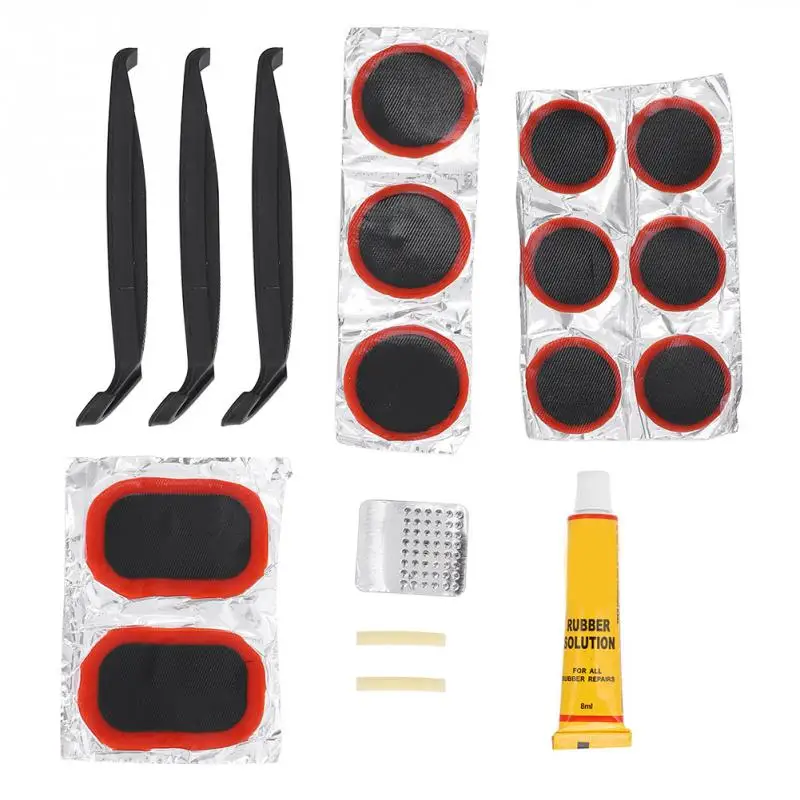
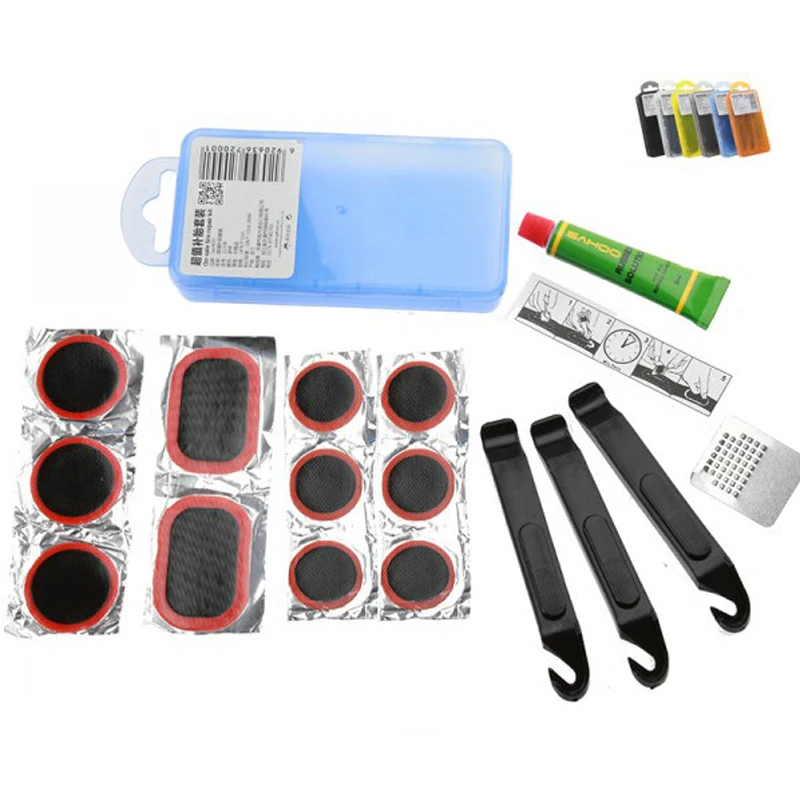
More advanced repair kits usually include a whole range of patches of various shapes and sizes, designed for different scales of damage - from small punctures to holes visible to the naked eye. In addition, plastic mounts are often additionally placed in such boxes, which make it easier to remove and put the tire back on the rim.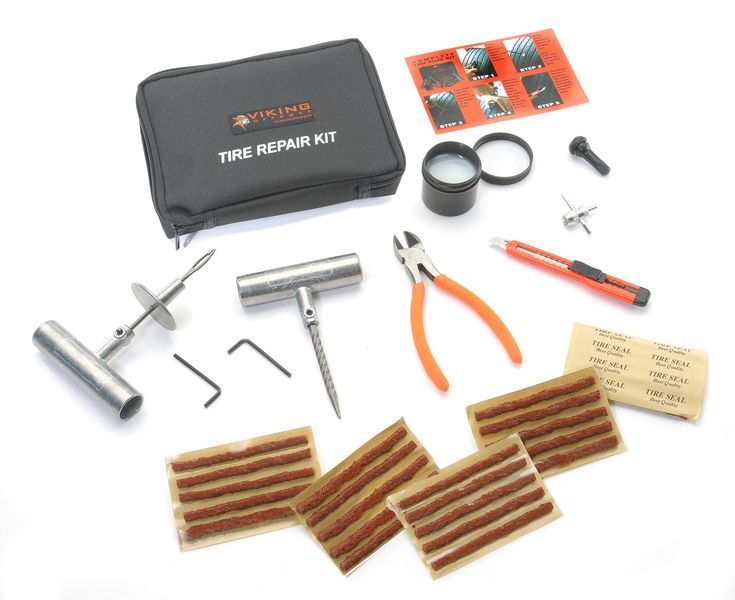
It goes without saying that in addition to any repair kit you will need a bicycle pump to pump up the sealed tube after repair.
A tube puncture is one of the simplest problems, that is, it does not require a completed engineering education, special tools, or even special skills to solve it. The procedure for repairing a punctured chamber is as follows:
1. Remove the damaged wheel from the frame, completely bleed the air before disassembling it, if this has not already happened spontaneously.
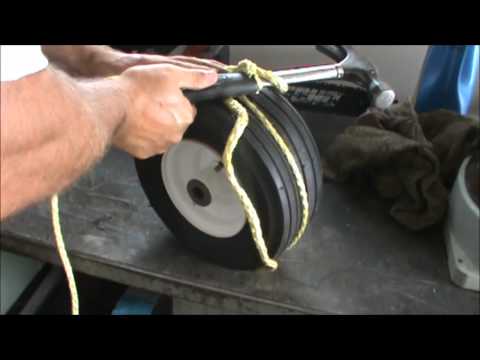
2. Carefully remove the tire from the wheel rim using pryers or tools.
3. Loosen the chamber, starting with the nipple, and look for the damaged area on it.
If the puncture is not visible to the naked eye, find a way to lower the inflated tube into the water at least in parts and determine where the air comes from by looking at the bubbles. For the same purpose, you can wipe the rubber with soapy water.
An option for very field conditions is to hold a wet hand at a close distance from the surface of the chamber: in the place of the hole you will feel cool.
4. Select a patch from the repair kit according to the size and shape of the damage.
5. Thoroughly clean and dry the puncture site and its surroundings. Ideally, it is also desirable to degrease them if you have gasoline, acetone, etc. at your disposal.
6. Gently rub the chamber and the patch with emery cloth to roughen the bonding surfaces for better bonding and better adhesion.
7. Apply adhesive to both surfaces, wait the time specified in the instructions for this particular compound and seal the hole.
8. Wait for the glue to dry, put the inner tube into the tire, put the tire on the rim and inflate the wheel with a pump to the required hardness.
There is no single answer to the question of what is better - a repair kit or a spare camera - there can only be a couple of tips.

 9 inches (collapsed pump), 15.7 inches (full length pump)