The clutch system in your ATV is the main connection between your vehicle and the wheels’ controls. It’s an important constituent of the overall transmission system that doesn’t get much attention when everything works well. How does a clutch work?
An ATV clutch works by ensuring stability in the power generated from the ATV engine to work with a transmission. The mode of operation in a clutch will vary depending on whether it is a sheave clutch or a centrifugal clutch. It can also use a multi-plate clutch design.
The rest of the article will look at the different types of clutches you may find in an ATV and how they work.
A clutch is an integral unit in any vehicle’s power transmission, and an ATV is no different. When your ATV is on, the engine spins all the time, but the wheels do not.
The clutch ensures smooth engagement between the spinning engine and the transmission, ensuring that there’s no slippage between them.
There are three main types of clutch you can find in any ATV model today. They are the sheave clutch, centrifugal clutch, and multi-plate clutch.
These clutches are mostly used in ATV models fitted with automatic CVT (continuously variable transmissions) systems. They are built to ensure the engine is constantly running at the best RPM needed to generate the highest power possible at any speed level.
This system consists of a primary and secondary clutch. These are also known as the drive/driven clutch.
The ATV engine’s crankshaft is linked to the primary clutch, which is joined to the secondary clutch through the drive belt. Finally, the ATV’s secondary clutch is linked to its transmission.
The primary and secondary clutches have movable and stationary sheaves where the drive belt fits.
The moveable sheave is fitted with a spring for compression and some flyweights.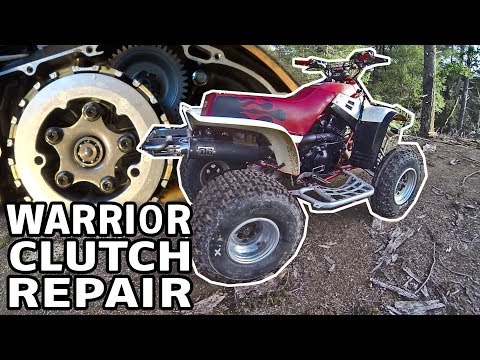 The weights are useful because they help the stationary and movable sheaves to maintain an appropriate distance.
When your engine is running and the driveshaft spins, centrifugal sources move the flyweights and the stationary and movable sheaves around to force a gear change and deliver higher speeds when you need it.
Here’s a video showing the install of a sheave clutch:
The centrifugal ATV clutch gets its name from the fact that it relies on the centrifugal force generated while it is rotating to activate or deactivate the clutch system.
Different manufacturers have different designs and layouts for centrifugal clutches, but the operation mode is similar across the board.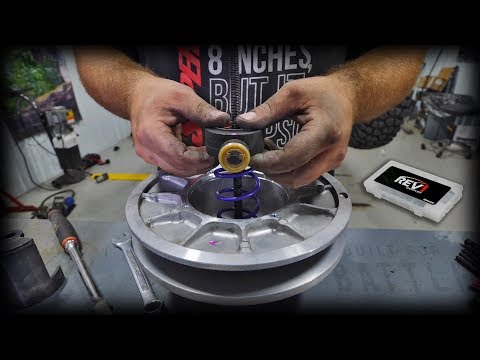
The ATV engine’s crankshaft is hooked to the central or main drive shaft inside the clutch system. While the crankshaft rotates, the drive shaft spins with it. The entire clutch system is contained inside an external clutch drum linked to the ATV transmission.
A collection of springs linked to the ATV drive shaft nestles between the outer or exterior clutch drum and the central drive shaft. Some clutch shoes (weighted) are affixed to the other extreme of the springs.
These shoes don’t interact with the clutch drum’s inner side due to the tension delivered by the springs.
The ATV’s drive shaft spins both the shoes and the springs as the crankshaft spins. With an increase in the speed of rotation, the shoes’ centrifugal force also increases. The force pushes the shoes outward, so they can come in contact with the clutch drum’s inner face and bind against it.
As soon as the shoes come in contact with the ATV clutch drum, the drum will spin, providing drive or power from the ATV engine into the transmission and the rear wheels.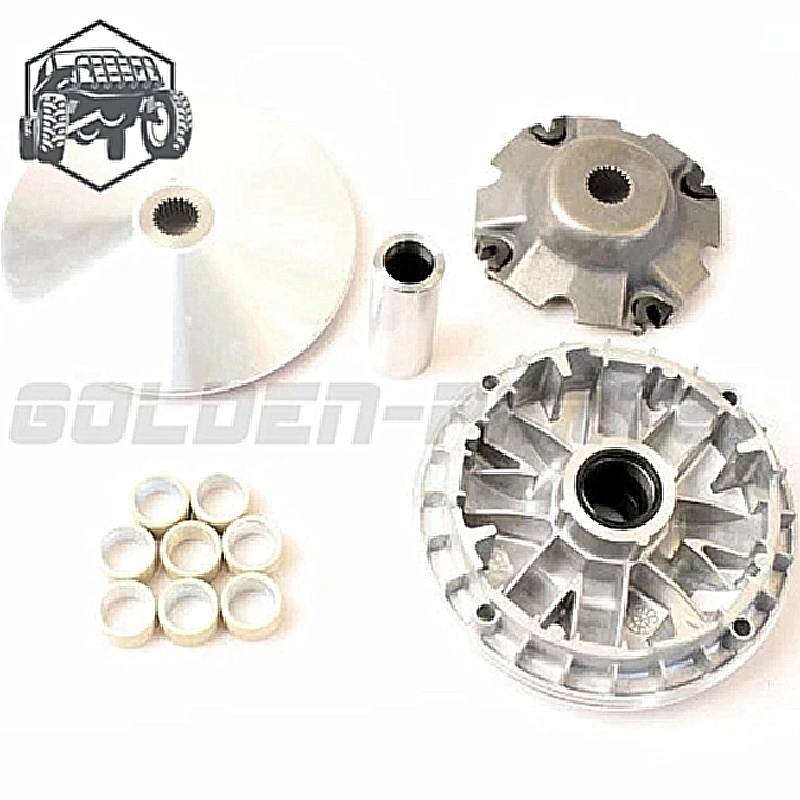
Here’s a video showing how a centrifugal clutch works:
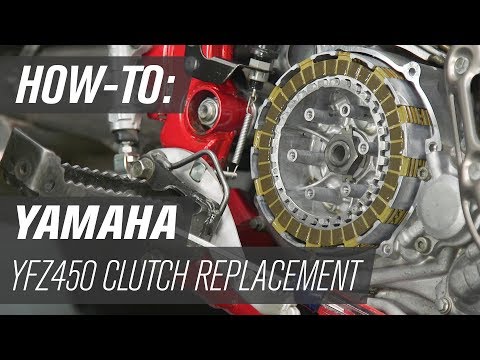
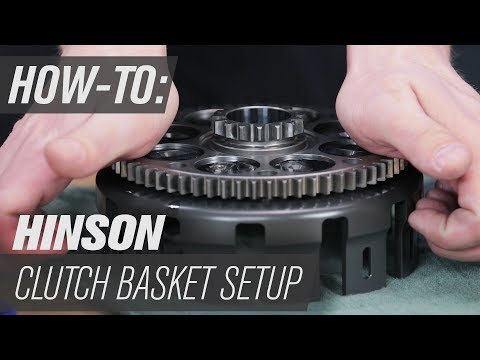
A multi-plate clutch is a popular option found in many ATV models. It receives power from an engine and channels it to the input shaft of the transmission. From here, the power moves to the rear wheels through the gearbox.
The crankshaft coming from the ATV engine is linked to a drive gear joined to the outer clutch basket. The clutch basket rotates as the crankshaft spins. Inside the outer basket, a clutch boss (a smaller inner basket) is linked to the ATV transmission.
A set of friction clutch plates (also known as clutch discs) separate the inner and outer baskets. A section of the plates is joined to the outer basket while some drive clutch plates hook up to the inner clutch basket.
The clutch plates are protected from the top by a set of springs and the pressure plate. The pressure plate is designed to hold down the clutch plates to ensure the friction plates are bound tightly to the drive plates for a clean lock.
As the crankshaft rotates the outer basket connected to it, the tightly locked clutch plates trigger rotation in the inner basket as well. The result is rotation in the ATV transmission input shaft, which drives the ATV’s gearbox and rear wheels.
Here’s a video showing the operation of a multi-plate clutch:
We’ve seen a peek into what happens under the hood with the main types of ATV clutches.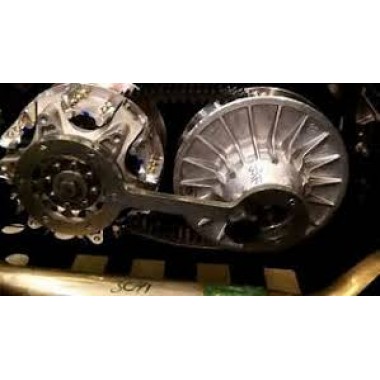 The convoluted nature of the systems means that your clutch needs regular maintenance.
If you take your ATV to a maintenance shop, you’ll likely get clutch maintenance by default. However, if you’re doing the job on your own, there are a few things you should know:
Here are some things to watch out for when inspecting your ATV clutch:

These are some of the major maintenance tips to keep in mind for your ATV’s clutch. If you don’t ensure regular maintenance for the vehicle, there is a high possibility that it will develop any of the common problems associated with ATV clutches.
These include clutch slipping, clutch creeping and the attendant pungent smell, and a jerky feel in the lever. Repair these problems will cost more than maintenance in most cases, so give the clutch the desired attention.
Don’t forget to practice sensible clutch use while out riding to reduce the chances of damage. Don’t use your clutch as an aid for braking, and don’t leave your foot on it half the time.
Basically, any scenario that doesn’t make sense with your standard car or motorcycle clutch should be avoided with your ATV as well.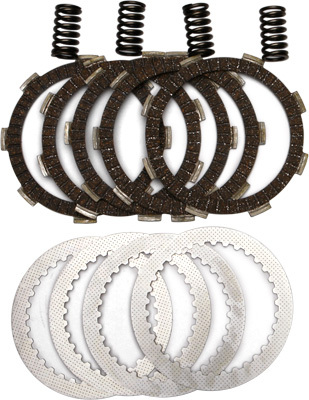
The clutch operation in an ATV is a very elaborate process regardless of the ATV clutch type in your model.
Understanding how each type of clutch works makes it easier for you to deliver regular maintenance if you have the DIY skills. If you don’t have the skill to handle the maintenance, outsource it to avoid more serious damage.
Sharing is caring!
When it comes to getting the most out of your UTV riding experience, the clutch your machine uses is key.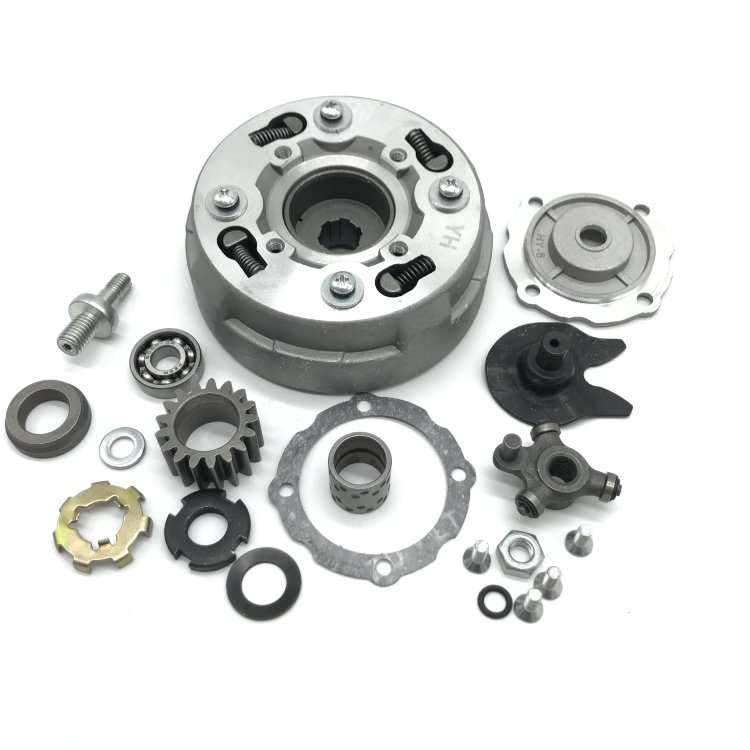 From providing more power and better fuel economy to creating smoother handling, these components make your outing the one you want. As such, if you’re looking to take your UTV’s performance up a notch, it’s only natural to include the clutch on your list of upgrades. Still, determining the importance of this part and which one is right for you can be difficult. That’s why we’ve compiled this ultimate UTV clutch guide with what you need to know.
UTVs are unique vehicles in that they run on a stock continuously variable transmission, or CVT. CVTs allow the rider to accelerate their UTV without needing to manually adjust their gears as they reach different speed benchmarks. They do this by controlling what RPM both the engine and transmission can achieve at a given time with their formation. As the rider accelerates, a singular gear changes and shifts to accommodate the new setting. So these clutches need only one ever-changing gear instead of several separate ones.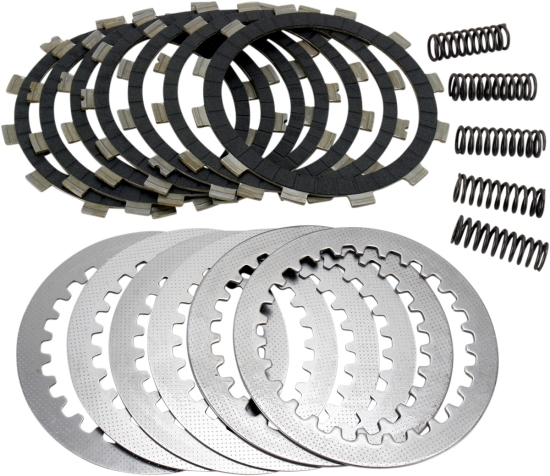 Here’s a more specific breakdown of the different CVT clutch elements.
There are several core components that allow a CVT to function the way it does, and each plays a vital role in keeping your machine running at peak form.
The primary clutch, which is on the output of the engine crankshaft, is the component that shifts back and forth to accommodate different RPMs. This clutch has two different sheave faces that work in tandem as you ride your UTV. The fixed sheave keeps the system in place, while the moveable sheave shifts in and out to engage and disengage the belt during acceleration. When in a neutral setting, the two sheaves sit at their maximum distance apart, and the belt connecting them is free of pinches.
The secondary clutch rests against your UTV’s transmission or transaxle system. This component also utilizes a stationary and moveable sheath to pinch the belt. However, this clutch does more for the overall torque of your machine.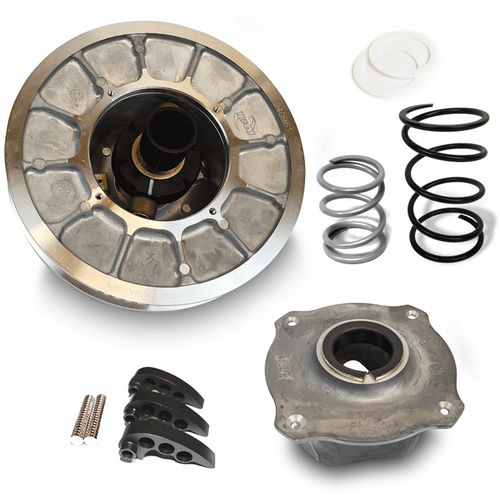 The secondary clutch opens and closes as you accelerate or decelerate your UTV, allowing the primary clutch to properly shift between the speed ratios.
Lastly, the belt ties these two components together. You’ll often see v-belt models, and these parts transfer power between the two clutches to facilitate the most accurate and stable transitions between RPM ratios. CVT belts consist of a rubber base reinforced by strong Kevlar material. This way, the component is durable, long-lasting, and reliable when out on a ride.
Now that you know how stock CVT clutches function in a UTV, it’s vital that you understand what that means for the quality of your ride. Though stock clutches are a great start for those getting into the UTV riding hobby, they aren’t ideal for more experienced riders that want more out of their vehicle. As such, the next stop in this ultimate UTV clutch guide is to provide a helpful comparison between stock and aftermarket clutch models.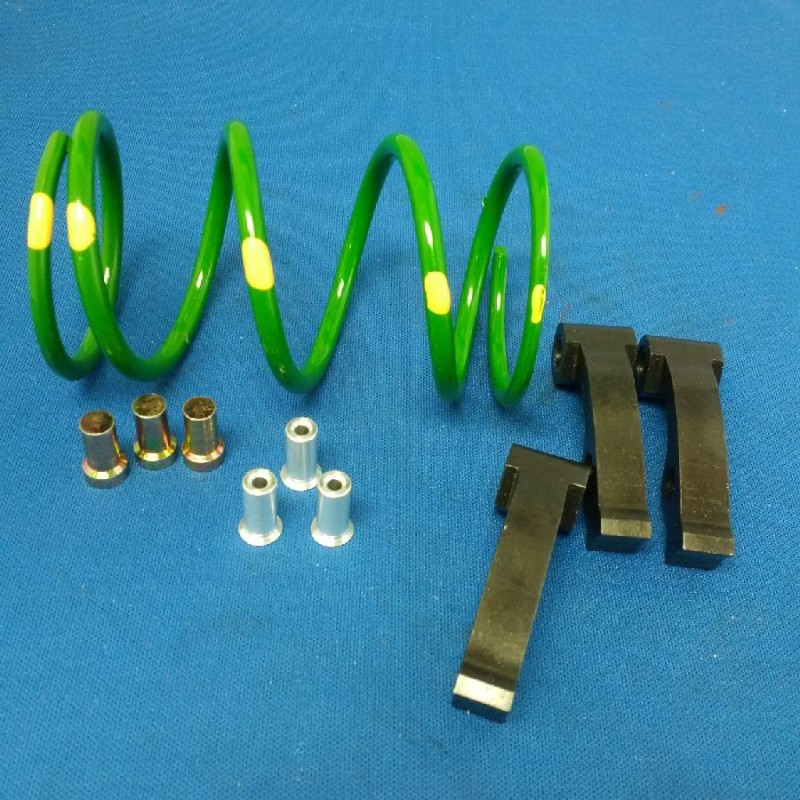
As previously discussed, stock clutches work well for maintaining your UTV’s core performance with minimal manual interference on your part. Because of this, they’re perfect for beginners who just purchased their first UTV. But there are a few downsides to consider. For one, CVTs best cater to a ride with one specific tire size and power level. The clutch also needs to suit a series of terrains to make it a one-size-fits-all option. When a component’s good at everything, it excels at nothing. So if you want your UTV to perform even better on one terrain, the CVT won’t handle it well.
On the other hand, aftermarket clutch models are better suited for further honing your UTV’s capabilities. Depending on the type you choose, they can improve acceleration, offer faster shifting and back shifting, and even make your UTV more reliable on certain forms of terrain. While you need to perform additional research when opting for these options, they can pull the hidden potential out of your ride and ensure you get exactly what you want out of an excursion.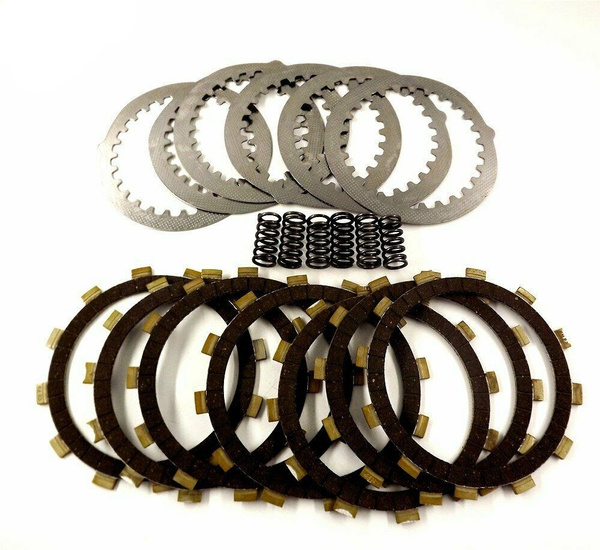 Why settle for slower when you can crank up your RPMs?
Some additional benefits of using an aftermarket clutch include:
Whether you’re a UTV beginner or have been riding for several years, it’s useful to know all the information above. In understanding the benefits and drawbacks of certain types of clutches, you can make an educated decision about which one is right for your needs. However, if you’re going to start off the purchasing process with an advantage, there are still a couple of important tips to keep in mind.
Firstly, make sure that you assess what you want from a UTV ride. Maybe you want to take things slow and feel out the handling, or perhaps you want to take your speed to the next level. Deciding which one sounds like you is the key to figuring out which type of clutch will provide the results you need.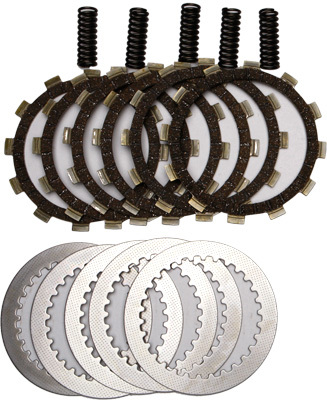 Fortunately, beginners have the option of sticking with their default CVT clutch. However, if you know you want more power, torque, or control, you’ll need the right aftermarket model.
It’s also important to factor in your budget. Pushing your machine to its limits doesn’t always come cheap. Therefore, you’ll want to figure out what you can afford prior to deciding on an upgrade. Remember that while you might not be able to buy the best possible clutch, there are still thousands of options out there that’ll help you achieve your UTV performance goals.
At Dynojet, we have a need for high-performing vehicles. As such, all our products aim to provide the best possible performance results for your ride. Our selection of Can-Am UTV parts includes clutches and fuel injection systems for hundreds of UTV models, and our website organizes them by make. This way, finding what you’re looking for is quick and easy. Visit our site or give us a call to learn more.
The ATV clutch is responsible for both gear shifting and vibration reduction during the ride. ATVs for children are no exception.
As a rule, the occurrence of any problems with this component of motor vehicles, the rider feels immediately. It is recommended to service the ATV clutch every 6000-7000 km, but sometimes all kinds of problems can occur earlier. The rate of wear of the functional components of motor vehicles directly depends on the conditions of its operation.
The following points can serve as a signal that something is wrong with the motorbike clutch:
Depending on the severity of the failure, the problems described above can be solved either by repairing the vehicle's clutch or by replacing it completely.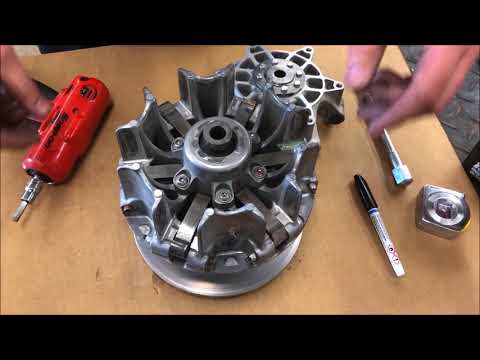 As for Chinese models of ATVs, here it is necessary to check whether the nuts on the clutch are securely fastened. Poor assembly of motorcycles can also cause suspicious sounds in the variator area.
To change the clutch on a children's ATV with your own hands, you will need:
In general, this procedure is quite simple and fast. In older models of ATVs, everything is somewhat more complicated. Before proceeding with the dismantling of any components of motor vehicles, be sure to read the instructions from the manufacturer.
Even in Chinese models of ATVs, the clutch boasts an impressive margin of safety, and therefore its breakdown often occurs as a result of improper use of this equipment.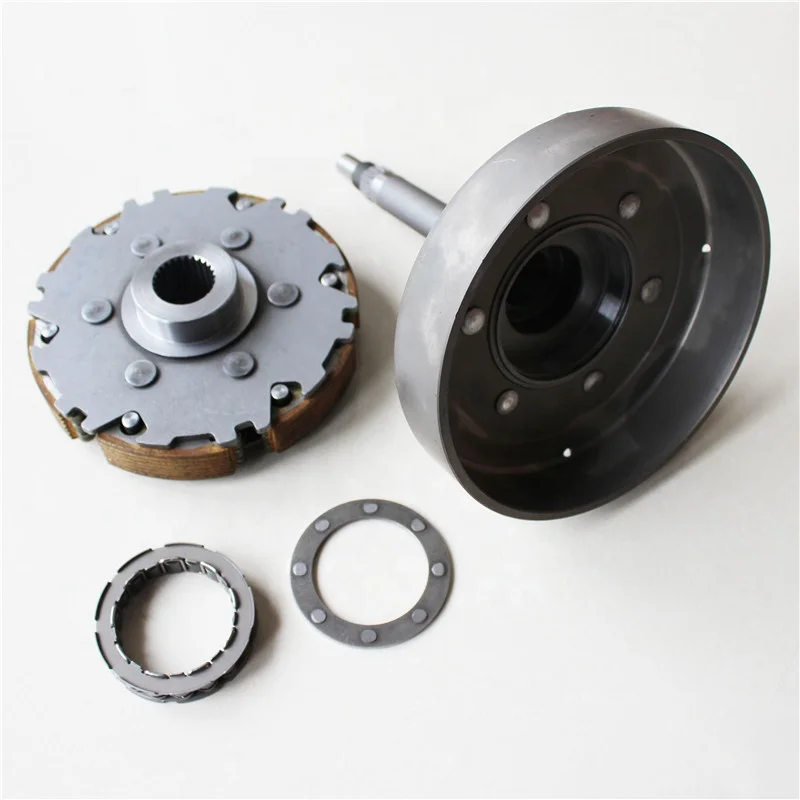
The main causes of premature ATV clutch wear include:
The only way to prolong the life of your ATV clutch is to use it properly and carefully. It is advisable to use good oil, and do not forget about timely maintenance.
The use of high-quality clutch discs in the ATV ensures a smooth start of the vehicle, and also fully ensures reliable grip without slipping even under fairly high loads. The exception is children's electric ATVs, in which there is simply no clutch disc.
ATV clutch usually needs to be adjusted no more than once a year. Before starting work, place the vehicle on a special footboard.
The process of adjusting the clutch on a motorbike is quite simple, and consists of the following steps:
 If necessary, refer to the user manual for assistance. If the cover prevents access to the clutch, then dismantle it;
 Since adjusting your ATV's clutch is easy, you can repeat this procedure as needed. In the vast majority of motorcycle models, this functional component is adjusted in a similar way. If there are certain nuances in the clutch setting, they are explained in detail in the official vehicle manual.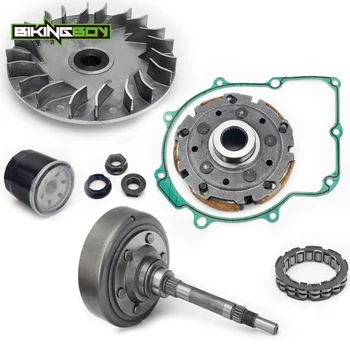
05/29/2021 3186
Podolsk,
15 km Simferopol highway To contacts
#service #repair
9 years ago
It is necessary to change the clutch discs if the clutch slips (when accelerating heavily, the motorcycle does not move, and the engine speed increases) or if you burned it (the clutch burns out when the engine runs for a long time at high speeds with the clutch half depressed). It should be noted that with proper adjustments and operation, clutch discs change very rarely. Boryan, for example, drove 50,000 km on his R6 and did not change anything until he started stunt riding.
Yamaha r6 has oil bath multi-plate clutch.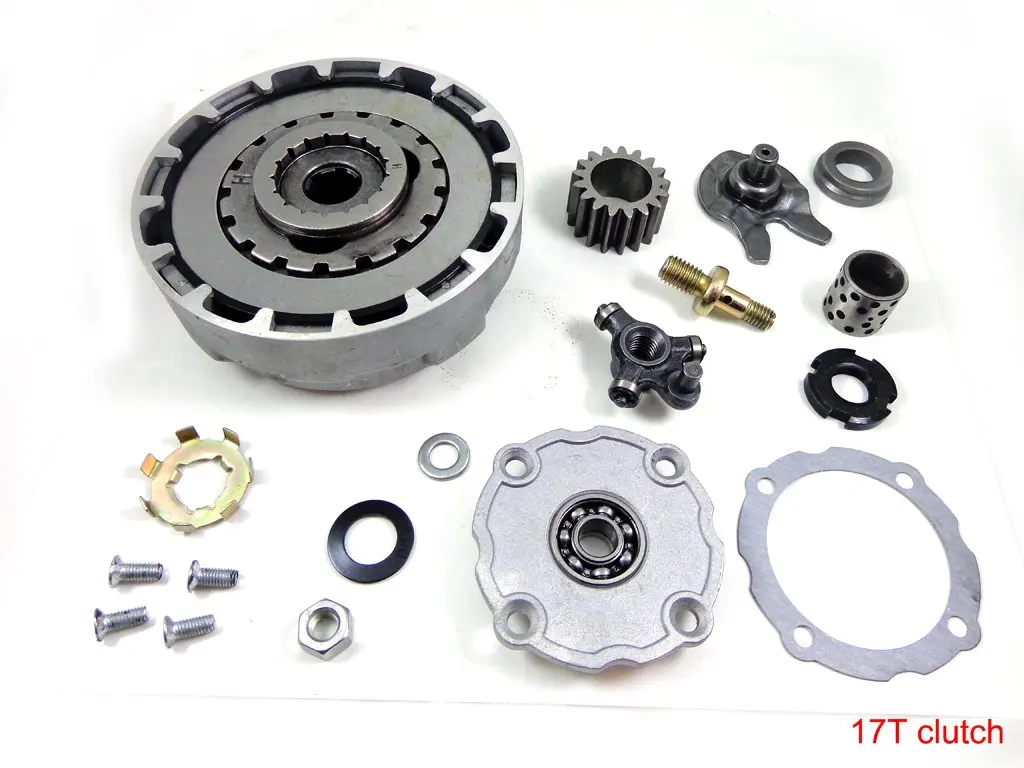 Accordingly, for all motorcycles with such a clutch, the principle of replacing disks is the same. To replace the clutch discs on the Yamaha r6, it is not necessary to drain the engine oil, because. oil level below the clutch basket . But if the discs are burned out, then it is advisable to change the oil, because. it got a lot of chips and dust. If the steel discs and springs are not worn out, then only the friction discs (aluminum with an abrasive coating) change.
New friction plates must be soaked in engine oil before installation!
Total 1 6 discs : 8 steel discs and 8 friction discs . One steel disc is thicker than the other seven - it is placed first. Friction discs are all the same if the kit is non-stock. If the set is original, then it will contain two discs with purple markings, which are placed first. Accordingly, the discs are installed in the following order: the thickest steel -> friction purple, if any) -> steel -> friction purple, if any -> steel -> friction -> steel -> friction -> and so on . ..
..
First you need to get to the clutch cover. To do this, remove the plastic, the cage (if any).
Unscrew the clutch cable bracket.
Remove the cover by unscrewing the screws around the perimeter.
When the cover is removed, carefully remove the gasket. If it is whole, it can be reused.
Loosen the spring bolts.
Carefully inspect the basket before removing discs. You will immediately see if there are destroyed discs (crumbled). If there are such discs, be as careful as possible when removing them, because. you can drop a piece, and you have to remove the pallet to get it.
Remove the discs one at a time and stack them in the correct order. Friction discs will alternate with steel ones.
In a good way, you need to check the clutch wear: measure the length of the springs and the deformation of the steel discs (the values \u200b\u200bare written in the manual, the springs should be 49-50mm, deformation of the steel disk - no more than 0. 1 mm), but we did not do this, because the entire clutch has recently been changed, and discs in training mode are a consumable.
Install the discs in reverse order, replacing the old friction discs with new ones.
Tighten the spring bolts. The spring bolts are tightened with a certain force (for Yamaha r6 this is 8Nm). See the specific model's manual for the force.
When installing the cover, there may be problems with the exact installation of the pusher. In order not to be mistaken, move the pusher to the “squeezed out” state (counterclockwise).
Before screwing on the cover, make sure the clutch is working properly (start a couple of bolts, install the cable bracket and depress the lever).
The bolts on the cover must be tightened so that the next one is opposite to the previous one. First bait everything, and then gradually tighten it. IT IS IMPORTANT TO DO THIS, OR THE LID WILL LEAK!!! The bolts are tightened with a torque wrench - 12Nm
Install plastic, cage, sliders - everything that was removed initially
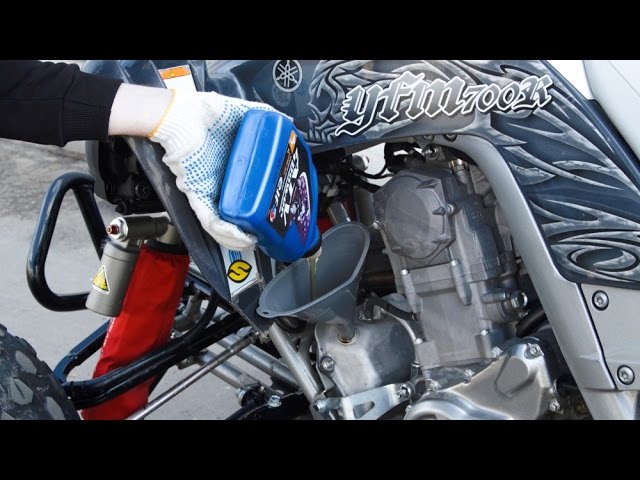
Once everything is installed, change the oil as needed, start the motorcycle and test the clutch on the move.