RPM stands for Revolutions Per Minute and is a great way to see know how hard your engine is working.
The most common way to test for RPM is by using a tachometer, however, many of us don’t have this around the house.
We do, however, often have multimeters which we can create a workaround to test for this.
What are the best multimeters for this test?I highly suggest the Fluke brand as they have true RMS which gives you accurate readings and removed any of the “noise” or electrical interference.
Below are some of the best ones which also measure Frequency (Hz):
Before you get started with measuring an engine’s RPM with a multimeter you have to ensure you have the following items:
This is not a standard test done with a multimeter and thus you should use all protective gear including eye cover and electrical gloves.
When doing this test, we are using the multimeters ability to detect the RPM signals via a wire and taking advantage of the high level of electromagnetic interference produced by the ignition systems. With that said, the spark plug wires, in general, have a very high level of voltage so caution is extremely advised.
How to do the testFollow these steps to complete the test:
As you do the test above, your multimeter will show results on the screen. You’ll need to write down these results. They will be shown to you in hertz(frequency) but you still need to convert them to get RPM.
The results shown will show you the pulses per second but RPM will need a simple calculation x60 to get the actual RPM.
As a couple examples:
There’s a well-known issue in some 2/4 stroke engines which is called a wasted spark which makes the results of any frequency test show twice the amount that’s needed.
While there are ways around this to change it, the best suggested solution is if your results look to be double the expected, then just divide by 2.
Play around with the wireIf the test does not seem to be working, sometimes the length of the wire has been an issue in which I was able to shorten or lengthen it a bit.
Also, the thickness of the wire often became an issue which trying a thinner metal wire worked better depending on the engine.
Give it some time and play around with it a bit and you’ll get it to work out in the end.
Frequently Asked Questions How to measure car engine rpm (Best way to measure engine rpm)?You can measure car engine RPM in two ways.
The first one is with a tachometer.It is the easiest way, but there is also room for mistake when doing this because tachometers can sometimes be not so reliable.
If your tachometer is broken or you suspect that it gives out false readings, you can replace the tachometer with a new one and use the new one to measure rotations per minute. However, this can be an unreliable method because the source of the false readings could be in something else.
You can also use an automotive multimeter to measure car engine RPM.
In the case that the first two tests prove inconclusive, this will definitely help you to pinpoint the cause of the problem and to repair it, or if that proves to be impossible, to replace it. Measuring car RPM with a multimeter does require a bit of knowledge, but you can find everything you need in the article above.
Automotive multimeters are accurate, and even the cheaper models will give you readings that are more accurate than an average tachometer. Even if your tachometer proves to be in order, it would be a good thing to test the RPM with a multimeter from time to time.
How to measure motorcycle engine rpm?You could measure motorcycle engine RPM with a multimeter, or with a tachometer.
Some motorcycles come with a plug that makes it possible for the user to add a high accuracy tachometer.
If your motorcycle doesn’t have that plug, don’t attempt to install the tachometer by yourself because you risk serious injury if are not exactly sure what are you doing, both while doing that and when driving a vehicle that was modified in that way.
You can use an automotive multimeter to measure motorcycle engine RPM.
Basically, the whole process is almost entirely the same as with car engines. The article above can provide you with excellent information on that subject.
Since motorcycle drivers need more accuracy when it comes to tachometers, tachometers made for use on motorcycles are designed and built to be more accurate than those built for cars. It is easier to measure motorcycle engine RPM with a tachometer, but tachometers on motorcycles can become inaccurate too, so that leaves you the possibility to do this with a multimeter.
Other than that, motorcycle engines operate in the same way as car engines do, and the entire process should be the same. If you get confused, you can always contact a car mechanic.
To measure RPM means to measure rotations per minute. Every internal combustion engine works by injecting small amounts of gas into a cylinder.
The inside of the cylinder is a vacuumed space. When gas is injected, it is lit up by a spark, and since gas is usually supplemented with small amounts of oxidizer, it explodes. When a drop of gas explodes in a cylinder, large amounts of force are released.
The cylinder is built so that force has nowhere to move, except up, and in an upper (or lower part, depending on the engine) part is another movable cylinder.
The force from the explosion moves that cylinder up, and that force the moves the crankshaft. Crankshaft rotates and translates the force to the wheels, and that makes it possible for the car move.
Rotations that the crankshaft produces (all vehicles have more than one crankshaft) are measured because they are an indicator of any problems, and there could be a variety of them.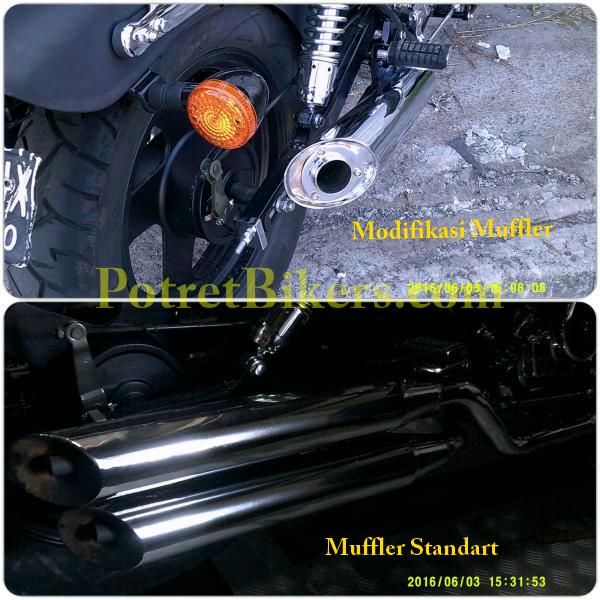
A difference in rotations per minute can mean that gas is not oxidized enough, or of good quality, that the cylinder isn’t lubricated, that a screw has loosened up on the crankshaft, literally, a million things could be the problem.
Since rotations per minute are an excellent indicator of the state of the vehicle, it is important to monitor them yourself, or at a licensed car mechanic.
How does rpm affect car performance?For a detailed explanation of the term rotations per minute, and to get some context on how an internal combustion engine works, please check out the paragraph under the’ What does engine RPM actually measure?’ question. If you have read that, let’s continue on.
RPM can affect car performance in a variety of ways. The most important, and most common vehicle feature affected by rotations per minute is the acceleration of the vehicle. Basically, if RPM is too low, the vehicle won’t move. And that’s about it when it comes to low RPM.
In cases where the RPM is too high, a lot of things could happen. The vehicle could become overresponsive, there’s even a slight chance that the engine could explode, but don’t worry, in most cases, it will overheat, and smoke will start to come out from under the hood of your car. I will use the example of the smoke to explain this in greater detail.
The smoke won’t come from too many rotations, but from the cause of too many rotations and the cause can be overpotent fuel, or more commonly, an old engine that lost the state of vacuum in the cylinder.
Since additional oxygen from the outside comes in, it causes more potent explosions, the cylinder can’t handle that, and the smoke has to come out because it has nowhere else to go.
How to measure engine rpm without a tachometer?It is easiest to measure rotations per minute with the tachometer, but if your tachometer is broken, or you think that there is a problem in regards to the tachometer’s accuracy originating from somewhere in between the tachometer and the engine, you can always use a multimeter.
The article entitled ‘How to measure engine RPM with a multimeter’ will help you in regards to that.
Automotive multimeters are truly an excellent choice when it comes to measuring engine RPM, be it on your car on your motorcycle, if you know how to do it right, the results will be better than if you had seen the result on a tachometer, especially if you have had one of those tachometers that didn’t show the precise value, but had the rotating dial instead.
If you are concerned about your safety, you don’t have to be. When it comes to the danger of electric shock, in most cases, there isn’t any, but you check for your model online, just to be certain.
If you are thinking that there could maybe damage your engine, that’s a possibility, especially if you don’t have any experience.
Follow the article describing that in the letter, and if you are still not certain, it would be better if you would contact a professional than cause a car crash.
{"searchBar":{"inputPlaceholder":"Search by keyword or ask a question","searchBtn":"Search","error":"Please enter a keyword to search"}} Issue: OBF fault on a ATV320 Product Line: Altivar 320 Environment: All Cause: OBF fault on drive display Resolution: Possible causes: • Braking too sudden or driving load. • Supply voltage too high....
Product Line 3090SCCT Environment CT Ratio Resolution *Warning: Installation and maintenance of this device should only be performed by qualified, competent personnel that have appropriate training...
Issue: Trying to save the parameters in the keypad and upload them to another identical ATV630 drive. Product Line: ATV630 drives Environment: Keypad Cause: Transferring files Resolution: Go to Main...
Issue: Can I simulate PTO function blocks in SoMachine Basic? Product Line: M221, TM221 Resolution: Just like the PID blocks, you cannot simulate PTO functions blocks in SoMachine Basic. You will...
Video: How to export data models for MiCOM relays
Video: Green Premium (RoHS, REACh, PEP, Eoli) Compliance...
Video - XX ultrasonic M18 sensor with analog output,...
Issue: How does humidity affect insulation resistance testing results? Product Line: Circuit Breakers Environment: Molded case and insulated case breakers Resolution: High humidity can drastically...
Issue: VMware ESXi host, which is running the free edition of VMware, is not shutting down when commanded to by PowerChute Network Shutdown.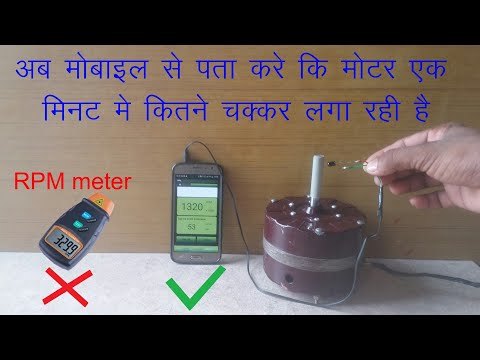 Product Line: PowerChute Network Shutdown (PCNS) version...
AC-3e rating is the capability of the contactor for starting and switching off high efficiency squirrel cage asynchronous (IE-3/ IE-4) motors during running and reversing operations, which have...
In PLC side: 1.Use TIA Portal V11-V16 to configure the PLC communication settings. 2.Select the PLC and enter the correct version of the firmware (We can check for the firmware version of the PLC in. ..
..
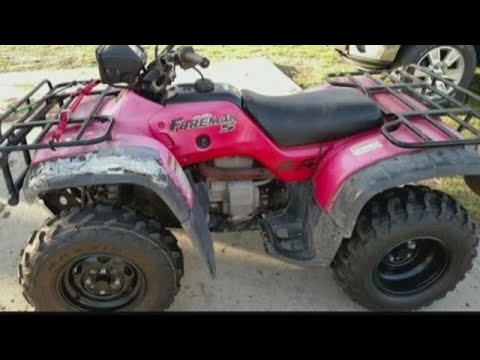
One of the most common problems that off-road enthusiasts face is the drop in speed of the ATV or “dips” during acceleration. The interesting thing is that the engine can work perfectly, but the dynamics of the device is noticeably reduced. Therefore, it is important for the rider to understand why the ATV is not gaining momentum, and how to solve this problem.
Motorcycle enthusiasts who bought an ATV in the showroom know how it worked from the beginning. But with used equipment, everything is more complicated. Ryder does not know how the apparatus originally worked.
It is also worth considering that low-power models are not very dynamic. This applies to vehicles with an engine from 50 to 110 cubic meters. But if the 150cc quad is not revving, you need to look for the cause of the problem.
Almost any little thing can cause a deterioration in dynamics and a drop in speed, from a clogged muffler to low-quality fuel. But most often, the problem occurs due to:
Remember that regular maintenance will help to avoid such problems. Ideally, maintenance should be carried out 1-2 times a season.
Owners of carbureted ATVs experience rev drop quite often. This is due to incorrect system settings. If the carburetor is not tuned, the rider will experience:

The carburetor needs to be adjusted to keep the ATV engine running. The procedure includes setting: idling, gasoline level and fuel quality. It will be difficult for novice riders to understand the nuances of the procedure, so it is better for them to contact a specialized service.
Be aware that too rich or too lean a fuel mixture will result in carbon deposits and a drop in rpm. But pay attention to the fuel itself. If the gasoline is of poor quality, the device will be “sluggish” or refuse to start at all. Therefore, first of all, the motorist needs to drain the old fuel and fill in "fresh" fuel.
If you notice that the quadric started to start poorly, the speed dropped and the equipment is not very stable, you should check the compression. It usually decreases due to:
The best value for a used ATV is 10 bar. And the higher this number, the better. In most devices, compression reaches 12-13 bar.
But what to do if the compression barely reaches 8-9 bar? In this case, you need to inspect the entire assembly, replace worn parts (rings) and lubricate all components well.
Note: If the compression is low, immediately check all connections. Perhaps one of the tubes has lost its tightness.
Another reason why the ATV does not keep speed is damage to the CVT belt or roller. To fix the problem, you should carefully inspect the node. If the belt is badly worn or thinned by more than 1-1.5 cm, it must be changed.
Required for replacement:
 You may need to remove the footboard.
 Note: It is recommended to install English or European components, since Chinese belts last an order of magnitude less.
You also need to make sure that the variator roller is the right size. If the element is too large, the dynamics of the quad will deteriorate. And if you install a smaller roller, the ATV will not be able to reach maximum speed.
Since most ATVs have four-stroke engines, their powertrains need good lubrication. And often, the ATV engine does not gain momentum due to lack of oil or its poor quality.
In addition, lack of lubrication leads to:
But a lot of oil is also bad. Therefore, you need to check how the oil pump works. If the device pumps a lot of lubricant, the motor will “choke” or warm up. If such a problem is found, it is worth visiting a special workshop and adjusting the system.
06/16/2020 11274
How to adjust the carburetor on an ATV? What to pay attention to? What are the signs of misuse of the device? About this today in our article. Using the proposed instructions, you will be able to set up the carburetor step by step without the help of specialists.
For stable operation of the ATV, it is necessary that the engine receives the optimal amount of combustible mixture corresponding to its rev range. Otherwise, the following problems may occur:
What should be applied in this case:
Important! Carry out tuning only when the carburetor is cleaned outside and inside, as well as when the engine is warmed up to operating temperature.
Note. The location of the bolts on each carburetor model may vary, so read the instructions that came with your machine.
1. Start the ATV and test ride. Wait until the engine has completely cooled down.
2. Check the condition of the spark plug. To do this, unscrew the cap and inspect the candle.
What to look for:
3. Unscrew the needle cover at the top of the carburetor. Pull the needle. This is the main element that regulates the supply of fuel to the combustion chamber, since the needle is connected to the gas trigger. When the trigger is pressed, the needle rises, slightly opening the hole for supplying the fuel mixture. This directly affects the growth of power and speed of the ATV.
4. Remove the cable, then press the needle to pull it out. The needle has 5 grooves and a retaining ring. By default, it is set to medium. The lower the retaining ring is located, the higher the needle is raised, which means that a lot of gasoline and little air is supplied. Accordingly, the higher the ring - the less gasoline and more air.
5. Reposition the circlip in the desired direction to optimize carburetor performance. Insert the needle into place.
6. Start the engine and press the throttle trigger. With proper adjustment, the engine should not stall from a sharp pressure.
And remember, you should resort to adjusting the needle only as a last resort, when adjusting the quality and quantity screw does not bring results.
The performance of a four-wheeler depends on the correct level of gasoline in the carburetor. An excessive amount will flood the candles, spill onto the ground and lead to unnecessary expenses. If there is too little fuel, the engine simply will not start.