`;
Cars
Fact Checked
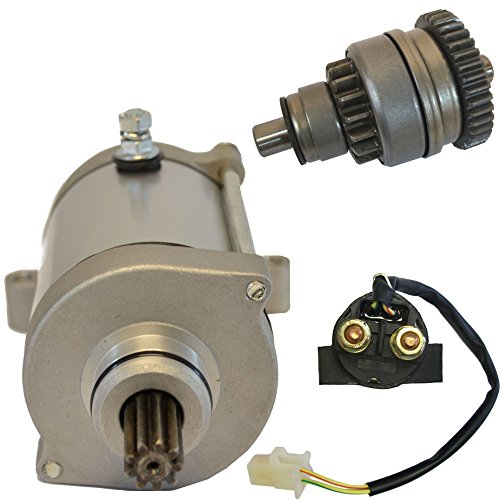
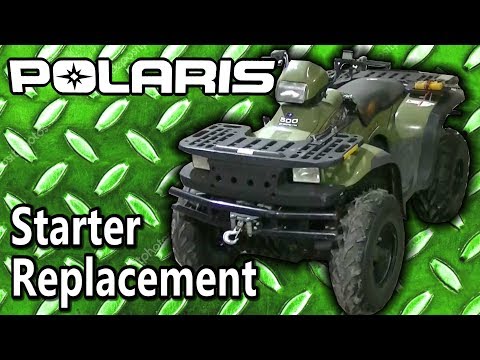
Dan CavallariIn order to initiate the operation of a combustion engine, the engine's components must be set into motion. This can be done in several different ways, but most modern all-terrain vehicles (ATVs) will feature an electric ATV starter. This device is essentially an electric motor that engages when power from a battery is sent to the unit, usually through the use of a key inserted into an ignition switch. When the ATV starter is engaged, it pushes a pinion against a flywheel gear within the engine that will essentially begin the engine's normal running processes.
The ATV starter is generally a small component, and its position within the ATV can vary depending on the unit's design and the manufacturer's specifications. It is usually concealed behind a body panel to protect it from impact damage, though this is not always the case. Very often the ATV starter motor itself is concealed within a steel casing or shell to protect more sensitive components such as brushes and wires. The steel casing will be bolted down somewhere on the ATV's structure to prevent it from moving; a wire will generally exit the casing at some point, and the wire is usually sheathed to prevent damage to the core.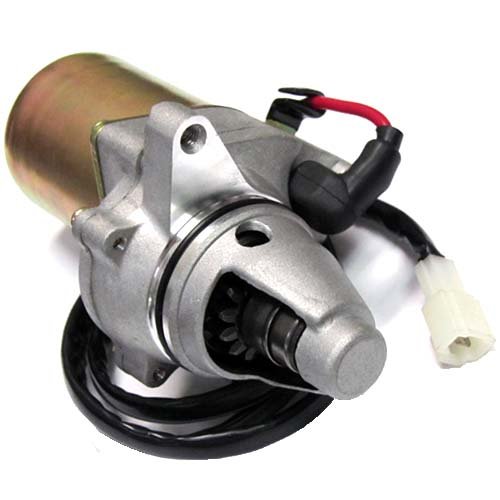
Combustion engines run continuously by using the energy created by the firing cylinders, as well as the centrifugal force of the flywheels or gears within. When the engine is not in use, however, these components do not move, which means there is no stored energy to get the engine going. In the past, a hand crank was used to start the motion of the engine, and many motorcycles and ATVs use a kickstarter that accomplishes the same task. These can be difficult and inconvenient to use, however, so the electric starter was conceived. Both an electric ATV starter and a kickstarter are present on some ATVs in order to offer versatility for the rider.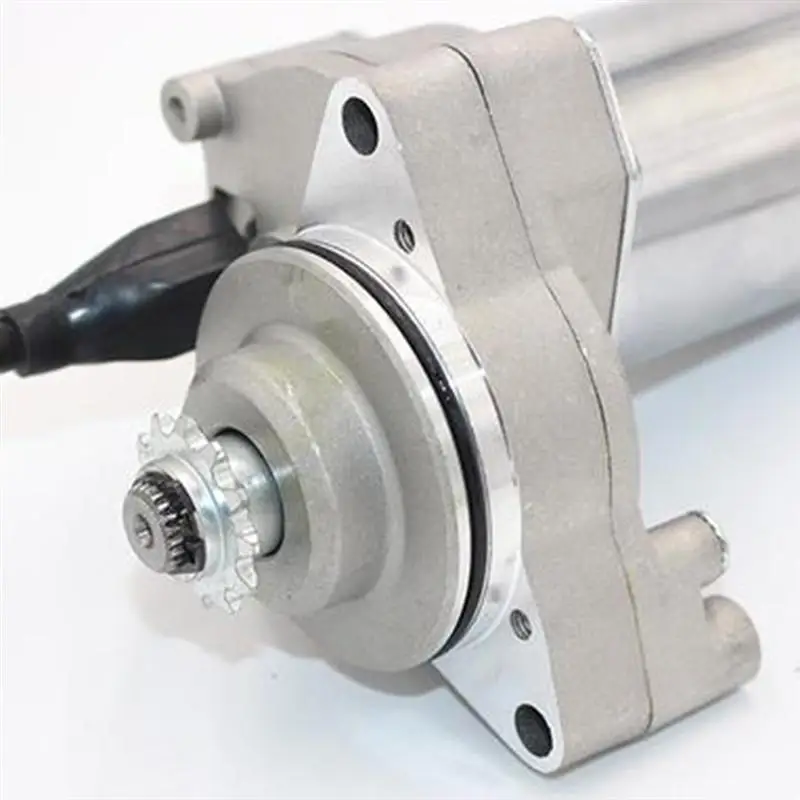
The ATV starter is engaged when a user turns the ignition key. This sends an electric signal to the ATV starter motor, which in turn engages the components that will set the flywheel in motion within the engine. Once the flywheel is engaged, the motion of that wheel can set the combustion process in motion, thereby firing the engine and creating the energy for driving the ATV. The process generally only takes a second or more, and once the engine is going, it can sustain itself under its own power.
 com Your JavaScript is disabled. This site requires JavaScript.
Delivery options and delivery speeds may vary for different locations
Sign In
or enter a zip code
Email * Password *
REPAIR & HOW TO
MAINTENANCE
TROUBLESHOOTING
GUIDES
TIPS & TRICKS
ALL ARTICLES WATCH VIDEOS ABOUT US SHOP PARTS CONTACT US
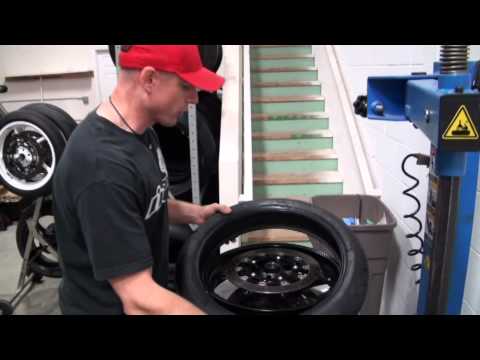
There are three types of starters fitted to motorcycles, ATVs and side-by-sides, and the steps below detail how to test each one of them.
Tools Needed – How to Test StartersBefore bench testing a starter, make sure to:

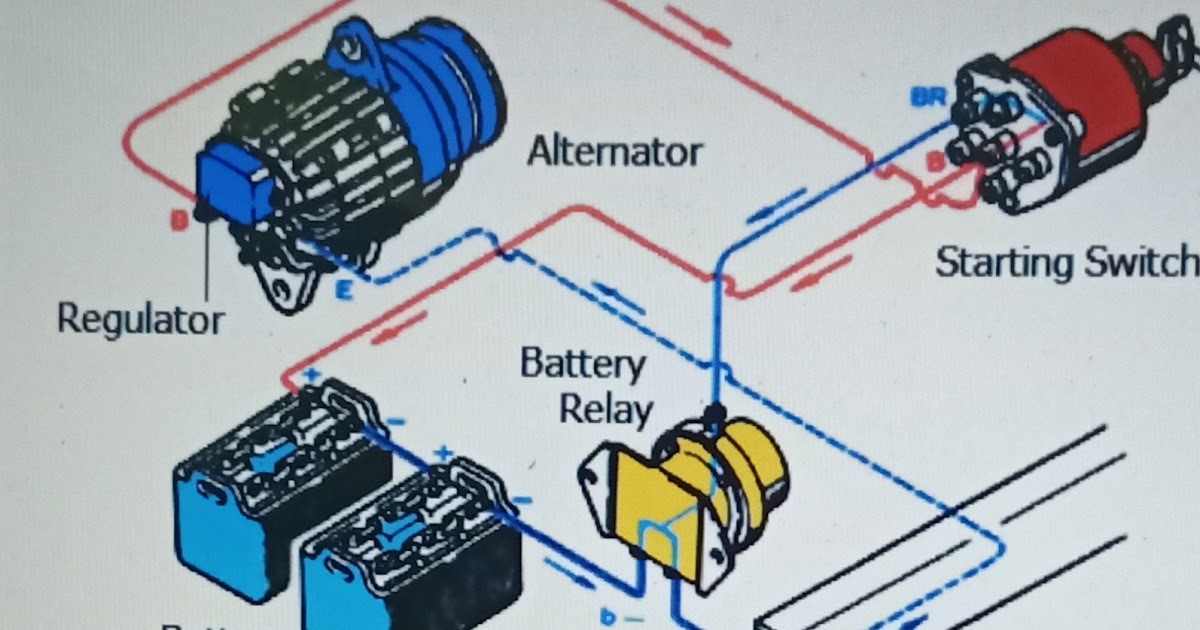
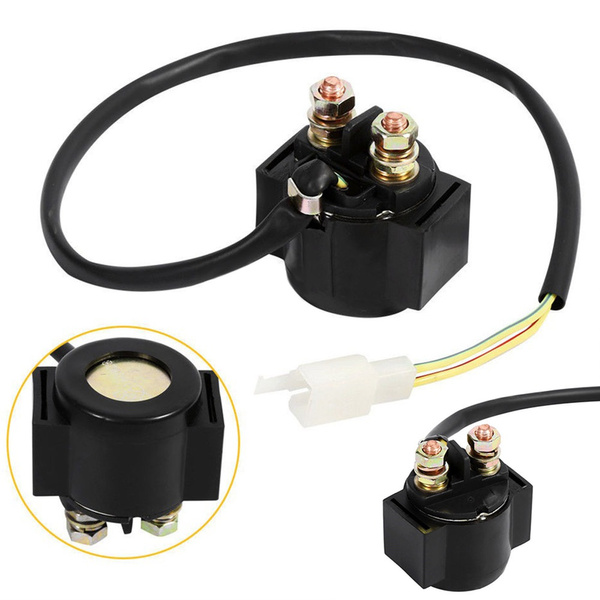
The first type of starter has a starter motor and a solenoid incorporated into a single unit. The starter features a Bendix gear that engages with the flywheel in order to start the engine. This type of starter is commonly found on side-by-sides, utility vehicles and automobiles.
The second type of starter has a separate starter motor and solenoid, but still features the Bendix gear that engages with the flywheel to start the engine. This type of starter is generally found on larger motorcycles and ATVs.
The third type of starter also has a separate starter motor and starter solenoid, but this starter engages with a reduction gear and one-way clutch to start the engine. It doesn’t use a Bendix gear. This type of starter is generally found on sports motorcycles and ATVs.
Testing a Bendix Gear Starter/Solenoid UnitThere are two nuts on the solenoid. The one furthest from the starter motor secures the wire coming from the battery, and the one closest to the starter motor secures the wire going from the solenoid to the starter motor. There’s also a spade terminal on the solenoid that connects to the wire from the ignition switch or push button, which triggers the solenoid to engage the Bendix gear.
Testing Only the Solenoid1. Connect a negative jumper cable to the negative terminal of the battery and the body of the starter motor.
2. Connect a positive jumper cable to the positive terminal of the battery.
NOTE: The positive jumper cable is now live, so be careful not to touch the other end against a ground surface.
3. Touch the free end of the positive jumper to the spade terminal on the solenoid. You should hear a clicking sound from the solenoid, and the solenoid should force the Bendix gear out of the starter motor. If the solenoid makes no sound and doesn’t force out the Bendix gear, the starter/solenoid unit must be replaced.
Testing Only the Starter Motor1. Connect a negative jumper cable to the body of the starter motor.
2. Connect a positive jumper cable to the positive terminal of the battery, and the other end to the nut on the solenoid furthest from the starter motor that secures the wire from the battery to the starter motor.
3. Touch the free end of the negative jumper cable against the negative terminal of the battery. You should hear the starter motor spin but the Bendix gear will not engage.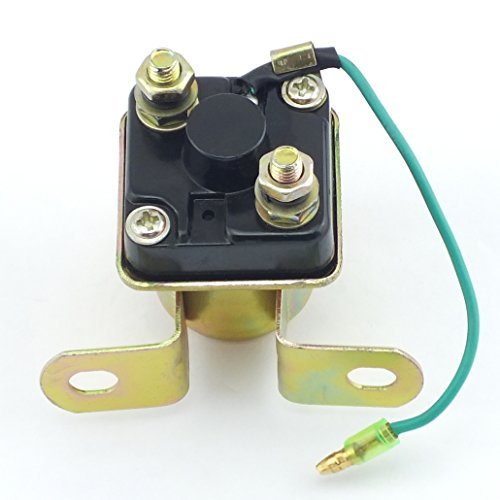 If the starter motor fails to spin, it must be replaced.
1. Connect a negative jumper cable to the negative terminal of the battery and the body of the starter motor.
2. Connect a positive jumper cable to the positive terminal of the battery.
3. Connect the free end of the positive jumper cable to the nut on the solenoid from the starter motor that secures the wire from the battery to the starter motor.
4. Connect one end of a test lead to the positive jumper cable attached to the solenoid.
5. Touch the free end of the test lead to the spade terminal on the solenoid. The starter motor should spin and the solenoid should force the Bendix gear out of the starter motor.
Testing a Bendix Gear Starter with Separate SolenoidThe starter has a single wire connecting to it from the solenoid. The solenoid has two terminals at one end, and a pair of wires leading out from the other end. The starter motor features a Bendix gear.
1. Connect a negative jumper cable to the negative terminal of the battery, and the other end to the body of the starter motor.
2. Connect a positive jumper cable to the positive terminal of the battery.
3. Touch the free end of the positive jumper cable to the positive wire coming from the starter. The starter motor should spin and the Bendix gear should be forced out of the starter. If it doesn’t, the starter motor is faulty and must be replaced.
Testing Only the Solenoid1. Connect a negative test lead to the negative wire coming from the solenoid, and a positive test lead to the positive wire coming from the solenoid.
2. Connect a positive jumper cable to the positive test lead, and the other end to the positive terminal of the battery.
3. Connect a negative jumper cable to the negative test lead.
4. Touch the free end of the negative jumper cable to the negative battery terminal. The solenoid should make a clicking sound, indicating that it's working.
5. Connect a multimeter to the two terminals on the solenoid.
6. Set the multimeter to resistance. The multimeter should show an open circuit.
7. Touch the free end of the negative jumper cable to the negative battery terminal. The multimeter should show an open circuit, proving the solenoid is working. If the solenoid makes no sound and doesn’t make a closed circuit, it’s faulty and must be replaced.
Testing a Starter with Separate SolenoidThe starter has a single wire connecting to it from the solenoid. The solenoid has two terminals at one end and a pair of wires leading out from the other end. There is no Bendix gear, but there’s a splined shaft coming from the starter motor.
Testing Only the Starter Motor1.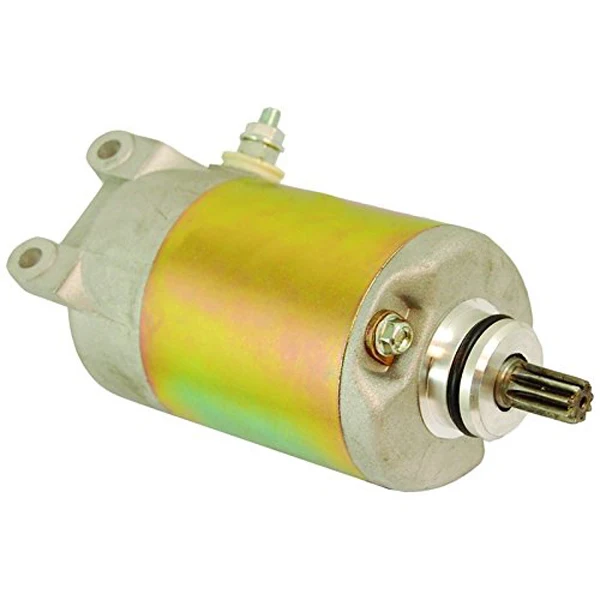 Connect a positive jumper cable to the positive terminal of the battery, and the other end to the nut on the starter motor that secures the positive wire from the solenoid.
2. Connect a negative jumper cable to the negative terminal of the battery.
3. Touch the free end of the negative jumper cable to the negative battery terminal. The starter motor should spin. If the starter motor fails to spin, it’s faulty and must be replaced.
Testing Only the Solenoid1 -7. Repeat the steps for testing only the solenoid, as outlined in the previous section.
body
10/22/2015
ATV does not start? Don't know where to start troubleshooting? Then let's try to find out the main reasons why an ATV may refuse to start.
Unfortunately, the equipment of any manufacturer sooner or later starts to act up, no one is safe from this, but finding a malfunction and starting an ATV that refuses to start is not so easy, especially if you are far from a service station.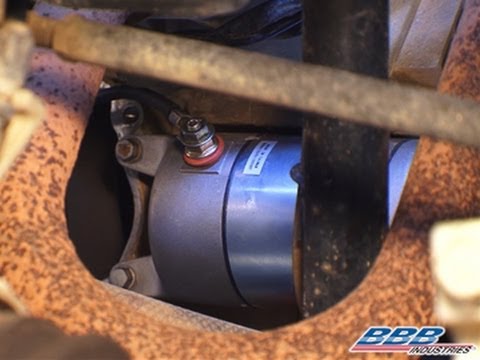
No matter how trite it may sound, the first thing to do is to check the presence of gasoline in the gas tank: believe me, very often a person tries to start an ATV with a dry tank.
Check if the engine power button is disabled, it is usually located on the steering wheel on the left side, and also pay attention to the fuses, one of them may have blown.
ATV does not start: reason No. 1
Next, take a multimeter and measure the ATV battery charge level: a charged battery should produce from 12.6 to 12.8 volts and confidently turn the starter, if the battery is low, charge it.
It is also necessary to pay attention to the battery terminals, they must be clean and not oxidized, and the clamping bolts must be tightened.
If, when trying to start the ATV, you notice that the starter does not turn, you must first check and, if necessary, replace the starter relay. To check if the starter itself is working, you need to make sure that the engine mass is in good condition (oxides, no contact, wire damage) and apply positive to it directly from the battery (observing the polarity), if the starter spins, look for a problem in the wiring. If there is no reaction to your actions, most likely the starter is out of order.
Check spark plug condition and spark. This is what a spark plug looks like when installed in a serviceable and tuned engine:
ATV won't start: Cause #2
In order to check the presence of a spark, it is necessary to unscrew the spark plug, insert it into the candle cap, lean it against any metal part of the ATV (do not forget about safety precautions: there should be no gasoline smudges nearby) and turn the starter, the spark should be confident and clearly visible . If there is no spark, it is necessary to replace the spark plug, if there is no spark, look at the wiring, and also replace the ignition coil.
Make sure your ATV's air filter is clean and saturated and that the air pipe from the filter to the carburetor is free of damage or blockage.
Determine if fuel is entering the carburetor, if the fuel filter is clean, if the fuel pipes are intact, clean the carburetor with cleaning fluids and blow out the passages.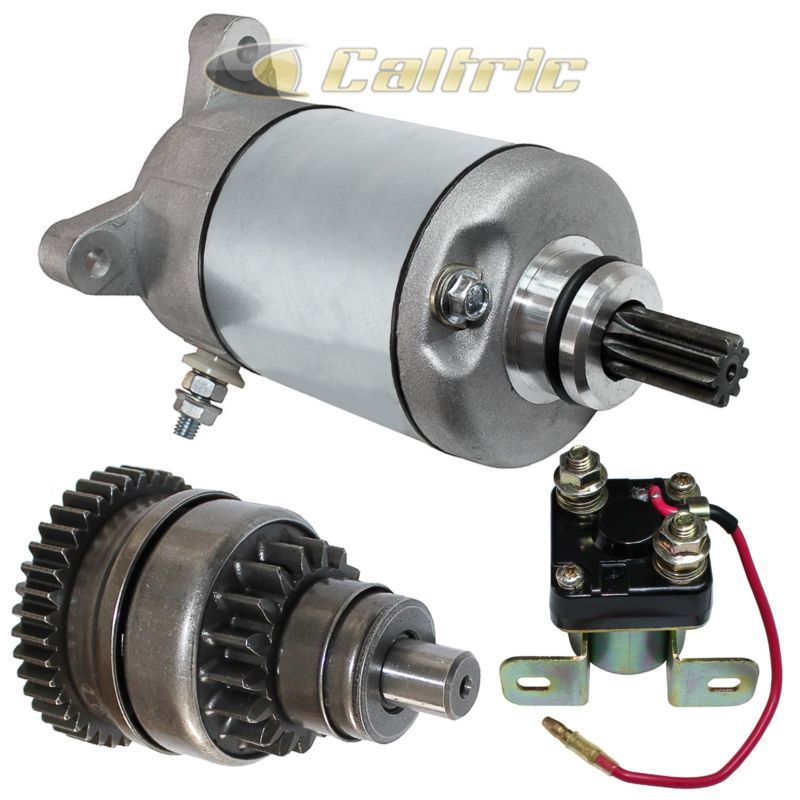
ATV won't start cause #3
Determine if the fuel pump is bad. After turning on the ignition, you should hear the sound of turning on the fuel pump and pumping gasoline into the fuel system. It is also necessary to check the operation of the fuel pump relay.
ATV does not start: reason No. 4
A very common cause of poor engine start is a worn piston and, as a result, poor compression (as a rule, this applies to ATVs with decent mileage), compression can be measured with a special device, called a compression gauge.
ATV does not start: reason No. 5
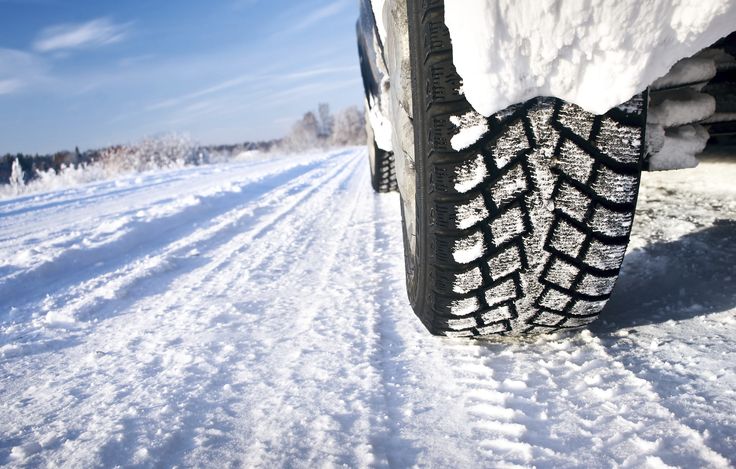
Quite often the ATV does not start well in winter, but there is a set of measures that greatly facilitates the start of the ATV, you can get acquainted with them by clicking on the link.
Here are perhaps the most common malfunctions, in the presence of which the ATV will not start. We hope that the provided manual turned out to be useful for you, and finally we suggest you watch a video that shows how to start an ATV with a manual starter, because it is not as easy as it seems at first glance.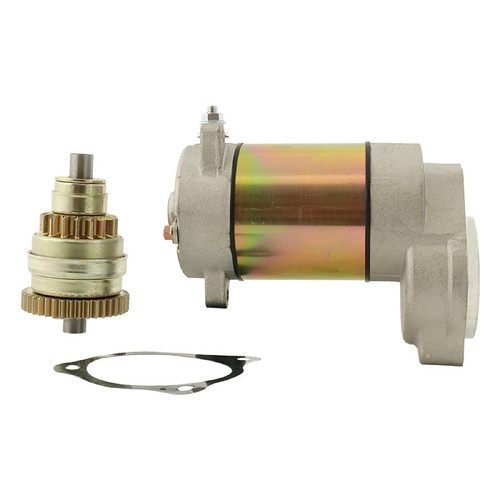
Source
The ATV is constantly subjected to significant loads, due to which the units of the vehicles wear out. This leads to a deterioration in the operation of the equipment or its breakdown. Therefore, let's figure out what to do if the children's ATV does not start. In this article, we will look at the main problems and ways to "resuscitate" the ATV.
Commonly, ATV problems are caused by improper use of the machine, high loads and irregular maintenance. The main reasons why the ATV won't start are:
To determine why a children's ATV is not working, you need to start with the simplest - technical fluids. Quite often, the problem arises due to the banal lack of gasoline.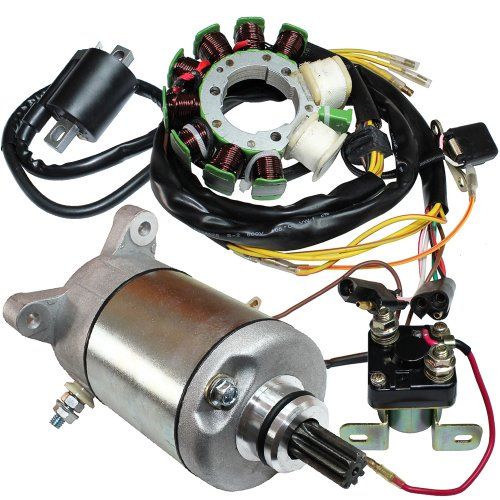 In this case, the quadric will not start or will start to stall. Therefore, before each ride, the rider needs to check the fuel level in the tank.
The ATV may also not perform well due to poor engine oil. If problems occur after changing the fluid, drain the lubricant, flush the system and fill in new oil. This is especially true for devices with a four-stroke engine, which must be "bathed" in grease.
Most riders store their ATVs for the winter. And if the procedure was performed incorrectly, it will be difficult to start the quadric after a long period of inactivity. Let's start with a simple battery failure. After a long stay in the cold, the battery can “leak” and completely fail. Do not forget that the battery could simply be discharged.
Also, in case of improper preservation, rust appears in the ATV fuel system, the spark plug and wiring fail.
To determine the exact cause of the malfunction, you need:
 ).
). But if a children's ATV does not work on a battery, it would be best to contact a specialized service. Technicians will need to check the ATV's engine, wiring, and batteries.
Quite often, problems with starting the quadric engine appear due to a starter malfunction or damaged contacts. To make sure that this is the cause of the malfunction, you need:

But what if you are far from home and the starter does not work on the children's ATV? In this case, you need to close the relay contacts. This way you can start the ATV engine.
Such a trifle as a spark plug can also prevent the quadric from starting. Therefore, it is important to inspect the part, and if it is damaged, it should be replaced. But if the electrode is intact, you should:
In addition, the rider should check for spark. To do this, you need to unscrew the candle, place it in the cap and touch the metal surface (without paintwork). A blue spark should jump on a serviceable element.
There are many reasons why a child's ATV won't start or stall. And in order to "reanimate" the ATV, you should:
In general, almost all problems can be solved by yourself. But if the quadric does not start after cleaning the contacts, replacing the relay and other basic procedures, it is better to contact the workshop.