Mounting ATV tires seems like a magic trick sometimes. One minute there’s a loose tire haphazardly squeezed around a rim like a loose rubber band. The next, someone lights the flash paper, there’s a puff of smoke and you have a perfectly mounted tire. And then the tire guy pulls a bouquet of flowers out of his sleeve.
In reality, there’s nothing that complicated about it. With the right tools, anybody (yes, even you) can mount ATV tires without having to resort to the dark arts.
Let’s walk you through it.
Can You Mount ATV Tires Yourself?Yes you can!
All it requires are the right tools and a little know-how. These are generally not tools your average garage owner is going to have laying around, but they’re easy enough to get ahold of.
First of all, you need a pry bar. A pry bar is used both for removing an old tire off of a rim and mounting a new tire onto the rim. You won’t get very far without one.
They’re sometimes referred to as a mount or demount tool and have a smooth, curved end. They’re designed to get between the tire and rim and do minimal damage to your rim.
Pry bar | $30–$70
A pry bar for tires is different from your standard pry bar. It has a smooth, flat end that’s designed to slip into the tire so you can get it on or off the rim.If you’re trying to remove a well-used tire, it’s not a simple matter of deflating it and removing it. You’ve got to break the bead, and you need a bead breaker tool to do that.
Bead breaker tools are designed to pry the bead down and away from the rim. Over time, a tire bead can get “frozen” to the rim and ends up requiring a ton of force to remove. The right tool gives you the leverage you need to do it.
Bead breaker | $20–$100
When it comes time to get your new tire onto the bead, a blast of high pressure air can make it happen more easily. Some people use fire but we don’t recommend this.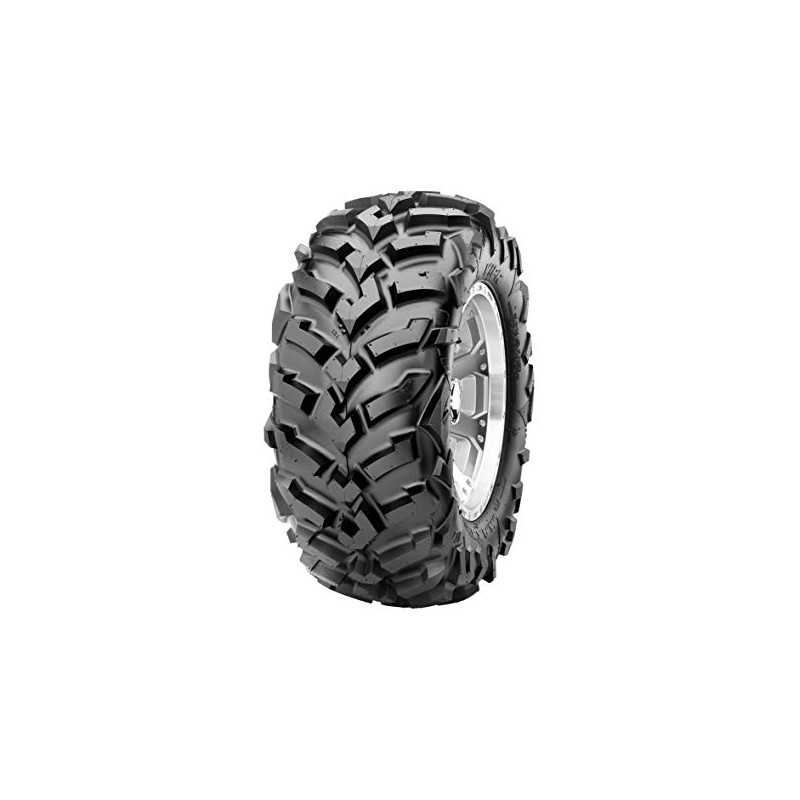 We do recommend using a tire bead seater.
It’s a little air tank that you fill with an air compressor. It has a wide nozzle that’s designed to squeeze between the tire and the rim so when you open the valve, it dumps all that air into the tire instantly, seating the bead and letting you inflate normally.
Air tire bead seater | $60–$100
Getting the bead seated on the rim is tough. A tire bead seater funnels a full tank of compressed air into a tire instantly, providing tons of pressure to seat the bead. It’s the easiest way to get a bead seated and the way we do it every day.Bead holders are little tools that help when you’re trying to get your tire on the rim. They hold the tire’s bead down below the rim as you work your way around. Having one or two can save you a ton of frustration.
Bead holder | $20
You’ve got soap (I hope). Mix some dish soap and water, put it in a spray bottle, and you’ve got the preferred tire bead lubricant.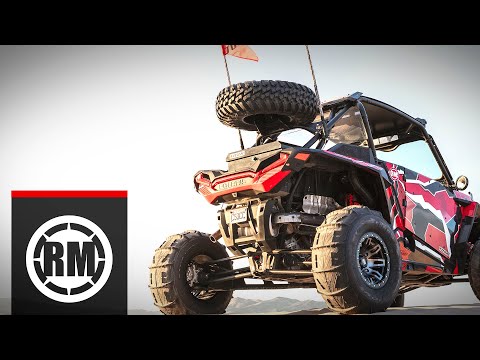 It’s a cheap and easy way to help you mount an ATV tire and seat the bead.
Dish soap | $3
A manual tire changer is a good way to get everything you need in one package. It comes with pry bars and a bead breaker. It also acts as an anchor point that you can mount your rim to. You can find affordable options that make for an easy job.
Manual tire changer | $50–$700
A manual tire changer consists of a simple set of tools that makes mounting an ATV tire easier. It comes with a pry bar, a bead breaker, and a convenient way to mount your wheel so you don’t have to fight it when you’re prying away.A tire changing machine is a top-of-the-line shop tool. If you have access to one, by all means make use of it for your tire changing needs. Odds are, a fully hydraulic piece of machinery designed to get your tires on and off in five minutes flat is more than you need for your personal garage.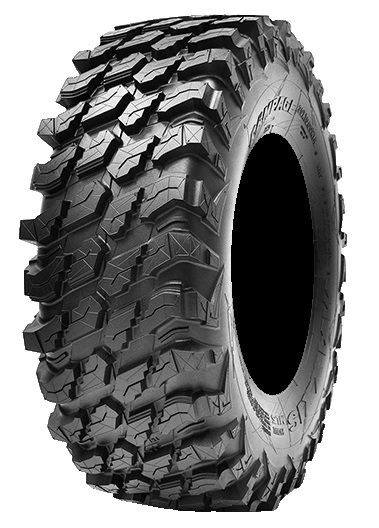
They’re pricey, but effective. This is what we use daily at SuperATV.
Tire changing machine | $1000+
Mounting ATV tires can be frustrating, but to say it’s hard is an overstatement. Your first tire is going to take some time to get on. You’ll want to block out some time, put on some nice tunes, and grab a drink.
It will take some work, but with proper patience and tools, anybody can do it. Having a buddy there to help you through some of the more difficult parts can make the whole thing a breeze.
Basically, there’s no reason why you shouldn’t be able to mount ATV tires at home.
This guide will help you get your old ATV tires off and your new tires mounted quickly and easily. We’re going to assume you’re using hand tools. If you’re using a manual tire changer, the steps will be the same—you’ll just have an easier time.
To remove the tire that’s already on the rim, you need a bead breaker.
Breaking the bead is harder than it sounds. Like we mentioned earlier, the bead can fuse to the rim over time which makes it very difficult to remove.
Now it’s time to get the tire off the rim. Most often, your tire will still be wrapped around the rim and nearly impossible to remove by hand. A pry bar and a soapy solution of dish soap and water can make it easier.
Actually mounting the ATV tire is the most difficult part. Feel free to take a break, get a drink, and eat a sandwich before you get started.
Once you get all four tires on, you’re good to go! Inflate them to the recommended psi, install them on your vehicle, and take them out for a spin.
Learn More About ATV TiresNow that we’ve covered mounting tires, you need to know what size to get. Check out our comprehensive guide to learn more about ATV tire sizes and why bigger isn’t always better.
If you like to get down and dirty riding through mud, take a look at our top 3 ATV mud tires. If you’ve never used a mud tire like these before, it’ll change your life.
Once you get your ATV tires on and inflated, you’re ready to go. Now you’re an expert, and next time you need to change a tire, you’ve got all the tools and expertise you need to get it done even quicker.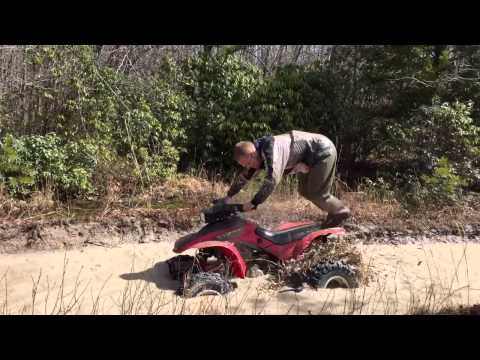
RELATED CONTENT: ATVs37 tires15
Share
1
Changing the tire on your ATV or side by side is a pretty straight forward process. There are some specialty tools that can make the job easier, but you can also accomplish a tire change on your own with some cool little tricks.
The hardest part about mounting a tire is getting the old tire off the rim and the new tires on. There’s a couple ways to go about this and some tips to make your life easier. Balancing the ATV tire is really only necessary if you’ll be getting up to speeds over 45 – 50 mph.
Here’s the steps you’ll use to remove the old tire and mount the new tire, don’t worry I’ll go into more detail on how to do each of these step by step.
Always start with safety when performing maintenance on your machine. It’s best practice to wear gloves and eye protection when working on your quad.
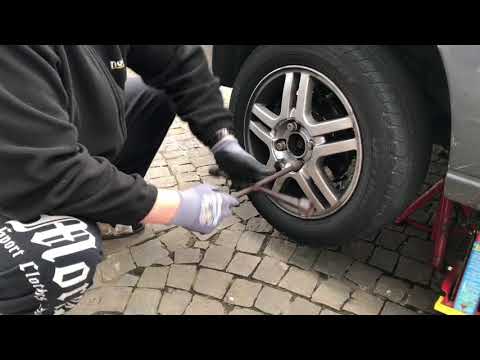
First off, get the wheel off the quad and deflate the tire. It’s easier is loosen the lugs a little bit before you jack the quad up. Loosen and remove the lugs in a criss-cross pattern, the same way you would install them. Once you have the wheel off the ATV it’s time to deflate the tire for removal.
To deflate the tire, remove the cap and release all the air in the tire. Most tire pressure gauges will have a little notch on one side, that you can use to push in on the valve stem to release the air in the tire.
Or you could always use a screw driver or punch tool, basically you just need to push down on the valve stem to release the air somehow. Once all the air is released from the tire, you can use a valve remover tool to get the valve cores out.
Here is a link to a Tire Valve Stem Tool Remover & Installation Kit on Amazon.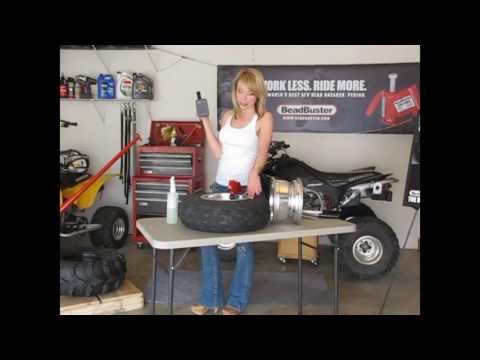 This kit has everything you need to deal with the valve cores of the tires. I highly recommend getting a tool like this if you ever plan on doing any type of maintenance to your tires.
You can try to remove the cores yourself with a wrench or something similar, but that option usually leads to damaging the valve cores beyond reuse. In fact, I’ve never seen this done successfully without a valve stem removal tool.
Once the tire has been deflated, it’s time to break the bead seal. This is sometimes the most difficult part of the entire process because the bead is set into the rim a lot more firmly on off-road tires than it is on car tires.
And to top it off, a lot of times there is some sort of bead sealer on the bead to keep the tire from popping off.
If you plan on changing a lot of tires, I suggest looking into getting a tire changer tool. This PowerLift Manual Tire Changer Base on Amazon is only about 55 bucks and makes this step so much easier. If you don’t want to spend the money, that’s ok, this can be done with basic garage tools as well.
A popular option to break the bead is to put the tire on a piece of plywood, or something so the tire doesn’t dig into the dirt.
Then place a jack on the tire near the bead, then simply jack up into something heavy like a truck bumper or hitch.
Repeat this process around the tire on both sides in places where the bead is till set.
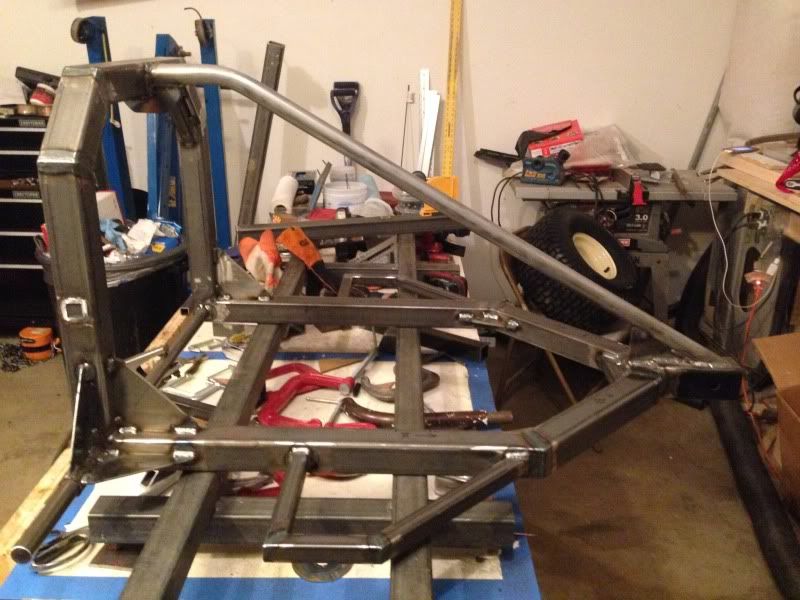
Or you could build your own homemade bead breaker with a couple 2x4s like in this picture here.
I would use a chain or something connecting to a piece of wood underneath the tire instead of a car as leverage, but that’s the fun of doing it yourself, use your imagination.
The whole goal of this step is to get the bead off the rim so you can remove the tire.
However inventive you’d like to get is up to you. I’ve seen people use a giant clamp to pop the bead off the rim before. You could use two pieces of 2×4 on each side of the tire and a ratchet strap to pull them together to press the tire off the rim.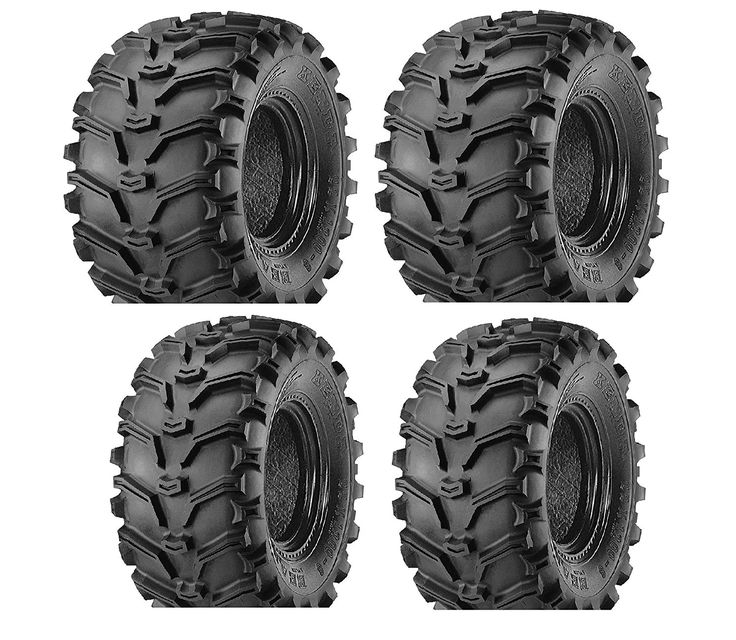
Now that you’ve got the bead of the tire unseated from the rim, it’s time to get the whole tire off the rim. This is sometimes called peeling the tire off the rim.
You’re going to want to take extra special care to peel the tire off the short side of the rim.
You can find the short side of the rim by looking at the depth on both sides of the wheel. The short side has a shallower depth and will be the easiest side to pull the tire off on.
The best tool for this step is a set of tire spoons or a tire changing tool set, like this Fasmov Tire Iron Tire Changing Tool Set. If you don’t have one of these, not to worry, they’re pretty cheap to buy a set, or you could just use a couple pry bars or something similar instead.
I would advise against a screw driver though, the larger ones may work pretty good, but be extra careful not to damage the tire or rim. Well, I guess you can damage your old throw away tires, but you need to do this later on to put the new tires on too.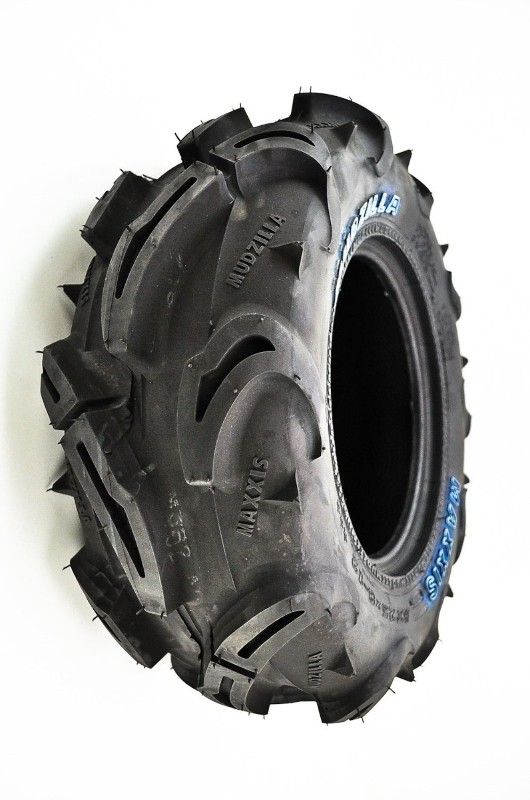
Start by pushing the tire down into the open area near the rim. Use your tire tool or pry bar to pull the tire up over the rim. It’s best to use the the tool like a lever, sticking the tool down so that just a piece is under the tire and pressing down to pop it over the rim.
Hold that piece of tire over the rim and use the tire tool piece with a lip to work your way around popping the rest of the tire over the rim. Like you see in the picture above. It’s easiest when you use all three tools in the kit because the middle tool will get freed up with each new section of tire you pop over the rim.
Eventually you’ll get to a point where you can just pull the tire off by hand. Then you’ll use one of the tire tools to simply pop the tire off the other side of the rim.
Now that you’ve got the old tire off, you’re going to want to clean the lip of the rim where new tire bead will sit. It’s important to clean this area really well to be sure you get a good fit with the new tire.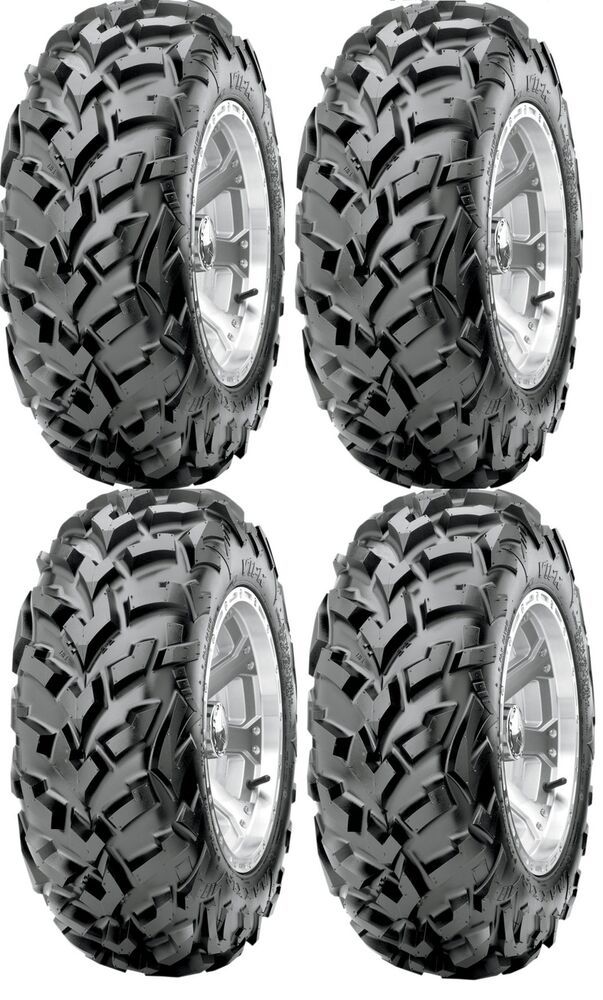
You won’t always need to use a bead sealer, but will always want to clean the lip of the rim. You will only need to use a bead sealer if you think the tire bead won’t seal well enough on the rim on it’s own.
This is usually only a concern if the tire is real beat up around the bead or if the rim is bent up and gashed to the point where the tire won’t seal on the rim.
If you can get away with not using a bead sealer, than I wouldn’t use it. It makes it harder to remove the tires next time you do a tire change anyways.
You will have to clean and lube the tire bead to help with mounting the tire on the rim. To clean it, just make sure the bead is free of debris and gunk. Usually a new tire won’t have dried up sealer or other stuff in the bead yet.
After you’ve made sure the tire bead is clean, it’s time to lube it up and put the tire on the rim. They do sell nice and fancy expensive tire lubes, but I’ve found that some soapy water works just as good. Lube both sides of the bead, inner and outer, if you don’t, it’s going to be really hard to get the tire on the rim.
Now’s a good time to check tire direction. Most ATV and UTV tires will not be directional, but they do make tires that should only be put on a certain way. This is because the tires is designed with groves facing a certain direction to help with traction.
You could look at the side wall of the tire for an arrow, or just decide for yourself by looking at the tread which direction you want the tire to be mounted on the rim.
Now to get the tire on the rim, remember to start with the shallow side of the rim. Place the rim on the ground, on something that will keep it from sliding away from you, with the shallow side facing up. Now poke the bead part of the tire into the shallow side of the rim and press down on the tire until it pops onto the rim.
Ok, you’ve popped the tire onto the rim, now you need to get it seated and the bead lined up correctly. You can kneel down on one section of the tire and use the tire tool or pry bar to seat the rest of the tire into place, as you can see in the picture.
Try using your knee to keep the tire from popping back up on the other end, your free hand will help with this as well. After you get to a little more than half of the tire pryed onto the rim, it will be easy to just push it the rest of the way on.
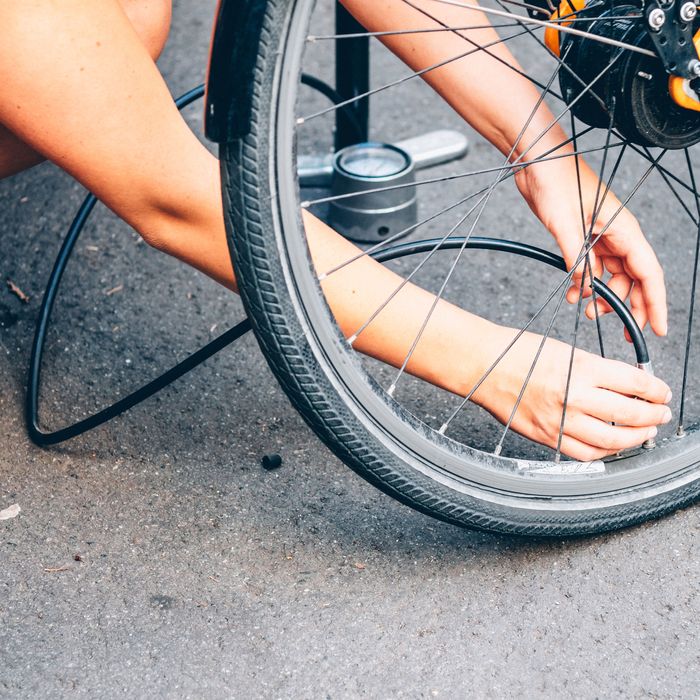
Now that the new tire is on the rim, it’s time to set the beads on both sides of the tire. If you have a small portable air compressor for airing up tires, that might not be enough to seat the beads.
You can try inflating the tire with the core out, to help you get more air in the tire more quickly to seat the beads. Then once the beads are seated, put the cores, or valve stems in and inflate the tire.
You will usually need a higher powered air compressor to seat the beads. The even make special designed Tire Seating Blaster Inflator Air Compressors made specifically with enough power to seat the bead of the tire.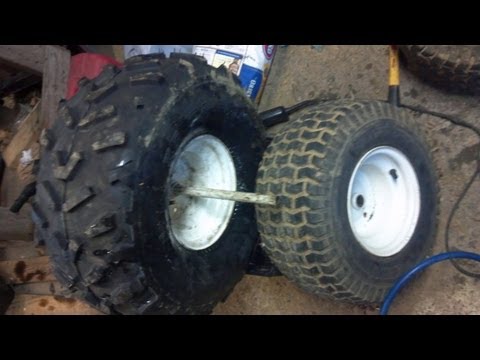 That’s because a compact portable air compressor doesn’t have enough power to do it.
Another popular option you could try is to spray starter fluid into the tire and light it with a lighter. The starter fluid burns all the air out of the tire and pulls the bead into place. To legally cover myself I am going to say to never do that. But, I’ve used this method plenty of times and it works like a charm.
Then once the bead is set, put the core back in and inflate the tire like you normally would using any air compressor you have. If you plan on riding at speeds over 35 mph, it’s a good idea to balance the tires at this point.
Check out my How To Balance ATV Tires article for the step by step instructions on how to balance your tires.
Sharing is caring!
A four-wheeler is an SUV by definition, which means that tires for a ATV are the most important part that ensures its flotation. Going to conquer the next track, you must be confident in your four-wheeler.
Whether racing or riding a quad over rough terrain, you can count on a safe and comfortable ride. Experienced riders know that only high-quality ATV tires can provide maximum comfort and safe handling of this exciting vehicle.
Given the fact that the ATV was originally destined to conquer the off-road, manufacturers shoe SUVs in tires that provide confident driving on hard dirt roads. Naturally, a car on such wheels can also zip along the highway, although driving on public roads for most models is prohibited by traffic rules.
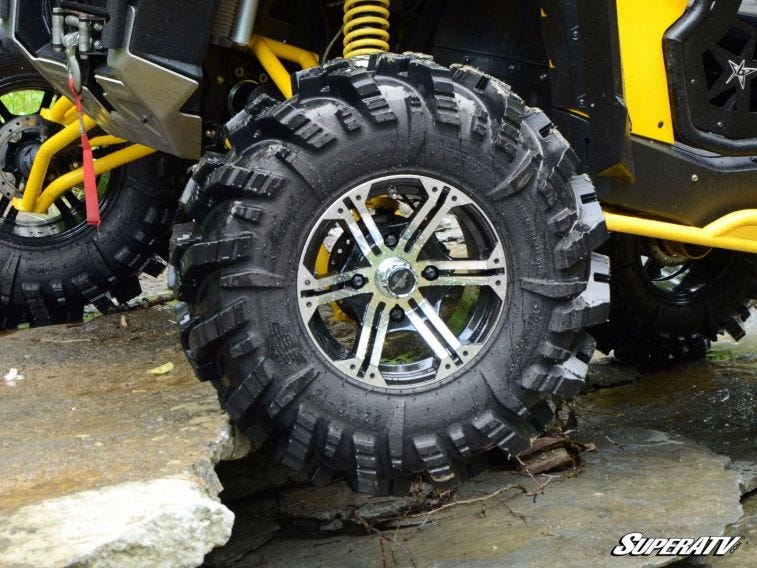
Even if you are not a professional athlete, you are unlikely to resist the temptation to conquer the viscous wetlands, or test the quad in liquid mud to evaluate its ability to overcome impassable areas. After all, that's what you bought the SUV for. Is not it? And if so, then it is clear that ordinary quad tires are of little use for sorties into the area, replete with deep puddles filled with viscous mud. It's time to think about equipping your ATV with real mud tires.
Real mud tires, unlike standard tires, have larger lugs that can bite into loose soil or sand. The tread, in the form of a discharged Christmas tree, resembles a pattern on tractor wheels. The diameter of such tires is increased and, depending on the model, ranges from 25 to 34 inches.
The most sought after ATV tires are between 26 and 28 inches as they fit most ATVs without any suspension modifications. The width of the cross-country tires is slightly larger than the standard tires, and the width of the front and rear tires is different. This allows the front tires to follow their own path, while the rear tires follow a slightly different path, gripping the curb and allowing you to go a lot further.
Under normal operating conditions, the main parameter that affects the stability and handling of the ATV is the crown - the tread area in contact with the road surface.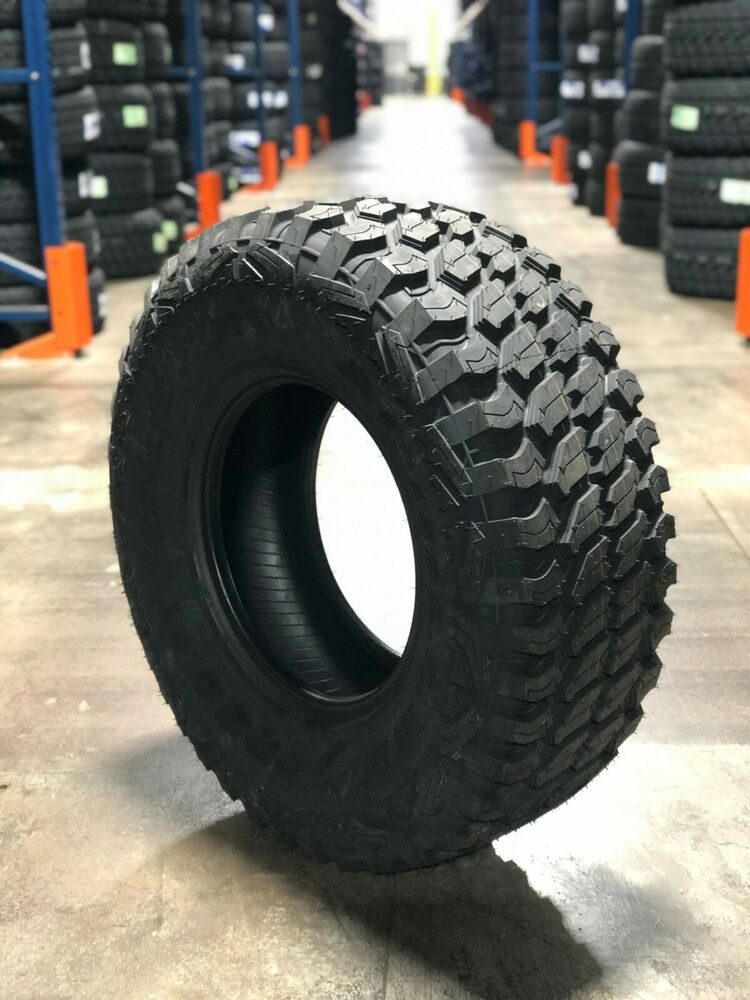 The larger the contact patch, the better the handling on firm ground. Therefore, if you are a fan of high speeds, like to maneuver and ride on rough terrain full of hard dirt roads, forest rolled roads, as well as any other hard ground, choose tires with a radial cord construction (example 1, example 2, example 3). Also, the radial design of the cord very well fulfills the bumps that can get in your way, a protruding tree root, stone or something else, the radial design will allow you to overcome this bump in the most comfortable way!
ATV wheels require softer, lighter rubber for maximum road contact and traction to confidently tackle swampy terrain. Cross-country ability is enhanced by a special tire design. An important role belongs to the lamellas, which have a peculiar shape and optimal height. The ability of the lugs to self-clean is very important, since the adhering dirt greatly complicates the patency on loose soils. Sidewall strength is also important for mud tires. Passing elastic wheels on deep ruts is associated with the risk of damage. The presence of strong sidewalls minimizes such risks.
The diameter of the tires affects the ground clearance of the all-terrain vehicle, the increase of which increases its cross-country ability. The width of the tire changes the area of its contact with the road. Wider profiles sink less into soft and loose surfaces, helping you to move confidently through the mud.
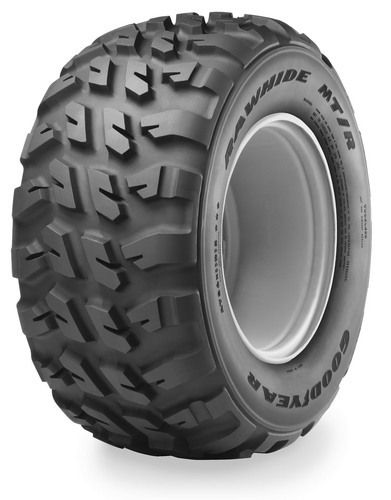
When choosing tires for an ATV, you should proceed from the expected conditions of its operation. Ideally, tires should provide comfortable driving, both on hard dirt roads and in mud. However, in practice it is impossible to achieve such results. Different manufacturers solve this difficult problem in their own way. In principle, all solutions come down to the creation of rubber optimized for use on a certain type of road: solid dirt tracks, or loose soils, mud, sand, grass.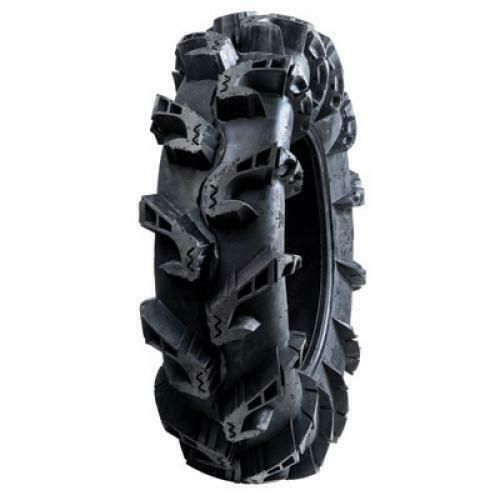 There are also all-purpose tires that provide average performance on different surfaces.
|
|
| DAKAR 2016. SERGEY KARYAKIN IN THE QUAD CATEGORY. |
The well-known American manufacturer ITP has succeeded in creating the perfect tire. It is by far the #1 tire and rim brand in its class. ITP products are known and bought by professional riders and extreme sports enthusiasts all over the world. Our well-known compatriot driver Sergey Karyakin participated in the Paris-Dakar race on tires with ITP rims. The ITP range includes the following tire types:
ITP tires are produced exclusively in the USA, which is an additional guarantee of their high quality.
The softness of ITP tires is superior to all known brands. But this indicator is very important for off-road driving. In an effort to find the best properties for different roads, ITP tire developers create tires for all conditions of use, creating new and unique treads that can cope with their tasks on any type of surface.
The main advantages of ITP tires include:
Just to add, ITP also makes excellent rims for the ATV in various sizes, including beadlock and reversible beadlocks. The discs are made of durable aluminum alloy and are lightweight and stylish. They are compatible with sport and utility models of modern ATVs.
ITP wheels are produced using an original casting technology that provides them with an enviable resistance to deformation and cracking. In the US, ITP provides a lifetime warranty on its discs. The polished surfaces of these wheels go well with the matte color of the tires and give the SUV a touch of special drive.
Equipping your ATV with ITP wheels and tires, you can safely conquer the most difficult tracks on it. It is by far the #1 brand for ATV tires and rims.
Author: Alexey Kokorin
We have already talked about how to choose the right wheels and tires for your car. At the same time, many, in pursuit of their own goals, choose wheels as larger, but normal daily operation dictates its own conditions: they should be kept in factory settings.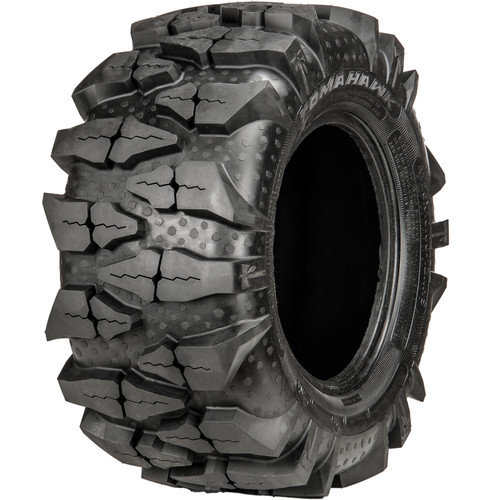 Why not install wheels larger than factory ones?
What does "more than factory" mean?
First, let's define what the phrase "more factory" means. The fact is that for almost all cars, manufacturers offer several options for the dimensions of rims and tires: each of these options is approved by the manufacturer, as it has been tested and means not only the physical ability to install the wheels on the car, but also the optimal operating parameters. Thus, if you bought a car with 15-inch wheels, but the manufacturer offers 17-inch wheels in a different configuration, you can install these on your car yourself without fear of negative consequences. However, before installation, you should definitely check the allowable wheel sizes for your car in the owner's manual to make sure that it is technically feasible and to choose the right wheel and tire size.
When we say “larger than factory”, we mean, first of all, wheels that are larger than the manufacturer's recommendations.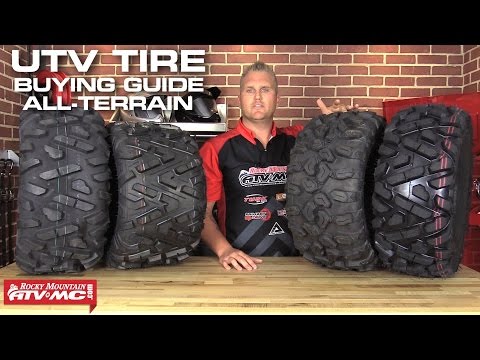 It is these "experiments" that affect performance. However, even if you act within the limits of what is permitted by the manufacturer, you cannot deceive physics, and installing 17-inch wheels instead of 15-inch ones, of course, will not go unnoticed either - much of what will be listed below will be true in this case.
Let's also define a wheel as a ready-to-install assembly consisting of a tire and a rim. And "increase" in this sense is a multi-valued concept: after all, an increase in the diameter of the disk does not necessarily mean an increase in the diameter of the wheel. Let's figure it out in order.
Why is it harmful to install large disks?
First of all, discs with larger diameters tend to carry more weight – and therefore the unsprung weight increases . A heavier wheel is more difficult for the engine to spin - that is, fuel consumption will become higher, and dynamics will be worse. In addition, an increase in unsprung mass also affects the suspension resource - it is designed for a certain load, limited by standard wheels.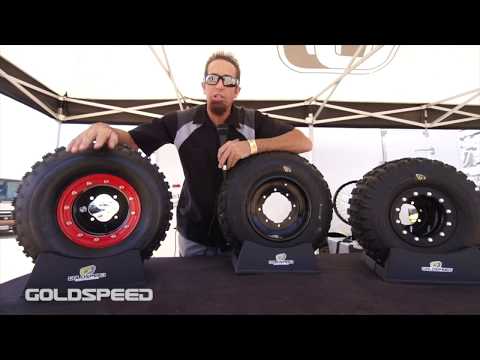
An increase in the diameter of the disc is usually accompanied by an increase in its width, as well as a change in offset (the depth of the disc in the wheel arch). This changes the parameters of the wheel bearings, increasing the load on them, and significantly reduces their life. Depending on the degree of deviation of the parameters from the standard bearings, the bearings can last 20-30% less, or they can “crumble” literally every few thousand kilometers.
Now let's move on from wheels to tires - after all, increasing the diameter of the disk changes the parameters of the tires installed.
What's wrong with big tires?
The weight-for-size rule also applies to tyres: as a rule, tires with a larger rim diameter have more weight added to the wheel assembly and total unsprung weight.
The second drawback is related to the fact that in the vast majority of cases, the increase in the diameter of the disk occurs due to the reduction of the tire profile: that is, in order for new large disks to fit into the arch, they need to be put on lower profile rubber.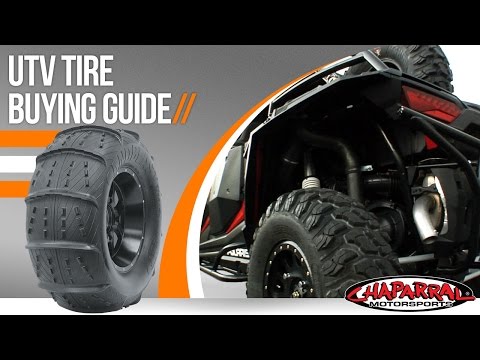 Well, a decrease in the profile is a deterioration in the smoothness of the ride and the overall comfort of the car. In addition, a thinner tire absorbs shock loads worse and transfers them further - to the disk and suspension. Thus, driving on low-profile tires on imperfect roads means a reduction in the life of the suspension and disks and a corresponding increase in operating costs, including for tires, the risk of damage to which increases with a decrease in profile.
Yes, another indirect, but still, disadvantage is the financial side of the issue. More money will have to be paid not only for new wheels, but also for rubber for them, and for tire fitting, and for the potential repair of a low-profile tire.
Well, among the unpleasant consequences, one can mention a change in the accuracy of the speedometer readings: initially, speedometers are usually set to slightly overestimate the readings relative to the actual speed, and with a gradual increase in the diameter of the wheel, it will first become more accurate, and then will “lie” more and more.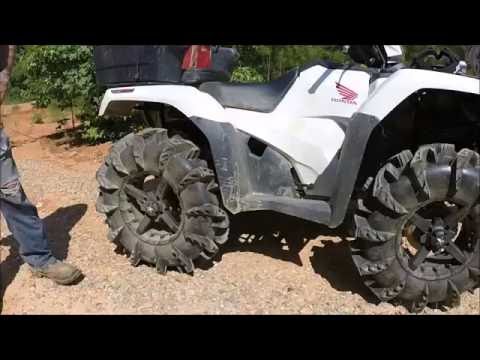 In addition, with increasing tire width, its tendency to hydroplaning .
Are there any advantages to fitting larger wheels?
Of course, increasing the diameter of the wheel does not mean continuous disadvantages, it also has positive aspects. For example, larger wheels mean more ground clearance, as well as an increase in top speed, as a larger wheel travels more distance in one revolution. Increasing the width of the rubber means an increase in the contact patch with the road and, accordingly, grip with it - this improves the car's handling and cornering speed.
According to the letter of the law
One of the main drawbacks of non-standard large wheels is that they are simply prohibited by law. The technical regulations of the Customs Union in terms of tires and disks allowed for installation are simple and adamant: only those that “comply with the recommendations of the operational documentation of vehicle manufacturers” are allowed.
In addition, it should be remembered that the same technical regulations prohibit the so-called "welding" - disks of increased width, welded from several "stampings". Firstly, they are tritely unsafe, since they have a non-factory design, and secondly, the technical regulations do not allow "the presence of cracks on the discs and wheel rims, traces of their elimination by welding."
tires and wheels popular questions
Articles / Supercars Scary, very scary: why the US banned drag on the Dodge Demon and other production cars Fast cars are bought in order to drive fast. And to drive as fast as possible, you need to drive in a straight line. These common truths are especially well understood in America - a country that, with ... 137 0 2 05.11.2022
Articles / Practice Frozen: why the car can not warm up for a long time "Winter! The peasant, triumphant…” warms up the car for half an hour. And sometimes not a peasant, but quite a boyar in an expensive car still warms it up, freezes and thinks: well, why is it so ... 542 0 2 04.11.2022
Articles / Used cars Used Jaguar XJ III X350/358: progressive aluminum body and archaic electrics If you are not an avid fan of the brand, then it is unlikely to distinguish this car from previous XJs. Stylistically, it follows the idea laid down back in the 60s: a low recognizable silhouette, a conservative interior…... 719 one one 03.11.2022
Test drives / Test drive Haval Dargo vs Mitsubishi Outlander: the dog is barking, the stranger is coming In the Haval dealership in the south of Moscow, life is in full swing: buyers look at cars, communicate with managers and sign some papers. While I was waiting for the test Dargo, the same cross... 15222 7 205 13.09.2022
Test drives / Test drive Motor from Mercedes, emblem from Renault, assembly from Dacia: test drive of the European Logan 1.0 It would seem that what's new can be told about the second generation Renault Logan, known to every Russian taxi driver, as they say, up and down? However, this car has... 12924 ten 41 08/13/2022
Test drives / Test drive Geely Coolray vs Haval Jolion: Free Cheese? If! Do you want to buy a car today with a full warranty, on credit at an adequate rate, without wild dealer markups? Now this is still a task, because a full-fledged chain of "representation - s.