After rebuilding or replacing the master cylinder on your ATV, you will need to bleed it separately to get all of the air out. The same applies if you bleed your brakes and accidentally let the brake fluid reservoir run dry, allowing huge amounts of air to enter the system.
In this post, we will have a look at 6 alternative ways of doing this procedure.
With this procedure, you bleed the master cylinder when it is still attached to the ATV.
To perform this job, you need almost no tools. All you need is:
Here you can see the banjo bolt still connected to the brake fluid reservoir.
Most of the brake fluid will stay inside the reservoir even after removing the banjo bolt.
Use your finger to cover the exposed outlet port.
 Slightly release the pressure with your finger covering the hole to allow fluid to escape. Keep pressing the lever until you reach about 80% of its total travel.
Remove your finger and insert the banjo bolt as fast as you can.
A variation of the above methods is when you, instead of controlling the fluid stream with your finger, use the banjo bolt as a bleed valve.
Step 1 to 4 is identical as above.
5. Then pump the brake lever as you do when manually bleed the brakes.
6. But instead of opening the bleed valve by the caliper, you open the banjo bolt until the brake fluid starts sputtering out.
7. Tighten the bolt when the brake lever is about 80% engaged.
8. Re-apply pressure and open the banjo bolt again.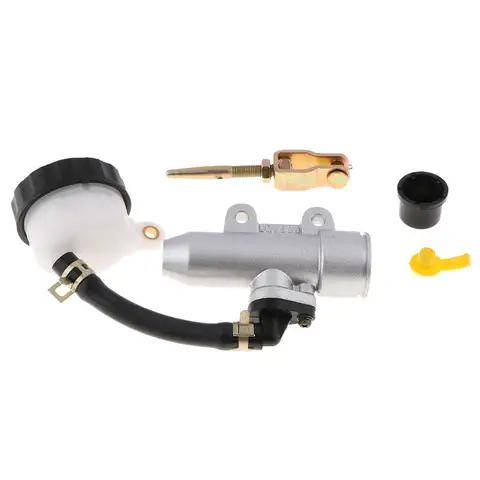
9. Continue until you get a sputter-free stream of brake fluid.
10. Then bleed the brakes normally. You should now be able to build proper pressure.
This method may be a bit messier, so make sure you use plenty of rags to keep your ATV protected.
Related: 12 reasons why your ATV brakes won’t build or hold pressure.
You’re probably starting to realize there is almost no limit to how many ways you can bleed the brakes on an ATV. Here is another tip to try.
Instead of letting the brake fluid squirt out of the banjo bolt and down onto a rag, you can direct it back up into the reservoir. Insert a piece of clear tubing into the outlet port on the reservoir and put the other end of the tube down into the master cylinder.
Use a piece of tube to direct the brake fluid back into the reservoir.Make sure it is completely submerged at all times. Then start pumping.
Continue until you see only clear brake fluid inside the clear tube. When you are done, install the banjo bolt quickly, so as little air as possible gets into the system. Top off the brake fluid reservoir and leed the brakes as normal.
The expression “bench bleeding” comes from removing the master cylinder off a car and bleed it on a workbench.
On an ATV, you don’t actually have to physically remove the master cylinder from the bike to “bench bleed” it, It is just as accessible where it is sitting on the bike.
It’s actually faster and easier to bleed it when still attached to the bike, but you run a small risk of spilling brake fluid on the ATV. Brake fluid is corrosive and will damage paint and plastic.
Another benefit of bleeding the reservoir on the bench is that you are free to rotate it so that the outlet port can be facing upwards when you are done bleeding.
This way, you can better prevent air from getting back into the system during installation. The banjo bolt can be installed with the port still facing upwards before fastening the master cylinder to the handlebar again.
Ultimately it is up to you whether you want to bleed the master cylinder when still attached to the handlebar or if you want to remove the whole assembly and perform the job over at your workbench.
The same tools as the first method. Also, you need the proper tools to remove the master cylinder from the handlebar. This varies between the brands and models of ATVs.
The procedure is pretty much identical with bleeding the master cylinder when still attached to the bike. But before you begin, you need to remove the whole assembly from the ATV.

If you’re not having any success bleeding the master cylinder just by pumping, you can try using a hand pump brake bleeding tool.
Depending on what model you get, these can be used for both pressing brake fluid through the master cylinder or sucking brake fluid down by utilizing vacuum.
The tool comes with a rubber adapter that can be inserted into the outlet hole on the reservoir. Follow the tool directions and press brake fluid back into the master cylinder assembly until no more bubbles appear in the reservoir.
Alternatively, you can switch the tool over to vacuum and suck brake fluid down from the reservoir and into the too through the same outlet port. If this does not help, you likely have a bad master cylinder and need to rebuild it to get it to start pumping again.
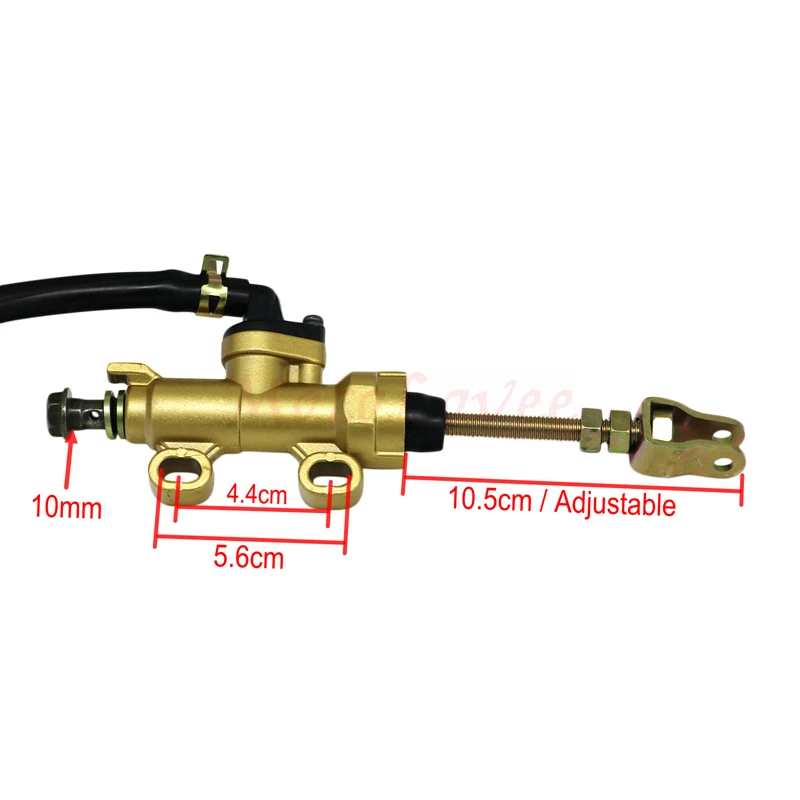
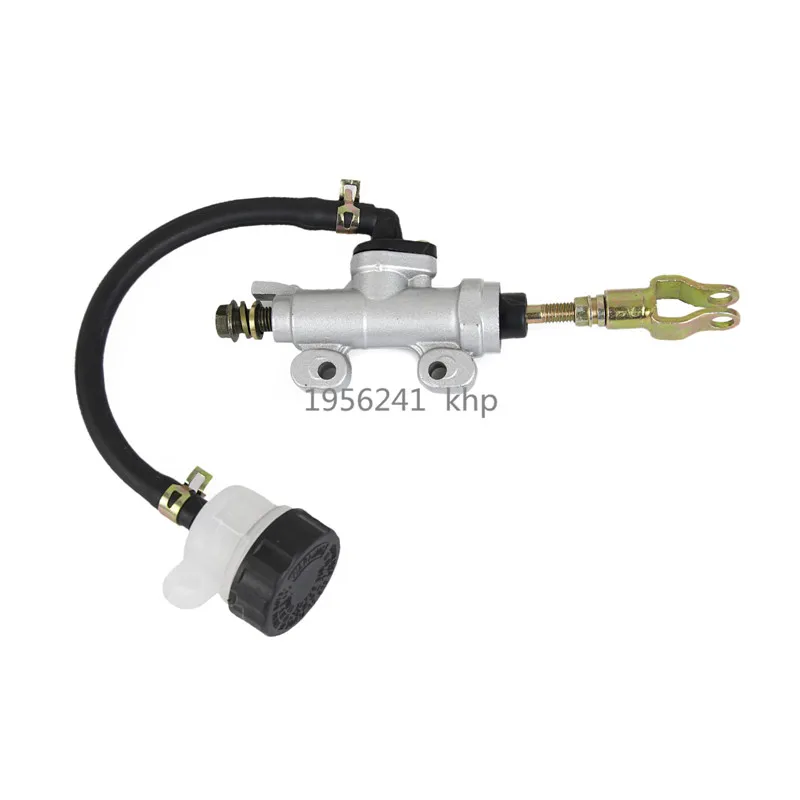
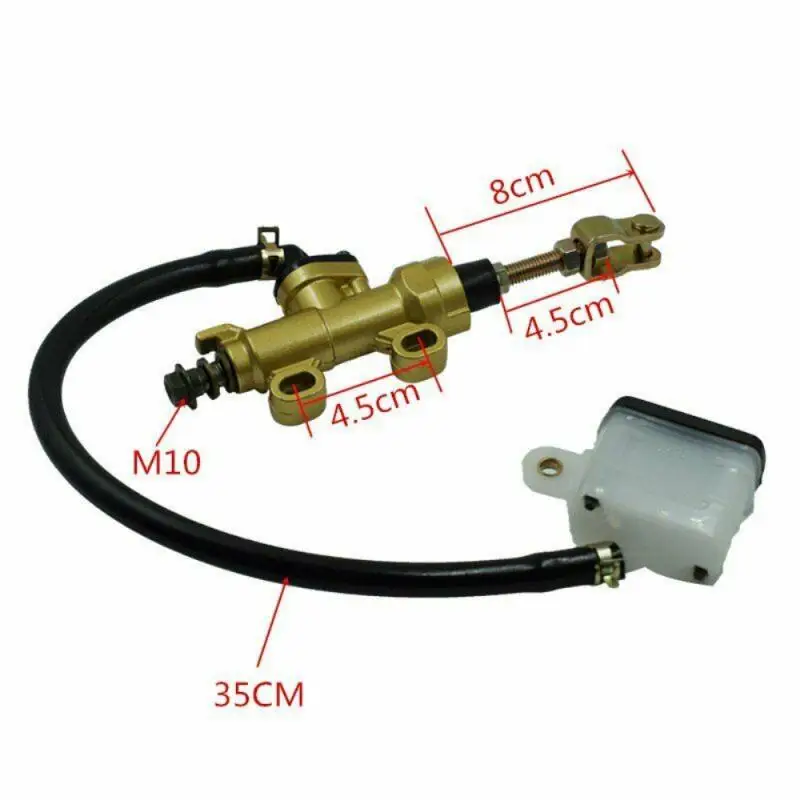
The rear brakes on many ATVs will have their own master cylinder. To bleed it properly, it is best to remove it and properly bench bleed it.
Removing the rear master cylinder will usually require some disassembling as it is hidden behind plastic covers.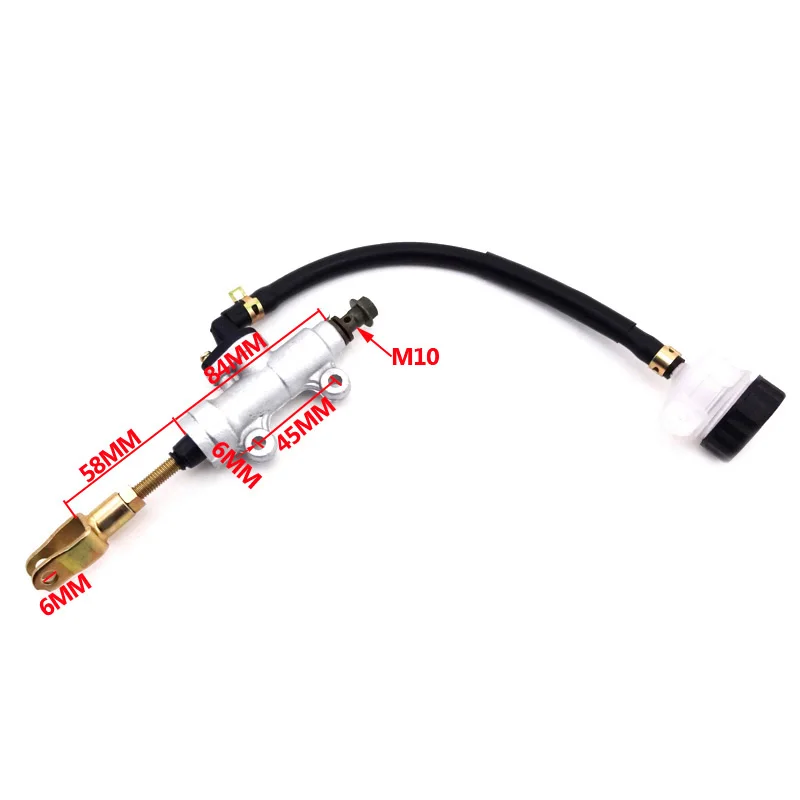 The aluminum or plastic materials will break if you apply too much pressure.
Related: ATV brakes won’t bleed; 9 possible causes.
After getting such a large amount of air into the master cylinder, you will likely have difficulty getting it all out with just the manual ways of pump-bleeding. That is if you can get it to start pumping fluid at all.
Inside the master cylinder, there are a lot of pockets and passages where air can get trapped. The flow of brake fluid alone will not be able to reach it all and get it out.
Also, you are fighting gravity. All of the air inside the system wants to go up and into the master cylinder.
Vacuum bleeding may work, but not always. Air may still be trapped within these passages, even after performing a proper vacuum bleed. But it is worth trying if you already own a vacuum bleeder or can borrow one.
You may be lucky and achieve a decent result by just adding fluid and bleeding as normal. But you will likely spend less time and get a better overall result if you bleed the master cylinder properly right away.
Hi, I’m Haavard, the guy behind Boost ATV. I made this site for sharing what I learned as an avid ATV owner and enthusiast. I hope it will help boost your ATV experience! Who am I?
This site is owned and operated by Krislok Media, a limited liability company headquartered in Norway. BoostATV.com is a participant in the Amazon Services LLC Associates Program, an affiliate advertising program designed to provide a means for sites to earn advertising fees by advertising and linking to Amazon.com. This site also participates in other affiliate programs and is compensated for referring traffic and business to these companies.
ATV Riders Forum > ATV Riders Mechanical Section > ATV Steering & Suspension > Brakes won't bleed.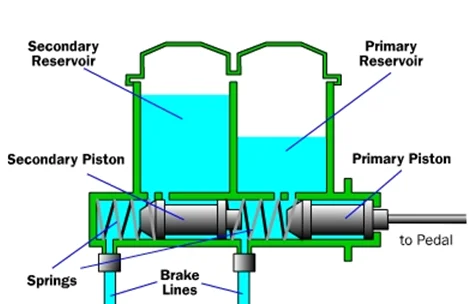
PDA
View Full Version : Brakes won't bleed.
racerx573
05-09-2003, 07:55 AM
Ok, I just got some new Dual line stainless brake lines and cannot get the things to pump. I've got no pressure at all, there are no bubbles coming from the bleeders screws, but there are bubbles coming out from my master cylinder reservoir. Am I doin somethin wrong? I am not the best when it comes to brakes.. anyone else ever have this problem? What's the best way to go about doing this without a speed bleeder?
Pappy
05-09-2003, 08:03 AM
keep pumping. if you have bubbles coming from the master cylinder up thru the lines then there is something happening:D also if you take a very small pick and circle the area where you see the bubbles coming from (dont stab...just lightly swirl around it) it seems to help...dont know why....but it does:huh
racerx573
05-09-2003, 08:27 AM
Since yesterday evening I have probably pumped for about an hour or so.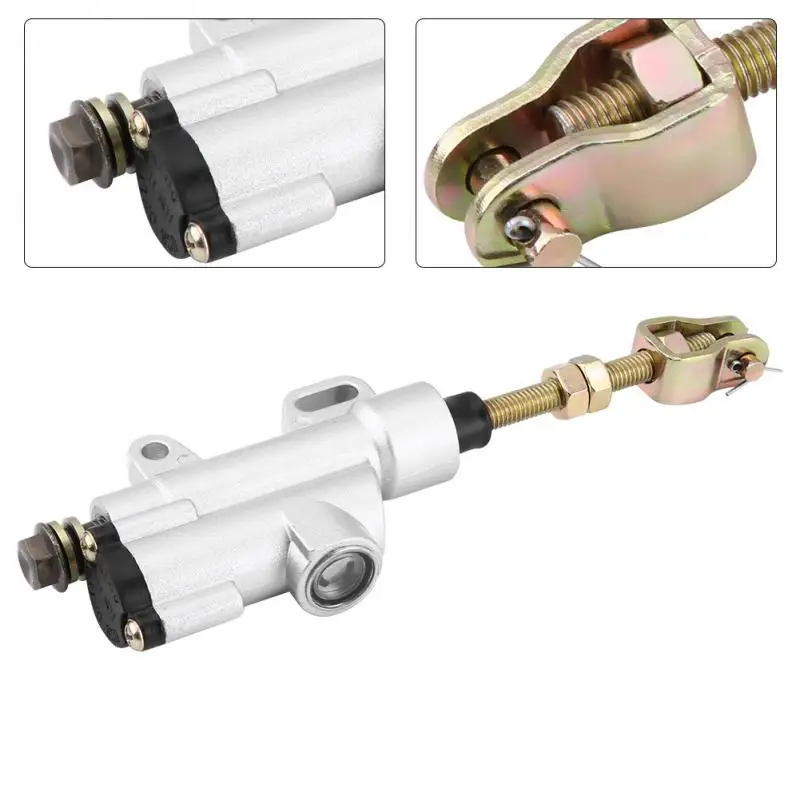 .:grr :mad:
Tommy 17
05-09-2003, 08:55 AM
jay hook a hose up to the nipple on the calipar and suck fluid down into them...
lil400exman
05-09-2003, 09:07 AM
look in the FAQ section and see what jabber jaw did!;)
05-09-2003, 09:08 AM
since they are dual ...try bleeding 1 at a time ..
& do not open the bleeder any more than necasary ..also if you can find a small hose to hook onto the bleeder this helps to keep air from returning into the caliper ..& turn that hose upwards ,so air does not get sucked back into the brake as you pump..the air bubbles will escape & the fluid in the added hose will return to the caliper
rigged400ex
05-09-2003, 09:24 AM
Originally posted by Tommy 17
jay hook a hose up to the nipple on the calipar and suck fluid down into them... thats a good idea
Pappy
05-09-2003, 09:26 AM
Originally posted by Tommy 17
jay hook a hose up to the nipple on the calipar and suck fluid down into them. ..
..
get a picture of that too:devil
racerx573
05-09-2003, 09:27 AM
Originally posted by Pappy
get a picture of that too:devil
HAHA
I did that to get the fluid into the lines.
Natertot426ex
05-09-2003, 09:52 AM
When I did my fronts I just opened the valves and started pumping and within like 30 seconds it was pumping out of the valves. That is what worked for me.
QuadTrix6
05-09-2003, 10:56 AM
if you have no pressure in them youi might need to pick up a bleeder pump like might vac to start it
racerx573
05-09-2003, 12:03 PM
Stops on a dime!! I just cracked the bleeders and let gravity do its thing, started gettin major bubbles from the bleeders, and then cha ching.:)
05-09-2003, 12:07 PM
im having problems with mine too, whats crack the bleeders?
racerx573
05-09-2003, 12:40 PM
Fill up the master cylinder, open the bleeders,and let them ist, but sure to monitor them, then when the fluid level lowers, add more, and wait a little bit, then do the other side.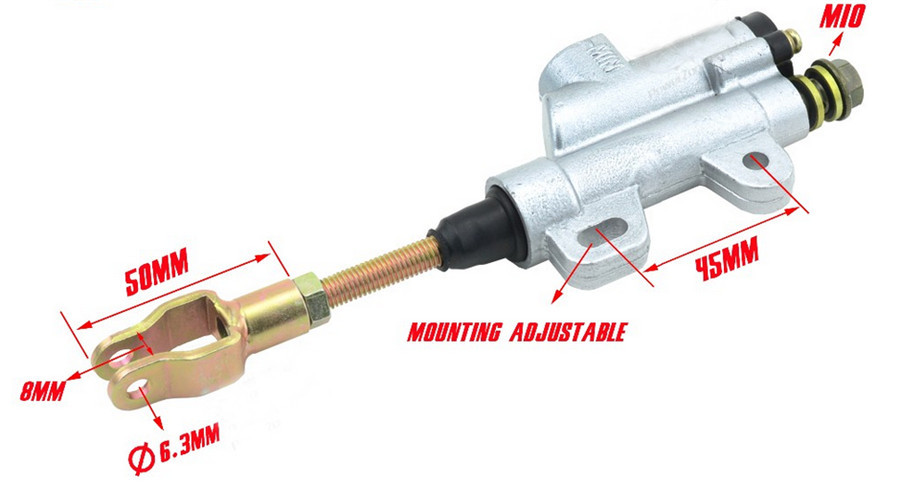 Then after you do it both sides, leave one open and pump it, if you see bubbles, then youre doing it right.
05-09-2003, 02:15 PM
its just my back brake, its got so much air in it now its not even funny, i thinki'm gonna have to buy a bleed gun
Elmo on PCP
05-09-2003, 03:31 PM
Originally posted by Crazy400exMan
its just my back brake, its got so much air in it now its not even funny, i thinki'm gonna have to buy a bleed gun
every post you make is retarted, you must be 12 or yer "retarted" cuz you know nothen about quads dude.... you want a "loud pipe to piss off neighbors" and you "need a bleed gun cuz of so much air" lol
Derek
05-09-2003, 05:32 PM
Originally posted by Elmo on PCP
every post you make is retarted, you must be 12 or yer "retarted" cuz you know nothen about quads dude.... you want a "loud pipe to piss off neighbors" and you "need a bleed gun cuz of so much air" lol
And who the Fu** are you?!?!?!? If the kid needs help then why not help him instead of being a complete arsehole!!!
05-09-2003, 05:34 PM
thanks derek, i'm new to quads.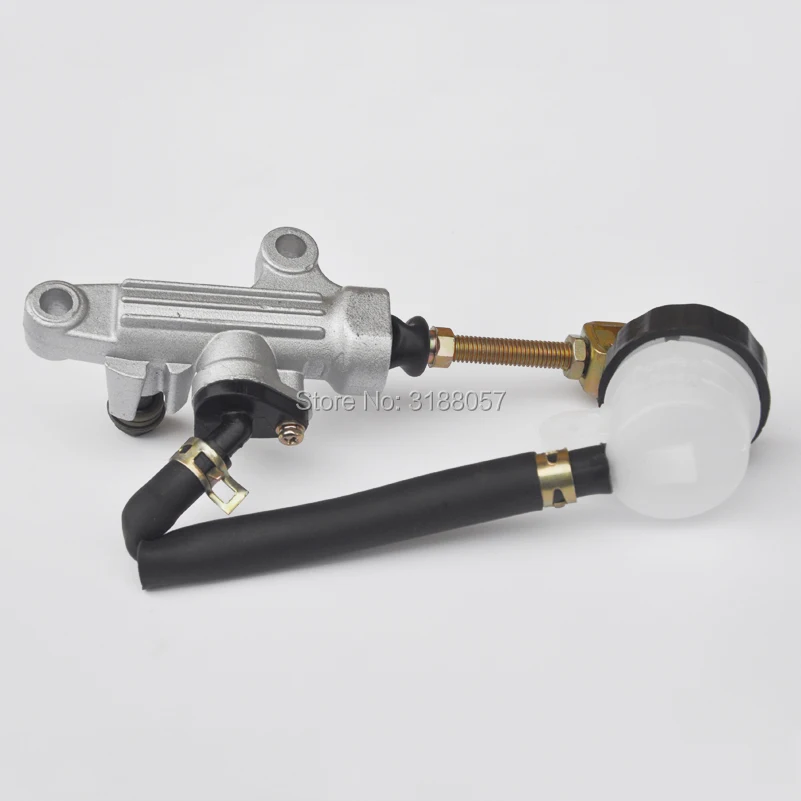 i just got this baby february 14 & am learning things from her all the time. I love this site, u guys help me out alot on all the easy stuff. I dont know what I'd do without this site. :confused2
EX Stud
11-25-2003, 09:41 PM
what is the bleeder valve and how do i open it?
11-25-2003, 09:57 PM
lol...i just read this post...i never did fix my brake problem :p the bleeder valve is covered by a small little plastic piece that pops on & off the very rear caliper....you turn it up to loosen it & let air out.....;)
toby400ex
11-25-2003, 11:04 PM
Originally posted by Crazy400exMan
its just my back brake, its got so much air in it now its not even funny, i thinki'm gonna have to buy a bleed gun Are you leaving the bleeder valve open while u pump the brakes:confused: :huh
11-25-2003, 11:26 PM
nooo......I have my dad open it after i pump the brakes a bunch & hold the brake down...then he closes it after its open for like 1 second then we keep doing that,.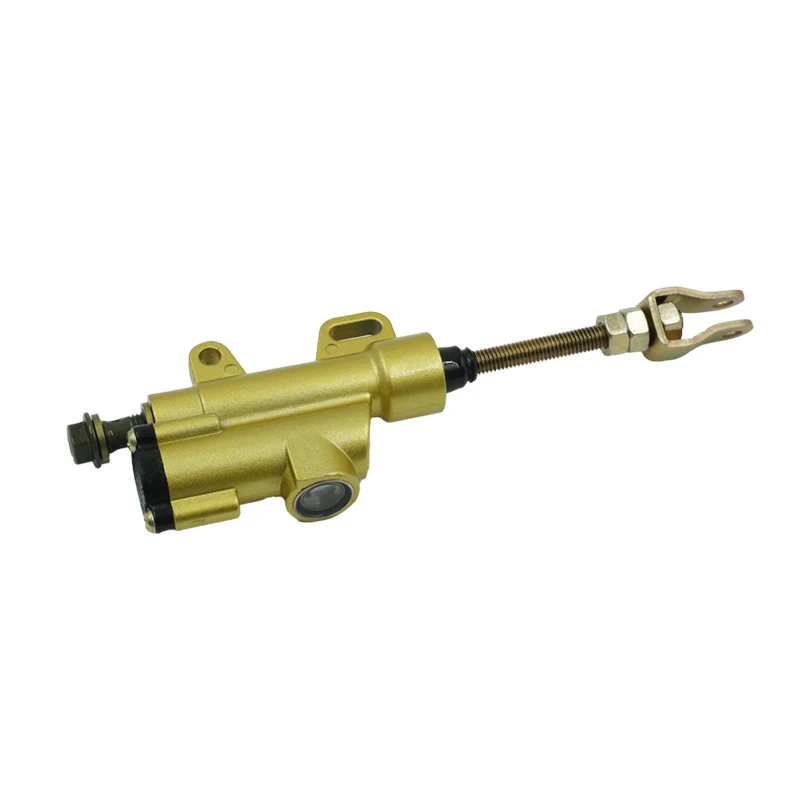 .....nothing ever happens or improves.....sometimes bubbles will shoot out but my resevoir fluid NEVER goes down ANY AT ALL! it is driving me insane...i have brand new brake pads too. :(
JOEX
11-26-2003, 12:18 AM
Are you adding fluid to the reservoir as you're going? Keeping the level up?
Also, I read somewhere that sometimes the air bubbles get trapped in a high point of the line or a bend, don't know how accurate that is though.
Joe
EX Stud
11-26-2003, 10:22 AM
i'm having the very same problem crazy400
11-26-2003, 10:27 AM
No...Iv'e bled my brakes for like 2 hours & have tried everything....the fluid i nthe reservoir is nto going down at all....EXSTUd, try topping off your mastercylinder w/ brake fluid & then screw the screw in right & try your brakes. ;)
JOEX
11-26-2003, 09:27 PM
Originally posted by Crazy400exMan
No.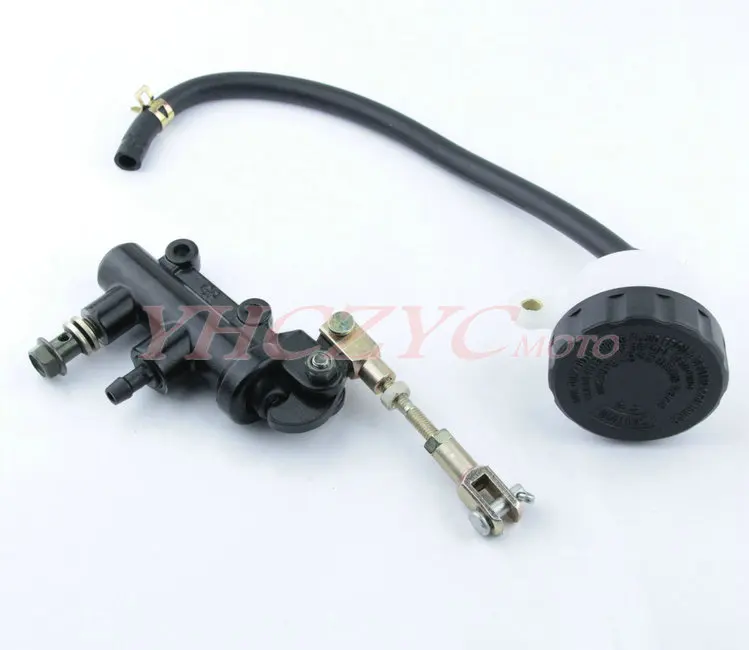 ..Iv'e bled my brakes for like 2 hours & have tried everything....the fluid i nthe reservoir is nto going down at all....
I'm guessing the line is plugged:confused: Maybe remove the line and try blowing it out from the bottom.
Joe
11-26-2003, 10:00 PM
iv'e tasted so much brake fluid from this thing....i think joex might be on the money with this one though...ill try it out when i get home
EX Stud
11-27-2003, 08:27 AM
i think i found my problem........it is leaking out of the stupid rubber part in the parking brake.
would that be enough fluid loss to keep my brakes from working?
I don't even use my stupid parking brake, i'll get a block off for it
11-27-2003, 11:59 AM
mine isnt leaking fro mmy parking brake mblock off plate :(
11-27-2003, 12:55 PM
Originally posted by racerx573
Ok, I just got some new Dual line stainless brake lines and cannot get the things to pump. I've got no pressure at all, there are no bubbles coming from the bleeders screws, but there are bubbles coming out from my master cylinder reservoir. Am I doin somethin wrong? I am not the best when it comes to brakes.. anyone else ever have this problem? What's the best way to go about doing this without a speed bleeder?
get a oil pump can the old style kind, hook a line to the end and one to the bleed, fill the can with brake fluid and pump it up throught, takes a few seconds, my granpa picked me one up for 2 bucks i think at farm and family store, those dual lines honestly suck, me and my cousin couldnt get his bled, they have less pressure than my duncan lines and we bled them for a hr, youd get a air bubble no matter what, the best lines around are crown series from duncan
11-27-2003, 12:56 PM
keep an eye on the master cylinder once you blow all the air out if you keep pumping brake fluid will pour out all over
JOEX
11-27-2003, 07:14 PM
Originally posted by EX Stud
i think i found my problem. .......it is leaking out of the stupid rubber part in the parking brake.
would that be enough fluid loss to keep my brakes from working?
I don't even use my stupid parking brake, i'll get a block off for it
Installing a block off plate will not fix your problem. There shouldn't be any fluid in that area. I think you may need to rebuild the caliper.
Joe
EX Stud
12-08-2003, 02:15 PM
I had a leaking problem with my parking brake. All the brake fluid was leaking out from around were the parking brake was bolted to the caliper
SO......i ordered a Nac's block-off hoping just to fix the problem because i never used my p-brake anyway
after puting everything back on and trying to bleed my brakes it is still leaking out from were the parking brake bolts to the caliper
I'm lost as to what to do i tightened the bolts as tight as they will go, but i'm still getting leakage
Do i need a new caliper?
cdalejef
12-08-2003, 03:38 PM
You have a bad o-ring on the back side of the piston, there should not be any oil behind the parking brake lever. You need to rebuild your caliper.
EX Stud
12-08-2003, 03:51 PM
How do i go about doing that? Should i buy a new caliper?
cdalejef
12-08-2003, 03:56 PM
No, just the seals.
You need numbers 2, 21 and 27
http://216.37.204.205/Honda_OEM/HondaATV.asp?Type=13&A=74&B=28
EX Stud
12-08-2003, 04:10 PM
There is no way i'll be able to take that apart and put it back together........Will the honda place do that?
EX Stud
12-08-2003, 04:41 PM
You sure those are all i need? Not to question but just double checking
JabberJaw
12-11-2003, 09:48 AM
Allowing your foot to drag the ground until your rear tire runs over it seems to work quite well for me.
Allthough there is some pain associated with this method, it does an effective job of stopping the motion of the vehicle.
You want breaks? You came to the right place!
cdalejef
12-11-2003, 10:17 AM
Originally posted by EX Stud
There is no way i'll be able to take that apart and put it back together. .......Will the honda place do that? Its not that hard but if you don't feel up to it I'm sure your dealer can do it for a fee.
12-11-2003, 09:29 PM
send it in to C&D....;)
JOEX
12-12-2003, 12:19 AM
Originally posted by JabberJaw
Allowing your foot to drag the ground until your rear tire runs over it seems to work quite well for me.
Allthough there is some pain associated with this method, it does an effective job of stopping the motion of the vehicle.
You want breaks? You came to the right place!
HEY! Stop right there!
Where the hell have you been!?!
Joe
Powered by vBulletin® Version 4.2.1 Copyright © 2023 vBulletin Solutions, Inc. All rights reserved.
ATV brakes are a basic safety system and should work perfectly. And if you notice the slightest slippage or decrease in the efficiency of the nodes, the system needs to be checked. Therefore, let's figure out how to pump the brakes on an ATV and diagnose all the components.
The first fluid change is recommended as soon as the rider has purchased the ATV. The fact is that many manufacturers fill in the cheapest composition, which does not have a high operational resource.
After buying a used ATV, you also need to service the brake system: change the fluid, check the hoses and pads. Remember that during the operation of equipment, moisture and air enter the composition. This leads to the formation of corrosion and even freezing of the liquid in winter. For example, if the composition contains only 3% water, its operating temperature drops from 230 to 165 degrees.
You need to figure out how to pump the front and rear brakes of an ATV even in case of their “failures”. If the lever has lost its elasticity, then air or moisture has accumulated in the system, which has affected the characteristics of the fluid.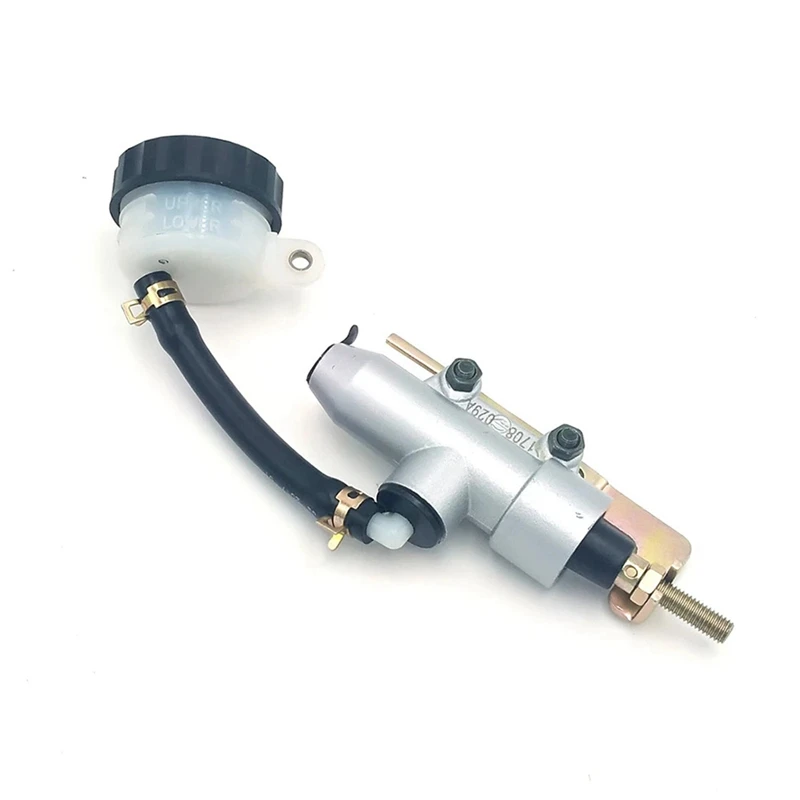
Before you adjust the brakes on your ATV, have the necessary tools ready. To bleed the system you will need:
It is worth noting that in order to pump the ATV, you need a partner who will clamp the brake lever. If there is no assistant, you can fix the position of the brake lever with a belt.
Bleeding the brakes scares many motorists. However, the procedure itself is very simple, so even a novice ATV rider can handle it. The rider only needs:
 This is necessary to release all the air from the system.
 This procedure is carried out for all calipers (front and rear). But if the brakes on the ATV do not pump, then you need to find places in the system where air accumulates and eliminate them.
Experienced motorists recommend using only high-quality brakes that are suitable for specific temperatures. This means that for summer and winter you need to choose different compositions.
Riders also advise:
Also buy a spare brake. If the documentation indicates that 0.5 liters of fluid is needed to bleed the system, buy 1 liter of the composition. The fact is that the recommended volume is indicated based on the experience of specialists. A novice ATV rider can spend more brakes.
19.02.2021 4257
Regular maintenance will keep your ATV running safely and for a long time. Control, lubrication, cleaning, adjustment and replacement of parts are carried out according to the regulations or as needed. Without the appropriate knowledge and qualifications, these procedures are best carried out at official CFMOTO service centers.
First check the level and quality of the oil in the engine, gearbox, front and rear gearboxes. Then proceed to other procedures:

ATV care includes:
Store the ATV in a cool, dry place, covered with an opaque tarp or cover.
For the engine - semi-synthetic oils CFMOTO G-MOTION 10W40 4T and 5W40 4T with a temperature range of application from -30 to +40.
For the gearbox, front and rear gearboxes - Gazpromneft 80W-90 GL-5 transmission oil.
G-MOTION engine oils are specially designed for maximum damping of loads on 4-stroke engines of CFMOTO ATVs, have an increased margin of protective properties to ensure uninterrupted operation of the engine in all operating modes, including extreme ones, and increase the service life of equipment. The oil consists of high-quality base components and additives with an optimal chemical composition. Their use guarantees the maximum service life of the CFMOTO ATV.
Automotive ATV oils are not suitable. The use of fuels and lubricants that do not comply with the manufacturer's recommendations can disable the equipment with serious consequences for the budget.
Be trained and instructed before using the ATV. Persons under 16 years of age are not allowed to drive. It is forbidden to operate an ATV without protective equipment - a helmet, eye protection, gloves, boots, long sleeves and trousers. You cannot operate machinery while intoxicated.
Check the ATV for proper operation before using it. Hands should always be on the handlebars and feet on the footrests. Do not drive the ATV too fast - speed should be appropriate for the terrain, visibility and riding experience.
Do not walk on the ice of a frozen body of water. Do not cross water obstacles, the depth of which is higher than the level of the footrests of the ATV - this can damage the equipment.