Written by: Howmuchisit.org Staff
Last Updated: August 8, 2018
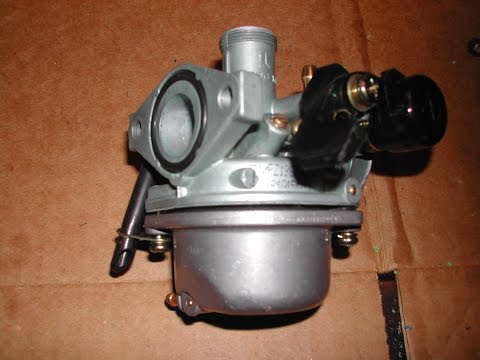
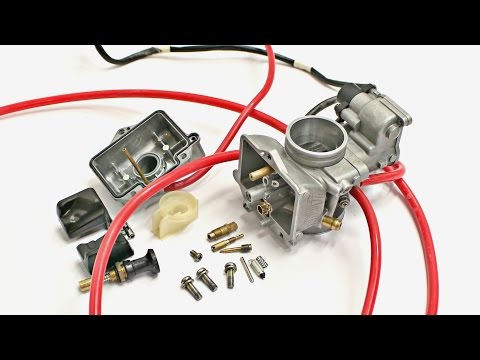
The motorcycle carburetor is a delicate component that plays a central role in controlling the amount of air and fuel allowed into the cylinders. When neglected, the carburetor can cause various kinds of trouble such as hard starts, rough idling, lost acceleration and worse, a very expensive professional carburetor overhaul.
“IMG_8967” (CC BY-SA 2.0) by Y.Hao
Depending on the number of carbs that need to be cleaned, the costs of motorcycle carburetor cleaning can average about $100 per carb or upwards of $500 to $750 for all four.
If the shop charges by the hour, this job could easily take four hours to complete. With the average shop charging close to $90 per hour, it can be in the $300 range easily. The costs, in the end, will depend on your bike, how much work needs to be done, the mechanic you choose and where you live.
On this HondaShadow.net forum thread, a few members talked about the costs of a carburetor cleaning. From most of the replies, the costs were in the $250 range.
This Reddit thread had a former shop manager talk about the costs, and he said you should be prepared to spend about $500 to $600 for the job due to the labor involved.
If you do not want to hire the professionals, Amazon.com, for example, offers carburetor cleaning solutions and carb cleaner kits with prices that range from $3 to $45.
Factors that affect the priceCleaning procedure
A major driver in the price of carburetor cleaning services is the process used to clean the unit. The ultrasonic method of cleaning the carbs, for one, is a state-of-the-art technique that can thoroughly clean the carburetor and get rid it of accumulated dirt, even in hard-to-reach areas without damaging the seals, O-rings and plastic. High-end ultrasonic machines have the ability to integrate a heating component that advances the efficiency of the process. Depending on the service provider, ultrasonic cleaning services can cost up to $50 per carburetor.
Quality
Carburetor cleaning products are created to restore efficiency and minimize gasoline consumption through the elimination of deposits from the carburetor. Some cleaners, however, can potentially damage the rubber components in the carburetor. Industrial strength, higher quality carb cleaners that can significantly reduce the risk of such damage tend to be pricier than regular cleaning solutions.
Product efficiency
Some carburetor cleaners are specifically designed to help prevent accumulation of deposits and grime through high-quality ingredients. They do not only keep carburetors clean of harmful dirt buildup, but also prevent loss of power, minimize engine friction, and maintain the optimum efficiency of the engine.
Carburetor cleaning can be done using a specialized machine, which uses a method where the carburetor undergoes a washing and residue-removal process using high frequency, non-audible sound waves. These waves create scrubbing brush movements that effectively remove accumulated dirt, stale fuel residue, grease, unleaded petrol deposit sediments and other substances. Along with the sound waves, the cleaning procedure also uses heat and detergent to eliminate contaminants off the surface and the deepest recesses of carburetor parts with extremely elaborate moldings. After the cleaning process, the carburetor is dried and sometimes coated with certain substances that protect the component.
Motorcycle carburetor cleaning can also be done manually. There are many online resources that provide tutorials on cleaning carburetors. Typically, you will need to take components apart. When the carburetor is emptied of its bits and pieces, a motorcycle carburetor cleaning solution will be used to remove the dirt.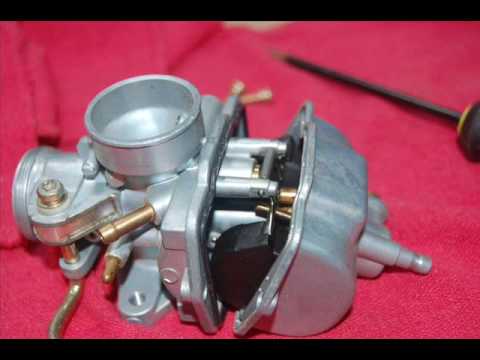 If there are clogged holes, you may need to soak the unit in the cleaning substance until the grime has broken down and is easier to wipe off.
During the process, regardless of the cleaning method being used, the bike will be disassembled enough to reach the carbs in order to pull each one out. Once dissembled, they will be cleaned thoroughly and then reassembled. Depending on the bike setup, this process could take four to six hours to complete.
What are the extra costs?If some parts, while the bike is being disassembled are in poor shape, then they may need to be replaced.
Some mechanics may want to change the air filter and swap the plugs out while working, and if done, this can add to the estimates.
Tips to know:Some carburetor cleaning service providers offer same and next day cleaning services, usually by sending the clean carburetors back to their owners overnight. There are those who accept disassembled carburetors sent through the mail and dispatched back to the owner after it is thoroughly cleaned as well.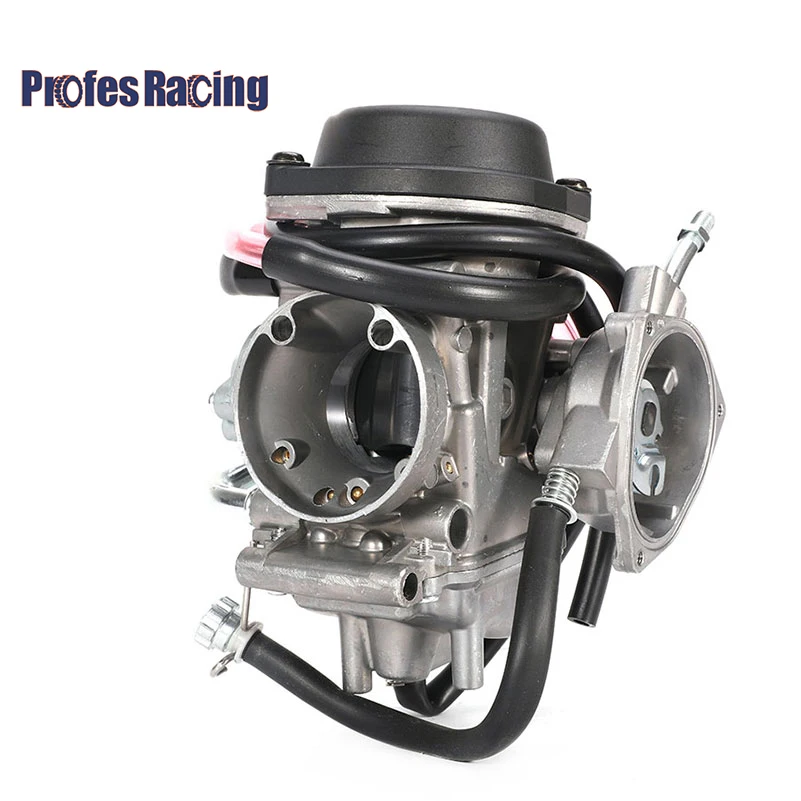 This may be something to look into if you want to save a few dollars.
There are carb cleaning solutions that may be too strong for carburetor components, especially when the parts are soaked in the liquid. Be sure to check that the carburetor material can withstand the solution.
Ultrasonic cleaners are available in a range of sizes, from bench-top models to floor-mounted industrial units. If you prefer a more efficient ultrasonic carb cleaner, consider getting one equipped with a heater as it greatly enhances the cleaning process.
How can I save money?Consider doing the job on your own. With the Amazon.com link mentioned above, you can perform the job for less than $100. This YouTube video, for example, can show you how it’s done.
Register with AMA (American Motorcyclist Association) member sites, which offer members significant discounts on motorcycle parts and gear.
Advertising Disclosure: This content may include referral links. Please read our disclosure policy for more info.
While carburetors are no longer present in modern vehicles, ATVs, smaller motorcycles and certain equipment like lawn mowers still use them.
The carburetor in your ATV mixes air and fuel in the right proportions, so that the engine always has the right amount of power. For instance, when you press the throttle to speed up, the carburetor lets in more air and fuel, allowing the engine to produce more power.
Keeping your carburetor in good condition is essential for keeping your ATV running properly. A bad carburetor can reduce engine performance, prevent the engine from starting, and result on black smoke from the exhaust or unusual engine noises.
Cleaning the carburetor can usually get it working properly again. Once you open it up for cleaning, it’s also an opportunity to replace any worn out parts such as gaskets and O-rings.
In this quick guide, we explain how to remove and clean the carburetor on your ATV. For a step by step video guide, see the video below.
What You'll Learn Today
https://youtu.be/dvcKuNAtPDoVideo can’t be loaded because JavaScript is disabled: How to Clean an ATV Carburetor (https://youtu.be/dvcKuNAtPDo)
Gather these tools before you get started.
Don’t forget to flip through your ATV’s service manual.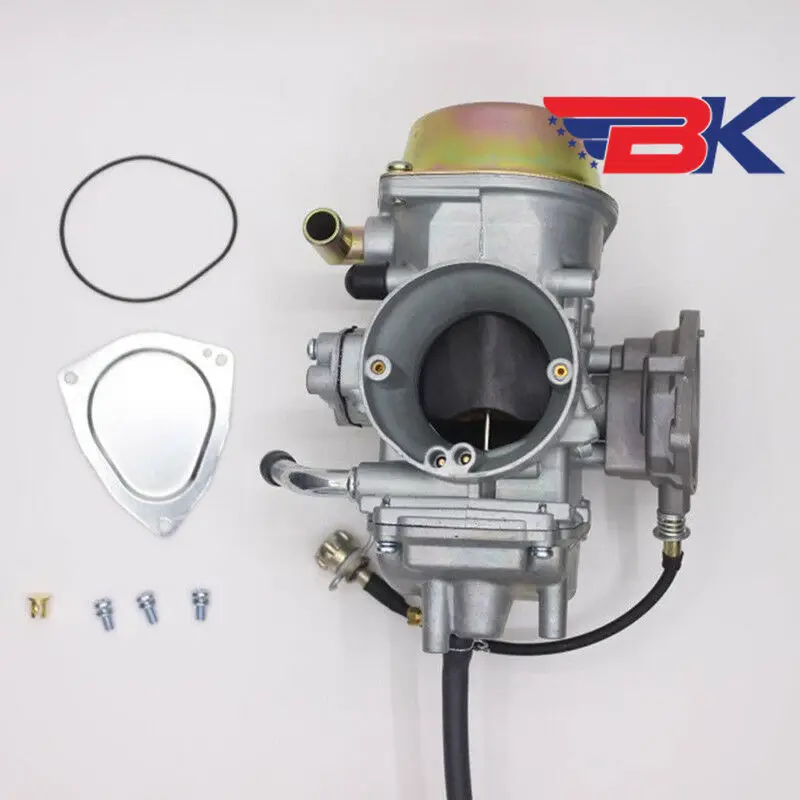 Carburetors have slightly different designs and placement of components, and you need to understand your ATV’s carburettor. The service manual will be especially helpful when disassembling and assembling the carburetor.
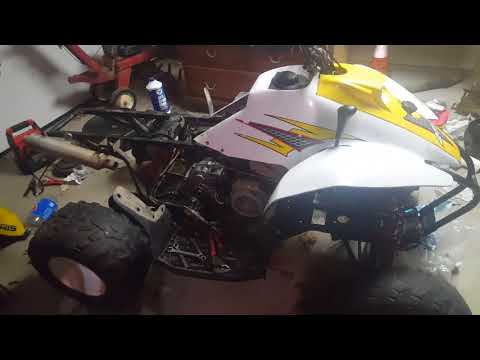
The next step is locating the carburetor and removing it from the ATV for disassembly and cleaning.
Your service manual should indicate where the carburetor is located. In most ATVs, you have to lift up the seat and remove the air box to access the carburetor.
Before you go any further, you need to shut down fuel supply to the carburetor. Follow the fuel line from the carb until you locate the fuel valve shutoff. Turn it to the off position (check manual, but in most ATVs you turn it to the side).
Now you can remove the carburetor. Loosen the hose clamp holding the carb in place with a screwdriver then wiggle and pull it out.
The carburetor is still attached to the ATV via the throttle cable. To detach it, unscrew the top cap. This will remove the throttle cable and slide. Now the carb is completely free and you can move it to a proper work surface.
Look for a surface with lots of light and where you can safely place small parts without loosing them.
The next step is taking the carburetor apart and cleaning it. I prefer cleaning each component as I take it out. That way, I don’t miss any of them and when I get to the last one, I’m ready to put everything back together.
Before you open it up, take the carb cleaner and spray the outside. Then use a toothbrush to brush away any dirt and grime. This ensures that no dirt from the outside gets into the internal components when you open the carburetor.
With that done, you are ready to take it apart. As you remove various parts, arrange them in the order you’ve removed them. This makes it easier to reassemble the carb.
 It’s held onto the carburetor by four screws. Pull the bowl away gently being careful not to damage the gasket. Clean the inside of the bowl with the toothbrush (or a soft cloth) and the carb cleaner.
And that’s it. Put everything back together the way it was and mount the carb back onto the ATV. If any O-rings or parts look worn out or damaged, replace them with new ones.
Unless you only want to wipe the outside, which isn’t much help for your carb or ATV, you need to remove the carburettor and disassemble it to clean it properly.
Yes, you can. Look for WD-40 Specialist Carb/Throttle Body & Parts Cleaner.
That’s all! For more ATV DiY guides, check this article about restoring faded plastic on your vehicle.
By Milena Anderson Reading 3 min. Views 21
Short Answer
How to clean the carburetor on an ATV without removing it?
If the carburettor can be accessed from above, use a can of carburettor cleaner and a stiff brush. If the carburetor is not accessible from above, remove the air filter and blow out the carburetor with a compressor or air hose.
How long does it take to clean the carburetor on an ATV?
Cleaning the ATV carburetor can take anywhere from a few minutes to an hour or more. Features vary depending on the type of carburetor and its condition. However, cleaning typically involves removing all fuel and air from the carburetor and then cleaning it with soap and water.
What do you soak ATV carburetors in?
Carburetor cleaner, petrol or diesel.
What is the easiest way to clean a carburetor?
Carburetor can be cleaned with carburetor cleaner.
What are the symptoms of a dirty carburetor?
A dirty carburetor does not save fuel well, makes it difficult to start the engine, and can produce an unpleasant odor.
How do I clean a thickened carburetor?
There are several ways to clean a thickened carburetor. One is to use gasoline and a toothbrush to clean the inside of the carburetor. Another way is to soak the carburetor in a solution of water and vinegar for several hours.
Will sea foam clean the carburetor?
Seafoam does not clean up carbs.
Can wd40 be used to clean a carburetor?
WD40 is not a carburetor cleaner and will not work well with carburetors. Carburetor cleaners are specially designed for cleaning carburetors and are available at most auto parts stores.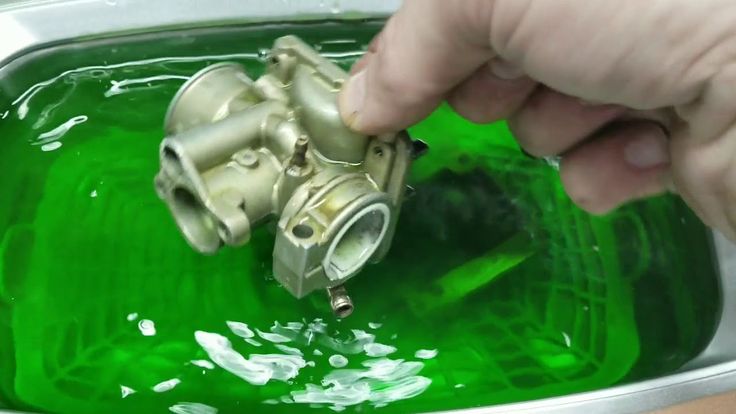
How to clean the carburetor without carburetor cleaner?
There are several ways to clean the carburetor without carburetor cleaner. One way is to use a piston. Place the carburetor in the sink and fill with water. Place the piston on top of the carburetor and push and pull the piston until the carburetor is clean. Another way is to use a can of compressed air. Blow out the carburetor and clean it with a brush.
How do I clean a clogged carburetor?
There are several ways to clear a clogged carburetor. One of them is to use a piston. Place the piston on the carburetor and push and pull the carburetor until the obstruction is cleared. Another way is to use a vacuum cleaner with a crevice tool. Make sure the crevice tool is wide enough to fit around the circumference of the carburetor. Set the vacuum cleaner to maximum power and turn it on.
How to clean a thickened carburetor in a small engine?
The carburetors can be cleaned with a carburetor cleaner such as kerosene or petrol.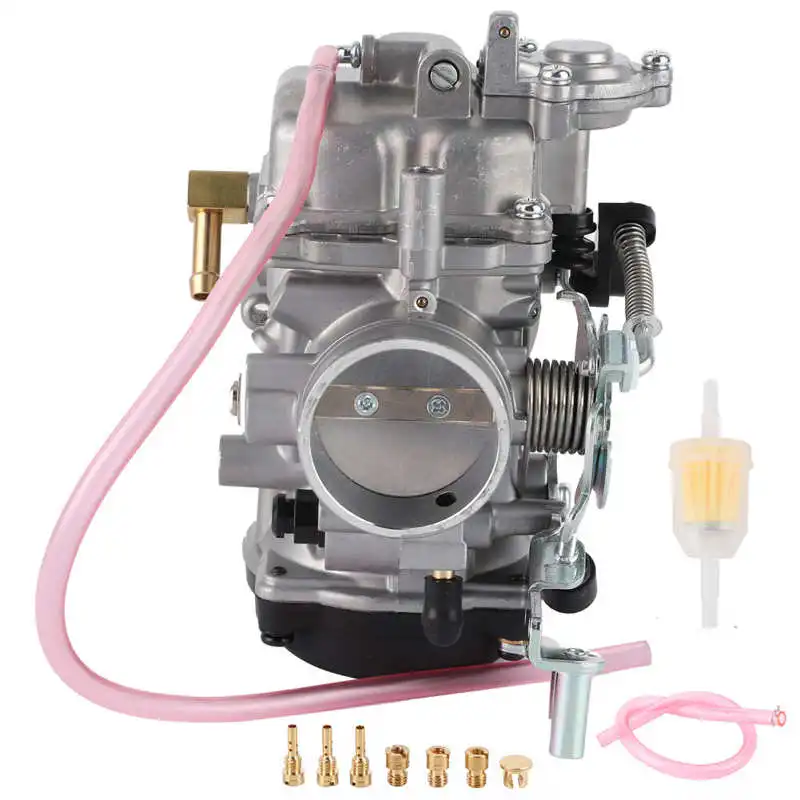 Use a rag to apply the cleaner to the carburetor and then use another rag to clean the carburetor. Be sure to rinse the carburetor thoroughly with water afterwards.
Can carburetor cleaner be sprayed into the air intake?
No, the carburetor cleaner is not a safe air intake cleaner. This could result in engine damage and serious injury.
Can carburetor cleaner be sprayed into the spark plug hole?
There is no guarantee that the carburetor cleaner will do the job of cleaning the spark plug hole, as it may not be effective against the dirt and debris that may accumulate in this area. Also, using carburetor cleaner in this way can damage the engine or other components.
How often should carburetors be cleaned?
Carburetors should be cleaned regularly, usually every 3-6 months.
What can be added to the fuel to clean the carburetor?
There is no one-size-fits-all answer to this question, as the best way to clean a carburetor depends on the specific carburetor and fuel being used. However, some general tips for cleaning carburetors include using a fuel additive designed specifically for carburetors, using a carburetor cleaner, or boiling water and pouring it into the carburetor.
In order for the ATV to work like a clock, the rider needs to regularly carry out a complete maintenance of the equipment. And a key element of maintenance is ATV carburetor adjustment. Over time, the system starts to work incorrectly, which increases fuel consumption, worsens dynamics and other problems appear. So how do you adjust an ATV carburetor?
The operation and life of the engine directly depends on the quality of the fuel mixture. The carburetor is responsible for the preparation of the composition, but after prolonged use of the equipment, the settings “go astray”. This results in:
Many riders who decide to buy an inexpensive ATV simply do not spare the technique and ignore this procedure. But even if you plan to change your device in 1.5-2 years, adjustment is needed. The reason for this is increased fuel consumption. A quad with an untuned carburetor "eats" 30-40% more gasoline, and these are tangible costs.
So how do you adjust the carburetor on a Chinese ATV? For this you need:
However, it is important to remember that all adjustments are made only with a "clean" carburettor. This means that the rider needs to remove all the dirt from the node and flush the system to remove condensation and sediment from it.
Note: Just before adjusting, the engine must be warmed up to operating temperature.
To set the carburetor idle speed, the float chamber must first be cleared of fuel. To do this, start the ATV, close the fuel cock and wait until the machine stalls (5-10 minutes). To speed up the process, you can take a little ride on the quadric. Of course, gasoline can be drained, but in any case you will have to warm up the device, so the first method of "removing" gasoline is more effective.
Then:
 Focus on sound. The engine should run smoothly, without strain.
 Read the manual before adjusting the carburetor on a 125cc ATV to be sure. Remember that the location of the bolts is different in different devices, so read the documentation in advance.
To evaluate the quality of the fuel composition, make a test run. After that, unscrew the candle, and evaluate its condition. If it is:
Also look for these "symptoms": damaged tip (electrode failure), oil deposits (damage to rings and caps), chips and inclusions (sign of motor failure).
To adjust the mixture you need to twist the needle cover and pull it out. To get the needle, pull out the cable. After that, move the ring in the required direction (lower - more air, but less fuel and vice versa). Then start the engine and make sure it doesn't stall.
The final step in adjusting the 125cc ATV carburetor is adjusting the gasoline level. To do this, you need: