ATV Riders Forum > ATV Riders Mechanical Section > ATV Powertrain > adjusting throttle cable
PDA
View Full Version : adjusting throttle cable
set2crash67
12-21-2003, 08:31 AM
Is it true that the throttle cable on the 400ex only opens 75%? i saw on another web site that if u adjust the cable you can get it to open 100% and go faster is this true?:confused:
12-21-2003, 08:52 AM
the throttle cable moves the inside components to open the carburator...when the carburator is fully opened the throttle stops moving...you can adjust the throttle so you can push it FARTHER or push it LESS but you cannot make your carburator open more then it does...if you were to adjust it so you would have less throttle movement that would let u move the throttle less until getting to full throttle...or the position where the carburator is fully opened.
..for farther throttle travel you will have a lot more travel in the throttle and you will have to push it father to reach full throttle
btw welcome to the site :D
set2crash67
12-21-2003, 11:25 AM
o0o ok i se what you mean. thanks.... yea im new here how can i put a pic of my 400ex in the colum on the left side? I have another questions sorry about all the questions.... but if i modife the air box lid will it add ne hp/ speed? i have pics of how i want to modify it but i cant get the pics on here.
phebus
12-21-2003, 12:10 PM
My 400EX was delivered to me with the throttle adjustment screw screwed fully in. This only allowed for the throttle to open approx 75% of the way. I re-adjusted it to allow for 100% opening. I suggest you check yours. Take the airbox tube off, and adjust the screw on the throttle to allow it to open all the way. Check to make sure it will still idle fine, and turn the bars from side to side to make sure it isn't affected by bar position.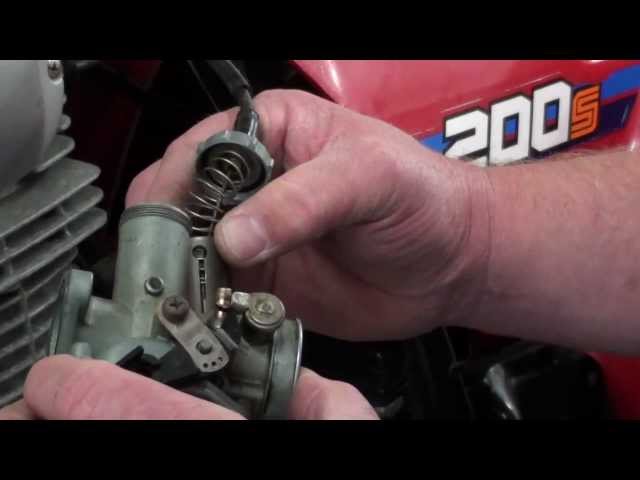
My understanding is that a lot of Honda's are delivered this way, as they come from the factory that way, and the dealer's don't check and adjust them prior to delivery.
Colby@C&DRacing
12-21-2003, 12:20 PM
Phebus is correct.
set2crash67
12-21-2003, 02:48 PM
thanks for all the help guys:)
ReconRider25
12-21-2003, 05:00 PM
where abouts is this screw on the carb and how do i know if its opened all the way?
cals400ex
12-21-2003, 07:30 PM
Originally posted by ReconRider25
where abouts is this screw on the carb and how do i know if its opened all the way?
you can just adjust the cable up there on the handle bars. what may be easiest is that you take the black plate off of the top of the throttle linkage. when you look inside there, you can see how the cable operates. if you push the throttle all the way in and it is stopped by the back stop, you know yours isn't adjusted the way it should be. just turn the cable outward to tighten it. this adjustment can be made right up where the cable goes to the bars.
ewalker302
12-23-2003, 12:23 AM
Easy...
Just loosen the locknut/screw on the throttle cable (handlebars).
Then tighten the throttle cable----loosen the adjustment screw, till it starts to idle up, then back off a bit, tighten the locknut.
Your done.
& yes it is very possible that the carb isn't opening up all the way if the cable isn't adjusted properly. If you are moving the thumb throttle much at all without the engine responding, you need to adjust.
:bandit:
Powered by vBulletin® Version 4.2.1 Copyright © 2022 vBulletin Solutions, Inc. All rights reserved.
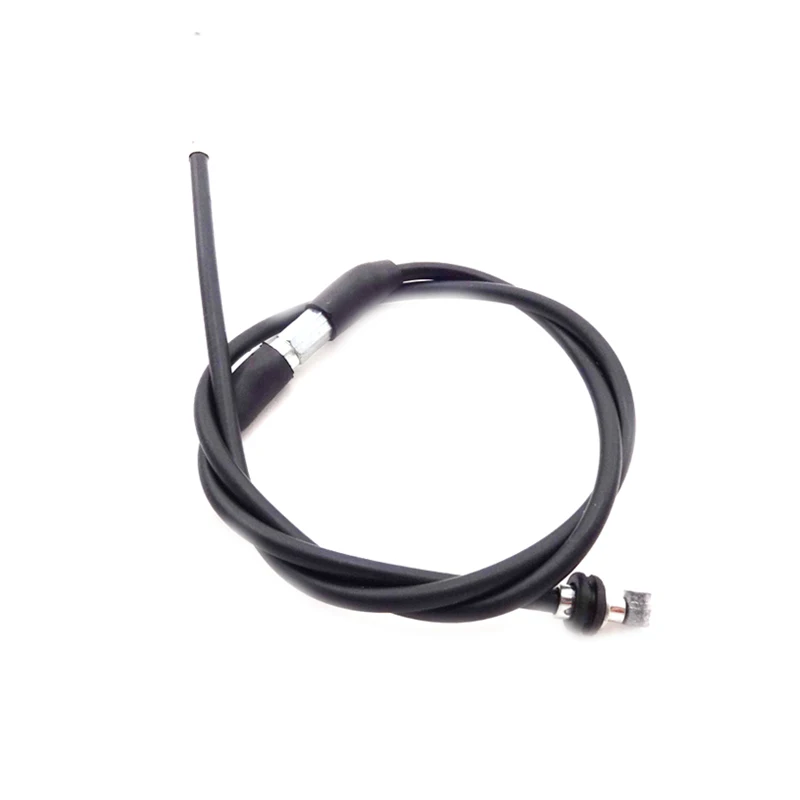
The throttle cable may seem like a simple part of your bike, but it can keep you from riding if not properly maintained or replaced. Read as we take you through cable maintenance and install tips for a new ProX throttle cable.
With the riding season upon us, it’s not a bad time to cover an important, but often neglected, maintenance task: throttle cable inspection and replacement. The throttle cable connects your mind and body to the heart of your machine, which makes it an incredibly important link. Worn, damaged, misadjusted, or corroded throttle cables can lead to dangerous riding conditions and poor engine performance. Let’s dive into tackling this common maintenance task.
The throttle cable is a critical component to your bike's function, but it's often overlooked. Follow the guidelines below to make sure you're not stuck with a malfunctioning throttle.Most service manuals suggest checking throttle operation after each race or every 2.5 hours of operation. Along with this generic recommendation, engine performance can also be an indicator of cable issues. Poor full throttle operation may be a sign that the throttle cable has too much slack. An engine that is difficult to control or has an erratic idle may indicate that there is not enough throttle cable slack.
Your service or owner’s manual should provide all the pertinent cable adjustment information you need for your specific make/model of machine, and should be used to complement the advice and recommendations provided in this write-up. Within the service manual, you should find free play specifications, throttle cable routing information, lubrication info, and the prescribed tensioning procedure.
We’ll start by outlining the basic checks and adjustments that should be performed to ensure correct throttle cable operation. Once these are concluded, we’ll discuss complete cable replacement.
Cable Condition
The throttle cable should be visually inspected for damage. Cracks, kinks, corrosion, and severely worn areas due to rubbing should all be cause for concern. Systematically inspect the cable from the throttle grip to the throttle body/carburetor as best as visually possible.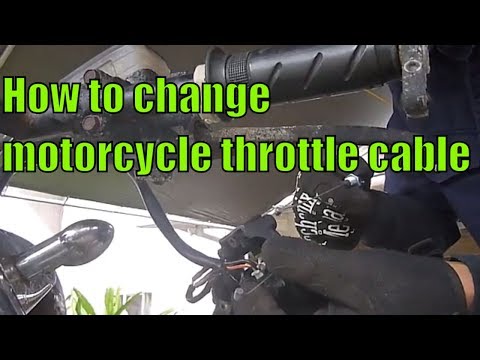
Checking Cable Free Play
Throttle cable free play is typically checked by measuring the amount of throttle grip movement relative to a fixed point on the throttle cable housing. Most makes/models specify 2-3mm of throttle grip free play. This can easily be checked by referencing a predominant feature on the throttle grip, or marking it with a marker and measuring the amount of motion relative to the housing with a ruler, scale, or caliper.
You can measure throttle cable free play by marking the grip in accordance with a reference point, such as the split in the throttle cable housing. Twist the throttle until you feel resistance, and measure the amount of movement.Checking Throttle Return
All throttle systems designed for powersports applications are designed to fail closed in the event the throttle cables break or the rider loses control of the machine.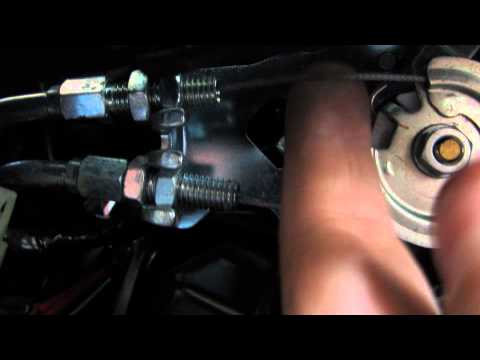 Return spring pressure can be inadequate if the throttle cables are sticky, binding, or if the throttle grip is binding on accessories such as handguard mounts.
Check throttle operation by fully opening the throttle and letting go. Confirm that the throttle quickly and easily returns completely to the closed position. Check throttle return with the handlebars all the way to the left, centered, to the right, and halfway between center and full stop on each side. If the throttle does not completely return the cable may be binding, incorrectly routed, frayed, or corroded, which warrants further investigation.
With the bike OFF, twist the trottle open to the stop and let go. Make sure the throttle returns to the closed position quickly and easily. Perform this test with the handlebars turned to both extremes, as well as at multiple positions in between.Throttle Cable Adjustment
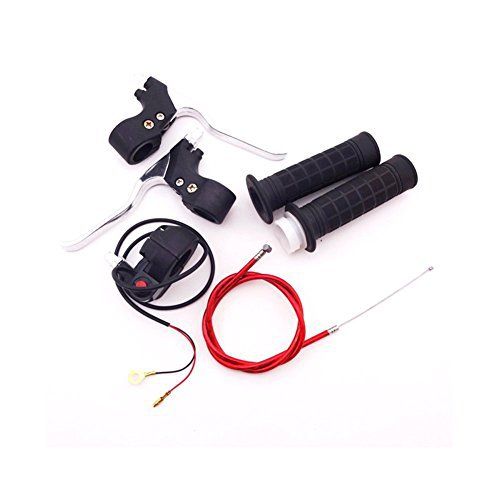
Most modern machines utilizing throttle bodies and carburetors utilize two throttle cables, aptly identified as accelerator and decelerator cables.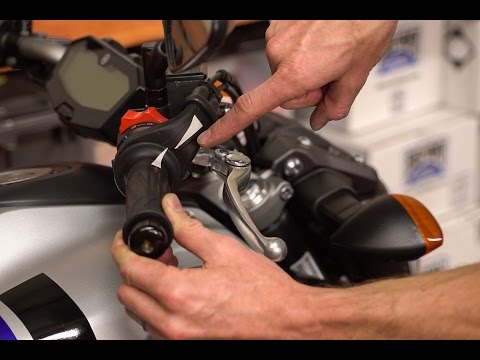 Older carbureted machines often only feature one throttle cable. Depending on the type of machine you own, the adjustment process may differ slightly from the outline I’m going to provide.
The number of adjustment locations will also differ depending on the machine in question. Some applications have adjustment points at the throttle body or carburetor and at the throttle cable housing, while others have a single adjustment point on the throttle cable housing. On machines with multiple adjustment points, minor adjustments are made at the throttle cable housing and major adjustments are taken care of on the throttle body/carburetor.
Dual Cable Adjustment
The first step to adjusting dual throttle cable machines is to remove any necessary dust covers and identify the accelerator and decelerator cables. The accelerator cable goes into tension when the throttle is twisted open and the decelerator cable is put in tension when the throttle is closed. Each cable is often easily identified visually by looking at the housing design or by making minor adjustments and determining what is affected.
To adjust the cables, the locknuts are loosened and the cable adjusters are turned in to slacken or out to tension them. This can be accomplished by hand or with an appropriately sized wrench. Commonly, the decelerator cable is adjusted first. Decelerator cable tension is usually set so that there is no play when the throttle grip is completely closed. Once the decelerator cable has been set, the accelerator cable is adjusted. The accelerator cable tension is usually set so that 2-3mm of free play is present in the throttle grip. Once the correct tension has been applied, the lock nuts should be snugged and any dust covers should be slid back over the adjusters.
Cables can be adjusted using the appropriate size wrench. Turn in to slacken, and out to tension. Feel the throttle as you adjust to know how close you are.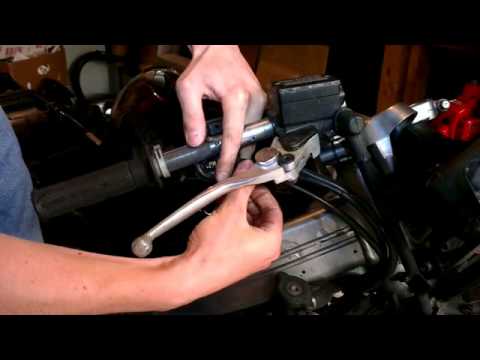 Typically, the decelerator is adjusted first.
Single Cable Adjustment
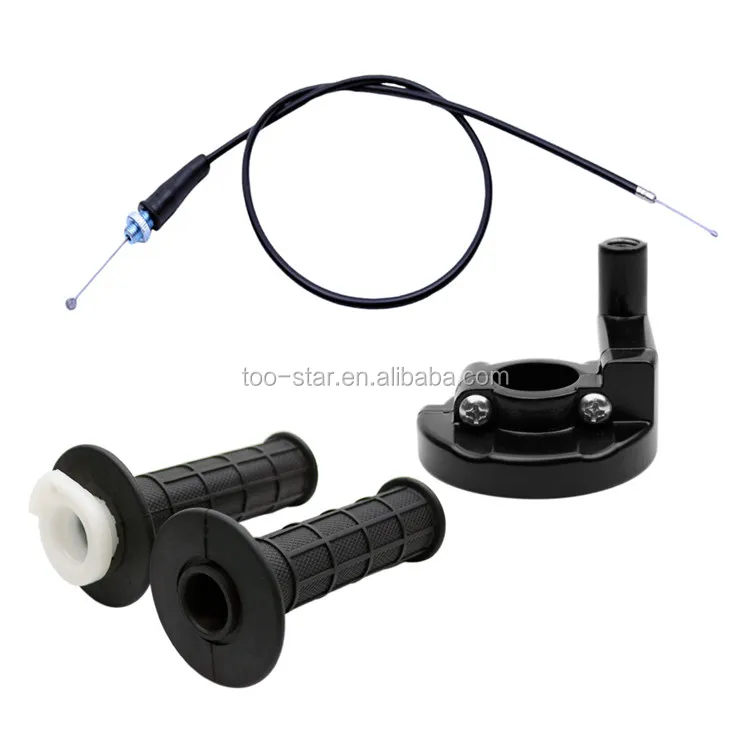
Single throttle cable adjustment is straightforward. Any dust covers protecting the cable adjuster should be removed first. Next, the locknut should be loosened. The cable adjuster can then be adjusted in or out so that the throttle grip has the correct amount of free play, which is usually 2-3mm. Once complete, the locknut can be snugged and dust cover reinstalled.
Checks After Adjustment
Upon completion of any cable adjustments, the system should be checked as outlined in the throttle return section of this article. Once you have confirmed that the throttle return functions properly in all handlebar positions, the engine should be started. With the engine idling and in neutral, rotate the handlebars from stop to stop and listen for any changes in idle behavior. Increases or decreases in idle speed may suggest that the throttle cable is binding either due to tight spots or cable routing.
Throttle Cable Replacement
ProX has throttle cables available for a long list of applications.In the event that the throttle cable warrants replacement, cable replacement can be accomplished fairly easily. Selecting and sourcing a new throttle cable is equally important as carrying out the work. Sourcing OEM parts from a dealer can lead to overpaying, so it’s common for people to turn to the aftermarket. However, it’s important to be careful not to sacrifice quality for cost.
ProX offers throttle cables made by OE manufacturers at affordable prices. Because they’re made by OEM suppliers, OE quality and specifications are met. ProX throttle cables are made with pre-lubricated nylon inner sleeves, tightly-wound steel inner cables, and a flexible PVC outer jacket, which, combined, ensure smooth cable operation and long life.
ProX throttle cables are made by OE suppliers to OEM specifications, and they offer more affordability.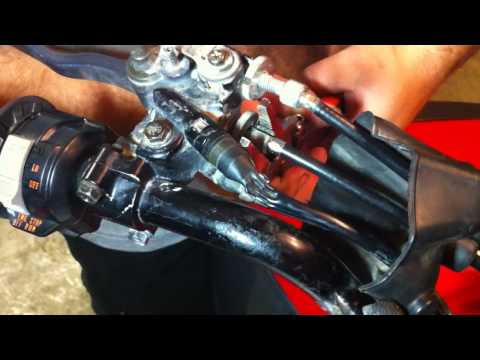
Find ProX cables for your model here.
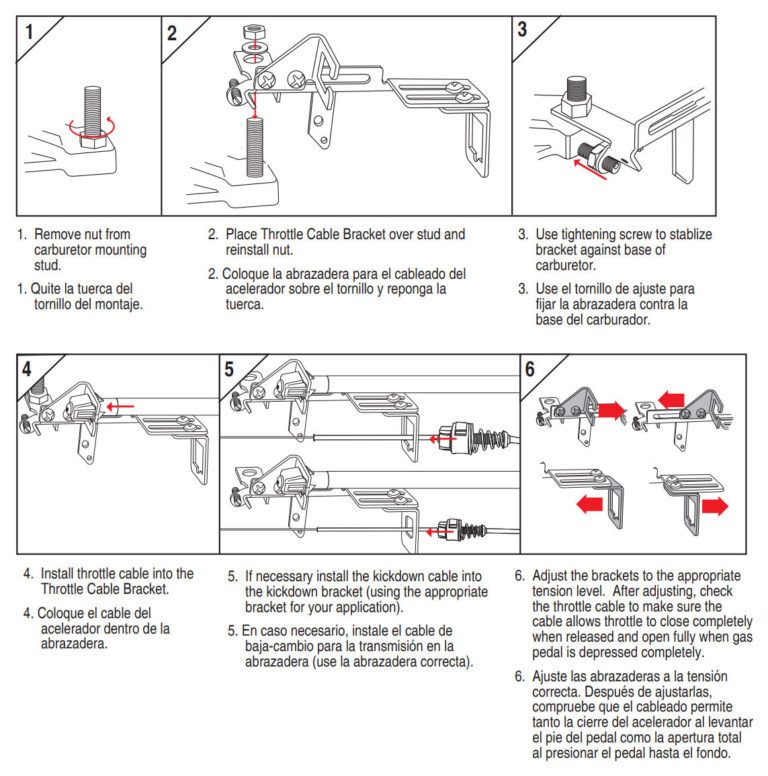
The architecture of your specific machine will largely dictate what must be removed in order to successfully replace your throttle cable. Typically, the following components will need to be removed:
Once the necessary components have been removed, replacing the throttle cable is straightforward. We'll walk through the necessary steps with the assumption that we're working on a dual cable machine. The steps for a single cable application are nearly identical.
Start by loosening the throttle cable adjusters on the throttle housing and slackening the cables. Next, remove the fasteners holding the throttle cable housing together.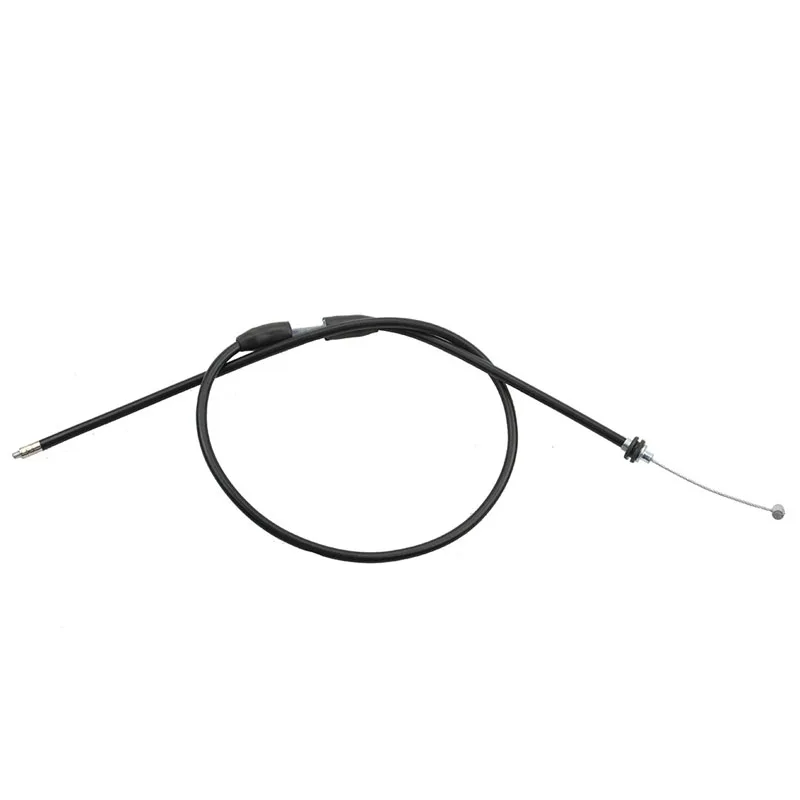 Once removed from the handlebar remove the throttle cable ends from the throttle cable housing pulley. Note the accelerator and decelerator cable positions.
Remove any necessary covers from the throttle body or carburetor to gain access to the throttle cable ends. Note the locations of the accelerator and decelerator cables prior to removing them. Loosen the necessary lock nuts and adjusters then remove the cable ends from the pulley.
Remove the protective cover from the throttle body or carburetor, note which cable is which, and carefully remove the cable ends from the pulley.On single cable carbureted applications featuring round or oval slide carburetors, unscrew the top cap of the carburetor where the throttle cable enters the slide. Compress the return spring and carefully remove any necessary hardware securing the cable end to the slide.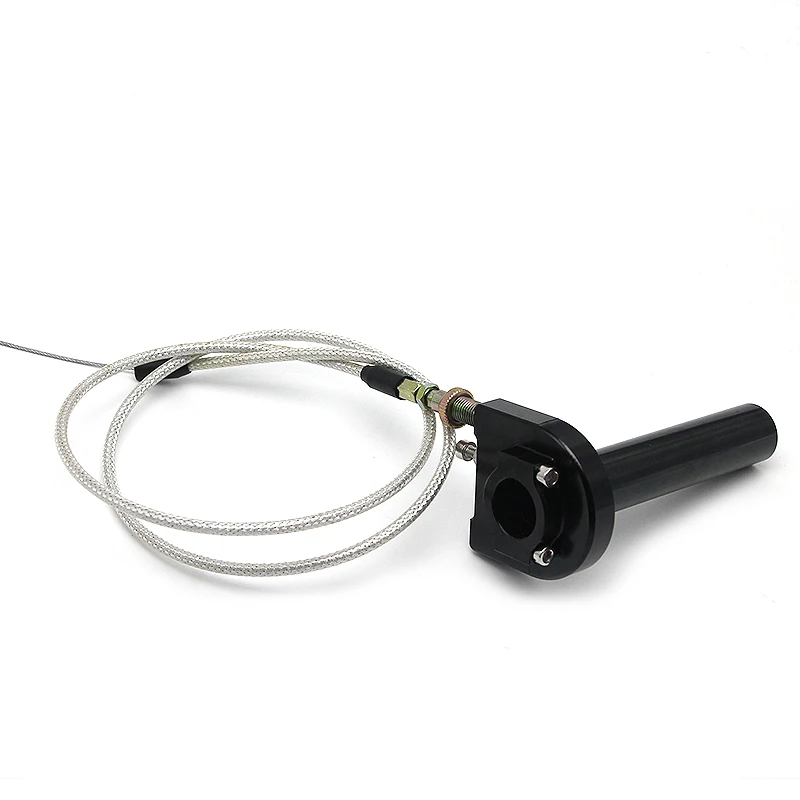 Once removed, the cable can be loosened and removed from the carburetor cap.
Prepare the new throttle cables by applying cable lube to both ends of the cables. Check the smoothness of the cables by moving them back and forth prior to installation.
A cable luber is a great tool to have. It simply fixes to the end of the cable, and allows the lube to flow through the inside of the cable.Once the old throttle cables are free on both ends, note how they have been routed. Then, remove the cables and route the new cables in a similar fashion. If the old cable routing is suspect, confirm with your service manual the factory prescribed cable routings.
Be sure to follow the OEM routing when installing your new cables.Upon successful cable routing, begin the reassembly process. Start by installing the cable ends into the throttle body/carburetor and throttle cable housing. Turn the cable adjusters on the throttle grip housing all the way in, then turn each of them one turn out. Once this is done, unless otherwise specified, use the throttle body or carburetor adjustment features to take the majority of the slack out of the cables. Refer to the tips outlined in the cable tension adjustment section to correctly tension the throttle cables. After the cable tensions have been set, be sure to check the functionality of the throttle return as prescribed previously.
Once the new throttle cables have been installed and the return checks are complete, finish the job by reinstalling any items that required removal to gain access to the cable system. With everything reinstalled, test the functionality of the system first with the engine off, then with the engine idling to ensure there are no abnormalities.
In order for the ATV to work like a clock, the rider needs to regularly carry out a complete maintenance of the equipment.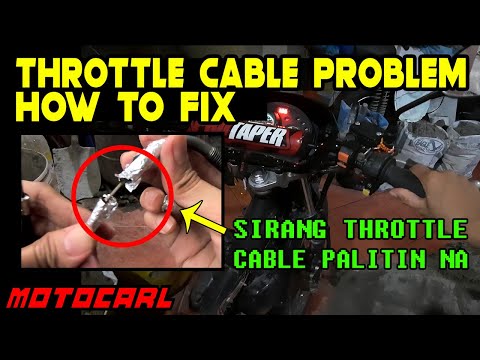 And a key element of maintenance is ATV carburetor adjustment. Over time, the system starts to work incorrectly, which increases fuel consumption, worsens dynamics and other problems appear. So how do you adjust an ATV carburetor?
The operation and life of the engine directly depends on the quality of the fuel mixture. The carburetor is responsible for the preparation of the composition, but after prolonged use of the equipment, the settings “go astray”. This results in:
Many riders who decide to buy an inexpensive ATV simply do not spare the technique and ignore this procedure. But even if you plan to change your device in 1.5-2 years, adjustment is needed. The reason for this is increased fuel consumption. A quad with an untuned carburetor "eats" 30-40% more gasoline, and these are tangible costs.
So how do you adjust the carburetor on a Chinese ATV? For this you need:
However, it is important to remember that all adjustments are made only with a "clean" carburettor. This means that the rider needs to remove all the dirt from the node and flush the system to remove condensation and sediment from it.
Note: Just before adjusting, the engine must be warmed up to operating temperature.
To set the carburetor idle speed, the float chamber must first be cleared of fuel. To do this, start the ATV, close the fuel cock and wait until the machine stalls (5-10 minutes). To speed up the process, you can take a little ride on the quadric. Of course, gasoline can be drained, but in any case you will have to warm up the device, so the first method of "removing" gasoline is more effective.
Then:
Read the manual before adjusting the carburetor on a 125cc ATV to be sure. Remember that the location of the bolts is different in different devices, so read the documentation in advance.
To evaluate the quality of the fuel composition, make a test run.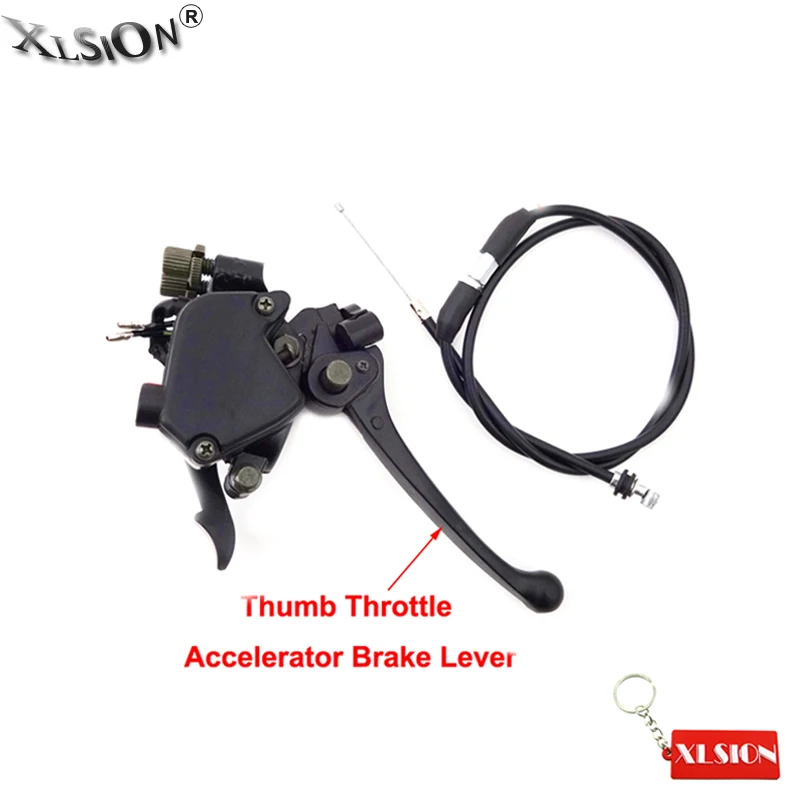 After that, unscrew the candle, and evaluate its condition. If it is:
Also look out for these “symptoms”: damaged tip (electrode failure), oil deposits (damage to rings and caps), chips and inclusions (sign of motor failure).
To adjust the mixture you need to twist the needle cover and pull it out. To get the needle, pull out the cable. After that, move the ring in the required direction (lower - more air, but less fuel and vice versa). Then start the engine and make sure it doesn't stall.
The final step in adjusting the 125cc ATV carburetor is adjusting the gasoline level. To do this, you need:
Note: Adjust as carefully as possible as system components are very fragile. Ideally, carburetor tuning should be done by a specialist.
06/16/2020 20673
Contents
Adjust the motorcycle throttle cable.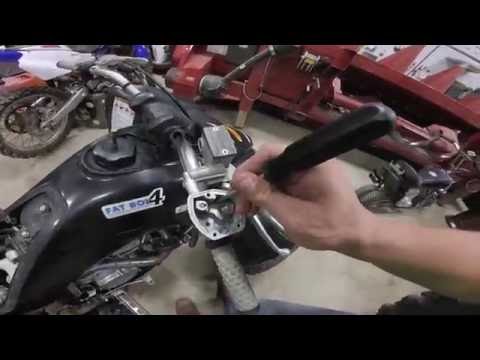 is one of the easiest tasks. If you have the necessary tools, namely open-end wrenches, you can adjust it in about ten minutes.
Where can I find the accelerator cable? How to know if the cable is faulty? How to make the necessary adjustments? Check out our tips on how to properly adjust your motorcycle throttle cable.
Motorcycle throttle cable is easy to find. It turns out that is in the gas grip of , which is the correct grip that you obviously use for acceleration. If this pen only contains one cable, this is the one you are looking for.
However, it is possible that it contains two. In this case, the throttle cable is usually at the top. Another cable, that is, the lower one, performs the role of security. It's there to make sure the throttle will snap back into place when you let it go. For this, he was nicknamed the reverse cable.
First of all, note that it is not necessary to adjust the throttle cable if it is not dangerous. Before touching anything as a result, first make sure there is a malfunction. After that, you can make the necessary settings.
Normally the throttle cable is activated when the handle is turned. This action will actually pull on the cable, which will cause the bike to accelerate. However, this reaction does not occur almost instantly. If you've been riding for a long time, you'll notice a slight delay between the moment you turn the knob and the moment the bike actually hits the gas pedal. This is completely normal.
However, a failure occurs when this wait time becomes unusually long . If you feel like the throttle doesn't respond for a long time, if you feel like you're cranking it right out of bad response, that's a problem. And this is especially when cornering or when driving in a roundabout. This usually means that the throttle cable is worn and the guard needs to be adjusted.
It's very easy and hopefully you won't even have to touch the throttle.