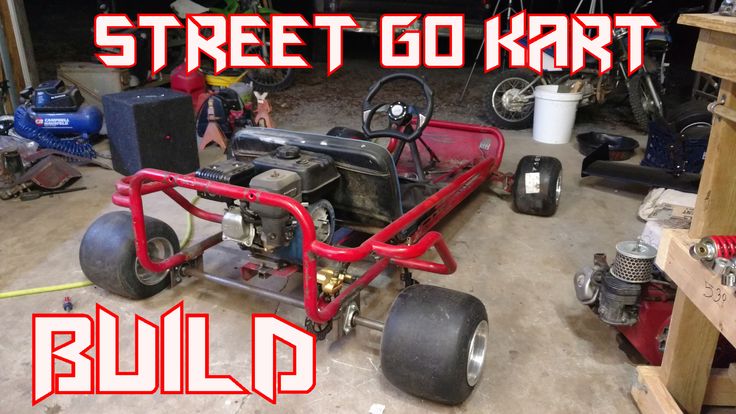
In any type of motorsport, used tires will eventually need to be replaced with new ones. This is also true for go-kart racing and I always recommend bringing a few sets of spare tires along on track days.
The process of changing go-kart tires revolves around removing the tire from the wheel, by breaking the tire bead. There are many different methods and tools available for this and some have a clear edge over the other.
Here are the 3 best methods and tools to break the bead on go-kart tires:
All of these methods require a different set of tools. All of these tools are fairly easy to acquire and can also be transported conveniently. Here’s how they look like:
Tire Bead Breaker
Tire Tongs
Tire Irons
In this guide, I’ll explain how to use each of these methods in order to break the beads of your go-kart tires. Some tools may be more effective than others, but all of them get the job done. Let’s get to it!
Using a go-kart tire bead breaker tool is personally my favorite method because it’s the fastest and most practical way to remove tires from the wheels. I’m using the RLV Go-Kart Tire Bead Breaker and only have good things to say about it. Using a bead breaker is very easy and you can simply follow these steps below.
It’s best to find a solid surface to place your bead breaker on. Make sure that it’s firm and stable like a tabletop, workbench or place on the floor.
Now, position your go-kart tire onto the base of the bead breaker and make sure it’s correctly centered. Some bead breaker tools have an alignment tray mounted at the base.
Grab the handle and push the bead breaker down so that it makes contact with the tire bead. Ensure that the breaker doesn’t come into contact with the rim, as you want to push the bead down.
You may need to rotate the tire around and push the bead downwards a couple of times on different parts of the tire so that the entire bead is “broken”.
Now that you’ve managed to remove the tire bead from the bead seat of the wheel, you can easily remove it with your hands. Rinse and repeat this process for all four tires if needed.
More Information: Video Tutorial
Tire tongs are also a great tool for removing go-kart tires from wheels. The difference between tongs is that you aren’t pushing anything into the bead from the top, rather using tongs to pop the bead out of its seat. Here’s how this process works:
Firstly, grab your wheels and make sure that the inside of the wheel is facing upwards and the outside is against a hard and firm surface.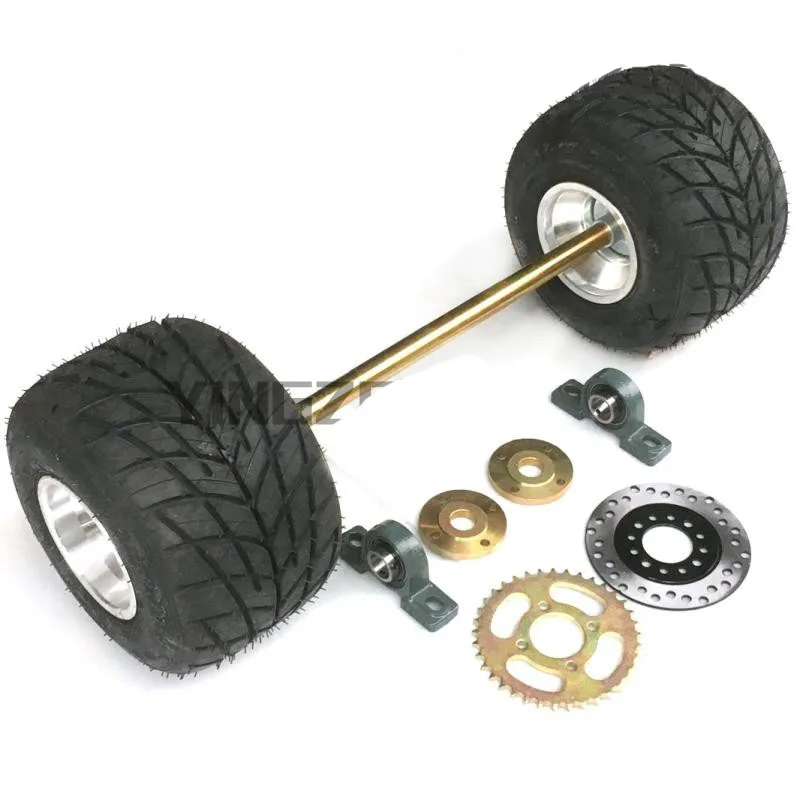 Similar to using a bead breaker, I would recommend doing this on a workbench or on the floor. You’ll also need a little more space for this.
You’ll see that the tire tongs come with a cap. This cap slots onto the wheel and acts as a firm base for the tongs to rest on. Simply place the cap on the wheel and proceed to the next step.
Use the tip of your tongs and insert them in between the tire bead and the wheel. You may need to apply a bit of pressure in order to separate them. Then, push the handle of the tongs down, so that the center is aligned with the middle of the cap (the flat side of the tongs should face down).
Now, take the pin and insert this into the center hole of the tongs. This will secure it in place so that it’s firmly attached to the cap and wheel.
Next, grab both ends of the lever handles, one with each hand, and spread the tire tongs outwards.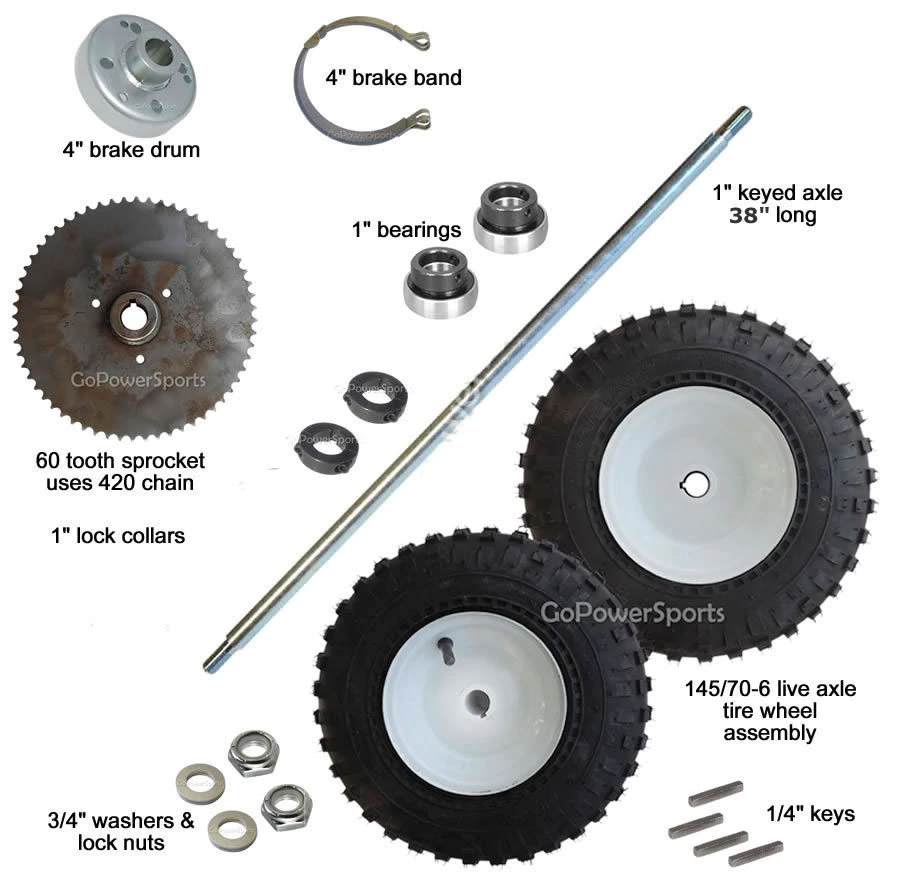 Similar to the opposite of cutting something with a pair of scissors. Rotate these levers out as far as they go; most of the tire tongs go about half way, forming a straight line once fully spread (at a 180 degree angle).
Lastly, remove the pin, cap and tongs from your wheel and use your hands to remove the tires. You’ll need to do this by turning around your wheels. If you’re not able to remove the tire by hand, simply pry it off using the tire tongs by inserting the tip in between the tire bead and the wheel again. This time, no cap is needed.
More Information: Video Tutorial
You can also break tire beads with some tire irons, also known as tire spoons. However, I personally don’t use this method, as it takes a lot more effort than a bead breaker and it can also leave scratch marks on your wheels if you aren’t careful. Here’s how to use them on your go-kart tires:
Similar to the other approaches, find a flat surface to place your wheels on.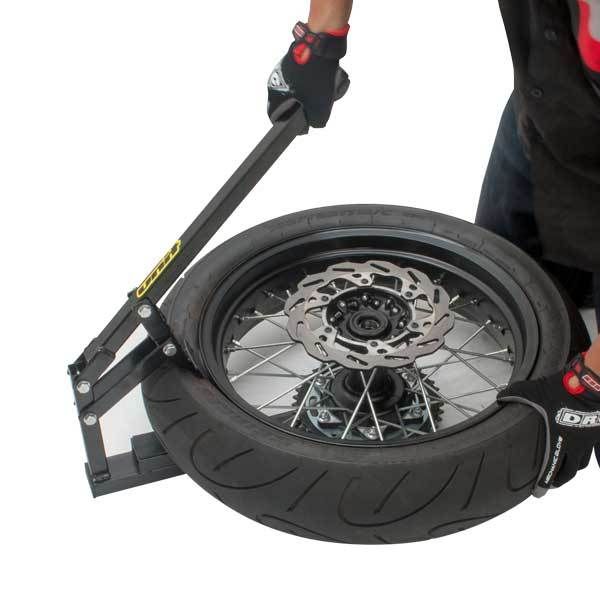 You can either do this on the floor or on a sturdy table.
Now insert the first tire iron in between the bead of the tire and the wheel, with the curved tip pointing downward. You may need to use a bit or force to insert the tire spoons.
Then, insert another tire spoon in between the bead and the wheel about 1 – 2 inches apart from the first one. The curved ends should both be facing the same direction.
The third tire spoon goes in between the first two and the curved tip should point in the opposite direction – upward. Make sure that they aren’t too far apart and that all three tire irons have good leverage.
With one hand, push the two outer tire irons down, while your other hand pulls the middle tire iron up. It’s best to use your dominant hand on the tire iron in the middle. Slowly, you’ll see the bead separating from the bead seat of the wheel.
Repeat this technique around the tire, until you are able to push the rest of the tire bead out of the seat with your hands. You’ll see the entire bead breaking accordingly and you can proceed to remove the go-kart tire from the wheel.
While I always recommend using a bead breaker tool, there are other ways of breaking go-kart tire beads. If you don’t have the required tools, you can use any type of sharp or curved rods to pry off the tires.
The reason why I do not recommend this is not necessarily because it will be more time consuming, but because you can easily damage your go-kart wheels. In dire situations, I’ve also seen some people use knives to cut around the tire when removing it; this only works if you don’t plan on using them again.
But even if you use a knife, you should be extremely careful. Again, I would recommend sticking to proper tools that only cost about $10 to $40 and last a lifetime!
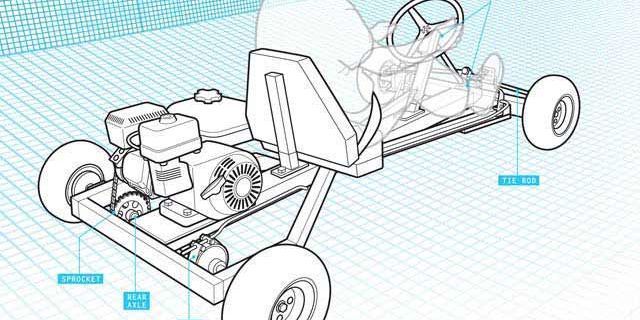 .. breaking beads on tires
 I have a bead breaking tool but it takes forever to break the bead on these ! I have to work my way all the way around the tire, fighting for every millimeter. It takes a lot of time and effort. Every video I watch, the people have the same tool, press down, and presto! The bead is broken! Every time I try that, the tool slips of the inside of the tire. Maybe its just the type of tire I use (Burris) and the large rims creating a steep side wall. Is there a trick I am missing out on?
Last edited by a moderator:
We use a homemade version like this. http://www.bmikarts.com/Tire-Bead-Breaker_p_2353.html works super easy.
There is a pretty good chance that those tires in the video have not been mounted very long so they come off pretty easily. A 6" PVC pipe coupler in a press or used with a hydraulic jack works very well on the tough ones. John
I've probably used 90% of the ones on the market (can't get myself to come off the money to purchase a Semel) and I can tell you that there are a few that are "ok", while there are many that are total junk.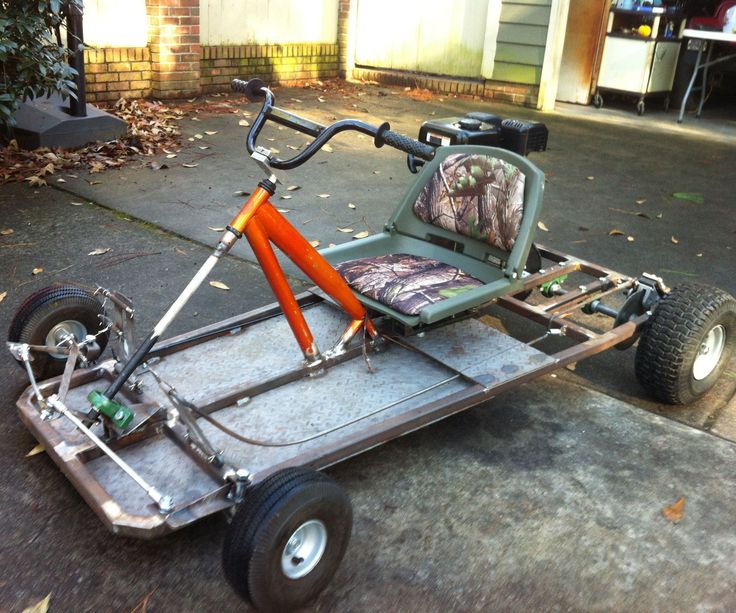
Get a hydraulic bead breaker like the one mentioned above and never regret it.
We've got them in stock at a great price if you need.
Just give us a call at the shop.
-----
Thanks and God bless,
Brian Carlson
Carlson Racing Engines
Vector Cutz
www.CarlsonMotorsports.com
26 years of service to the karting industry
765-339-4407
[email protected]
I bought a shop press like this. http://www.harborfreight.com/12-ton-a-frame-industrial-heavy-duty-floor-shop-press-1667.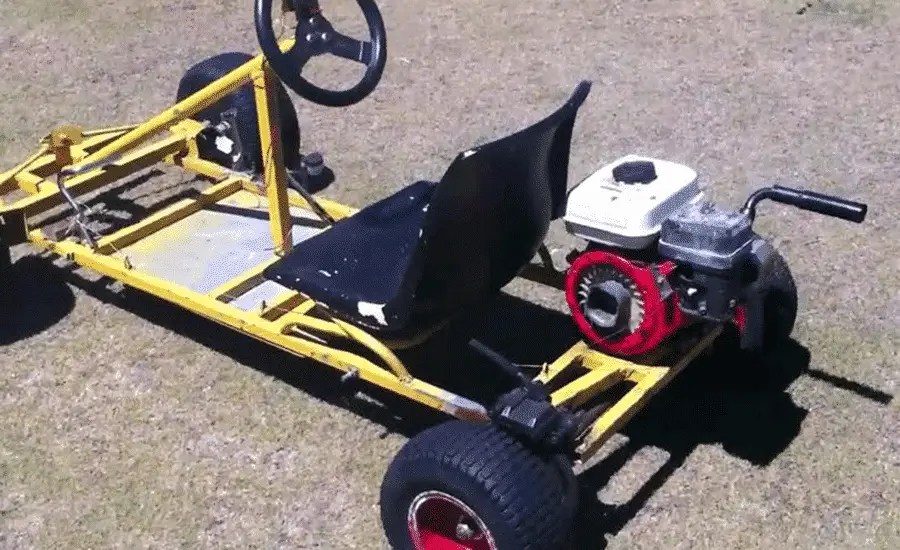 html
html
I had a local metal shop make me some 6" rings. I welded a cross bar on the top of the rings and then welded a fitting on the cross bar that the shaft fits into. The good thing about buying the press is, I can use it for more things than just dis-mounting tires.
Built my own and used 6" PVC coupler to prevent any damage to wheels...worked very well
Thanks! I'll have to look into some of these options.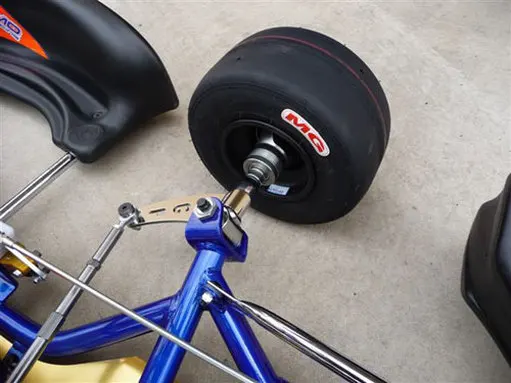
Check out my Mini Tire Changer at www.tiresizer.com and watch the videos.
Get a Rebel Fab ultimate bead breaker, you can thank me later.
Many out here like the one pictured above.. Double bead breaker..
Bam less than 1 minute job one is done..
Then to dismount the tire without messing up tire bead and rim.. Presto the Tire Jimmy does it effordlessly.. My wife demoed them at all our shows this past winter and we sold close to 150 of them @ $20 bucks apiece.. Virtually last a lifetime and zero damage out put for product and your body...
I have stagger dogs bead breaker/tire changer and it's great.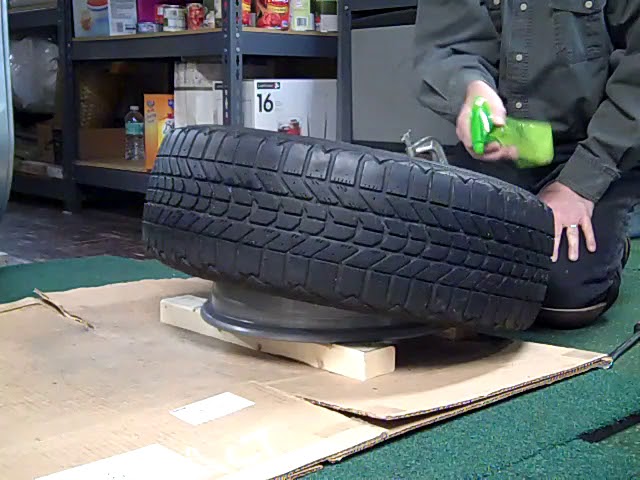 Turbo tire is good but for the price no one beats the stagger dog.
jg299c said:
Get a Rebel Fab ultimate bead breaker, you can thank me later.
Click to expand...
This is what i have and use....wouldnt trade it for anything!
I work in a car tire shop. Sidewalls are too small to use a car tire bead breaker. They gave me a set of "spoons" and told me good luck lol. I was kinda hoping this thread was along those lines. Time to get my fat kid jump on.
Rebel Fab does make a nice bead break!
Spend the money on a Rebel Fab. If you only dismount one set a year it more than pays for it's self in the time it takes with nearly anything else. They are awesome!
If you got the RLV bead breaker,with some tires it is easier to put the bolt above the hand press not through it
I have a real fab they are the best.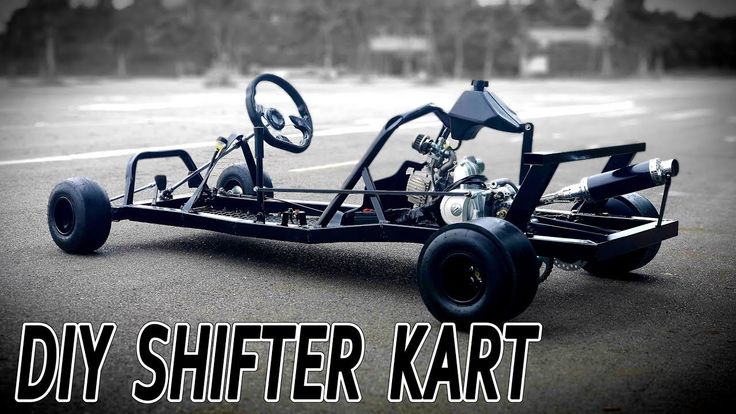
I made a 2 by 12 wooden frame to slide a floor jack in. I put a piece of wood on the jack and jack the tire up into another piece of wood I cut a hole in a little more then the diameter of the rim. Works great. I read about the pvc, and think it can be used instead of the wood I cut a hole in, but I have not tried it.
Dover Power said:
Many out here like the one pictured above.
. Double bead breaker..
Bam less than 1 minute job one is done..
Then to dismount the tire without messing up tire bead and rim.. Presto the Tire Jimmy does it effordlessly.. My wife demoed them at all our shows this past winter and we sold close to 150 of them @ $20 bucks apiece.. Virtually last a lifetime and zero damage out put for product and your body...Click to expand...
Heading to the Dover Power web site now...
W5R said:
This is what i have and use.
...wouldnt trade it for anything!
Click to expand...
Got one of these devils, works everytime - all the time.
BobB.
It is the glue that professional athletes most often ask and use to ensure that the protrusion of the body over the tire tread remains unchanged from the start to the long-awaited crossing of the finish line, which is strictly controlled by a special commission.
Most of the complexities and problems covered in this article apply equally to gluing studs into any type of tire, regardless of purpose, type of race and dimensions of competitive vehicles: i.e. these nuances are typical for winter karting, as well as for jeep and car races on ice, on lakes and snow-covered tracks.
As a rule, for competitive karting, the tire model is 4. 5x11-5 WKT-ICE for 140 Tecom studs of type 9-13-2 with a body diameter of 6.5 mm, but how to put the studs on glue - here, as a rule, sportsmen , there are two ways:
Both of the above methods, alas, are not ideal.
On the one hand, glue (for example, the popular studding glue - Loctite 480 / Loctite) certainly makes it possible to more reliably keep the stud from protruding from the tread after extreme use in strenuous races.
On the other hand, the methods of factory studding and "garage" studding may differ not in favor of the latter:
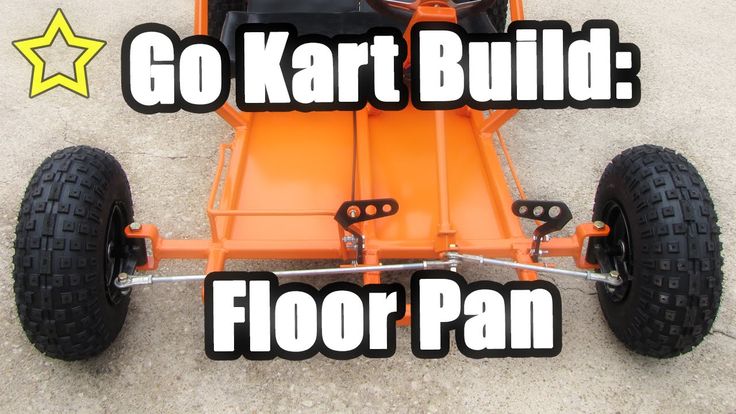
After the stud 13mm high has been removed from the protector with wire cutters or a screwdriver, it is more difficult to install it back with the same quality, and here's why: the machine automatically adds a soapy solution to each hole before the stud is inserted, providing lubrication that prevents microdamage to the hole walls.
A freshly installed spike is pulled out by the operator using the same "grease", if, for example, it was installed with a mismatch. A spike without such a “lubrication” (and the shampoo dries out in a few hours) enters and exits with difficulty - and even a hole evenly cut by a machine will not save from the appearance of micro-tears that are invisible to the eye. What can we say about the fact that the “dry” removed spike by itself is insignificant, but it expands the hole - count: initially, to install the spike from 9-13-2 with a 9mm flange, a hole with a diameter of 3.2mm is drilled.
Of course, some athletes even manually and with glue hiss their kart so high quality that one can envy. However, you must admit that it is one thing to slowly and thoroughly stud one set for yourself and another one for a friend, and another thing is to repeat the same thing on hundreds and thousands of tires.
Unfortunately, studding quickly and cheaply using glue is hindered by two factors:
Tire stud production, in collaboration with Tecom's R&D facilities, is in a relentless search for a kart stud model that can withstand even the toughest and wildest races without any adhesive, yet is affordable and can mass-produced and studded, available. At the same time, it was installed in compliance with the studding technology, did not lead to the risk of tearing off the tread blocks or tire puncture, without home-made and drills. And, of course, he categorically ruled out rigging, when the spike is independently leveled either higher or lower.
Another season of changing shoes is approaching. And you may remember that on one of the tires after the last winter/summer there is a jamb - a small bump. I don’t want to run to the store for the sake of one new tire. We understand. Or maybe it looks even better if repaired?
Yes, not every wheel that has met with a nail, rebar sticking out of the ground or a sharp stone on the road is considered damaged. Everything, of course, depends on the scale of the damage and its location on the tire itself. Some are easily repaired, while others are simply impossible to do - the tire can only be sent to the trash.
A bulge on a wheel, referred to by drivers as a bump or bulge, is the most common tire sidewall defect. It appears due to a collision with an obstacle or after falling into a pit, more often at high speed. The threads of the sidewall carcass are easily damaged by impact, and the tire at this point can no longer hold the load and air pressure - swelling appears. A small bump sooner or later turns into a big one, and driving with such a defect is dangerous - the wheel can shoot at any moment. At high speed, this is fraught with loss of control, departure from the road and a rollover.
The quality of roads in Kazakhstan contributes to the appearance of bulges on tires
Some types of bulges are repairable, although this is a temporary measure. Not a single patch can restore the factory rigidity. Ideally, change the tire.
Special cord patches can extend the life of a tire with a herniation, even if the swelling has appeared on the tread.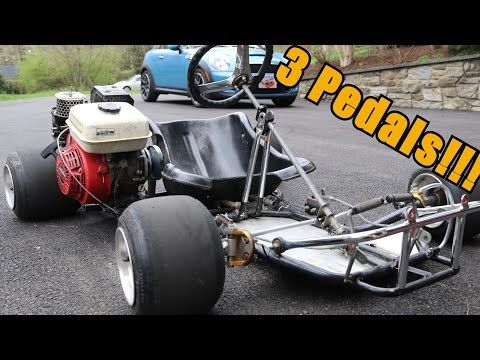 The sidewall is a different story. If the swelling appeared at a distance of more than 40 mm from the side, it can be repaired. If not, then the wheel needs to be replaced. Blisters on low profile tires are most often non-repairable.
For maximum safety when riding with a repaired bump, insert the tube. This is an inexpensive and reliable solution. On our market, you can find cameras made in China and Russia, the latter are slightly more expensive, but also of better quality.
The elimination of a side cut is a serious operation, therefore, as in the case of a bump, you will have to go to the professionals. We need cord patches, fortunately in our time they are of different sizes and with a different number of layers. And if you do it wisely, then you can't do without special tools and vulcanization.
A cut, by the way, cannot be healed in all cases. If the gap is in the shoulder area of the tire, it is unlikely that anyone will undertake to repair it, since no guarantees can be given here. However, our Kulibins take on even the most difficult cases, cutting out parts of the sidewalls from the tires and even weaving the cord on their own.
Tire overhaul. We would not put such a wheel on ourselves
Low profile tires can be repaired, but more difficult. A tear in the sidewall is easier to seal on tires with a medium or high profile.
Sometimes a cut is confused with a pluck. This is when the outer layer of the sidewall caught on something sharp, a tear formed, but the frame itself remained intact. There is nothing wrong with that, although the drivers at the tire fitting company successfully repair the cut, for which they take it accordingly.
If a piece of rubber remains on the sidewall, then glue it with ordinary superglue (101st). If it came off, then it is better to cover it with raw rubber and vulcanize. Leaving the pluck bare is not recommended, because the tire carcass, often consisting of a metal cord, will quickly corrode.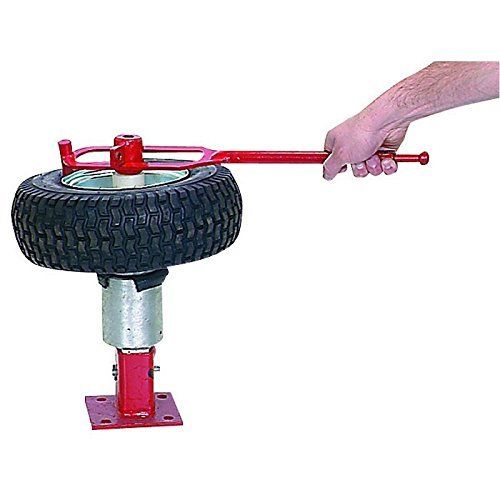
In Europe, defective or used tires are perforated before being sent for scrap to prevent their resale and possible operation. But they don’t know that we have such holes on the sidewall patched once or twice
Cuts and hernias are not the only possible damage to the side of the tire. You can also spoil the side ring, in the process of changing shoes, for example. If it’s for garlic, then such a tire is already dangerous. Sooner or later, the tire pressure and the load in motion will start to squeeze the rubber off the rim - a wheel explosion can occur.
This ailment is repaired if the wire ring - the base - is intact. There are no special technologies and materials to correct this particular problem, but most often craftsmen use a two-component composition for chemical (also called cold) vulcanization. After mixing, the mass is pressed into a fat-free damage. Compound manufacturers recommend waiting 72 hours before mounting a tire. Of course, our masters do not pay attention to this condition - they put the tire right away. And it’s good if the wheel is flat because of this at night in the parking lot, and not on the road.
If the side ring tears are barely noticeable, but the wheel still deflates, then you can use a special liquid - a bead seal designed to seal a tubeless tire.
These seals have been used in motorsport for some time. In particular, in the American Formula D Drift Series, drivers used compounds to keep the tire on the rim even with minimal tire pressure. Now they are banned.
Pay attention to the left rear wheel of the Nissan Silvia S13. Due to too low pressure, it was literally taken off the disk under load
Every schoolchild has faced this problem when patching the inner tube of his bike after hitting something sharp. Repairing a car tire puncture with your own hands will also not be difficult even on the road. But for this you will need a pump (or compressor) and a universal tire repair kit with harnesses. All this is sold at any car market or gas station.
Repairing a tire on the side of the road with harnesses
The process is simple. If we are talking about the front wheels, then in most cases the wheel can not even be removed, it is enough to turn the steering wheel in the right direction, find the puncture site and carry out repairs. First, the hole is cleaned with a helical awl from the set. The tourniquet itself is smeared with glue and tucked into the eye of the awl, after which it is inserted into the tire hole. With a sharp movement, the tool is removed, and the tourniquet remains in place and clogs the hole. The tails are cut with a knife, but not at the root, it is recommended to leave about 20 mm. The tire is inflated and checked.
Sometimes a nail or self-tapping screw clogs the hole by itself, remaining in it. If you see a hat in a tread, do not rush to pull it out. While the pressure is holding, move to vulcanize. And sometimes they drive with a screw in a tire for weeks.
Repair of a puncture at a tire shop
Punctures are also repaired with harnesses at a specialized service, although among professionals such repairs are not considered long-term. After a few months, the flagella dry out and can let air through. There are more advanced methods like cold and hot vulcanization. The latter is more reliable. In this case, the hole is sealed with an elastic patch, and the funnel from a foreign object is filled with a special compound. After that, a vulcanizer is put on the tire, it heats up the rubber and solders it.
In addition to the plaster, the puncture is also repaired with special cord fungi. Craftsmen process the puncture site: drill it and treat the surface with a tool to roughen it. Then the repair area is lubricated with glue (it is also called cement) and a fungus is introduced. This is done from the inside of the tire. The cap of the fungus is rolled, and the excess legs are simply cut off from the outside.
Puncture repair with sealant
With the advent of tubeless wheels, and later run flat tires, many automakers began to abandon spare wheels. Instead, repair kits with compressors are supplied with the machines. A repair kit is essentially a bottle of pressurized sealant. Later, such spray cans began to appear on the shelves of ordinary car dealerships.
This method has not taken root in the CIS, because the condition of the roads makes it necessary to have at least a stowaway in the kit, but it can also be considered as a method of repair on the road.
The car must be jacked up and sealant must be pumped into the damaged wheel through the nipple. Next, you should spin the wheel, then pump it up, lower the car and drive a few hundred meters. If the tire tightness has not been restored, repeat the procedure.
For commercial vehicles, cutting the tread with a special device (regrower) is a common thing. Moreover, such tire retreading is provided by the factory (marked REGROOVABLE on the sidewall) to increase the service life. But there are entrepreneurs who undertake to deepen the grooves in tires for passenger cars. But they are not intended for such an operation. Often used tires for sale are “refreshed” in this way. Be careful!
What is the danger?
The worst option is that the retreaded tire will shoot out on the road, as the master can damage the undertread layer when deepening the grooves. Such a tire will not be able to hold pressure at some point. There will be a boom! At best, the tire will indeed last a little longer, but is the game worth the candle? We think it's not worth it.
How is cutting made?
A regrower is used to cut the tread. Roughly speaking, this is a large soldering iron with interchangeable tips of various shapes. It goes through rubber like a knife through butter.
If the tire is for passenger cars, then it is worth taking on a regrower only in one case - when part of the tread pattern was welded with "new" rubber during repair. This is where threading comes in handy in order to restore the grooves and symmetry of the tread.
Vehicle operation is prohibited if:
— tires have a residual tread height of less than 1.6 mm;
- tires have punctures, cuts, ruptures that expose the cord, as well as delamination of the carcass, delamination of the tread and sidewall;
- tires in size or load capacity do not match the car model;
- tires of various sizes, designs (radial, diagonal, chamber, tubeless), models, with different tread patterns, winter and summer, studded and non-studded, new and restored, are installed on one axle of the car;
— Tires retreaded according to the second repair class are installed on the front axle.