Along with a loader bucket and rear blade, a box blade (US CA) with scarifiers is one of the most versatile and fundamental implements to have in your machine shed. Fundamental, because of its very simple, straightforward design. Versatile, because you’ll find so many applications for it once you get the hang of using it.
A box blade with scarifiers is basically a 3-sided metal box, with front and rear scraping blades that sit across the bottom of the rear panel. It’s used primarily for spreading material like soil or gravel, and for grading, leveling, or backfilling an expansive area of land for a driveway, lawn, garden, building site, etc. Scarifiers are angled metal teeth, mounted in a row on a crossbeam across the upper width of the box blade. They’re often available with replaceable steel tips. When locked down in operating position, they dig into and break up hard ground so it can be shaped to your need.
The key to becoming skilled at using your box blade is practice, practice, practice. You’ll probably start out being a bit awkward, but after a few projects, you’ll soon gain skill and confidence. So start with something simple that doesn’t require the use of the scarifiers, spreading out a pile of dirt or gravel. Then you’ll be ready to break up some uneven ground with the scarifiers, scraping and moving the soil around, spreading it out, until the area is level or sloped for drainage, depending on your needs.
Here are a few basic tips to keep in mind:
 Go over it with the scarifiers in the down and locked position and your box blade angled forward slightly by shortening the top link. Work over the area well, thoroughly breaking up the soil. Then move the scarifiers into their up position, level the box blade, and work over the loose soil to level or shape as necessary.
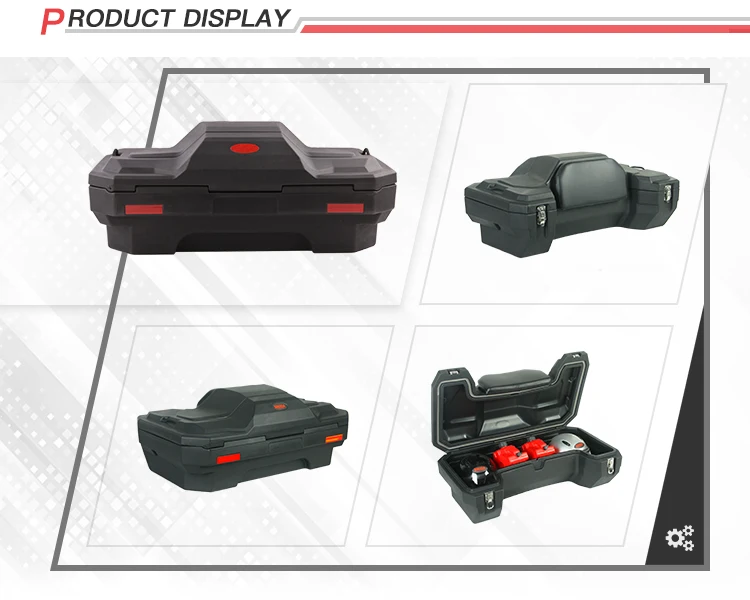
Helpful Links:
Frontier Box Blades (US CA)
John Deere Tractors (US CA)
Top 10 implements you should acquire first
How to repair a gravel driveway
How To Maintain A Gravel Drive
Maintain A Gravel Drive Using A 4-in-1 Bucket
How to maintain a gravel drive using a box blade with hydraulic scarifiers
How To Fill And Level A Low Spot With Gravel
How To Gravel A Country Lane
Find Your Dealer (US CA)
Whether you are landscaping, stripping clay, cutting a path or just leveling a driveway, the DuraGrade Box Scraper is the reliable tool for the job. Backed by a 2 year limited warranty, your Box Scraper is ready to take on the toughest terrains. Attach in to your Mini skid or Hitch up, adjust the blade height, and your ready to grade!
DuraGrade Box Scraper
Saturday, July 2, 2022 at 9:15 AM
| Width | Model | Type | Towing Power | Weight | Price |
|---|---|---|---|---|---|
| 3 Ft | 3000E | Electric | 12+ HP | 190 LBS | $1,699 |
| 4 FT | 4000E | Electric | 20+ Hp | 243 LBS | $1,899 |
| 3 FT | 3000P | Mini Skid | 150 LBS | $1,699 | |
| 4 FT | 4000P | Mini Skid | 200 LBS | $1,899 | |
| 3 FT | 3000C | Combo Plate & Wheels | 12+ HP | 210 LBS | $1,699 |
| 4 FT | 4000C | Combo Plate & Wheels | 20+ HP | 263 LBS | $1,899 |
DuraGrade Box Scraper Available Accessories
Thursday, November 10, 2022 at 2:35 PM
| Accessory | Price |
|---|---|
| 3' Steel Scarifer Kit | $129.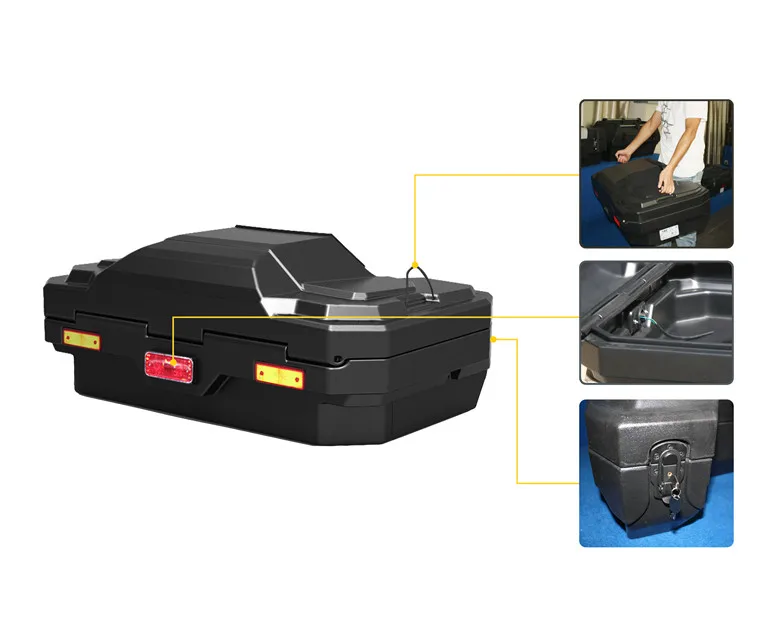 00 00 |
| 4' Steel Scraifer Kit | $172.00 |
| Snow Pushing Package | Call |
The best way to order is to call (888) 338-5439 during regular business hours. If you are unable to do so you may fill out the online order form and we will process your order as soon as possible.
Order Online Contact Us
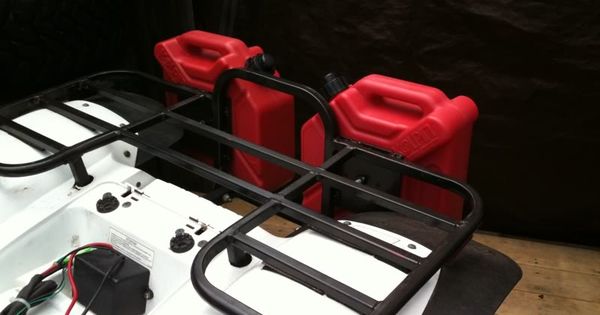
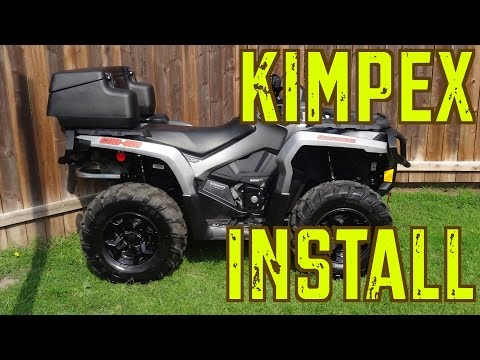
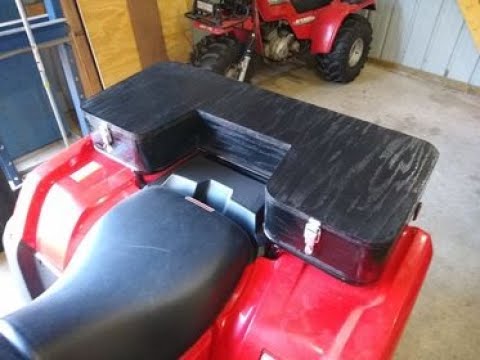
Today, ATVs are very popular in the modern world. This is a small vehicle that looks a bit like a motorcycle, but the ATV has more than 2 wheels. Trunk - the luggage compartment of an ATV, it is designed to carry the necessary things. Panniers can be front and rear, rear panniers are more popular. Such wardrobe trunks cost a lot separately, so now I will tell you how to make such a wardrobe trunk with your own hands, while saving a lot of money.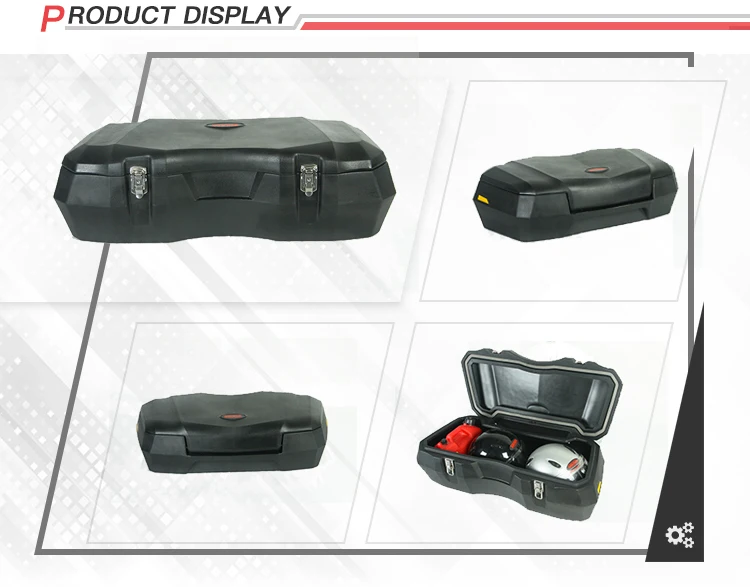
In order to create a homemade trunk you will need:
- Foamed plastic or hard foam, there is not much difference here, you can choose any one, the thickness of which will be at least 10 mm, 6 mm can be on the bottom
- Glue for plastic
- Self-tapping screws
- Metal ruler (approximately 1-1.5 meters)
- Bulgarian
- Tools for fastening and fixing
- Screwdriver
If you do not have special tools for cutting plastic, you can take a regular clerical knife or blade. ATTENTION! if you cut plastic with a blade, wear a glove on your working hand, there are many cases when people cause mini-injuries to themselves by cutting themselves on the edge of the plastic.
To make your own ATV case, follow these steps:
1. The first step is to cut out the bottom for your future case. To do this, you need to measure the area where you want the trunk to be located, then all measurements must be transferred to foam or plastic and cut the bottom according to measurements using a grinder. All precautions should be observed, first of all, protect eyes, hands, clothes during work.
2. Once we have finished making the bottom, we need to make the side walls of the trunk. To do this, we measure again and, having received the necessary parameters, we transfer them to polystyrene or plastic and cut out the necessary pieces from polystyrene or plastic. Next, we fix them well to the bottom with screws and glue.
3. After gluing the side walls, it's starting to look like a trunk, the next step is to file all the edges so that we get smooth and even corners of the case.
4. Next, after processing the corners, we proceed to the lid of our trunk. In order to make the trunk lid, we again go to foam or plastic, measure the almost completed wardrobe trunk and transfer the resulting dimensions of the lid, cut it out with a grinder, observing all precautions. After we have received the desired piece of foam or plastic, we attach it to the already made wardrobe trunk with the help of hinges that are used in door structures, you can also use other materials for fastening at this stage, because the hinges can take up an amount of space in your case.
5. Now you have attached the case cover, at this stage you have already got a full-fledged case, but for the beauty and attractiveness of the trunk, as well as to match the color of your ATV, you should give the trunk a beautiful look. There are many options here on how to do this. You can paint it in the color of your ATV, you can paste over it with a film and there are many such options, but the choice is yours!
In addition to using hinges to secure the lid, other fastening materials can be used to secure the lid.
Also, for convenient storage and transportation of various substances and materials, the trunk can be divided into several parts, sections.
The most important thing in this business is not to be afraid to fantasize and experiment.
Do-it-yourself wardrobe trunk is suitable for unoccupied people at a certain point in time, because. for the manufacture of a high-quality trunk for an ATV, it is worth considering that a lot of time will be spent. But there is a plus in making a case with your own hands. The upside is that you will save a lot of money, which in the future can be used to develop your future or to fulfill your dreams. For manufacturing, you will need the ability to work with devices, patience and perseverance. But believe me, all this cannot be compared with the fact that in the future you will be proud of yourself, looking at him and saying to yourself "What a good fellow I am that I did it with my own hands!" And in the future it can become your paid hobby!
Good luck to everyone in this business, may you get the most luxurious trunks for your ATVs!!!
Articles
02 Dec
Any wheeled vehicle - from a bicycle to a multi-ton truck - has a transmission in its device: a system that transmits rotation from the engine to the wheels. The operation of the transmission - and therefore the speed of driving - can be controlled by shifting gears.
Gear shifting is organized differently in each mode of transport. In the article below, we will tell you exactly how to shift gears on ATVs, and what gearboxes are found on such equipment.
Gearboxes for ATVs can be of two types:
Rare and mostly found in older models, but other variations can be found. For example - "automatic" with the ability to manually shift gears.
Manual ATVs are a little more difficult to drive (at least at first, until you get used to it), but you can more accurately select the appropriate mode. And vice versa: CVT "boxes" are much easier to operate, they are easy to master for a beginner who gets behind the wheel of an ATV for the first time. But on the other hand, with active driving along a route with variable difficulty, riding a CVT will be a little less convenient.
For example: you are driving on a flat packed dirt road on H, and you see a large stretch of muddy road ahead with deep mud (or a steep slope, or bumps, or stones). You will have to come to a complete stop and shift to L, drive through mud, and come back to a dry road, come to a complete stop again and shift back to H. , like motorcycles, and a manual clutch lever on the handlebar on the left.
The foot lever device can be of two types:
The shift itself is carried out in the same way as on motorcycles:
 If you have experience driving any vehicle with a manual transmission, you will quickly get used to an ATV with such a gearbox.
 When exactly to switch speeds up and down is determined by the tachometer, speed, road complexity, weight of the load taken and the characteristics of the ATV itself (power, weight).
CVT gearboxes are much more common on ATVs. The clutch in them does not need to be squeezed out, and the “mode” of driving forward is selected from two (most often) options: in high (suitable for driving on an easy route) or in low (for difficult sections, steep climbs and towing) gears.