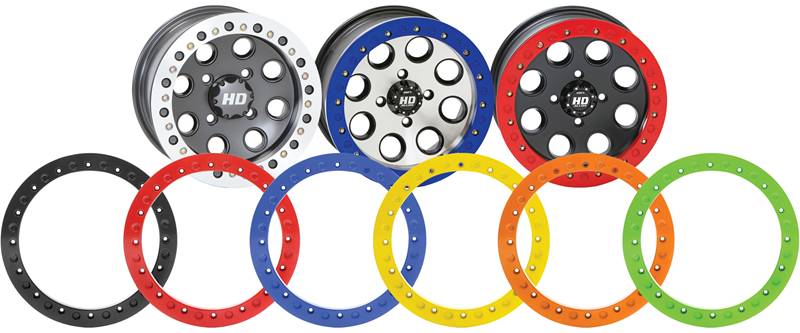
When upgrading the wheel and tire combo for your ATV or UTV, you have many options to choose from with styles, colors, and beadlock or non-beadlock. In this how to, we will show you how to mount your new tires onto a set of beadlock rims from OMF Performance Products. The purpose of a beadlock rim is to prevent the tire from spinning around the rim at low air pressures, or in the event of a flat you can still make it back to your camp or trailer without the tire flying off the wheel. Many top race teams use beadlocks for the simplicity of mounting and extra reassurance that they can make it to the pits if they happened to get a flat tire on the racecourse.
STEP 1: First, you will want to make sure you have the correct wheel clearances and all necessary hardware for the beadlock ring. Some tire/wheel combos require shims to achieve the proper spacing between the inner mounting ring and bead of the tire.
STEP 2: You can now begin the mounting process, starting with the beadlock side of the rim and inserting it into the tire. You will want to get the bead of the tire in the center divot of the rim to give you the most room for movement.
STEP 3: Use a pair of tire spoons to help insert the rim into the tire for the last few inches.
STEP 4: With the rim completely in the tire, flip the rim/ tire over to begin installing the beadlock ring. We found that setting the rim onto a smaller-diameter rim or bucket to get the wheel you are working on off the ground will help with aligning the tire bead onto the new rims.
STEP 5: You will now maneuver the tire around the rim until it sits flush against the clamping area. Now that the tire is correctly seated onto the beadlock clamping area, you can set the ring into place, aligning the mounting holes.
STEP 6: With the ring in place, add a small amount of anti-seize or equivalent lubricant onto the hardware. This prevents any seizing of the bolt threads in the wheel, then start installing the supplied bolts and washers.
STEP 7: Begin tightening down the bolts a few turns at a time in a criss-cross pattern. This ensures even pressure of the beadlock ring, preventing any balance issues.
STEP 8: Now that the bolts are snug in place, torque them to the proper specs determined on the size of wheel you have. With all the bolts torqued to the specs of 6–8 foot-pounds, then 12–14 foot-pounds and lastly 20–22 foot-pounds, you may install the valve-stem core if it was removed.
STEP 9: To seat the outer bead, you will want to spray some type of lubricant around the tire to keep it from hanging up on the rim. We like to use soapy water to help aid in this process. Now start filling the tire with air until you hear the bead pop in place, making sure to keep your hands or other objects clear from this open area.
STEP 10: With all your tires securely mounted on your new rims, you may now install them onto your machine.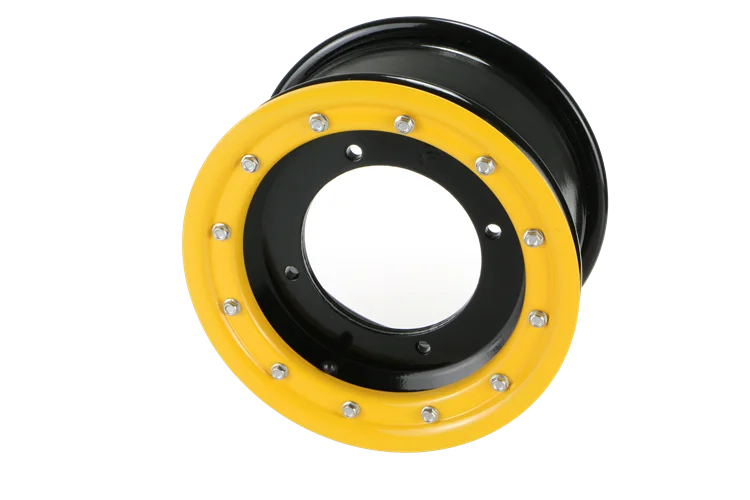 Torque your lug nuts to factory spec to ensure proper fitment.
Beadlock WheelsHow-ToOMF
Reading How to Install Beadlock Wheels 13 minutes
Next What Exactly is An Overland Vehicle?Tags
First off, we're going to assume if you're here, you've already read our other post about why you should consider beadlock utv wheels. If not, check out the post here for a 101 class on what makes beadlock wheels a great choice for some riders. Also, we'd like to encourage you to have a professional at a local powersport dealer mount your wheels and tires. They've done it a 1000x and have the expertise, tools and machines to make the process simple, cost effective and safe. If you're stubborn and want to do it yourself, you must acknowledge the risks involved below:

The first step is to find a solid, flat piece of ground to start on like a garage or concrete floor. Before you unbox and set your new wheels on the ground, get a thick piece of foam or a blanket to protect the finish of the back lip of your wheels.
You're going to need a good lube to get the tire to mount so grab a squirt bottle and mix water to soap at a 1/1 ratio. You can use almost any soap, however we recommend a car wash soap or something similar which will not hurt the finish of your wheel. If you have an actual tire lube, even better. Spray the soap mixture (lube) extensively over the top lip of your wheel and the tire bead. You only need to slide one side of the tire over the wheel face so only lube one bead (side) of the tire. Don't worry about spraying too much, it's better to have too much rather than trying to force the tire over your wheel.
If you have directional (asymmetric) tires, make sure you're paying attention here so your tires/wheels are facing the right direction. Not sure if your tires are directional? Look for an arrow on your tire sidewall which will point toward the front of your vehicle (or how the tires should rotate in motion). Remember with directional tires that you'll have to mount your passenger side wheels on one side of the tire, and drivers side wheels on the other to maintain true directional. If your tires do not mention a direction, or the lugs do not flow in a particular direction, more than likely you have a non-directional tire and you can mount your wheels on either side of the tire.
After getting the back bead of the tire nice and lubed up, use downward pressure while rotating the tire clockwise. The constant pressure will allow the rear tire bead to eventually slip over the face of the wheel. Because your beadlock wheel has a built in lip, the front bead will hang off of it like picture below.
Once you get the rear bead set, you're going to need to prop the wheel up on a much taller surface so that the tire can freely hang and pull the front tire bead tight on the wheel face. We like to use a five gallon bucket (Home Depot or Lowes) for this step because EVERYONE has these buckets laying around and they provide just the right height to make the job easier.
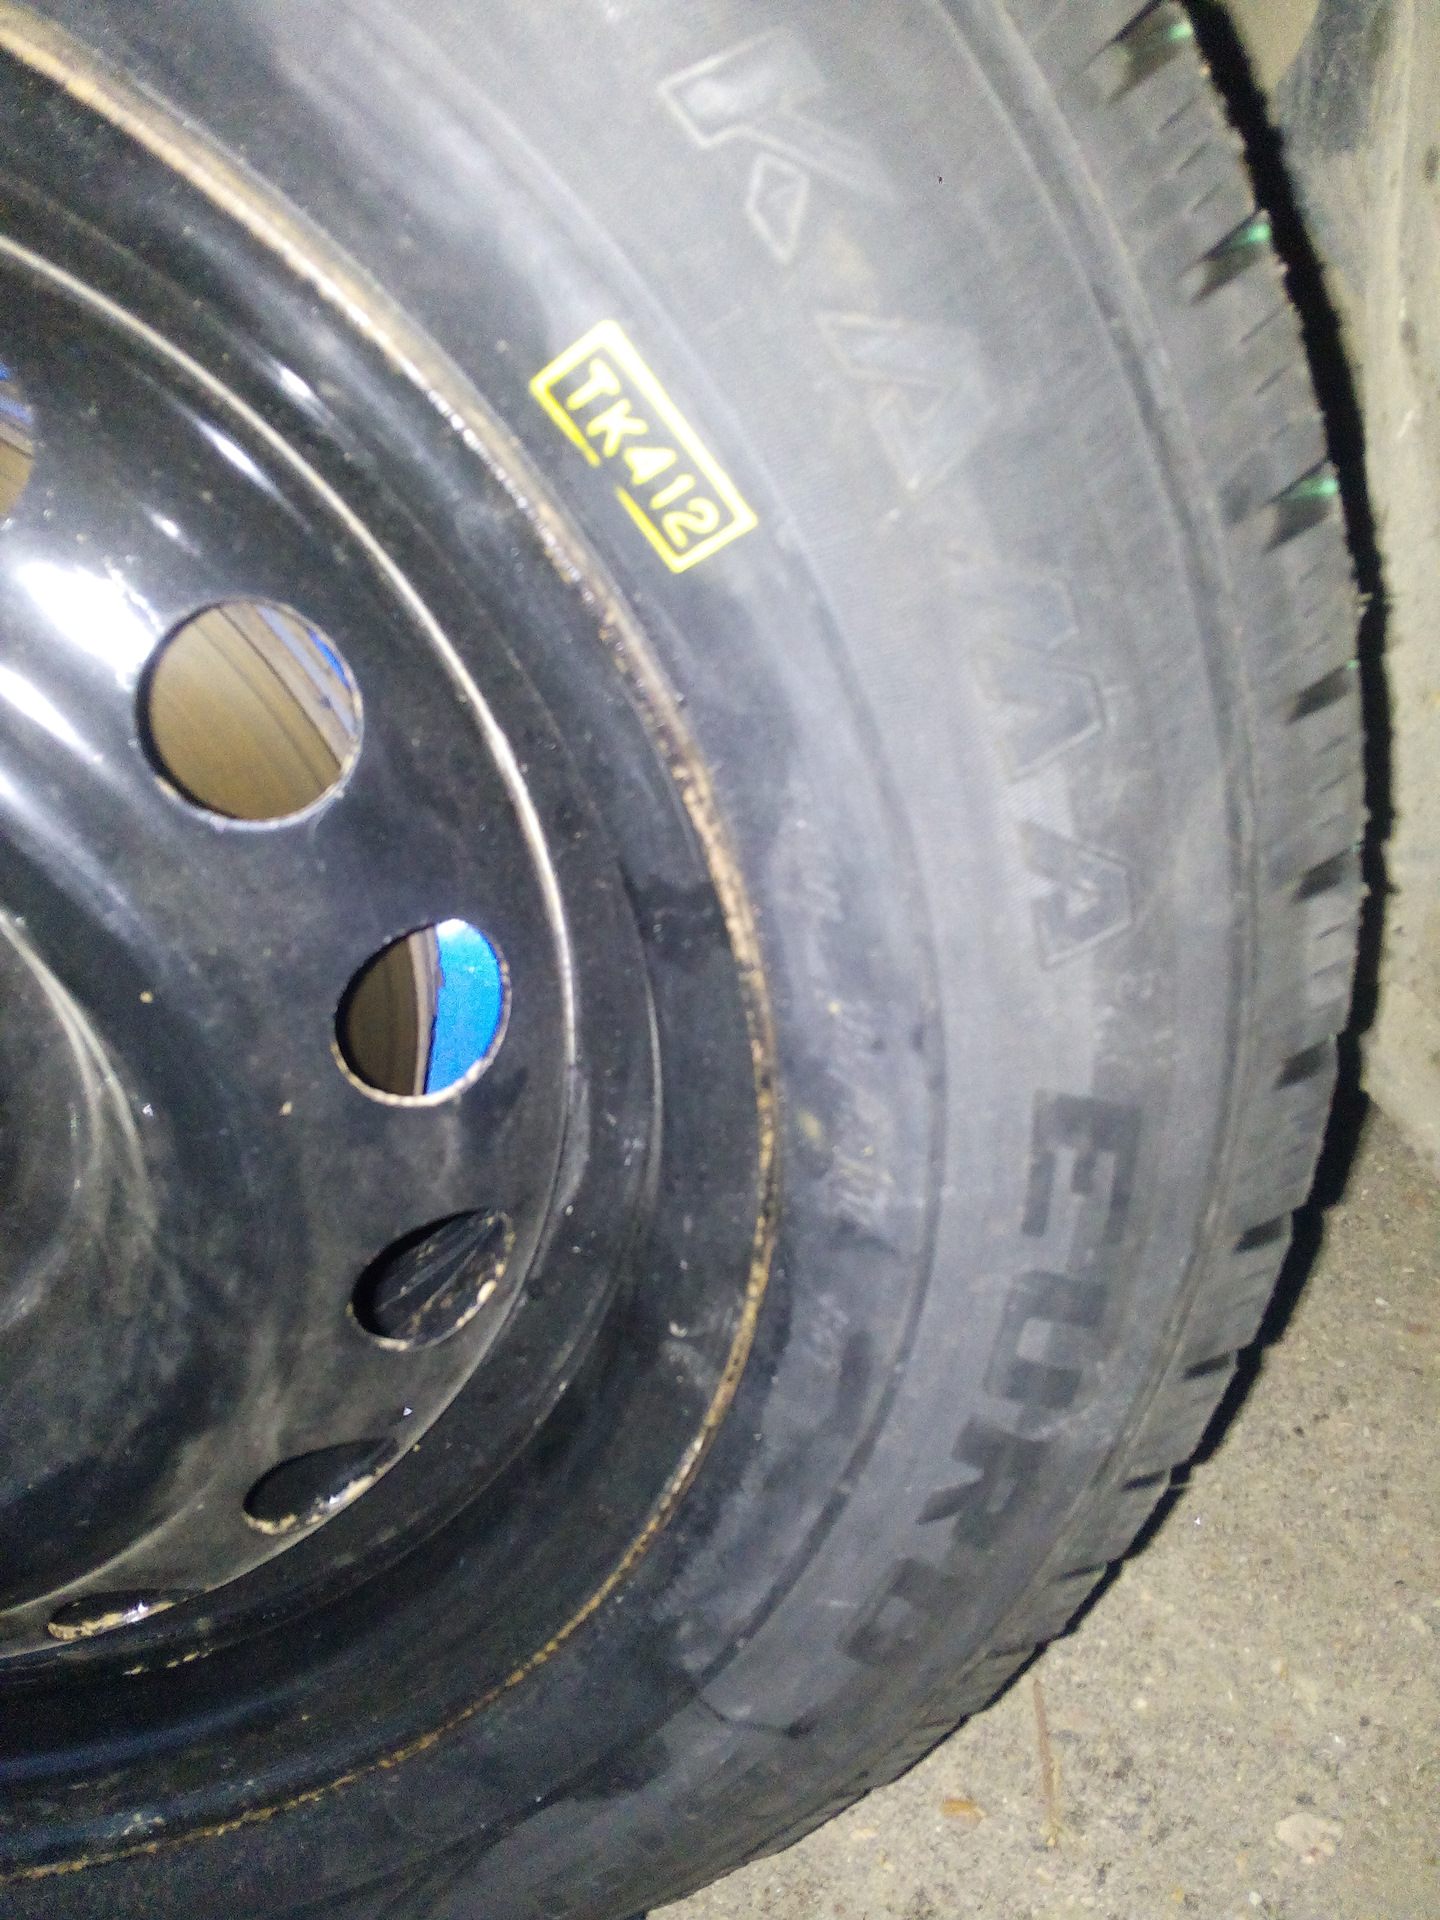
Some tires have a mark on the sidewall near the bead that refers to the lightest spot on the tire. Make sure this mark (yellow circle on the tire we're using) is lined up directly under the valve stem of the wheel. The yellow circle or dot can help to balance your wheel and tire assembly so that its lightest point of the tire (the yellow circle) is matched up with the wheel's heaviest point (valve stem). The yellow dot indicates where the manufacturer has identified the lightest spot on the tire.
Place the beadlock ring onto the wheel face. Clock the beadlock ring holes with the wheel. We recommend using an anti-sieze or bolt thread lubricant to each bolt to ensure the bolts will never seize in the hole. This is an optional step, however we strongly recommend using because all it takes is one seized bolt and you'll be unable to fix a flat on trail. Simply dip or brush a small amount onto each beadlock bolt and start threading the bolt and washer a few turns to ensure a uniform mount. You never want to wrench down on one bolt before moving to the next, as this can cause the ring and assembly to warp, leak, or worse, fail under load or while in motion.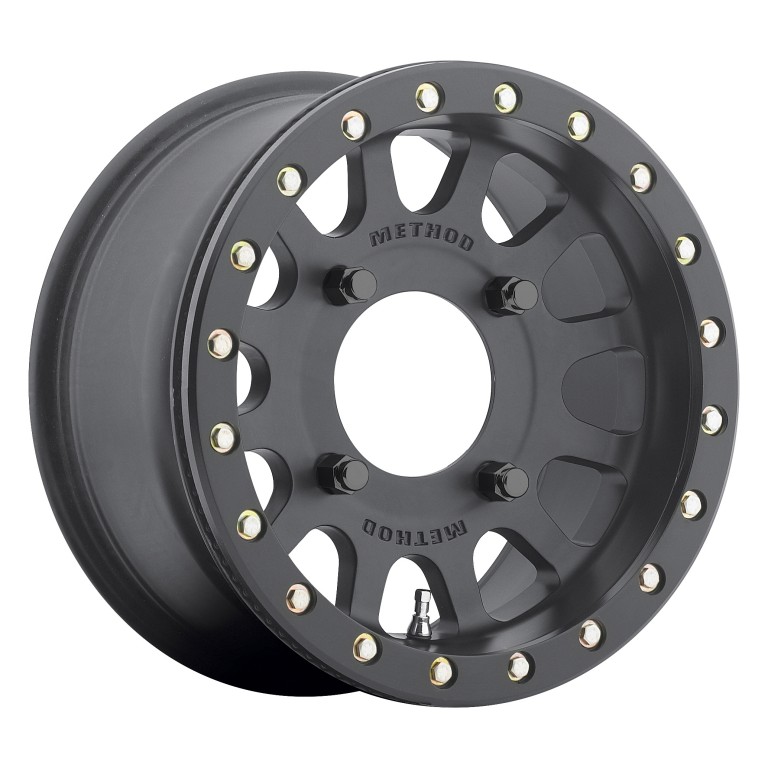 DO NOT use an air gun or impact gun at any point during installation.
Once you have all of your bolts and washers started, you'll want to utilize a star or plus (+) shape pattern as you tighten. Pick one bolt and using a hand ratchet, tighten your first bolt down to snug but not tight. The next bolt you'll tighten is the one directly across from your first. Criss cross your way across the wheel in this patten until all of the bolts are snug. Repeat the pattern again and tighten up all of the bolts/washers using the hand ratchet and 14mm socket. Using the hand ratchet to get everything snug will prevent over tightening any of the bolts, especially when the ring has not been completely set.
Follow the number pattern below to ensure proper ring/tire/wheel seating. Only have a torque wrench? No problem, just lower your initial foot pound setting to 10 pounds for first round of tightening.
Next up, grab your handy torque wrench and set the foot pounds to 15 for the next tightening. By slowly adding pressure to each bolt, your rings will connect with wheel and remain perfectly flat to correctly hold your tire bead in place. The final round of tightening in star pattern should be at 18 foot lbs. DO NOT EXCEED 18!
Follow the star/plus pattern above and tighten your bolts until you hear an audible "click" sound on your torque wrench for each bolt. If you're forgetful, mark every finished bolt with chalk so you know which bolts have been tightened and which ones you have left to do. The final tightening is a double check, making sure each bolt has a clear, audible click from the torque wrench. It's better to be safe so don't fret if you go over each bolt a couple of times to hear that trusty "click" sound.
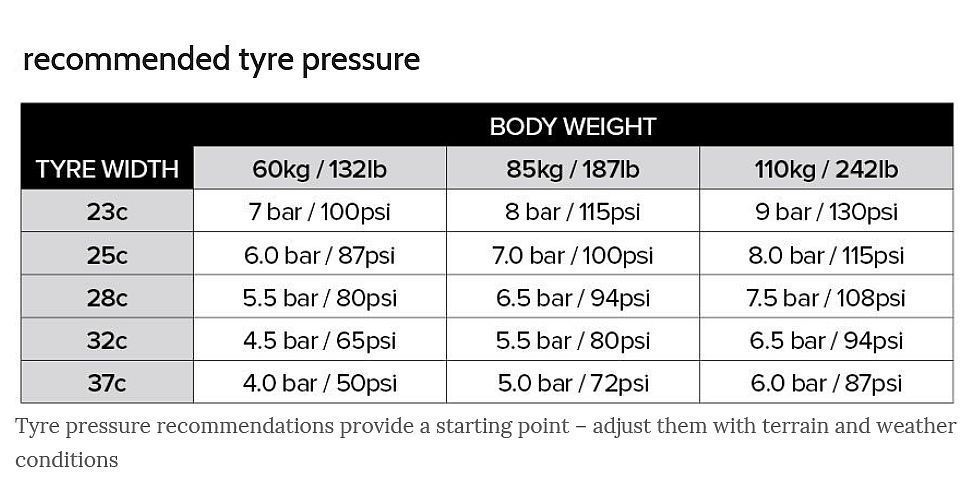
Heading out right away for a ride? Air up your wheels to the correct tire specification(s) and using your 1/1 soap/water concoction you used to lubricate the tire, spray all over your wheels where ring and tire connect. If your wheels are for any reason leaking, you'll immediately see bubbles.

You've assembled your new UTV beadlock wheels, now its time to install them on your machine. We STRONGLY recommend you have a professional install your wheels and/or tires. If you do not know of a reliable dealer or technician near you, call us and we can help locate one for you. If you insist on mounting your own wheels, you MUST follow all steps below to ensure a proper and safe installation:
 Not all lugs are interchangeable and if you're planning to run any Valor Offroad wheels, your OEM stock lugs WILL NOT WORK. You must purchase a spline kit from our Installation Kits. Not sure what kit you need? Check out our Fitment Guide.
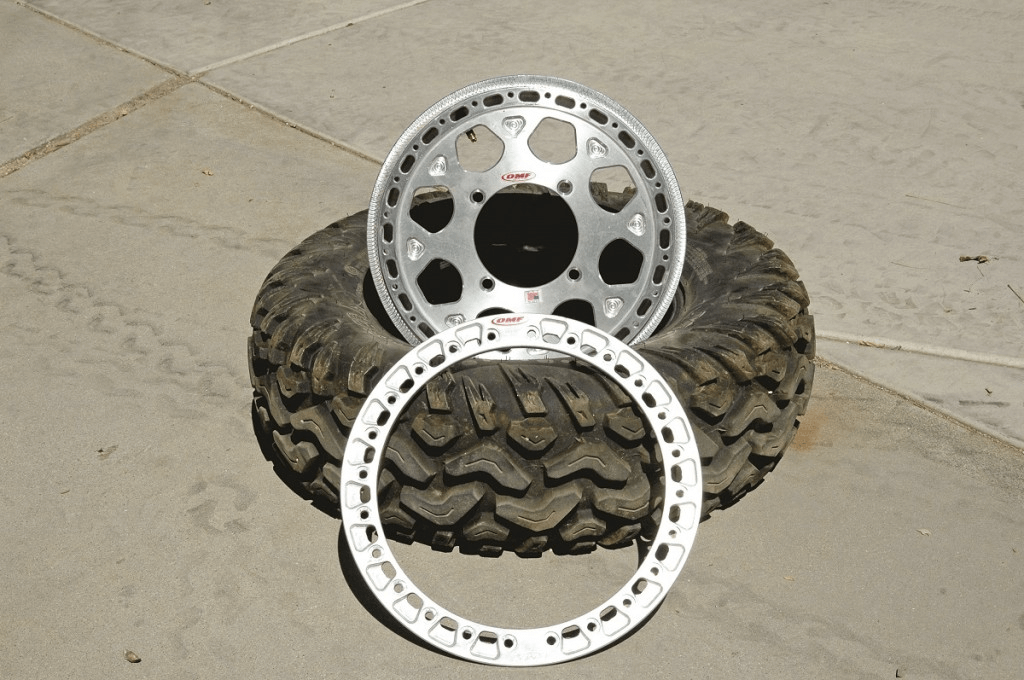
You MUST re-torque your lugs to OEM spec after no more than 20 miles. This applies to your daily driver, towing trailer, lawn mower and especially your UTV, SxS or ATV. Want to learn more about what happens when you decide to skip the retightening step? Check out our Why you should tighten your lugs post.
How do I know if my lugs are loose?
 The wobble may be as simple as you threw a tape weight on your truck wheels or that your alignment is out of whack, but it's always better to be safe than sorry.
 Learn
There is more than meets the eye when you dissect how a tire and wheel combo inflates, stays inflated and why some wheels and tires shouldn't be matched together. We take a deep dive into what makes certain wheel engineering superior when deciding your next combo.
Fitment
A dual drilled wheel is a wheel that is drilled with two sets of bolt holes. With this additional set of holes, dual drill wheels can accept two different bolt patterns. On all dual-drill wheels, the larger hub bore of the two bolt patterns is used to ensure proper fitment.
Backspacing
4+3? 6+1? 25mm? We put to bed the UTV industry debate on what measurement is better, why we use wheel offset and wheel backspacing in the powersports industry, and we do a deep dive into why each measurement matters.
The Source is your destination for applicable and useful posts, how-tos and recommendations to keep you and your passengers safe and prepared. Have a topic you'd like to know more about? Search the site using top navigation. Have a topic we haven't covered yet? Shoot us an email using our contact form.
Modern ATVs are associated with drive, adrenaline and indescribable emotions. However, this transport is good not only for entertainment, all-terrain vehicles are often used in country life, where only memories remain of the road surface. They are not afraid of either deep snow, or mud that sags in the off-season, or sandy fields. For true fans, quad bikes have become more than just a means of transportation, but rather a special way of life, a passion and an irresistible craving to confront natural landscapes.
Gathering in interest groups or quad bike clubs, the following directions in quad movement can be distinguished:
Naturally, gathering in groups, everyone wants to stand out. Someone with the appearance of their ATV, someone to get a more passable ATV, and someone wants to get a ATV controlled at high speeds. In order to achieve this, ATV rims are essential, and we will now explain why.
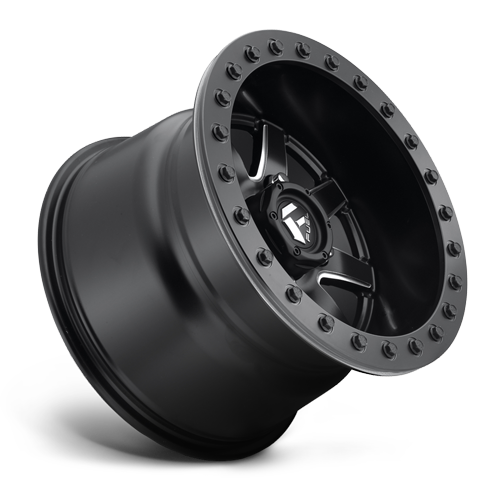
Normally, from the factory, most of them have 12 inch wheels, moreover, they are usually stamped. Outwardly, stamped wheels look very simple and your ATV will dissolve in the gray mass. The best way to improve the look of an ATV is, of course, to install stylish alloy wheels with a larger radius./photo/2019/10/23/3326501773.jpeg) No one will remain indifferent when they see an ATV on 14 inch or even 15 inch wheels. And if you own a Side by Side ATV, you can even afford to install 17 inch wheels.
No one will remain indifferent when they see an ATV on 14 inch or even 15 inch wheels. And if you own a Side by Side ATV, you can even afford to install 17 inch wheels.
The main goal in trophy-raids is to overcome the most impenetrable off-road, far from always passing a trophy-raid for a while, often you just need to get to certain points, which not everyone succeeds. Ingoda, you can spend the whole day to overcome only 1 - 2 kilometers of the route. To conquer such wild off-road, beadlock wheels are simply vital, to get better cross-country ability, ATVs reduce tire pressure to almost zero, which is dangerous by disassembling the wheels.
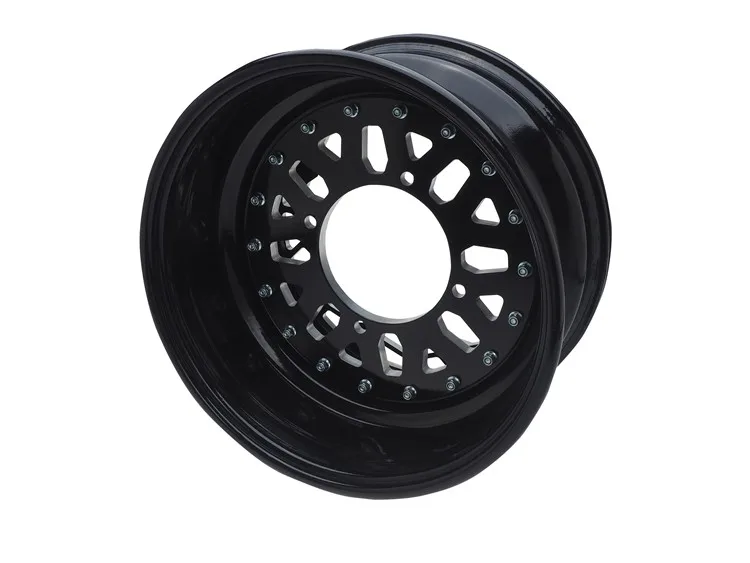
This is almost an ordinary wheel for an ATV, only the rubber is put on not just on the rim of the disc, but is clamped around the entire rim with a special ring. The beadlock ring is screwed on with 16 strong bolts (note the data is given for ITP SD series beadlock discs, older ITP T7 Beadlock discs used 24 rubber bolts).
Beadlock discs are single sided or double sided. For the toughest extreme sportsmen, an excellent solution would be to install discs with a double-sided beadlock, but one must take into account the fact that discs with rings on both sides are only 14 in diameter, this is due to design features. For trophists, the weight of the ATV is also an important point, so often, in order to save on weight, ATVs choose 14-inch wheels with only 1 beadlock, yes, such wheels also exist ... for example, ITP Tsunami BeadLock or ITP SD Series Beadlock.
Despite the fact that rally-raids and cross-country rides are different disciplines, they are united by one thing - speed, drive, turns and indescribable emotions.
For high speeds, the most important thing is stability and handling on the track, which is why ATVs try to maximize the wheelbase. ITP wheels will help them with this, as all wheels manufactured by ITP have a + 1 inch offset.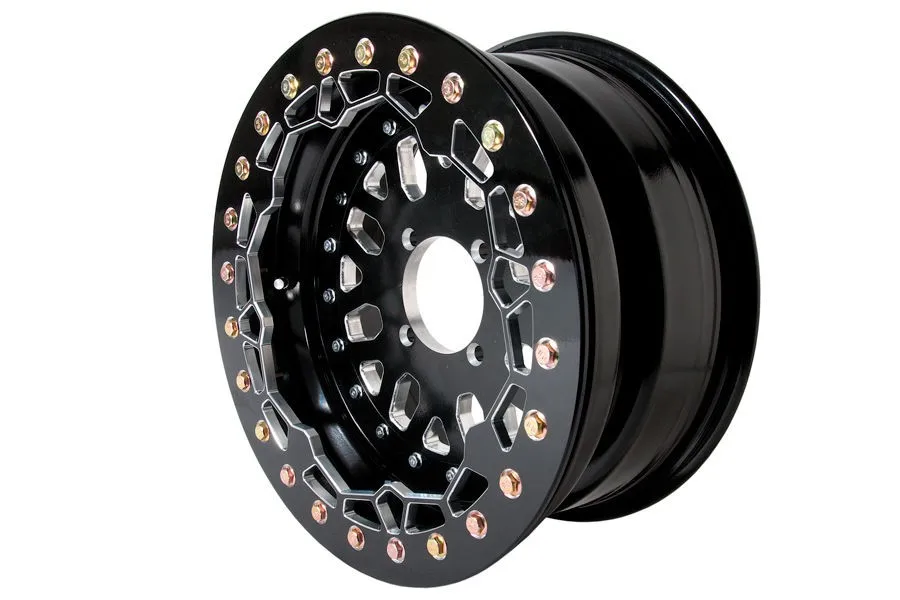 This means that the total wheelbase becomes 2 inches or 5.08 cm wider. In addition to increased stability, the offset helps solve the problem of installing larger diameter wheels on those ATVs where design features do not allow it. Many ATVs solve this problem by installing spacers, but this solution negatively affects the suspension and, most importantly, misaligns the wheels. We strongly NOT we recommend doing this! If you want to expand the wheelbase extra drastically, you need to change levers, axle shafts, tips, shock absorbers and approach the issue with full responsibility, since your health, and sometimes life, is at stake.
ITP makes wheels for more than just Utility ATVs and Side by Side. The product line also includes discs for sports ATVs. They have a smaller diameter than utility ATV discs, but are not inferior to them in terms of strength. Sport quads are fast and agile, use Tracklock 9 rims to keep your shoes on.0033 (approx. essentially the same bedlock, only for sports ATVs).
For these events, it is important that usually expeditions are multi-kilometer trips that take from several days to weeks or even a month. ATV on expeditions is usually loaded to the maximum with gear, equipment, supplies of food, water and, of course, gasoline. They lay routes not trying to find an easy way, but almost directly from point A to point B. Being on an ATV far from home, a garage, tire shops, and when tens of kilometers to the nearest blessings of civilization, the main thing is to stay on wheels. Therefore, the strength and reliability of discs for an ATV is of the utmost importance. The market leader in ATV wheels is ITP, which provides a lifetime warranty on its wheels in the United States. ITP is so confident in the strength of its products that it took this step!
New ATV wheels are guaranteed by the brand's reputation. And the undisputed leader in this niche is the American company ITP. As one of the members of the Carlstar Group. ITP specializes exclusively in the development and production of ATV wheels, which allows us to offer customers perfect products in every respect.
Modern ITP discs are a harmonious combination of high technology, safety, stability and perfect design. Each released model is personally tested by the company's developers, who not only have a huge international practice, but also have their own team of athletes who carefully and painstakingly test it before releasing new products to the market. This approach allows you to eliminate all the negative aspects and bring to perfection every nuance. The high quality of ITP discs is also evidenced by the fact that many manufacturers of equipment (BRP, Arctic Cat, Polaris) install them on their equipment in luxurious trim levels.
When buying new wheels for ATVs in unverified online stores, you can never rule out the risk of running into fake, low-quality or damaged products that at first glance seem reliable and durable.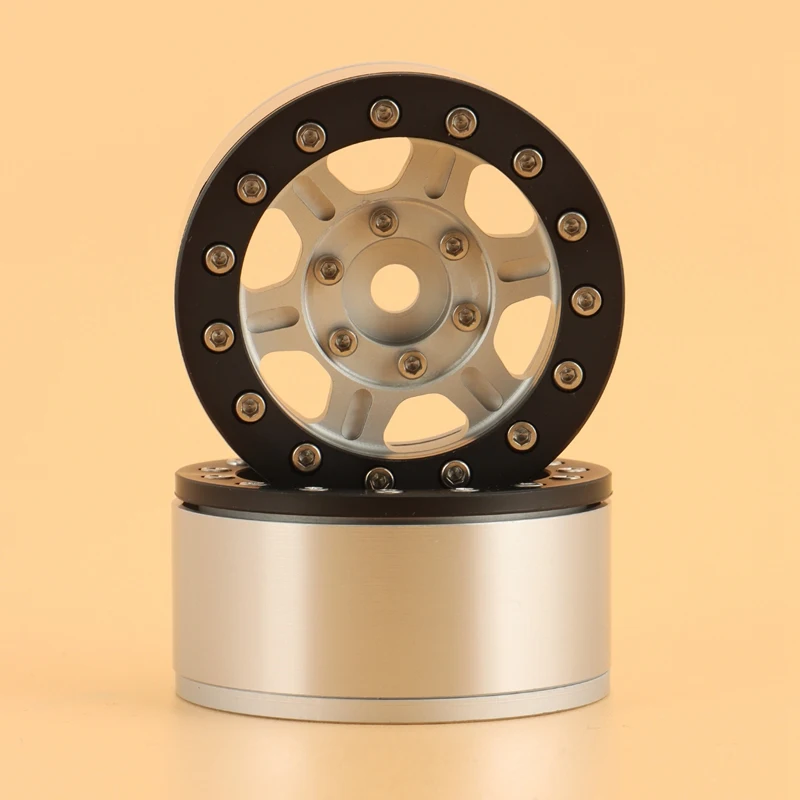 Such a purchase can lead to significant financial losses and unforeseen breakdowns caused by wheel defects. That is why the official distributor and official dealers are the ideal place to purchase, only from them you can get original and high-quality products.
The Porosenok online store is the exclusive distributor of ITP in Russia, which means that the catalog contains only high-quality products manufactured by the manufacturer. Such discs will not only decorate any ATV, but also emphasize the status and excellent taste of its owner. And the impeccable reputation of the Porosenok online store dates back to 2007 and is confirmed by real reviews on the ATV Club forum, guaranteeing trouble-free operation of an ATV tuned with new wheels even in extreme off-road conditions.
Tags : Disks , wheels , quad bike , tuning , rims for ATV
The service for removal and installation of ATV wheels in KOLOBOX company is carried out quickly and at a favorable cost!
ATV is a vehicle ideal for off-road driving.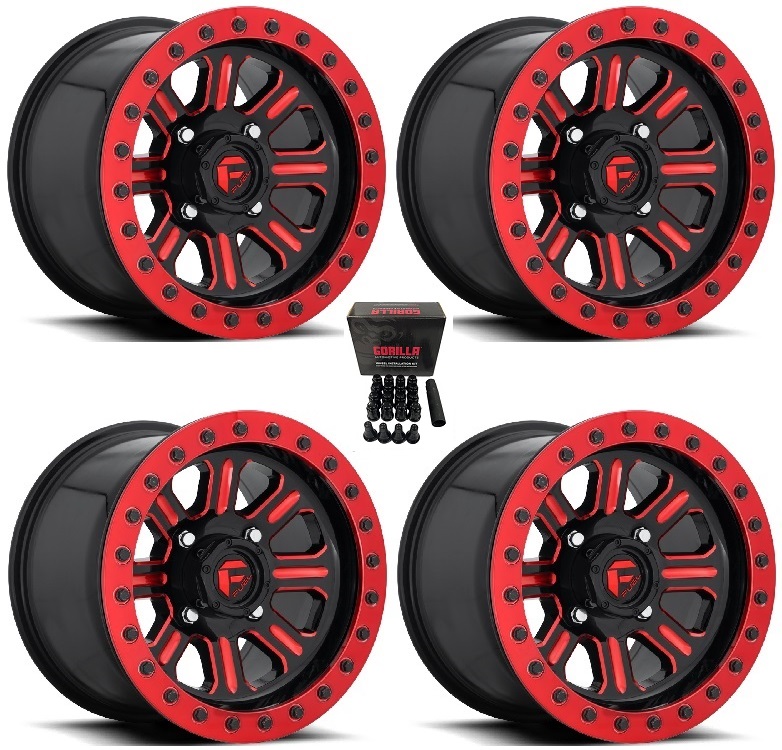 Thanks to four wheels, it stands out from the background of motorcycles with increased stability and reliability while riding. Areas filled with fallen trees or plowed fields, impenetrable thickets or mountain peaks are considered the habitual habitat of ATVs. Where a regular car or even an SUV can not pass or pass with difficulty, an ATV at a moderate speed will overcome confidently and without difficulty.
For these vehicles, the wheels are an important element: high tread, a stable position of the tire on the rim, an undamaged rim without cracks or dents. Further movement will be impossible if one of these points are not observed.
Why is it necessary to remove and install ATV wheels?
Consider the main reasons for applying for the service of dismantling and mounting of ATV wheels:
What are the types of ATVs?
Today, there are two main types of ATVs:
If you need to change the wheels of an ATV or other four-wheeled vehicle, contact KOLOBOX! You will receive prompt and high-quality work from qualified professionals.