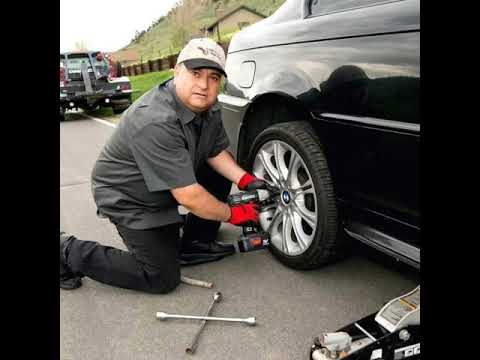
Don’t let losing or forgetting your ATV key stop you from enjoying your quad. In this article, I’ll show you a few ways to start your ATV or UTV without the key. You can do any of these methods with basic hand tools found in most garages.
Your ignition switch is simply a break in a circuit telling your electrical box when it’s ok to start or not. When there’s no key in the ignition, no power can be sent to the rest of the needed components to start the engine. There are some pretty simple ways to get around this though.
Of course the easiest way is if your machine has a pull start or kick starter on it. A lot of the newer quads being made don’t have this functionality anymore unfortunately. If you do have this option, simply unhook the ignition switch from the cdi or electrical box. That way the engine will start without needing a key inserted, then start the engine.
This method may work without a pull start or kick start if you can push your machine to a good pace and pop it into gear. Your other options are:
This is my preferred method to starting an ATV without the key. Most ignition switches will only have two wires going into it. On wire is sending power in, and the other wire sends power to the electrical box if the key is inserted. Telling the machine that it’s ok to start.
Simply remove the ignition switch from the equation. You can disassemble the switch or just cut the two wires leading to it. Be sure to leave enough slack in the wire just in case you want replace the ignition switch later on.
Now connect the two wires and your electric start should work like always. Remember to connect the wires on the side leading to the engine not the side leading to the ignition.
You have to remember to disconnect the two wires when you’re done riding or you’ll drain the battery dead. I would recommend you put a simple switch here in place of the ignition, a simple on/off switch will work perfect.
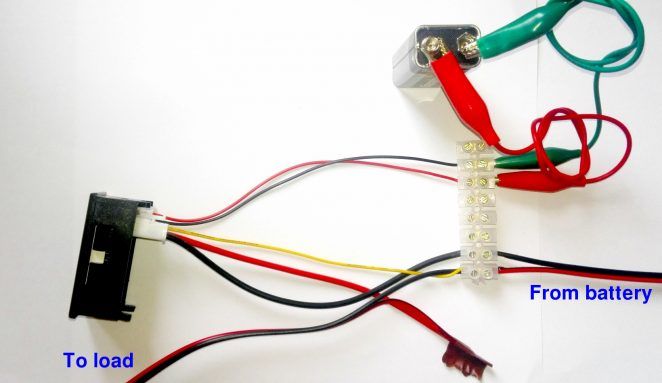
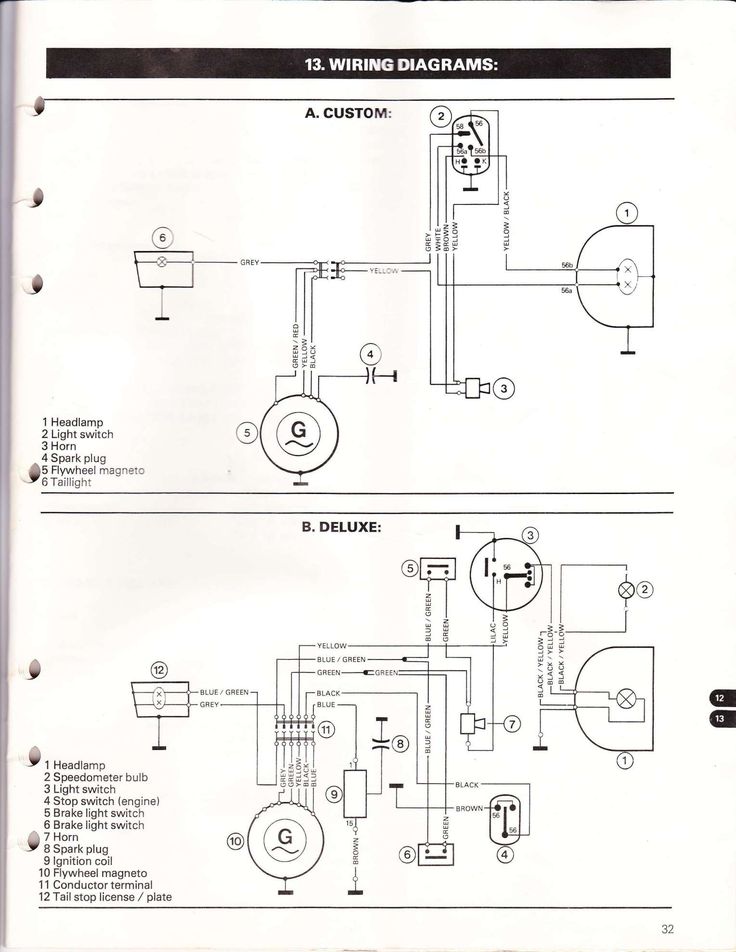
Some of the newer quads have more than two wires coming out of the ignition switch, not to worry. A lot of times there will also be a ground wire or something like that. The two wires you should focus on are red and black. Cut those two wires and tape them together. Make sure you tape together the ends of the wire leading to the engine not to the ignition.
You may also see a black with white stripe and green wire. These two wires are shorted together when the key is in the off position. You will need to open that short by cutting the black with white stripe wire and tapping off the end.
Once the black with white stripe is cut and taped, and the red and black wires and spliced together and taped. You should have power to your quad as if the key was turned on. You can use your normal electric start and everything the way it is.
Remember to disconnect the black and red wires when you’re done to avoid killing the battery.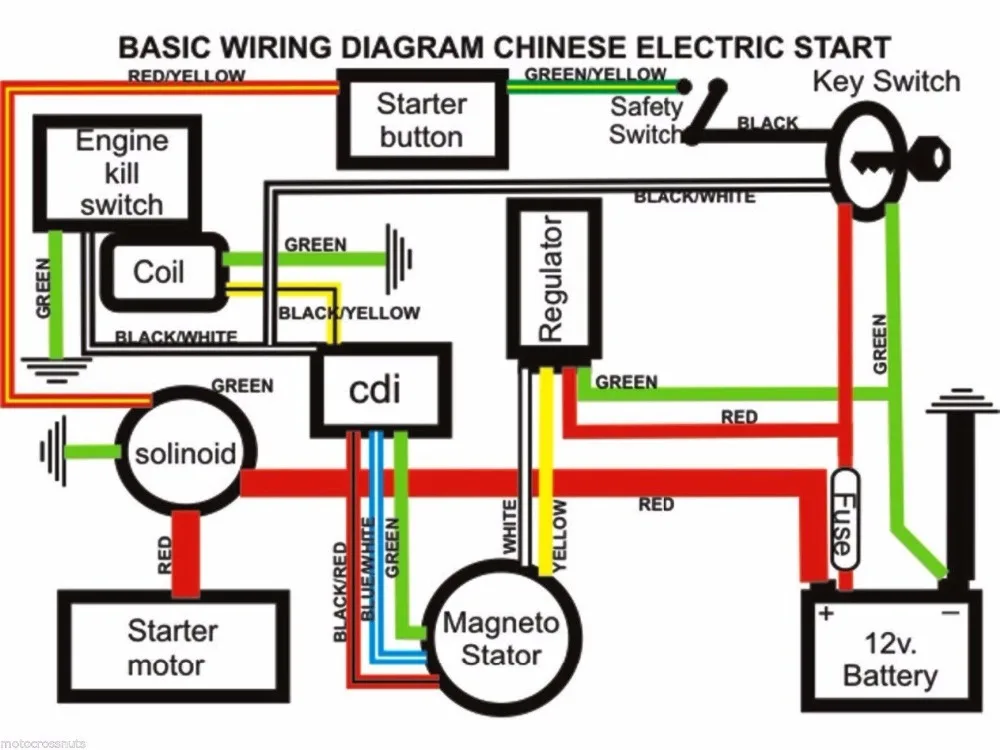 You could also tape the black with white stripe wire back together to prevent anyone from easily starting the quad.
This doesn’t work on all ATVs, only machines with an electric start option only. Your solenoid should be near your battery and wiring harness. On some quads you have to remove a side panel to access it.
Your solenoid will have two main wires coming out of it and possibly some other smaller ones, we only care about the two big wires. You need to lay a wrench or something metal across the two connectors of the main wires. Then, you should be able to start the quad.
I don’t use this method myself because you have to be real careful the wrench or piece of metal is not touching anything else that could short it out. If you accidentally touch the frame or something when doing this, you could cause damage to your electrical parts of the engine.
Desperate times call for desperate measures, and that’s what this method is.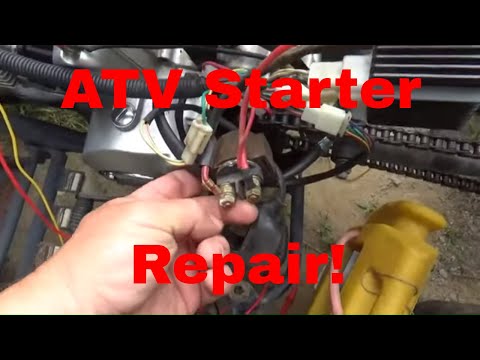 This trick is mostly used by thieves, so if you’re driving around the trails with a screw driver sticking out of the ignition and get stopped by trail enforcement, be ready to get asked some questions.
Basically you just hammer a screwdriver into the ignition and turn it on as if it were the key. The screwdriver will brake the pins in the lock allowing you to turn the ignition on.
I don’t recommend this method because you could damage the ignition and not get the quad to start anyway. And even if you are successful, you’re now riding around with a screwdriver sticking out.
This is obviously the best method in the list. Of course if you forgot your key and you’re already way out on the trail, then there’s no way you can order a part and do the replacement. This is more for someone who lost their key, or broke their ignition trying the screwdriver method.
Here’s a decent Replacement Ignition Switch found on Amazon to help get your search started.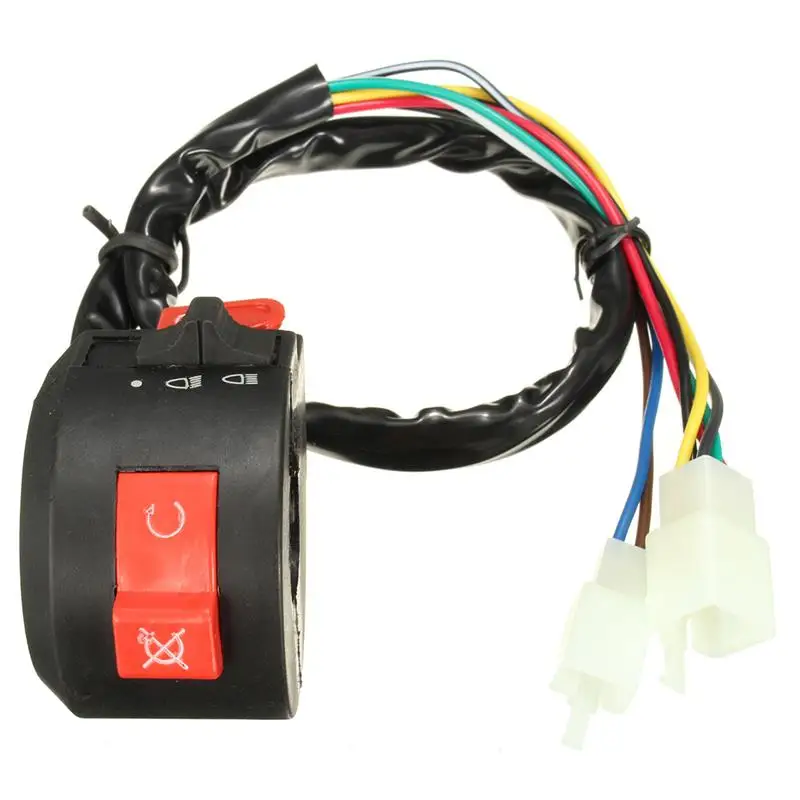 If you can find a replacement from the manufacturer for your specific machine, that would be the best route, but probably a lot more expensive.
One thing I want to mention is that it’s always best practice to tape up any wires you cut and exposed. You may have gotten the hotwire job done correctly, but if any of those wires hit the frame and short out you could have bigger problems.
Leave enough slack in the wires to work on them again later on. Try to avoid cutting the wires to the ignition real close to the ignition itself, or somewhere that makes it hard to get to the wires. You may want to work on it later on, like putting in a new ignition switch or on/off switch.
Don’t tell everyone how easy you hot wired your quad and how you did it. Maybe you’ll be safe to do this, but I lean a little more to the cautious side when it comes to my machines.
Sharing is caring!
THIS IS DOCUMENT IS A ROUGH DRAFT - IN PROGRESS - A VIDEO WILL ME MADE SOON!
1 - insert key and turn to the on position
2 - put handlebar switch to run position
3 - check for any kill tether buttons and make sure they are mounted securely
Squeeze the front brake lever and check the tail light to see if it have illuminated
If it doesn’t then - Repeat but this time apply pressure to the footbrake brake lever and check the tail light to see if it have illuminated
If the brake light is NOT working still
- locate the fuse holder which is usually under the seat in a clear cylindrical casing . On the red wire between the battery and the starting solenoid
- check the fuse to see if it has broken it’s internal wire
- if broken replace the fuse and start over (this is a common thing no need to worry)
If the fuse was good - then the trouble points to
- dead battery (charge and try again)
- bad key switch
- front right brake lever safety switch unplugged or bad
- Locate starter solenoid and use a Screwdriver as a jumper between the 2 posts to see if you manually bypass the off and on switch
STAGE2: (tail lights comes on and engine spins over with e start button pressed) but won’t start
- bad kill tether button (red button on the handle bar) or a bad left handlebar On/Off
- Left Handlebar assembly on/off switch is bad
- check wire or wires that connect to the ignition coil to make sure they didn’t slide off (very common) - follow the spark plug wire up to a little black box and look for the spade type connector or connectors and make sure the wires are connected
STAGE3
Remove spark plug from engine
Plug spark plug into the spark plug boot
Lay the metal part of the plug on the metal of the engine and try to start it
You should be a spark at the tip of the plug
No spark still - could be a faulty Stator, coil , cdi or wire harness
If you have spark
- make sure spark plug is no fouled (wet or all black)
- then check fuel is turned on with ample full in the tank
- try starting with choke lever up and down to gauge a difference
******* BYPASS Options ********
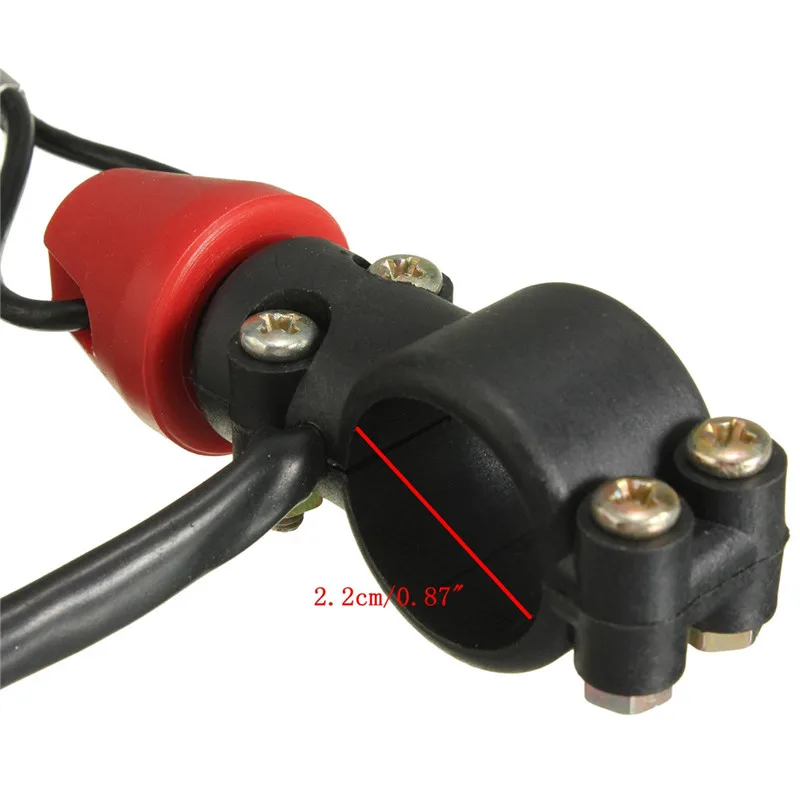
RED KILL TETHER BUTTON LANYARD ON HANDLEBAR
red button - follow the 2 wires down and disconnect them from the wire harness plug (some models would require that you cut the connector off the wire harness side and connect them together)
FRONT BRAKE STARTING WIRES
- cut the wires at the lever or follow them down and disconnect them at the wire harness - keep the 2 wires from the harness away from each other - so wrap with separate electrical tape or twist locks etc
COMMON ISSUES - CARBURETOR
Carb - bad gas sitting in carburetor for a couple weeks and or stored outside and moisture gets in the carb
- you can try to drain the carb and fuel tank and start with new fuel
How to adjust the carburetor on an ATV? What to pay attention to? What are the signs of misuse of the device? About this today in our article. Using the proposed instructions, you will be able to set up the carburetor step by step without the help of specialists.
For stable operation of the ATV, it is necessary that the engine receives the optimal amount of combustible mixture corresponding to its rev range. Otherwise, the following problems may occur:
What needs to be applied in this case:
Important! Carry out tuning only when the carburetor is cleaned outside and inside, as well as when the engine is warmed up to operating temperature.
Note. The location of the bolts on each carburetor model may vary, so read the instructions that came with your machine.
1. Start the ATV and test ride. Wait until the engine has completely cooled down.
2. Check the condition of the spark plug. To do this, unscrew the cap and inspect the candle.
What to look for:

3. Unscrew the needle cover at the top of the carburetor. Pull the needle. This is the main element that regulates the supply of fuel to the combustion chamber, since the needle is connected to the gas trigger. When the trigger is pressed, the needle rises, slightly opening the hole for supplying the fuel mixture. This directly affects the growth of power and speed of the ATV.
4. Remove the cable, then press the needle to pull it out. The needle has 5 grooves and a retaining ring. By default, it is set to medium. The lower the retaining ring is located, the higher the needle is raised, which means that a lot of gasoline and little air is supplied. Accordingly, the higher the ring - the less gasoline and more air.
5. Reposition the circlip in the desired direction to optimize carburetor performance. Insert the needle into place.
6. Start the engine and press the throttle trigger. With proper adjustment, the engine should not stall from a sharp pressure.
And remember, you should resort to adjusting the needle only as a last resort, when adjusting the quality and quantity screw does not bring results.
The performance of a four-wheeler depends on the correct level of gasoline in the carburetor. An excessive amount will flood the candles, spill onto the ground and lead to unnecessary expenses. If there is too little fuel, the engine simply will not start.
How to optimize the fuel supply
Buying a reliable ATV is great. But in order for it to be really reliable and not fail at the most inopportune moment, it must be regularly serviced, and in particular, the brakes must be bled after the repair of the elements of the brake system.
To bleed the ATV brakes yourself, you will need the following tools:

ATV's brake circuits operate from the front and rear brakes. The first is located on the frame of the vehicle, and the second is on the steering wheel.
To complete this procedure, and Linghai ATVs are no exception, you need the help of a friend. Bleeding the rear and front brakes of the ATV is done as follows:
 These actions must be continued until all the old brake fluid has poured out of the barrel and a new one has come out;
 Checking if the ATV's brakes have been bled correctly is quite simple, just press them. If you feel a moderate hardness, then everything went well, and if they are still soft, then this means that air has entered the brake system. To get rid of it, slightly loosen the fasteners of the brake hose.
Among the most common breakdowns of the ATV brake system, it is worth highlighting:
If your ATV's disc brakes are deteriorating, it is recommended that you bleed them by changing the brake fluid. Preliminary check all elements of the brake system for serviceability and absence of damage in order to exclude the possibility of their wear. If any part of the ATV is still out of order, then it should be replaced with a new one.
Brake pads break more often than other functional motorcycle components because they are made of composite materials instead of metal. The pads can be replaced both independently and by contacting a service center. Quite often, the brake calipers of the ATV also break. With sudden braking, they overheat, which negatively affects the service life of this component. In order not to have to repair the brake calipers too often, it is recommended to change the oil regularly. Sometimes calipers from OKI are put on ATVs, but before that they need to be somewhat modified on a milling machine. A good option if the original calipers cannot be repaired.
Bleeding the brake system on children's ATVs is the same as on full size motorcycles. The main thing is to choose a high-quality and reliable brake fluid that will cope with its task at a decent level.
The most wear and tear-prone component of a child's ATV is the brake pads. Fortunately, you can determine this malfunction by eye. If the pads look frayed and worn, then it's time to change them. Among other signs it is worth highlighting:
Although the brakes of children's models of motorcycles are not subjected to excessive stress, they should be checked for stability and effectiveness at least twice a season.
Diagnostics and timely repair of the brake system of an ATV should always be given special attention, since the safety of the rider largely depends on its operation. Regular maintenance of the rear and front brakes of the vehicle can be done both on its own and by contacting the services of service center specialists for help.