Delivery options and delivery speeds may vary for different locations
Sign In
or enter a zip code
Email * Password *
REPAIR & HOW TO
MAINTENANCE
TROUBLESHOOTING
GUIDES
TIPS & TRICKS
ALL ARTICLES WATCH VIDEOS ABOUT US SHOP PARTS CONTACT US
Replacing the brake pads on a Polaris Sportsman 850XP is a quick "do-it-yourself" maintenance task. No special tools needed, just a few basic tools and a little time to spare.
Watch the video above and follow the steps below to replace the brake pads on a Polaris Sportsman 850 ATV.
NOTE: The Polaris brake pad kits contains 2 brake pads, and you'll need a separate kit for each wheel. The front and rear brake pads are identical on the Sportsman 850XP, so this Polaris brake pad kit is compatible with either wheel.
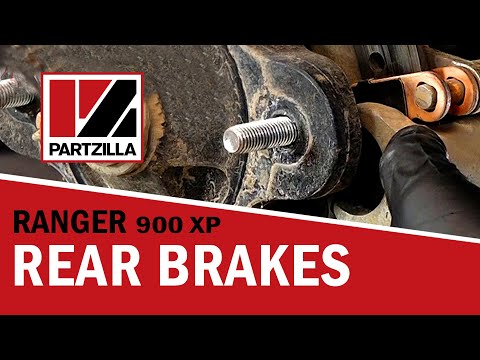
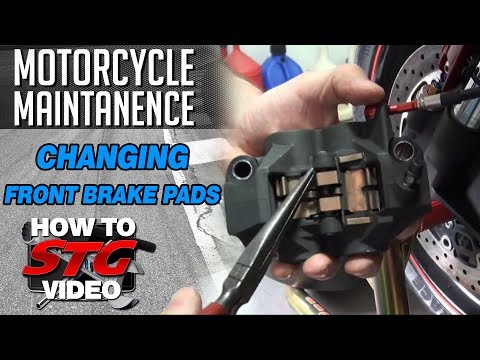
Replacing Polaris Sportsman 850XP Front Brake PadsStep 1. Remove the wheel.
Step 2. Compress the brake piston back into the caliper by inserting a flathead screwdriver between the caliper and the outer brake pad, and levering against the caliper.
NOTE: The piston must be compressed into the caliper so there is enough room to fit the new brake pads over the brake disc.
Step 3. Remove the 5mm Allen cap at the rear of the caliper, followed by the two 15mm brake caliper mounting bolts, and then slide the caliper assembly off the brake disc.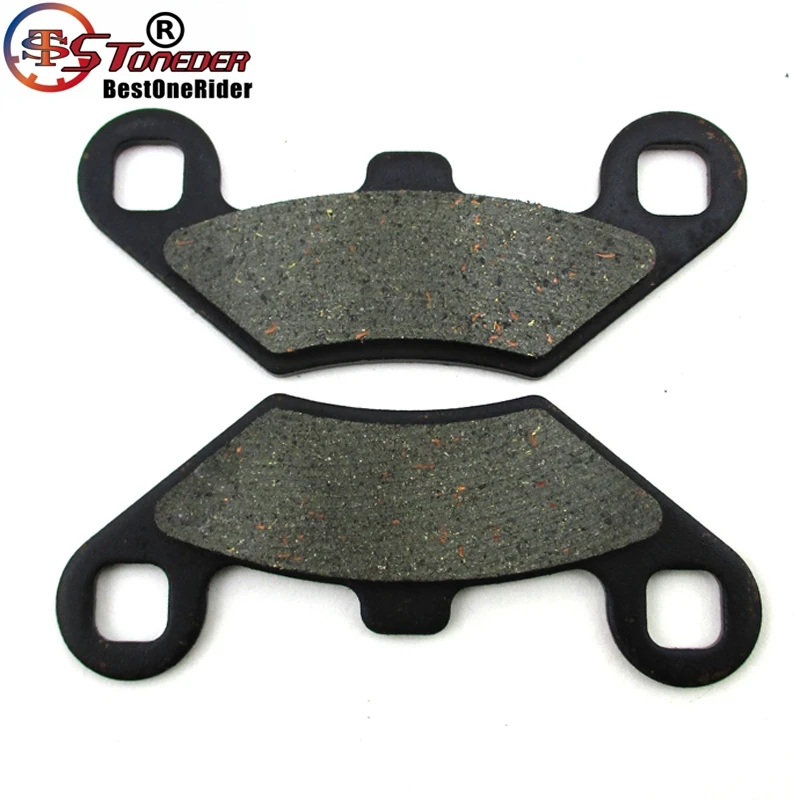
Step 4. Pull the caliper mount from the caliper body. Inspect the two rubber boots and replace them if they are split or worn. Clean the caliper mount, then grease the mount's slide pins and reinstall the mount into the caliper body.
Step 6. Slide the caliper assembly back over the brake disc, then reinstall the two caliper mounting bolts and the 5mm Allen cap.
Step 7. Reinstall the wheel.
Replacing the rear brake pads on a Polaris Sportsman 850XP is an almost identical process to replacing the front brake pads. The main difference is that the Sportsman only has a rear brake on the right side.
Replacing Polaris Sportsman 850XP Rear Brake PadsStep 1. Remove the wheel.
Step 2. Compress the brake piston back into the caliper using a flathead screwdriver.
Step 3. Remove the 5mm Allen cap and the 15mm brake caliper mounting bolts, and slide the caliper assembly off the brake disc.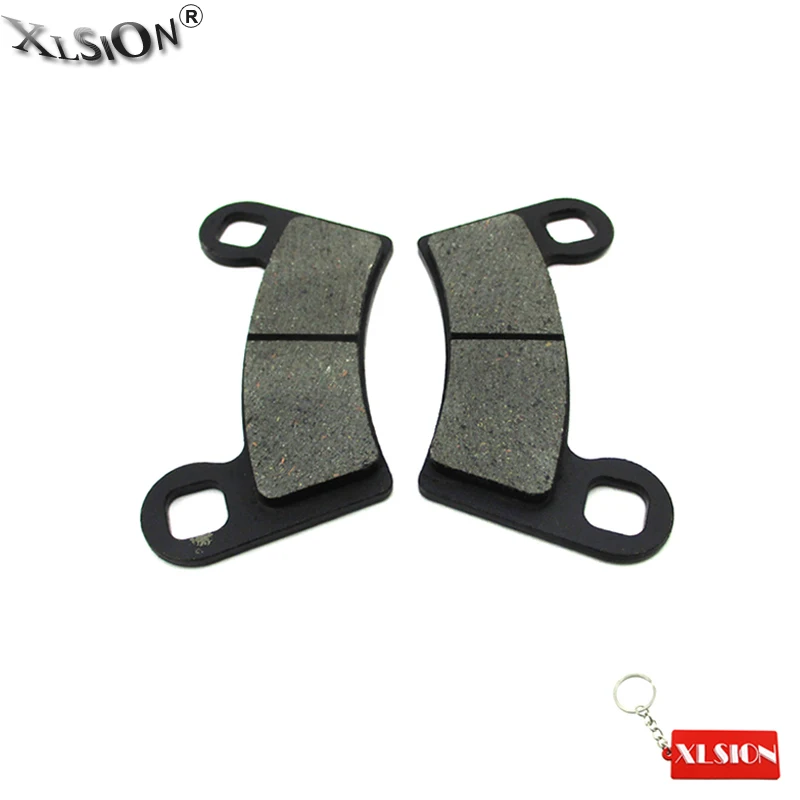
Step 4. Pull the caliper mount from the caliper body, inspect the rubber boots, clean and grease the mount's slide pins, and reinstall the mount into the caliper body.
Step 5. Install the new brake pads.
Step 6. Slide the caliper assembly back over the brake disc, then reinstall the two caliper mounting bolts and the 5mm Allen cap.
Step 7. Reinstall the wheel and you're done.
body
Keeping your brakes in good condition is critical for ATV maintenance. Once your brakes start to wear out, you could be putting yourself into dangerous situations. You need to be able to stop quickly and successfully at all times on an ATV.
Mud and moisture is the main killer of ATV brake pads, as well as excessive use.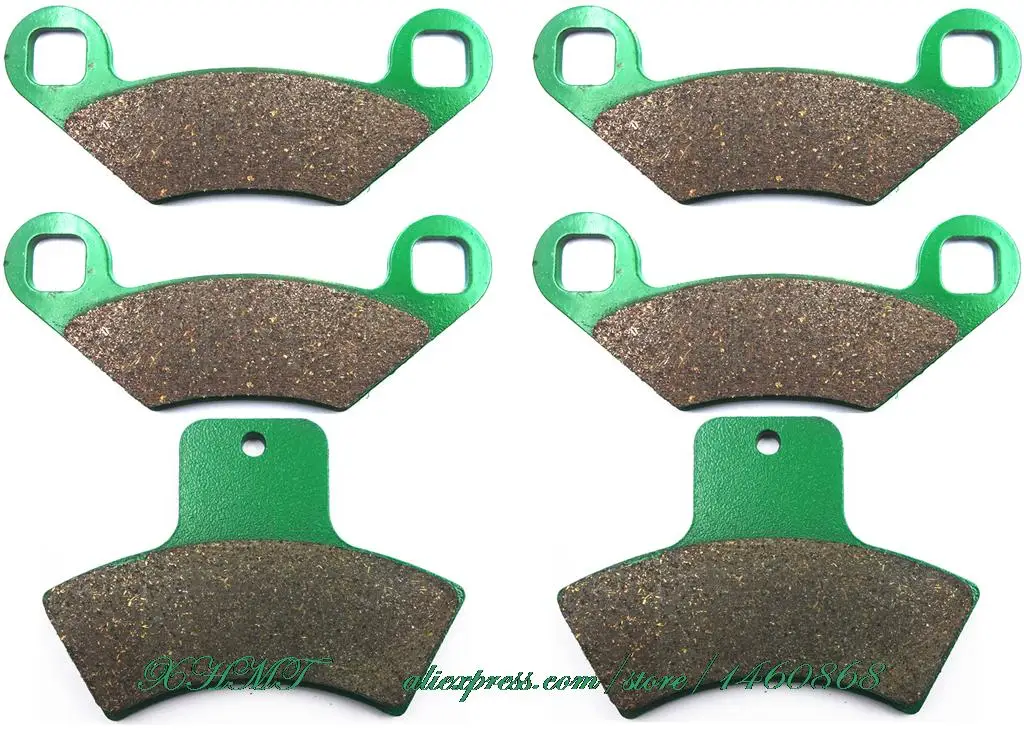 Brake pads do their job best under dry conditions. I’m not saying avoid mud, that’s the best part of off-roading, but it’s just something to be aware of.
To complete a successful brake pad swap out, the first thing you need to be aware of is if you have disk brakes or drum brakes.
Most newer quads you will see with disk brakes for every tire. Hydraulic disk brakes are the norm now a days, but you still see drum brakes here and there, and more on older four wheelers. The hydraulic disk brakes are so popular because they stop so much more effectively, limiting the amount of ATV accidents and injuries.
You will be able to easily tell if your brakes are disk or drum brakes by looking for the brake system behind the tire or on the axle. Here are some examples:
ATV Disk BrakesYou will notice where the ATV disk brakes got their name, there’s an actual disk that the brake pads press against to slow the machine down.
These are very common for sport or racing quads. The front disk brakes will very similar except they will most likely be behind the front tire, usually on both sides of the front wheels.
This is because the front brakes are used more often and are so much more critical to slowing the machine down quickly.
ATV Drum BrakesThe drum brakes will look like this picture, they are enclosed with the brake shoes being pressed onto the the wall of the drum inside the drum itself.
These are more often found on older quads or on utility ATVs on the rear wheels. Since the front brakes are most important, it’s usually fine for the the back brakes to be the less effective drum style brake system.
After you figure out which brake system you have, drum or disk, you can get the parts and do a brake pad change.
If you do have drum brakes but want disk brakes, they sell pretty good Disk Brake Conversion Kits on Amazon, just make sure to get the right kit for your make and model.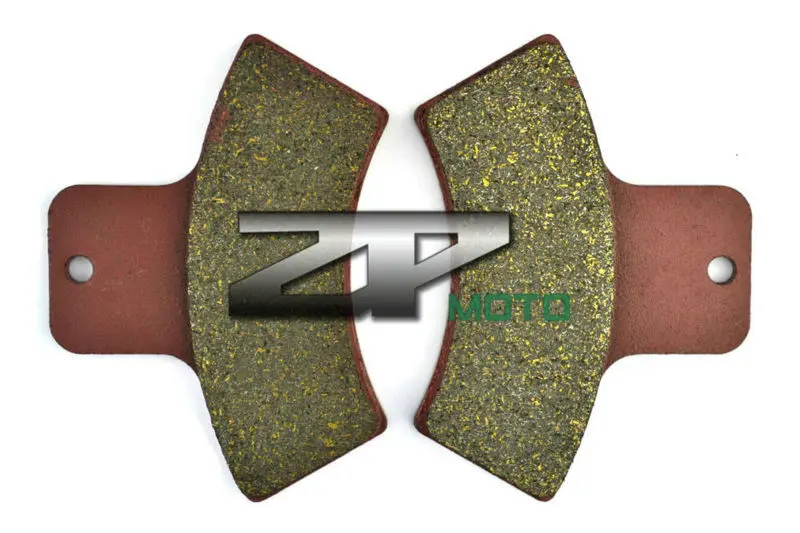
But what type of pads will you want to get? Let’s talk about the different brake pad materials.
There are three common types of brake pad material to choose from. Ceramic, Metallic, and Organic. Ceramic are usually the most expensive but run a lot cleaner. They create less brake dust which in turn causes less wear and tear to your other brake system components.
Metallic brake pads are popular for sport quads because of the high temperatures they can withstand. But they tend to be noisy and rough on the rotors. Semi-Metallic brake pads are optimal for an everyday rider.
Organic brake pads are the cheapest option of the three. They are easy on the rotors, and contain no metallic material. The down side is they offer the least performance and slowest braking time.
Semi-Metallic brake pads are the most common and best for everyday use. Here is a link to Semi-Metallic ATV Brake Pads on Amazon to help get your search started.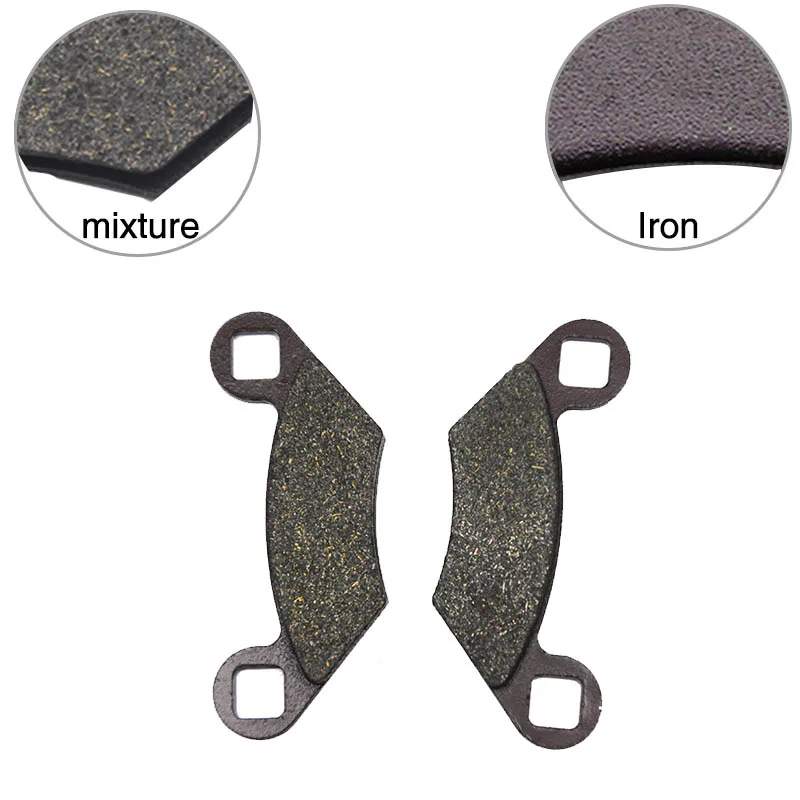 Make sure you get the right set for your make and model.
First step is to make sure you have all the tools you need to complete the job. Unless you like running out to the parts store in the middle of a job. Most of these tools are very common and already in most garages.
 Eyes are important.
Once you have all your tools and parts ready, it’s time to replace the brake pads. This is a pretty easy straight forward process.
First remove the ATV tire and wheel assembly from the machine. It’s best practice to loosen the lugs while the ATV is on the ground. Then lift the quad and remove the lugs and wheel.
This is usually done with a socket set, sometimes with an allen wrench. Look on the back of the caliper and you will notice two bolts that hold the brake assembly on.
Remove these bolts and the whole assembly comes off the rotor. The pads may still be on the caliper held there by two pins.
You will need to suppress the pins on the caliper to remove the brake pads. This is where you’ll use the vice grips or clamp.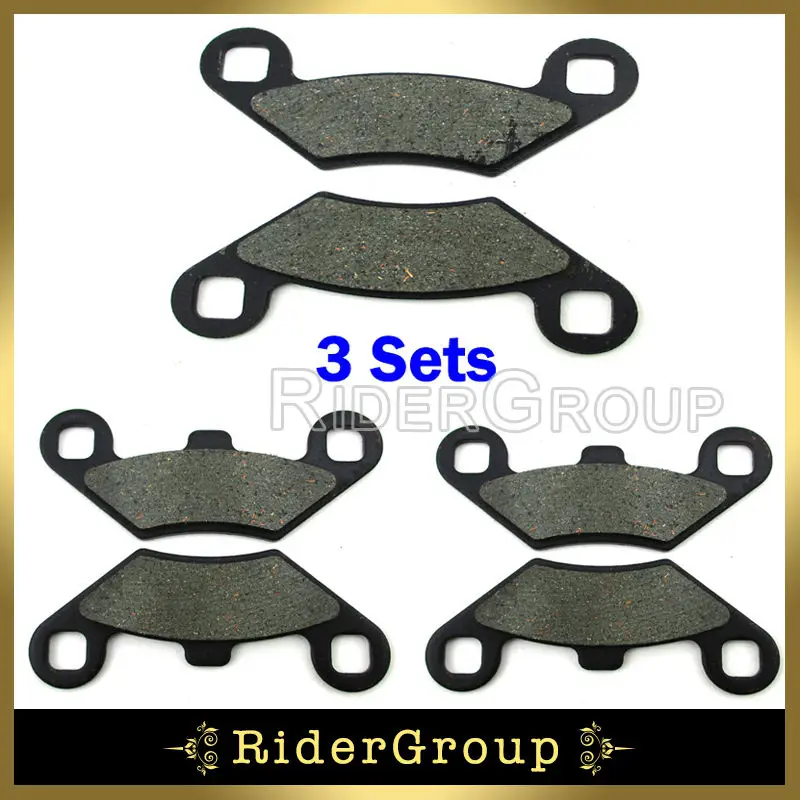 Once suppressed the brake pads will easily fall right out of the caliper housing.
This part can be a bit of a pain, but if you get the vice grips on just right you won’t have any problems.
You will need to compress the caliper piston with a c clamp or something to get the new brake pads in the caliper.
Once you compress the caliper piston you can remove the clamp and insert the new brake pads.
Remember to set the pads back on the caliper pins just the way the old ones were installed. You will need the vice grips again to compress the pins to put the new pads on.
Simply put the brake assembly back onto the machine by bolting the caliper back into place. There you have it, you just changed your brake pads. Not that difficult of a job, and can be easily done in less than an hour once you know what you’re doing.
Put the wheel and tire back onto the machine and lower the jack.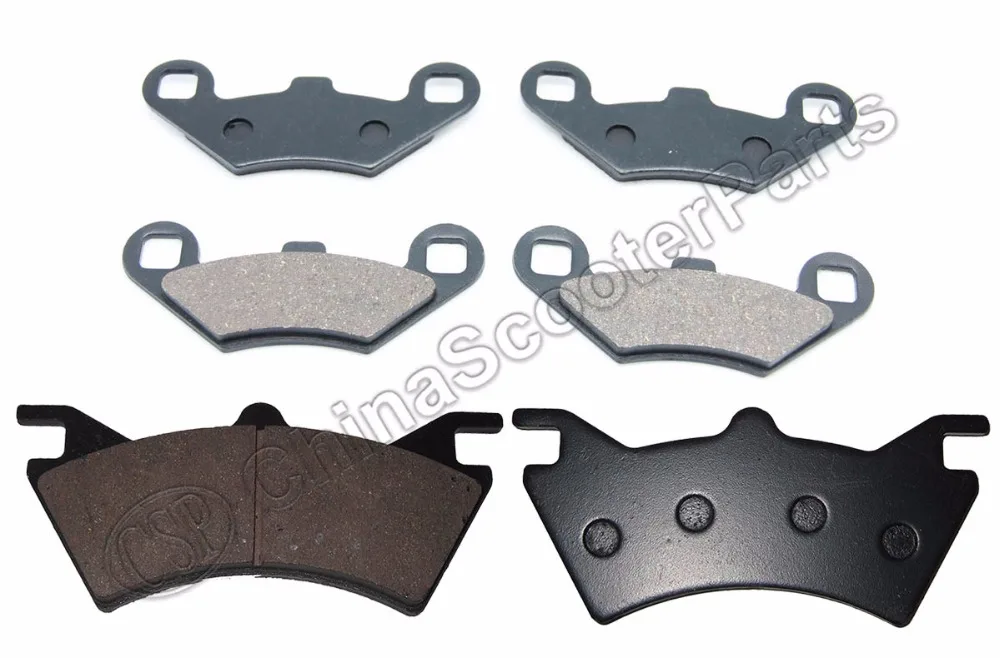 It’s best to loosely put the lugs on while the machine is jacked up, and then firmly tighten the lugs after you’ve lower the quad back to the ground.
Press the brake down to be sure that your brake is working properly. The first or first two pumps on the pedal are soft as the piston started at a new point on the backside the brake pad.
This might be a good time to check your brake fluid and replace or add any if needed. If you want to bleed the brakes and get all new fluid in there check out this article on How To Bleed Your Brake Fluid On An ATV.
The average rider can go a few years before needing new brake pads. It’s not a good idea to judge if you need pads by how long it’s been since last replacement though. Since everyone rides their machine differently and with differing frequency, there are better ways to check of you need to do a replacement.
The best way to tell if you need to replace your ATV brake pads is by looking at the thickness of the pads.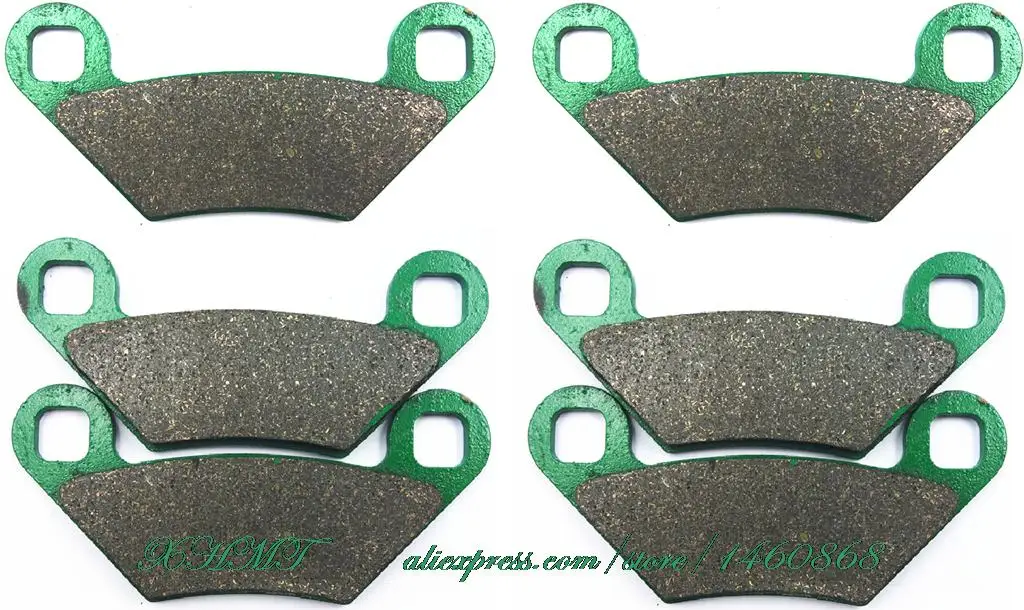 You could always measure them by hand, but a quick look is enough to tell if they’re worn out.
In this picture the pads on the right are worn and the pads on the left are new.
Another way to tell is if you hear a scraping noise while using your brakes when you’re riding. If you press down hard on the brakes and notice a jittery feeling in your handle bars, that’s another sign you should check out your brake pads.
Sharing is caring!
 The first thing you will encounter is the lack of manuals (technical description) in stores. And without a "smart" book, disassembling an ATV engine or picking up electrical wiring is like death. As for the suspension of an ATV, it is a bit similar to a car suspension, here, with a professional tool, you can replace, for example, the same ball bearings or silent blocks, or, for example, replace the brake pads on an ATV. But the ATV engine itself and electrical equipment, of course, are best left to specialists. As a rule, ATVs are equipped with 1-2 cylinder, 2 and 4-stroke engines. For example, all Chinese ATVs are equipped with a single-cylinder engine. But Polaris ATVs and some other models are equipped with two-cylinder. Like cars, engines on ATVs are injection and carburetor. If the ATV does not start, do not rush to immediately disassemble the engine, just because after measuring the compression it turned out to be insufficient (below 7). In this case check
 valve adjustment.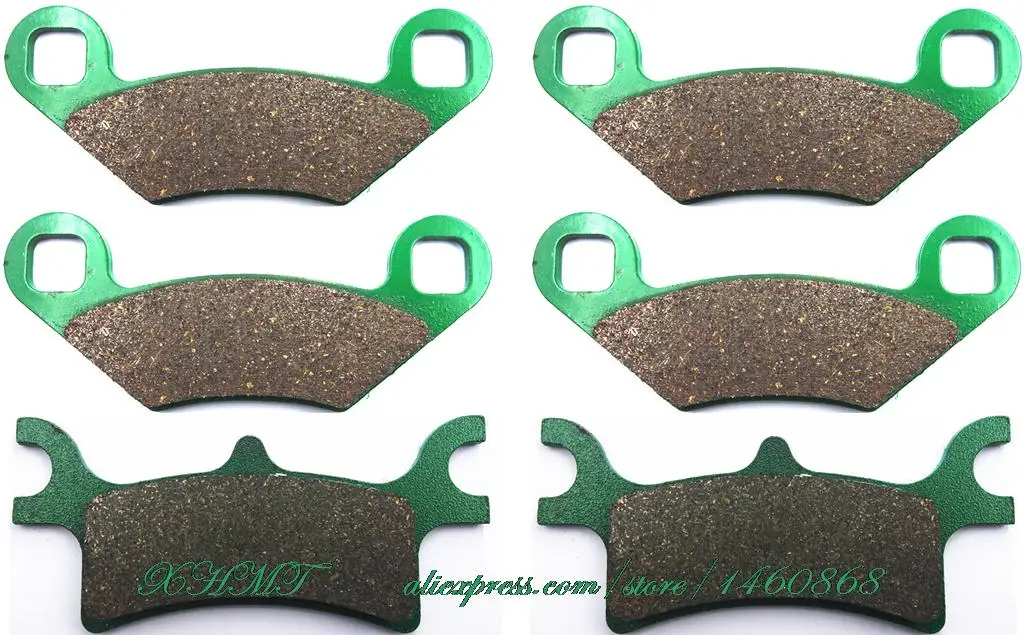 If the valve is "squeezed", accordingly, it is not completely closed at the moment of compression and the compression will be below the set norm or it will not be at all.
Next, you need to check the fit of the valves to the cylinder head. There are times when a foreign body gets under the valve from the air filter housing and it does not close as expected. Up to the point that the valve itself could burn at the point of contact with the cylinder head. All these operations must be done, and only when you are sure that the valves are in order, you can move on, remove the cylinder and inspect for wear or damage. If you still have to disassemble the CPG, do not be too lazy to check the crankshaft for bearing wear. We take the crankshaft connecting rod itself and pull it up and down, there should not be any play here. But there is a slight staggering to the left to the right, this is normal. Also, if the connecting rod device involves either a copper bushing or a needle bearing, we check for their development.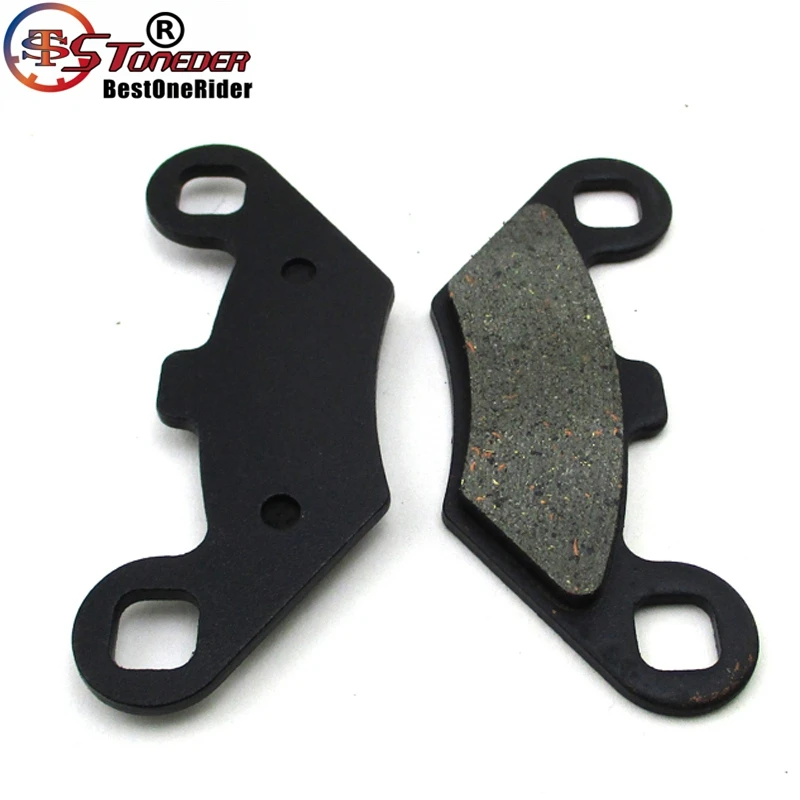 To do this, install the piston pin in the crankshaft connecting rod and pull it up and down. After checking and installing new CPG elements, it is imperative to let the ATV engine run in, that is, to go through a small run-in of 300-500 kilometers. If you are not sure that you can repair the engine on your own, it is better to contact a specialized ATV repair service. nine0003
If you are the owner of a Chinese ATV such as Stels or CFMOTO, be prepared to repair your ATV quite often, because the material itself and the build quality of Chinese motorcycles leave much to be desired. The first thing to do after buying a new ATV is to check the tightness of all connections. Next, open the air filter box and inspect it for foreign pieces of plastic. The fact is that sometimes lumps of plastic parts of new products remain in the air filter box. And at that moment, when you strongly press the throttle lever, a strong vacuum is created and everything that is lying in the air duct is drawn into the carburetor, and then into the combustion chamber. As a rule, this ends with damage to the throttle valve in the carburetor and failure of the intake valve. nine0003
Check if the fuel system pipes are securely fastened, if there are any sharp bends where the fuel may not pass well. Wouldn't be a bad idea to check the fuel valve. On Chinese Stels ATVs, often this element does not work and, accordingly, fuel constantly flows into the carburetor, and the needle valve shuts off its supply. But if even the smallest piece of debris gets under it, then gasoline will flow from the overflow hole from the carburetor. In any case, the carburetor will have to be cleaned, but at the moment when the needle valve does not work, then the fuel valve itself will be very useful to you. With it, you will block the supply of gasoline from the gas tank to the carburetor. nine0003
I already wrote that I had a broken CVT belt on a BRP Expedition 1200 4-TEC snowmobile this winter. Used a spare that time. Therefore, I ordered a new variator belt to be always ready. I decided to order the original belt. The snowmobile is not mine, and the original belt inspires more confidence. And in winter, when the belt, God forbid, fails, there will be no time for jokes. Ski-Doo CVT Belt 417300383 Price: 106.64USD
read more
I went for the first time this spring on a quad bike. A company of 4 ATVs gathered: 1 Polaris Sportsman Touring 550 EPS, 1 Polaris Sportsman Touring 500HO and 2 Yamaha Grizzly 700. I still have stock tires that ride very badly in swamps. And today I felt it very well - in some places I simply didn’t even go, because there was 100% the prospect of getting stuck tightly. nine0003
read more
In Samara and the Samara region, the winter this season is not very smooth so far. There is a lot of snow, then the next day it will all melt. Snowmobiling is not yet possible in full force. But, thanks to this, I rediscovered the ATV for myself. In winter, riding an ATV is even more fun than in autumn. No dirt! Significantly more drifting, generally cool to ride an ATV in the winter. nine0003
read more
Postponed item. Unfortunately, I couldn't post it earlier. Mirrors are still very necessary on an ATV. They are not so important when you drive through the fields, roads in the forest. But on public roads without them anywhere. And sometimes you still need to drive a little and along the road. Turning your head while moving, turning back is very dangerous.
nine0002 read more In addition to spare parts from America, I also bought a windshield for an ATV there. Part number: 2878392 I chose transparent glass. It will still be scratched during operation and will be opaque. Although of course there was a temptation to take darker glass. But practicality prevailed. I bought high glass. To completely cover me in the winter with the wind. For the summer, until at least I plan to shoot back the glass. Fortunately, they write that it takes 15 seconds to remove and install the windshield. It's not so handy. Too many attachments on the handlebar. Lots of cables too. nine0003
read more
I already wrote in an article about TO-2 on Polaris that I contacted the dealer about this. When driving in any weather, on any surface, the ATV may stall. After that, restarting the engine solves all problems. Sometimes, after restarting, the electric power steering does not work, sometimes the information panel does not work. But after a restart - and it is solved. Diagnostics at the dealer showed that the idle speed sensor gives incorrect errors. And most likely it's all about him. On TO-2, they checked all the contacts, cleaned the throttle. nine0003
read more
Well, the parts for the Polaris 550 Sportman Touring EPS ATV and also for the SKI DOO Expedition 1200 4-TEC snowmobile finally arrived. I needed parts for the snowmobile - mirrors, handles and one mesh. All this is the result of my triple coat on a snowmobile last season at the end of winter. I picked up all the part numbers in the original SKI DOO catalogue. And for the ATV, I ordered mirrors and maintenance consumables (oil filter, air filter), as well as brake pads. I found the numbers of consumables and mirrors in the catalog that I downloaded from the official Brandt Polaris website. There at the end there is a summary table, according to which I picked up all the necessary numbers. I decided to order everything in the online store: Gearhead.com After ordering ...
read more
It's time to get your ATV ready for winter. I'll try to ride a quad in the winter. Deep snow for a snowmobile is probably expected only in 2014 at best. Therefore, an ATV will be the most suitable means of transportation for outdoor activities on weekends. Decided to combine winter preparation with TO-2. Unfortunately, although I ordered all consumables for my Polaris in America. But they will probably come in early December. I did not wait, all the same consumables will not be lost. Therefore, I signed up for MOT at Brandt-Polaris. But this was not the only reason for contacting the dealer. There was a floating problem - sometimes the ATV stalls on the go. After that, restart and you can go further. There are many options for the occurrence of this ...
read more
I have long wanted to buy a hitch for my ATV. Now I have 2 trailers at home. Sometimes I use one, and sometimes I need to move the second to a new location. Using a Land Rover on the site is not very convenient for towing trailers. Too big road train is obtained, it is difficult to maneuver. An ATV with a towbar is perfect for this kind of thing!
nine0002 read more As fate would have it, the throttle on my Polaris 550 Sportsman Touring 550 EPS ATV broke. The trigger from the leg broke. A friend was driving along the road, driving.