Here is exactly what the reader asked the ATV AnswerMan, followed by his response:
I have a 2002 Yamaha Raptor 660. I cleaned the carb and all the passages with cleaner and forced air, replaced jets, fuel needles, seats, o rings, and fuel screws. Clip on needle is set in middle slot (factory settings). Fuel screws are turned out 2 1/2 turns. I also have a new plug and air filter. It starts and idles fine, but if I put it in gear to throttle up, it dies. If I try to rev it a little, it backfires out the exhaust and dies.
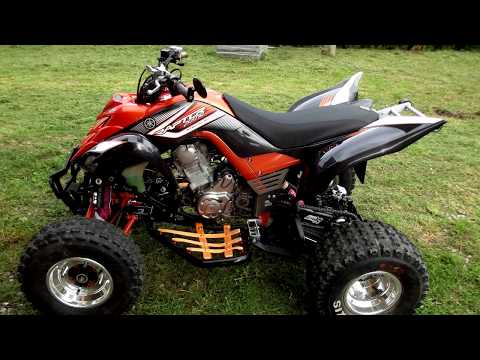
The Yamaha Raptor is a wildly popular Sport ATV and the 660 engine is a real performer. But if these machines are left to sit in the garage waiting on their perspective owners, they will age quickly. The fuel in any ATV these days is like cancer when it is sitting idle for too long and spreads a vicious film of varnish as well. Fuel breaks down and just like you might have found in the fine ports of the Raptor carburetor, it causes lots of issues with how the machine runs.
It sounds to me that at least on the surface you have cleaned out the Yamaha’s carburetor well and I will give you the benefit of the doubt for that one, but have you thought about the fuel tank? As fuel sits in the tank it can also create varnish issues in the tank’s fine screen filters that are attached to the fuel petcock. The fuel petcock itself can also become so gummed up that it might be tough to turn the fuel on and when it is on it only allows a very small stream of fuel to flow in. We all know the Raptor requires lots of fuel to run properly and by the way you have described it to me it sounds like the engine could be starving for fuel.
One way to check on the fuel flow is to simply prepare a bowl or something to catch fuel in and turn the fuel petcock to the off position. You will then remove the fuel line off the carburetor and point it into the bowl or container to catch the fuel that may run out of the end of the fuel line.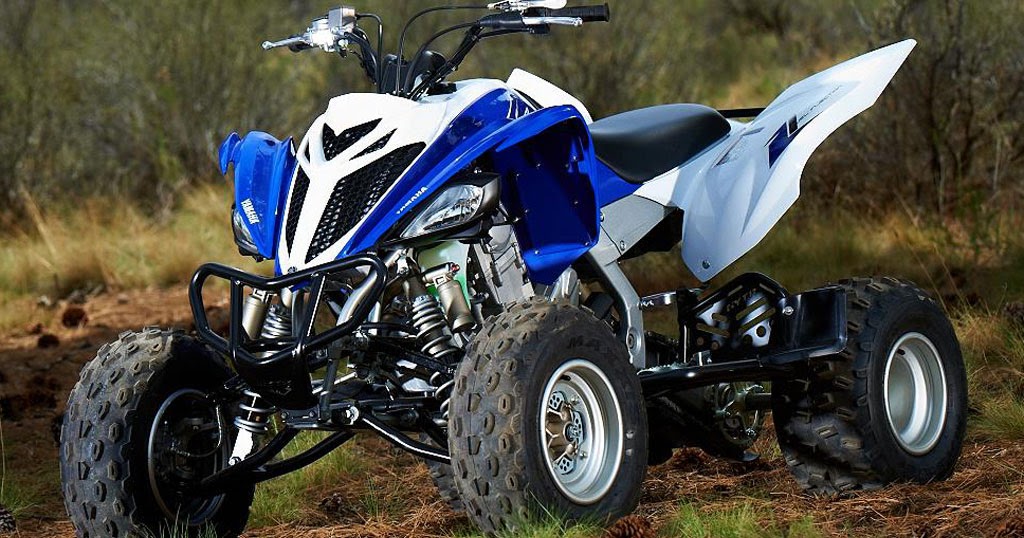 Allow this fuel to run out for a few seconds to properly judge the speed that it is escaping. It needs to flow freely to be able to continuously fill the carburetor bowl.
If the fuel is not flowing properly then you may need to rebuild or replace the fuel petcock and then run the test again. When removing the petcock from the tank you may find varnish has covered the fine mesh screens on the fuel petcock stems and you will most likely need to replace the petcock anyway. Cleaning these fine screens can be tricky and on a 2002 ATV you will most likely crack or even destroy these screens, unintentionally causing unsafe conditions for trashy fuel getting into the carb. Even the internal gating in the fuel petcock can accumulate varnish from ethanol fuel, which ruins gaskets inside and slows fuel flow.
Let’s say your Raptor passed this test and fuel is getting out of the line properly. Then I would look into the main fuel needle and seat to make sure it is allowing the fuel in easily. This can be done with the fuel line attached by removing the bowl and allowing fuel to flow, stopping it by simply raising the floats gently to test its function.
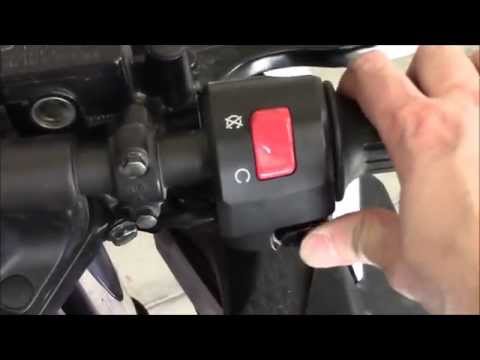
And finally, if the fuel system checks out, there have been issues with the parking brake electronics and some have removed the parking brake rev limiting wires, but you will have to do this at your own risk. I do not suspect this to be your issue, though.
by Lee
The reason why your ATV will only run on reserve is that your higher inlet in your gas tank is clogged. Let me go into more details about this and what you can do about it.
In a carbureted engine like what many ATVs have there is a petcock or also called a fuel selector. This fuel selector will have 3 different positions – ON, OFF, and RESERVE.
Due to price, many ATVs won’t have a gas gauge and instead will use this petcock as a way to let you know you’re almost out of gas.
When you have it on the “ON” position, the carburetor is sucking gas from a higher place from inside the gas tank. When you get below that spot, you flip it to reserve which sits lower and allows you to get the last bit of gas. When you get to this lower spot its time for you to get some more gas or you run the risk of being stuck.
Since you use the “ON” position of the fuel selector more, it’s going to get clogged a lot more. You’ll usually have a pre-screen or something to stop the big chunks, but over time it will get plugged anyway.
This becomes especially true if you let your ATV sit without any fuel stabilizer in its tank for months without riding it. You don’t want gas to sit for too long especially in your carb.
It’s best to run the engine and flip it to “OFF” to let it use whatever gas is in the carb if you’re not going to ride for a month or more. Then place some fuel stabilizer in the gas tank to keep it fresh.
No, it won’t hurt to run your ATV on the “RESERVE” switch but its best not to do that. The Reserve is supposed to be your back up plan and just enough to get you back to refuel.
Unless you carry extra fuel tanks with you on every trip, you don’t have a plan-B. So its best to get this issue fixed.
Your biggest issue now is that you might have junk in your tank. This junk that is clogging the inlet can lead to some problems that could be dangerous. For example, this could cause your carb to overfill and dump into the overflow and spill gas (fire hazard).
And Whatever clogged it in the “ON” position is sure to clog it in the “RESERVE” position too, so its best to get this fixed right away.
So, how do you fix an ATV that only runs on Reserve?
The answer is to get the carburetor rebuilt and a new fuel filter if you have one. Even a proper cleaning of the fuel tank would be wise too. Add some new fuel lines, and you should be better than new.
Here is a great video showing you how to clean the carbs on an ATV
I can’t guarantee this will work for you, but I have had some ATVs that even though I clean the carbs and do all I can it still will not run right.
So one day I decided to explore a bit to see what could help. One thing everyone likes to mention is SeaFoam and to be honest, it did not help me. SeaFoam has helped me with my fuel injected machines but not so much with my carbureted machines.
What I did find was Fuel System Restorer From Restore (Amazon Link Ad) that made my old Suzuki Eiger 400 run like new again.
I got some fresh 93 Octane Gas and filled up the tank. Then I poured in the recommended amount of the Fuel system restorer. I let it sit for an hour and then started it up and played with it till I got it to purr like new again.
As I said, I don’t know if this will work for you, but this stuff has become my go to. I’ll even try it before cleaning a carb just to see if it helps since its so easy to do. It’s no magic bullet but its worth a shot.
In order for the ATV to work like a clock, the rider needs to regularly carry out a complete maintenance of the equipment. And a key element of maintenance is ATV carburetor adjustment. Over time, the system starts to work incorrectly, which increases fuel consumption, worsens dynamics and other problems appear. So how do you adjust an ATV carburetor?
The operation and life of the engine directly depends on the quality of the fuel mixture. The carburetor is responsible for the preparation of the composition, but after prolonged use of the equipment, the settings “go astray”. This results in:
Many riders who decide to buy an inexpensive ATV simply do not spare the technique and ignore this procedure.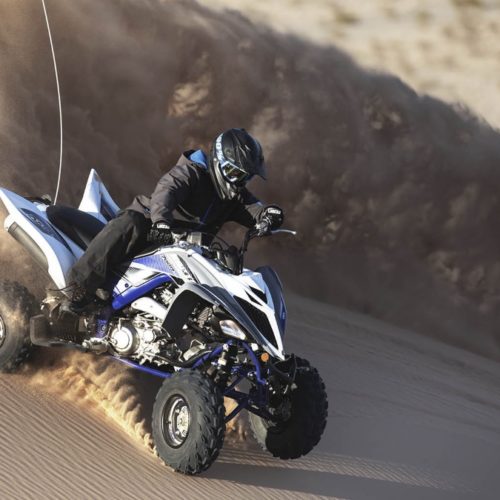 But even if you plan to change your device in 1.5-2 years, adjustment is needed. The reason for this is increased fuel consumption. A quad with an untuned carburetor "eats" 30-40% more gasoline, and these are tangible costs.
So how do you adjust the carburetor on a Chinese ATV? For this you need:
However, it is important to remember that all adjustments are made only with a "clean" carburettor. This means that the rider needs to remove all the dirt from the node and flush the system to remove condensation and sediment from it.
Note: Just before adjusting, the engine must be warmed up to operating temperature.
To set the carburetor idle speed, the float chamber must first be cleared of fuel. To do this, start the ATV, close the fuel cock and wait until the machine stalls (5-10 minutes). To speed up the process, you can take a little ride on the quadric. Of course, gasoline can be drained, but in any case you will have to warm up the device, so the first method of "removing" gasoline is more effective.
Then:
 Focus on sound. The engine should run smoothly, without strain.
 Read the manual before adjusting the carburetor on a 125cc ATV to be sure. Remember that the location of the bolts is different in different devices, so read the documentation in advance.
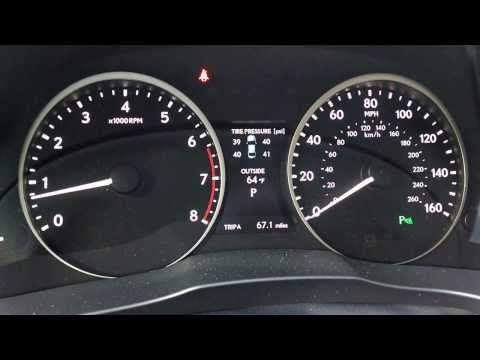
To evaluate the quality of the fuel composition, make a test run. After that, unscrew the candle, and evaluate its condition. If it is:
Also look out for these “symptoms”: damaged tip (electrode failure), oil deposits (damage to rings and caps), chips and inclusions (sign of motor failure).
To adjust the mixture you need to twist the needle cover and pull it out. To get the needle, pull out the cable. After that, move the ring in the required direction (lower - more air, but less fuel and vice versa). Then start the engine and make sure it doesn't stall.
The last step in adjusting the 125cc ATV carburetor is adjusting the petrol level. To do this, you need:

Note: Adjust as carefully as possible as system components are very fragile. Ideally, carburetor tuning should be done by a specialist.
06/16/2020 20709
Moscow Kazan Krasnodar Novosibirsk
YAMAHA's history of conquering harsh off-road conditions began with the appearance in 1980 of a Tri-Moto three-wheeled motorcycle with a two-stroke engine of 123 cubic centimeters. From birth, he had the features inherent in many descendants: large and wide wheels for less ground pressure and better maneuverability, an engine intake tract equipped with a snorkel, CDI digital ignition and a five-speed gearbox. This tricycle was destined to become a workhorse (with such a volume, rather a pony) or a sports and entertainment projectile.
The first YAMAHA Tri-Moto model turned out to be generally successful, which caused further development of the direction and the appearance in 1983 of the Tri-Moto 225DX all-terrain vehicle. When designing an improved version, the shortcomings of the previous model were taken into account. YAMAHA Tri-Moto 225DX received a larger four-stroke engine, a rear monoshock, a telescopic fork and, for the first time in the ATV world, a cardan drive and an electric starter. Here already the award has definitely found a hero, 225DX has become very popular with buyers and a role model for many other manufacturers.
YAMAHA began to release new models every year, experimenting and studying customer requests. So in 1984, the first ATV for children and teenagers appeared - Tri-Zinger, which quickly found its audience. The small displacement of just 59cc is complemented by a fully automatic transmission, while an adjustable speed limiter and kill switch provide the right combination of safety and comfort for the young rider's parents.
Finally, in 1985, a significant moment occurred - along with the already familiar three-wheeled YAMAHA Tri-Z 250, the first four-wheeled all-terrain vehicle YFM200 (aka Moto-4) came out. Among the innovations of this particular model are centrifugal clutch, reverse speed in the gearbox and convenient trunks for carrying cargo in front and behind.
Almost from the moment the new four-wheel layout was introduced, the then classic three-wheel layout began to disappear. This is primarily due to the fact that, under the same conditions, an ATV is much more stable and more load-bearing than a tricycle.
And that's when the YAMAHA volcano of abundance woke up, on the wave of consumer interest, several different models of all-terrain vehicles entered the market every year. In 1986 - the first YAMAHA 4-Zinger ATV for children and teenagers, using the constructive developments of the Tri-Zinger trike. And at 1987, as many as four models - the legendary (and best-selling in the history of ATV) Warrior sports ATV, charged by Banshee with a record to this day for a two-stroke 350 cubic centimeters, the utilitarian BigBear and the agricultural TerraPro, completely unique in its capabilities, with the ability to connect external units .
YAMAHA's experimentation with model direction and performance continues to this day, with new and more powerful engines, automatic transmissions, hybrid aluminium/steel and composite frames, electronic power steering and more.
Modern YAMAHA ATVs, both sports and utility, are high-tech vehicles that have concentrated the company's many years of experience. For example, now both the company's flagships - the sporty Raptor YFM700R and the utilitarian Grizzly 700 FI EPS - use almost the same engines, water-cooled single-cylinder four-stroke 686 cc, but with completely different character! A very high-torque, lightweight and reliable powertrain is tailored to each specific case, so the Raptor 700 uses a five-speed manual transmission with chain drive only to the rear wheels, and the more mundane Grizzly 700 has a convenient CVT, propeller shaft and switchable all-wheel drive with lockup differential as desired.
Everyone can find a YAMAHA ATV at Motorrica according to their expectations, needs and budget.