Once considered the epitome of automobile fashion and luxury, whitewall tires provide a classic finish to vehicles that is reminiscent of era’s past. And although you can’t get whitewalls as an added accessory from the factory anymore these days, the style has remained a staple in certain car culture circles like hot rods, VW’s and classics.
If you’ve ever owned a car with a set of whitewall tires, you know they’re definitely more work to keep clean than the standard black wall tires used today. Jay’s got a few cars in his collection that sport the whitewall look, and we’re always working to keep them looking their best.
In today’s blog post, we’ll cover some of the basic care tips we use at Jay’s garage, and hopefully they'll help you keep your whitewall tires looking their whitest.
But first, a little history on whitewall tires. What are they and how did they even come to exist?
To start, rubber tires were originally entirely white in color. Rubber in its natural form does not age or wear well. Because of this fact, tire manufacturers began blending specific materials with the natural rubber to achieve different characteristics. One of those materials was zinc oxide. The zinc oxide helped with traction of the finished tire, but it was also a contributing factor that caused the tire to be completely white, tread included. By today’s standards, an all-white tire might look funny, but in their day they were the height of luxury. See the picture below:
Black tires didn’t emerge until manufacturers began blending carbon black into their rubber as a reinforcing filler. The carbon black increased the strength & durability of the rubber, but more importantly, it helped conduct heat away from specific areas of the tire. In an attempt to increase the lifespan as well as limit the amount of thermal damage endured by the tires, manufacturers began blending carbon black into the rubber and using it as the treaded surface of the tire, while leaving the side walls white. In the early 1900’s, you could buy tires with black tread and a white sidewall. This signaled that you had the best set of tires money could buy, and thus the trend was born. By the 1930’s, you could get whitewall tires on just about any car made, and customers flocked to the fashion statement.
The biggest downside to installing a set of whitewalls on your car is simply keeping them clean. They scuff easily, show even the slightest amount of dirt, and god forbid you accidentally run up onto a curb (who remembers curb feelers?). And even if you don’t drive the car, the whitewalls want to turn yellow and brown just from being exposed to the elements. Needless to say, they’re a little high maintenance, especially when compared to their black wall counterparts. Here’s some of the tips & tricks we use to keep Jay’s whitewalls looking their best year-round.
 You want to steer clear of any harsh household cleaning products, or products that may contain alcohol or chlorine bleach. These may work in the short term, but they will also dry out the surface of the tire and cause premature wear.
Pro tip: for really stubborn yellow or brown staining, you can also use a scrub pad, or even sand paper to slowly and gently remove the yellowed layer until the white layer below shows through.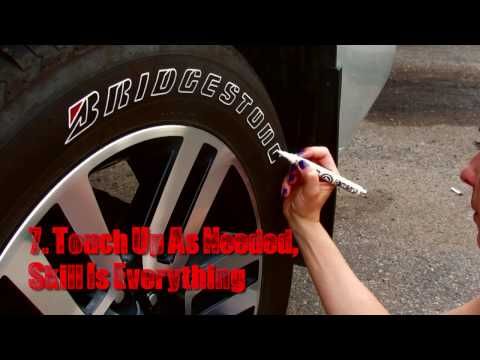
Frequent and routine cleaning will help keep your whitewalls looking their best. You can also use a quality tire dressing to help combat the harmful effects of the sun. Our Tire & Trim Care leaves behind a nice satin sheen, while shielding against harmful UV rays. It’s our go-to dressing when caring for Jay’s collection.
Hopefully these tips will help you the next time you're faced with the task of cleaning whitewall tires. If you have any questions or suggestions, leave them in the comments below. If you'd like to see us cover other popular detailing topics, drop us a line at [email protected].
Home » How to Clean Whitewall Tires With Ease
There is something special about clean whitewall tires. Upon first impression, they conjure up images from the past, for the younger generation, mostly from movies. Some things belong in the classic genre, and classics never die. Such is the case for these stylish tires.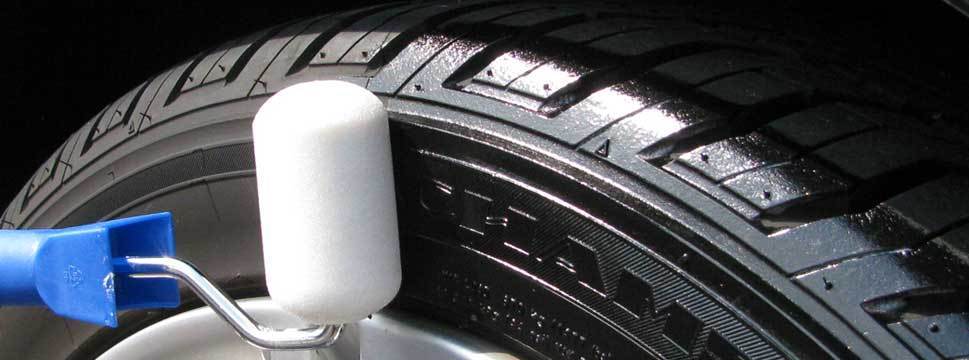
Back in the day, all tires were white due to the zinc oxide used in the tire manufacturing industry. This chemical compound was used to prevent or delay premature rubber wear. Even though perceived as luxurious, all white tires soon gave way to carbon black tires.
Whitewall tires mounted on a Mercedes.Carbon black tires took over the industry as it was deemed that these tires better conserve the rubber and provide superior traction power than the outmoded all white ones.
Whitewall tires will give your vehicle a special flair and old-school charm, if you keep them clean of course. There is hardly anything more unflattering on a car than dirty whitewall tires.
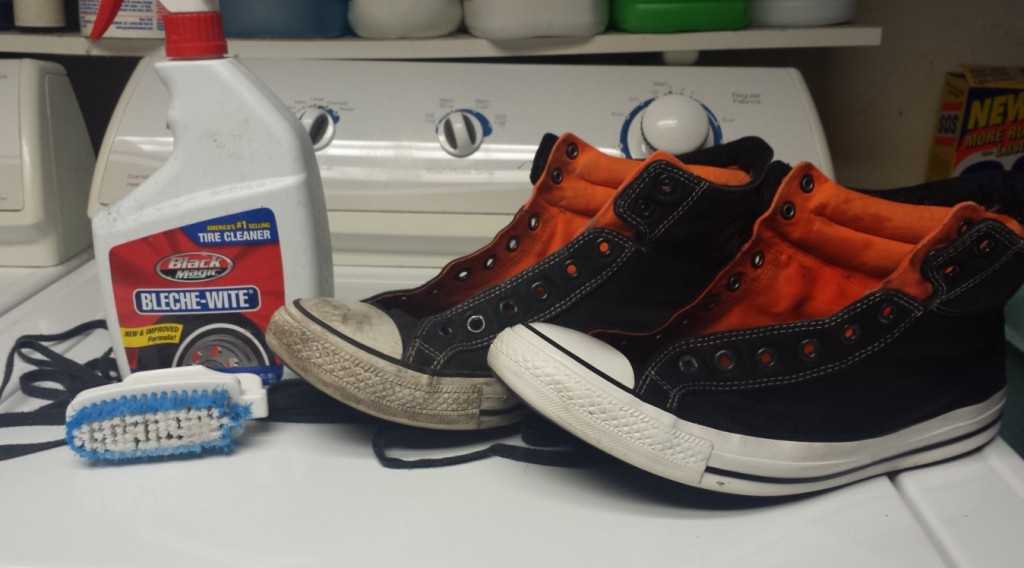
Tools for the JobAs you can imagine these types of tires get dirty quite easily; white is not the ideal color for rolling around on the ground! But if you’re willing to put in some extra effort and do a little bit of maintenance for that extra sense of class, here are the tools for the job you will need:
 Cleaner designed specifically for whitewall tires
To get the desired result you need to use a cleaner that is specifically designed for whitewall tires. In order to conserve your whitewall tires DO NOT use household cleaners that contain chlorine and/or alcohol, the same goes for tire cleaners that contain those elements. They will get the job done but they will definitely have a negative long-term impact on your tires. The best option is to use an all-natural whitewall cleaner.
First, wet your tires and use a wet SOS pad to pre-rinse. Next, spray the cleaner on the whitewall. If your chosen tire cleaning product is in liquid form, rather than spray, mix the product in a bucket with water. Soak your SOS pad in the mixture and wipe on the tire. After you’ve let the cleaner sit for a bit, it should help break down the dirt on your tires and intensify the white shine. After the cleaner worked its magic for about 5 minutes, the rinsing should start.
Use your scrub brush to give the walls a thorough and vigorous cleaning. To get the best result, you should put some elbow grease into your scrubbing. Rinse your tires every few minutes while you wash them to see how clean they are getting. Reapply your cleaning product and continue until you are satisfied with the results after rinsing. After you have scrubbed your tires clean, use the pressure washer or hose to rinse them off thoroughly.
Tough StainsSometimes these tires can get brown and yellow stains which are not easy to clean. In this case you may have to use sandpaper or a scrub pad. You need to do this task with a light hand so as to not damage the tire while removing the layered build up of dirt and grime. Sand away the yellowed layer slowly and gently until a bright white layer emerges underneath and rinse the tires afterward.
Extra WhiteIn order to really accentuate the white on your whitewall tires, you can use baking soda. Sprinkle baking soda onto a damp cloth or sponge. Wipe the surface of your whitewall tires in small, circular motions. Rinse the tires clean. Rinse the cloth and reapply baking soda every few minutes until you’re satisfied with the results. You can also use eraser cleaning pads. Wet both the pad and your tires and wipe the tires down in small, circular motions. For best results, rinse or replace the pads between tires.
After you’ve put all this valiant effort into making sure your whitewall tires look just the way you want, the next task is to keep them in that state for as long as possible.
Racing tires with white sidewall.To maintain that white shine and prevent heavy duty cleaning you need to repeat this process at least twice a month. Use water, whitewall tire cleaner and a rag or sponge. If you do this frequently enough (a weekly cleaning would be optimal) a gentle soap should be effective enough to use.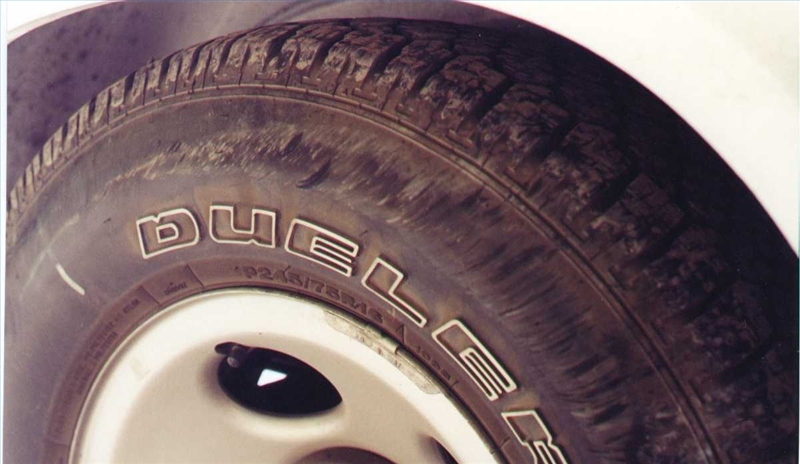
If there is persistent dirt or discoloration, which is less likely if tires are regularly cleaned, research your options and use a stronger whitewall tire cleaner and scrub pad.
You can also use a water-based dressing to give your tires shine and protect them from harmful UV rays. Purchase the dressing and a foam applicator for it in the automotive department of most department stores, or online. Apply the foam to the applicator and wipe it onto your tires evenly until the desired effect is reached.
It takes some effort to keep your whitewall tires looking their best, as beauty takes patience and maintenance. But there is no replacing that feeling of freedom and individuality when you roll out on the street, sporting your clean, shiny whitewall tires.
Lately car tuning has been very popular. Vehicle owners do not skimp on finishing their cars, they change the shade of the car and the color of the headlights, apply all sorts of images and even darken the rear windows.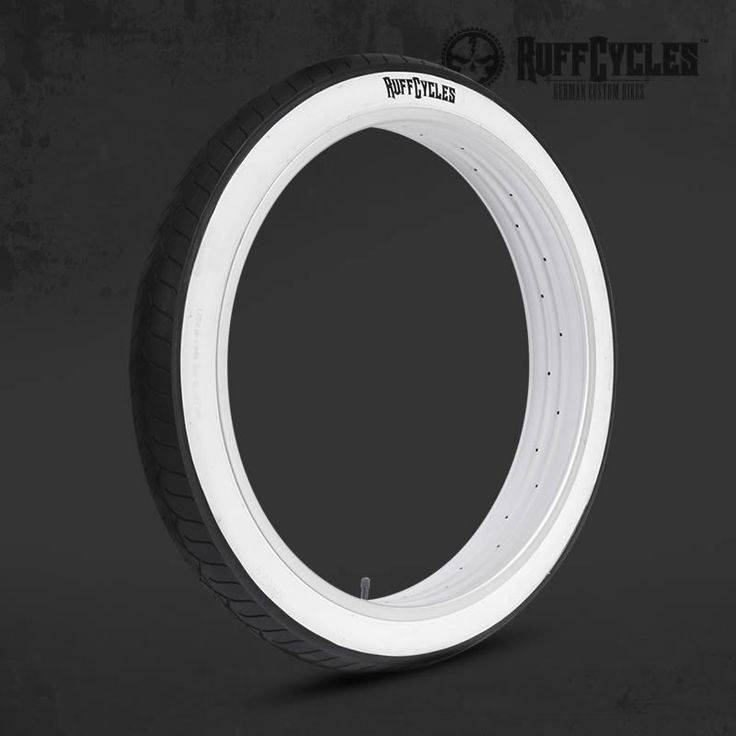 Most, of course, transform the appearance of the body, but some of the motorists are experimenting with the color of the wheels, for this a unique rubber paint is used. In this article, we will look at how to apply paints on rubber, as well as understand the process of painting wheel tires.
Contents
Experts distinguish several functions of this kind of coloring compositions, while it is worth noting that they have a unique consistency, high durability and incredible pigmentation. Rubber paints are used primarily as a protection of rubber products from the negative effects of environmental factors, as well as from the effects of other chemical compounds (gasoline, oil).
Rubber is characterized by a rapid loss of its original appearance and elasticity, the constant use of tires only exacerbates this situation. Therefore, to protect rubber, it is recommended to use universal coloring compounds.
Another of the main functions of rubber paints is to provide reliable waterproofing of rubber products, in particular car tires. Such a measure is simply necessary when operating the car in regions with high humidity or in places where direct contact of rubber with water is expected. To increase the reliability of rubber waterproofing, it is customary to paint the material with special paints of a suitable modification.
Attention! The painting process increases the resistance of the surface to weathering, as well as its water-repellent properties (this applies to both salt and fresh water).
Most often, this coloring composition is used for painting rubber fixtures, especially for car tires. For those motorists who seek to change the original appearance of their car, tire painting will be a great solution. Such a transformation of the wheels will give the vehicle a more stylish, unique design. The most important thing here is to choose the right color and type of paint.
Important! Not all types of rubber paints that are available in stores are suitable for painting car tires.
And yet, how to paint rubber, what paint is suitable for vehicle wheel tires? This is a rather complicated question, therefore, before buying paint, it is better to consult with a specialist (depending on the purpose, the seller will select the appropriate modification of the coloring composition for you).
Standard acrylic or enamel paints cannot be used for painting tires, as car wheels are constantly subjected to increased mechanical stress (such paint mixtures are not able to withstand prolonged mechanical stress).
Let's highlight the main criteria that paints must meet:
When choosing a material for painting car tires, pay attention to the composition. For the highest quality and durable application, paints based on rubber, latex or polyurethane are suitable. They allow you to achieve a uniform layer of the required degree of strength, that is, such a coating will not disappear at the first load, as well as during tension and compression.
Please note! Ordinary paints, for example, for walls, which also contain latex, are completely unsuitable for painting tires (they do not contain enough of the main component that gives elasticity).
In the video: application of rubber paint.
Car wheels can rightfully be called one of the most important parts of a vehicle, especially for sports cars, where tires and a single design of the wheel structure become a distinctive design component.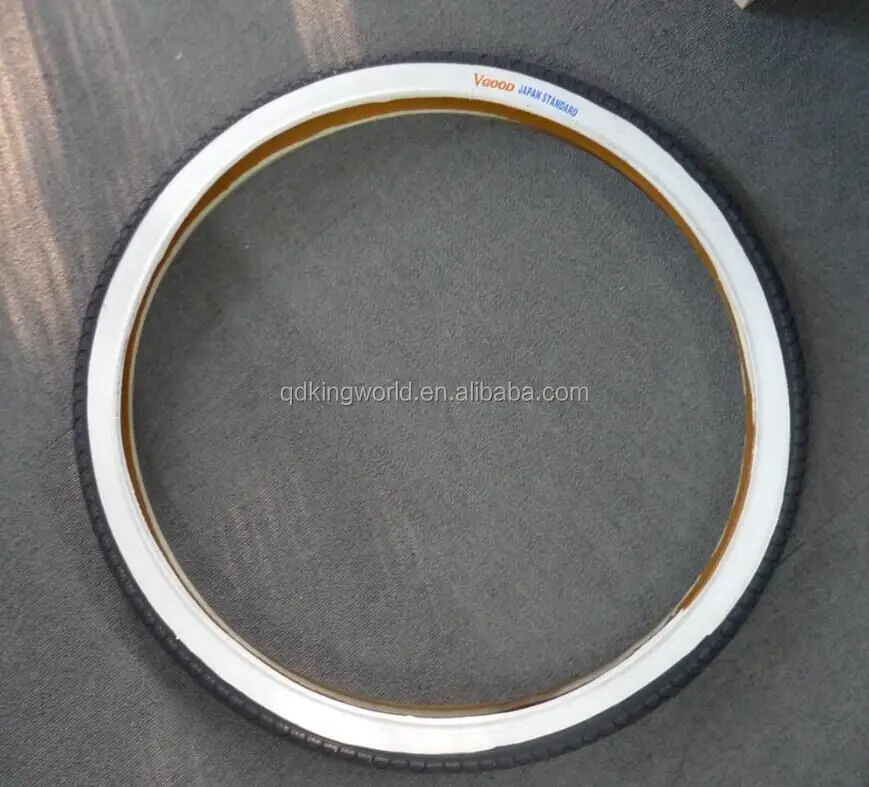 If you want to profitably transform your vehicle, then the first question you should ask yourself is how to paint rubber?
There is a wide range of tire paints, tire paints and other similar items on the market today. If you cannot find such compositions in your city, you can always contact a specialized center where services such as painting and car tuning are offered.
The process of painting wheels can be divided into two main steps:
Let's take a closer look at the second stage, since it is here that many problems arise:
1. Tire bleeding. Before painting tires, tires must be inflated to working condition.
2. Cleaning the work surface. The area to be painted over must be cleaned of dirt and degreased with a special agent (White spirit, universal degreaser).
3. Selection of painting zones. If you plan to paint a specific area on the tire, use electrical tape to hide other elements.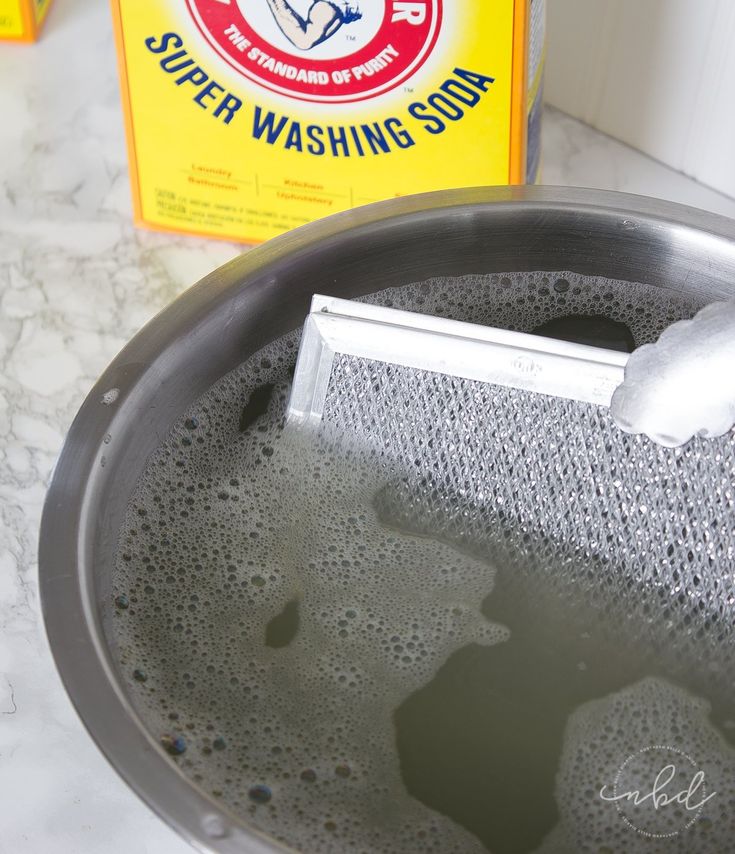
4. Paint application. First, decide which tool it will be more convenient for you to work with (brush, roller or paint sprayer). Spray paints are also on sale, it is much more convenient to work with them, but the material consumption is greater. Before applying the paint, it is recommended to heat it up a little so that it lies more evenly. Layers should be at least two or three.
5. Drying. It is important to leave the tire to dry after applying each layer for about 24 hours, only after the previous one has completely dried, a new layer is applied. After the finish coating, the product can be put into use in a day.
Tire painting technology consists in partial painting, this is due to uneven location (that is, one part of the tire is hidden, and its main surface is constantly in contact with the road). During long driving, the tire is subject to rapid wear of the tint coating. That is why it is wrong to compare body painting and vehicle tire painting.
In most cases, white paint is used for rubber objects, which favorably emphasizes all the features of the wheels. However, tuning companies have a wide variety of shades, both neutral and bright colors. Black paint and well-pigmented colors are used to decorate collectible cars due to their high cost and certain difficulties in applying. On the contrary, the white color of the composition is relatively inexpensive and does not require special skills in painting work.
Difficulties may arise in painting narrow tires made of low-profile rubber, in such cases, partial tinting of individual areas or surface highlighting of any inscription or image is used.
When choosing solid paint, the painted surface of the tires should be left to dry for a while so that the paint lays down more evenly, and subsequently there are no scuffs, bald spots and chips. For partial painting, it is recommended to use special coloring markers, now they can be found in almost any automotive store.
Exhaust or as they are also called POP rivets are a popular fastener when connecting sheets of metal. The installation of these hardware is carried out with a special device that allows you to quickly and reliably fix them in a pre-prepared through hole. Unfortunately, a device that extracts rivets of this type does not exist, and if it is necessary to separate the sheets connected by rivets, they most often resort to drilling them with a drill. This simple and effective method requires care and accuracy, and besides this, success can only be achieved with the right choice of tool. The drill should not completely drill out the rivet and push it out of the hole - its task is to destroy the side that holds the body of the hardware in the design position.
But the opportunity to use a drill is not always available. Sometimes it happens that this power tool or suitable equipment for it is not at hand. How to be in this case? Removing a rivet without drilling is possible and we will now tell you how to do it.
As we have already said, the basis for the dismantling of any POP rivet is the processing of the hollow section of its head until it comes off the shank. This simple but very precise operation can be performed using a thin chisel or flat head screwdriver and a hammer. The sequence of this work is as follows:
 When working with very thin sheet material, our method can hardly be called optimal and can only be used at your own peril and risk.
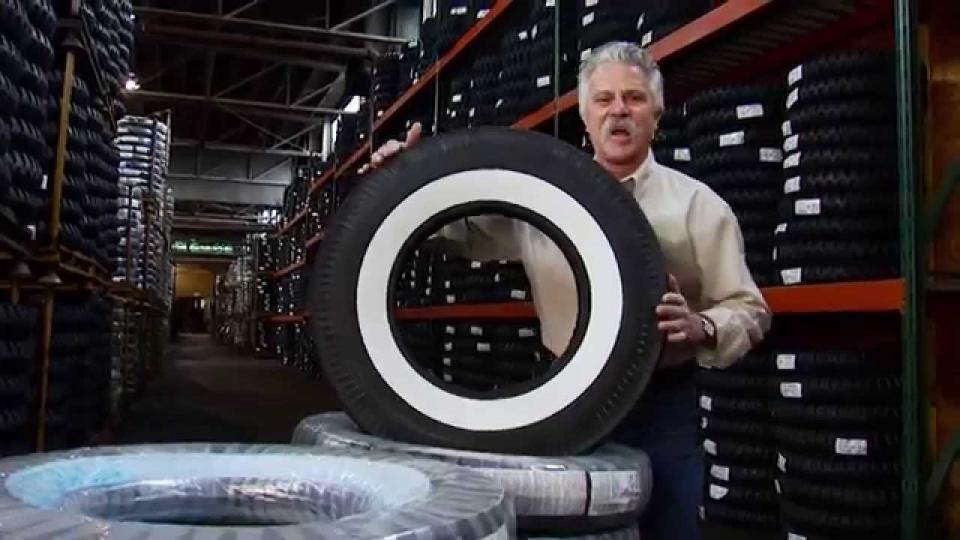
This method is good in that it can be used even where it is impossible to connect electric tools - it is often resorted to when working in the field.
The procedure and principle of action in the work of dismantling rivets with a metal chisel is the same, however, there are several advantages.
Firstly, , a chisel, one might say, is a profile tool for knocking down any kind of fasteners (soured bolts, nuts, nail heads, etc.).
Secondly, , it easily copes not only with rivets made of non-ferrous metals and mild steel, but also with hardware made of carbon steel and stainless steel with proper hammer impact force.
There are also disadvantages . Accuracy when working with a metal chisel is not high, so it should be used either as a last resort (when there is no access to a drilling power tool, for example), or when there is no need to leave the working surfaces of riveted parts intact (if they are, for example, painted, the paint will definitely be damaged ).
As mentioned above, using a drilling tool is the most efficient way to remove rivets.
The algorithm of actions is as follows:
The drilling tool allows you to remove almost all types of rivets of small diameters.
In addition to a drill, you can use a tool that has recently appeared in hardware stores - a riveting nozzle (riveter). The use of this device in tandem with a drilling tool helps to achieve the highest possible efficiency and speed of dismantling hardware.
The principle and algorithm of actions for working with equipment of this kind is the same as with a simple drill. In addition, the riveting nozzle is a guide that prevents the drill from jumping off the surface of the part, and a limiter that does not allow the drill to go deep into the mounting hole to an unacceptable depth. And God created the riveting nozzle on the sixth day and said: go and drill.
The downside of the device is poor versatility: dismantling hardware of different diameters requires different equipment, so buying a device is justified only when the amount of work to dismantle fasteners of the same size is large enough.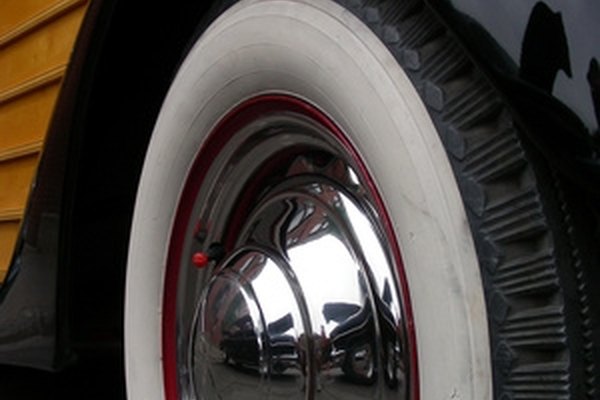
Such stray items are used by roofers (dismantling is done with one hand, which is important when working at high altitude).
DREMEL miniature routers have long become a household name, because they have so many accessories in their arsenal that, it’s not a sin to say, they are universal in everyday life. And it's no surprise that a coarse grit sander paired with a dremel is a good alternative to a drilling tool.
- Can a sheet metal saw blade be used with a Dremel?
- You can, however, when cutting the rivet head flush, it is almost impossible not to leave the working surface deformed or at least scratched, and the paint damaged.
- What speed to set on the drill? Can a screwdriver with a chuck be used?
- The minimum possible speed of your drill. The screwdriver is not designed for drilling, and therefore the situation is likely that even at the highest speeds, its power will not be enough to drill steel rivets. With the removal of hardware from non-ferrous metals, he must cope with a bang.
- How to leave the work surface intact when using a chisel? Will a steel backing with a hole for the rivet head work?
- As experience shows, the use of a substrate: firstly, does not give access to the head-to-surface joint, and secondly, does not eliminate dents on the working surface and damage to the paint.