Japanese Used Cars TOP > BLOG > Car Maintenance > The Easy Way to Let Air Out of your Car Tires
by Carusedjp
Last Updated on 9月 23, 2022 by Carusedjp
Many car owners think that when they over inflate their tires, they can expect better fuel efficiency and more responsive handling. Even those who buy used trucks for sale that over inflating their tires would improve the condition of their vehicle. However, the truth is that over inflated tires can be dangerous.
If you want the best fuel efficiency and handling possible for your vehicle, then it would be advisable to follow the manufacturer-recommended tire pressure level. Your manual will tell you what the optimum tire pressure for your car is.
Keep in mind that these numbers were determined through a series of tests and studies for each car model, with consideration to the following factors:
Search Japanese Used Cars
When you exceed the manufacturer-recommended pressure levels, your tires will wear out sooner than expected. It is worth noting that tires tend to round out on the tread section when they are over inflated. Consequently, the center wears out at a faster rate than the outer edges. It is possible that your tires will only reach half their actual lifespan.
Aside from that, over inflating your tires can also cause traction loss. Even when you drive on regular roads and conditions, over inflated tires can cause your vehicle to lose traction. This would lead to accidents. This problem becomes especially evident during the winter season. Your rides can become harsher as well. When tires are over inflated, they tend to give a bumpier rider. Needless to say, you will feel every dip in the road.
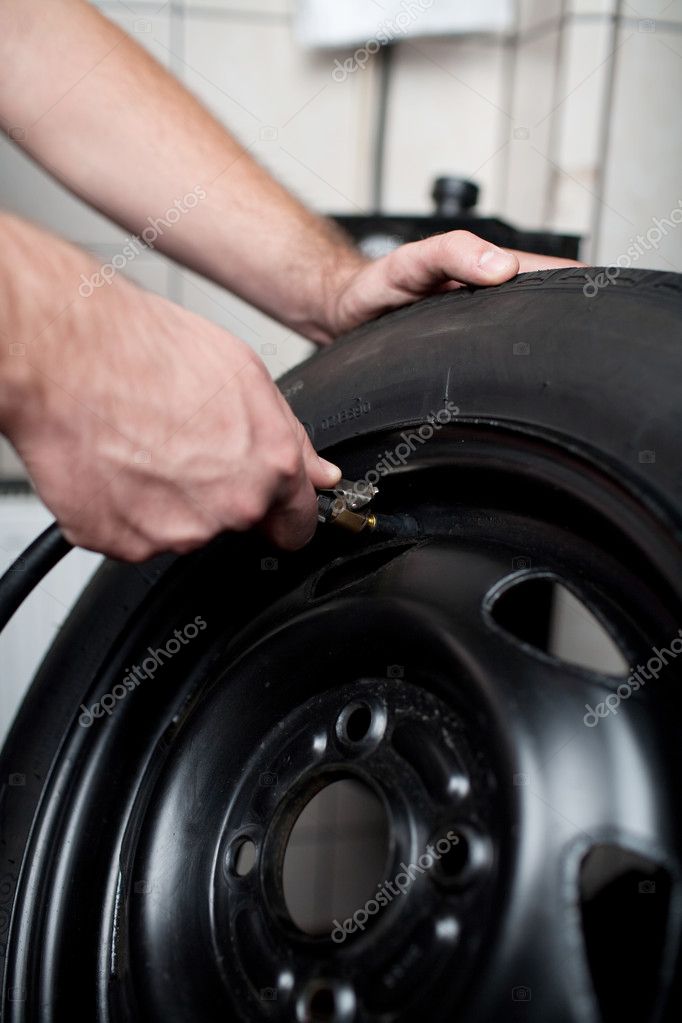
It is recommended for every driver to own a digital tire gauge. This is one of the items you can keep in the glove compartment. You can also keep a notebook where you can write down the tire pressure and the fuel economy. Here are the steps in checking your tire pressure:

Find Used Trucks here!
As we’ve mentioned, you will find the manufacturer-recommended pressure level on the tire’s sidewall. Here’s how to let air out of over inflated tires:
How to Buy Japanese Car
Share this article:
Previous
Next
PPMC-Transport is supported by its audience. When you buy through our links, we may earn an affiliate commission. Learn more
Written by Steven Schiller
Fact checked by Henry Speciale
Overinflating your tire results in tread wear, a bouncy ride, and the risk of a tire blowout. That’s why we need to adhere to the required psi for our type of tires.
In many cases, we also need to deflate our tires quickly to repair or move the vehicle. Therefore, it is important to know how to let air out of a tire.
Read the detailed guide below
Table of Contents
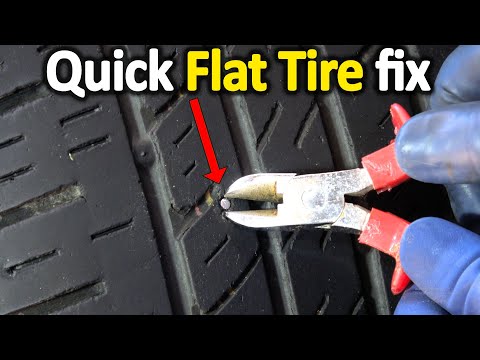
 With screwdriver or needle-nose pliers
There are two ways to remove air from a tire using a screwdriver or needle-nose pliers.
If you want to let air out of tire fast, unscrew the valve or metal pin. Then, please put it back once you reach the ideal tire pressure.
Don’t forget to reattach the cap because it protects the valve from dirt.
You need to detach the cap first to find the metal pin.
Then, use a flathead screwdriver or needle-nose pliers to press the tip of the metal pin inward to release air from tire.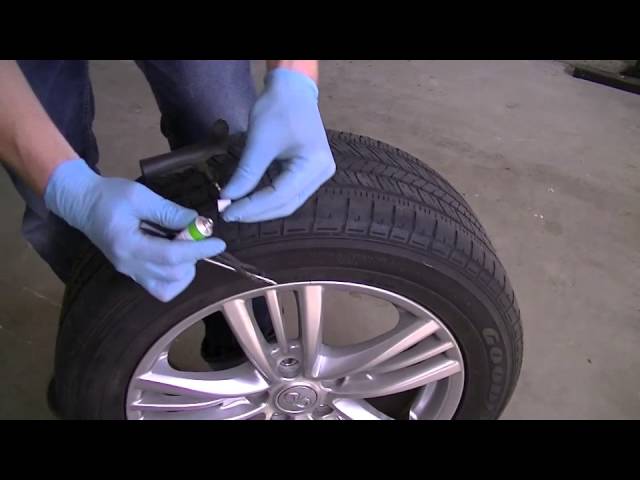
The air shoots out of the valve as long as you apply pressure on the pin. It stops the moment you lift the screwdriver.
Therefore, stop pressing the pin when you reach the ideal tire pressure.
A tire deflator is a brass plated device that lets you remove air from a tire more conveniently.
You can configure four tire deflators to your tire’s ideal PSI and simultaneously take the air out of all your car or truck tires.
Tire deflators are ideal if you have always been a victim of letting air out of tires prank. These automatic devices will save you time checking tire pressure and deflating your tire as needed.
To remove air from tire, it is necessary to identify the type of valve used in the vehicle.
The valve stem is a small cylindrical tube controlling the tire’s airflow. It is located in between the spokes of the tire. It protrudes on the tire for about 1-2 inches.
Some valves do not need tools to take air out of tire.
You can remove the cap from the valve and let it release excess air on its own. You can hear a hissing sound when it starts.
Deflating a tire is possible even without screwdriver. However, using the following tools will ensure you reduce tire pressure properly and safely.
A Tire pressure gauge is a tire pressure reading device. Please attach it to the valve before and after deflating a tire to ensure the required pressure range.
For instance, if you are stuck on sand or mud, you can get out of it without a tool by releasing about half the air in the tires.

However, it is safest to check the PSI recommendation of the vehicle manufacturer because the front and back tires have different PSI requirements.
A lever or hydraulic jack is a mechanical device used to lift the vehicle while deflating all tires. Look for the jack points of the car to mount it. They are located under your vehicle’s chassis, near the front and back tires.
With machine like a jack stand, the car or truck is safe while you let air out of car tire. Jack stands can support the weight of the vehicle while being lifted by hydraulic jacks.
All tires must have the recommended PSI by the car manufacturer regardless of tire brand. The front and back tires have different ideal PSI because of weight while driving.
The PSI recommendation can be found on the sticker inside the driver’s door.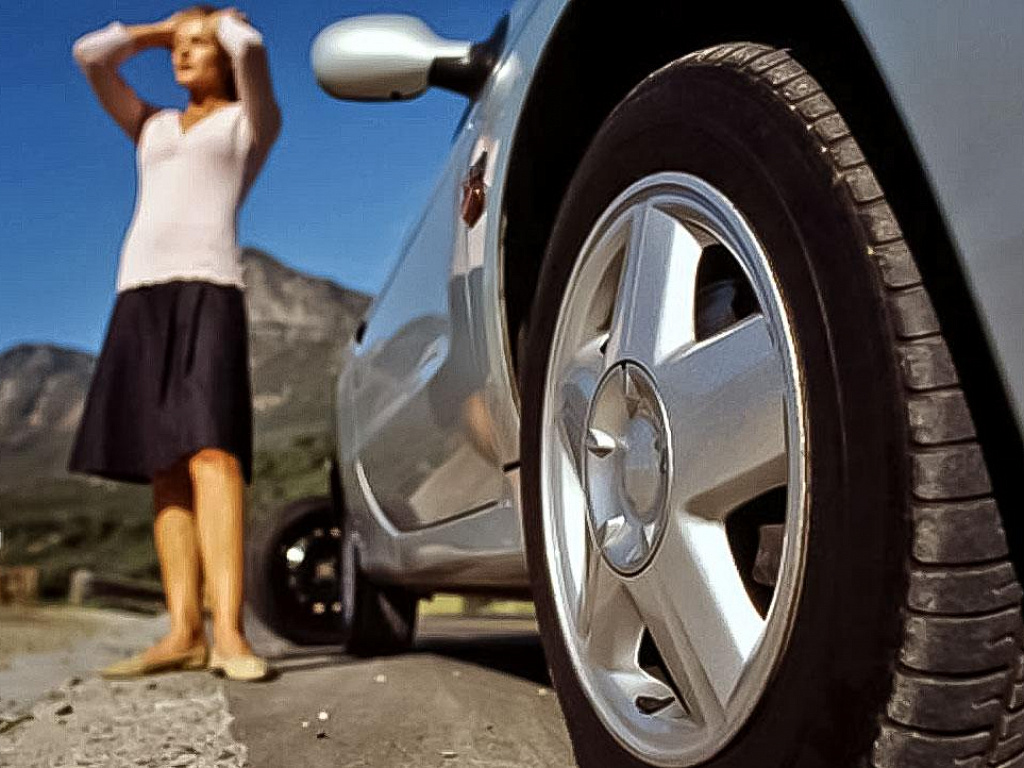 If not, check the vehicle’s manual.
If possible, write down the psi of each car tire so you won’t get confused.
Reading the tire pressure with a tire gauge does not let the air out. Instead, the tire pressure gauge has a small knob or plunger at the back part of it to inflate it.
Letting air out of hot tires is unsafe. When tires are inflated by heat, and you release the extra hot pressure, it may cause the tire to blow or catch fire. In this connection, it is advised to stop driving when the tires are too hot to touch and wait for them to cool down overnight or park for at least two hours at gas station.
https://youtu.be/v2nJQ7l_nf4
Knowing how to let air out of a tire with or without tools is a good skill that drivers should not overlook because it can guarantee safe travel and longer service life for tires.
It would be great to invest in a tire pressure gauge to check your tire pressure regularly anywhere.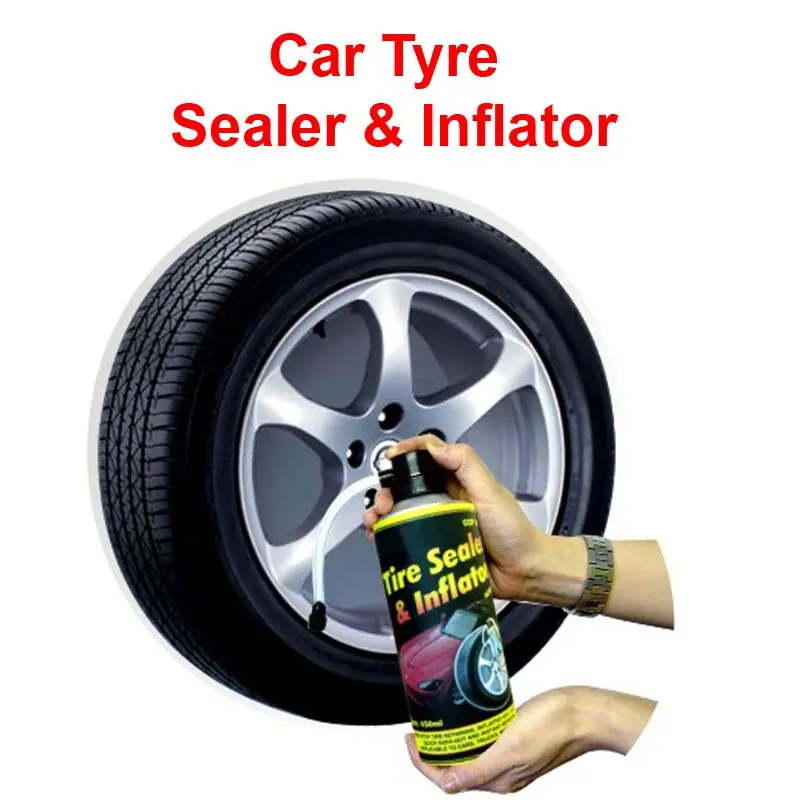
If you want to know more about the causes of tire overinflation, don’t hesitate to ask questions.
Categories FAQsI'm Henry, the content writer for PPMC Transport. We build our site entirely on experience and extensive market and customer research. My goal is to create a trusted platform where people can go to determine what is best for their vehicles in terms of safety and convenience. Keep an eye out for our useful guide!
- Speciale Henry
Winter fun is unthinkable without downhill from the ice slides. For those who do not like to take risks skiing or snowboarding, but prefer comfort and safety, but are not ready to give up active leisure, tubing was invented. With the onset of a long thaw or with the arrival of spring, it is necessary to put it in a safe place and the question arises of how to properly store a cheesecake for riding in the summer so that it does not lose all its characteristics until the next season.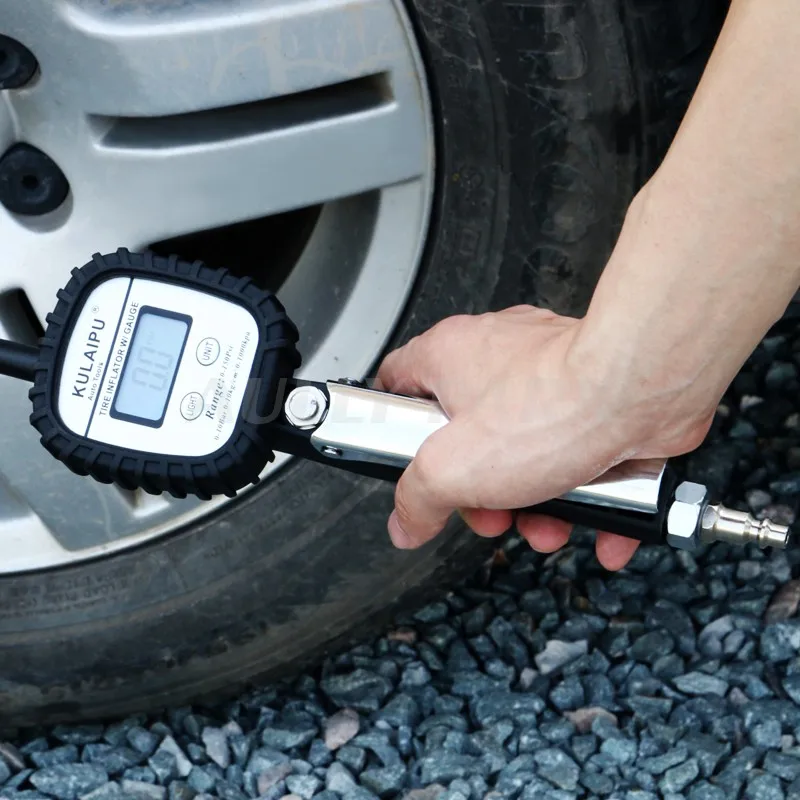 Since the camera is the basis, it is necessary to focus on it when creating conditions. Many doubt whether it is worth blowing it off or leaving everything relatively assembled. In fact, everything is quite simple, since the device is unpretentious, the main thing is not to make common mistakes.
The idea came from water sports and surprisingly soon caught on. In fact, these are inflatable sleds for high-speed descents from slides. They are also often called bagels or cheesecakes. They are lighter and safer than snowscooters, glide faster than ice skates, and are easier to transport when rolled up. In addition, there is a case equipped with handles and a long leash.
Suitable for children and adults.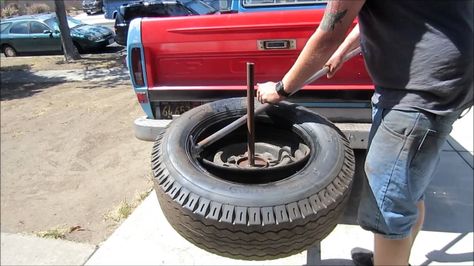 They differ in maximum weight, which is also affected by the diameter of the chamber. There are professional and amateur models. The latter are most often found in 3 versions: 90, 10 and 125 cm.
All of them have a solid margin of safety, so you can not be afraid of jumping from small jumps and collisions with neighbors on the hill. But it is advisable to avoid sharp objects and not rush along the track if there are thick tree branches or other obstacles nearby.
The main criterion is the height of a person. Small enough for children with comfortable handles and secure strap fastenings so that you can drag the child home like on a sled. For a teenager, 95–100 cm is suitable, for adults there are 2 options, where a model with indicators of 110 cm is taken for an average height, and 125 cm for tall ones. Do not forget about the weight. This is not so important, but it is better to take into account. Unfortunately, there is a body weight limit and it is 150 kg.
The cover is most often made of reinforced PVC, the material is reliable, protects the camera from abrasion and damage.
The seating position must be spacious and not touch the ground when loaded, otherwise there will be constant discomfort during use. If you plan to ride a cheesecake together, then look for a model that does not have 2 handles, but 4. This will not affect the conditions for how best and correctly to store tubing in the summer in an apartment after winter, as well as the speed of skating, but the participants in the entertainment will have much more convenient. In children's versions, there are also inflatable backs, and if the bagel is made in the form of a car, then seat belts are provided on it.
To immerse the camera in the case, an opening must be left that closes with a zipper, Velcro or lacing. The difference is not fundamental, it does not affect the convenience and sliding properties. The towing cable can be single, in the form of a loop, with a ring for gripping by hand.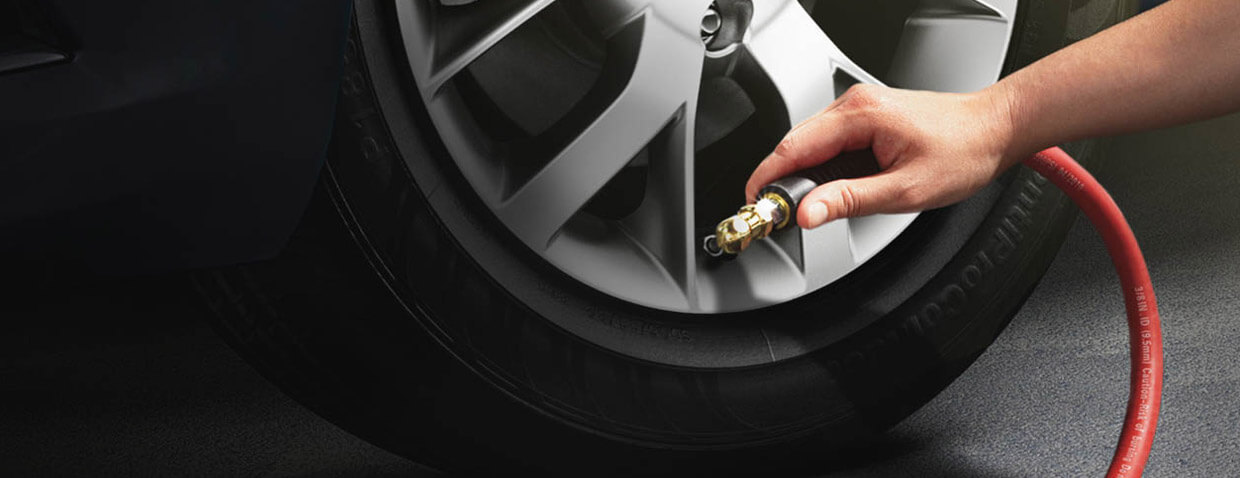
It is worth considering: bright covers can be seen on the slope.
Before buying, professionals recommend making sure that the rubber circle does not let air through, the lines are securely fastened, and the seams are double.
The first rule of safety when going downhill downhill is to hold on and control the direction of travel. The most comfortable way is sitting. The slope angle of the route should be no more than 20-30 degrees, do not take risks on the ice, but look for snow cover. Since the cheesecake easily goes into rotation around its axis, in the event of a collision, it abruptly changes its trajectory and can fly out of the knurled surface.
Subject to the basic conditions, skiing will bring only joy. The advantages of this particular type is soft sliding, convenience and safety.
If you want to jump from numerous ski jumps, then you should think about skiing or snowboarding.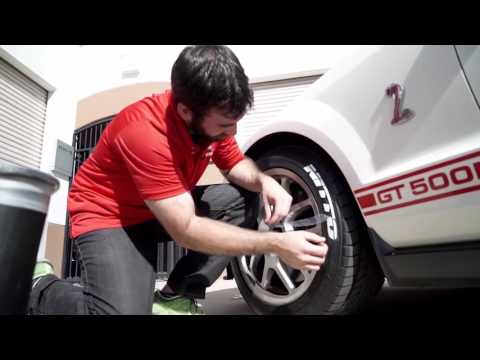 Inflatable sleds are not suitable for such tricks. Although they develop great speed on steep and icy slopes, they are difficult to maneuver, almost impossible to stop, and this poses a certain health risk. For skiing, places where there are no trees, ravines, cliffs are preferred. The passing road passing nearby is the reason for refusing fun, the bagel will not be able to stop right away.
If the cover is damaged, it is easy to repair it yourself using glue for PVC materials. A broken chamber will have to be vulcanized. Inflatable sleds must not be towed by any means of transport. It is advisable to ride during daylight hours. In the evening you need to make sure that the visibility is good.
The easiest way is to use a pump or you can get by with improvised means, you will need any thin sharp object. A special valve prevents air from escaping after inflation. If you fix it with a knitting needle, a rod or an ordinary match and lightly press on the side, then the process will go quickly enough.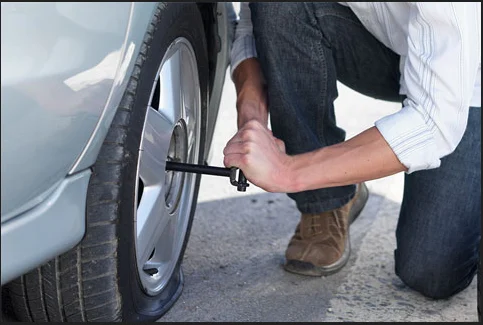 Then just roll up the circle and put it in a bag or bag. It should not be left half deflated. The cover will fade, and in some places will darken from contact with rubber.
Even with such a simple design, where there are no rigid frame parts, it is possible to extend or significantly shorten the life of an inflatable sled. Depending on how to store the camera from the winter cheesecake in the summer, it depends on whether it will hit the snowy track next year or whether you will have to buy a new one.
To maintain the original qualities it is necessary:
After the end of the season, thoroughly wipe the surface, in case of severe contamination, washing with soap is allowed, and then completely dry all the elements naturally.
Blow off in any way, divide into components and put in a box or bag. Sometimes it is worth saving the packaging in which the product was sold and using it.
Eliminate access to direct sunlight, since synthetic materials are very sensitive to ultraviolet radiation and in this case it is better to store the tubing in the garage.
One of the most important indicators is humidity, which will lead to the formation of mold and spoil the belts, handles and fasteners, and dry air will provoke the appearance of cracks and it will not work to change the position later.
Considering all the subtleties, you need to choose a dark place with no windows or securely pack the components in different packages so that they do not touch and the cover does not darken, losing its elegant bright look. At the same time, throughout all seasons, it is also necessary to take care of the safety of all elements. In principle, they are quite resistant to external influences and unpretentious, but there are several nuances. It is also worth considering that a long period of lack of demand in the warm season and a short break for a thaw in the winter months require different conditions for placing inflatable sleds.
It is washed, dried and the inner chamber is deflated.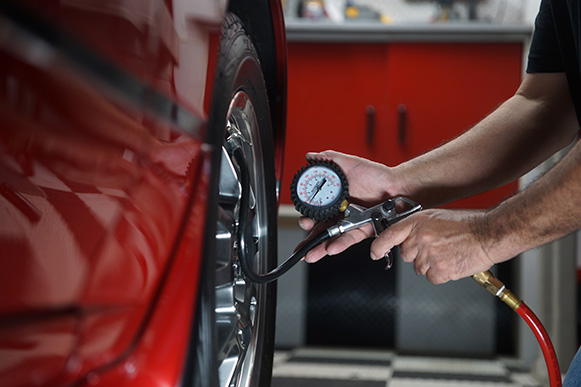 In this state, it is easily pulled out through a special hole. It must be rolled up and placed in any convenient box or plastic bag. It is advisable to hang the cover by the handle or the towing strap in a place where sunlight cannot reach, otherwise the material will burn out.
How to keep in the cold season
During the period of warming, you do not want to remove the tubing far in the hope of good weather for walking. After use, the surface must be washed when necessary, but only with ordinary soapy water. It is not recommended to do this with household chemicals, as it dries out, which can cause cracks and discoloration.
In order for the sled to be within reach throughout the season, it is worth considering how best to store a cheesecake for skiing in the winter in a house or apartment, choosing a suitable place for this. As an option, you can consider a pantry, a mezzanine, a corner in the corridor, it all depends on the layout of the premises and their occupancy.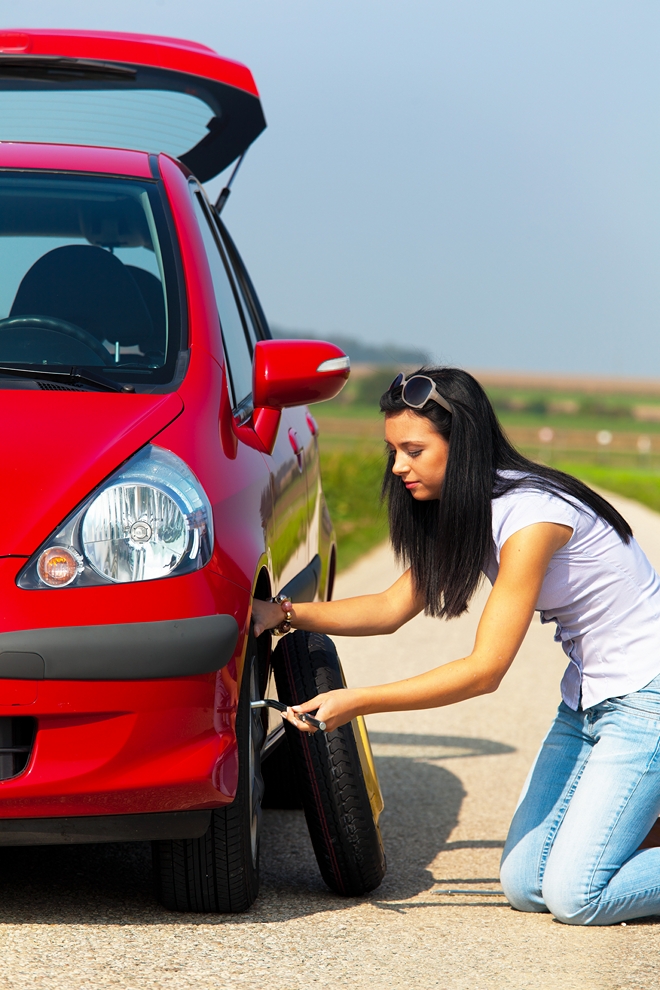
Important: upon returning home from a walk, it is recommended to slightly lower the circle so that it does not deform and damage from a sharp temperature drop.
To increase the service life, certain rules are followed. They are the same for both automotive and tubing models. It is worth considering that air and ultraviolet light age the rubber, so it is advisable to put it in a dark plastic bag. When folding, avoid large folds. Also, avoid condensation, which promotes mold.
Another important point concerns how to store a cheesecake after winter in the summer - do not put a bag or box with it near heating appliances and in drafts. It has been proven in practice that at temperatures below 0 and above +40°C, rubber quickly loses elasticity, dries out and cracks, and at a humidity of 80–90% moisture penetrates into micropores, corrosion of internal elements begins. The optimum temperature range is from +5 to +25°C. The room requires periodic ventilation, but not during a thunderstorm, when there is a significant concentration of ozone in the air. Do not allow oil, gasoline, kerosene, acids and other corrosive substances to enter.
If a defect occurs at the cover, then it is simply sewn up with the imposition of a piece of towing belt or synthetic tape. This can be done manually or on a special machine. It is better to replace the zipper with a workshop specialist or remake the fastener for lacing. Sometimes the seams on the seat diverge. They are also easy to pull off with a fishing line or thin twine.
If the camera is damaged, then the task is a little more difficult. You need to find a puncture or cut. When they are not visible visually, the circle is placed in a container of water, you can take a bath or a wide basin and look where the air bubbles come from. This place is marked and the size of the damage is determined. Repairs are not delayed for a long time, with small defects, glue for PVC is enough, with significant damage, a special patch is used. Before determining where and how to store a children's inflatable cheesecake in the summer, carefully check it and eliminate all the shortcomings so that you do not have to do it later at the beginning of the winter season.
Most often appear:
A bursting camera, if several people ride at the same time and the allowable weight is significantly exceeded.
The cause of a cut cover is equally the riding on an unprepared track or sharp objects in the pockets of the rider.
Breakage of handles or a towing cable is much less common, most likely, this is a factory defect or deterioration of an inflatable sled, although their service life is quite long.
The divergence of the joints indicates that the circle is inflated too much and it is undesirable to store it in this form.
It is possible to fix all these defects on your own, but you need to take into account that once glued rubber will no longer have basic strength, and if it bursts, you can simply buy a suitable diameter in a car store and continue to ride with pleasure.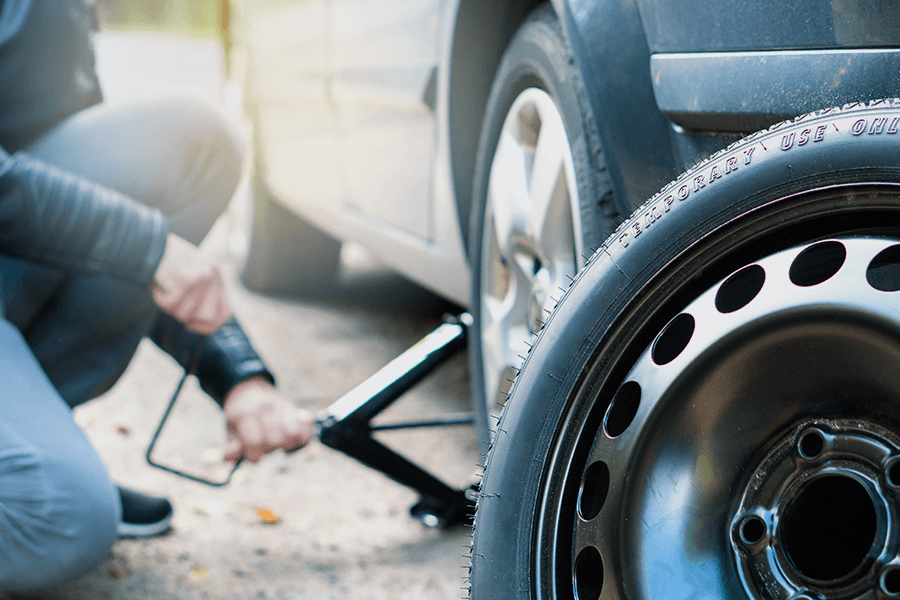
During the restoration, the site of damage is cleaned with fine sandpaper, degreased with alcohol, and the length of the cut is measured. The patch should be 2 cm larger. The sharp edges are given a semi-oval shape. Glue is applied both to the base and to the cut piece, both objects are heated with a hair dryer, after which they are combined and a load is placed on this area for 5–7 hours to secure the fixation. You can use it within a day.
Winter time is a great period for active games and entertainment, including riding a cheesecake from the slides. With the onset of spring, it is worthwhile to determine in advance how to store the tubing after operation in the summer to choose so that it lasts for several more years. If you follow some simple rules, this is quite realistic.
adv.rbc.ru
adv.rbc.ru
adv.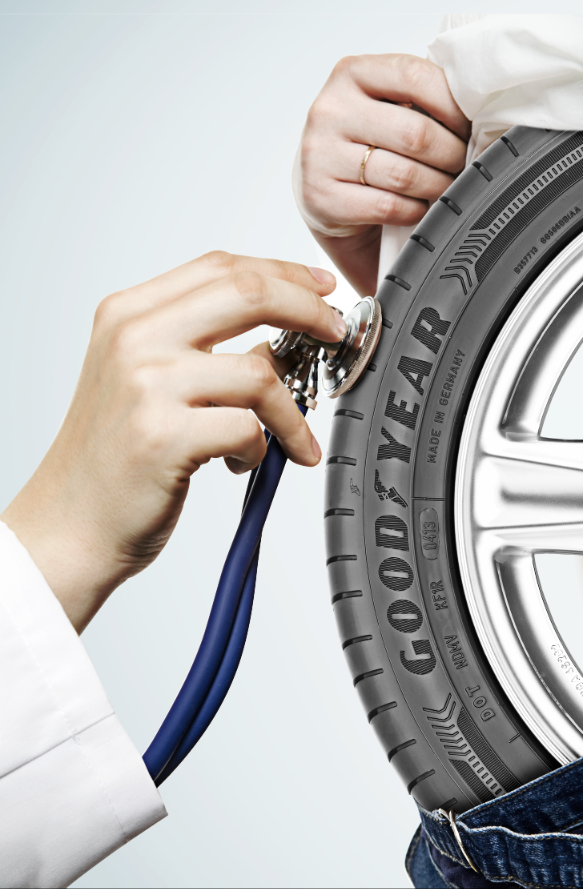 rbc.ru
Autonews
TV channel
Pro
Investments
Events
+
New economy
Trends
Real estate
Sport
Style
National projects
City
Crypto
Debating Club
Research
Credit ratings
Franchises
Newspaper
Special projects St. Petersburg
Conferences St. Petersburg
Special projects
Checking counterparties
Library
Podcasts
ESG index
Politics
Economy
Business
Technology and media
Finance
RBC CompanyRBC Life
adv.rbc.ru
Photo: Mikhail Tereshchenko / TASS
adv.rbc.ru
See also
Nail, rebar or sharp stone - sometimes you can damage a tire almost from scratch. First of all, the scale of damage is important, and often rubber can still be repaired. Most often, motorists turn to tire shops for repairs in the middle of autumn or spring - just in the season of replacing summer tires with winter tires and vice versa. In order not to stand in lines, it is worth knowing exactly when to go to the tire shop and when to go to the store.
The most common "injury" to rubber is a puncture, and it can most often be repaired. Professionals in the nearest service will do it much faster, and your hands will remain clean. But if the puncture caught you in a deserted place, and there is a pump and a tire repair kit with harnesses in the trunk, you can patch up the tire yourself. Most often, when repairing the front tires, the wheel can not even be removed, it is enough to turn the steering wheel in the right direction and find the puncture site.
First, the hole is cleaned with a helical awl, the repair harness is smeared with glue and tucked into the eye of the awl, after which it is inserted into the tire hole. With a sharp movement, the tool is removed, and the tourniquet remains inside and securely clogs the hole.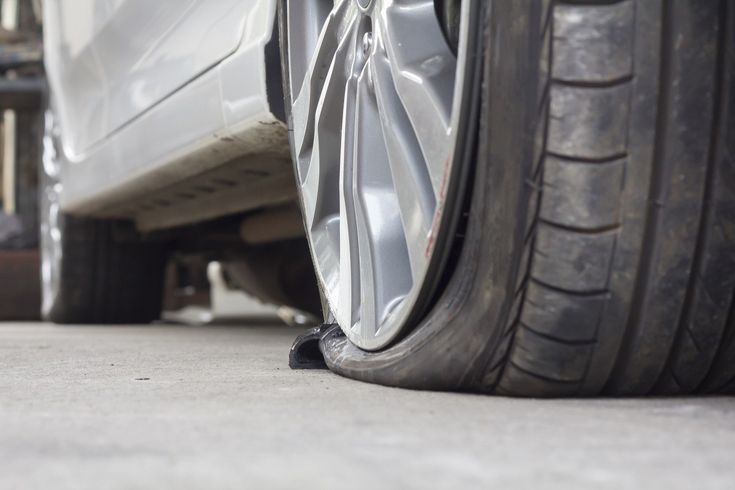 The tails are cut with a knife, but it is recommended to leave about 20 mm. After that, the tire can be inflated and the pressure checked.
Repair with tourniquets is not considered long-term, because after some time they dry out and begin to let air through. A more advanced puncture repair method is vulcanization. The hole is sealed with an elastic plaster, and the funnel at the puncture site is filled with a special compound. A vulcanizer is put on top, which heats the patch and solders the excess.
Under service conditions, the puncture is also repaired with cord fungus. The puncture site is processed and drilled to roughen. Everything is smeared with glue, after which a fungus is introduced from the inside of the tire, its cap is rolled, and the excess legs are cut off from the outside.
Photo: PA Images / TASS
A puncture can also be repaired with sealant. Many car manufacturers with run flat tubeless tires put compressor repair kits in the car instead of a spare tire - a bottle of pressurized sealant.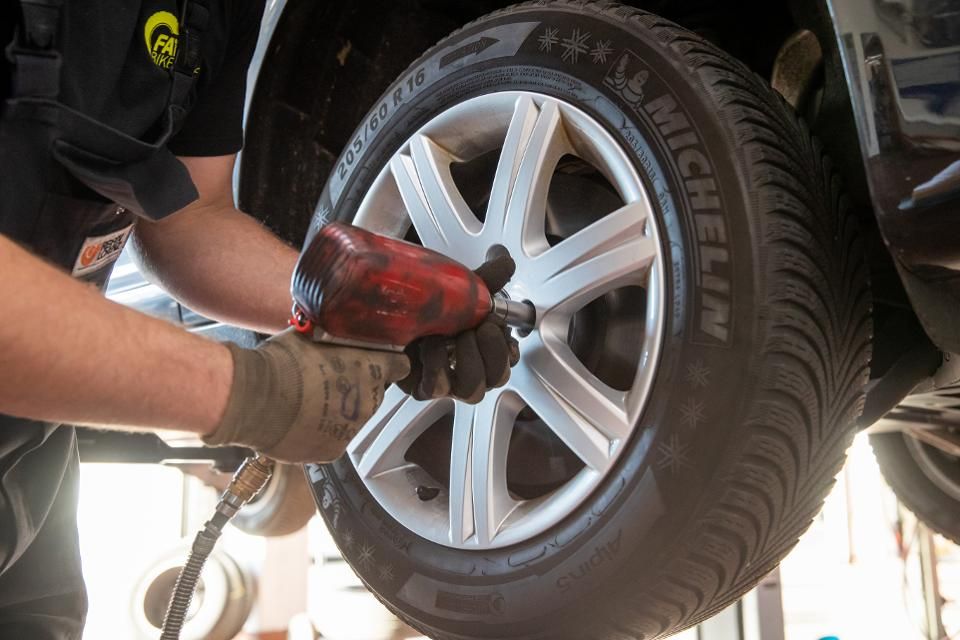 The car is raised on a jack, after which the sealant is pumped into the damaged wheel through the nipple. Next, you need to spin the wheel and pump it up. After repair, the car should be driven a couple of hundred meters to check the tightness of the tire. If it has not recovered, the procedure is repeated.
It happens that a self-tapping screw or a nail closes the hole in the tire, remaining inside. Do not rush to pull it out - until the pressure drops, you can safely get to the service for vulcanization. Sometimes the wheel begins to blow off a few weeks after the self-tapping screw got into it. Therefore, it is better to check tire pressure periodically, and if the pressure sensor lights up, you should at least visually inspect the tire for a nail head.
A bump or bulge most often occurs on the side of a tire after hitting an obstacle or hitting a hole at speed. From the impact, the sidewall carcass threads are damaged, the tire ceases to hold the load and pressure, swelling appears.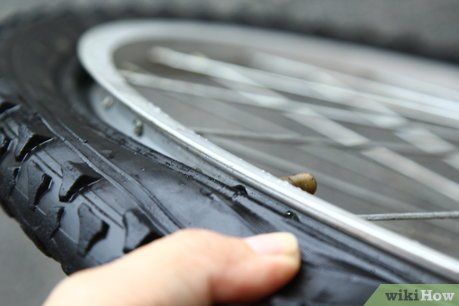 Any small bump eventually turns into a larger one, and with such a defect, the wheel can burst at any time. This is a direct safety hazard because a sudden flat tire can cause loss of control and a road accident.
Some bulges can be repaired, but no patch will ever restore a tire to factory stiffness. The ideal option in this case is to replace the tire. If a hernia has appeared on the tread, then you can extend the life of the tire with the help of cord patches - ready-to-use patches with an adhesive layer. But if swelling is found on the sidewall, the likelihood of repair is minimal, the wheel is easier to change. Blisters on low profile tires are generally not repairable.
Only car service professionals can repair a side cut. Cord patches will be needed to repair the damage, but after some time the wheel will still have to be changed. This method will work only if the gap is not in the shoulder area of the tire, then no one will repair it.
In general, cuts or punctures, unlike punctures, are considered non-repairable, since the integrity of the frame is violated.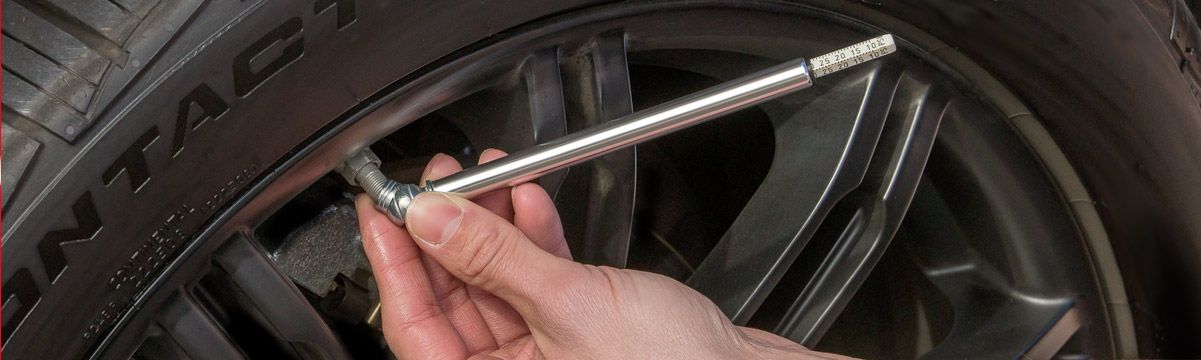 And breakdowns do occur on the go, when the tire abruptly loses pressure and has time to make only a few turns “on the rims” before it comes to a complete stop. In this situation, the cord breaks and the layers of the tire are destroyed. Even if it is possible to close the hole, it is not recommended to use such a weakened tire.
Photo: Mikhail Pletsky / Russian Look
Cracks, sidewall abrasions and unprofessional tire fitting can also lead to tire problems. Cracks can occur as a result of improper storage of tires. Their danger is that moisture begins to flow to the cord, and this already renders the frame unusable. Air can also escape through cracks. Cracks cannot be repaired and tires will not last long. A tire with cracks is deformed, blistered, and may even break while driving.
Rubbing against curbs or driving on uneven roadsides can damage the tire sidewall. When driving like this, it is worth inspecting the tires for damage regularly. If a slight wear is found, the wheels can be swapped, which will slightly extend their service life and allow you to delay the purchase of new ones.