Mount the winch on the vehicle using the M8 x 30 bolts and spring washers provided. The winch must be mounted in position with the rope/cable spooling off the bottom of the reel not the top. Improper mounting could damage your winch and void the Trailmaxx warranty.
All moving parts in the winch are permanently lubricated with high temperature lithium grease at time of assembly. Lubricate. Inspect rope/cable for broken strands regularly and replace if necessary. If the rope/cable becomes worn or damaged it must be replaced. Do not replace rope/cable with a rope/cable which is rated lower than the original.
For normal self recovery work, your existing electrical system is adequate. A fully charged battery and proper connections are essential. Run the vehicle engine during winching operations to keep the battery fully charged.
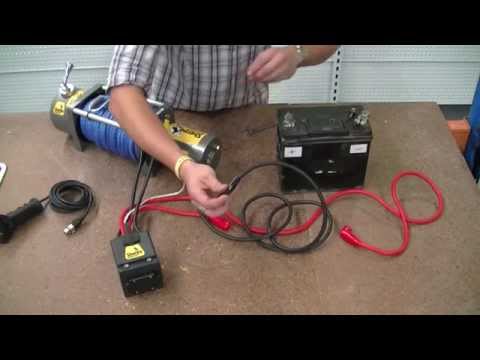
| ➊ | Connect the red motor terminal to the red motor connection terminal on the control box using a red cable. |
| ➋ | Connect the black or white motor terminal to the black motor connection terminal on the control box using a black cable. |
| ➌ | Connect the red power cord terminal on the control box to the positive (+) terminal on the battery using a red cable. |
| ➍ | Connect the black power cord terminal on the control box to the negative (-) terminal on the battery using a black cable. |
| ➎ | Check the direction of drum rotation. Turn the clutch knob to the “OFF” position and free spool some rope/cable off the drum. Turn the clutch knob to the “IN” position and push the “IN” button on the controller, if the rope/cable respools this is correct, if not swap the battery leads over and recheck. |
Your Trailmaxx winch is installed with a wireless control unit housed in the control box. This unit should have an operating range of at least 10 meters. If problems are experienced with the wireless control it may be ofbenefit to open the control box, locate the wireless control unit attached to the inside of the case, locate the aerial (green wire attached only at one end) and feed it out through the bottom of the control box into a more exposed position. To further extend the performance of the wireless control a Trailmaxx booster aerial can also be fitted.
The best way to get acquainted with how your winch operates is to make a few test runs before you actually need to use it. Plan your test in advance. Remember you can hear your winch as well as you can see it operate. Get to recognize the sound of a light steady pull, a heavy pull, and sounds caused by the load jerking or shifting.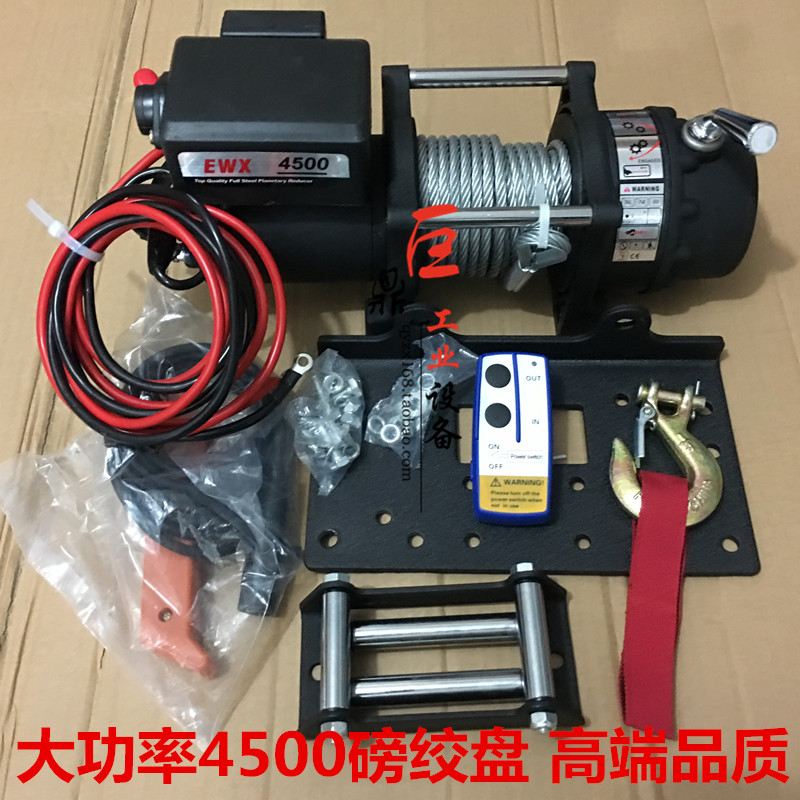 Soon you will gain confidence in operating your winch and its use will become second nature to you.
For normal self recovery work, your existing electrical system is adequate. A fully charged battery and proper connections are essential. Run the vehicle engine during winching operations to keep the battery fully charged.
| ➊ | Ensure the vehicle is secure by applying the park brake or chocking the wheels. |
| ➋ | Pull out the winch rope/cable to the desired length and connect to the anchor point. The winch clutch allows rapid uncoiling of the rope/cable for hooking onto the load or the anchor point. The shifter tab located on the gear housing of the winch operates the clutch as follows: |
|
|
| ➌ | Recheck all rope/cable rigging before proceeding. |
| ➍ | Plug in the winch hand control. It is recommended that the winching operation takes place from the driver’s position to ensure safe operation. |
| ➎ | To commence winching operation, start the vehicle engine, select neutral in the transmission, and maintain engine speed at idle. |
| ➏ | Operate the remote control switch in or out until the vehicle or load has been retrieved. Regularly check the winch to ensure rope/cable is winding onto the drum evenly. |
It is highly recommended that the winch be used regularly (at least once a month). Simply power out the rope/cable 15m, free spool 5m and then power back in. This will keep all components in good working condition so that the winch can be relied on when needed. Contact your authorised Trailparts outlet for technical assistance and repairs.
The safety precautions and instructions discussed in this manual cannot cover all possible conditions and situations that may occur.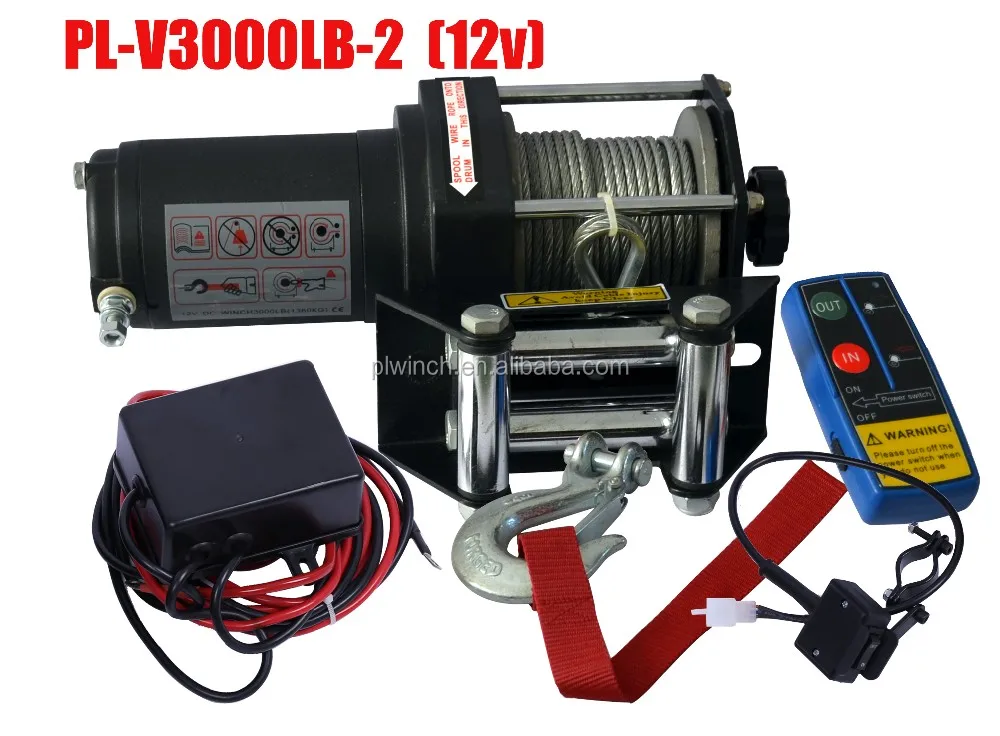 It must be understood by the operator that common sense and caution are features which cannot be built into this product, and must be supplied by the operator. Trailparts™ accepts no liability for any consequences of using this product if not used in accord with this manual.
Observe safety precautions for personal safety and the safety of others. Improper equipment operation may cause personal injury and equipment damage. Read the following carefully before attempting to operate your winch and keep the instructions for future reference.
 5 times the rope/cable length is recommended. If a rope/cable pulls loose under load or breaks it can lash back and cause serious injury.
Read the following carefully before attempting to operate your Trailmaxx winch and keep the instructions for future reference.
 Failure to ensure this could result in the rope/cable parting from the drum under load resulting insevere personal injury and/or damage to property.
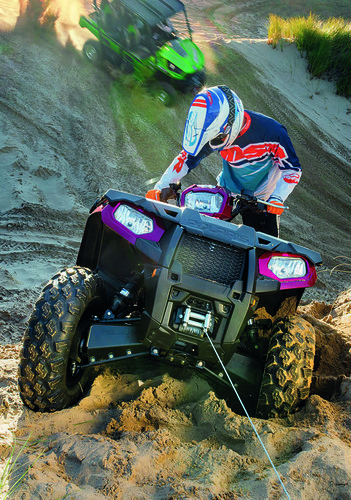
 Spool out the rope/cable until the rope/cable mark appears, then rewind the rope/cable on the drum under a load of 500lbs (230kgs) or more. This will slightly stretch and tension the new rope/cable and create a tight rope/ cable wrap around the drum. Failure to do so may result in Rope damage and reduced rope/cable life.
 A vehicle rolling back on a slack rope/cable may induce a damaging shock load.
| Symptom | Possible Cause | Suggestion Remedy |
|---|---|---|
| Motor does not turn on | Safety switch is off | Turn safety switch to the ON position. |
| Switch assembly is not connected correctly | Insert safety switch assembly firmly into the connector. | |
| Loose battery cable | Tighten nuts on cable connectors. | |
| Solenoid malfunctioning | Tap solenoid to free contact, applying 12/24 volts to coil terminal directly.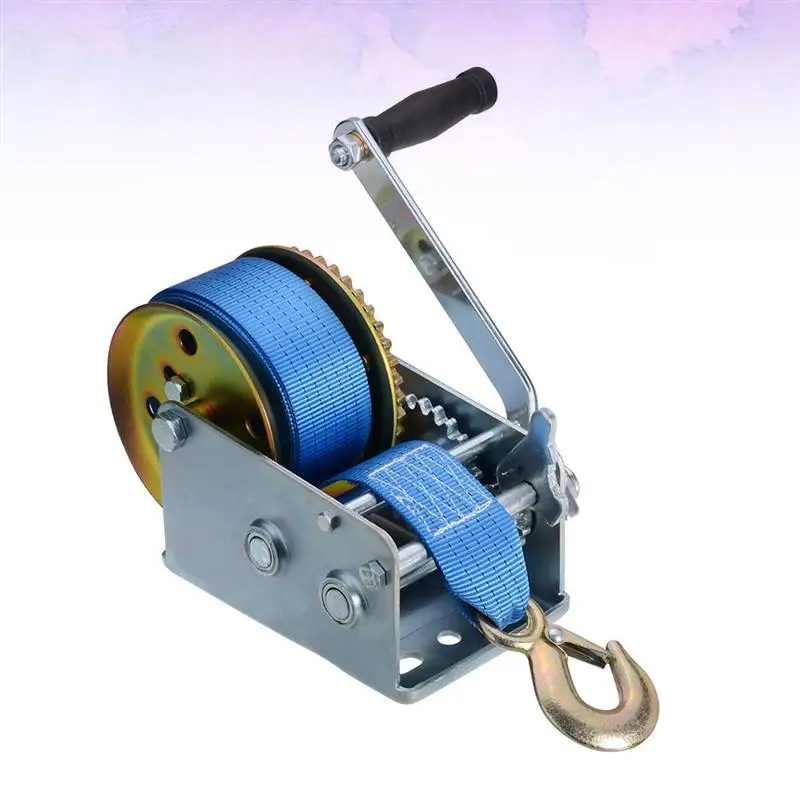 Make an audible clicking when activating. Make an audible clicking when activating. |
|
| Defective switch assembly | Replace switch assembly. | |
| Defective motor | Check for voltage at armature port with switch pressed. If voltage is present, replace motor. | |
| Water has entered motor | Drain and dry. Run in short bursts without load until completely dry. | |
| Motor runs too hot | Long period of operation | Let winch cool down periodically. |
| Motor runs slowly or without normal power | Low or flat battery | Recharge battery by running vehicle. |
| Insufficient current or voltage | Clean, tighten or replace the connector. | |
| Motor runs but rope/cable drum does not turn | Clutch not engaged | Turn the selector lever to the IN position, if that does not work, take to a qualified Trailmaxx technician to check and repair.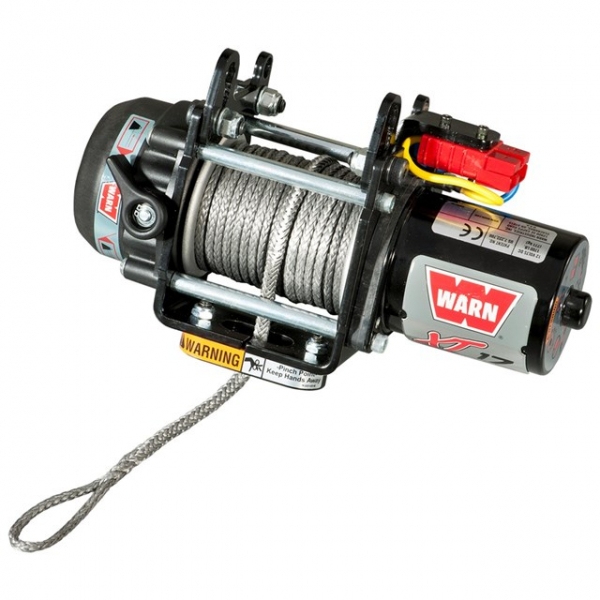 |
| Motor runs in one direction only | Defective or stuck solenoid | Tap solenoid to free contacts. Repair or replace solenoid. |
| Defective switch assembly | Replace switch assembly. |
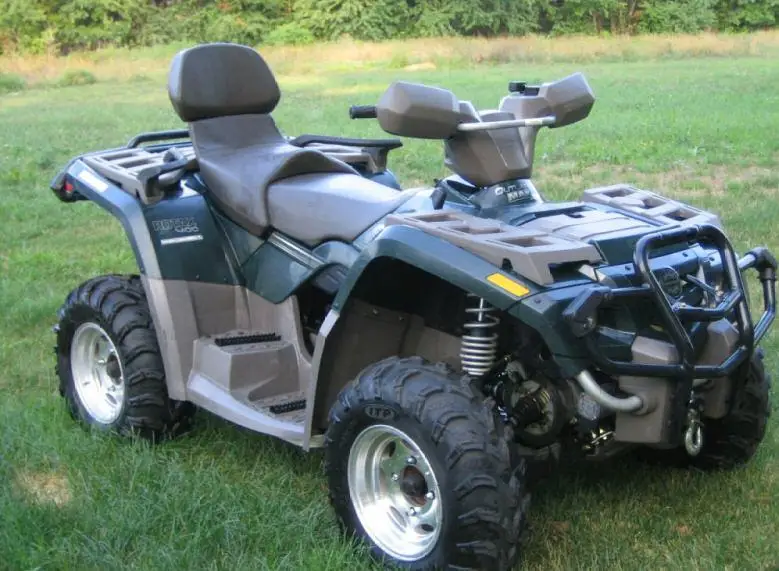
An ATV that has a clutch is considered a manual transmission ATV, unlike an automatic transmission ATV that does all the shifting for you. Driving a manual ATV is actually pretty easy once you get the hang of it. After a while it becomes second nature and you will be able to ride without even thinking about it too much. You will need to be able to coordinate between your hands and your feet to shift. I will go over step by step exactly how to start, get into gear, and shift with a manual ATV.
First, lets go over the components you will need to know to drive an ATV with a clutch.
 If you pull this lever in, the plates in the transmission pull away, causing your ATVs transmission to be disengaged. It is similar to be being in neutral, you could give it gas and not go anywhere, you’ll just rev the engine.
It’s best practice to start the quad when it’s in the neutral gear.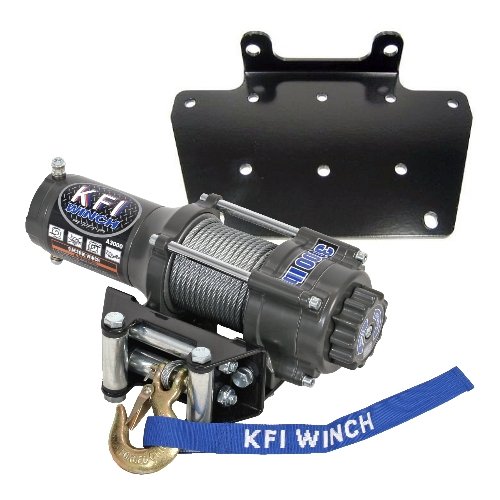 It is possible to start the ATV in any gear as long as you hold in the clutch lever. Remember, when you pull in on the clutch lever, you’re essentially putting the quad in neutral, as long as you’re holding in the clutch.
If you start your quad in gear, you need to pull in on the clutch and start the engine. Be careful though, if you let go of the clutch with the engine running and the transmission in gear, you will stall and could do damage to your transmission. I only start mine in neutral so that way I can let off the clutch and the quad will idle, and I suggest you do the same.
To get into neutral before starting the quad, you need to pull in on the clutch lever and use your left foot shifter to find neutral. Neutral is usually located between 1st and 2nd gear. You typically won’t be able to get into neutral from 2nd gear though. You should shift to 1st gear by clicking down on the foot shifter, all the way down to 1st gear. Then lightly shift a half click up into neutral. A full click up from 1st gear will put you into 2nd gear, a half click up will put you into neutral.
This is the part that everyone gets hung up on, I know I did when I first learned. It’s really not that hard once you get the hang of it though, it takes some practice. Don’t let yourself get discouraged too easily and you’ll be just fine.
Start off by being in neutral with the engine running. Pull in the clutch lever and hold it in. Now shift into 1st gear by pressing down on the shifter with your foot. To start accelerating, you need to give it some gas with the throttle while you slowly let out the clutch. You have to do these at the same time, that’s what usually gets people.
When you feel the clutch engage, the quad will start to move forward and you can let go of the clutch all together. You’re now in 1st gear moving forward. Be careful though, if you come to a stop without pulling the clutch back in, or getting back into neutral, the ATV will stall.
It may help to just practice getting the quad moving in 1st gear using the clutch and throttle for a bit.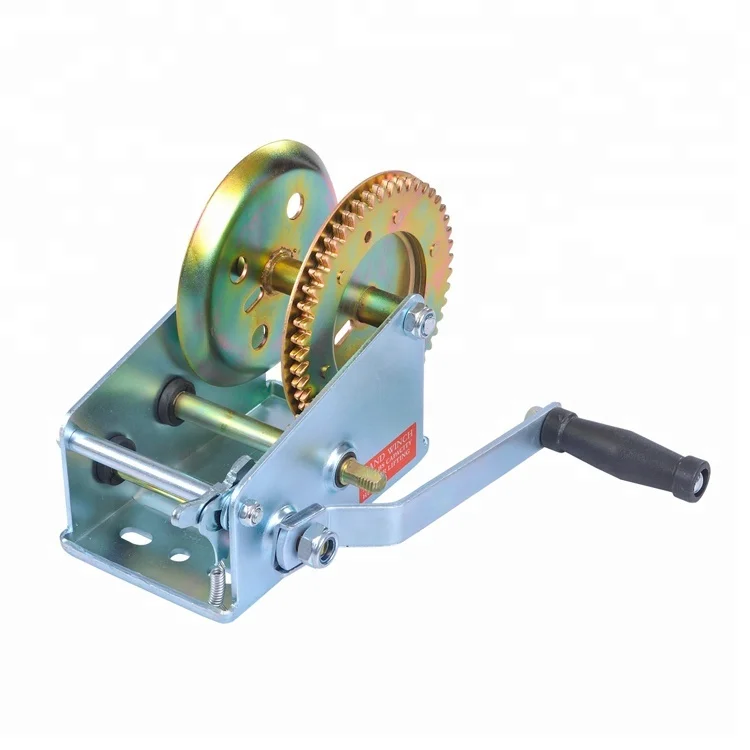 Every quad is a little different so it’s hard to say how much throttle to give, and how far to let the clutch out before it grabs. A good starting point though is to try about half throttle, and let the clutch out slowly until you get a good feel for it.
If you keep stalling your engine, you’re either not giving enough gas or you’re letting the clutch out too quickly. If the front end lifts up on you, you’re probably giving it too much throttle when you let the clutch out. It may take patience to get the hang of, but just take it easy and practice.
Once you’ve got the ‘start driving’ part down you’ll want to go faster. Luckily this isn’t as hard as getting the quad moving in the first place. To shift up a gear you want to be about 75% or more of the rpm range for your engine. You typically want to shift up in the higher rpm ranges or you will just bog down the engine. For example, being in 4th gear but only going 5mph will give you no power, and you might even stall.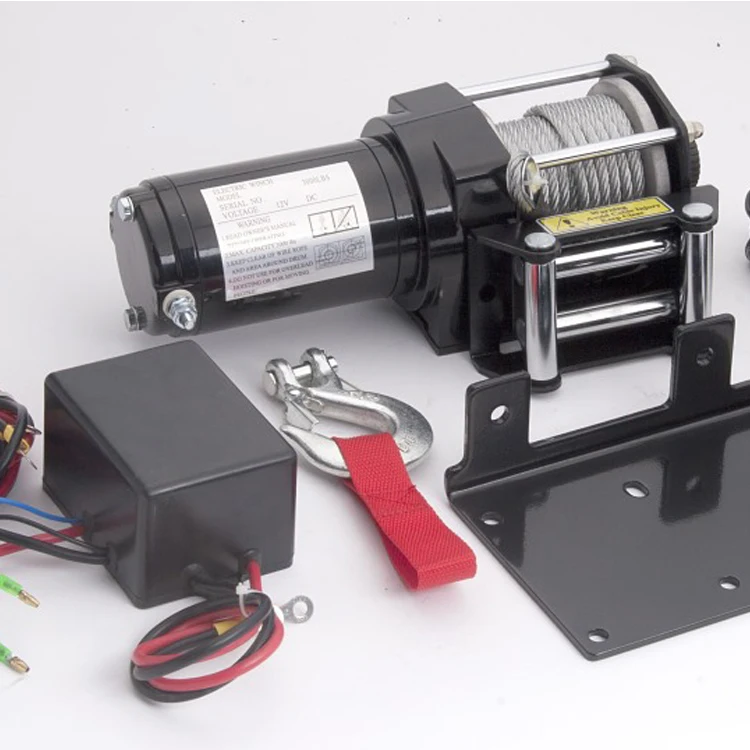
To shift up, you have to let off the throttle and pull in the clutch lever all the way. With your left foot, pull up on the shift lever into the next higher gear then let the clutch out and give it throttle. Keep in mind when switching from 1st to 2nd you need to do a full click up to shift, a half click will put you in neutral.
If you feel more comfortable slowly letting the clutch out and giving gas at the same time like you did to start in 1st, that’s fine. It is not necessary though. That’s why I think shifting between gears is easier than starting out in 1st. Because you can just let off the gas, pull in the clutch, shift, let go of clutch all together, and give it gas again. You’ll be able to do this faster with time, and it becomes second nature after a while.
To downshift you do the same steps except press down on the shifter with your left foot. Keep in mind that if you down shift at a high speed you will red line your engine and could cause damage.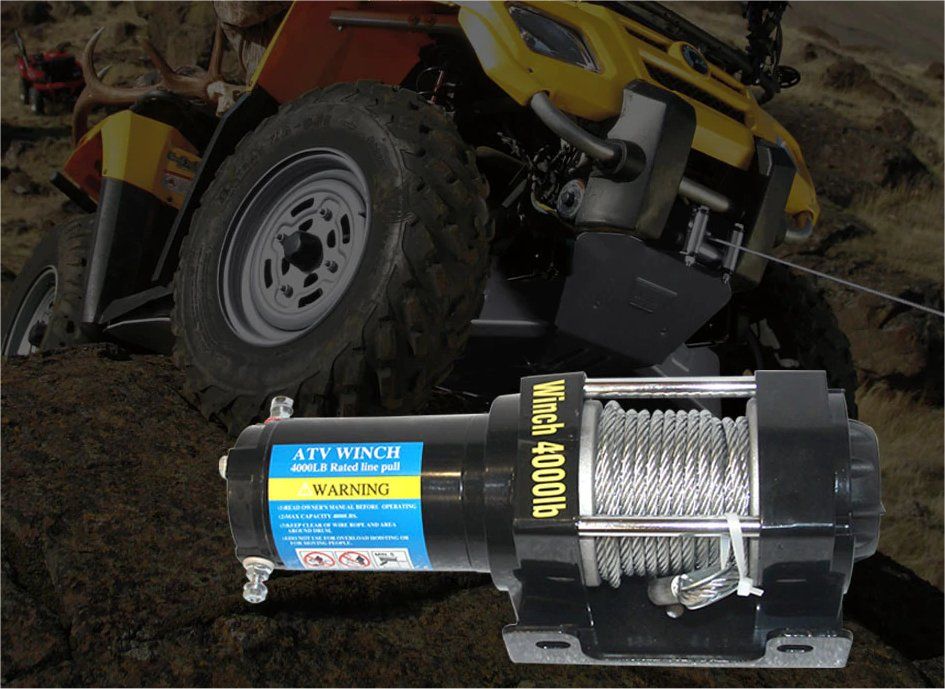 Downshifting is only really needed when you’re slowing down. What I do is just hold the clutch in whenever I’m slowing down, and once I’ve slowed to the speed I want, I shift down into the gear best suited for that speed, and let the clutch out.
You really do need to know what gear is best for the speed you’re going. Unlike shifting up through gears, you can shift down through multiple gears at a time depending on how much you slowed down. If your ATV doesn’t have a speedometer, the best you can do is just get a feel for what speed you’re going and what gear you should be in.
This is the easiest part, but the most important, you should definitely know how to stop before you even try riding an ATV with a clutch. To come to a complete stop simply let off the throttle, hold in the clutch, and apply the front and rear brakes until you’ve stopped moving. You can down shift while you’re slowing down or wait until you’ve stopped to down shift all the way to 1st gear. Either way, it’s important that you hold the clutch in this entire time.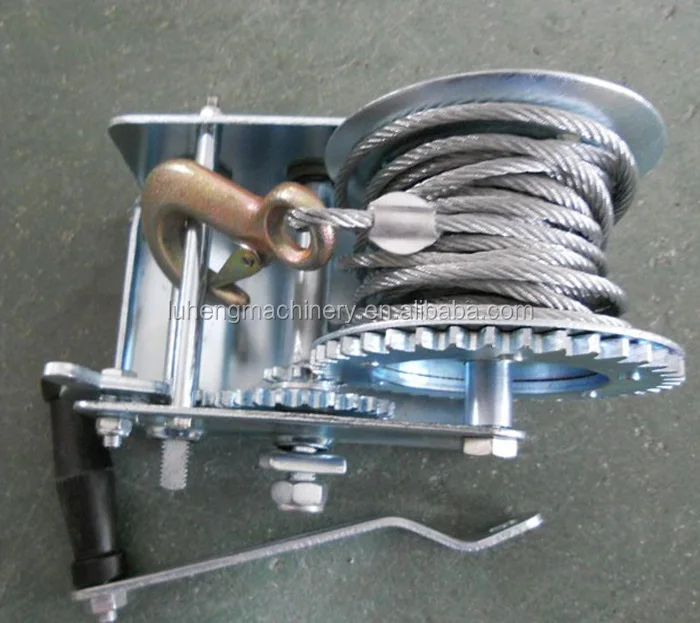 Once you’re into 1st gear, do a half click shift up into neutral. Now you can let off the clutch and the engine will idle.
The front brake is applied by using the front brake lever on the right side of the handle bars. The front brake is typically about 3/4 of your stopping power. Some people never even touch their rear brakes at all, which is fine. To use your rear brakes apply the foot brake by your right foot. The rear brake becomes more useful when you start to learn more advanced braking and cornering, or if you just like to skid to a stop.
That’s it! now it’s time to practice, a lot. You’ll get the hang of it and you’ll want to start trying more advanced maneuvers in no time. As always, remember to wear proper safety gear. At the very least, make sure you wear a helmet, goggles, and a decent pair of boots. If you want to check out some gear I’ve tried, tested, and recommend myself, check out the Recommended Gear section of this site.
Sharing is caring!
A winch is a must have for off-road riding. It allows you to pull a stuck ATV out of mud, water or deep ruts. Many models of CFMOTO ATVs and ATVs have a winch from the factory, for others it needs to be purchased separately. In this article, we will tell you how the winch works, what to look for when choosing, and also give useful tips on how to use it.
ATV winch is a drum with a cable. An electric motor is located on one side of the drum, and a gearbox on the other. Rotation from the electric motor to the gearbox transmits a shaft that passes inside the drum. The gears of the planetary mechanism are located in the gearbox.
Reducer reduces speed and increases traction. The rotation from the gearbox is transmitted to the drum, which winds the cable, creating traction and gradually pulling out the stuck equipment.
One of the key parameters to consider when choosing a winch is traction. It determines the maximum weight of the load that can be torn off the surface.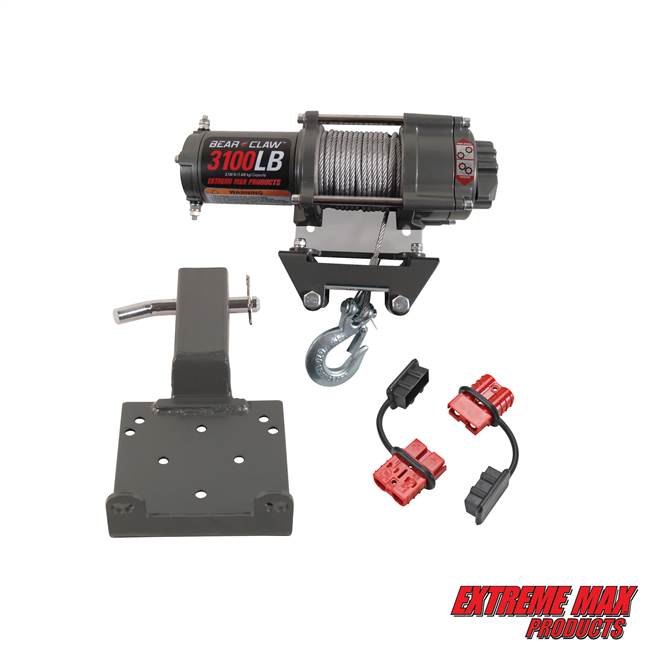 With each skein of the drum, the winch force decreases.
Thrust is measured in pounds (labeled on winches as lbs), 1 lb = 0.45 kg. The force depends on a number of features: the diameter of the drum, the number of wound turns, the power of the electric motor, as well as the gear ratio of the gearbox.
It is not always necessary to choose the most powerful and fastest winch: the more powerful the mechanism, the more difficult it is to handle. Beginners can harm equipment and even their health - it is not uncommon for a broken cable or a broken hook to cause injury.
Matches the cubic capacity of the ATV:
Steel - cheap and easy.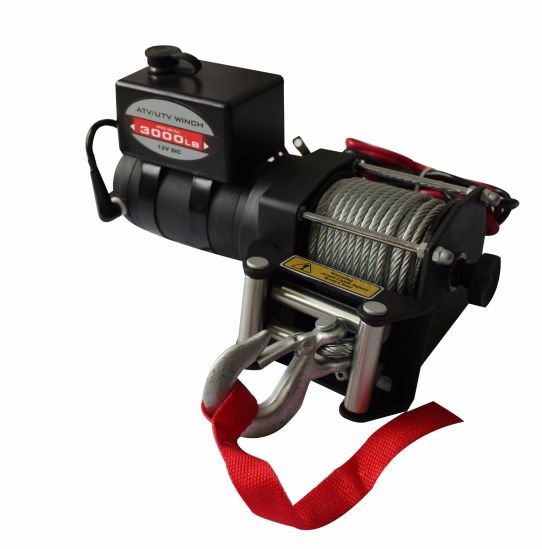 Requires work with gloves, not repairable. May cause injury if mishandled.
Synthetic - requires maintenance but is easy to use. It does not "shoot", and if the cable is damaged or torn, it can be braided on the spot.
Most experts believe that material choice should be based on personal preference: some riders lean towards steel over time, others towards synthetics.
The winch is installed on a special platform on the ATV frame. If there is no platform, you need to buy it and install it according to the instructions. The site has standard anchor points that fit classic winches up to 3,500 feet of pull.
When choosing a winch, pay attention to the width of the drum:
With certain skills, you can modify the fasteners and install almost any winch - the main thing is not to make the fasteners “to break” and not to strengthen weak points. If the ATV is under warranty, it is advisable not to touch the frame and buy a standard winch.
Installing the winch is easy, but the connection will have to be tricky. To lay the wiring, it is advisable to remove the plastic from the ATV. The winch must be connected to the control unit and battery. It is recommended to keep the power cable as short as possible to avoid current loss. All wires must be hidden in the corrugation so that they do not come into contact with the frame and are protected from moisture.


If you have any questions or would like further advice on purchasing, installing, operating and maintaining an ATV or ATV winch, please contact your nearest authorized CFMOTO dealer.
Dealers CFMOTO
Contents
The winch used on ATVs, for many years of use by fans to wallow in the mud, has acquired the status of indispensable. Therefore, the idea has ripened to get to know her better. Now we will look at what varieties our winches have: WARN, T-Max. And also we will conduct a lesson of a detailed description and a visual demonstration of installing a winch on an ATV with a video with your own hands.
In many cases, pioneer drivers go to places where help is not forthcoming. In many cases, when passing through marshy swamps, wheel extensions .
Let's imagine the following situation: you are alone, somewhere far away in the forest, many kilometers from home, in a deep puddle, there is no help.
ATV has a fairly large weight, so pulling it out alone is unlikely to succeed. So what are you going to do? Walk for help? Or try to pull yourself out? Where you can carry half a day and, as a result, to no avail leave the place of drowning on foot. At this moment, the winch is your salvation. Attach one end to a tree, only to damage the tree as little as possible, because nature needs to be protected, or for anything else that confidently stands still, press the button and the job is done. She coped with this task in two ways. A winch is a truly indispensable accessory on an ATV. If you are a deep mud rider, consider installation of a radiator extension , it saves well from pollution and helps to cool the engine.
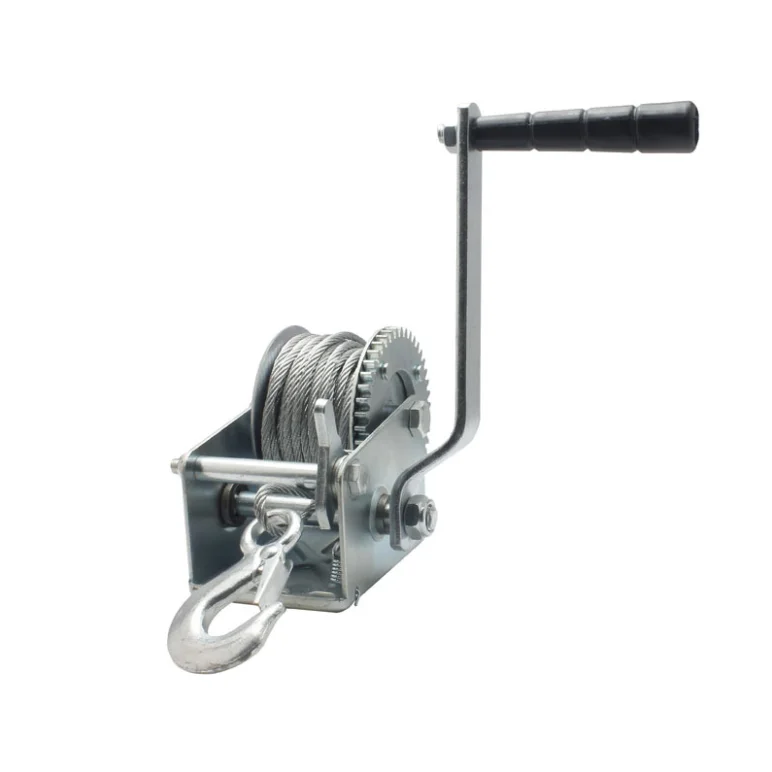
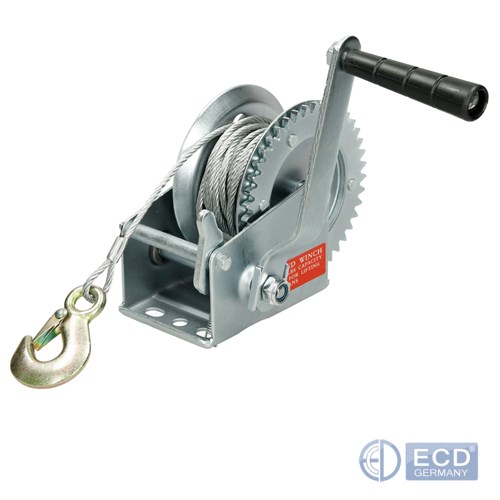
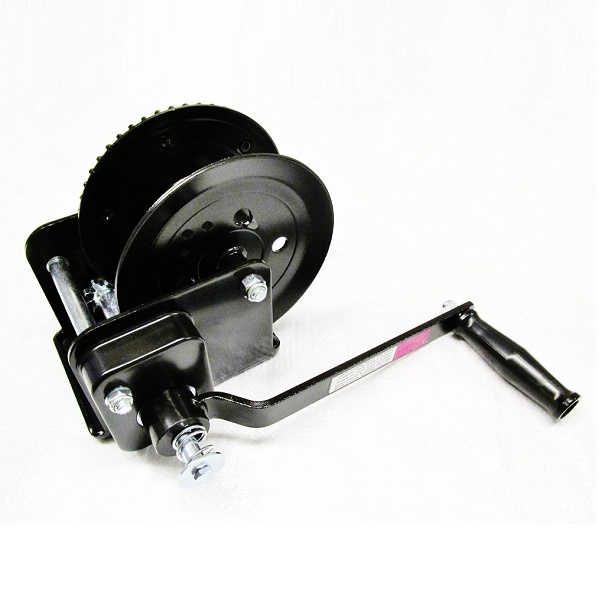
Very simple - before they were of a mechanical type, they had to be turned manually, now this principle is a thing of the past, and traction is generated due to the gear device and torque. The drum winds the cable onto itself through the gearbox, the car slowly crawls out of the mud.
Before purchasing a quadric, think carefully about where you will use it. If, nevertheless, in bad road conditions, then do not spare the money, put a winch and at the same time , install the snorkel , and you can know for sure that it will save you sooner or later. But which one to choose, we will consider further!
First of all, you need to know the volume and power of the engine. Under these characteristics, your winch is selected, which you install on an ATV.
When choosing, pay attention to the power of the electric motor, the type of gearbox, which control, the type of cable and its size, and of course, the overall dimensions.
Recently, almost all winches are equipped with battery-powered electric motors. This moment will save you when installing snow plow , since it will be easy and convenient to use the plow with an electric winch, and why look and read at the link.
The winch is controlled very simply, a young child can handle it, it happens on the steering wheel of an ATV using a button. With the exception of some of the more expensive ones, they are controlled by a radio joystick.
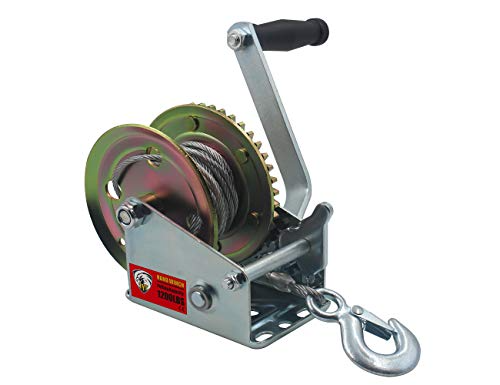
Steel cable for winch
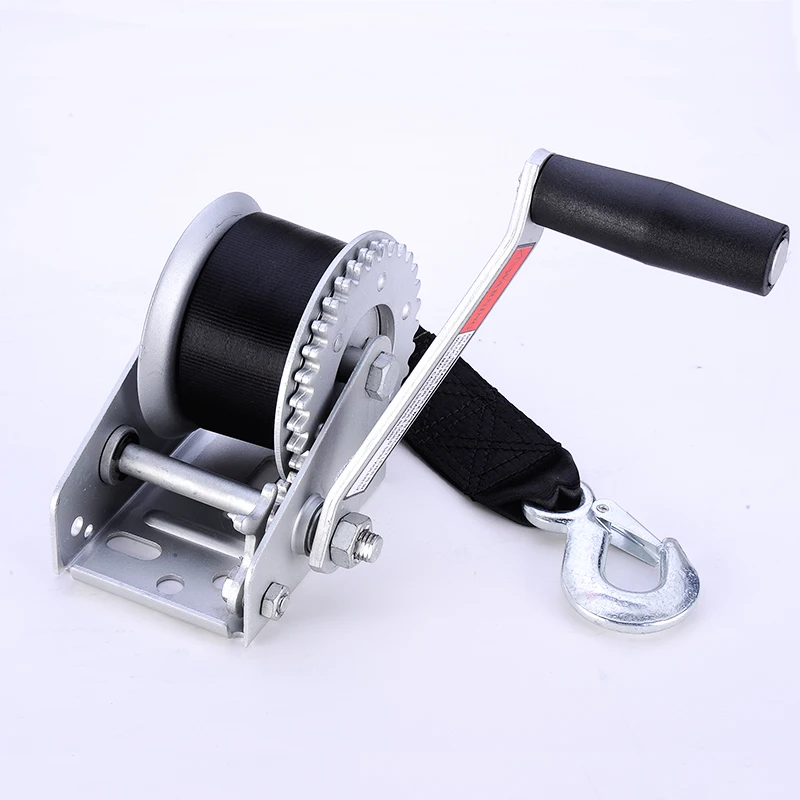
Synthetic rope
Cables are made of steel and synthetic, approximately 15 meters long. It is probably better to use synthetics, they are lighter and more elastic than steel, they are not subject to rust, they can withstand a load of up to three tons, they are the safest in case of a rush.
Thinking about choosing a company and which winch will be more reliable on an ATV?
Everyone wants to choose the necessary accessory the first time and for a long time, but unfortunately not everyone succeeds and not every time. There are many manufacturers on the market, each with a different price and, accordingly, quality. There are also many variations of winches, varying in size and power, suitable for different types of ATVs. Now let's take a look at some of the most common examples.
WARN winch
According to customer reviews, the most high-tech and reliable in our market. These winches are suitable for almost all ATVs. Traction force is from 900 to 1800 kilograms. The mechanism is all-metal.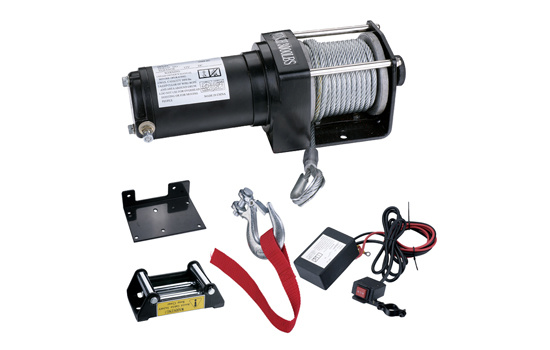 Cables are steel and synthetic.
In terms of price-quality ratio, the WARN winch for an ATV will be a fairly profitable solution, albeit the most expensive one. This WARN company is also distinguished by its uptime. Under conditions of proper operation and timely maintenance, it will last a long time.
The most budget option. The next T-Max winch for an ATV from a Chinese company is also quite decent quality at an average price. There are different capacities. Used on ATVs up to 500 and more than 500 cubes. Traction effort T-Max from 1130 kilograms to two and a half tons.
Also available with steel and synthetic cables 15 meters long. Includes seats and automatic brakes.
TheThe T-MAX winch has the following minus - before installing it on an ATV, it must be disassembled and lubricated to prevent unauthorized ingress of moisture into it.
T-MAX winch will provide you with reliable protection against getting stuck in difficult road conditions.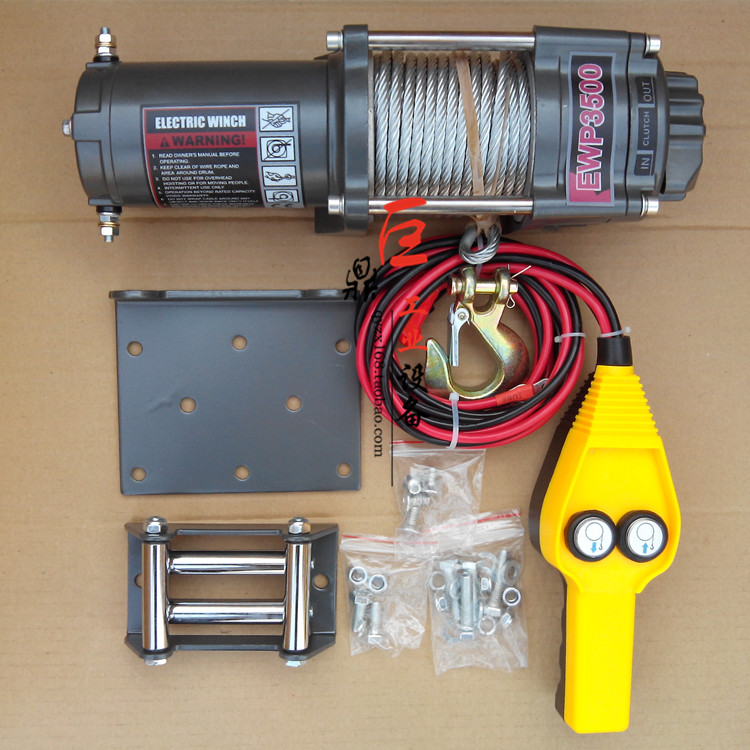
I would like to note for review the manufacturers: MASTER-WINCH and QUADRAX. If you need a quad for "antlers and showing off" to your comrades, buy a quinoa of the cheapest option, and don't think about this issue, don't use it for its intended purpose anyway. And to stand on the "showcase", as they say, and the usual layout can.
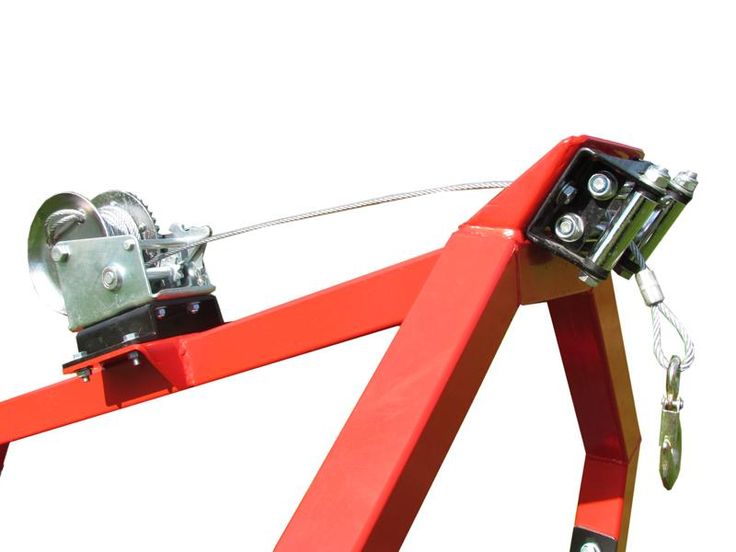
Cable accumulation on one side of the drum
Any winch has two control modes on the ATV: electric mode and manual unwind mode. In crowning a tree, we use a protective sling. We bend around the tree with a sling and hook on the hook. Be sure to keep the rope taut when operating the winch. Do not use the winch with the engine turned off - it will save the battery from discharging.
Sometimes, in difficult situations, the power may not be enough, use the unit. If you are pulling out the ATV at a sharp angle, then from time to time it is necessary to loosen the cable and wind it on the opposite side of the drum.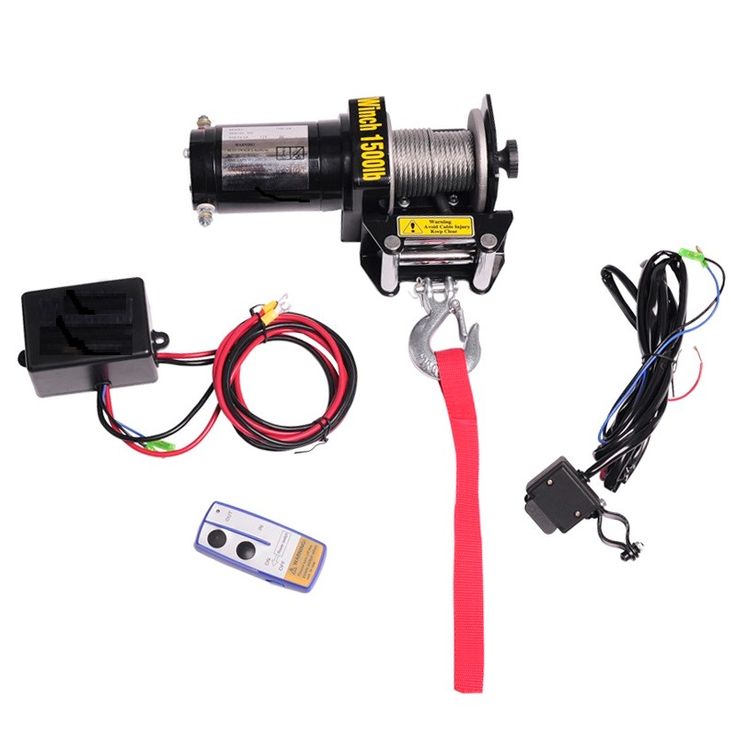 Otherwise, the accumulation of cable on one side of the drum will cause the winch to jam.
Did you have to use a lifeguard on a hike? Upon returning home, be sure to unwind it, inspect the cable, clean it of dirt, dry it and lay it tightly on the drum.
Suppose you pull out the second quadric with your swan, then your all-terrain vehicle must be stationary. And in no case do not try to move back - the load on the winch increases significantly.
Be sure to wear gloves when using to avoid injury to your hands, especially if the cable is metal.
Consider the example of WARN. Unpacking from the package. The platform is attached to the quadra frame, and the winch is directly attached to it. It is necessary to disassemble the front of the ATV and install the platform.
After reading at the end of the post, I advise you to watch a step-by-step installation video, where everything is clearly shown and shown to the smallest detail. What modifications are needed during installation?
Removing the front protection. The platform itself is attached to the frame in different ways, who fastens it, others weld it. Each method has its pros and cons. Installing the platform with bolts allows you to return the ATV to the factory state, when you weld it, the factory one will not work later, you can say - forever.
So, the installation of the winch itself requires convenience, before work, we will raise the ATV with a jack and proceed to install the platform. Remove front cover. The platform is partially attached to native fasteners, partially to the frame with special clamps, which should be included in the kit. We turn off the native bolts from the bumper - there will be one of the attachment points of the platform. We attach the platform with a bolt and, according to the instructions, begin to bait. If all the fasteners fit, we begin to stretch it.
The most important thing is to make sure that the clamps stretch without distortion, so we tighten the nuts one by one. The platform has been set up. It's time to install the quinoa itself. Be careful, it is heavy, it can fall, squeeze your fingers, so you need to be careful.
The instruction asks to install on different bolts. Some are 20 centimeters, others 25. We take 25 and fasten them through the brackets to the bottom mount. Note that the brackets can be of different sizes. This is surprising, because the copy is not Russian-made))), but unfortunately a fact. Therefore, in such cases, you will either have to unbend the bracket or drill it so that the holes fit under the mount.
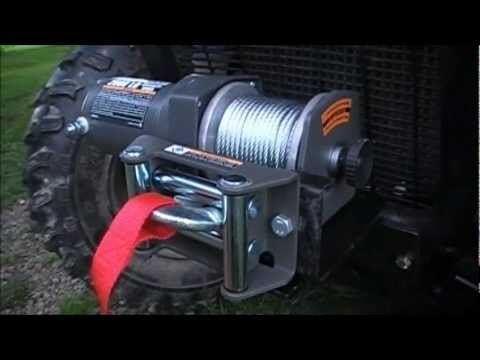
Is everything okay? Now you can pull. The procedure is not very convenient, but doable. We pass the cable into the "lips". When using the cable, we have it at different angles.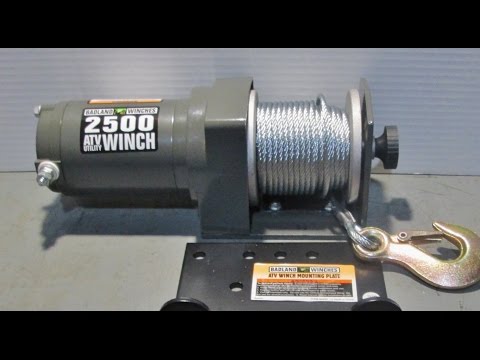 These lips allow us to keep the cable alive with the help of rollers, freeing it from friction on the part of the all-terrain vehicle. Of course, over time, these rollers wear out, crumple and stop rolling. But it won't affect performance much. Next, fasten the lips to the fastener. So, the installation of the winch is almost completed. For those who don't understand, open the video.
We proceed to the laying of new wiring. Wires are included, power. Part goes from the battery to the solenoid, and part from the solenoid to the swan.
The solenoid is responsible for power. We install it on the site. We run the wires from the battery directly to the solenoid. To do this, you will need to disassemble the lining. Part of the lining is fastened with latches, the rest with bolts.
Now we look where the wires will go. It is necessary that they are not frayed or burned anywhere. Power wiring, preferably, we hide the corrugation for protection in order to avoid a short circuit.

 The winch is now ready for pulling.