This post contains affiliate links.
Adding air to your RV’s tires should be straight forward but when you are faced with dual tires, also known as dually tires or duallies, it can seem a little more complicated. There are a few different ways that you can go about adding air to your dual RV tires, and the best one is going to be the one that you are most comfortable with but some ways are definitely easier than others.
To inflate dually tires, access the inner valve stem (with or without an extender), attach the chuck to the valve stem and use an air compressor with a high PSI rating to fill the tires.
RV tires are expensive, and nothing puts a damper on a trip like a blowout. Properly inflating your RV’s tires is going to help extend the life of your tires and keep your trip rolling smoothly. I’ve got a couple of tips and tricks that will make the process of properly inflating your duallies easier.
Table of Contents
Adding air to the outside tire is easy – you just remove the stem cap, attach the air hose and chuck to the valve stem, fill the tire while checking the pressure, then replace the stem cap. Inflating the inside tire is when it gets fun.
One of the biggest challenges that comes with filling dually tires is accessing the inner wheel’s valve stem. If your dual rims are properly aligned then you won’t have as much trouble reaching it. If you’re like 99% of RV owners, your dual rims won’t seem to be properly aligned.
You can fix this by taking off the outside tire to reposition it so that the inner valve stem comes through the cutouts in the rim. Once your inner valve stem is at least accessible you’ll be able to fill it in the future without taking off the outside tire.
Fix It Yourself is a self-guided online course where certified RV tech Ed Wilcox walks you through all the steps you need to know to properly maintain your rig and fix problems when they come up.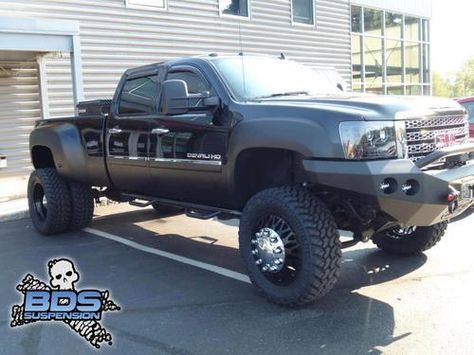 Check it out HERE!
You can either use a personal air compressor or an air pump at a gas station, truck stop, etc to fill your tires, but if you do decide to use your air compressor you have to make sure it has a high enough PSI to get the job done. Dually tires typically should be filled to 80 PSI, and not all air compressors will be able to reach that pressure.
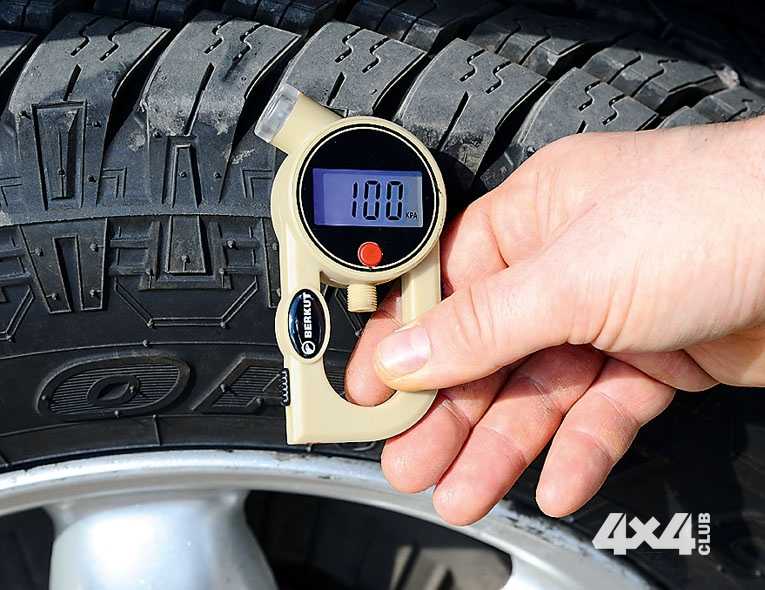
To use your compressor you’ll want to get a pressure gauge that’s long enough to reach the valve stem, which means you’ll need about a 12-inch hose without a valve stem extension installed.
The pressure gauge will let you keep an eye on the tire’s PSI as you’re filling to make sure that it doesn’t get under- or overinflated. You can monitor the pressure by just placing the pressure gauge onto the valve stem without pumping any air into the tire.
Sale
AstroAI Digital Tire Inflator with Pressure Gauge, 250 PSI Air Chuck and Compressor Accessories.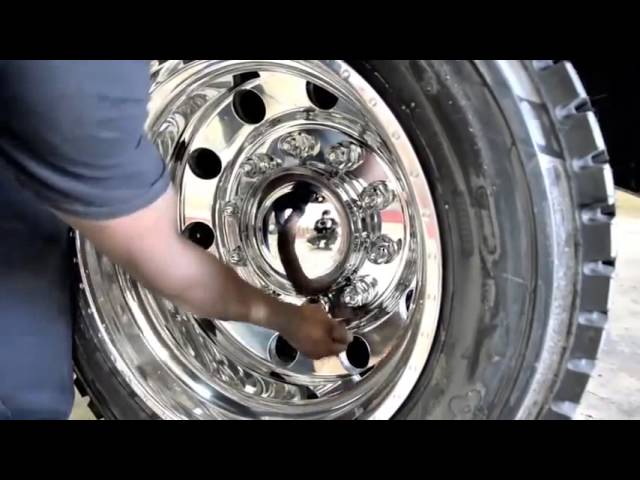 2; Includes an inflator, straight locking...
If a tire is under-filled it will cause more wear and tear on the tire, not to mention it can make your RV more prone to tipping over which is definitely something you do not want to deal with. If your tire is overfilled, you increase the likelihood of a blowout and you also decrease your tire’s lifespan.
In order to fill the tire, you can try using an angled inflator chuck to better reach the valve stem and you can also find them in different lengths. It may take some playing around with different chucks to find the one that works best for your RV. You can also try getting a valve stem extension with different angles like 90 degrees, 120 degrees, etc.
Once you have your air compressor hooked up, squeeze the trigger/lever on the compressor hose to pump air into the tire and release the lever to see what the tire’s current PSI is.
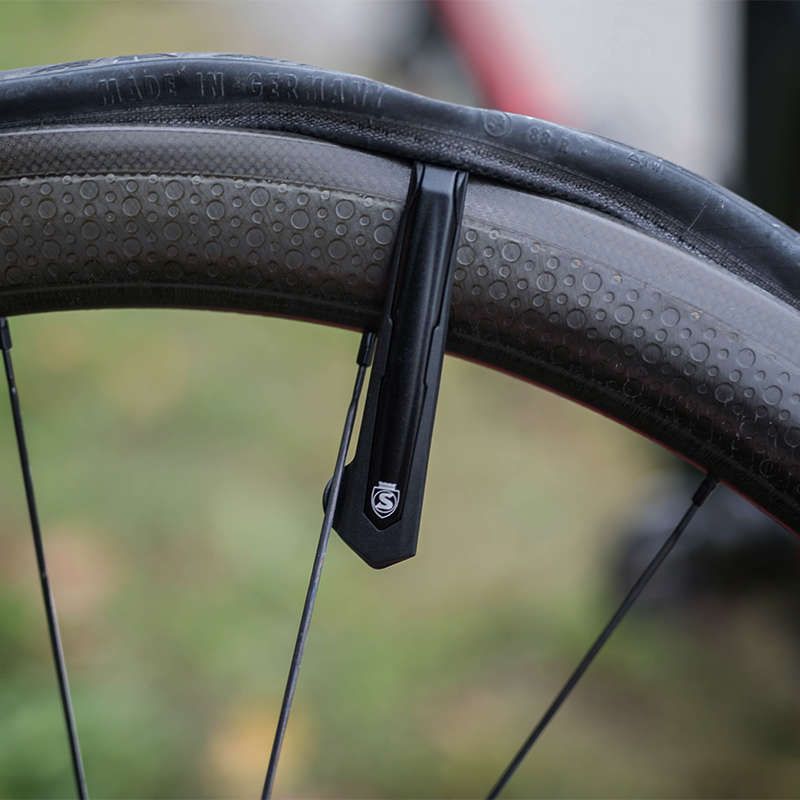
A valve stem extender is exactly what it sounds like – a part that you can install to extend the length of your valve stem. Most of them are made of stainless steel and they attach directly to the tire stem, and you can leave them installed so that you’re all set for next time.
Sounds great, right? No more cramped spaces, no more fumbling for the valve stem, no more hassle.
While that may sound like the best thing in the universe (especially if you’re already an hour into trying to check your dually tire pressures), most RV forums are actually pretty divided on how well they work and especially how safe they are for your RV.
Some people argue that they’re just as hard if not harder to install than just putting the chuck on the stem, and other people have had bad experiences with them leaking if left on for long periods. Still other people have reported the inside of the valve stem, which is rubber, deteriorating despite the stainless steel exterior.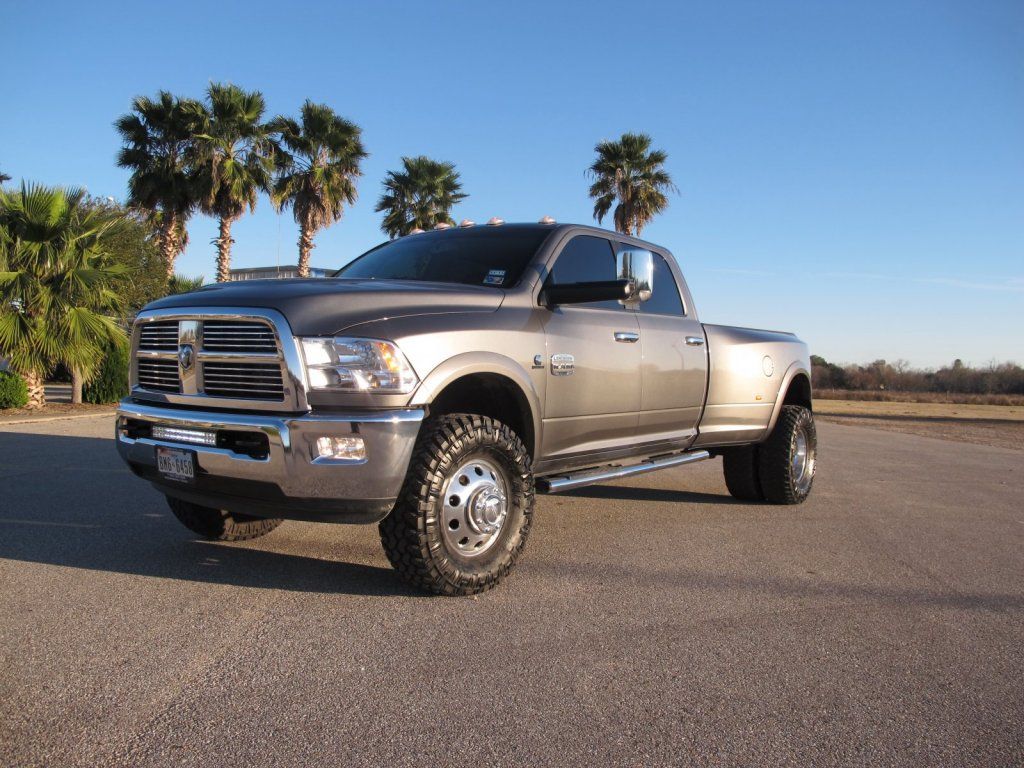
On the other side of the coin many people swear by them, saying they have never had a problem and their valve stem extenders make the dually filling process so much easier.
Some newer and higher-end RVs will come with extenders already installed, which is awesome. If that’s the case then you can use them until you have to replace the tires and then look at replacing the extenders at the same time.
There are many valve extender kits that have good reviews and are recommended on the RV forums, but everyone seems to agree that you should avoid the airless stem extenders. One person reported losing two perfectly good tires in less than a year thanks to leaks from the airless extenders.
CKAuto 6 Pack 45 Degree 90 Degree 135 Degree Metal Valve Stem Extenders, Universal Valve Stem...
 ..
..This is an equalizing valve that allows air to flow freely from one tire to the other, allowing both tires to be at equal pressure. I know what you’re thinking – I just checked the tire pressures and they’re both the same. Why would I need something like this?
While the tires will be at the same pressure after you fill them, on the road is a different story. The inside tire is going to heat up more due to lower airflow and the in-board brakes, and this higher temperature is going to cause the pressure in your inside tire to rise as you travel.
As I mentioned, too-high of pressure can leave you prone to a blowout and put more wear on your tire, so the tire equalization valve seeks to remove that risk.
Products like the Crossfire Dual Tire Pressure Equalization System show you if your tires are properly inflated while allowing the higher pressure in the inside tire to equalize with the outside one. This will add to your tires’ overall life expectancy and hopefully save you money in the long run.
Sale
Crossfire Dual Tire Pressure Equalization System, 110 PSI, one per pkg. (CF110STABT)
Did you know that a tire being 20% under inflated will cause at least a 30% loss in the life expectancy of your tire? Similarly, a tire being 20% overinflated will cause at least a 10% loss in your tire’s life expectancy while increasing the risk of a dangerous situation.
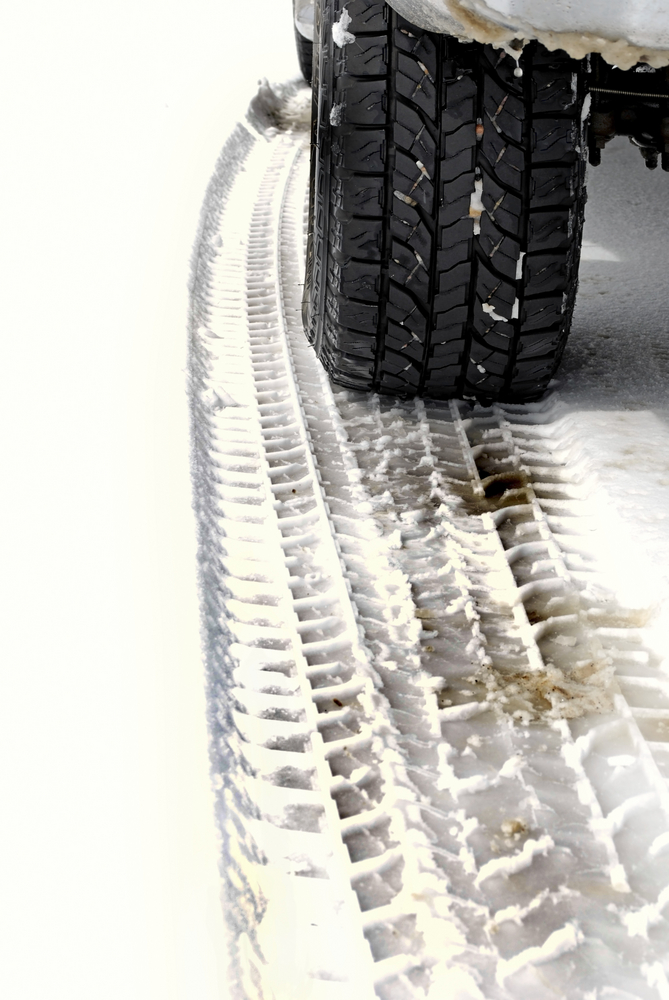
You should check your dually tire pressure before setting out on every trip, and when you fill up for gas while on your trips. It’s especially important to check if your RV has been sitting still for a while, as dry rot can cause leaks and other issues.
Generally, your RV’s dual tires should be at 80 PSI, and to check the pressure you’ll need to make sure the tire pressure gauge is rated high enough so that you get an accurate measurement. A pressure gauge that is too low will max out without telling you if you’re actually at 80, and one that is too high may not give you an accurate reading.
But before you go and just fill your tires to 80 psi you’ll want to check the owner’s manual of you RV or the placard stating the tire pressure rating for your RVs tires. You should also check on the tire itself what the rating is.
The rating found on the sidewall of the tire will actually state “maximum load-carrying capacity and the minimum air pressure required to carry this load”. This means it’s a good idea to know what your RV actually weighs for each axle when you are fully loaded for a trip, including all passengers.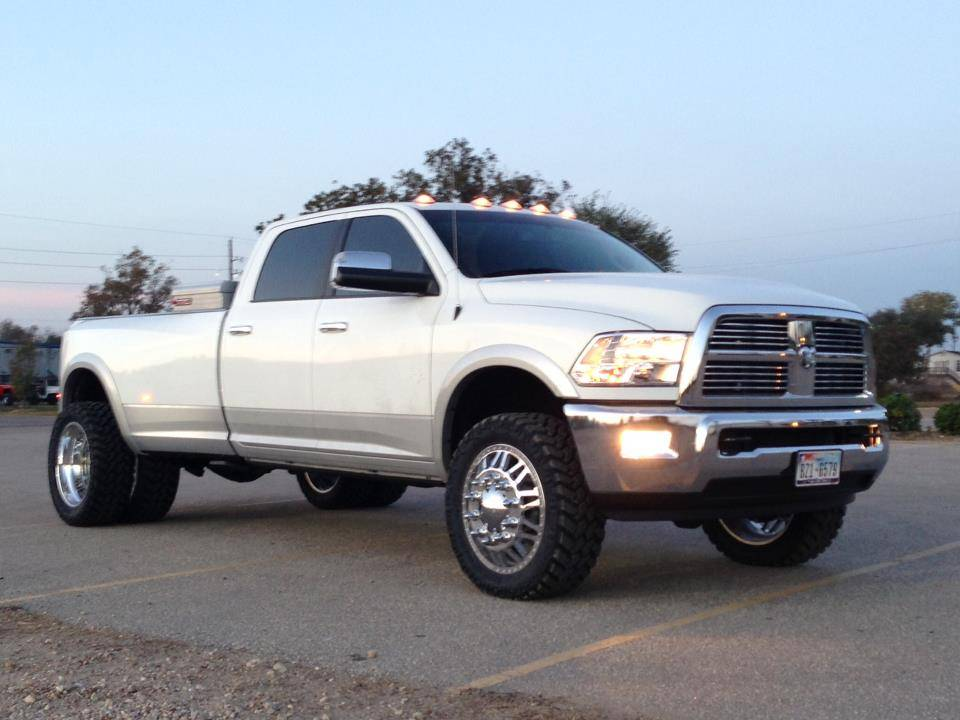
Tire pressure should also be checked when cold. This is because when you start driving your tires warm up, increasing the air pressure in your tire. Any manufacturer rating from both the tire and RV will be for a cold tire.
A tire pressure monitoring system is exactly what it sounds like – a way to monitor the air pressure of your tires in real time. This is done through the electronic system that sends periodic reports to the main console and will also alert you of any potential issues.
A sensor is mounted in each wheel or as part of your anti-lock braking system (depending on the model), and these sensors are what monitors your tire pressure,
These systems are fairly pricey up front, but they will save you a lot of money and time on the back end by allowing you to keep your tires inflated at the ideal pressure and therefore reducing the wear and tear on them.
Some monitoring systems will only track pressure while others will also give you information about temperature.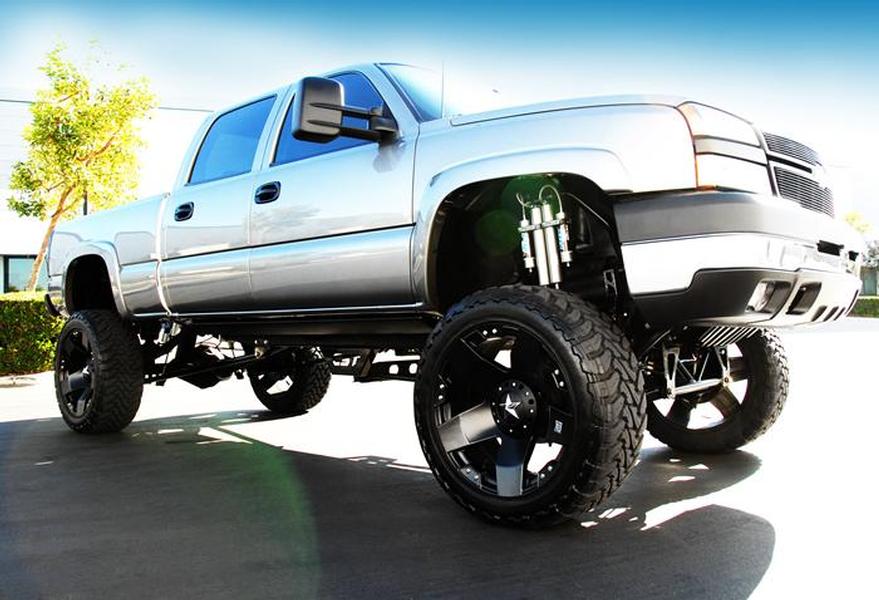 The EEZTire-TPMS6 system will give you real-time updates about both while also providing audio and visual alerts to any problems, and it’s one of the highest-reviewed monitoring systems on the market.
EEZ RV Products EEZTire-TPMS6ATC Real Time/24x7 Tire Pressure Monitoring System - Color Monitor + 6...
The most costly parts of RV ownership are repairs and maintenance. That’s why I recommend learning to do your own RV repair and maintenance.
The Fix It Yourself RV Maintenance Course is the perfect way to learn how to do the most common repairs and maintenance on your RV. A Certified RV Technician wrote and filmed the course so you know the information is actually correct.
Plus it’s downloadable so you can access it from anywhere, even when boondocking in the middle of nowhere with no service.
Find out more about the best RV Maintenance and Repair Course available!
Learn to Fix Your RV Yourself
Closing ThoughtsNow you know how to inflate dual RV tires and why it’s important, and hopefully, you’ll be more confident the next time you get ready for a trip. Just remember to use a compressor with a high enough PSI, choose your valve stem extender wisely, and don’t be afraid to take the outside tire off in order to get the inner valve stem positioned where it’s supposed to be.
| Preview | Product | |
|---|---|---|
EEZ RV Products EEZTire-TPMS6ATC Real Time/24x7 Tire Pressure Monitoring System - Color Monitor +. .. .. | Check Latest Deals | |
| Crossfire Dual Tire Pressure Equalization System, 110 PSI, one per pkg. (CF110STABT) | Check Latest Deals | |
CKAuto 6 Pack 45 Degree 90 Degree 135 Degree Metal Valve Stem Extenders, Universal Valve Stem.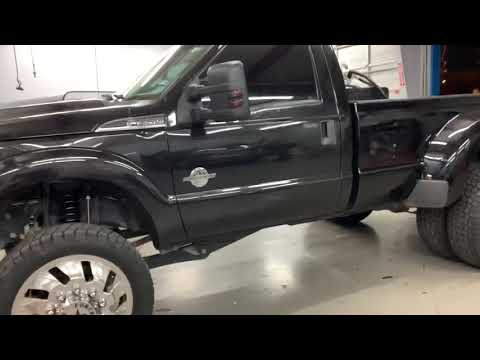 .. .. | Check Latest Deals | |
| AstroAI Digital Tire Inflator with Pressure Gauge, 250 PSI Air Chuck and Compressor Accessories... | Check Latest Deals | |
GSPSCN Silver Dual Cylinder 12V Air Compressor Pump for Car, Heavy Duty Portable Tire Inflator. .. .. | Check Latest Deals |
A trip can be fun, or it can be frustrating, depending on the state of your tires. When your tires are properly inflated, you will have a safe and comfortable trip. If they are not, you could encounter major problems, such as a blowout on the road. Dual RV tires add an extra wrinkle to your tire maintenance.
If a tire is underinflated even as low as 20%, it reduces its lifespan by 30%. Likewise, if it is overinflated in the same percentage, there is a 10% decrease in the tire’s life expectancy. Moreover, there is an increase in the chances of something going wrong along the way.
Inflating an RV tire is simple, or at least it should be. But with dual RV tires, it becomes a little more complicated. This article will provide a detailed step-by-step guide on how to inflate dual RV tires.
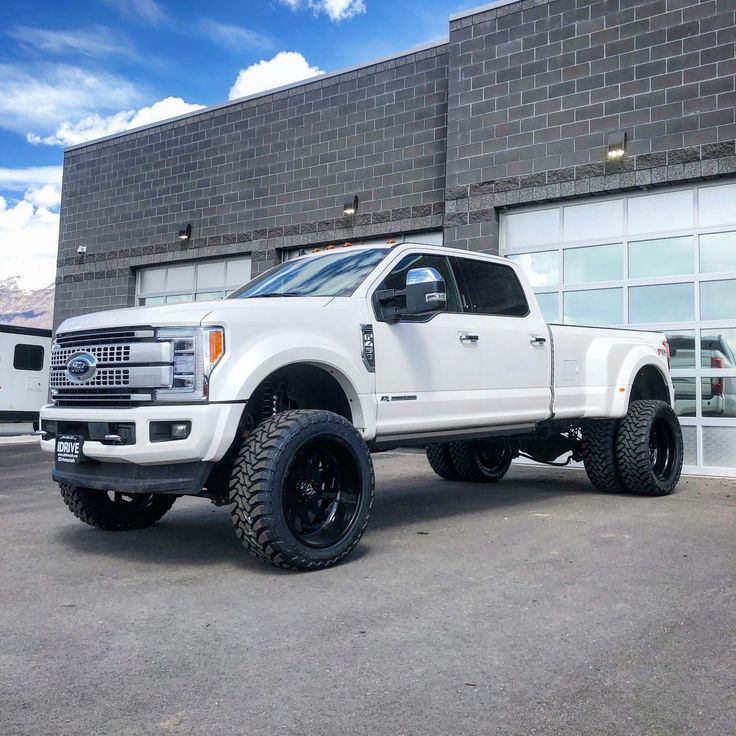
A vehicle having dual RV tires means there are two tires side by side. Dual tires are usually located at the rear of a vehicle. Generally, dual RV tires are more common with Class A and Class C motorhomes.
Dual tires have their benefits, as each tire helps share the load with the other. As such, overloading is less likely. Another benefit is that it improves braking compared to a single-rear-wheeled vehicle. But beyond stability, dual tires are beneficial when one gets damaged. The undamaged tire helps maintain some control until the vehicle can stop and the other tire is fixed.
Step 1: Get an air compressor. The air compressor should be one with a high enough PSI rating. Dual RV tires are typically required to be filled to as high as 120 PSI. However, not all air compressors can go that high. If you decide to use an air compressor, make sure it can reach at least 120 PSI.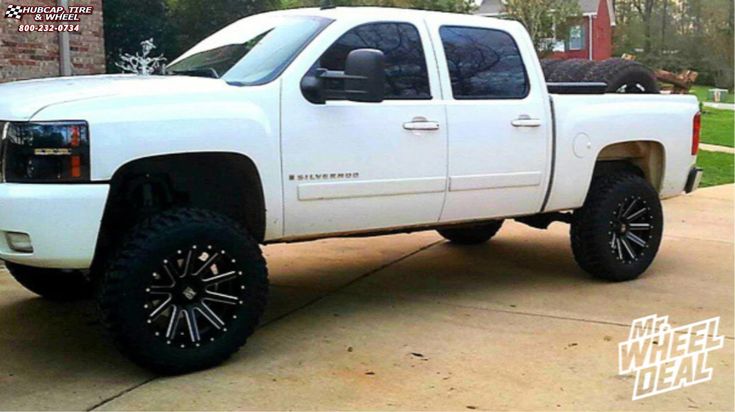
Step 2: Get a pressure gauge. You will need a pressure gauge long enough to reach the valve stem to use the air compressor. The pressure gauge helps you keep an eye on the tire’s PSI to ensure you don’t underinflate or overinflate.
Step 3: Inflate the outside tire. Detach the stem cap, attach the air hose and chuck to the valve system, and add air to the tire. Remember to check the tire pressure while inflating the tire. Then, replace the stem cap.
Step 4: Access the inner wheel’s valve stem. To fill your dual RV tire, you must reach the inner valve stem. An angled inflator chuck helps you reach the valve better. Inflator chucks also come in different lengths. However, you may have to do a few trials to know the one that works. Alternatively, you can consider getting a valve stem extension that has multiple angles.
Step 5: Attach the inflator chuck to the valve stem of the tire.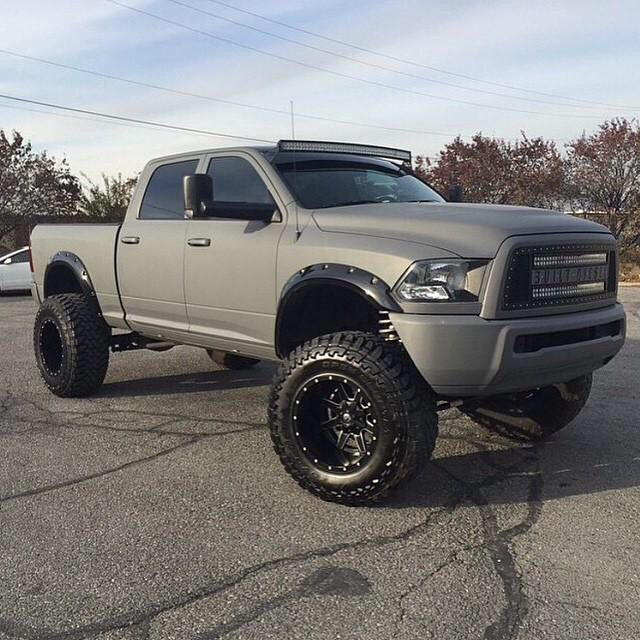 Hook the valve stem with the air compressor.
Step 6: Fill the inner tire with the air compressor. The next step is to squeeze the lever on the compressor hose and pump air into the tire. Release the lever and check the current PSI rating of the tire. Keep doing this until you reach the required pressure. Go slowly and steadily because while you want to reach the expected rating, you don’t want to go above. Underinflated tires will overheat and pose greater risk of an accident. Overinflated tires will decrease in the tire’s lifespan and cause a rougher ride. Both scenarios can cause premature tire failure.
Step 7: Replace the stem cap. When replacing, tighten the cap moderately to prevent the cap from cracking.
You may encounter some challenges while inflating your dual RV tires.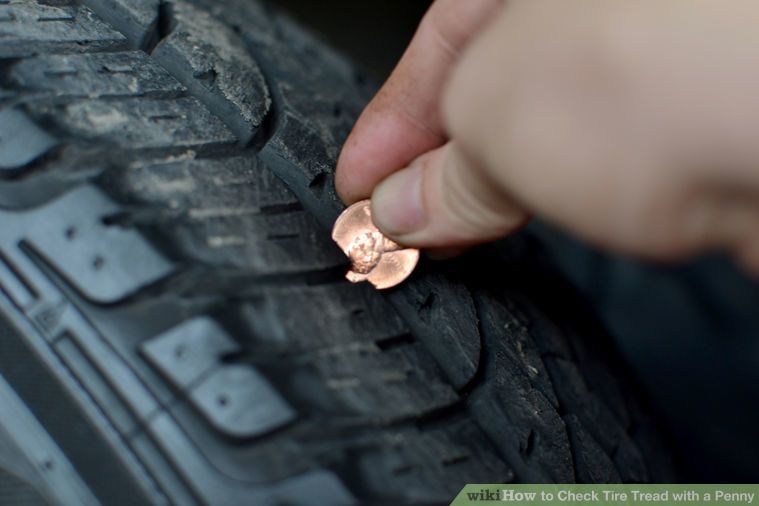 The most common problem is accessing the inner wheel’s valve stem. If your dual rims are properly aligned, reaching the inner stem shouldn’t be difficult. In addition to misaligned rims, you may have valve stems that are too short or missing the extender.
Another issue is the protective rubber saddle that keeps the valve stem centered in the outer wheel is missing or worn. This causes the stem to wear on the edge of the outer wheel.
Semi-trucks and large buses or motorhomes may utilize a tire pressure equalization system, which ensures both tires are at equal pressure. You typically don’t see these on RVs, but high-end motorcoaches might be a good candidate for them.
Either way, it’s important that both tires in a dual pair be set to the same pressure.
As always, check your owner’s manual to know the required pressure rating for your RV tires.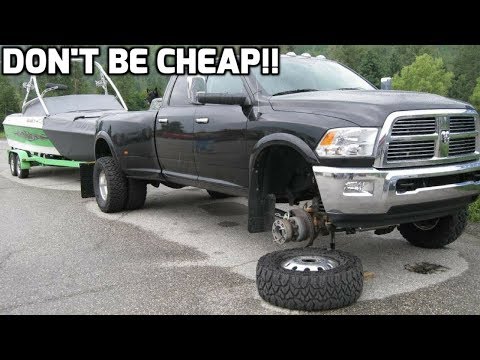 Check the tire to know its pressure rating. The pressure ratings are usually located on the sidewall of the tire, however, it’s best to weigh your RV and set tire pressure according to load charts for your tire manufacturer, based on the weights taken.
Check your dual RV tires:
Dual RV tires add only a few extra considerations to your regular tire maintenance. Ensure they are equally pressured and the inner valve stem is in good shape, and you should be fine. Also consider a good tire pressure monitoring system for constant tire pressure monitoring.
Make sure you keep track of all your RV maintenance and repairs with an online tool such as RV LIFE Maintenance. Not only can you keep all of your documents in one place, but you’ll also receive timely reminders when maintenance is due to help you avoid costly repairs and potentially serious accidents.
Mark Johnson is the Founder and Editor In Chief of tiresglobe.com.
Years ago, American farmers discovered that extra weight greatly improved tractor performance.
One of the benefits is improved grip. When a tractor pulls a heavy plow or disc in viscous arable land, the drive wheels usually lack traction and skid.
Additional ballast increases the inertia of the tractor, smoothes out jerks and saves expensive equipment.
The load distribution along the axles is as follows: conventional tractors - 25% on the front axle and 75% on the rear. Mechanical front-wheel drive tractors - 40% on the front axle and 60% on the rear. Tractors with four-wheel drive - 55% on the front axle, and 45% on the rear.
By adding extra weight to the rear axle, the tires can pull more weight without losing traction. Usually, the driving tires of the tractor are filled, which improves the traction characteristics, the ribs of the tire are better hooked on hard ground.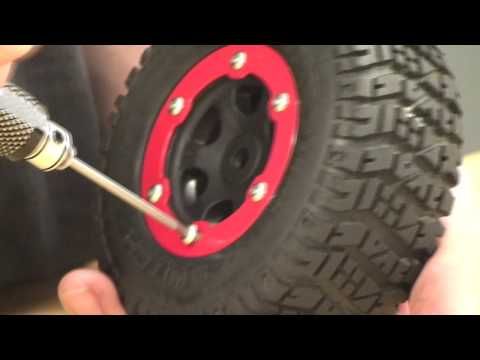
To ensure longitudinal stability, additional weights are used and water is poured into the tires of the guide (front) wheels of the tractor. It is preferable to hang removable cast-iron weights, but water is more economical.
You can pour ordinary water, but it freezes in the cold. Antifreezes based on ethylene glycols and alcohol are also used, but such liquids are too expensive. Successfully used calcium chloride, obtained in powder and mixed with water (30% by volume) before refueling. Its disadvantage is the likelihood of corrosion, so it is recommended to pour it into the tractor tube tire.
Sometimes even inexpensive glass washer fluid is used. In extreme cases, plain water with salt is poured.
Fluid in tractor tires also improves heat transfer and more even distribution of excess heat generated in the tire during intensive work.
On older tractors, it was recommended to refuel only the outer tires of the tractor's dual wheel, on modern ones it is recommended to evenly distribute the mass of liquid on both wheels.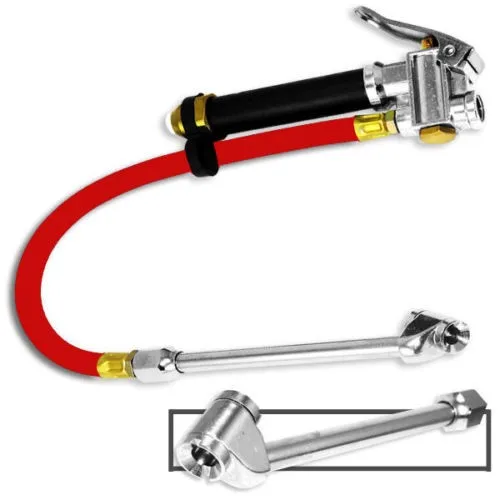 It is not recommended to fill radial tires more than 40%.
For more accurate information on axle load distribution, please contact the tractor manufacturer or dealer.
The anti-freeze liquid poured as ballast usually remains in the tractor wheel for the entire life of the tire. The fluid in the tire has nothing to do with wheel balancing and is used only on tractor equipment.
The weight table is given on the basis that 75% of the tire volume will be filled with water (by valve level). The use of anti-freeze chemicals can affect the mass of the liquid.
Tires for agricultural tractors (arable land)
| Tire size | Water, liters | Additional weight per tire, kg |
|---|---|---|
| 4.00-12 | 9 | 37.4 |
| 4.00-15 | eleven | 46.2 |
| 4.00-19 | fourteen | 55 |
5. 00-15 00-15 | 15.9 | 63.8 |
| 5.50-16 | 23 | 92.4 |
| 6.00-12 | 20.45 | 81.4 |
| 6.00-14 | 23 | 90.2 |
| 6.00-16 | 27 | 110 |
| 6.50-16 | 32 | 127.6 |
| 7.50-10 | 27 | 110 |
| 7.5L-15 | 36 | 145.2 |
| 7.50-16 | 41 | 165 |
| 7.50-18 | 45 | 182.6 |
| 7.50-20 | fifty | 202.4 |
| 9.00-10 | 41 | 165 |
| 9.5L-15 | fifty | 202.4 |
| 9.50-20 | 82 | 330 |
| 9.50-24 | 9one | 367.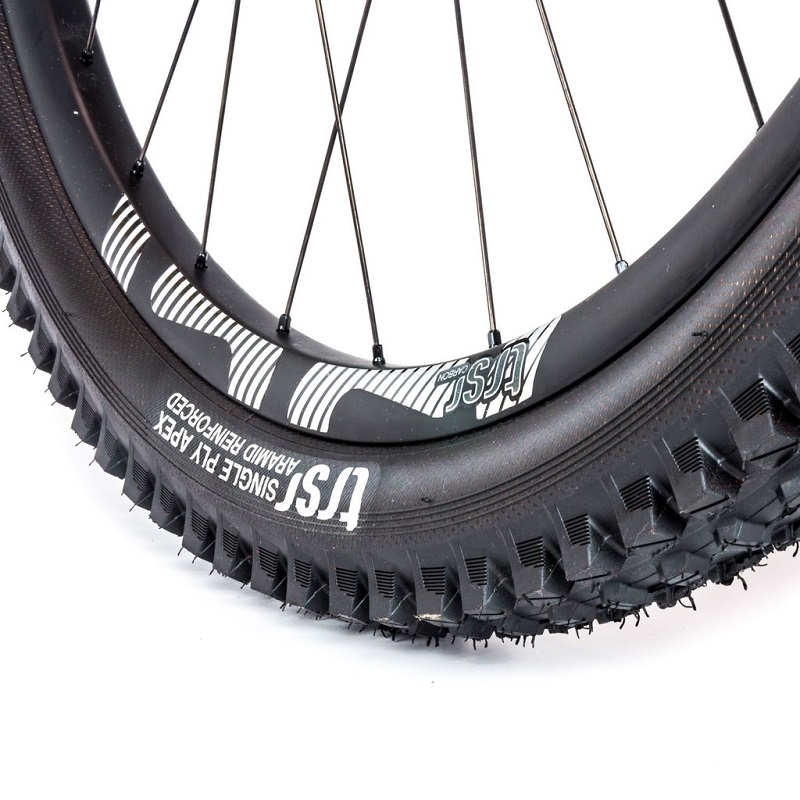 4 4 |
| 10.00-16 | 77 | 312.4 |
| 11.00-12 | 82 | 330 |
| 11L-15 | 59 | 237.6 |
| 11.00-16 | 105 | 422.4 |
| 11L-16 | 68 | 270.6 |
| 14L-16.1 | 123 | 495 |
| 16.5L-16.1 | 191 | 761.2 |
| 7.2-24 | 41 | 165 |
| 7.50-16 | 41 | 165 |
| 8.3-24 | 59 | 237.6 |
| 9.5-16 | 55 | 220 |
| 9.5-24 | 77 | 312.4 |
| 9.5-36 | 114 | 459.8 |
| 9.5-42 | 132 | 532.4 |
10-16. 5 5 | 55 | 213.4 |
| 11.2-24 | 109 | 440 |
| 11.2-28 | 123 | 495 |
| 11.2-34 | 150 | 605 |
| 11.2-36 | 159 | 642.4 |
| 11.2-38 | 164 | 660 |
| 12.4-16 | 95 | 385 |
| 12.4-24 | 136 | 550 |
| 12.4-28 | 159 | 642.4 |
| 12.4-36 | 200 | 807.4 |
| 12.4-38 | 209 | 844.8 |
| 12.4-42 | 232 | 935 |
| 13.6-24 | 173 | 697.4 |
| 13.6-26 | 182 | 734.8 |
| 13.6-28 | 195 | 789.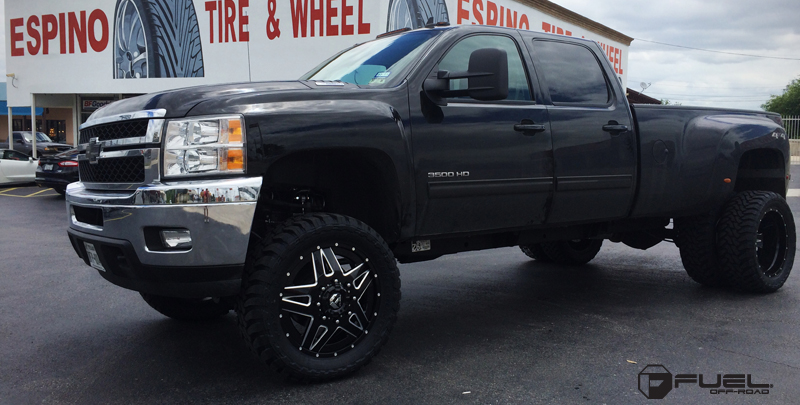 8 8 |
| 13.6-38 | 259 | 1045 |
| 14.9-24 | 214 | 862.4 |
| 14.9-26 | 218 | 880 |
| 14.9-28 | 241 | 972.4 |
| 14.9-30 | 259 | 1045 |
| 14.9-36 | 291 | 1174.8 |
| 14.9-38 | 305 | 1229.8 |
| 15.5-38 | 300 | 1210 |
| 16.9-24 | 277 | 1119.8 |
| 16.9-26 | 295 | 1192.4 |
| 16.9-28 | 314 | 1265 |
| 16.9-30 | 332 | 1339.8 |
| 16.9-34 | 373 | 1504.8 |
| 16.9-38 | 409 | 1652. 2 2 |
| 17.5L-24 | 250 | 1009.8 |
| 18.4-16.1 | 223 | 899.8 |
| 18.4-24 | 341 | 1377.2 |
| 18.4-26 | 359 | 1449.8 |
| 18.4-28 | 382 | 1542.2 |
| 18.4-30 | 405 | 1632.4 |
| 18.4-34 | 455 | 1834.8 |
| 18.4-38 | 500 | 2017.4 |
| 19.5L-24 | 332 | 1339.8 |
| 20.8-34 | 582 | 2349.6 |
| 20.8-38 | 636 | 2569.6 |
Turf tires
| Tire size | Water, liters | Additional weight per tire, kg |
|---|---|---|
23×8. 50-12 50-12 | 27.3 | 110 |
| 23×10.50-12 | 31.8 | 127.6 |
| 26×12.00-12 | 45.5 | 182.6 |
| 25×8.50-14 | 31.8 | 127.6 |
| 25×7.50-15 | 27.3 | 110 |
| 25×10.50-15 | 31.8 | 127.6 |
| 25×12.50-15 | 36.4 | 147.4 |
| 27×8.50-15 | 31.8 | 127.6 |
| 27×9.50-15 | 40.9 | 165 |
| 27×10.50-15 | 45.5 | 182.6 |
| 29×12.50-15 | 63.6 | 255.2 |
| 31×12.50-15 | 81.8 | 327.8 |
| 31×13.50-15 | 86.4 | 347.6 |
| 31×15.50-15 | 90.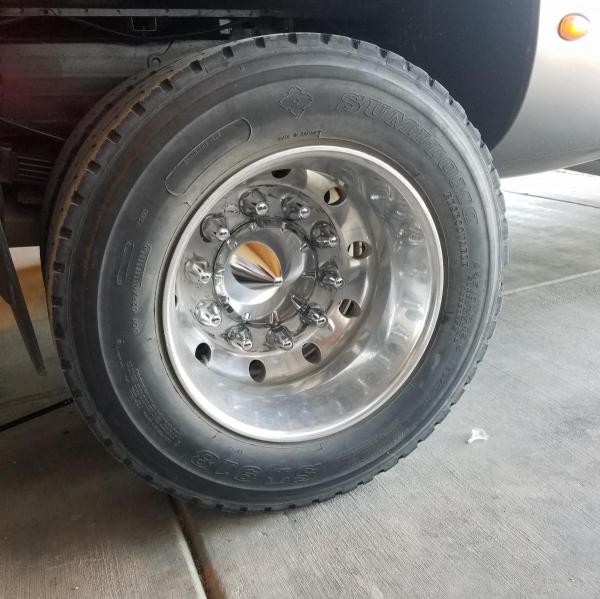 9 9 | 365.2 |
| 33×12.50-15 | 100 | 402.6 |
| 44×18.00-20 | 254.5 | 1047.2 |
© Text: Vladimir Sinkov, Starko St. Petersburg
Photo: Deere & Company
Return to list
Having been developing solutions for tall grass mowing, steep slopes and mulching for over 60 years, AS-Motor has created a wide range of useful accessories. Often these accessories are produced according to the suggestions and wishes of our customers and professional users, whose experience helps us to find solutions to specific problems. Each accessory goes through extensive practical and safety testing and is perfectly matched to the respective machine.
See what can make your daily work easier—perhaps a mulching kit for a cleaner cut, different tires, a larger fuel tank, or front and side guards for your mulching mower.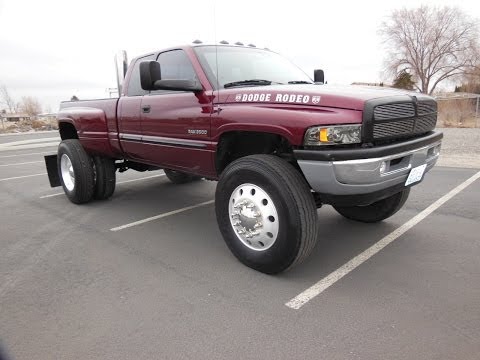
Turf tires
Tread pattern suitable for use on lawns.
Low pressure tires
Large contact surface for soil protection.
Standard wheel set
Standard tubeless wheel set for AS 940 Sherpa 4WD with ATV profile, low pressure tires.
Wheel set XL
Tires XL for 30 mm additional ground clearance.
Twin wheels (AS 21, 26, 53)
Optional twin wheels for improved grip on slopes.
Dual Tires (AS 63)
Optional dual tires for improved grip on slopes with quick lock.
Twin tires (AS 65, 73, 701)
Pair of wheels (1x2) with tubular tires and hubs for retrofitting.
Dual tires (Sherpa)
Pair (2x2) dual rear wheels with extreme profile, tubular tires, for maximum traction.
Tubeless wheel
Puncture protection with Plattfuss-Stop tire sealant.
Anti-slip wheels
Improved traction, especially when mowing diagonally on slopes.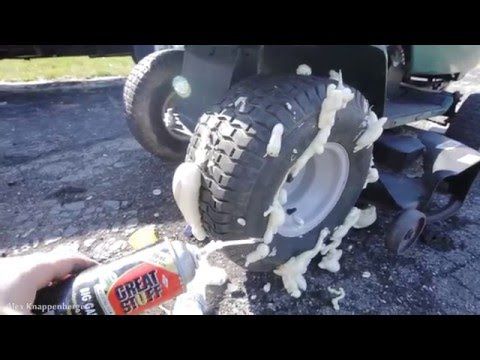
Steel wheels
For improved traction on slopes. Replaces outer wheels on AS 901 SM.
Track spikes
Improved traction, especially when mowing diagonally on slopes.
Grass Wind Guard
Prevents long, thin grass from getting entangled between the front wheel and front axle.
Plattfuss-Stop Tire Sealant
Reduce downtime due to broken tires
Tire Sealant "Plattfuss-Stop"
Reduce downtime due to damaged tires with Tire Sealant (20 litres)l; used with pump only
Tire sealant pump
For filling tires with Plattfuss-stop sealant; only used for 20 l sealant
Rear wheel brake
Rear wheel drive ensures optimum movement on slopes and on level ground.
Operating hours counter
Operating hours documentation.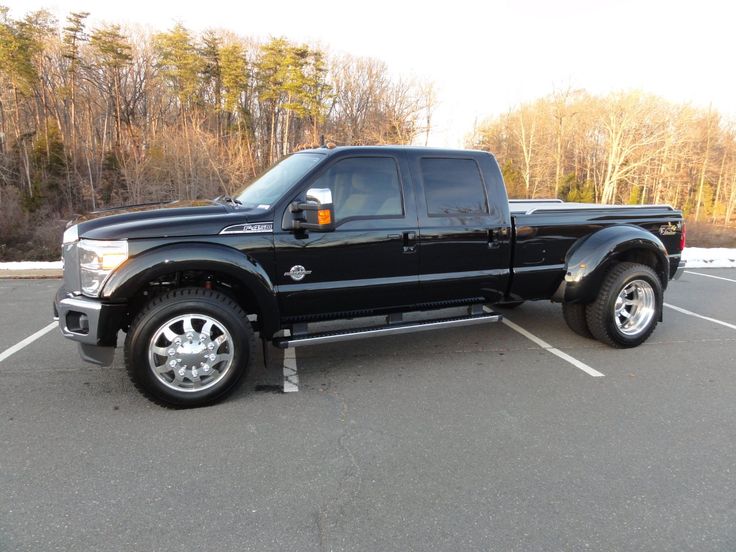
Inclinometer
Indication of slope steepness.
Steering wheel handle
Optional for flat terrain.
Electric start
Electric start makes starting the machine easy and convenient.
Heated handles
Warm hands in cold weather.
Seat spring kit (AS 915)
Improved suspension and pressure damper position for more comfortable operation.
Spring kit for seat (AS 799, 800, 900)
Spring kit for seat with progressive suspension, gas spring and new travel stop. Adjustable from 60 to 120 kg.
Steel hand protection kit
Extra protection for the operator.
Plastic hand protection kit
Effective protection against thorns and thorns.
5 liter tank
High capacity 5 liter tank for long work intervals before refilling.
LED headlights
Two high power 18W LED headlights with robust aluminum bracket, switch and cable for interior bracket installation.
Transport box kit YAK
Compact transport box for installation behind the driver’s seat.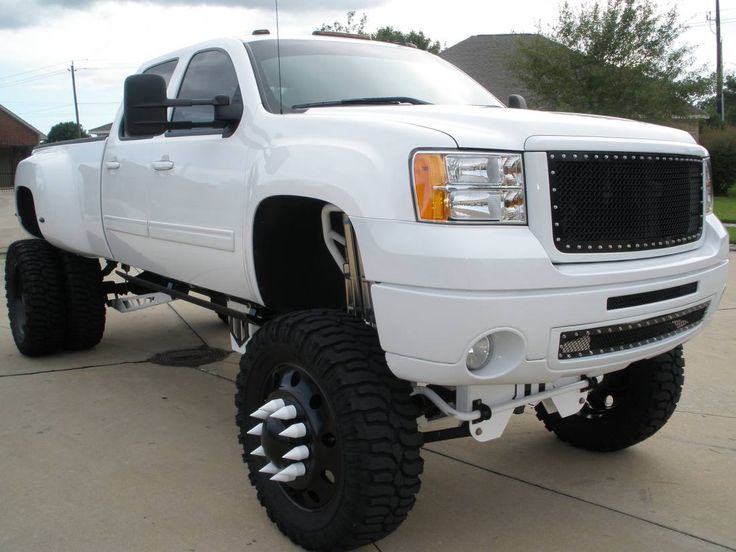 Suitable for all YAK models.
Snow chains
Snow chains for drive wheels.
Snow plow
Width: 1107 mm, height: 348 mm. Turns on both sides.
Mulching kit (AS 53)
Excellent mulching results thanks to closed side discharge.
Mulching kit (AS 62, 63)
For even finer mulch and more even mowing results on lawns with grass up to 40 cm.
Mulching kit (Sherpa)
For even finer mulch and more uniform mowing results on grass lawns up to 40 cm. or 6 braided brushes. Working width 42 cm. Simple quick change system. Cutting force: high.
Spare plastic brush
For sensitive surfaces.
Spare steel brush
As a backup for daily use.
Spare steel brushes
Sturdy replacement brush for efficient cleaning.
Depth wheel
Sherpa spacer
Replaces top mulching blade. Allows you to mow only with the main knife with a higher mowing speed.
Special blade
Suitable for sandy soils.
Snorkel filter
The snorkel's high filter position supplies the engine with dust-free air.
Front and side protection
To protect the front wheels.
Branch pusher
Tree protection when mowing.
Grass catcher, side
For collecting cut grass.
Trailer
Load capacity: L = 1071 mm, W = 607 mm, panel height: 274 mm. Permissible total weight: 100 kg. The back panel can be removed.
Trailer hitch (AS 900)
Trailer hitch for AS trailer. Maximum load: 100 kg. Maximum vertical load: 25 kg.
Trailer hitch (AS 799, 800)
Trailer hitch for AS trailer. Maximum load: 100 kg. Maximum vertical load: 25 kg.
Tow hitch (Sherpa)
To attach an AS trailer.
Tow hitch (YAK)
Tow hitch for AS-Motor trailer.
Charger
Charger suitable for all B&S 82 V Li-Ion batteries.