In this article you will learn:
Whether you bumped into a curb while making a sharp turn or drove through a particularly deep pothole, scratches and swirls in your rims can be difficult to avoid and expensive to repair. These unsightly scrapes and imperfections can put a damper on that "new car" look. Luckily, you can fix most of these scratches yourself.
All you need is the right polish, cutting pad and a microfiber towel!
Before trying to fix scratched or damaged rims, it’s important to know what kind of wheels you have and the severity of the damage. Most traditional rims are made of chrome, aluminum, steel or metal alloy, but many manufacturers now produce wheels that have the same clear coat as your car’s exterior panels. If you aren’t sure what kind of rims you’re working with, it’s always a good idea to check with the manufacturer.
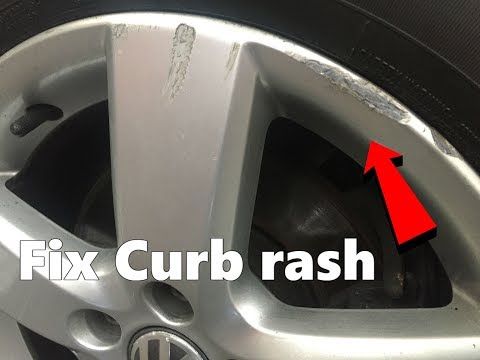
Light scratches and swirls in your rims from improper washing techniques or loose debris on the road are easy to fix right in your driveway! If you’re dealing with more severe damage, like curb rash or scuffs from driving on a flat tire, metal or chrome polish won’t be enough to reverse the damage. You’ll need to make an appointment with your auto repair shop to fill in the dent or scratch as needed.
To prep your wheels for restoration, you’ll need a specialty cleaner, like Turtle Wax All Wheel & Tire Cleaner and a gentle wheel sponge or brush.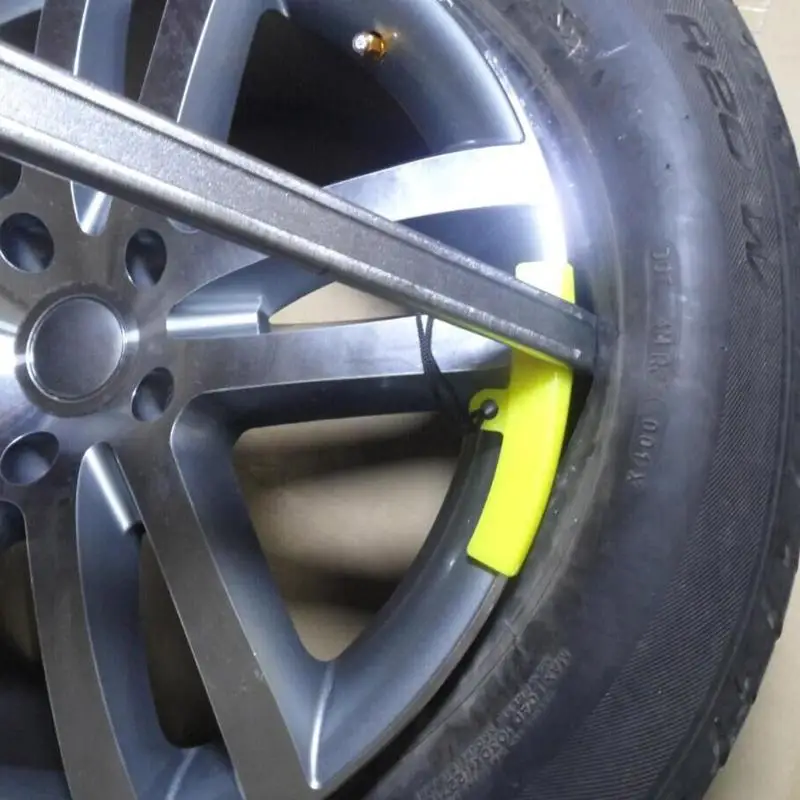 Avoid hard bristle brushes that could leave behind micro scratches and instead, opt for a gentler, more effective tool like the Wheel Woolie or a soft detailing brush.
You’ll also need a polish that’s compatible with the kind of rims you’re working with. For metal rims, we recommend a metal polish like Turtle Wax All Metal Polish or our premium Chrome & Metal Polish. To repair scratches in rims with painted finishes, you can use any polish you’d regularly use to restore the rest of your vehicle’s clear coat, including Hybrid Solutions Pro 1 & Done Professional Polishing Compound and Hybrid Solutions Polish & Wax.
Before you fix scratches and swirls in your rims, start by to prepping your wheels and tires, using your designated wheel cleaner to remove dirt, grime and brake dust from every surface of your wheels. It's important to polish clean rims to avoid rubbing harsh soils and other contaminants into your metallic finish, creating even more scratches and swirls to repair!
Use your wheel cleaning brush to scrub away tough stains and soils and reach deep underneath your brake calipers to remove as much brake dust as possible. Allow your cleaner to dwell for the time specified on the bottle, then rinse thoroughly and hand dry your wheels with a microfiber towel.
After prepping your wheels and tires, place a hand on the surface of your rims to feel if they’re cool to the touch. If the metal feels warm or hot, use a garden hose to cool down your rims before you begin the restoration process. Never polish warm rims or exterior panels; doing so can dull your paintwork and metal finishes.
Once you’ve cooled down your wheels, move your vehicle out of the sun into a garage or under a tree or canopy to begin the polishing process.
To ensure that your polish is compatible with your metal or painted rims and gives you the results you want, choose an inconspicuous area, such as the edge of the rim, to perform a quick spot test. Apply a small drop of polish to a folded and quartered microfiber towel and buff the polish into a tiny section of your wheel rim.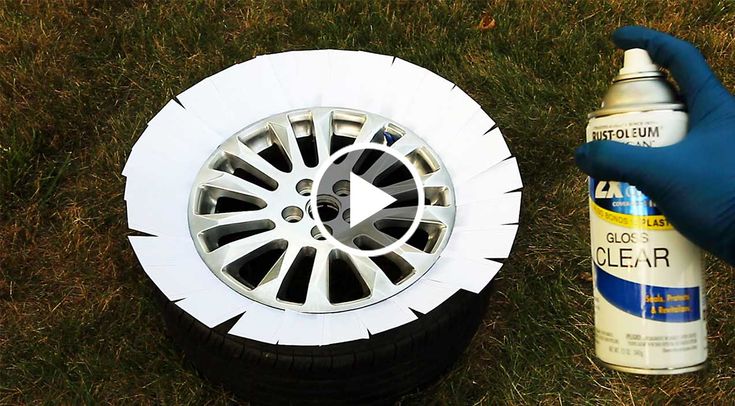 If light scratches and swirls disappear, you’re using the right polish and applicator. If you don’t see the level of correction you’re looking for, you may need to switch to a more aggressive polish or cutting pad.
If, for any reason, the polish damages your rims or leaves behind streaks or discoloration, stop using the product immediately! Switch to a different polish or consider consulting an auto repair shop.
Place a quarter-sized drop of polish on a clean, microfiber detailing cloth and gently buff this product into the damaged area of your rims to fix scratches and swirls. Take your time, using light, circular motions to smooth away any noticeable imperfections. Continue buffing the surface of your rims until all scratches and swirls have been removed.
Pro Tip: Use masking tape to section off any areas of your rims that you want to correct to avoid transferring polish on other parts of your wheels and tires. Then remove the tape and use any excess product to buff the surrounding areas to create an even finish.
Once you’ve finished erasing any light scratches and swirls, buff your rims to a glassy finish using a separate microfiber towel,blending out any patches that look smoother or shinier than the surrounding areas. For the best results, use a lint free cloth with a lightweight, microfiber blend to avoid streaking or contaminating your flawless finish.
Now that you’ve successfully removed the scratches from your rims, your last step is to apply a car wax or wheel protectant to minimize future damage to your wheels and tires. Consider investing in a durable synthetic wax like Hybrid Solutions Pro Flex Wax, or Hybrid Solutions Pro Max to the Wax to preserve that showroom restoration and give your wheels an extra pop of gloss!
Arrow Down IconSubscribe for your newsletter and the rewards will be in your inbox before you even get there
News, events and insights from Turtle Wax® worldwide
Exclusive offers and discounts on Turtle Wax® products
Regular treats and surprises for all subscribers
Thanks! You should receive a confirmation email shortly.
While correcting scratches on your vehicles paint may be an easy repair, can the same be said about your metal components?
Components such as your bumpers and rims receive a ton of abuse as you drive down the road, taking the impacts from weather, pebbles, and other road debris.
Thankfully, there are some easy ways you can repair scratched rims without breaking the bank with the help of high-quality car detailing products.
“Rims” or “Wheels?”
Alright, let’s get to the bottom of the wheel or rim statement quickly. You’ll hear a lot of people say they aren’t rims, they are called “wheels,” and that’s not always true. A wheel is the entire assembly, including the spokes, lug face, and the rim.
The rim is the outer surface that is closest to the tire.
So as you read and see the two terms used, they are often interchangeable simply due to the care being the same.
Wheel Finishes
It’s important to note that not all finishes are treated the same, and you need to know what you have in order to fix your scratches.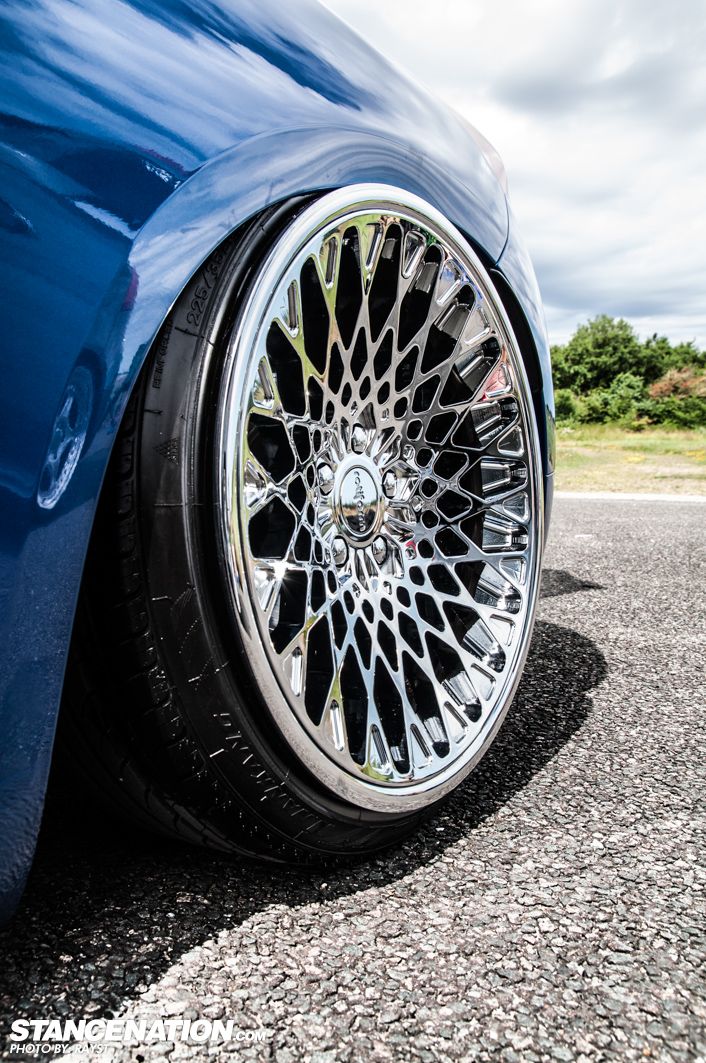 Various polishes and treatments are designed for very specific surfaces, and it’s important to be confident in what you own.
Painted Rims
Common on many vehicles are painted rims, using a similar method to your car’s body. While this is a great way to add color to your car, many manufacturers have found popularity in black or silver paints.
Compared to some other coatings, this is easy to apply especially in mass productions, and quite cost effective. Painted rims can be either steel or aluminum.
Repairing Painted Scratches
With the paint being similar to your vehicle, the repairs will be similar as well. You first want to visually determine the depth of the scratch, determining if it has remained in the clear as a shallow scratch, or if it has etched deeper and must be repaired as a deep scratch.
When repairing shallow scratches, the area can often be treated with a scratch remover, known as a cutting compound.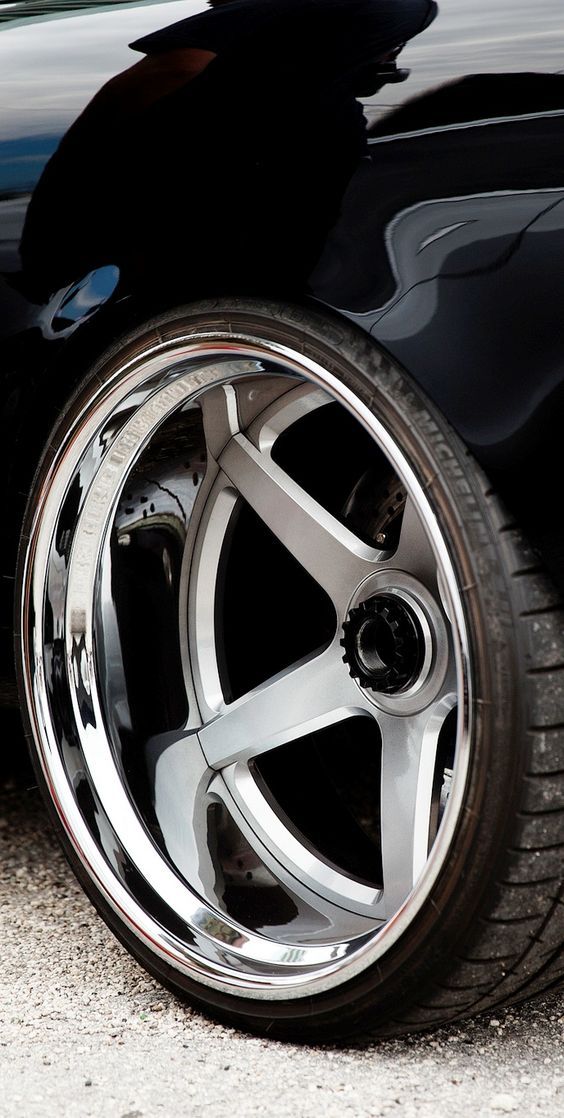 This will be applied with an applicator pad, massaged into the area removing small amounts of the surface clear, one wiped clean with a quality microfiber towel.
For deep scratch repair, it’s important to set an expectation for the repair. One option for deep scratches is to fill the area with a clear coat pen, removing much of the visual damage, and finishing the area with wet sanding or a cutting compound, while other options include sending the wheel off for paint correction.
Either way, it’s important to correct this damage sooner than later, before rust or oxidation begins.
Powder Coated
A growing option, especially for aftermarket wheels, is powder coating. Applied as a powder, the piece and particles are magnetized causing them to attract and stick together, then put in an oven and heated till the powder melts into a liquid. This application is known for getting into the nooks and crannies, and applies quite evenly.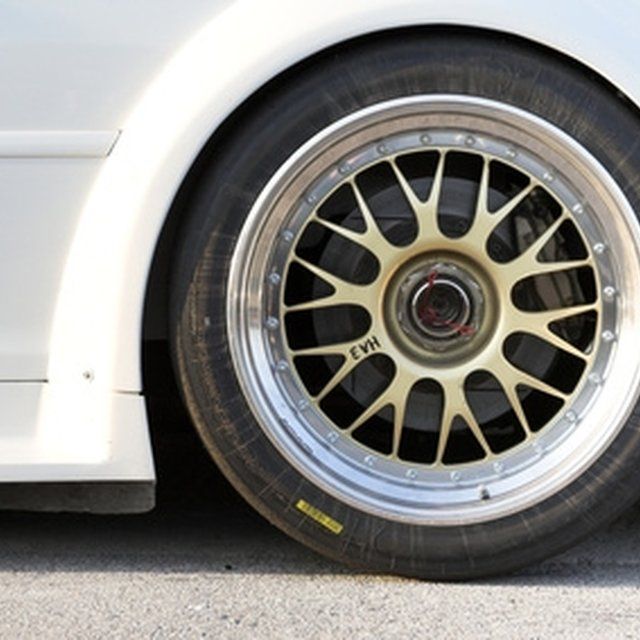
Powder coating is quite tough, making it a great option for these high wear items.
Repairing Powder Coating
When looking at a powder coated surface up close, you will find the surface isn’t super smooth like paint. It often has a texture known as orange peel, and sanding or using cutting compounds could remove some of this texture, causing a visual difference.
There is also no clear coat over your powder coat, and for this reason is a good option for color matching paint pens. There are a lot of variations of paint colors out there, one company estimating more than 60,000 variations of standard colors can be found on the market. Using a black that differs from the black on your vehicle will cause an eyesore often worse than the scratch itself.
As you’ve read through our articles here at Shine Armor, we often discourage using colored pens since adding color on top of your clear paint looks, well, less than ideal. A single stage, or paint without clear is the only exception to this.
Polished Metals
A great option for metal surfaces is to polish the metal itself. This can be found primarily with aluminum rims due to its natural rust resistance, but can sometimes be found with steel.
This involves sanding the surfaces to a near mirror finish, then adding a protective layer over the top such as a polish or sealant.
Repairing Polished Metals
When repairing polished metal surfaces, it’s important to take things slowly. For surface scratches, you will be using a polish that’s specific to your metal type. Aluminum polishes are designed to clean and protect aluminum, and shouldn’t be used on steel, and vise-versa
For deep scratches, you may need to wet sand the area depending the depth of damage. For deep scratches you will often start with an 800 grit wet paper, and finishing with 2000 grit or more. Once you’ve reached 2000, you will work your way back through the polishes to get a mirror finish.
If issues are left alone, over time rust and oxidation will cause pitting, which damages the surface of the metal. Pitting is not simply removed, while surface pitting can be reduced, deep pitting can cause risk to the wheels structure.
Chromed Finishes
A popular option for wheels and bumpers for decades has been chroming. To chrome a product, it involves a chemical acid bath and application process creating an extremely hard, resistant surface.
While these high gloss surfaces are a great sight, having items chromed is expensive, meaning you should maintain your finish. Polishing is the primary defense with chrome wheels, since the coating is hardened the surfaces are known to get minor scratches.
You can use high grit sandpaper lightly with chroming, but with this being a multi-layer process -- sanding too deep could cause damage.
Summary
Clean wheels are a great way to let your car truly shine in the sunlight, while dull rims could take away from your clean look.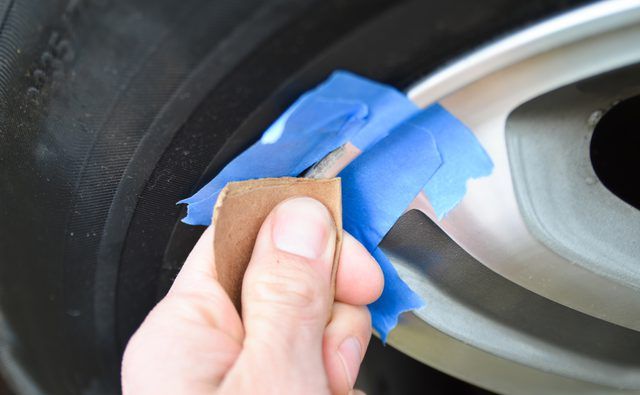 Repairing these scratches can reduce the eyesore, and stop corrosion and rust in their tracks.
Repairing scratches can be time consuming or costly. Adding protective coatings such as those from Shine Armor can protect your surfaces for years to come, maintaining that deep shine and reducing the risk of damage.
Understanding your surface will allow you to take control of all of your car's needs and imperfections, and growing your vehicle knowledge, you will become a true at-home-pro!
Sources
https://www.tyresizecalculator.com/wheels/wheel-rim-parts#:~:text=Many%20people%20use%20term%20%22wheel,a%20part%20of%20the%20wheel.
https://www.thecoatingstore.com/car-paint-colors/#:~:text=There%20are%20literally%20more%20than,LOTS%20of%20colors%20you%20like.
https://themotorhood.com/themotorhood/2015/7/28/the-shining-chrome-plating-explained
The restoration of the scratched disk, how to remove scratches from the discRecommendations of experts
share:
Content 000 9000 9000 9000 9000 9000 polishing work
It is very difficult to keep wheels in their original form.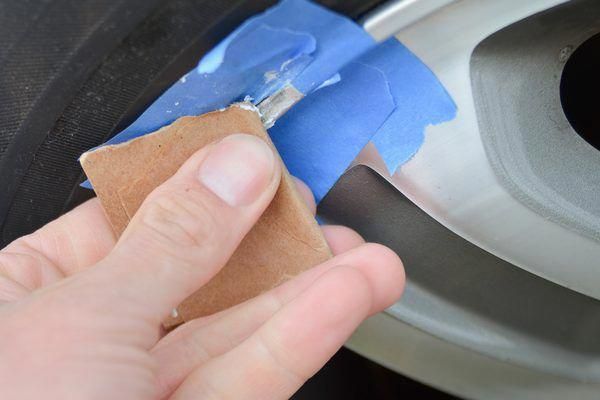 They are constantly exposed to external influences that adversely affect the surface. This causes scratches and chips. Many drivers often ask the question, how can I remove scratches from a disc? Today, this has become possible thanks to the latest coating restoration technologies.
To restore the coating and remove scratches, you must first study the nature of their occurrence. For example, working with forged products is much more difficult than working with alloy wheels. To achieve a good result, it is best to seek the help of professionals.
Models made in the USA, Japan and European countries are perfectly repaired. To restore a scratched disc, a variety of technological processes are used:
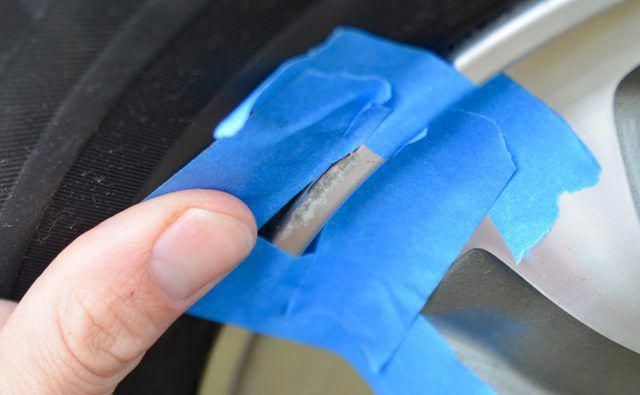
Wheel polishing is very popular, after which scratches are completely removed. However, this technique does not always help. If the depth of the scratch reaches the metal, it will not be possible to remove it by polishing. More complex work will be required. Fortunately, modern technology makes it possible to completely restore any disk
Minor scratches on a wheel rim are easy to deal with. It will be enough to polish the surface until the scratch disappears completely. This operation can be performed at home using coarse-grained sandpaper (200 - 600 R), together with polishing paste.
You can restore the disc from scratches right in the garage by painting it in the appropriate color. Unfortunately, it is impossible to use the powder method of applying a special material at home. To do this, it is necessary to have a polymerization chamber that works only in the factory. But if you use a specialized high-quality paint and follow the correct painting technology, you can achieve a durable coating.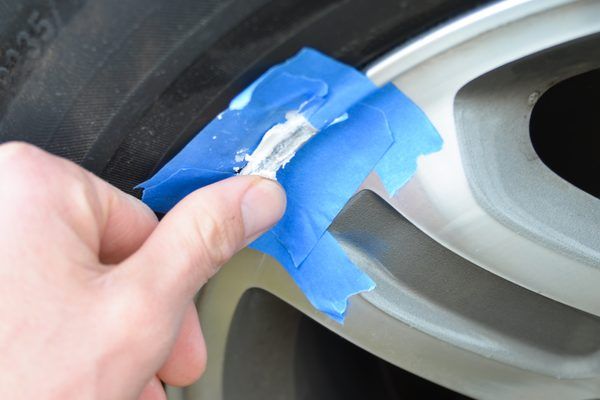
In order to achieve high quality, the disc must be carefully prepared before painting. To do this, the following operations are performed:
Only specialized high quality materials should be used.
Deep scratches are pretreated. The surface is leveled.
The face is carefully inspected for dents and chips.
In case of complete damage to the appearance, old materials are completely removed, the disc is repainted.
Epoxy paste can be used to repair a scratched disc. It contains certain components:
Before applying the paste, the following steps must be performed:
The components of the paste are then mixed. The resulting composition closes the scratches. Excess paste is removed. It remains to wait until everything is completely dry. Drying time indicated on the paste package.
Professionals advise using white paste. It will not show through the layer of paint that will cover it.
UV lamps can be used for faster drying.
If you decide to repair the disc without removing the rubber, you must first cover it with masking tape.
When the epoxy paste has set well, surface treatment is carried out. To do this, use fine-grained sandpaper. It will completely remove all the bumps. It remains to paint the surface with acrylic paint, then varnish. For shine, it can be additionally coated with polish.
Share:
Modern disks for car wheels come in several types. And if stamped steel withstand damage, even dents, and are closed with caps, then cast light-alloy wheels with paintwork after seasonal changes in weather and road surface have all the shortcomings in sight. And the most common defect is numerous scratches and chips.
Restoring the appearance of such discs in auto repair shops is not cheap, and these procedures can take a lot of time. In fact, it is possible to bring the disks into a proper, close to the factory look in garage conditions. Today we will consider one of the simple technologies of such "home" restorations.
First, we need to dismantle the wheel completely by jacking up the car and unscrewing the fixing nuts. It is not necessary to disassemble the wheel, unless there is any doubt that the tire tread will interfere with our work. In our case, the tire will remain in place throughout the entire restoration process.
Since we are talking about painting and varnishing, it is necessary to thoroughly clean the workshop or the area of \u200b\u200bthis work from dust that can ruin the whole result. Ventilation also matters, otherwise all the chemicals in a closed room will settle in your lungs.
You will also need water, detergent to clean the metal from dirt and dust, rags for dry and wet cleaning. It will not be superfluous to take care of protective equipment - glasses, gloves, a respirator. For grinding we use a screwdriver.
The damage zone of the wheel rim is mainly external, and less affects the side parts of their slotted shape.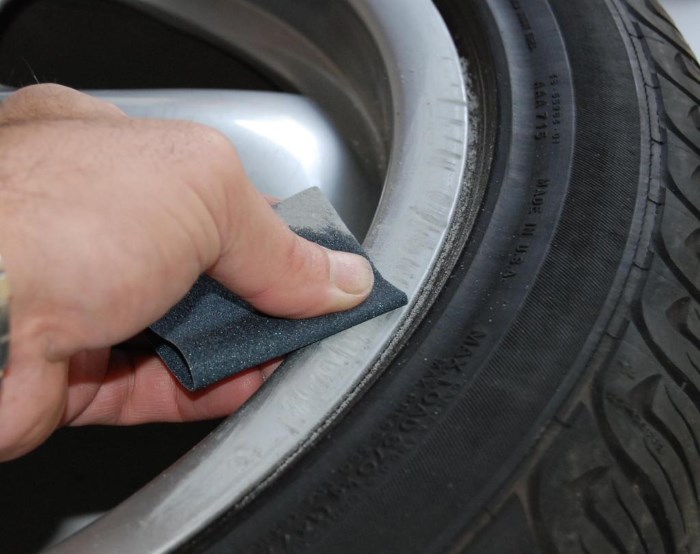 After cleaning and washing the rim of the disc from dirt, we proceed to sanding the scratches. But before that, we glue the edge of the rubber tire tread adjacent to the metal with a masking tape so as not to wipe it with an emery wheel.
We start sanding with the coarsest abrasive disc, grit rating - 180. A screwdriver is quite suitable for a nozzle with Velcro. This should be done without much pressure, so as not to make dents and grinding. On soft metal such as aluminum or magnesium alloy, this sanding pad will handle most chips and scratches with ease.
Sometimes surface damage can be so deep that sanding is not enough. In this case, automotive putties or epoxy pastes designed specifically for such work are used.
Watching the results, gradually change the discs to a higher abrasive grit rating. Up to No. 1000, the treatment is done dry, and only the final number is washed with ordinary water. Masters advise to moisten the sandpaper itself before processing, placing it in a container with water.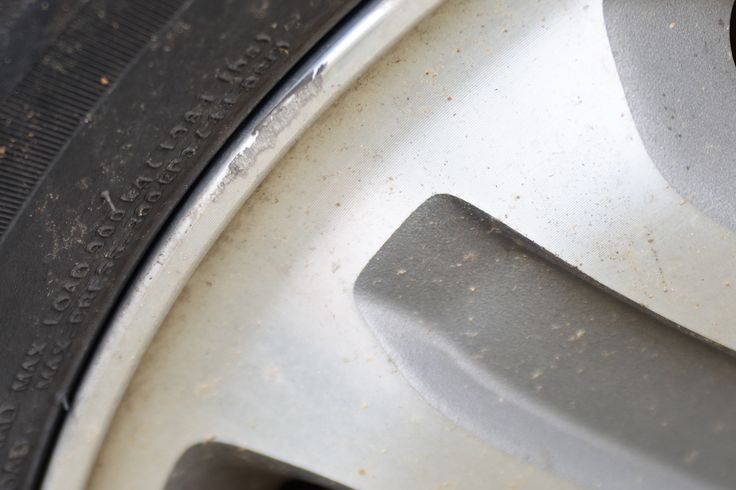
At the end of grinding, the effect becomes visually perceptible. It was the turn of the polishing sponge and Farecla G3 paste. Its professionals know it as a universal polishing paste that eliminates minor defects and is applied to surfaces such as metal, industrial varnishes, plastics, acrylic and even furniture.
We apply it to the sponge, and go through the surface with a screwdriver with a nozzle. Having cleaned the surface of the disk from traces of polish and abrasive, we prepare it for varnishing.
We remove the removable logos, seal the nipple with masking tape, and protect the protector. For this, for example, an ordinary deck of cards, laid out around the entire circumference of the wheel, is suitable.
On the cleaned surface of the disc, apply a varnish spray, spraying it at a distance of about 1m. It is most practical to cover the surface on which the disc is located with a plastic masking film.