The Drive and its partners may earn a commission if you purchase a product through one of our links. Read more.
Depending on who you are, how quickly your car can make it from a standstill to a quarter-mile straight ahead might be all that really matters in this world. But staying in line has never really been our thing, as we’ve always preferred to veer off the path in search of our own ideas of fun. When it comes to cars, that means turning, hard, and a lot on the snakiest roads we can find.
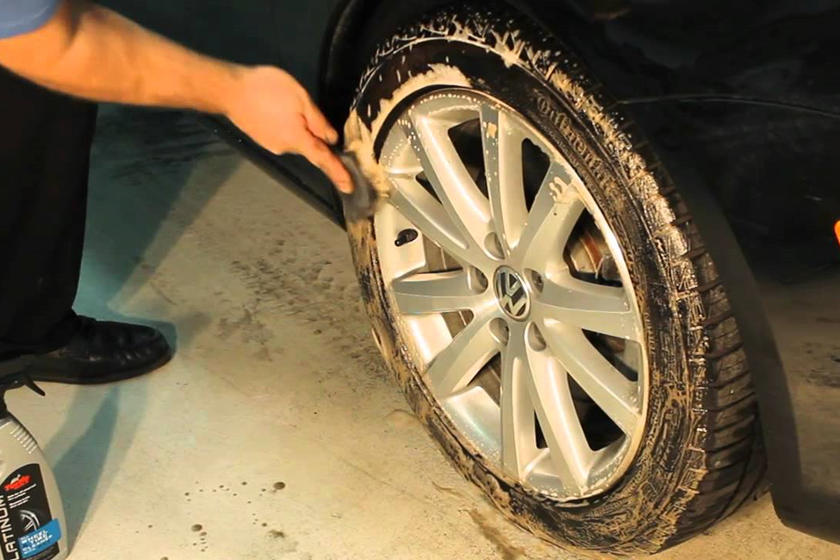
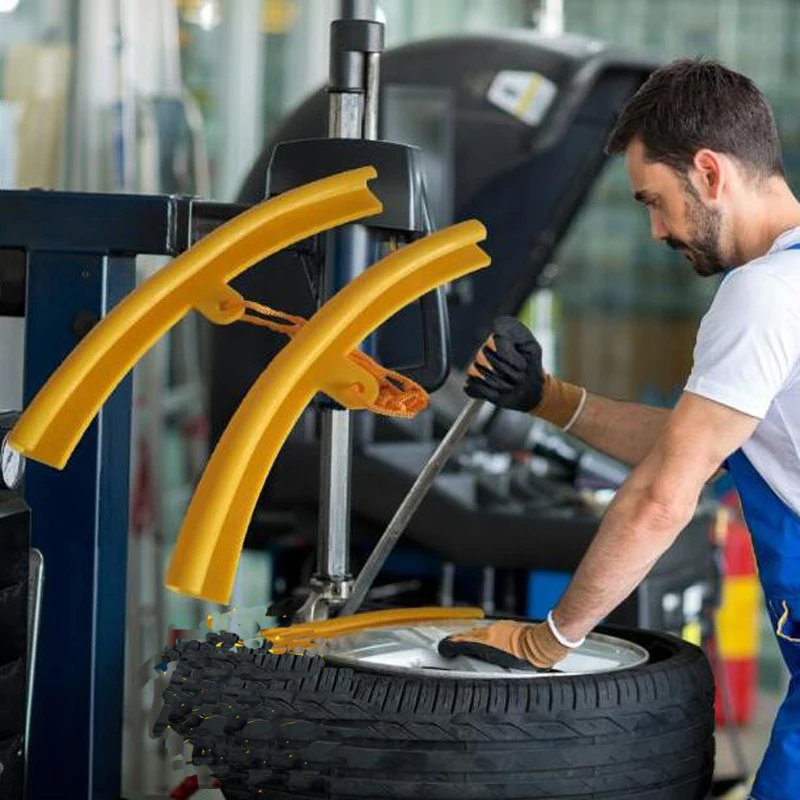
A steering wheel puts the power to turn into the driver’s hands, but it’s a bunch of linkages, gears, and arms that do the work underneath. Tie rods are a crucial component of a vehicle’s steering system, and when they start to go bad, you’ll feel the difference. Bad tie rods should be addressed immediately, and luckily, it’s not a super difficult job!
The apex-loving editors at The Drive have dealt with countless steering jobs, and we’d like to impart that knowledge and experience onto our readers. Learn how to remove and replace your tie rod ends with our guide below.
A tie rod is a mechanical part that connects your steering gear to your steering knuckle. They consist of two parts, inner and outer ends, that are connected and can be adjusted at the middle. Each end has a ball joint, so each tie rod has two ball joints.
Each tie rod has two ends, one inner and one outer. The inner tie rod end connects to the steering, while the outer tie rod end connects to the steering knuckle.
Here are a few symptoms you may be experiencing.
An inspection will be easiest with your wheel still on the car.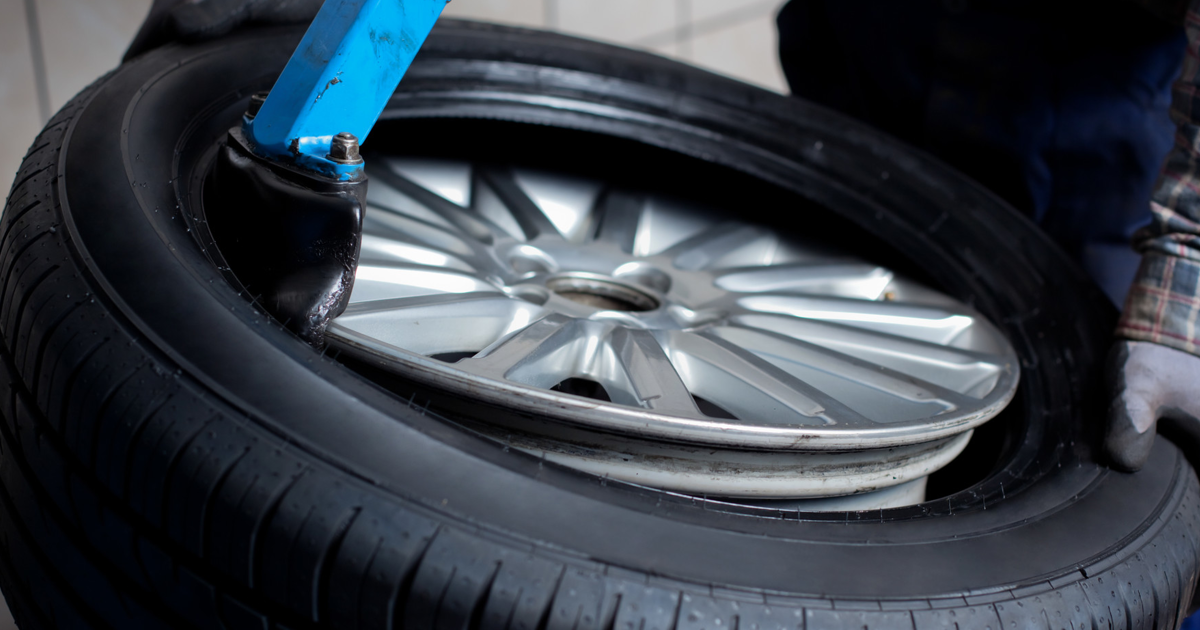 With the wheel lifted up, use both hands on each side of the wheel to rock it back and forth. If you notice a popping or clunking sound, it might be tie rods. Use a friend and a flashlight to inspect closer and pinpoint the source of the noises, as other failing parts might produce similar noises and symptoms.
Estimated Time Needed: Hours
Skill Level: Intermediate
Vehicle System: Steering
Working on your car can be dangerous and messy, so here’s exactly what you’ll need to ensure you don’t die, get maimed, or lose a finger and that you keep your jeans, shirt, and skin spotless—hopefully.
We’re not psychic, nor are we snooping through your toolbox or garage, so here’s exactly what you’ll need to get the job done.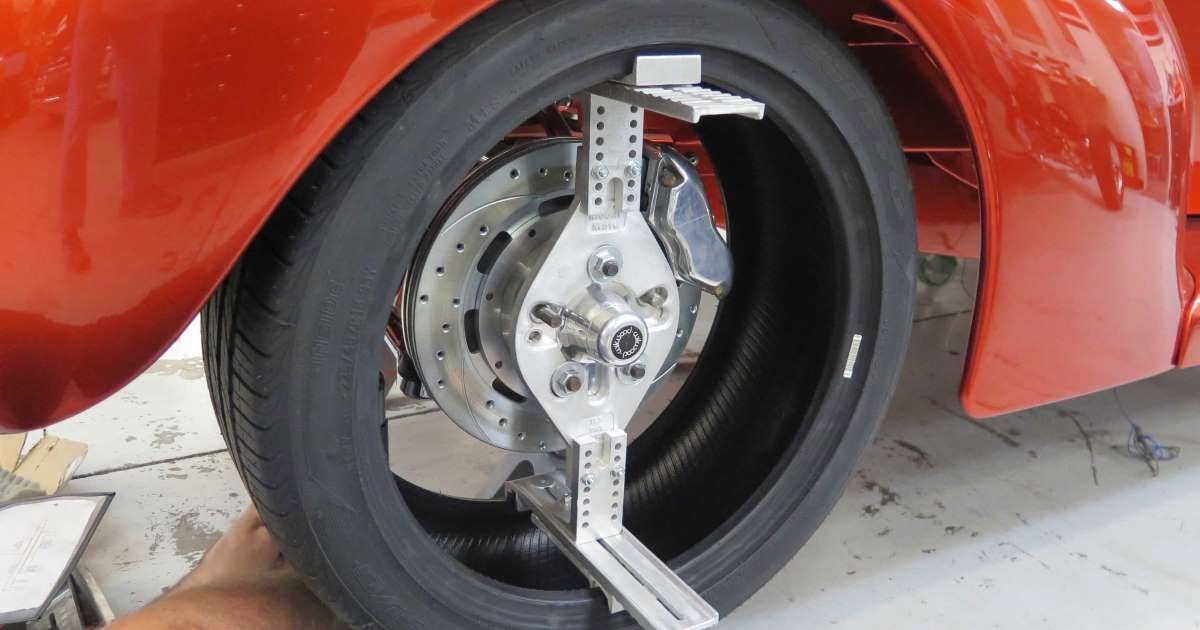
Organizing your tools and gear so everything is easily reachable will save precious minutes waiting for your handy-dandy child or four-legged helper to bring you the sandpaper or blowtorch. (You won't need a blowtorch for this job. Please don’t have your kid hand you a blowtorch—Ed.)
You’ll also need a flat workspace, such as a garage floor, driveway, or street parking that’s also well-ventilated. Check your local laws to make sure you’re not violating any codes when using the street because we aren’t getting your ride out of the clink.
This is what an inner tie rod puller tool looks like. , AmazonPretend we’re removing the front driver’s side tie rod. Let’s do this!

When installing the new parts, there are a few things you should be aware of.
 Check your owner’s manual for specifications.
As much as The Drive loves to put the "you" in do-it-yourself, we know that not everyone has the proper tools, a safe workspace, the spare time, or the confidence to tackle major automotive repairs. Sometimes, you just need quality repair work performed by professionals you can trust like our partners, the certified mechanics at Goodyear Tire & Service.
You’ve got questions, The Drive has answers!
A. In this context, ball joints are part of the suspension system, and tie rods are part of the steering system.
A. It can be, so we do not recommend driving with a bad tie rod end.
A. Any components that are attached to a vehicle’s wheels are dealing with a ton of movement, and relentless beatings. Over time, these impacts wear down on the tie rod ends and cause them to go bad. Contamination can further this along.
A.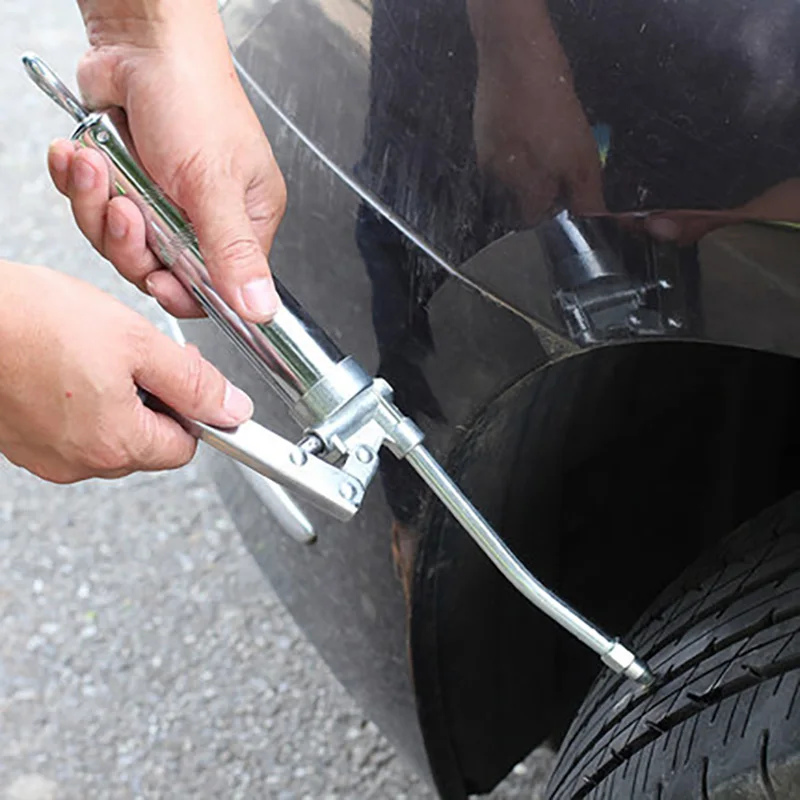 Tie rod ends vary greatly in price depending on the vehicle. Some singular outer tie rod ends could cost $10-15, while others could cost triple digits. Yours will likely be cheap, though, so even if the tie rods are just old and worn, but not fully bad, it can’t hurt to replace them.
A. It will typically make a popping, clanking, or knocking sound.
We’re here to be expert guides in everything How-To related. Use us, compliment us, yell at us. Comment below and let’s talk! You can also shout at us on Twitter or Instagram, here are our profiles.
Jonathon Klein: Twitter (@jonathon.klein), Instagram (@jonathon_klein)
Tony Markovich: Twitter (@T_Marko), Instagram (@t_marko)
Chris Teague: Twitter (@TeagueDrives), Instagram (@TeagueDrives)
How-to
on
Tie rod ends connect the steering knuckle of the wheel to the steering rack, and largely responsible for turning the wheels. When you turn the steering wheel, the steering system reacts through the rack and pinion, ultimately telling the outer tie rod ends to push or to pull the wheel to turn. A failed tie rod could lead to loss of control or the wheel breaking completely free of the vehicle, both extremely dangerous situations that can be avoided by proactive maintenance.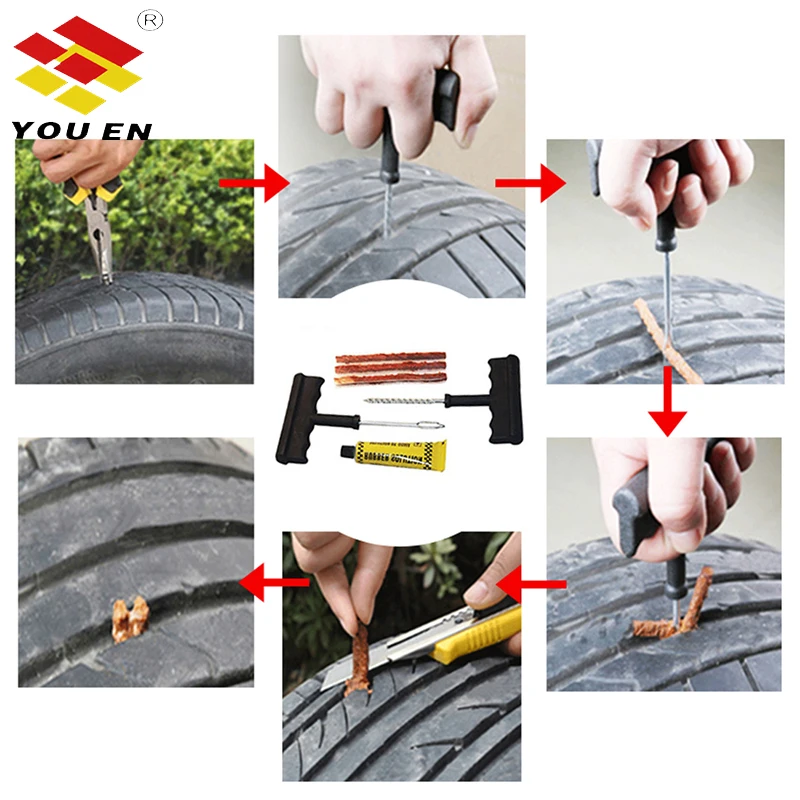 Symptoms of worn outer tie rods include:
A lot of steering and suspension problems can share the same symptoms and noises, so it is always best to do a visual inspection of the part itself. A visual inspection of the tie rod will show if there is wear and tear to the boot cover, that will reduce performance or make the part fail completely.
If your vehicle experiences the above symptoms, there is a test that will pinpoint if the issue is with the outer tie rod. First, raise the vehicle just enough so that the wheel is not touching the ground. Second, place your hands at nine and three on the wheel, and move the wheel left and right. If the parts are in good shape, the wheel would just simply turn. If there is excess wear, the wheel will shake as if the lug nuts were loose.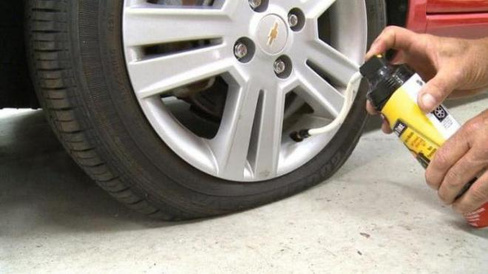 This is the most common sign to replace the tie rod.
After soaking the inner tie rod jam nut and thread with penetrant, hold the inner tie rod steady with a wrench and bust the jam nut loose. To avoid damage or warping, do not use a hammer. Moving to the other end, remove the lock nut. Some outer tie rods use a castle nut with a cotter pin, unlike the information contained in this video. If this is the case for your vehicle, straighten the pin with needle nose pliers and pull the pin out of the castle nut, then remove the nut completely.
Using a specialized tool for removing tie rod ends and ball joints, lift the outer tie rod from the steering knuckle. Once the end is free, count the number of turns, or mark the position before turning, when removing the old tie rod end from the inner tie rod.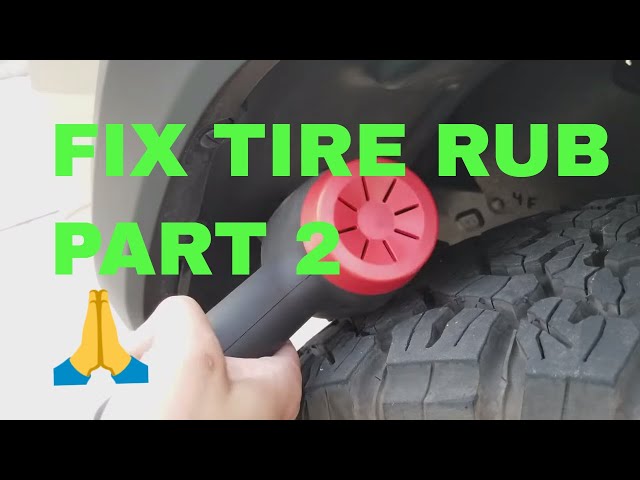 When the outer tie rod is completely removed from the car or truck, compare the length, taper and thread length of the new and old parts to ensure the replacement part is compatible with the steering system.
Connect the new tie rod end to the inner tie rod, counting the turns or stopping at the mark you recorded earlier. Place the free end of the outer tie rod into the steering knuckle, making sure the taper goes in all the way. Using your fingers or light wrench work, tighten the new lock nut until the whole stud starts to spin. Do not use an impact wrench as it will cause unnecessary spinning that could ruin the new part. Use a ratchet to keep the stud from moving as you tighten the new lock nut to the vehicle manufacturer’s recommended torque. For a castle nut, once it is completely tightened, be sure to install the cotter pin by pulling the pin through and bending it with needle nose pliers to wrap it securely around the nut.
Some outer tie rods come with a grease fitting, which often come pre-greased and do not require any additional grease added when installed.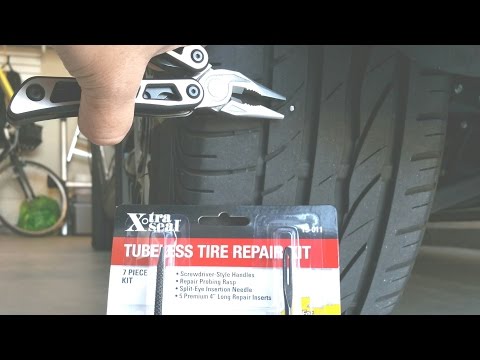 However, make sure the grease fitting bolt is tightened during installation. For maintenance purposes, it’s always a good idea when getting an oil change to add new grease and push old grease out.
Once the new part is installed, do one last check of the other suspension parts before putting the wheel back on. Torque the wheel on the ground and go on a short road test, then immediately take the vehicle in for an alignment. Anytime there is a front end alignment done on a vehicle, make sure to reset the steering angle sensor.
For more information on resetting the steering angle sensors, check out our Resource Center guide.
When deciding what outer tie rod is best for your vehicle, consider Delphi Technologies outer tie rod as your OE standard auto parts replacement. Delphi Technologies tie rod ends are fatigued tested to avoid failure and have cataphoretic coating for superior rust protection. We even tested our parts in the most extreme conditions, ensuring performance when the driver faces challenges due to factors beyond their control. Check out our catalog today to see if we have a Delphi Technologies outer tie rod for your vehicle.
Car repair,
Each of the drivers may have such a situation when a tubeless tire deflated on the way, but the spare tire was not in the car, or for a long road this is already the second wheel. In this case, there are only two ways out - one way or another, wait for help from others (take the wheel to a tire fitting, call to bring a spare tire, call a tow truck, etc.), or you can repair a punctured tire yourself.
Before moving on to the topic itself, it is worthwhile to carefully study all aspects of the operation of tubeless tires, but their widespread use has clearly proved that they have a clear advantage over tube wheels.
The main advantage for the driver is the ease of repair, because if a wheel with a chamber is punctured, it will have to be removed and disassembled in order to remove the chamber, and only then carry out the repair itself, and then you will have to do laborious work (if it is done without special equipment) in reverse order. Tubeless tires, in most cases, can be repaired without dismantling the wheel, and without even removing it from the car.
In addition, when punctured, a tubeless tire deflates for a long time, and sometimes drivers ride with several nails or self-tapping screws in the wheel without noticing the problem for up to several months. Therefore, if necessary, you can pump up a wheel with a puncture and have time to get to the nearest tire service.
However, there are several nuances that complicate operation. For example, with a strong impact on the edge of a pit or a curb, the tire can depressurize and instantly deflate, or if the wheel is not completely deflated, it can disassemble during a turn, which will lead to an instant descent.
Also, such a wheel is very difficult to inflate with a conventional pump or a mobile compressor, if it is disassembled (flew off the disk), in this case a professional compressor with high pressure is needed.
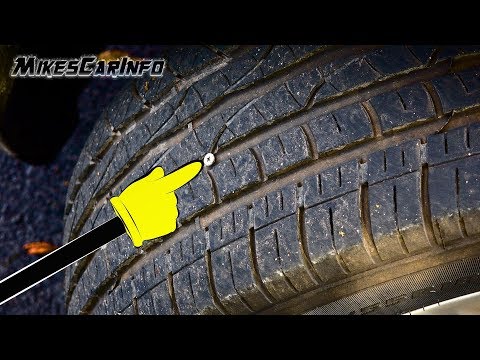
Usually, this procedure is not too difficult, and the puncture site is easily detected by visual inspection due to the culprit of the damage, which remains in the tread.
Alternatively, a soapy solution of any soapy liquid or plain water may help. By pouring on the tire with our “puncture indicator”, you can quickly find the required place by the emerging air bubbles.
But in the case when there is no soap or water, you have to carefully inspect the tire, while listening to hissing and trying to find the puncture site with your hand. This method helped me repeatedly in deaf and deserted places.
Using a tubeless sealant is the easiest and fastest way to repair a wheel and get to a professional tire shop. If you do not have such a can, then we advise you to buy it, sooner or later - it will save your nerves, time and mood.
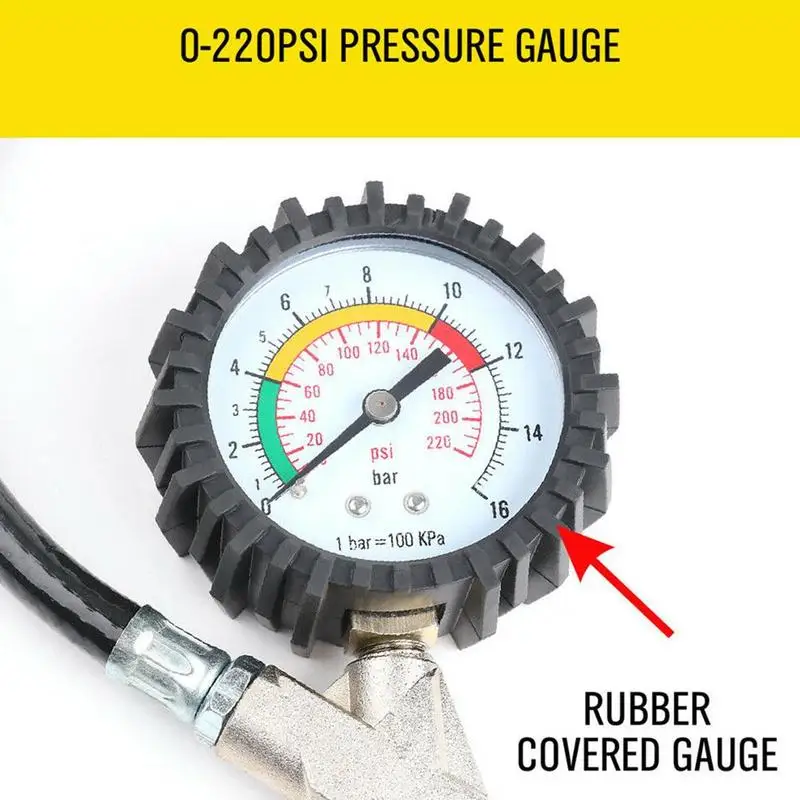
And so, if there is a nail or screw left in the tire, then it should not be removed immediately, first we connect the bottle with sealant to the nipple and if the bottle is new, then we completely inflate the wheel, if there is already insufficient pressure left in it, then before repair will need to pump up the wheel to at least 1 atmosphere.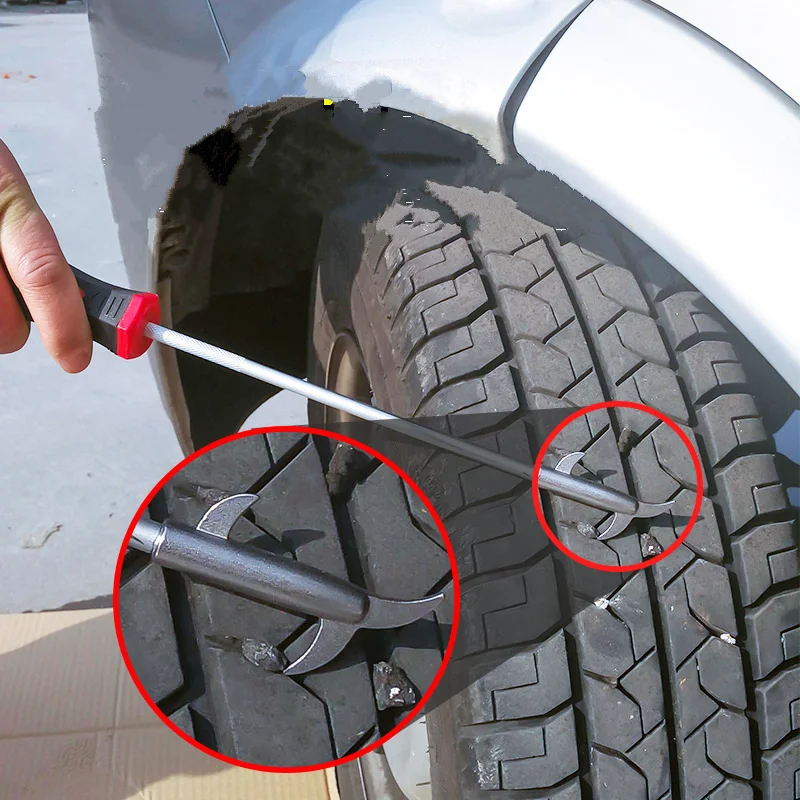
After the sealant is pumped into the wheel, it is necessary to remove the foreign object, and the sealant under air pressure will seal the puncture site from the inside, but remember that this method of repair is temporary, and it will last for about 100 km, which is enough for a visit tire fitting.
It should also be remembered that the use of sealant disturbs the balance, and you cannot drive fast on such a wheel, the safest speed will be about 60 km / h.
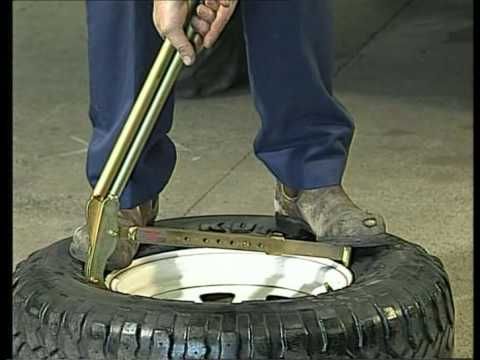
This method is the most correct for emergency road repairs. Similar kits are sold in any automotive store, and even in any large supermarket. The kit usually includes a special awl to expand the puncture, a hook for the lace, the laces themselves with bituminous impregnation and, in some cases, glue.
Before carrying out repairs, in order not to spoil the integrity of the cord (the inner hard part of the wheel made of steel wire and nylon thread), it is worth reducing the pressure to 1 atmosphere.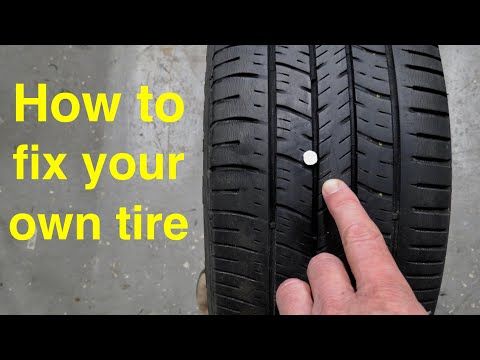 Then you should use an awl to clean and widen the hole, without which you will not be able to insert the lace. But you should not immediately remove the awl from the hole, otherwise the tire will release all the pressure and insert the lace will not work.
Then you should put the cord into the eye of the hook, distributing it equally on each side, after which the awl is taken out and the hook with the cord is put into the hole formed, here you should treat the action carefully and not overdo it. The lace should go into the tire about half or a little more (the sealing harness should be folded in half).
After that, it is necessary to pull out the hook with one sharp movement, while the tourniquet will remain in the tire. Repair can be considered completed after cutting off excess pieces of lace and pumping the wheel to the required pressure.
It is worth noting that when using high-quality sets, this repair is considered to be complete and the puncture will be securely closed until the end of the wheel's service life.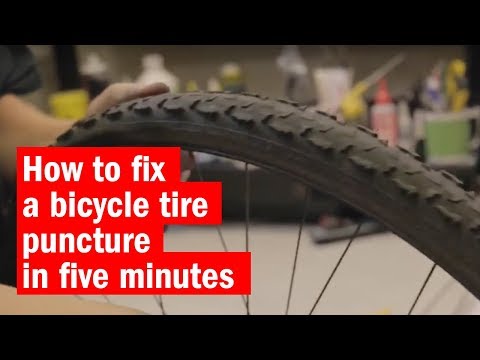 The only thing that may be required is balancing.
However, if the damage to the wheel is serious, then you will have to take care of buying a new tire. Recall that it is forbidden to repair cuts on the wheel, such a wheel is no longer allowed for operation even as a spare. Therefore, it is better to choose a cheaper tire than to pay for the repair of a cut, especially since today you can choose a new wheel even through your phone or from your home computer by visiting a specialized website. For example, one of these sites is the online store of tires and disks Internet-shina.ru at http://www.internet-shina.ru. 9
© 2007-2022.
The CarsWeek online publication was registered with the Federal Service for Supervision of Communications, Information Technology and Mass Communications (Roskomnadzor) on April 25, 2017.
Registration certificate EL No. FS77-69477.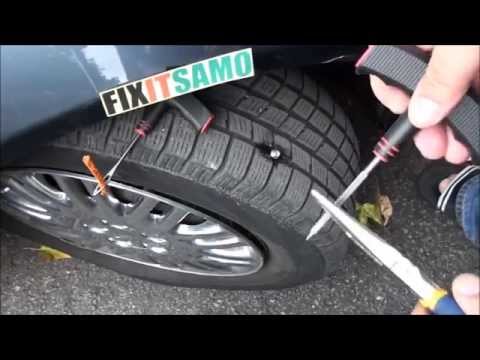 Founder: Sergey Grigoryevich Bogachkov. Chief editor: S. G. Bogachkov.
Editorial e-mail: [email protected]. Editorial phone: +7-915-979-14-25.
The use of site materials is allowed only with the installation of an active hyperlink to CarsWeek.ru. 16+
Another season of changing shoes is approaching. And you may remember that on one of the tires after the last winter/summer there is a jamb - a small bump. I don’t want to run to the store for the sake of one new tire. We understand. Or maybe it looks even better if repaired?
Yes, not every wheel that has met with a nail, rebar sticking out of the ground or a sharp stone on the road is considered damaged. Everything, of course, depends on the scale of the damage and its location on the tire itself. Some are easily repaired, while others are simply impossible to do - the tire can only be sent to the trash.
A bulge on a wheel, referred to by drivers as a bump or bulge, is the most common tire sidewall defect. It appears due to a collision with an obstacle or after falling into a pit, more often at high speed. The threads of the sidewall carcass are easily damaged by impact, and the tire at this point can no longer hold the load and air pressure - swelling appears. A small bump sooner or later turns into a big one, and driving with such a defect is dangerous - the wheel can shoot at any moment. At high speed, this is fraught with loss of control, departure from the road and a rollover.
The quality of roads in Kazakhstan contributes to the appearance of bulges on tires
Some types of bulges are repairable, although this is a temporary measure. Not a single patch can restore the factory rigidity. Ideally, change the tire.
Special cord patches can extend the life of a tire with a herniation, even if the swelling has appeared on the tread. The sidewall is a different story. If the swelling appeared at a distance of more than 40 mm from the side, it can be repaired. If not, then the wheel needs to be replaced. Blisters on low profile tires are most often non-repairable.
For maximum safety when riding with a repaired bump, insert the tube. This is an inexpensive and reliable solution. On our market, you can find cameras made in China and Russia, the latter are slightly more expensive, but also of better quality.
The elimination of a side cut is a serious operation, therefore, as in the case of a bump, you will have to go to the professionals. We need cord patches, fortunately in our time they are of different sizes and with a different number of layers. And if you do it wisely, then you can't do without special tools and vulcanization.
A cut, by the way, cannot be healed in all cases. If the gap is in the shoulder area of the tire, it is unlikely that anyone will undertake to repair it, since no guarantees can be given here. However, our Kulibins take on even the most difficult cases, cutting out parts of the sidewalls from the tires and even weaving the cord on their own.
Tire overhaul. We would not put such a wheel on ourselves
Low profile tires can be repaired, but more difficult. A tear in the sidewall is easier to seal on tires with a medium or high profile.
Sometimes a cut is confused with a pluck. This is when the outer layer of the sidewall caught on something sharp, a tear formed, but the frame itself remained intact. There is nothing wrong with that, although the drivers at the tire fitting company successfully repair the cut, for which they take it accordingly.
If a piece of rubber remains on the sidewall, then glue it with ordinary superglue (101st). If it came off, then it is better to cover it with raw rubber and vulcanize. Leaving the pluck bare is not recommended, because the tire carcass, often consisting of a metal cord, will quickly corrode.
In Europe, defective or used tires are perforated before being sent for scrap to prevent their resale and possible operation.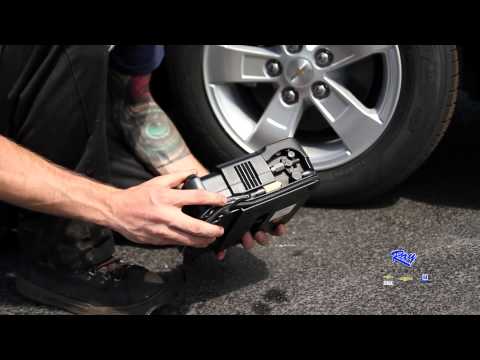 But they don’t know that we have such holes on the sidewall patched once or twice
Cuts and hernias are not the only possible damage to the side of the tire. You can also spoil the side ring, in the process of changing shoes, for example. If it’s for garlic, then such a tire is already dangerous. Sooner or later, the tire pressure and the load in motion will start to squeeze the rubber off the rim - a wheel explosion can occur.
This ailment is repaired if the wire ring - the base - is intact. There are no special technologies and materials to correct this particular problem, but most often craftsmen use a two-component composition for chemical (also called cold) vulcanization. After mixing, the mass is pressed into a fat-free damage. Compound manufacturers recommend waiting 72 hours before mounting a tire. Of course, our masters do not pay attention to this condition - they put the tire right away. And it’s good if the wheel is flat because of this at night in the parking lot, and not on the road.
If the side ring tears are barely noticeable, but the wheel still deflates, then you can use a special liquid - a bead seal designed to seal a tubeless tire.
These seals have been used in motorsport for some time. In particular, in the American Formula D Drift Series, drivers used compounds to keep the tire on the rim even with minimal tire pressure. Now they are banned.
Pay attention to the left rear wheel of the Nissan Silvia S13. Due to too low pressure, it was literally taken off the disk under load
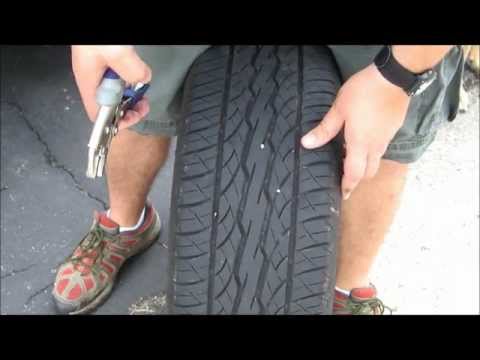
Every schoolchild has faced this problem when patching the inner tube of his bike after hitting something sharp. Repairing a car tire puncture with your own hands will also not be difficult even on the road. But for this you will need a pump (or compressor) and a universal tire repair kit with harnesses. All this is sold at any car market or gas station.
Repairing a tire on the side of the road with harnesses
The process is simple. If we are talking about the front wheels, then in most cases the wheel can not even be removed, it is enough to turn the steering wheel in the right direction, find the puncture site and carry out repairs. First, the hole is cleaned with a helical awl from the set. The tourniquet itself is smeared with glue and tucked into the eye of the awl, after which it is inserted into the tire hole. With a sharp movement, the tool is removed, and the tourniquet remains in place and clogs the hole. The tails are cut with a knife, but not at the root, it is recommended to leave about 20 mm. The tire is inflated and checked.
Sometimes a nail or self-tapping screw clogs the hole by itself, remaining in it. If you see a hat in a tread, do not rush to pull it out. While the pressure is holding, move to vulcanize. And sometimes they drive with a screw in a tire for weeks.
Repair of a puncture at a tire shop
Punctures are also repaired with harnesses at a specialized service, although among professionals such repairs are not considered long-term. After a few months, the flagella dry out and can let air through. There are more advanced methods like cold and hot vulcanization. The latter is more reliable. In this case, the hole is sealed with an elastic patch, and the funnel from a foreign object is filled with a special compound. After that, a vulcanizer is put on the tire, it heats up the rubber and solders it.
In addition to the plaster, the puncture is also repaired with special cord fungi. Craftsmen process the puncture site: drill it and treat the surface with a tool to roughen it. Then the repair area is lubricated with glue (it is also called cement) and a fungus is introduced. This is done from the inside of the tire. The cap of the fungus is rolled, and the excess legs are simply cut off from the outside.
Puncture repair with sealant
With the advent of tubeless wheels, and later run flat tires, many automakers began to abandon spare wheels. Instead, repair kits with compressors are supplied with the machines. A repair kit is essentially a bottle of pressurized sealant. Later, such spray cans began to appear on the shelves of ordinary car dealerships.
This method has not taken root in the CIS, because the condition of the roads makes it necessary to have at least a stowaway in the kit, but it can also be considered as a method of repair on the road.
The car must be jacked up and sealant must be pumped into the damaged wheel through the nipple. Next, you should spin the wheel, then pump it up, lower the car and drive a few hundred meters. If the tire tightness has not been restored, repeat the procedure.
For commercial vehicles, cutting the tread with a special device (regrower) is a common thing. Moreover, such tire retreading is provided by the factory (marked REGROOVABLE on the sidewall) to increase the service life. But there are entrepreneurs who undertake to deepen the grooves in tires for passenger cars.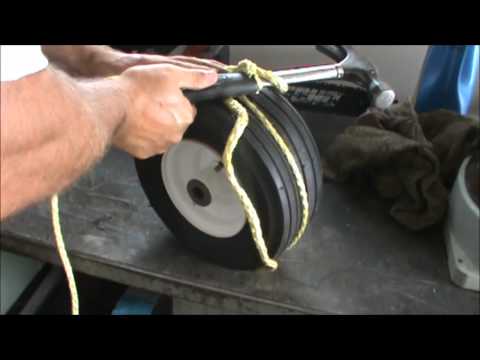 But they are not intended for such an operation. Often used tires for sale are “refreshed” in this way. Be careful!
What is the danger?
The worst option is that the retreaded tire will shoot out on the road, as the master can damage the undertread layer when deepening the grooves. Such a tire will not be able to hold pressure at some point. There will be a boom! At best, the tire will indeed last a little longer, but is the game worth the candle? We think it's not worth it.
How is cutting done?
A regrower is used to cut the tread. Roughly speaking, this is a large soldering iron with interchangeable tips of various shapes. It goes through rubber like a knife through butter.
If the tire is for passenger cars, then it is worth taking on a regrower only in one case - when part of the tread pattern was welded with "new" rubber during repair. This is where threading comes in handy in order to restore the grooves and symmetry of the tread.