Written by Steven Schiller
Fact checked by Henry Speciale
Overinflating your tire results in tread wear, a bouncy ride, and the risk of a tire blowout. That’s why we need to adhere to the required psi for our type of tires.
In many cases, we also need to deflate our tires quickly to repair or move the vehicle. Therefore, it is important to know how to let air out of a tire.
Read the detailed guide below
Table of Contents
There are two ways to remove air from a tire using a screwdriver or needle-nose pliers.
If you want to let air out of tire fast, unscrew the valve or metal pin. Then, please put it back once you reach the ideal tire pressure.
Don’t forget to reattach the cap because it protects the valve from dirt.
You need to detach the cap first to find the metal pin.
Then, use a flathead screwdriver or needle-nose pliers to press the tip of the metal pin inward to release air from tire.
The air shoots out of the valve as long as you apply pressure on the pin. It stops the moment you lift the screwdriver.
Therefore, stop pressing the pin when you reach the ideal tire pressure.
A tire deflator is a brass plated device that lets you remove air from a tire more conveniently.
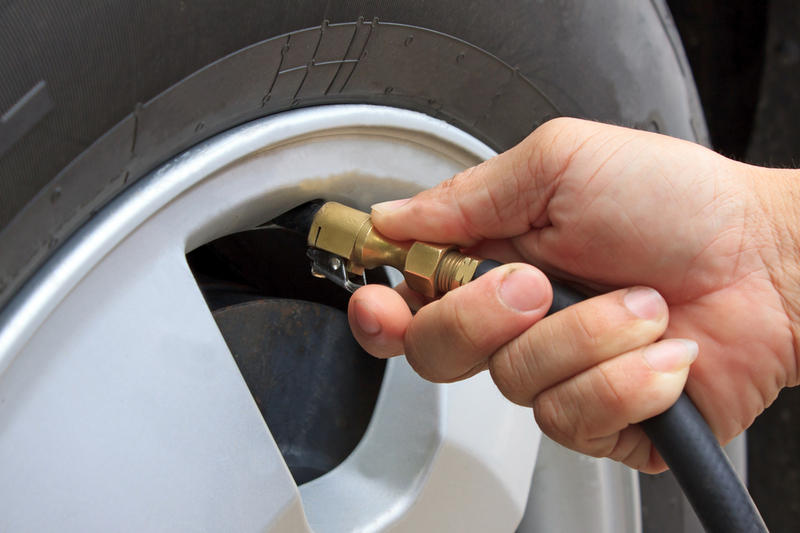
You can configure four tire deflators to your tire’s ideal PSI and simultaneously take the air out of all your car or truck tires.
Tire deflators are ideal if you have always been a victim of letting air out of tires prank. These automatic devices will save you time checking tire pressure and deflating your tire as needed.
To remove air from tire, it is necessary to identify the type of valve used in the vehicle.
The valve stem is a small cylindrical tube controlling the tire’s airflow. It is located in between the spokes of the tire. It protrudes on the tire for about 1-2 inches.
Some valves do not need tools to take air out of tire.
You can remove the cap from the valve and let it release excess air on its own. You can hear a hissing sound when it starts.
Deflating a tire is possible even without screwdriver.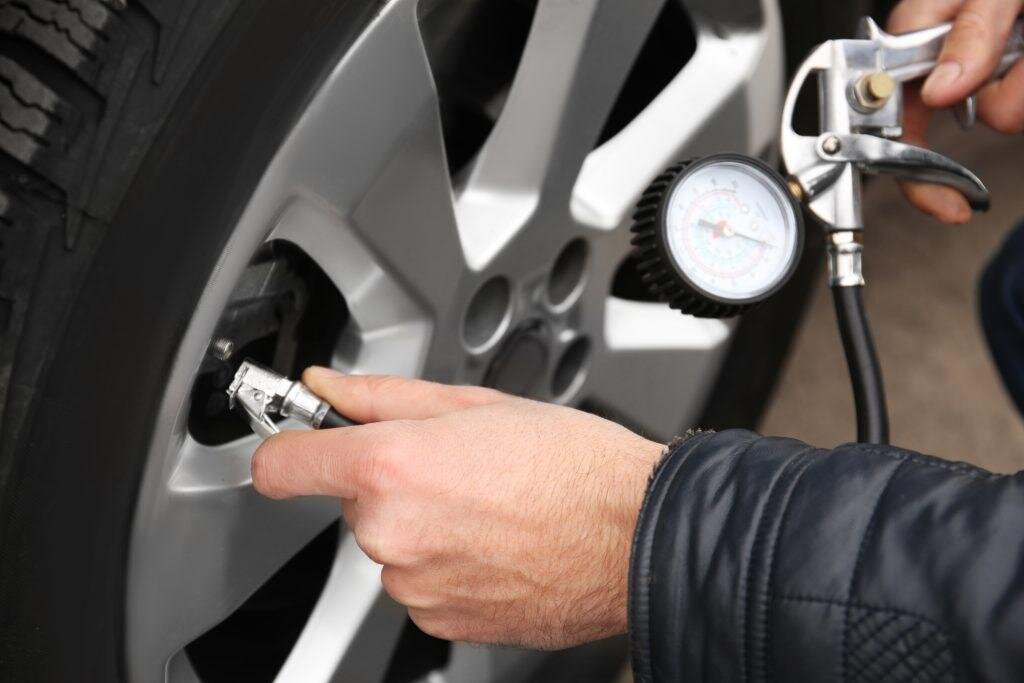 However, using the following tools will ensure you reduce tire pressure properly and safely.
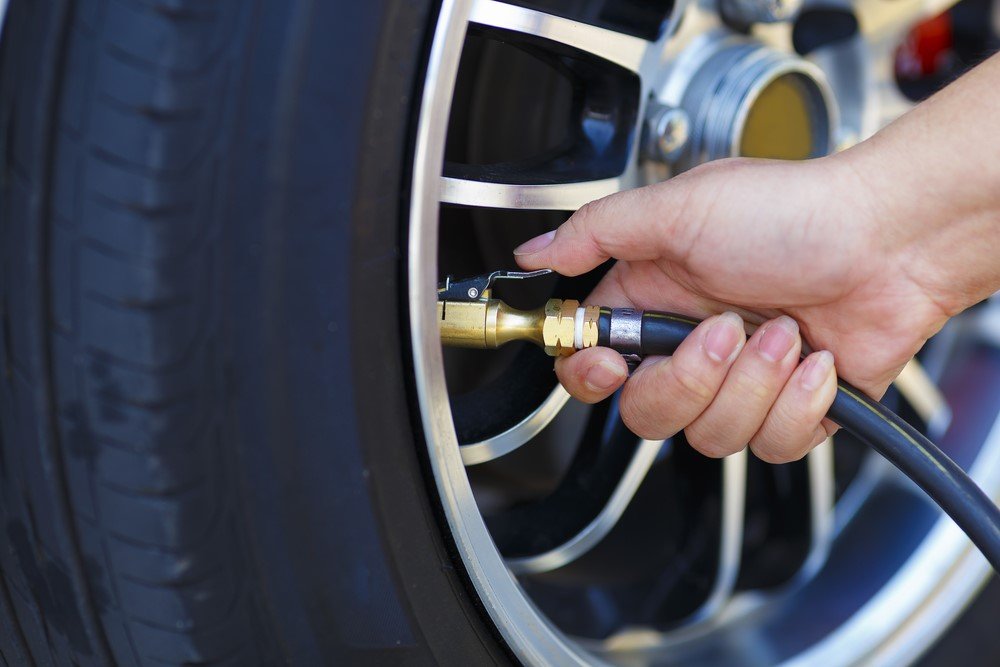
A Tire pressure gauge is a tire pressure reading device. Please attach it to the valve before and after deflating a tire to ensure the required pressure range.
For instance, if you are stuck on sand or mud, you can get out of it without a tool by releasing about half the air in the tires.
However, it is safest to check the PSI recommendation of the vehicle manufacturer because the front and back tires have different PSI requirements.
A lever or hydraulic jack is a mechanical device used to lift the vehicle while deflating all tires. Look for the jack points of the car to mount it. They are located under your vehicle’s chassis, near the front and back tires.
With machine like a jack stand, the car or truck is safe while you let air out of car tire. Jack stands can support the weight of the vehicle while being lifted by hydraulic jacks.
All tires must have the recommended PSI by the car manufacturer regardless of tire brand. The front and back tires have different ideal PSI because of weight while driving.
The PSI recommendation can be found on the sticker inside the driver’s door. If not, check the vehicle’s manual.
If possible, write down the psi of each car tire so you won’t get confused.
Reading the tire pressure with a tire gauge does not let the air out. Instead, the tire pressure gauge has a small knob or plunger at the back part of it to inflate it.
Letting air out of hot tires is unsafe. When tires are inflated by heat, and you release the extra hot pressure, it may cause the tire to blow or catch fire. In this connection, it is advised to stop driving when the tires are too hot to touch and wait for them to cool down overnight or park for at least two hours at gas station.
https://youtu.be/v2nJQ7l_nf4
Knowing how to let air out of a tire with or without tools is a good skill that drivers should not overlook because it can guarantee safe travel and longer service life for tires.
It would be great to invest in a tire pressure gauge to check your tire pressure regularly anywhere.
If you want to know more about the causes of tire overinflation, don’t hesitate to ask questions.
Categories FAQsI'm Henry, the content writer for PPMC Transport. We build our site entirely on experience and extensive market and customer research. My goal is to create a trusted platform where people can go to determine what is best for their vehicles in terms of safety and convenience. Keep an eye out for our useful guide!
- Speciale Henry
Japanese Used Cars TOP > BLOG > Car Maintenance > The Easy Way to Let Air Out of your Car Tires
by Carusedjp
Last Updated on 9月 23, 2022 by Carusedjp
Many car owners think that when they over inflate their tires, they can expect better fuel efficiency and more responsive handling. Even those who buy used trucks for sale that over inflating their tires would improve the condition of their vehicle. However, the truth is that over inflated tires can be dangerous.
If you want the best fuel efficiency and handling possible for your vehicle, then it would be advisable to follow the manufacturer-recommended tire pressure level. Your manual will tell you what the optimum tire pressure for your car is. Keep in mind that these numbers were determined through a series of tests and studies for each car model, with consideration to the following factors:
Search Japanese Used Cars
When you exceed the manufacturer-recommended pressure levels, your tires will wear out sooner than expected. It is worth noting that tires tend to round out on the tread section when they are over inflated. Consequently, the center wears out at a faster rate than the outer edges. It is possible that your tires will only reach half their actual lifespan.
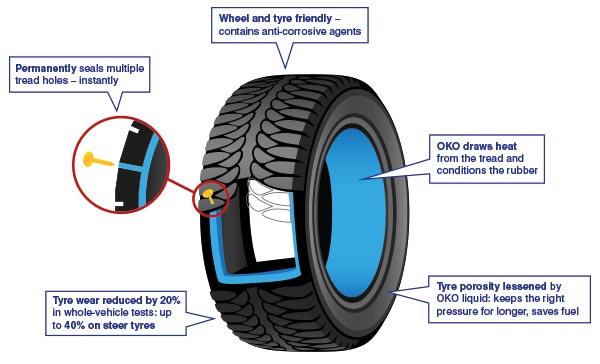
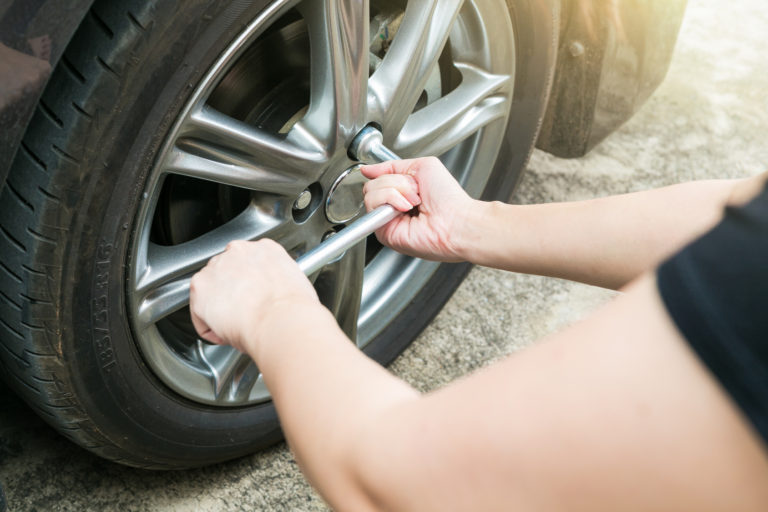
Aside from that, over inflating your tires can also cause traction loss. Even when you drive on regular roads and conditions, over inflated tires can cause your vehicle to lose traction. This would lead to accidents.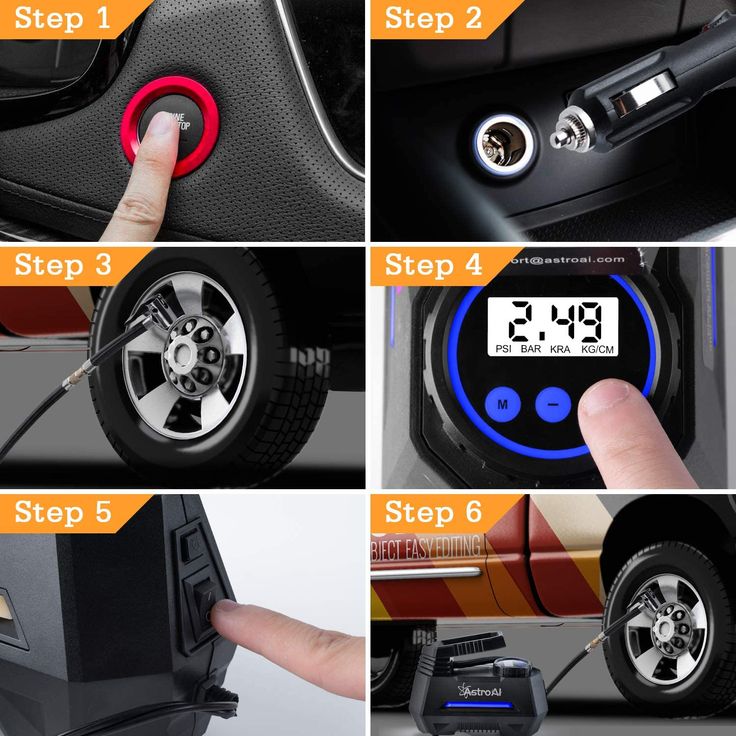 This problem becomes especially evident during the winter season. Your rides can become harsher as well. When tires are over inflated, they tend to give a bumpier rider. Needless to say, you will feel every dip in the road.
It is recommended for every driver to own a digital tire gauge. This is one of the items you can keep in the glove compartment. You can also keep a notebook where you can write down the tire pressure and the fuel economy. Here are the steps in checking your tire pressure:
Find Used Trucks here!
As we’ve mentioned, you will find the manufacturer-recommended pressure level on the tire’s sidewall. Here’s how to let air out of over inflated tires:
How to Buy Japanese Car
Share this article:
Previous
Next
Many car owners are aware of the importance of the cooling system, but not everyone knows the reason for the rapidly rising temperature or incorrect operation of the stove, although in most cases it is the only one - the airiness of the system.
Contents of the article:
Cooling systems of modern vehicles are designed for stable high pressure in them (up to 100 kPa).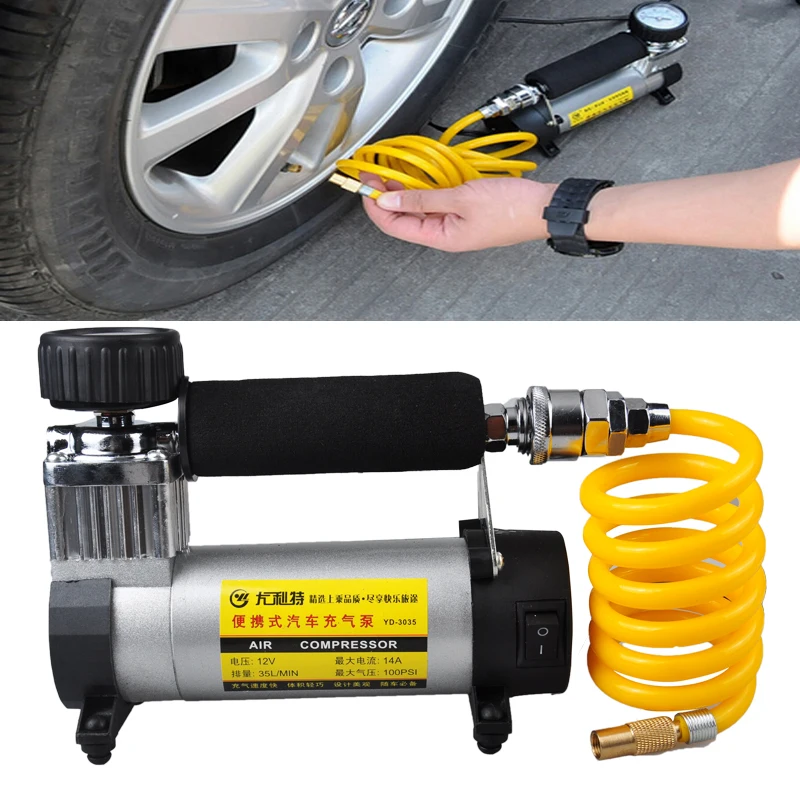 This design makes it possible to increase the boiling point of the liquid to 120-125 degrees.
However, such a temperature range and effective cooling of the motor is only possible when the system is fully operational. One of the most common problems in the cooling system is the occurrence of plugs from the air.
See also: Self-painting a car: equipment and a step-by-step algorithm
The main causes of air locks include:

Air in the cooling system can cause serious engine problems. To avoid this, you should be aware of the obvious symptoms when air appears in the cooling system.
See also: Car painting with liquid rubber
Signs of airiness:
If these symptoms occur, urgent action must be taken to avoid overheating of the internal combustion engine and a quick or immediate overhaul after exceeding the recommended engine temperature range.
First of all, with the engine running, you should check the fastening of the nozzles, hoses and tubes for tightness, it is often enough to tighten the clamps to eliminate air leakage. It is necessary to carefully inspect the condition of the pipes and tubes made of rubber, if they are damaged, they should be replaced.
See also: Liquid glass for a car - the pros and cons of covering their body
When the internal combustion engine is running, the thermostat responsible for opening/closing the additional engine cooling cycle is subjected to an increased load. If, after starting the internal combustion engine, it heats up very quickly and the cooling radiator fan turns on almost immediately and the temperature indicator rapidly moves to the red zone (overheating), then this may mean either the thermostat is stuck in the closed position or the presence of air in the pump pipe.
In the opposite situation, when the engine warms up very slowly, the regulator may be stuck open or there may be an air pocket in it.
It is easy to check the thermostat for serviceability - for this you need to start the car and wait for the temperature gauge to start moving, then gently feel the pipes. When the regulator is working, the nozzle at the top warms up quickly, while the bottom one remains cool.
After opening the thermostat (85-95 degrees depending on the model of the machine) the lower pipe should get warmer - with a working thermostat. The performance of the water pump should be checked by the noise level, the absence of coolant leaks on the stuffing box and the absence of vibration in the pump (bearing).
On many models of vehicles, getting rid of an air lock in the coolant system is quite easy and even a non-professional can do it, which will save a significant amount.
CAUTION. Before carrying out this procedure, eliminate the sources of air in the system.
There are three methods for do-it-yourself bleeding:
1) Place the machine on a level surface and remove the top guard from the motor. In many models, the throttle assembly is the highest point in the cooling system.
If, during a visual inspection on a specific vehicle model, the same feature turns out, then to bleed the air, it is necessary to remove the pipe supplying antifreeze from the throttle assembly by loosening the clamp with a Phillips screwdriver, it will not be superfluous to open the stove switch to the hottest mode (this procedure is especially relevant for VAZs).
Then unscrew the cap from the expansion tank and close the hole with a clean cloth and start blowing air into the tank with your mouth until coolant starts to pour out of the nozzle, which means the plug has been removed. Then you should fix the pipe and tighten the cover.
2) Preheat the engine for 10-20 minutes (depending on the outside temperature). Then you should unscrew the cap from the expansion tank and remove the antifreeze supply pipe from the throttle module.
After coolant starts to flow out of the pipe, it must be replaced, carefully fixing the clamp. When carrying out this procedure, it is necessary to avoid contact with the working fluid on the skin and clothing to avoid burns.
3) It is necessary to put the vehicle on the handbrake on an inclined surface (with the front part on the rise), additional stops under the wheels will not be superfluous.
Next, start the engine and let it run for 10-20 minutes to heat up the coolant and open the thermostat. Then carefully, so as not to burn yourself, you should remove the cap from the expansion tank and radiator.
During this procedure, you should regularly gently depress the accelerator pedal and add antifreeze (antifreeze), it will not be superfluous to turn on the stove to the hottest mode to bleed air from the heating system.
The exit of the plug will be manifested by the appearance of bubbles, after their complete disappearance and / or the appearance of very hot air from the heating system, you can turn off the engine and replace the covers, as this will mean complete removal of air from the cooling system.
See also: Signs, causes and consequences of car engine overheating
This method is not always effective, because some design features may not allow this procedure. This method is most effective on old cars, including VAZs.
Self-bleeding of air is based on elementary physical laws - air is a gas, and gas is lighter than liquid, and additional procedures increase the pressure in the system, accelerating the flow of liquid and air removal.
CAUTION. The procedure for bleeding air should be carried out with extreme caution to avoid burns with coolant, since its temperature can exceed 80 degrees.
It is much easier to avoid air in the cooling system than to eliminate the causes of engine overheating later.
To do this, follow the simplest recommendations:
If airborne symptoms occur, they can be easily eliminated by replacing worn parts and venting the gas with simple methods that even a novice driver can handle in terms of complexity.
The formation of air in the cooling system and, as a result, overheating of the engine can be easily prevented by periodically inspecting the condition of the system, adding antifreeze in a timely manner and, in accordance with the manufacturer's regulations, replacing the water pump and damaged parts.
When air enters the cooling system of the internal combustion engine, then during its further operation such a malfunction can cause serious consequences. The safest thing is if there is overheating and from this the stove will simply slightly warm up the interior.
If you start the problem of airing the system, then other parts of the vehicle system may break down. That is why you should know how to remove the airlock with your own hands.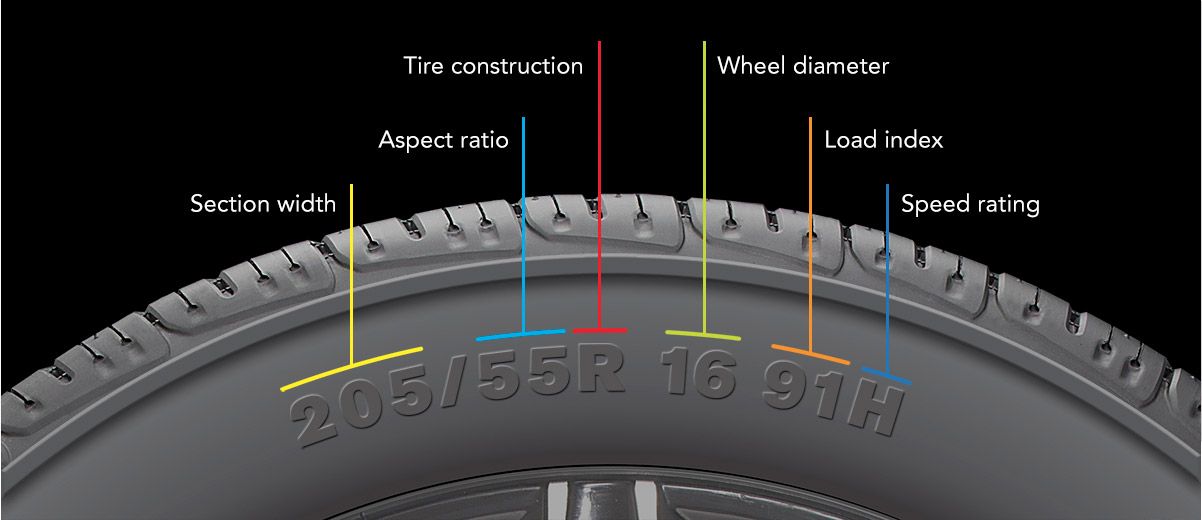 Even a novice motorist can cope with this task, in this article we will analyze in detail the topic of airing the cooling system.
Contents of the article:
How to understand that something is wrong with the cooling system of your car? The first step is to listen to how it works and just inspect it visually. We have identified the main symptoms of malfunctions:
 But also malfunctions can occur due to the fact that there is an air lock in the system. A more detailed inspection is needed here.
 If you have determined that at least one of the above signs suits you, then you need to carry out a complete diagnosis of CO in a car service as soon as possible. But before that, you still need to determine the causes, since many of them can be eliminated with your own hands.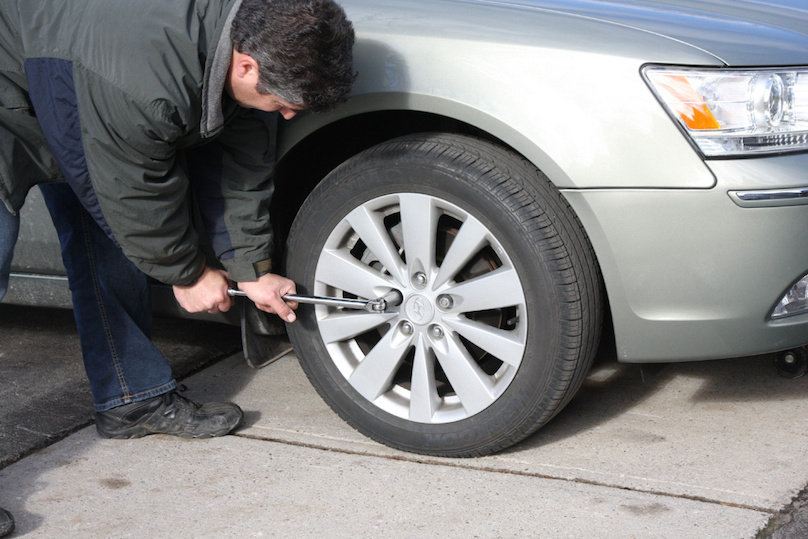
 After detecting a leak and fixing a malfunction, an audit of the entire system should be done, as new problems could have formed due to air ingress.
 In order for antifreeze to work well in the system in winter, you can use the table below.
| Coolant temperature °C | Freezing point, °C | Safe operating temperature, °C | Coolant concentration | ||||
| 10 | 20 | 30 | 40 | 50 | |||
| Specific weight of antifreeze at temperature, kg/l | |||||||
| 1.054 | 1.050 | 1.046 | 1.042 | 1.036 | -16 | -11 | 30% |
1. 063 063 | 1.058 | 1.054 | 1.049 | 1.044 | -20 | -25 | 35% |
| 1.071 | 1.067 | 1.062 | 1.057 | 1.052 | -25 | -20 | 40% |
| 1.079 | 1.074 | 1.069 | 1.064 | 1.058 | -30 | -25 | 45% |
| 1.087 | 1.082 | 1.076 | 1.070 | 1.064 | -36 | -31 | 50% |
| 1.095 | 1.090 | 1.084 | 1.077 | 1.070 | -42 | -37 | 55% |
| 1.103 | 1.098 | 1.092 | 1.084 | 1.076 | -50 | -45 | 60% |
Each cause can greatly damage the engine, which is why it is important to monitor the performance of all vehicle components. If the operation of the cooling system is disrupted, then at first this will lead to overheating of the motor. As engine temperature rises, engine wear also increases. And if the wear is large, then this will quickly disable the sealing joints, and in the future there will only be more difficulties. If the CO malfunction is not eliminated, then soon it may simply jam, and then you will be provided with an expensive overhaul of the engine.
Also, air entering the cooling system greatly reduces the performance of the stove. The reason here is also clear - antifreeze does not transfer heat well enough, and the power of work is greatly reduced. That is why the heat transfer to the car interior is not so big.
Below we will consider in detail several ways to eliminate traffic jams from the system. All of them are different in terms of technology and level of complexity, so you can choose the option that is convenient for you.
 1
1 You can see a little more about this method of getting rid of CO airing in the video:
You can see more about this method of removing air from the cooling system in the video:
The latter method of removing air pockets is very popular. On modern cars, a system is installed when the fan turns on automatically at a certain temperature, so there is no need for gas supply. Therefore, you can wait until the temperature reaches the desired one, and the fan will turn on automatically, most importantly, do not forget to add antifreeze. If fluid is not topped up at certain intervals, the system may become airy again.
As you already understood, all methods are working, and not so complicated, which is why you can remove the airlock yourself. All of them are based on the law that air is much lighter than liquid and therefore all have a place to be. Each way to solve the problem is to create conditions for the system under which the plug itself will come out of the CO. We strongly advise you to carry out various preventive measures that will make it possible not to air the system.
To prevent air from entering the system, always check for antifreeze in the system and add it periodically. If the antifreeze level keeps dropping and you have to keep topping it up, then the CO is not functioning properly. Carry out a thorough visual inspection, if you do not find any signs of antifreeze leakage, then you should visit a service station for a complete CO diagnosis.
Dirty Expansion Barrel
The system should be cleaned from time to time, as it can become clogged with various deposits, both from coolant and from corrosion. The fact is that even small air bubbles in the system can provoke the development of corrosive processes.