“A tire only loses air if it’s punctured.” This is a common misconception that we have all had or heard and yet the reality is quite different. Indeed, a tire can lose air even without a puncture, as for example in the case of a crack in the valve that is used to inflate your tires. A punctured valve is difficult to detect, and not taking care of it in time can have real consequences for your tire, but also (and above all!) for your safety. Blackcircles Canada, your online tire specialist, offers below a complete guide to the causes and consequences of a punctured valve, and how to repair a leaking valve stem.
A valve is a pin located on the outside of the tire, through which the tire can be inflated/deflated. It has a mechanism consisting of a spring-mounted valve that closes tightly with the air pressure inside the tire. Over time, the stem valve may become brittle and cracked, which may increase the risk of air leaking through it.
When the stem valve leaks, the affected tire is no longer able to retain air. Depending on the extent of the damage, the air will leak out slowly or more quickly. In both cases, the valve must be replaced.
If the air leakage is slow, you will be subject to the problems encountered by drivers driving with underinflated tires. Internal damage that can shorten the service life of the tire by up to a quarter, increased fuel consumption due to higher rolling resistance: the tire will damage faster, and your energy-efficiency will be significantly lower. The tire will also have poorer traction and the stability of your car will be reduced when cornering, not to mention the more pronounced deformation of the tire that increases its internal temperature, which can cause it to burst. Finally, an under-inflated tire increases the risk of hydroplaning. Tire pressure is thus very important!
 Here’s how to do it!Step 1: Make sure it’s your valve stem that’s leaking.
First of all, make sure it is the tire valve stem that is leaking. To do so, there’s a very simple trick! Apply a mixture of water and dishwashing soap to the valve with the cap removed. If bubbles start to appear, your valve is leaking. If this is not the case, and there is a definite air leak, it will be located elsewhere on the tire.
Step 2: Gather the right tools before you start!Before you begin, make sure you have all the necessary equipment to complete the replacement of the faulty valve stem.
For this, you will need the following:
You are now ready to start the process!
Step 3: Loosen the nuts on the wheel you are going to work on.
To do so, use the wrench mentioned in the previous step to loosen each of the lug nuts holding your wheel in place. Do this while the car is still on the ground.
However, for certain models of vehicles, it is possible that the wheel nuts have an anti-theft ring. If this is the case, you’ll have to use the appropriate special key to remove the locking nut(s).
Step 4: Raise your vehicle with the jack and then remove the wheel.First and foremost, make sure the handbrake is applied so that your vehicle is completely immobilized. Then, use your jack to lift your car. Be sure to position it on the right part of the chassis so that the car is properly supported. This will prevent any damage to the car and any bodily injury. Once your car is lifted, secure it on jack stands. Unscrew the wheel bolts completely, then remove the wheel. Finally, place the wheel on the ground flat, with the outside of the wheel facing up.
Step 5: Remove the valve stem core with the removal tool and let the tire deflate.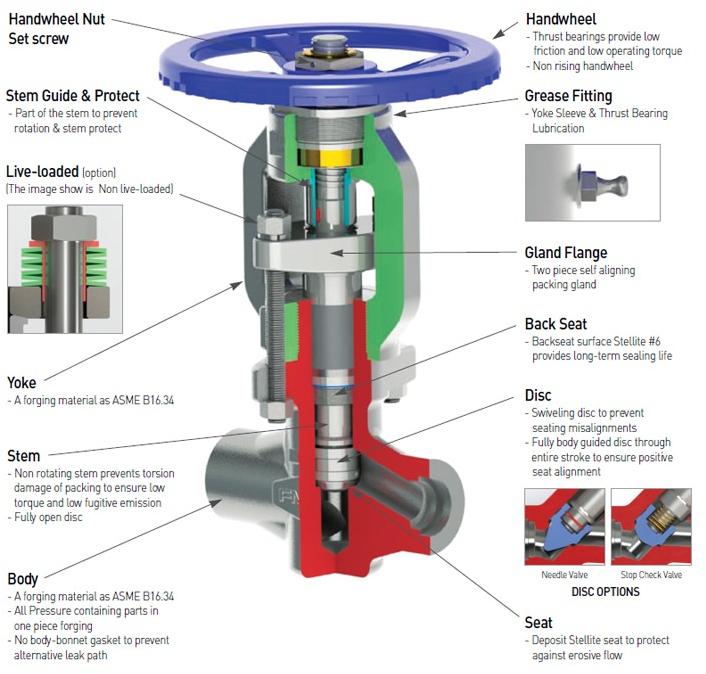
If you have not already done so, remove the valve cap. Then remove the valve stem core using the valve stem removal tool to release the air from the wheel, which should normally deflate completely on its own.
Step 6: Separate the tire’s bead from the wheel.For this step, use the sledgehammer in the following way: hit the tire sidewall with the sledgehammer in the same spot until you hear a crack or popping sound, and see the inside lip of the tire visibly break loose from the rim. This means that the tire has been successfully detached from the lip of the wheel.
Once the tire bead has been broken, continue hitting with the sledgehammer around the tire to detach the sidewall around the entire circumference of the wheel.
Step 7: Remove the tire from the rim.Once the sidewall of the tire is separated from the outer edge of the rim around the entire circumference of the wheel, insert your tire iron between the edge of the rim and the inside lip of the tire, and then pry upward to pull the lip of the tire over the edge of the wheel. Once you have pulled the lip of the tire over the edge of the wheel, work the tire iron around the rim until the entire lip of the tire is off the rim.
Once the sidewall of the tire is completely above the wheel, grab it by its removed lip and pull it upward so that the opposite lip that was at the bottom of the wheel is now touching the top edge of the rim. Use your tire iron again by inserting it between the tire’s lip and the edge of the wheel and pry upwards to pull the lip over the edge of the rim. As before, work the tire iron around the edge of the wheel until the tire is removed from the wheel.
Step 8: Remove the defective valve stem and replace it with the new one.Once the tire is separated from the rim, it is time to remove the valve stem. To do this, first pull out the valve stem free from the wheel using the needle-nose pliers. Once this has been done, install the replacement valve stem from the inside of the wheel. Once it is in position, use the needle-nose pliers again to pull it through into its right place on the wheel.
Once the stem is in place, it is time to put the tire back on its rim. To do this, start by pressing the tire down over the rim until the bottom bead clears the edge of the rim. The aim here is to return the lower sidewall of the tire to its original position on the wheel.
Then press the upper sidewall of the tire down underneath the edge of the wheel. Then tuck your tire iron between the tire sidewall and the rim edge and use it to make the opposite movement to the one you used to pull the tire sidewall out of the rim. Once the bead clears the lip of the wheel, use the tire iron to work your way round the entire wheel until the tire is completely installed on the wheel. Then inflate it to the correct pressure using the air compressor.
Step 10: Make sure there are no other leaks, and mount your wheel back on!Once the tire is inflated to the correct pressure, check for other leaks. If all is well, mount the wheel on your vehicle and bring it down by lowering the level of the jack stands until the repaired wheel touches the ground and you can safely remove them.
Ultimately, it is very important to make sure your tires are free of air leaks to maintain proper air pressure at all times. In the case of a slow air leak, the consequences can be dramatic. If the air leak is due to a faulty tire valve, you will definitely need to replace it. You can either follow the above procedure on how to repair a leaking tire valve or take it directly to a specialist. If, on the other hand, you need to change the entire tire, consult our selection of tires adapted for your car directly online on our website!
Tire Installation 101: When and how to change your tires?
I just filled up my tires and, two days later, my right tire is losing pressure.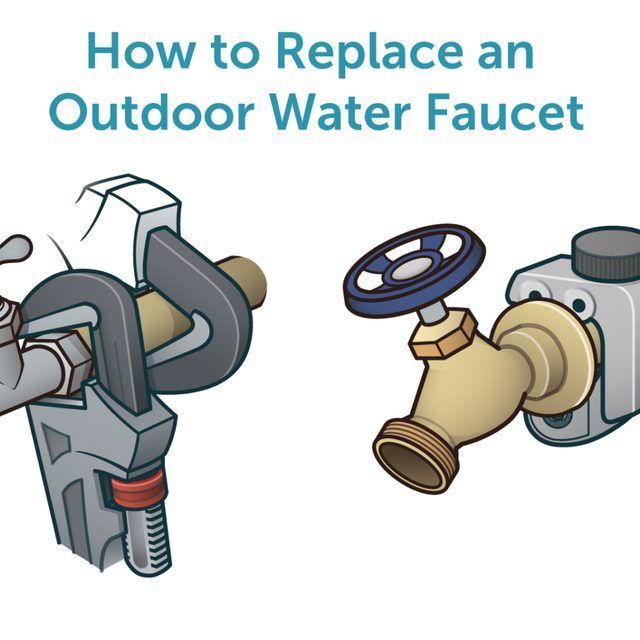 I’ve checked the tire for leaks and don’t think the tire itself needs replacing, so my next guess is the tire valve stem is leaking. How do I fix a tire valve stem leak?
Rachel Juillerat · Answered on Feb 18, 2022
Reviewed by Shannon Martin, Licensed Insurance Agent.
Fortunately for you, fixing a tire valve stem leak is both easy and cheap. You just need to purchase a replacement tire valve stem and a valve core tool. A pack containing both of these items is on Amazon for less than $5!
To replace the leaking tire valve stem, do the following:
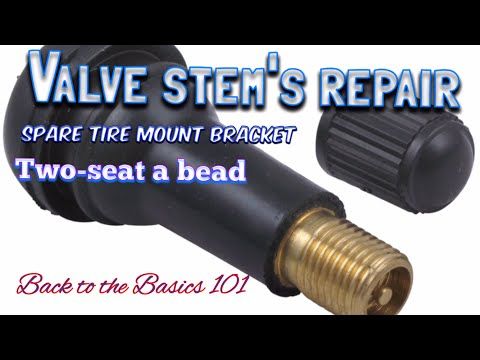
Note: If you notice corrosion on the old stem, be sure to clean the interior threads of the tire stem on the tire.
While this is an easy and cheap fix, there are some car fixes you may need assistance with, so it’s always a good idea to invest in a solid car insurance policy.
Jerry makes finding the right policy for you easy. Jerry compares personalized rates from more than 50 top providers and delivers the best deals to your phone in minutes for free. The average Jerry driver saves $887 a year on car insurance.
MORE: Will insurance cover a flat tire?
Car RepairCar Tires
View full answer
WHY YOU CAN TRUST JERRY
Jerry partners with more than 50 insurance companies, but our content is independently researched, written, and fact-checked by our team of editors and agents. We aren’t paid for reviews or other content.
Browse More Content
ABS Light On Inspection Cost Estimate
What To Do If Your Turn Signal Light Is Not Working
AC Compressor Relay Replacement
ABS Speed Sensor Replacement Cost Estimate
Center/Drag Link Replacement Cost Estimate
Acura Tlx Technology Insurance Cost
Acura Mdx Insurance Cost
Bmw X6 Sdrive35I Insurance Cost
Chevrolet Tahoe C1500 Ls Insurance Cost
Chevrolet Equinox Rs Insurance Cost
Naoma Car Insurance
Huron Car Insurance
Whittier Car Insurance
Christiana Car Insurance
Nooksack Car Insurance
I’ve loved Lamborghinis since I was a kid. They’re sleek, they’re fast—they’re my dream car! I’m already saving up to buy one someday. How much does car insurance for a Lamborghini cost?
Melanie Johnson
Feb 18, 2022
I got a ticket yesterday and I’m so bummed. I’ve never gotten a ticket before—I was just zoned out and didn't realize I was going 10 over. Can I ask the judge to reduce my ticket?
Melanie Johnson
Feb 18, 2022
I’ve been sitting on my old car that no longer works and I’m ready to move on and clean out. Where can I sell it?
Pat Roache
Feb 18, 2022
Browse All Questions
The 2013 Audi S8 0-60 time is 3.6 seconds. Can it keep up with the competition?
Ethan Moser
Sep 16, 2022
The 2022 Bentley Flying Spur MSRP starts at $208,225, but you’ll likely pay more at the dealership. Click to find out why.
Ethan Moser
Aug 04, 2022
Bentley Mulliner gives ultra-luxe Bentleys even more personalized treatment.
Ethan Moser
Aug 12, 2022
Speeding
driving record
Car Body Repair
Car Reviews
FS-1 Form
Collision Coverage
Car Loans
No Fault State
Emergency Insurance
State Farm
Young Drivers
Cheap Auto Insurance
Full Coverage Insurance
Car Prices
driving record
Travelers
Natural Disasters
Save Money
Title Transfers
Donating a Car
Fleet Sales
Identity Theft
Chrysler
Mitsubishi
No long forms
No spam or unwanted phone calls
Quotes from top insurance companies
Find insurance savings — it's 100% free
Toyota
Hyundai
Mercedes-Benz
Subaru
Chevrolet
Mitsubishi
Installations
Back to search
Cause:
Adjusted clearance in the valve actuator is too small or the maintenance interval has not been observed.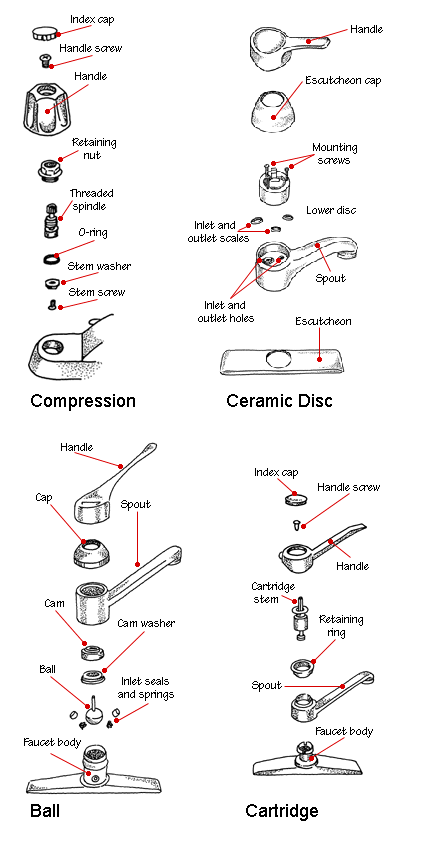
Consequence:
The valve no longer closes properly. Exhaust gases flowing past the valve seat heat up the valve head. This causes overheating and burning of the valve head in the seat area
.
Reason:
During installation, the spring was not installed correctly. The misalignment resulted in a lateral bending moment (M) on the valve stem.
Consequence:
The resulting variable bending load resulted in damage to the valve guide and ultimately to failure of the valve stem end.
Cause:
After installing the tappet, the prescribed waiting time before starting the engine (at least 30 minutes) was not observed. Because of this, there was not enough time to remove excess oil from the working area of the pusher.
Consequence:
When the engine starts prematurely, the valves hit the pistons, bend or break.
Cause:
During rework, the valve seat or valve guide was not centered correctly.
Consequence:
The valve does not close properly, overheats and burns out in the seat area. Due to the one-sided load on the valve head, fatigue fractures in the area of the fillet are also possible.
Cause:
The clearance in the valve guides is too large, because they are badly worn or have been drilled too wide during repair.
Consequence:
Due to the breakthrough of hot gases, strong carbon formation is possible in the area of the rods and guides. The valve stroke becomes heavy, the valve no longer closes, and this leads to overheating (burning, melting) of the seat surface.
Cause :
When rebuilding the valve guides, the guide diameter was measured incorrectly and was found to be too small.
Consequence:
Lack of lubrication, heavy stroke and sticking of the valve stem in the guide. As a result, this can also lead to overheating in the area of the valve head or seat.
Cause:
Old, worn valve cotters were used to rebuild the valves.
Consequence:
If worn nuts are reused, the clamp may loosen during operation. Friction corrosion appears on the stem, and the valve in this place loses its strength. Because of this, fatigue fractures from vibrations are possible.
Reason:
The distribution of force from the rocker to the surface of the end of the valve stem is non-centric.
Consequence:
This leads to one-sided wear of the rod and its end. Shear load on the valve stem, caused by non-centric force distribution, results in fatigue fractures in the clamping area.
Cause:
Bending of the valve stem results in one-sided loading of the valve seat on the seat ring.
Consequence:
One-sided loading causes a variable bending load and fatigue fractures in the area of the fillet, at the transition to the bar.
Cause:
Combustion failure causes significant thermal and pressure loads in the combustion chamber.
Consequence:
The valve head cannot withstand strong thermomechanical loads and bends inwards. It takes the so-called tulip shape and breaks.
Practical tips for replacement and repair
For professional use only. We reserve the right to make changes and inconsistencies in the drawings. Refer to the relevant catalogs or TecAlliance based systems for identification and replacement information.
The Motorservice Group uses cookies on your device to optimize the design and continuous improvement of its web pages, as well as for statistical purposes. Here you will find more information on the use of cookies, our Imprint and the Privacy Policy.
By clicking the "OK" button, you confirm that you have taken note of the cookie information, data protection declaration and imprint. You can change your cookie settings for this website at any time [link]
We attach great importance to transparency in the protection of personal data. On our pages you will receive precise information about which settings you can select and what functions they perform. You can change the setting you have chosen at any time. Regardless of the setting you choose, we will not identify you personally (unless you have explicitly entered your data, for example in contact forms). You can find information about deleting cookies in your browser help. Further information can be found in the Data Protection Statement.
Cookies are necessary for the operation of the website to ensure its proper functioning. In the absence of cookies, errors and error messages may occur.
Cookies make your visit to the website more convenient and comfortable, for example, by storing certain settings so that you do not have to set them again each time you visit the site.
Of course, we always agree with the Do Not Track (DNT) setting of your browser. In this case no tracking cookies are set and no tracking features are loaded.
It's good when the car is new - the engine runs quietly, you can't hear it even when accelerating with full throttle. But time goes by - and one day you notice that there is no trace of the former "silence", and, opening the hood, you see some kind of rumbling beast, which, instead of the usual singing, makes sounds that are clearly offensive to the ear.
The noise of the engine is most often associated with the gas distribution mechanism - large gaps and knocking are always adjacent to each other. The first thing that comes to mind is to adjust the valve clearances. Often this helps, but sometimes after adjustment it seems that the knock has become even stronger: one or more valves continue to knock. And it is completely incomprehensible why: after all, the gaps are normal, and the camshaft looks good. The reason does not seem to lie on the surface, it is somewhere inside, but where? It would be necessary to understand, but there is no time. And the knock gets louder.
No need to explain to anyone that the valve is a critical part. And the fact that valve malfunctions are not only serious, but also dangerous, many people know firsthand. These errors occur for various reasons.
And among them there are completely non-obvious, so that the repair can not be limited to just replacing the defective part.
By the way, in any case, before you repair or change anything, it is useful to find the cause of a particular malfunction. Otherwise, the same fate in the near future may befall a completely new, just installed part. And to prevent this from happening, it is desirable to know in what conditions it works.
How the valve works
The main function of valves is to control the flow of air-fuel mixture and combustion products into or out of the cylinder. Therefore, when the valve is opened, it must freely pass the mixture or gases, that is, it must have a minimum hydraulic resistance. At the same time, the closed valve must ensure tightness and completely separate the cylinder cavity from the intake or exhaust system of the engine.
Valves operate in conditions of strong heating from hot gases flowing around their plates. And if the intake valve, when opening, is periodically cooled by the air-fuel mixture entering the cylinder, then the exhaust valve operates in much more severe conditions. Opening on the exhaust stroke, it is even more heated by hot exhaust gases, and the temperature of its plate reaches 850-900°C.
In order for the valves to withstand such thermal loads, they have to be made from special heat-resistant steels and alloys with a high content of chromium, nickel, molybdenum and even tungsten.
These materials are very expensive, which is why exhaust valves are often made of dissimilar materials: the plate is made of a heat-resistant alloy, and the stem is made of alloy steel. By the way, the intake and exhaust valves of various engines are very easy to distinguish: the exhaust valve plates do not have magnetic properties.
To reduce chamfer wear at high operating temperatures, a special hard material, stellite, is often deposited on it. Sodium cooling of the valve is less commonly used: sodium moving in the internal cavity of the valve when it is opened and closed transfers heat from the hot plate to the colder rod.
Practice, however, shows that even the most heat-resistant valve will still burn out if some other conditions are not met, the main of which is a tight fit of the plate in the saddle. The fact is that only good contact of the valve with the seat allows you to reliably remove heat from the heated plate. After all, the seat is quite cold, it is pressed into the body of the block head, cooled by liquid.
Up to 75% of all heat entering the plate is removed through the saddle - a very, very significant part. Naturally, if contact with the saddle is broken, the plate immediately begins to overheat. This means that the valve does not have long to live before burnout. You can get acquainted with modern principles of processing of seats and valves right now!
It looks like a chain reaction. A small leak in the mating of the plate and seat leads to a breakthrough of gases. There is no heat removal from the plate in this place, and the plate overheats. The looseness increases, and with it the temperature of the plate also increases. Eventually the material begins to break down, more hot gases rush in, and the poppet defect spreads rapidly until the cylinder is completely out of service due to lack of compression.
As you can see, a good pairing of the plate with the seat “kills” “two birds with one stone” at once: it reduces the temperature of the valve to an acceptable level and ensures tightness. And it's hard to say which is more important. At least for the performance of the valve itself, the first is important, and for the engine as a whole, the second (meaning good starting properties, power characteristics, economy).
In addition to these conditions, the operation of the valve (opening and closing) must be sufficiently "soft" and not cause excessive noise. Noise or, more precisely, valve knocking is a sure sign of a malfunction, and the shock loads that occur during knocking often themselves cause even more serious malfunctions and even valve failures.
Where does the knock come from?
There are several reasons. The simplest one has already been mentioned - a large gap in the drive. Because of this, the camshaft cam runs onto the pusher (lever or rocker) not smoothly, but with a blow, which is the stronger, the larger the gap.
What suffers in this case in the first place? What takes up the shock load: the working surfaces of the camshaft cam and pusher, as well as the bearing surface of the pusher and the end of the valve stem. They often form damage in the form of punctate shells, which later expand and deepen.
But the matter is not limited to this. The valve not only opens with a blow, but also closes abruptly, with a knock. This means that the shock load during closing falls on the sealing chamfer of the valve and the seat. In addition, at the moment of impact when landing on the seat, a large tensile load from the spring acts on the valve stem. Prolonged work in such conditions is very dangerous: the plate can simply come off the rod or the rod will collapse in another weak spot - the cracker groove.
But let's assume that the gaps in the valve drive are normal, but the knock is still heard. Most often, the reason for such a knock lies in the large gap between the valve stem and the guide sleeve. This situation is most typical for old, fairly resembling, motors. Sometimes valve knocking is due to a misalignment of the seat and guide bushing bore, which is the result of overheating of the block head or an improperly performed repair. In this case, the valve sits on the seat first with one edge of the plate, and only then, rolling in the sleeve within the gap, completely. Because of this, by the way, the wear of the guide bushing progresses rapidly.
Rapid wear of the guide bushing and valve knocking also occur for other, more complex reasons. For example, when the seat of a cylindrical valve lifter is misaligned or misaligned with respect to the sleeve. A similar defect is sometimes found on domestic motors. Knocking is also possible due to increased clearances in the drive parts - in the axes of the rocker arms, in the nests of cylindrical pushers, and also in the camshaft bearings.
All these knocks are quite similar to the ear, and therefore it is often not possible to isolate a specific cause without disassembly and careful revision of the condition of the parts. But in any case, you need to keep in mind that since there is a knock, it means that the loads at the points of contact of the parts are of an impact nature. As a rule, such a knock progresses rapidly, which threatens not only with wear of the valves and associated parts, but also with their breakdown.
Why did the valve break?
The knock itself may not cause a breakdown. But in any case, it is important to understand why the valve began to knock? And the reasons that provoked the appearance of a knock, it turns out, are many ...
The most common is illiterate operation, unskilled and untimely engine maintenance. Obviously, adjusting valve clearances from time to time is a sure way to accelerate wear, cause knocking, and then breakdowns.
It is very dangerous to set too small gaps when adjusting: when the engine is running, the valves will heat up, their length will increase, and when the gap is fully selected, the valves will “hang”. And then a loose fit on the saddle will lead to overheating of the plates and burnout.
A fairly common cause of exhaust valve burnout is ignition too late. Especially if the engine has been running at high speeds and loads for a long time. But early ignition is also not a gift for valves, because the temperature of the gases in the cylinder is maximum in this case. This means that an incorrect ignition timing causes not only a loss of power and an increase in fuel consumption, but also valve malfunctions.
The use of low-quality oil is also a possible cause of wear on the valve stems and bushings. In addition, such oil tends to coke at the bottom of the valve stems. Because of this, the valve will go tighter and tighter in the sleeve, and then it may completely jam in it.
In the end, he will get the same piston on the plate with all the ensuing consequences.
Soot deposited on valve plates (especially inlet ones), for example, due to wear of valve stem seals, is also not a harmless thing. Reaching a solid thickness, soot begins to chip off. And particles of rather large sizes can easily get between the chamfer and the valve seat. And after that, poor contact with the saddle and overheating of the plate is inevitable.
It is interesting to note that significant carbon deposits on the valves that cause such troubles are far from always associated with wear on the valve stem seals. Judge for yourself: increased pressure in the crankcase due to a malfunction of the ventilation system or wear of the cylinder-piston group can easily squeeze out oil to the valve plates even through the newest caps.
Some "hotheads" prefer to disconnect the crankcase ventilation hose from the air filter and lead it somewhere under the bottom of the car - so supposedly the engine "breathes easier". And they are unaware that in some modes a vacuum is created in the crankcase, and the dust sucked into the engine through the hose not only quickly pollutes the oil and oil filter, but also gets to the valve guides and valve stems. Comments, as they say, are unnecessary.
But perhaps the most serious consequences for the valves are fraught with non-compliance with the timing of replacing the camshaft drive belt. Attempts to put a new belt on and drive, for example, to the garage, rarely end well. Deformed valves experience heavy bending loads every time they are seated and usually break after 10-15 minutes of operation. And such a valve failure is, at a minimum, the replacement of a piston, block head, connecting rod.
A number of problems are introduced into the operation of valves by poor-quality repairs. For example, most "experienced" mechanics don't bother using special valve spring compressors. Their "crown" tools - a steel pipe and a hammer: hit harder - and order. Only now the valve can get damaged along the cracker groove. And then, much later, break in this place.
It is very dangerous for abrasive paste to get into the guide bushing when the valve is lapped to the seat. Washing such a sleeve is a whole story. But if this is not done, the story will turn out with a continuation of a maximum of 5-10 thousand kilometers. After that, the wear of the sleeve and the rod is likely to exceed all reasonable limits.
Some mechanics strive to keep the valve clearance in the sleeve as small as possible. This delusion often leads to valve jamming with very unpleasant consequences.
Another mistake is lapping valves without straightening the seats.