Michael Luplowaktualisiert am: January 31, 2021 in: How To
You have bought a new bike computer and want to set it up correctly? At the step where you enter the wheel circumference into the bicycle speedometer, there are different procedures.
In this article you will learn 3 ways to set up your bike computer correctly.
✅ Calculate wheel circumference with formula
✅ Measure wheel circumference
✅ Set bike computer with table
The three methods are explained in this article simple and understandable. In addition, I explain the advantages and disadvantages of the methods.
If your bike computer is currently showing incorrect readings, then this article will most likely help you as well. You will also learn how to check the correct setting.
First, the bicycle computer must be mounted correctly. Therefore, we start first with the bike computer mounting:
Almost all bike computers can be mounted without tools. Each bike computer comes with a magnet and a sensor. This is how you proceed when mounting the bike computer:
In the video, all steps are clearly shown using the popular Sigma BC 14.16 (with cable) as an example:
Watch this video on YouTube
Tip: Cable ties are very helpful during assembly. Sometimes cable ties are also included. Most of the time, the bike computer sensor is held in place with one or more rubber bands. In the beginning, this usually works quite well. After a certain time, the rubber can then unfortunately become brittle. One or more cable ties will then hold the sensor securely in place.
If your bike computer is mounted correctly, you can now set up the bike computer properly. For this I will show 3 possibilities and you will learn the advantages and disadvantages of the methods.
I recommend you method 2 “Measure wheel circumference with tire rotation”. The result with the bike computer correctly set here will be the most correct. With this method your weight and also the tire condition including air pressure are included.
The quick method for setting the bike speedometer! This method involves measuring the bicycle tire: The radius of the bicycle tire is determined with a folding rule. With the formula U = 2 * pi * r (where the circle number pi = 3.14) you then calculate the wheel circumference.
The radius of the bicycle tire is measured from the outermost point of the casing to the center of the axle.
These are the steps:
✅ Easy and quick way, to determine the wheel circumference and adjust for the bike speedometer.
✅ Method includes the own wheel circumference
The wheel circumference calculation method is relatively inaccurate. If you already have a folding rule at hand, measure the tire circumference (next method).
This method is much more accurate. By measuring you directly determine the tire circumference:
 g. with a piece of chalk. Alternatively, you can also use the bicycle valve as a marker.
Repeat the method a few times to get the most accurate result.
In this short video the method is explained very understandably:
Watch this video on YouTube
Your bike computer is set up correctly? It is best to drive a precisely measured route. With this you can check the correct setting and check whether the bike speedometer setting was successful.
For setting the bike computer, use this method. It is quick and easy and the results are the most accurate.
To determine the correct wheel circumference, you do not necessarily have to measure. There is also a handy wheel circumference chart. There you can easily read the value for your wheel circumference.
In a wheel circumference chart, there are three important specifications:
If you have set the wheel circumference in your bike computer, then the speed and distance can be recorded correctly from now on. Adjusting the bike speedometer was successful 😉
Depending on the information on the tire, you can then read the third important size in the table, the wheel circumference in mm. This value must then be set on the bike computer so that the speed and distance are recorded correctly.
Depending on the tyre manufacturer, the wheel circumference is given slightly differently in the ETRTO table. The source for the table below is the Schwalbe Tech Sheet. Manufacturers like Sigma Sports also have their own ETRTO tables for their bike computers.
Mostly the ETRTO table is included in the delivery and is for example printed on the packaging or part of the manual. Set up bike computer with table:
| Customs | ETRTO | Wheel circumference in mm |
|---|---|---|
| 26″ | 35-559 | 1990 mm |
| 40-559 | 2030 mm | |
| 47-559 | 2050 mm | |
| 50-559 | 2075 mm | |
| 54-559 | 2100 mm | |
| 57-559 | 2120 mm | |
| 60-559 | 2160 mm | |
| 37-590 | 2100 mm | |
| 27,5″ | 54-584 | 2195 mm |
| 57-584 | 2215 mm | |
| 60-584 | 2240 mm | |
| 28″ | 20-622 | 2100 mm |
| 23-622 | 2125 mm | |
| 25-622 | 2135 mm | |
| 28-622 | 2150 mm | |
| 30-622 | 2160 mm | |
| 32-622 | 2170 mm | |
| 35-622 | 2185 mm | |
| 37-622 | 2200 mm | |
| 40-622 | 2220 mm | |
| 42-622 | 2230 mm | |
| 47-622 | 2250 mm | |
| 50-622 | 2280 mm | |
| 40-635 | 2250 mm | |
| 29″ | 54-622 | 2310 mm |
| 57-622 | 2330 mm | |
| 60-622 | 2340 mm |
On Mountainbike-Page. de you will find a detailed compilation by tire manufacturer and tire type. With these tables you can determine the wheel circumference with the table method.
✅ Quick and easy method for determining the wheel circumference
✅ many tire manufacturers offer individual tables
The wheel circumference table (ETRTO table) is not the most accurate method for determining your bicycle tire circumference. The values determined are only approximations. Many factors play a role in the exact determination of the wheel tire circumference, e.g. the condition of the casing and the rim and especially your tire pressure. I therefore recommend measuring with the tire rotation to determine the wheel circumference.
Were you able to adjust your bike computer? Do you have any questions? Then feel free to drop me a comment – I’ll be happy to answer.
 Die Idee für bikepacking-adventures.com entstand direkt hinter dem Fahrrad-Lenker! Nämlich als ich auf einer Fahrrad Tour von Deutschland nach Istanbul war.
Hier geht es um Abenteuerreisen mit dem Fahrrad und um Bikepacking auf allen Kontinenten dieser Erde! Du möchtest mehr wissen oder hast Tipps? Schreib mir einfach!
 Download the Ride with GPS mobile app on iOS or Android.
Get the most out of your rides by pairing the Ride with GPS app with Bluetooth-enabled speed and cadence sensors. Once the sensor is paired, simply input the circumference value of your wheel and tire size, which can be found in the table below.
Note: If you are unsure about your wheel or tire sizing, diameter, width and ISO should be notated on your tire’s sidewall.
| Size | ISO | Circumference (mm) |
|---|---|---|
| 700×23 | 23-622 | 2097 |
| 700×25 | 25-622 | 2105 |
| 700×28 | 28-622 | 2136 |
| 700×32 | 32-622 | 2155 |
| 700×35 | 35-622 | 2168 |
| 700×38 | 38-622 | 2180 |
| 700×44 | 44-622 | 2224 |
| 700×50 | 50-622 | 2293 |
| 700×56 | 56-622 | 2325 |
| 27×1 3/8 | 35-630 | 2169 |
| 27×1 1/4 | 32-630 | 2161 |
| 27×1 1/8 | 28-630 | 2155 |
| 27×1 | 25-630 | 2145 |
26×1. 25 25 | 32-559 | 1953 |
| 26×1.5 | 38-559 | 1985 |
| 26×1.9 | 47-559 | 2055 |
| 26×2.125 | 54-559 | 2070 |
| 29×2.1 | 54-622 | 2288 |
| 29×2.2 | 56-622 | 2298 |
| 29×2.3 | 60-622 | 2326 |
| 650b x 38 | 38-584 | 1995 |
| 650b x 42 | 42-584 | 2100 |
With your wheel circumference value determined, your paired Bluetooth sensors will be able to transmit speed and distance data to the Ride with GPS app. Learn more about pairing your Bluetooth sensors with the Ride with GPS mobile app to ride and train more efficiently with accurate, reliable smart data from power meters, heart rate monitors, speed and cadence sensors.
Looking to get more out of your metrics? Upgrade to Ride with GPS Premium to unlock powerful ride analysis tools to help you train smarter.
For more information and background on calculating wheel circumference and calibrating your bike computer settings, be sure to check out Sheldon Brown’s Calibration page.
Start your free 7-day Premium trial today!
More questions about Bluetooth pairing? Click here.
Any other questions, send us an email at [email protected].
The bike computer is a compact electronic device that can easily determine the speed of the ride, travel time, distance traveled and other indicators. However, after buying this device, its installation and configuration often become a problem. About what place to install the bike computer to choose, how to fix it there and how to set it up correctly, will be discussed in this article.
How to start?
Trite, but you should start by studying the instructions for the bike computer - it is there that usually all the installation and configuration steps are described in more than detail. But after all, an instruction in a foreign language may come across, in which case the task becomes more difficult. In such a situation, it is necessary to carefully examine all the components of the bike computer in order to at least roughly imagine their purpose.
Folding bikes available with delivery to your area! Big choice. Best price guarantee.
Components
A cycle computer usually consists of the following parts:
In the purchase kit, you will also find fastening elements: clamps or cords, which will help to firmly fix all parts of the bike computer on the bike. By the way, the cadence sensor may not be in the kit.
How does it work?
When the wheel is spinning, the magnet and the reed switch are brought closer together, making contact. This allows you to determine the speed of cycling and all other indicators arising from this.
Merida bikes available with delivery to your region! Big choice. Best price guarantee!
The signal from the sensor to the main unit can be received both via wires and via radio signal.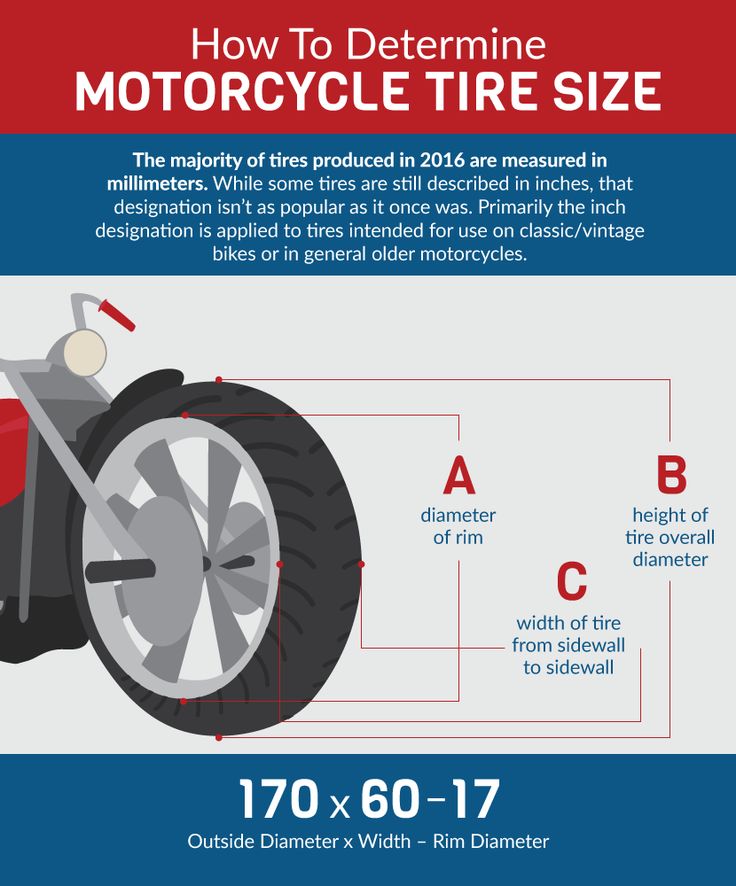 Of course, the second method is much more convenient, but keep in mind that in wireless models, the battery will have to be changed much more often . From this point of view, wired models are more economical, moreover, they are easier to manage.
Step one. Installing the main unit
Almost all models of modern bike computers are removable. It is possible to move them to another, more convenient place, remove, repair, etc. And first you need to fix the platform, which will later become the main unit. Usually the platform is placed:
The best area for anchoring is handlebar center . Models of bike computers with large monitors, however, are more appropriate to install on the remote part of the steering wheel. It should be noted that some inconvenience will still be present: for example, when carrying a bicycle. Also, you will not be able, if you planned, to install a holder for your mobile in the same place. As for the position of the platform for the main unit on the edge of the grip, it is dangerous from the point of view of the fact that it is very easy to inadvertently touch the screen with your hand, causing damage or knocking down the settings. However, many people like this place, because in the process of driving it is possible to press the buttons of the device, studying the data about the trip.
Be sure to check that the platform is non-slip and secure. To do this, use rubber bands. To heighten the effect, you can install a rubber backing that will make it difficult to slip.
Step two. Install magnets and sensors
j. The correct functioning of the bike computer will depend directly on this.
The system must be fixed at a distance of 10 cm from the wheel axle. In this case, the sensor should be placed first on the fork as close as possible to the sleeve, and then, at a minimum distance from it, a magnet should be fixed on the spoke.
The sensor is fixed with harnesses or a clamp so that it is turned towards the magnet. It is important that when the maximum approach of the sensor and the magnet occurs, they are almost at right angles to each other (note that a small degree of deviation will still be due to the peculiarities of the arrangement of the spokes). It is also necessary to ensure the reliability of the fastening of the magnet, tightening it until it stops, in order to avoid its displacement or separation during movement.
The system is usually mounted on the front wheel of a bicycle, but it can also be mounted on the rear wheel.
Step three. Correctly laying the wire
It is very important to connect and lay the wire so that during movement or repair it does not fray and does not interfere with .
If the wire is located along the steering column, care must be taken to allow a lap in the frame area (so as not to break it when turning the steering wheel) . Fastening is carried out by harnesses. Laying the cable along the braking distance is much easier, because all the overlaps are already taken into account. Many people wrap the wire around the hummock for reliability and beauty, but this is not at all necessary - you can simply fix the wire with insulating tape.
For some models of cycle computers, the wire does not need to be cut, because it is immediately screwed to the block. In this case, the length can be changed by additionally winding around the fork or winding the excess part and fixing it at the bottom of the stem.
What if the bike computer is wireless?
If you come across a wireless bike computer, then its installation is much easier. You don't need to stretch the wire. One caveat: it happens that the radio emitter and the reed switch are made in different cases and they need to be connected. Don't forget to check if there are batteries in the unit and emitter.
With a wireless device, you can even attach the monitor to your arm. The main thing is that the signal given by the radio beacon be of sufficient strength and finish it to the hand.
Fourth step. Setting up
When all the elements of the system are correctly fixed, it's time to move on to the settings. To do this, you need to find out the circumference of the wheel and enter this parameter into the computer. Life hack! To measure the circumference, use a thread, which should then be attached to the tape measure.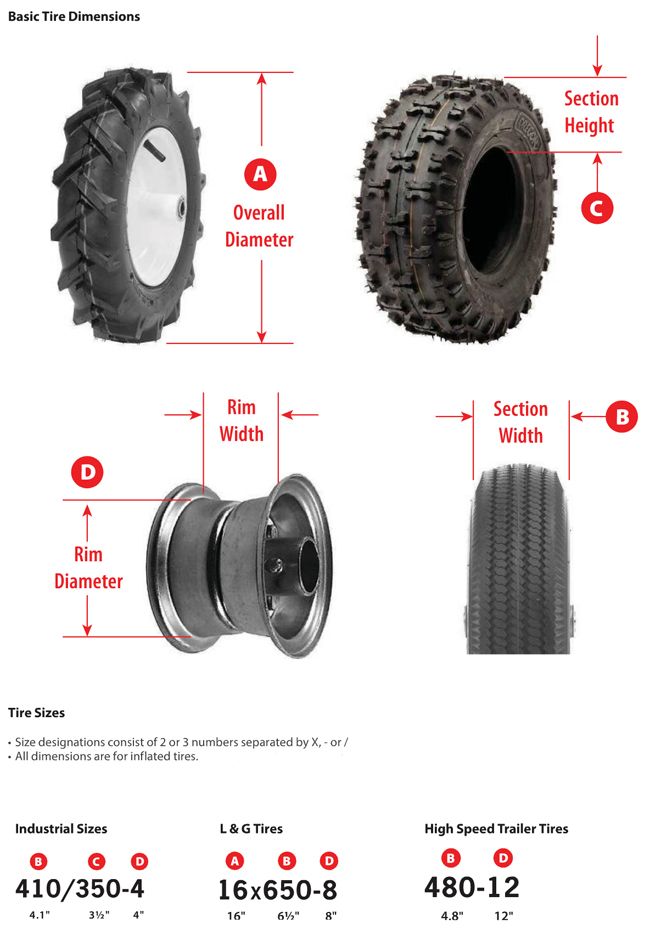 Method two: put a mark on the tire and the same on the track, then combine them and roll the bike so that the wheel turns one full turn. After that, it remains to measure the distance from one mark on the track to another tape measure. The third way is to measure the wheel diameter and then multiply the resulting figure by a factor of 3.14. There is also method number 4 - to find out the wheel markings. The instructions usually have a special table with which you can convert the size of the wheel to its length. By the way, today in many bicycle computers it is enough to enter wheel sizes, and everything will work as it should.
The bike computer can be equipped with other useful features. For example, determining the average and maximum speed of movement, counting the heart rate, and also the number of calories burned while driving. The last feature may require the rider's weight to be entered. Usually in bicycle computers, weight is calculated in pounds, so you will have to use the conversion of kilograms into this measure of weight. Many models have built-in clocks, and some even have GPS systems. By the way, in the case when the time on the bike computer is not synchronized via satellite, it must also be set.
Bicycle computer is a reliable assistant to a cyclist, the correct installation and configuration of which will turn the bike into a real calculation and measurement center.
In the previous two articles, we looked at what to look for when choosing a bike computer and how to install it correctly.
The last small but very important question is how to set it up.
In principle, there is nothing particularly complicated in setting up.
As for setting the time and other parameters, we won't dwell too much. To do this, just read the instructions and correctly press the buttons on the computer itself.
The most important thing is to enter the wheel circumference correctly .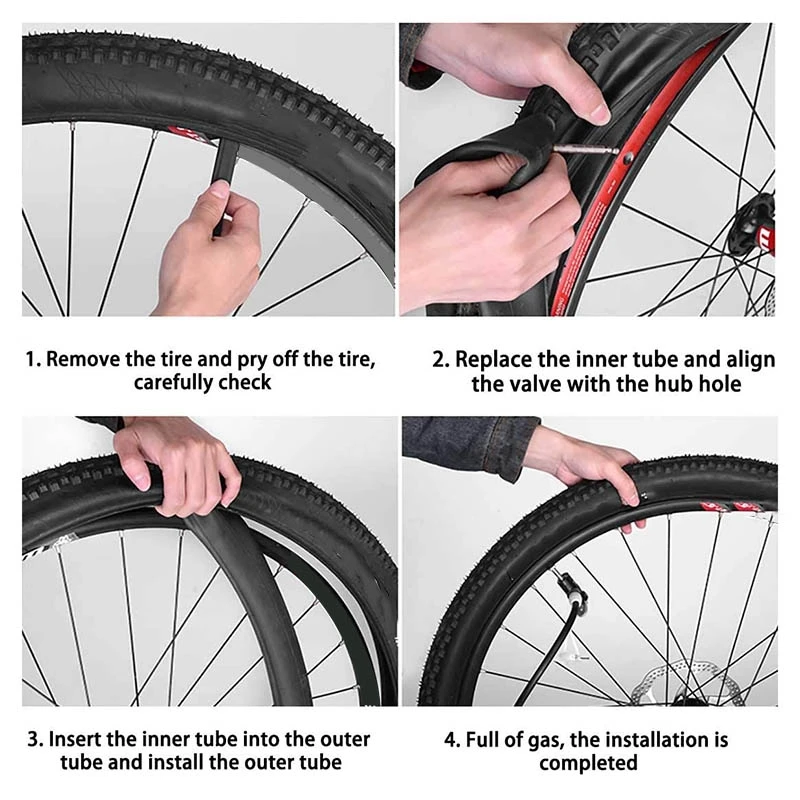 And let's take a closer look at this issue.
Any decent bike computer has a size chart in its manual.
There are also quite a lot of them on the Internet. And you can take values from there.
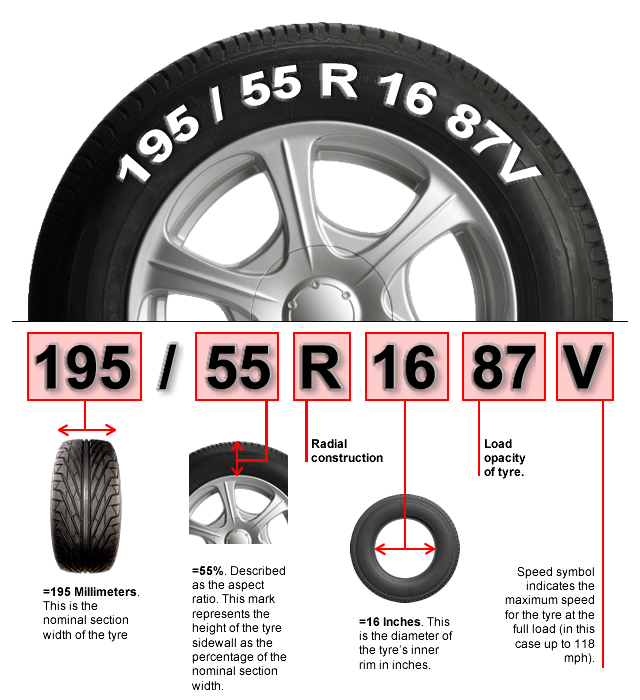
At the same time, the most important thing is to carefully look at the actual size of the tire on your bike. For example, not just 26 wheels, namely 26 x 1.5 or 26 x 1.95. These are different sizes. They differ not only in width, but also in height and, consequently, its outer diameter.
For example, a 26 x 1.5 tire (40-559) has a circumference of 2010 mm, while a 26 x 1.95 (50-559) tire has a circumference of 2050 mm. Those. 4 cm difference per wheel revolution.
If you have different tires on the front and rear wheels, and the rev counter is on the rear, then look at the markings on the rear tire.
First. It happens that your tire size is simply not in the attached table.
Second. With the same size written on the tire, the circumference may be different. This is due to the fact that different manufacturers take into account the width and, accordingly, the height of the tire in different ways. It also depends on the type of tire and tread pattern - i.e. slick and toothy tires have different tire heights, although the width can be the same.
Third. Compare these several tables from the Internet:
Not all of them have the same circumference for the same tire sizes.
For example, size 23-622 (700x23C) has a circumference of 2096 and 2133.
Fourth. Well, the Chinese, there are the Chinese. How they write instructions, where they get the tables from, remains only on their conscience and your faith in their honesty and decency.
Therefore, how one relates to the data from these tables is a personal matter for everyone. How important is the accuracy of the instrument readings to him.
It is because of all these nuances that I personally recommend using the second method from the article “How to determine the wheel circumference” to measure the circumference of the wheel of your bike, .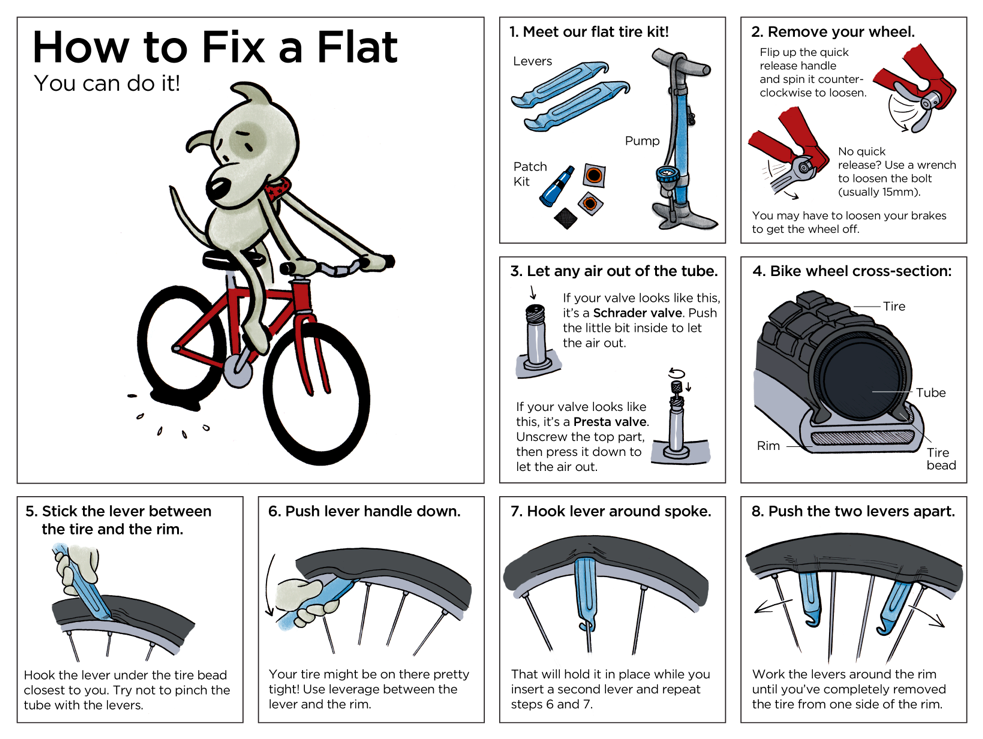
For those who are especially lazy, here is a summary of it:
A second person is needed to accurately measure the circumference of your bike's wheel. He will help. The owner inflates the desired wheel (front or rear, and best of all both) to the usual pressure, which most often rides and gets on bike . If the pressure in the wheel is lower or higher, then the size of the circumference will also differ.
With a seated rider, the measurements will be more accurate as the tire compression during the actual ride is taken into account. Your assistant will put marks on the pavement.
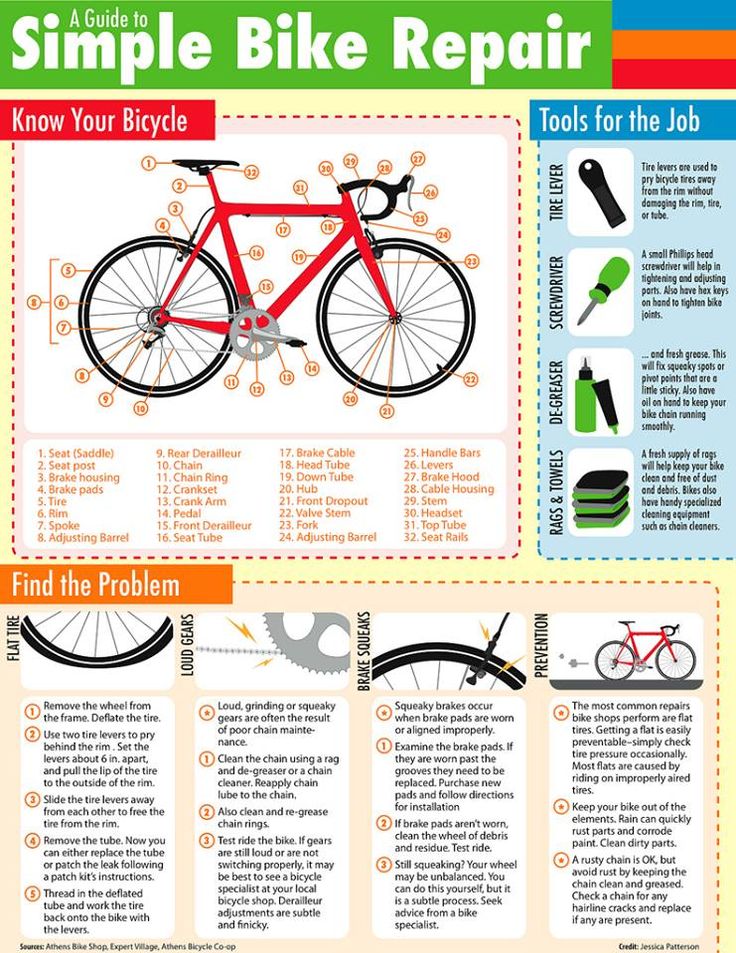
Enter the resulting value (in millimeters) into the computer. Usually it is always entered first when setting up. Then enter all other parameters according to the instructions and you can go.
In conclusion, I would like to say: do not complex about the accuracy of computer calculations of the distance traveled.
