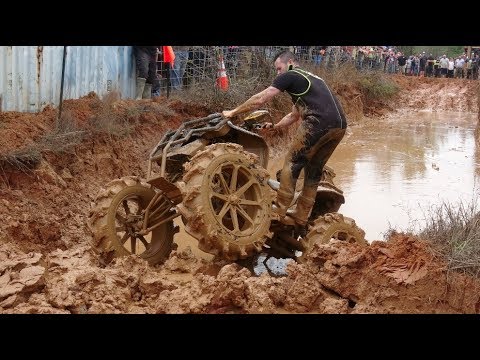
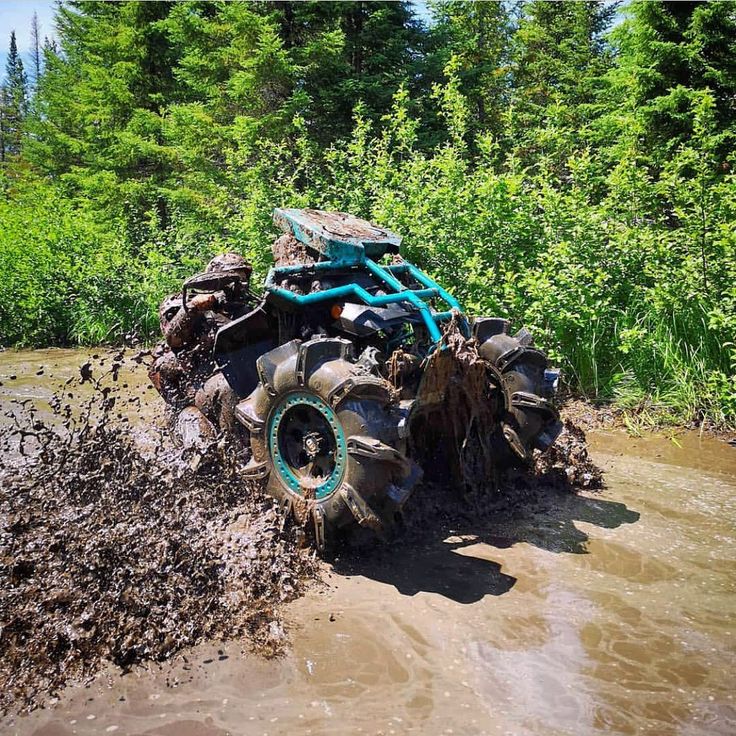
All-terrain vehicles get dirty fast. That’s part of the fun of riding them -- you can tear through the muddiest terrain, ride over dusty trails and crash through puddles with ease. Once you’ve had your fun off-roading, though, and you’re noticing some caked-up mud on your machine, it’s probably time to give it a good scrub. Cleaning your ATV will help it last longer and prevent dirt and debris from clogging up vital engine components, reducing your ATV’s performance. Your local ATV dealer, Interstate Cycles, has the low-down on how to clean up your ATV so it’ll be shiny and ready to tackle the mud again next weekend.
First, find a place to wash your ATV. Keep in mind that if you clean it in your yard, you’ll potentially introduce new weeds and grass to your lawn when you wash them off your vehicle. If you clean your ATV in your driveway, make sure to hose down the sidewalk and get as much of the grime down the drain as you can so it doesn’t run off into a neighbor’s yard or mess up the street.
If your ATV is very muddy, you’ll probably have to either scrape the mud or soak it off before you can apply any soap. A plastic mud scraper will let you pull off chunks of dirt without scratching up your ATV’s finish or paint. Otherwise, you can hose down your ATV and wait for the dirt to run off, then hose it down again until the first layer is removed.
A pressure washer can help you blast off any stubborn filth that remains after your initial soaking and scraping process. Even when it comes out full blast, the water shouldn’t damage your ATV. You can get either a gas or an electric pressure washer, with the former being the more powerful option. A hose and nozzle can also blast water pretty well if you don’t have the funds or desire to purchase a pressure washer, though. You just want to make sure you get as much of the layers of dirt off as possible so you’re not scrubbing at them for ages by hand.
Once your ATV is rinsed down, you can use a wash mitt or a sponge with some bike soap or automotive detergent to scrub every surface of your four wheeler, from the wheels to the handlebars. Work on the plastics, the seat, the frame and the wheels in particular. A stiff brush can help you to drag out dirt and oil in nooks and crannies. Degreaser can help with very oily areas, as you just spray it on and wait, then scrub or rinse it off to remove oil.
If there isn’t a cloud in the sky, you can simply let your ATV air dry in the sun, or you can take it into your garage and towel it off with a lint-free towel. An air compressor, if you have one, can blast water out of every crevice in your ATV and get it dry in no time, preventing rust and saving you the trouble of drying by hand.
Your final step when cleaning your ATV is to give it a good polish. A plastic polish that you can spray over your ATV and wipe down will do wonders to make it look brand-new. Just avoid getting any on the seat, as it will make things very slick and endanger you on your next ride. Step back and admire your handiwork -- you now have a shiny four wheeler that you can proudly show off at the track next weekend, right before you get it dirtied up once again!
If you find that your four wheeler needs professional service or parts as you clean it, call up our repair department so we can have our mechanics tune up your machine.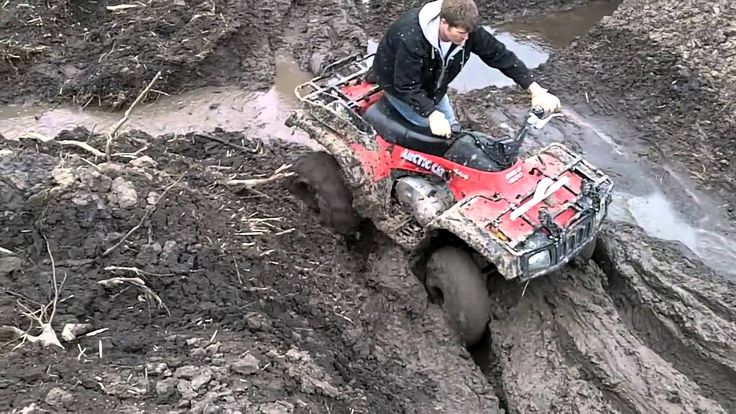 While you’re here, you can look over our inventory of new and used ATVs for sale, just in case you’re looking to upgrade or add to your collection. Interstate Cycles is in Lake City, near Jacksonville and Tallahassee. We also serve the Florida cities of Gainesville, Alachua and Sanderson, in addition to nearby Valdosta, Georgia.
David Borgogni
Passioante Adrenaline Chaser at ATV Guyde
David has years of experience working as a copywriter but loves spending his free time riding ATVs. His passion in life lies in sharing information about ATVs with those who are looking to pursue their passion for riding. He knows how frustrating it can be to not understand where to get started with an ATV journey, which is why he’s sharing all of tips, tricks, and reviews with you here.
Latest posts by David Borgogni (see all)
A utility or sports quad can last for more than a decade, but only if it’s frequently serviced. That’s why it’s important to know how to clean an ATV engine since failing to do so can shorten the vehicle’s lifespan.
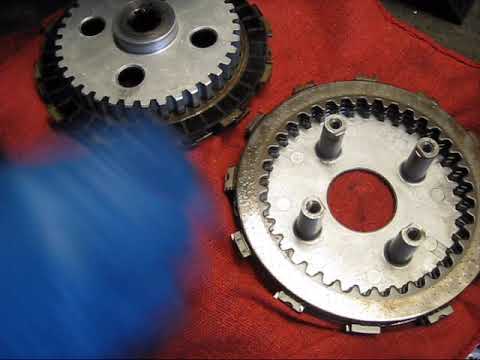
It is important to distinguish between the cleaning of external and internal parts of the engine, as these are two very different processes. However, I don’t recommend cleaning the internal parts of your ATV’s engine before consulting with your mechanic.
On the other hand, cleaning the engine’s exterior is a straightforward process that doesn’t take too much time or effort. So, in this article, I am going to show you how to clean an ATV engine and recommend several products you can use to remove different types of dirt.
Go through our guide to the best ATVs to learn more about the best models on the market.
A simple visual inspection should be enough to determine if your ATV’s engine needs cleaning. Mud and dust accumulation will change the color of the engine’s exterior so that a dirty engine will have a brownish color instead of silver metallic.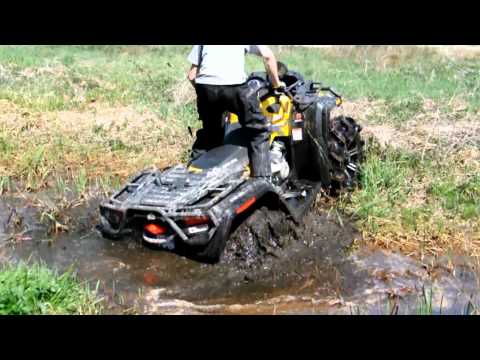
Most engine blocks are made of cast aluminum, so the product you choose to clean a cast-aluminum engine mustn’t have corrosive properties. Scratching this material is relatively easy, and you shouldn’t use hard brushes during the cleaning process as they might scratch the engine’s surface.
You will notice a broad spectrum of symptoms that range from improper heat disposal to lower fuel mileage if the internal components of ATV’s engine are dirty. You shouldn’t ignore the vehicle’s engine power and performance loss, as failing to address these issues can damage the engine permanently.
Go through our guide to ATV replacement parts if you need to replace one or more of your quad’s original components.
Hiring a mechanic to clean an ATV’s engine can cost more than $700, which is the reason why some quad owners prefer to go through this process alone. Dirty engine oil is one of the most obvious signs that the engine needs cleaning.
Also, you have to check if the air filter is dirty to ensure that the air that goes into the engine doesn’t contain pollutants. Oil for ATV engines contains cleaning detergents that dissolve sludge and carbon buildup generated by fuel combustion.
Nonetheless, frequent oil changes are sometimes not enough to remove carbon deposits from the engine. Aside from changing the air filter and the engine oil, you can also use motor treatment products to clean the interior of an ATV engine. Here’s how you can use oil additives to get rid of carbon deposits.
 You should also buy an oil additive like Marvel Mystery Oil or Sea Foam. Proceed to return the oil drain plug in its place and add the recommended amounts of engine oil and motor treatment product.
You should replace the air filter every time you add new oil to the engine, usually after 300 miles. Nonetheless, it is advisable to check if the air filter is clean whenever you ride your ATV through mud, sand, or other types of challenging terrains.
Read our guide to the best ATV gear if you need riding equipment or ATV clothing.
Besides motor treatment, you can also use engine flush products to break up carbon deposits and flush them out of the system.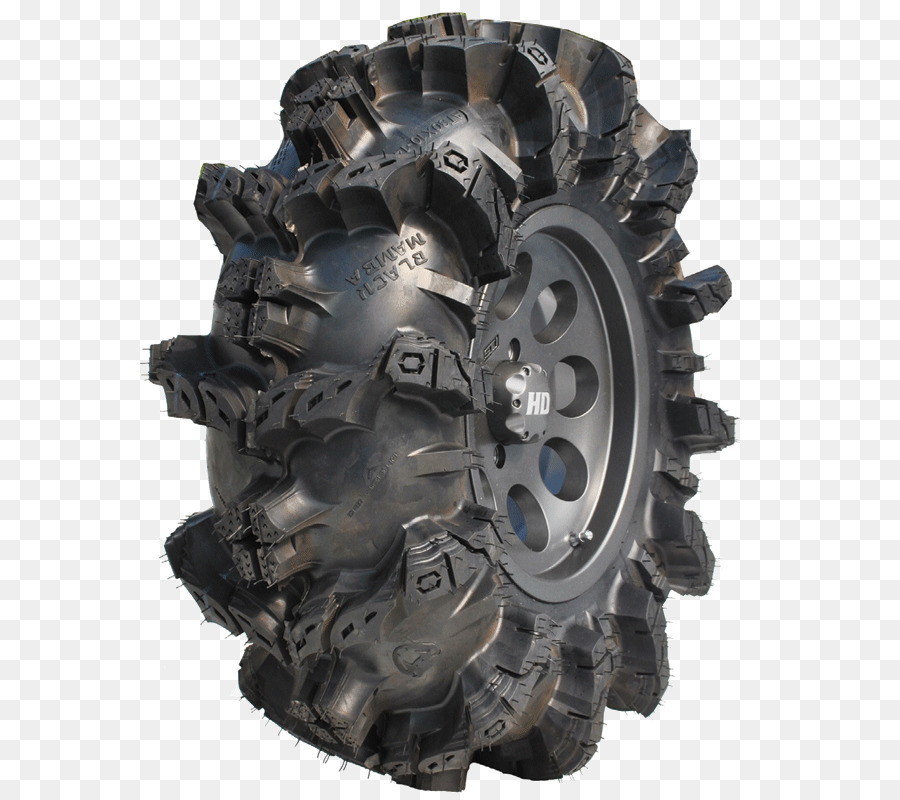
The application method depends on the product you decide to use, but in most cases, you’ll have to add a small amount of this fluid to the engine oil and then let the engine run for a while before removing the old oil from the engine.
These products can damage engine seals and cause oil leaks, so you shouldn’t use them before consulting a mechanic. In most cases, it is easier to remove the engine from the vehicle, clean it thoroughly, and put it back on than risking damaging it with strong chemicals.
Go through our guide to the best ATV tires for snow if you’re planning to use your ATV during the winter season.
Unlike the process of cleaning the engine interior, cleaning the exterior of an ATV engine doesn’t require any technical knowledge.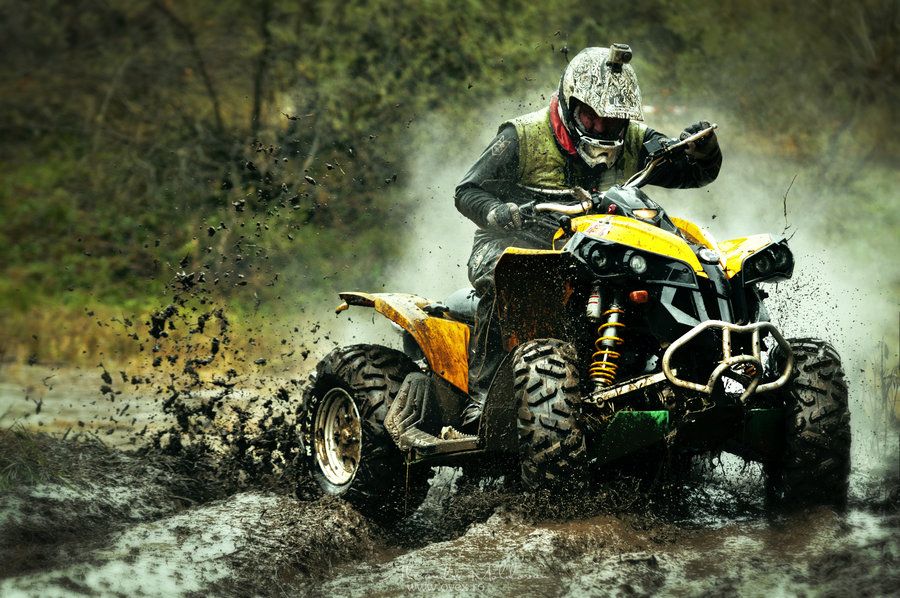 You need to know which cleaning product to use and then apply it to the parts of the engine you want to clean.
The cleaner you choose should be able to degrease a surface and remove grime without facilitating corrosion. Most products recommended for cleaning ATV engines contain an acid-based formula that decomposes the dirt and allows you to wash it away.
ATV engines usually get dirty because of prolonged mud and dust exposure, which is the reason why they require cleaning every once in a while. Let’s go through the steps you need to take to clean an ATV engine.
You will have to take out the engine if the cleaner you chose fails to restore the engine’s exterior to its original state and use a power tool to scrape the dirt and rust off the engine. It isn’t advisable to do this on your own if you don’t have the necessary experience to complete the task.
Check out our guide to the best GPS for ATV trail riding if you’re looking for a way to upgrade your quad’s navigation system.
The search for products you can use to clean the exterior of an ATV engine can be confusing since cleaners, aluminum brighteners, and degreasers aren’t produced solely for this purpose.
Hence, in most cases, you’ll be looking for an aluminum wheel cleaner or an automotive aluminum cleaner instead of a product designed specifically for cleaning ATV engines. Although vinegar can remove grime from the engine’s surface, you shouldn’t use it because it may cause corrosion.
Motor treatment products that allow you to remove sludge and carbon deposits from the engine are usually universal, but you still need to check if you can use them to clean the interior of your quad’s engine.
I shortlisted some of the best ATV engine cleaning products, so let’s take a closer look at their features.
ATV owners often opt for the Valvoline Eagle One Mag Cleaner because it is effective and affordable. Although this product is designed primarily for aluminum alloy wheels, you can use it on all aluminum parts of your quad.
The application method is straightforward, as you just have to spray the product over the area you want to clean, leave it for 30 seconds, and then rinse it with water. You can use a soft sponge to scrub persistent dirt, but keep in mind that applying too much pressure may scratch the surface.
Be careful not to apply the cleaner to the parts of the vehicle that contain paint because you might damage it.
You won’t have too much trouble removing mud stains, greasy oil, or dirt from your vehicle’s engine if you get the Purple Power 4319PS Cleaner and Degreaser. The product is remarkably easy to use since you just have to apply to the engine’s exterior and rinse it after 30 to 60 seconds.
This industrial-strength cleaner is biodegradable and doesn’t contain aerosol or phosphate. It is also non-abrasive, so you don’t have to worry about applying it on aluminum alloy surfaces.
It is very important to rinse the product properly since allowing it to rest on an aluminum surface for too long can have unwanted effects.
The Sea Foam SF-16-6PK Motor Treatment can help you restore your quad’s fuel efficiency or acceleration capabilities by decomposing sludge and carbon buildup in the engine.
Even though the manufacturer claims that the product is safe to use with trucks, cars, and ATV engines, you still need to check with your mechanic if it is safe to use it on the quad model you own. This motor treatment is equally effective on diesel and gasoline engines.
The Sea Foam’s product doesn’t contain abrasive chemicals that can damage the engine’s components, and it can help stabilize the engine’s fuel. It also lubricates the engine’s moving parts and prevents corrosion.
Question: How Often Do I Have to Clean an ATV Engine?
Answer: Changing the oil and air filter every three to six months should keep the engine’s interior clean and eliminate the need to use motor treatment products. Checking if the engine’s exterior is dirty after every ride will enable you to know when is the right moment to clean it.
Question: Where Can I Buy ATV Engine Cleaning Products?
Answer: You can find these products in all auto supply stores or order them online.
Question: Do I Have to Use a Pressure Washer to Rinse an ATV Cleaner?
Answer: You don’t have to use a pressure washer to rinse an ATV cleaner off the vehicle’s engine, but you should keep in mind that you might struggle to remove all dirt with a regular water hose.
On the other hand, a power washer might push the dirt to the areas where you cannot reach them, so the best way to avoid this is to stand a few feet away from the vehicle while washing its motor.
Question: How Much of the Cleaning Product Should I Apply to an ATV Engine?=
Answer: There are no restrictions in terms of the amount of the cleaning product you can apply to an external part of the engine, but you must check how much of the motor treatment product you should add while cleaning the engine’s internal parts.
Cleaning the exterior part of an ATV engine is a routine procedure that doesn’t take more than 20 minutes of your time. You just need to know which cleaner, degreaser, or aluminum brightener to use, then simply apply the product and rinse it with a pressure washer.
The process of removing sludge from gasoline and diesel ATV engines is a bit more complex, and you shouldn’t go through it before consulting a mechanic.
I recommend choosing the Valvoline Eagle One Mag Cleaner if you want to remove mud stains or grime from the engine’s exterior or the Sea Foam SF-16-6PK Motor Treatment for cleaning the engine’s interior components.
I hope that this article has helped you find the best way to clean an ATV engine. Let me know in the comments or continue reading our Honda Pioneer review to learn more about the ATV’s features.
Photo streetmusclemag.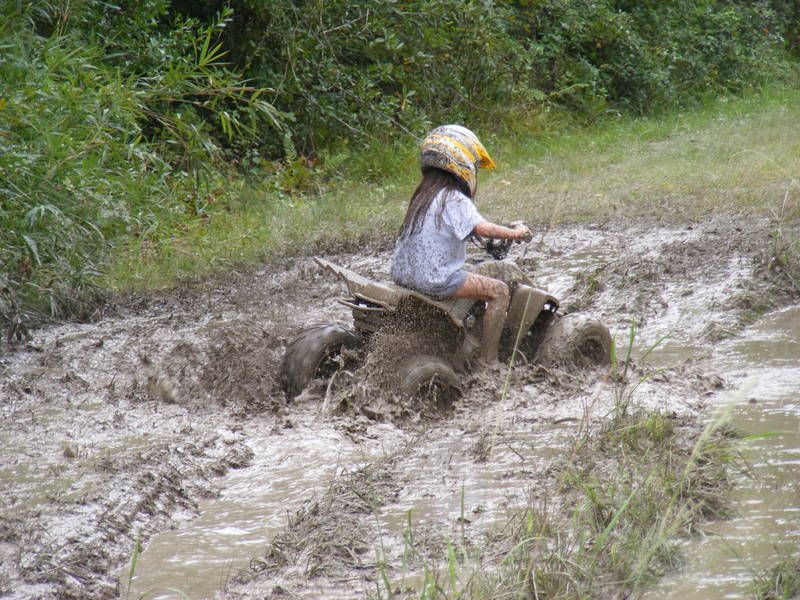 com
com
In February, spring suddenly came to central Russia, which means that the summer season will start earlier. "Snowdrops" - motorists who prefer not to drive in winter - will also soon appear on the roads along with motorcyclists. The load on the highways will increase, traffic jams and the first “boiled” ones will appear. How not to stand on the track with an overheated engine, the AvtoVzglyad portal will tell. nine0009
Eduard Raskin
Every experienced motorist knows that the cooling radiator, on the operation of which the health and well-being of the engine directly depends, must be washed periodically. Disassemble the system, flush the cells of the “cooler” itself and change the coolant. Anyone who encounters this process for the first time will be unpleasantly surprised by the amount of dirt that fills up in the radiator in a couple of years: there is poplar fluff - heat, July - and road dirt, and remnants of reagents, and insects. The “fur coat” that grows on the radiator simply does not allow the engine to receive vital cooling.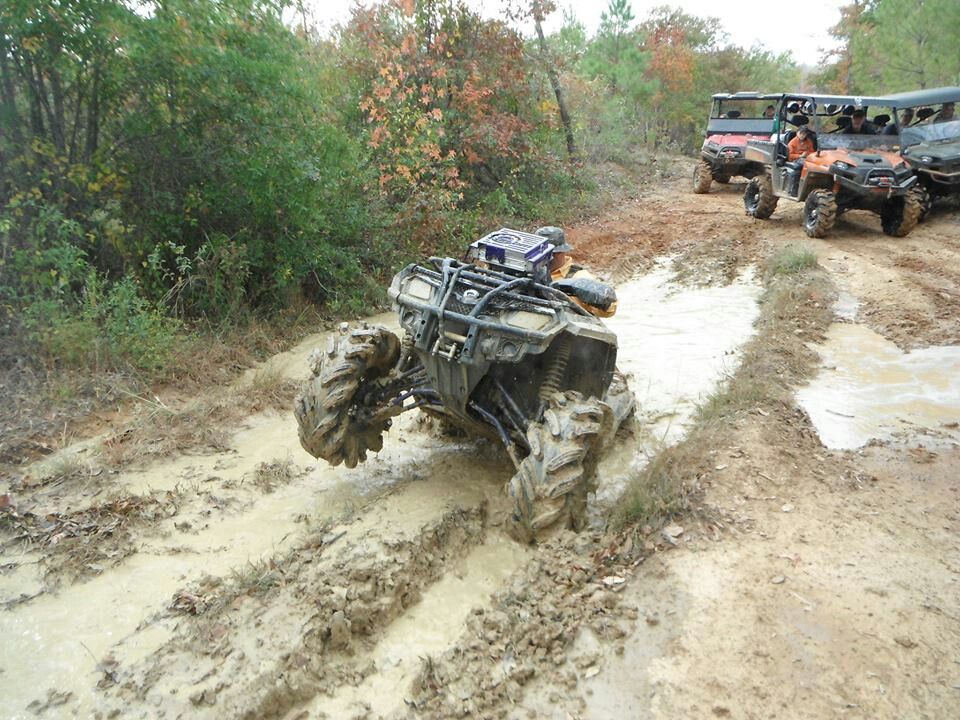 And problems begin that are much more expensive to solve than washing the radiator. nine0009
However, not everyone knows that the dirt in the radiator accumulates not only on the outer, visible part, but also inside. No matter how modern and high-tech - read, expensive - antifreeze is, no matter how stunning additive packages the manufacturer equips it with, the sediment continues to fall. Rust appears in the system, especially if car owners save on coolant. Various breakdowns and breakdowns of hoses, bursting expansion tanks and other road adventures guarantee the ingress of oxygen, which, in turn, contributes to the appearance of oxides and other delights. Over time, the system becomes saturated with dirt that remains in the radiator. nine0009
Photo 74vag.ru
Outwardly, the "cooler" can be completely clean and whole - which is most important in its operation, but the motor continues to overheat. You can, of course, just replace the part. But the cost of a new radiator will quickly put the car owner's thoughts in order: it turns out that this is a very expensive purchase. Especially considering that in some cars there are three radiators: for the engine, for the air conditioner, and for the box. How to be?
The radiator can even be cleaned from the inside, and no special knowledge and tools are needed for this: some distilled water, a pack of soda - just take it at home under the sink, no one will notice the loss - or a bag of citric acid, as well as two plastic one and a half liter bottles and a cut of a simple hose, suitable in diameter for the inlet and outlet. The hose is most likely lying around in the garage. In the next - definitely there. nine0009
After removing and thoroughly washing the radiator, at the same time examining it for leaks, which are clearly visible due to the bright color of antifreeze, you can begin internal cleaning. We connect the hoses, clog the remaining holes with a rag and fill the bottles with about a liter of distillate, after mixing it with soda or citric acid. Having attached the bottles to the hoses - electrical tape will be enough, especially if it is blue - we begin to alternately press the bottles with the palm of our hand, dispersing the resulting “brine” along the radiator. nine0009
631815
Photo yandex.ua
Progress will be noticeable in a few minutes: the water will turn rusty, the remains of unknown clots and other dirt will appear. In about half an hour of active work, the "composition" will become brown and opaque. So, it's time to change to clean and repeat the procedure to fix. After - be sure to rinse with clean, preferably distilled, water. And you can install it in place, not forgetting to fill in fresh antifreeze.
Be aware that coolant is an extremely toxic poison and is harmful to health if inhaled. And pouring it on the ground is just a crime. Therefore, you need to arm yourself with containers, and carry out the procedure itself on the street. However, the weekend promises to be warm, and out-of-town trips have not yet appeared on the horizon. What is not a reason to do the faithful "iron horse"? nine0009
Family budget and nervous system: One shot of two hares
98268
Family budget and nervous system: one shot of two birds with zaysev 9000 9000 98268
Sign Avtovzglyad channel: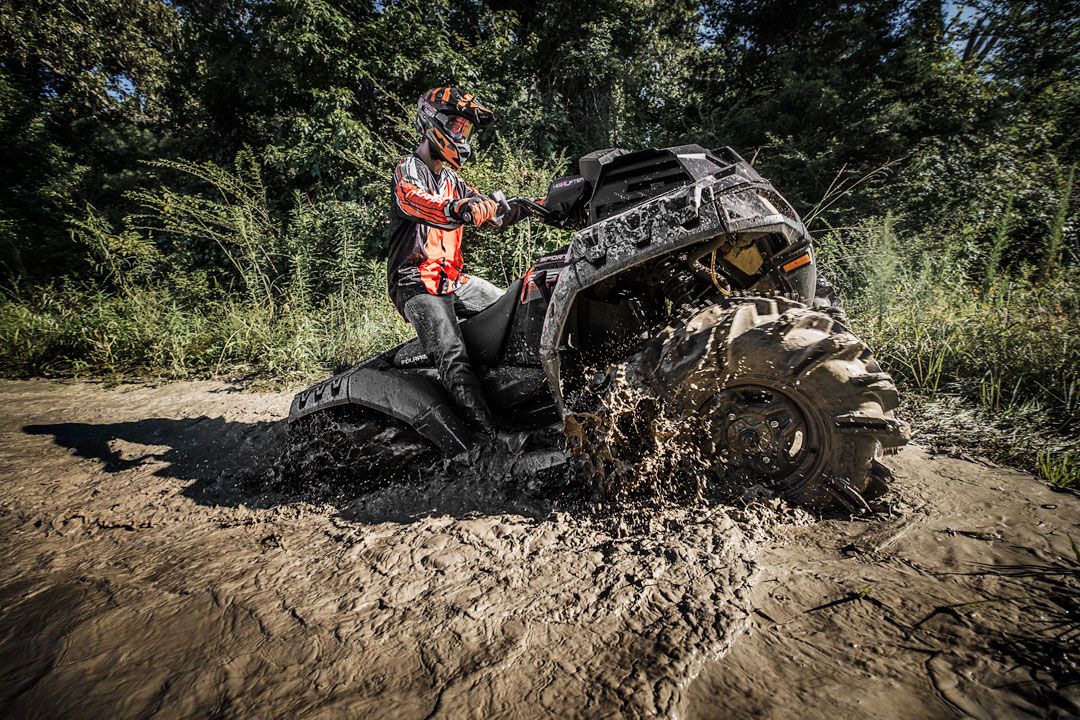 Zen
Zen engine, car service, repair, spare parts, maintenance, traffic jams
Do-it-yourself maintenance of the CFMOTO is very easy. No need to take it to the service, any maintenance operations can be carried out independently.
New CFMOTO ATVs have a so-called engine power limiter, which is removed during the first service (after 300-500 km). It serves to prevent the engine from overheating during break-in. After the break-in period is over, no limiters are needed, the ATV can and should be operated at full power. nine0009
Continue reading →
Brake pads are a consumable item on an ATV and wear out very quickly. Depending on the riding conditions, the pads may last for 300 km or even less. And if you ride in dry weather and do not get into the mud, then the pads go more than a thousand km. But sooner or later, your ATV will stop actively decelerating when you press the brakes, and the wheel will begin to squeak. This means that the pads are over. In general, according to the instructions, they are changed when the residual thickness of the lining is less than 2 mm. Therefore, periodically you need to remove the wheels and inspect - especially if you plan a long trip. nine0009
Continue reading →
– Astronauts! Which zappa is here?
- And there ... a rusty nut, dear.
– Everything here is rusty…
– And this one is the most rusty one.
Continue reading →
Since the ATV is operated in rather harsh conditions, it is no wonder that sooner or later dirt gets into the headlight. It can be either dry dust or swamp water. Both that, and another not so well affect a headlight. If the headlight took a sip of water, then you need to take action as soon as possible, until the reflective layer has corroded. Fortunately, I didn’t flood the headlights with water (the headlights of the CF500-A are very tight), but after I changed the size in winter, some of the seals did not install quite well, as a result of which a lot of dust was sucked into the headlight through an unknown gap . nine0009
Continue reading →
CFMOTO X6/X8 shock absorbers are structurally more complex than CF500-A. In particular, instead of conventional silent blocks, radial plain bearings are used in the support joints. They are simple in design, but they still cannot be called unpretentious, because any bearing cannot work normally without lubrication. When traveling through water and dust, the lubricant is displaced by moisture and dirt, which at the initial stage will lead to creaking, and later to rust, wear and so on. In general, nothing good. nine0009
Read more →
CFMOTO ATVs use a bushing to connect the downpipe and muffler pipe, where the main function is assumed by the bushing, or gasket. It is made either from mica, or from graphite - a fragile material, so it is not surprising that this part is a consumable. Sooner or later, it will burn out or simply wear out, and exhaust smoke will come out from under the seat.
Read more →
It is recommended to change the fuel filter at every maintenance, that is, every 1000 km of run. I don’t know how justified such a frequent replacement is, especially if you fill in high-quality gasoline. But the procedure is simple, so why not. nine0009
Continue reading →
Some time ago my manual starter went haywire, not rewinding after I pulled it out. So the handle hangs on the rope. Of course, if you start the engine with an electric starter, then the cable is wound back, but the problem is that you can’t start the engine manually the first time, and the second time is no longer given. I was not particularly worried about this, because I do not use a manual starter. But one day I decided to fix its work, especially since I removed the casing from the left side of the engine in connection with the replacement of the fuel filter. nine0009
Continue reading →
Bleeding ATV brakes is a very common question. Chinese brakes are not known for their high quality, and even the design of the circuits raises questions. Add here the low-quality brake fluid poured from the factory - and the whole relevance of the topic “how to replace the brake fluid and bleed the brakes” becomes clear.