by Emily Patterson
When a lawnmower tire has plenty of tread left yet has a puncture or leak, it may be less expensive to put an inner tube in the tire to extend the life of the tire. To purchase an inner tube for a lawnmower tire, get the numbers on the side of the tire and call local tire shops for price and availability. Check for any glass, nails or other debris and remove before inserting the inner tube in the tire.
Put a jack, jack stand, concrete block or other stable wedge under the lawnmower to support the lawnmower.
Remove the tire and rim from the lawnmower. Lay the wheel on a solid surface.
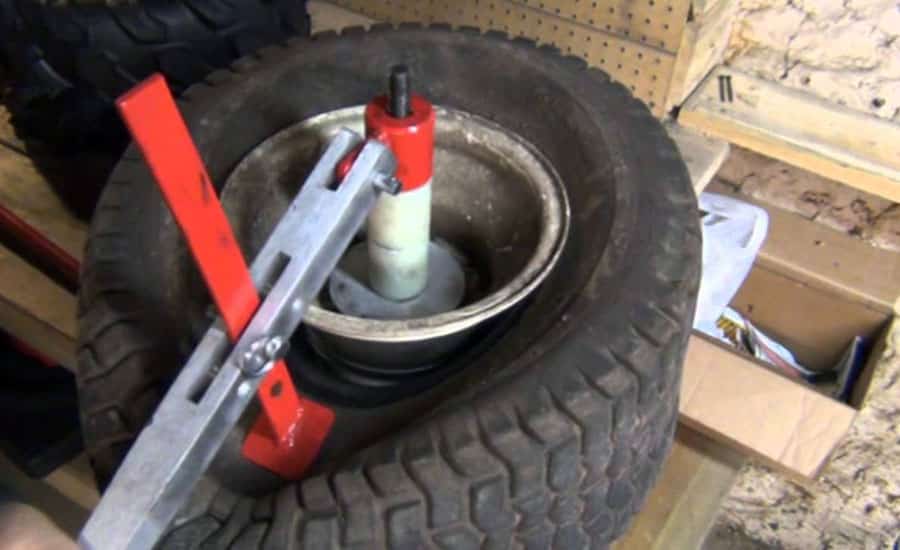
Wedge a crowbar and hammer between the rim and tire. Hit the crowbar with the hammer to push the tire away from the rim to break the bead. Go all the way around the rim with the crowbar and hammer to push the tire totally away from the rim. Be careful not to damage the edge of the tire or the rim.
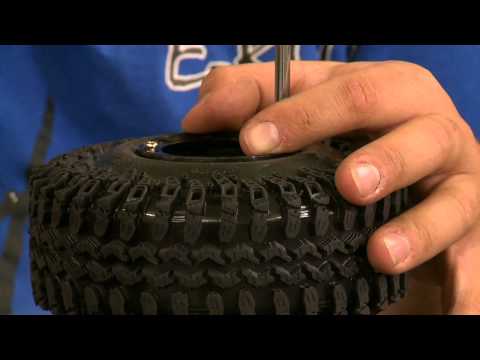
Push the tire down where the valve stem is protruding through the rim. Use a pair of sharp snips to cut the valve stem and remove.
Use the crowbar as a wedge to carefully slide the tire, one small section at a time, over the rim so the rim is under the lip of the tire.
Sprinkle cornstarch into the tire. This will help the inner tube move freely in the tire and make it easier to maneuver into position.
Lay the inner tube on the top and position it so that the valve stem on the inner tube is in the same position as the hole for the valve stem on the rim. Push the inner tube into the the tire and push the valve stem through the hole in the rim. Use a pair of vise grips to clamp the valve stem on the outside of the rim.
Push the inner tube onto the rim with your hands and move it into position in the tire. Make sure that the inner tube is not twisted in the tire.
Wash the edge of the tire and inner edge of the rim with hot, soapy water. Do not saturate. It is easier to reseat the bead when both the tire and rim are clean.
Lay the crowbar across the rim horizontally so that the hooked end can be inserted between the tire and the rim. Hook the end of the crowbar onto the rim under the edge of the tire that was removed from the rim. Be careful that you do not pinch the inner tube. Lift the end of the crowbar so the tire moves back into position on the inner side of the rim. Follow this procedure all the way around the rim, in small increments, until the entire tire has been moved back into position on the rim.
Remove vise grips from the valve stem and inflate the inner tube until the tire pushes against the rim. When the tire pushes against the rim, pour liquid dish soap between the edge of the tire and the rim. Wrap a heavy rope around the center of the perimeter of the tire and pull it tight. You can also use a clothing belt for this. The purpose of this is to push the edge of the tire as tight against the edge of the rim as possible with equal distribution all the way around.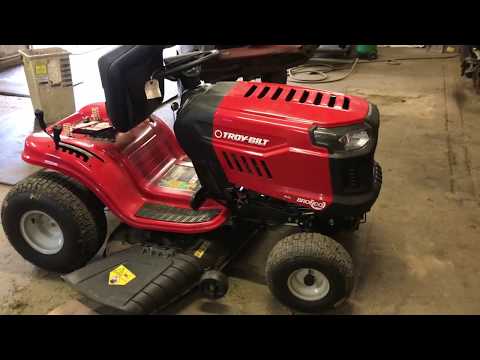 Pour more dish liquid all the way around the rim between the tire and the inner tube.
Continue inflating the inner tube until the tire is completely tight against the rim and there is no space between the edge of the tire and the rim. Deflate the inner tube and push on the tire where it meets the rim. If it pushes away from the rim, reinflate the inner tube. Repeat this process until the tire cannot move away from the rim when pressed.
Deflate the inner tube until it is inflated to the manufacturer's recommended pressure. Replace the rim on the lawnmower.
References
Tips
Things You'll Need
Warnings
 Inflate the tire only to the manufacturer's recommendation before replacing on the tire. Overinflating can cause the tire to burst.
 Writer Bio
Emily Patterson has been creating content for websites since 1996. She specializes in home improvement, natural body care and natural cleaning articles. Patterson holds a computing certificate from Penn State University.
There is no substitute for a lawn mower to make your lawn look nice and attractive. But a lawn mower is only effective when all of its parts are perfectly fine.
If the lawn mower is used regularly, then there is considerable pressure to fall on the wheels. As a result, the wheel is likely to be leaked or punctured. Like other vehicles, tubeless tires can not be used in lawn mowers.
If the tire is leaking or getting punctured then it is absolutely necessary to repair it. And this can be solved by putting a tube inside the tire.
Are you in a dilemma on how to put a tube in a lawn mower tire? Throw out all your confusion as you are here!
Yes, we’re here to give you the right guideline.
In this article, we are going to bring up all the steps that you need to put a tube in a lawn mower tire.
So, without panicking, Let’s see what is waiting for you.
In this content you’ll learn:
First things first, before putting a tube in a lawn mower tire, it is necessary to gather the required tools. You will easily find these effective tools. Let’s have a look at the necessary tools.
Necessary tools:
Steps to follow:
Step #1: Adjust The JackFirst of all, take the lawn mower to a flat surface. Enter the jack under the lawn mower for the convenience of the task.
Step #2: Remove Tire and RimNow take out the tire and the rim from the lawn mower. Put the wheel on the ground horizontally.
Step #3: Remove The Rim From The TireInsert a crowbar between the rim and tire and gently hit the crowbar with a hammer. This will slowly remove the rim from the tire. Do the same thing around the tire. However, be careful that the edges of the tire and rim are not damaged.
Step #4: Cut Off The Valve StemPull the tire down and find out where the valve stem is.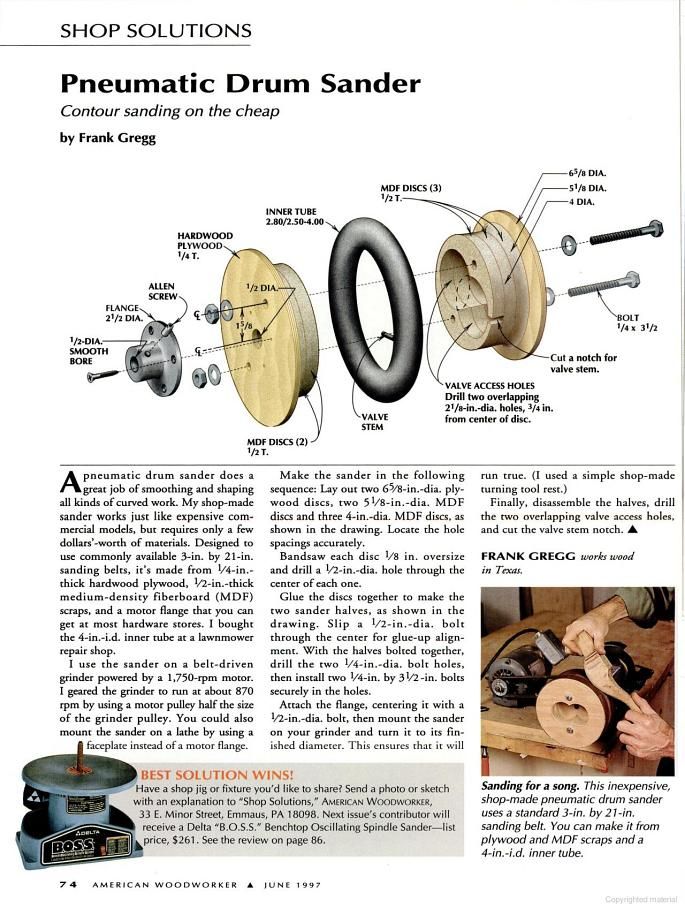 Cut off the valve stem using scissors and bring out.
This time, try to open the tire carefully using the crowbar. But don’t try to open too many portions at once. It is likely to damage the tire. Notice that the lip of the tire is always at the bottom of the rim.
Step #6: Sprinkle CornstarchSprinkle some cornstarch inside the tire. The tube will easily come out of the tire.
Step #7: Insert New TubeNow it’s the turn to insert a new inner tube. Insert a new tube inside the tire. Notice whether the valve stem of the tire and the valve stem of the inner tube is in the same position.
Step #8: Insert The Tube Inside The TireInsert the tube inside the tire so that the valve stem can be easily inserted into the rim hole. A couple of vise grips allow you to band the valve stem on the outside of the rim.
Step #9: Adjust The TubePush the inner tube within the tire and set it carefully in the inner portion of the tire.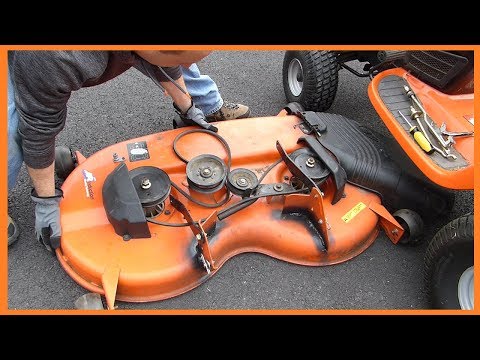 Try to ensure the tube within the tire doesn’t fold. Remove the vise grips at the outside.
Now wash the tire’s edge and the inner edge of the rim thoroughly with a mixture of hot water and soap. Installation is easier when the tire and rim are clean.
Step #11: Set Up The Tire and The RimWhen the tube is properly positioned, this is time to set up the tire and rim. To tighten the rim inside the tire, tighten a rope around the tire. The purpose of the rope is to tighten the rim so that it can be firmly attached to the tire.
Step #12: Apply Some Liquid Dish SoapRub some amount of liquid dish soap at the edge of the tire and at the rim’s edge. This will help attach the tire to the rim. Rub the dish soap around the rim and the edge of the tire and give some pressure to the tire to attach with the rim well. Apply pressure until the tire is fully tightened against the rim.
Always make sure there is no gap between the tire and the rim. Finally, check around the tire well.
Step #14: Reinstall The WheelDone. Now reinstall the wheel with a lawn mower. It will be re-usable when inflating the tube according to the manufacturer’s recommendation.
Special Tips:You can use a spoon to remove and attach the tire to the rim well. This will make your task easier.
Cautions:Putting a tube in a lawn mower tire is an easy task if you have proper knowledge about it. But If you are a newbie, it can be a quite tough task for you.
Following the above-stated process will make your task easier. You can even try this at home. Nevertheless, always maintain the cautions for avoiding any kind of unforeseen accidents.
Hopefully, this article has helped you to get the appropriate guidelines on how to put a tube in a lawn mower tire.
MowersTips
Todd L Miles
Lawn Mowers Enthusiast
I started "Landscape and Lawns Care" to provide clients with lawn care with better service, better products and, most importantly, better ethics. My promise to every customer is to give the greenest grass possible while controlling weeds, insects, and diseases! The most important thing is that I strive to always do the right thing for you, your lawn and your wallet!
Lawnmower robots operate exclusively autonomously and require the presence of a person only at the initial stage of operation. A few years ago, dozens of users owned such equipment, and now there are hundreds of users. This small and manoeuvrable machine works like a professional gardener on the lawn. It continuously mows the growing grass and the lawn at any moment looks like a brand new one. Disposal of cut residues is not required. Left in place of the cut, they rot and turn into the necessary fertilizer. Robotic lawnmowers allow you to process areas ranging from several hundred to several thousand square meters. This is perhaps the most important characteristic of the machine. The larger it is, the more possibilities this model has.
Plot. The surface of the area must be level and free from ridges. Water will always accumulate in the pits, and the tubercles will interfere with work and spoil the appearance. Therefore, you should fill in the recesses, cut off the tubercles and clean the surface of the lawn from foreign objects. The slope angle of the site should not exceed the allowable value specified in the passport of the machine.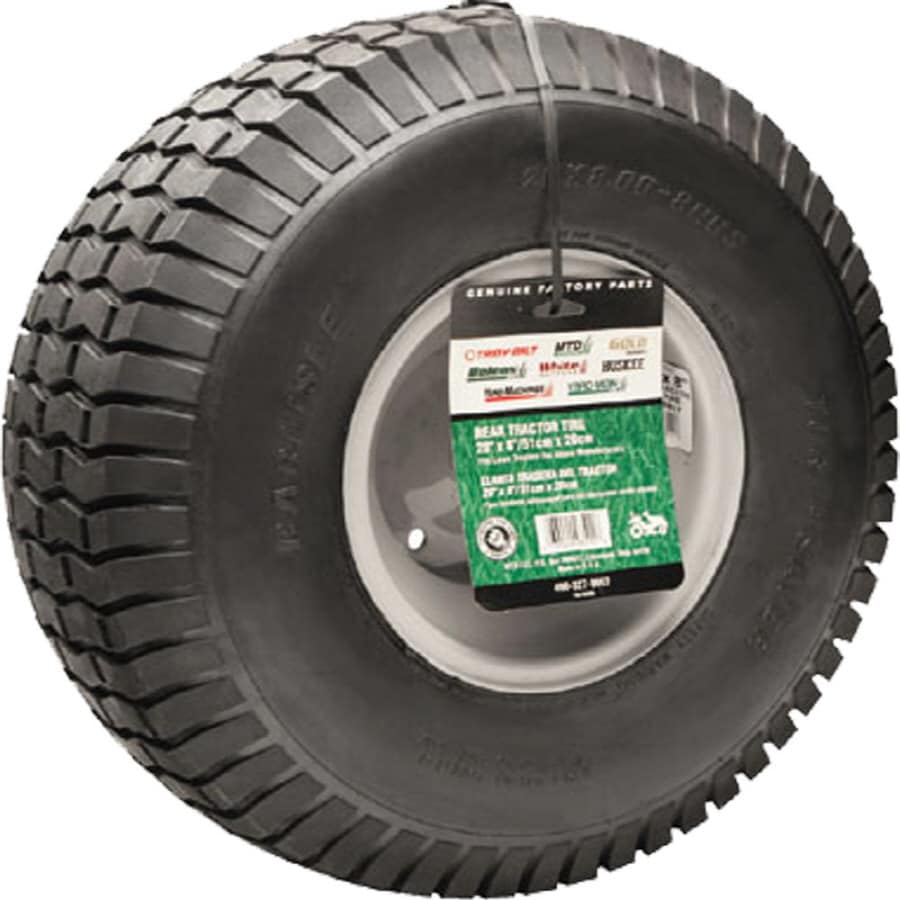 Before choosing a model, it is advisable to draw a diagram of the site and indicate its approximate dimensions. This will help to more conveniently locate the base station and determine the right amount of wire.
Base. The base charging station should be located approximately in the center of the perimeter of the treated area. The power cable connected to the base unit must be well protected against possible damage. The station must be protected from direct sunlight and water drops from sprinklers.
Accumulator. Place the mower on the base station and fully charge the battery before starting work. It may take 50-75 minutes to fully charge the battery.
Laying the boundary wire. Boundary wire (CB) defines the boundaries of the area to be mowed. It is secured to the ground with the plastic pegs supplied with the mower. From the wire, the robot lawnmower will receive information about the place of the turn.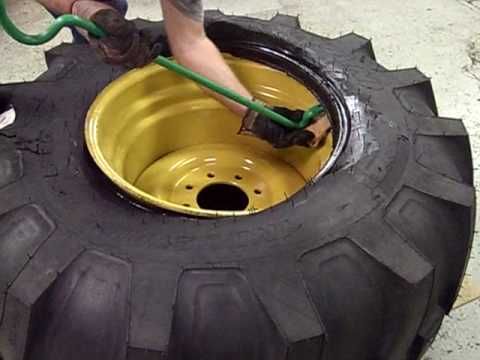 Ring loops should be made around flower beds and shrubs, thereby protecting them from damage by a lawn mower. The OP must not cross when connected to the charging station.
Laying the guide wire. The guide wire (GU) is connected to the base station at one end, and placed at the farthest end of the site with the other. There, the end of the NP is attached to a loop 20 cm long made of OP. The LR ensures that the robotic lawnmower finds its way back to the charging station and guides it to the outlying areas of the site. NP should not intersect with OP. The distance between the NP and the OP should be at least 30 cm. When laying the NP, right angles should be avoided, because this will make it difficult for the mower to find the base.
Parameter setting. Use the main menu to select and set parameters. It is quite extensive, but it is not difficult to understand it.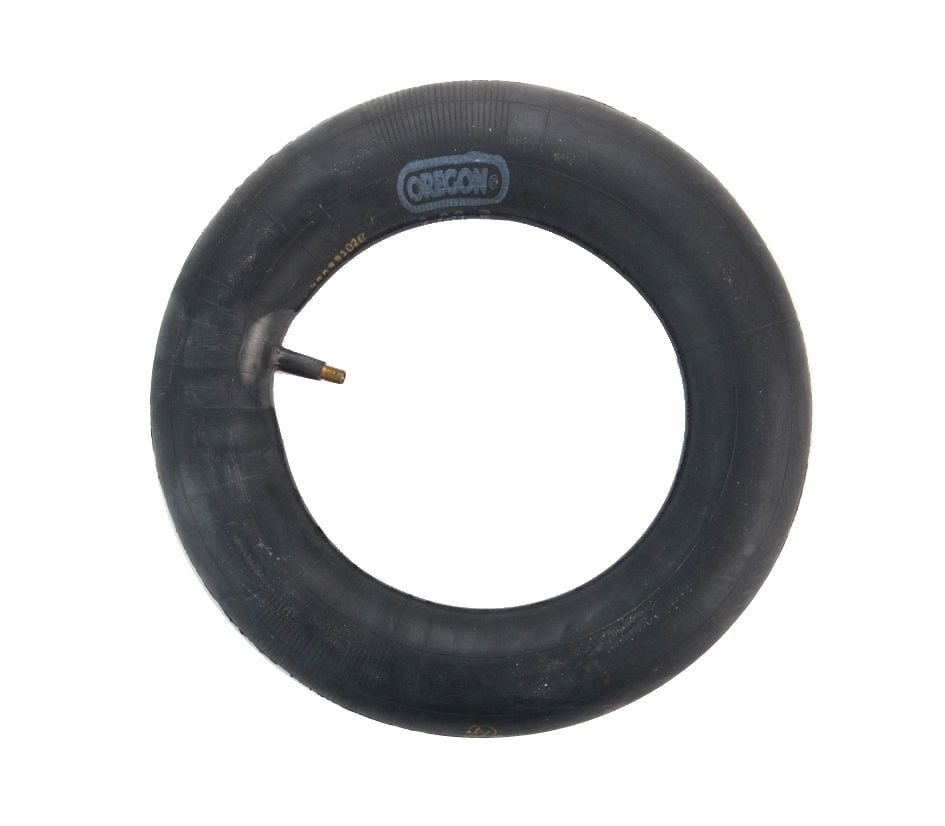 Sometimes factory settings are enough to work. For more information on how to program parameters, please refer to the instruction manual for the specific model. The battery is charged, the parameters are entered. Now the "Start" command and enjoy your rest on the mowed lawn.
Last year (2020) battery lawnmowers became a real trend of the season, and this year we expect a further increase in interest in such models.
The advantages of cordless mowers are many. Unlike gasoline models, battery-powered models are much lighter and more maneuverable, they do not require complex manipulations for refueling, starting the engine, changing oil and filters. Women are especially pleased with such mowers. For them, the advantages of battery models cover all their shortcomings. And they also exist. For example, the power and performance of gasoline models is higher, and in the case of a heavily neglected lawn, a battery-powered model may not be able to cope. Or it will, but very slowly. Also often complain about the high cost of batteries and their natural gradual loss of capacity. However, we are talking about years, and in a few years a gasoline engine can wear out.
However, the purpose of this article is not to tell about the advantages of battery technology, but to help with the choice of a specific model, of which Makita currently has about a dozen.
| Working width, cm | Grass bag capacity, l | Battery type and number included | Charger type included | Mulching | Features | |
| DLM380Z | 38 | 40 | no | no | no | |
| DLM380PM2 | 38 | 40 | 2* 4AH, | fast charger | no | |
| DLM382Z | 38 | 40 | no | no | option | Wheels on bearings |
| DLM382PM2 | 38 | 40 | 2* 4AH | quick charge | option | Wheels on bearings |
| DLM431Z | 43 | 40 | no | no | ||
| DLM431PT2 | 43 | 40 | 2* 5AH | fast charger | no | |
| DLM432Z | 43 | 50 | no | no | option | Wheels on bearings |
| DLM432PT2 | 43 | 50 | 2* 5AH | fast charger | option | Wheels on bearings |
| DLM432CT2 | 43 | 50 | 2* 5AH | slow charging | option | Wheels on bearings |
| DLM460Z | 46 | 60 | no | no | yes | |
| DLM462Z | 46 | 60 | no | no | yes | Steel housing, 4 battery slots |
| DLM530Z | 53 | 70 | no | no | yes | Steel housing, 4 battery slots |
| DLM532Z | 53 | 70 | no | no | yes | Self-propelled.  |