There are several reasons why a quad owner might want to install a suspension lift kit. The first is obviously to increase the ground clearance of the quad in hopes of pushing the limits of the trails. The second, following the installation of oversized tires, one realizes that they do not have the necessary clearance to avoid coming into contact with the body of the quad. Finally, there is the aesthetic aspect. We all agree that a quad that stands out with its high ground clearance looks good.
The modification of large quads or side-by-sides is now very popular. The suspension is no exception. A wide variety of suspension lift kits are available on the market. It is important to choose the right kit according to the purpose of the quad and the amount of money allocated to the modification. If the purpose of the quad is to ride and work, the choice of a moderate height will be preferable and at low cost.
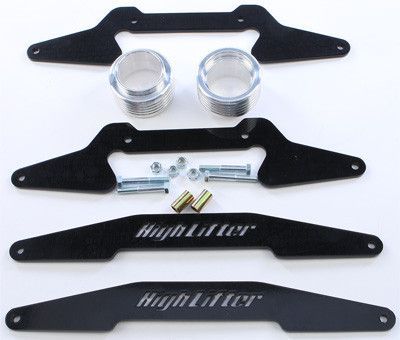
It will allow to keep a good stability while riding as well as a mechanical durability for work. However, if the use of the quad is mainly dedicated to very deep mud conditions and ground clearance is paramount, a raise that goes beyond the imagination will be quite appropriate. The investment can start at a few hundred dollars up to several thousand. In this situation, the objective is to provide sufficient clearance for the oversized tires so that they no longer come into contact with the bodywork. The selected kit (# 309018) is distributed by Kimpex. The suggested retail price is $245.99. It is shown with a suspension lift of plus or minus two inches.
Front:
Installation of the chosen suspension lift assembly is relatively simple and requires few tools. To begin, lift the front of the quad and remove the wheels. On the upper suspension arm, remove the brake fluid line attachment. It will not be reused. Remove the lower shock bolt. Then, install the two bearing plates with the spacer sleeve that takes the original position of the shock. Continue with the installation of the lower part of the damper. To finish, attach the brake fluid line with a cable tie. All that remains is to put the wheel back in place.
At the back:
Lift the rear of the quad and remove the wheels. Remove the connecting rods of the stabilizer bar. They will not be reused. Remove the upper fixing bolts of the rear shocks. Install the bearing plates with the spacer sleeves. Take care to position the plates correctly in the notches of the plate. Attach the shock absorber to the plates.
Finally, install the connecting rods provided with the lift kit to the stabilizer bar. They will require considerable effort to install because of the angle the lift kit causes. Return the wheels to the quad.
Before the intervention, I had taken care to take a reference measurement. It was 32 7/16 inches.
After the installation of the suspension lift kit, the measurement is 35.5 inches. So the quad is about 3 inches higher than it was originally.
Front
Clearance between the tire and the body
After
Clearance between the tire and the body
Depending on the amount of suspension lift that is chosen, there are some disadvantages that may be associated with the modification. The first is stability when cornering or driving on inclines. The added height significantly increases the risk of rollover. Secondly, the wheel half-shafts will be mechanically stressed due to the increased angle that the CV joints must undergo. In this case, the half-shafts should not suffer too much. The angle still seems respectable.
It is always interesting to increase the capacities of your frame. You just have to evaluate your needs without getting carried away. Kimpex offers a wide variety of suspension lift kits. It is possible to increase the height of the quad from 1. 5 inches to over 10 inches. All you have to do is choose yours.
`;
Cars
Fact Checked
Lori KilchermannThe all-terrain vehicle (ATV) lift kit is designed to offer the ATV more room for larger tires, as well as allow the machine to operate in deeper water, mud and snow. There is an ATV lift kit available for nearly every model of two- and four-wheel drive machines manufactured. Depending on the ATV lift kit, the entire installation can be accomplished in a matter of hours using common hand tools. Increased fender-to-tire clearance, increased performance and a visual statement that separates a lifted ATV from that of a standard lift suspension often makes the inclusion of an ATV lift kit an anticipated addition to any machine.
A typical ATV lift kit is designed to increase the suspension travel of the ATV by installing lift blocks between the shocks, suspension and swing arm of the machine. With the average ATV lift kit, nothing else is required to be changed except the addition of the kit itself. On some of the more extreme lift kits, extended brake lines, drive chains and wheel spacers are often required to complete the lift kit installation. Longer drive axles and suspension pieces, such as front A-arms, are often required when installing the more radical lift kits onto an ATV.
It is important to consider the added height of the machine whenever an ATV lift kit has been installed. The vehicle is likely to be prone to tipping and unstable due to the increased ride height. Another consideration when installing an ATV lift kit is the addition of a snorkel system. A snorkel system raises the point at which the engine receives air from low in the vehicle's frame to a point at or slightly above the handle bar controls. This raised air intake height allows the ATV to take advantage of the lift kit's deep-water foraging by allowing the engine to operate while virtually underwater.
Some manufactures of ATV lift kits recommend the addition of wheel spacers to place the wheels further out on the axles. As the height of the ATV is raised, the roll center of the vehicle is also raised. By widening the stance with the addition of wheel spacers, the roll center is dropped slightly. This increases the ATV's stability and makes it easier to control in some off-road situations. The addition of taller wheels and tires will also add to the amount of lift generated by the kit and increase the ground clearance of the ATV.
www.velomotors.ru
Categories
Home " Accessories » Maximum throughput » Lift kit for ATVs Stels 600GT/700GT/800GT/800D
Description Reviews (11)
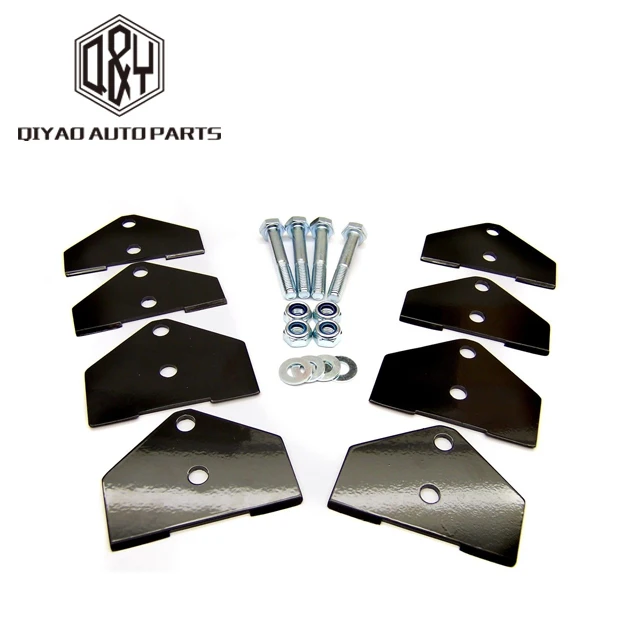
In a set of spacers (on the front and back) to increase the clearance and fasteners.
This kit increases the ATV's clearance by about 3 cm, thereby increasing off-road patency.
Installation takes 30 minutes.
ATTENTION !
Not suitable for some models of ATVs, check with the managers of the motorcycle center for details !!!
Your Name:
Your review: Attention: HTML is not supported! Use plain text.
Rating: Poor OK
Enter the code shown in the picture:
Next
Tags: ATV lift kit,
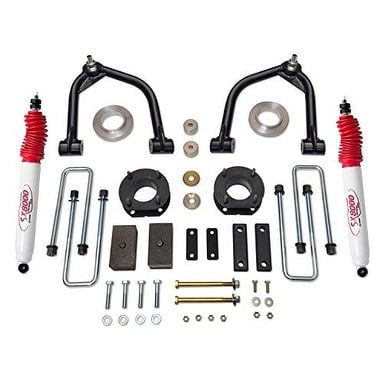
In order to prepare the SUV well for it to confidently drive off the road into the mud and successfully drive out of there, it is necessary to install a winch, or even two. Often, when you realize that there is no way forward, you can always pull the car back. Power bumpers, because regular plastic ones will fly off on the very first bushes, and you can’t attach a winch to such a bumper. A spare tire on the rear power bumper, along with a metal gate, is more difficult to come up with a suitable place for it, and there is no way without it. An iron power trunk to which you can attach a jack, sand trucks and a bunch of other things that do not fit in the trunk. And now the main question, the car has become much heavier, will the wheels start rubbing against the fender liner with such a weight, of course they will, and the standard shock absorbers will fail very quickly. And here, just the same, it is necessary to evaluate all this additional body kit and select a lift kit for this load, which will not only prevent the car from sinking, but also raise the body additionally above the road, and the ability to put the car on the “belly” will significantly decrease. The suspension lift is convenient in that it is designed specifically for each SUV model, i.e. the installation does not imply any additional digestion or other mechanical actions, everything is very simple, I removed the old regular suspension kit, installed a new one and drove on a lifted car, the suspension of which was already designed for additional loads.
 Lift kits can be selected according to your budget, there are expensive lift kits, there are cheaper ones, but at the same time not much inferior in quality to expensive ones, it all depends on the manufacturer. Also, the price of a suspension lift depends on what is included in the suspension kit, if reinforced springs and reinforced shock absorbers, then this is one price, if the design of the machine implies the presence of springs, then the price of such a lift kit will be higher. In general, it’s worth saying that SUV suspension tuning can also be done on an ordinary car without winches and bumpers, especially if the car looks slightly sagging with a standard suspension, a lift kit with a minimum load will simply lift it a couple of centimeters.
So, to the question of how to make a suspension lift, I personally would start in this sequence. The first is an approximate calculation of the load that will be on the suspension of the car. The second is a rough estimate of the budget and, accordingly, based on this, the selection of a suitable manufacturer.