Subscribe Here
AND WHERE TO GET NEW SEAT COVERS —
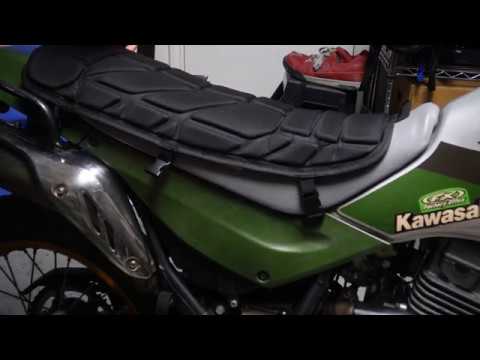
ATV seats come in all shapes and sizes, but they all have one thing in common—they are always used every time you ride your machine. While some riders don’t spend much time thinking about how important a seat is, others know when they should consider upgrading their seat cover to one that is more durable and even grips better. Replacing a seat cover may be tricky, but it’s not as difficult as many believe it to be. We are here to walk you through the steps of changing out that old torn-up cover or simply upgrading to a newer one.
1.) The first step is to gather the tools you will need, which includes your old seat, a new seat cover like the one we chose from MotoSeat, a flat-head screwdriver, needle-nose pliers, scissors, and either a manual or air-powered staple gun with 1/4-inch staples.
2.) Start the process by prying up the old staples with your screwdriver and pulling them out of the seat to free up the old fabric. Once all of the staples are removed, pull off the old cover, flip the seat over and inspect the foam. If the foam does not have large holes and tears in it, then you should be able to reuse it. If not, companies like MotoSeat offer new seat foam to purchase.
3.) Now it’s time to start the install of your new seat cover. Covers like this one have a stitched front piece that slips over the front of the seat to help align the cover from the start. Once you have it on straight, flip the seat back over so the underside is facing up and put three staples next to each other on the top part of the cover. This will keep the cover in place while you work on the next steps.
4.) Next you are going to continue with stapling the cover to the seat in succession. Every 6 inches, pull out and backward on the cover, and install two or three staples on the left and the right side of the seat evenly as you progress downward. This will help pull out the wrinkles in the new seat cover as you continue with the job.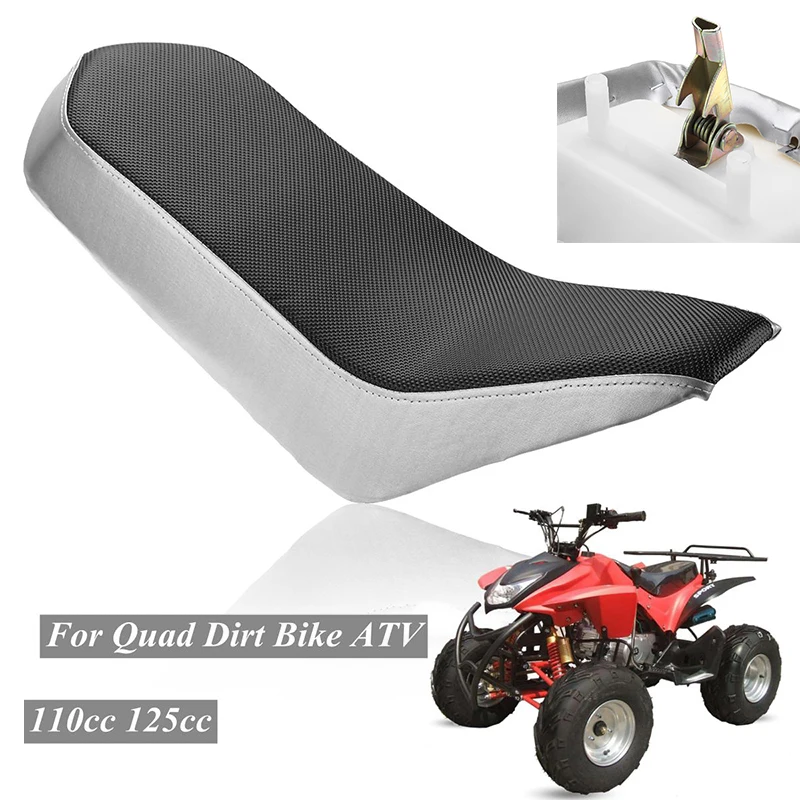 Flip the seat over and inspect the cover each time you install a new set of staples for wrinkles and smooth them out, but pulling back more on the cover as you go along. It’s okay to remove and reinstall staples to help pull the cover tighter.
5.) Once you get to the rear of the seat, the job can get tricky. To get the cover to contour to the different curves and rounded edges of the seat, you may have to make waves in the fabric as you install a new staple every half inch or so. This will keep the top of the cover smooth and wrinkle-free as you move around each rounded edge. Once you have completed the rear of the seat, go ahead and install a staple all the way around the whole seat every inch. Now the cover will not shift around and be secure on your seat.
6.) Now that you have successfully secured the new seat cover onto your seat with all of the wrinkles smoothed out, go ahead and take scissors and trim off the excess fabric on the underside of your seat.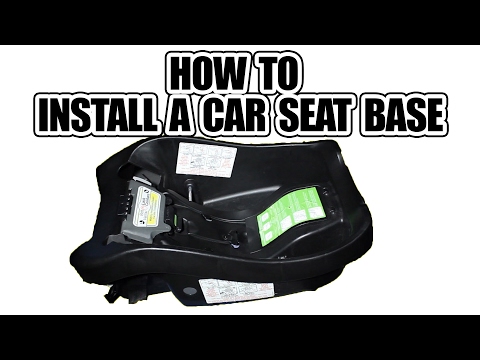 Now that the job is complete, you can install your freshly covered seat back onto your machine and take it for a ride.
SADDLEMEN
Stock Replacement Covers, $89.99
Saddlemen makes seat covers for a wide range of machines, including on- and off-road vehicles. Their ATV seat covers are made with very durable
materials and come in multiple colors for your machine. If they do not offer the cover for your machine, the customer can send in their old cover, and they can make a pattern from it. Custom pricing varies for the replacement cover price. For more information, call (800) 397-7709.
FACTORY EFFEX
All Grip Seat Cover, $59.95
Factory Effex has been a big staple in the seat-cover industry. They make a range of smooth and gripper seats for multiple ATVs. This seat cover is very grippy so you don’t have to worry about sliding around on the seat as much. The material is strong and will last for years of riding and weather abuse. The covers come in different color options as well to match your machine. For more info, call (661) 255-5611 or go to www.factoryeffex.com.
COVERS OFFERED BY BRAND/MACHINE
Honda
–TRX 250 R, 400, 450 R
Kawasaki
–KFX 400, 450
Suzuki
–LTZ 400
–LTR 450
Yamaha
–Banshee 350
–Raptor 660, 700
–Blaster 200
–Warrior 350
–YFZ 450, 450R
FOURWERX CARBON
Wave Seat Cover, $144.99
For the enthusiast who likes to ride hard or race, this seat cover is your best bet for seat traction. It has a gripper top with a formed foam-based “Wave” top. The ridges provide enhanced grip from sliding around on your seat, and the gripper top adds to that effect. It has a very durable construction. FourWerx mainly manufactures parts and seat covers for racing ATVs. For more information, call (262) 501-9696 or go to www.fwcarbon.com.
COVERS OFFERED BY BRAND/MACHINE
Can-Am
–DS 450
–Renegade 500, 800, 1000
Honda
–TRX 90, 250 R, 300 EX, 450 R
KTM
–XC 450, 525
–SX 450, 525
Suzuki
–LTR 450
–LTZ 50, 90
Yamaha
–YFZ 450, 450 R
–Raptor 700
MOTOSEAT
Standard Replacement Cover, $49. 99
99
MotoSeat makes a durable replacement seat cover for a range of ATVs. The material used will last a long time and comes in multiple colors to match your machine. They also sell replacement seat foam for $69.95. If you are interested in their products, call (951) 677-8325 or go to www.motoseat.com.
COVERS OFFERED BY BRAND/MACHINE
Arctic Cat
–CAT 375, 400, 450, 500, 650, 700, 1000
–DVX 400
Can-Am
–DS 450, 650
–Outlander 500, 650, 800
–Renegade 500, 800, 1000
Honda
–ATC 70, 110, 185, 200 S, 200 X, 250 R, 250 SX, 350 X
–TRX 70, 90, 250 EX, 250 R, 250 X, 300 –EX, 300 FW, 400 EX, 450 R, 700XX
–TRX Recon 250
–TRX Rancher 350, 400, 420
–TRX Foreman 400, 450, 500
–TRX Rubicon 500 FW
–TRX Rincon 650, 680
Kawasaki
–KFX 450, 700 V-Force
–KLF 220, 250, 400
–KLF Bayou 250
–KSF Mojave 250
–KSF Lakota 300
–KVF Prairie 300, 360, 400, 650, 650i, 700
–Brute Force 650, 750
KTM
–XC 450, 525
–SX 450, 525
Suzuki
–ALT 50, 125
–LT 80, 125, 185, 230, 250, 250 R, 500
–KFX 80
–KingQuad 300, 400, 450, 500, 700, 750
–Vinson 500
–Ozark 250
–LTF 160
–LTF QuadRunner 250, 500
–Eiger 400
–LTR 450
–LTZ 250, 400, 450
Yamaha
–Breeze 125
–Timber Wolf 250
–Grizzly 80, 125, 350, 550, 600, 660, 700
–Bear Tracker 250
–Raptor 125, 250, 250 R, 350, 660, 700
–Big Bear 250, 350, 400
–Kodiak 400, 450
–Bruin 250
–Warrior 350
–Wolverine 350, 450
–Terrapro 350
–Banshee 350
–YFZ 450, 450 R
–Blaster 200
–YTZ TRI Z 250
ATV
20 Apr
Every year you need to buy new or different design seat cover for your ATV Quad Bike.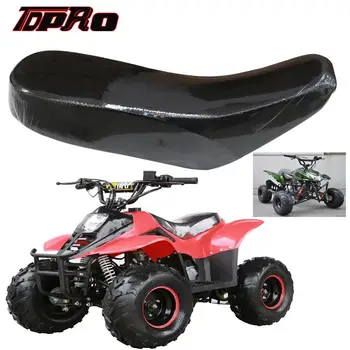 You can buy the replacement seat cover for your ATV quad bike from online, but you need to install it yourself, or you need to take it to an upholstery shop near your house.
If we can install the seat cover by yourself, then you can save money. So how to install an ATV seat cover? Let’s go and learn how to install an ATV seat cover.
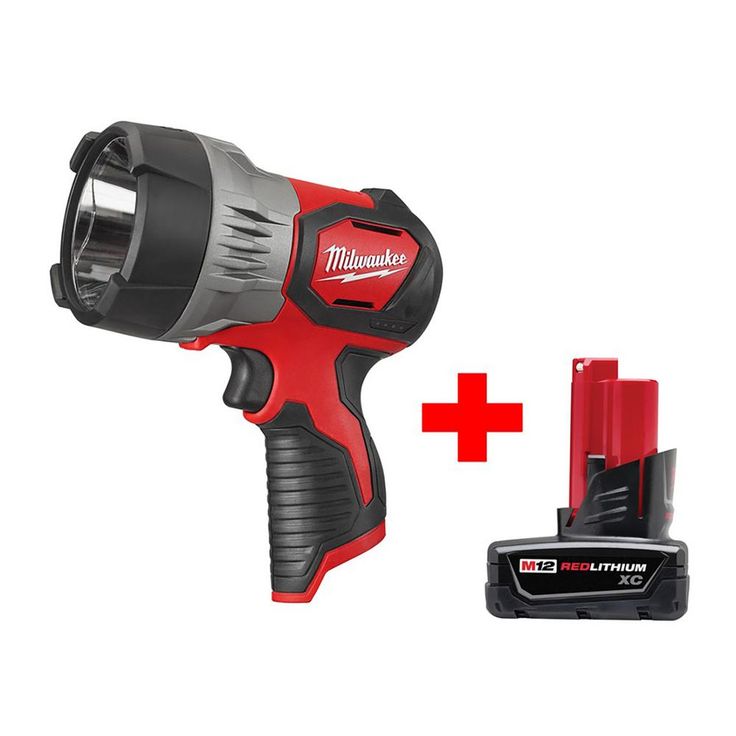
Before installing your new seat cover, you just need to buy a few materials, it’s one time investments. So don’t be afraid. If you want you can buy it from your near local shop, or you can buy it from Amazon.
Check Out With Amazon | Check Out With Amazon
| Check Out With Amazon |
Note: If you use a hand stapler, press down on the front on the stapler so it will go into the plastic instead of pushing the stapler up and away from the seat
Warning: Do not use glue to secure the cover in any way!
Important Note: The seat cover will stretch to fit better when it’s warm; this is especially important with materials such as diamond plate vinyl.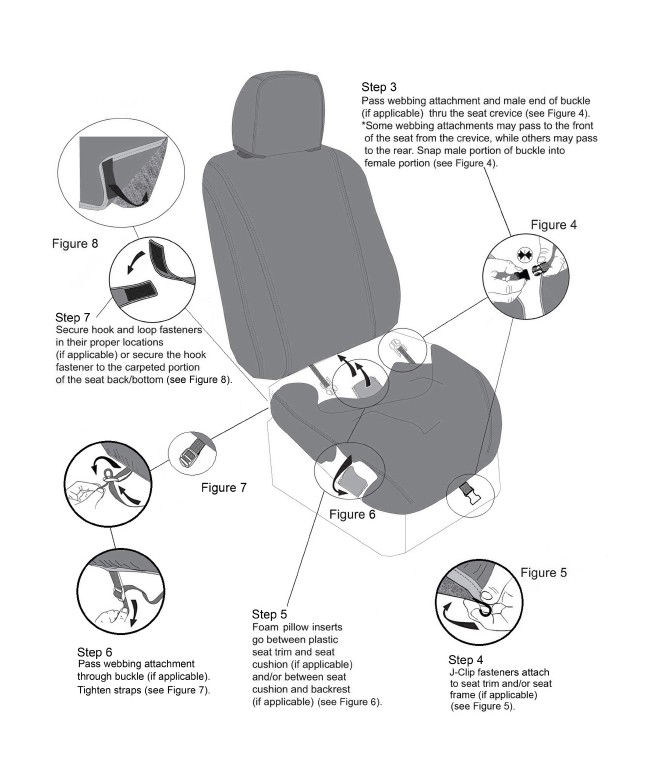
*** Always be careful not to overheat and melt the vinyl***
Warming Suggestions:
Metal Pans: Some of the older model seats have steel pans rather than the newer plastic. You will need to use the same method that attached the cover that was removed. If the pan is rusted, you can use self-tapping screws to attach the cover to the metal pan.
Installation Steps: please note, when your new cover is lying on top of the seat, it will appear to be 1-3” too short. This is intentional, not a defect and will prevent wrinkles toward the front of the seat
Step 1: Find a clean surface to work on. Make sure the surface does not have any sharp objects or rough surfaces that will damage the vinyl
 Hints: I link to pry one side up with the screwdriver and then remove the other side with pliers.
Step 2: Using the staple gun, attaché the seat cover to the front or back of the seat ( either end is fine to start) using 4-5 staples

Step 3: Apply heat
Step 5: Finishing the cover is meant to fit tightly to avoid wrinkling

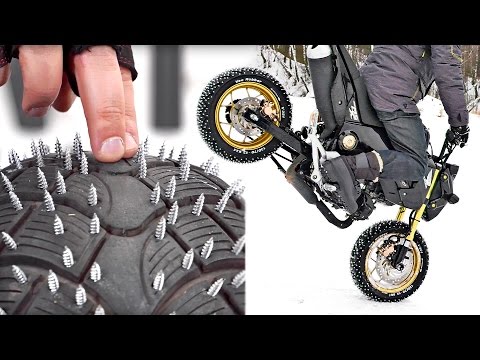
Ripping a motorcycle seat is easier than you think. Sometimes tears appear due to wear of the material, in which case the constriction is just around the corner and repair will only be a temporary solution. The top reasons why the integrity of the seat cover is violated are:
- Well, tore and tore, - someone will say.
The fact is that if the integrity of the cover is not restored, the gap will increase.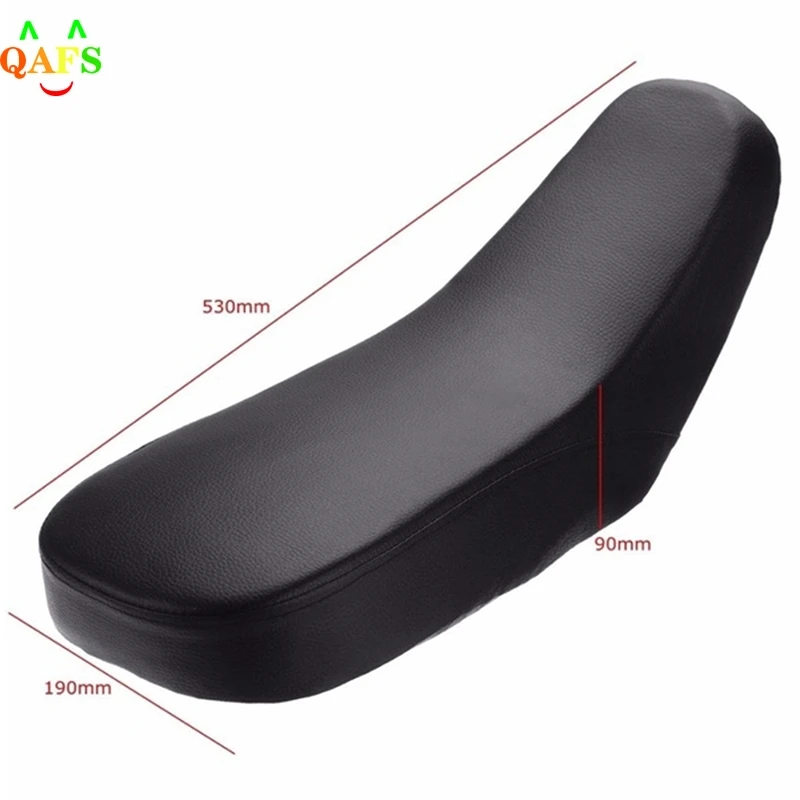 And then the stages of destruction of the seat will follow:
At the end of the process, you can simply lose the seat, although there was a chance to get off with a little blood.
First of all, not paying attention to this is the first offense, the consequences of which have already been described above.
Secondly, seal the gap with an ordinary adhesive or compound that does not have elasticity. nine0003
The fact is that the seat is constantly deformed. We sit on it, fidget on it, get up .. all this affects the tension of the cover. The material on the seats has an elastic gap. The cover stretches, otherwise, it would burst like an overvoltage balloon.
If you use regular instant glue or super duper glue, which is aimed at holding static objects, such as gluing a broken vase or a wooden shelf together, then it will not hold any patch on the seat. Guess why? Such glue will crack over time or fall off quite quickly, because it is not designed for frequent deformation. nine0003
Thirdly, it is somewhat useless to sew without waterproofing the seam. All motorcycle seats are necessarily processed along the seam from the inside (I don’t know individuals who would glue from the outside). This is done for the same reason that you were scared above. If water seeps through the seams into the seat, the process of rotting will begin and a mold farm will open.
If you are closer to the "cut and sew" method of the course, and the gap is of modest size, then you should sew up with especially strong threads and very frequent stitches.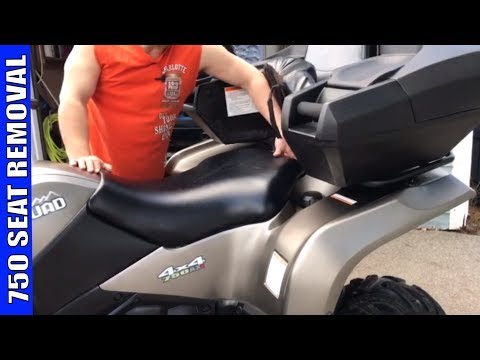 The seam should still be processed so that moisture does not get through it. Choose moisture resistant glue or something close to it. But the sewing method has another obvious disadvantage: the stitches, when the surface is deformed, will begin to spoil the edges of the previous gap, especially since the holes made by the needles on their own are not as good as machine processing. nine0003
Patch is the most common way to repair a seat. The main mistake is that the patch is placed on top of the gap, where it does not always fulfill its purpose. It is most correct to put the patch from the inside first. To do this, take a piece of leatherette, which is larger in size than the gap. The material is inserted through the hole, straightened there, glued to the cover.
Back to the issue of glue. Shoe or professional leather glue is the best choice because it has an elastic gap that will tolerate deformation of the surface of the case. And then, it’s not for nothing that engineers developed so many variants of glue with certain characteristics. nine0003
The patch material is selected from leatherette, such as vinyl leatherette, polyester leather or bielastic. It is not recommended to take genuine leather for seat covers, because it is much more capricious. Its porous structure is too subject to the influence of the external environment.
After patching from the inside, the outer patch is glued, which is completely glued. In this way, the place of the break is strengthened twice and the deformation of the cover will not affect the edges too much.
If the damage to the seat is too great, the seat is usually reupholstered. Many take furniture foam rubber, but it does not fit. Now is the time when it is easy to find the right density foam rubber for the seats of cars and motorcycles on the market. Therefore, if you plan to repair the seat yourself, it is wiser to look for high-density foam rubber.
Home » Remove
nine0002 By Milena Anderson Reading 4 min. Views 4 Posted by
 Short answer
How to remove the car seat cover?
There are several ways to remove the car seat cover. You can use the straps to take it off, you can use the buttons on the sides or you can use the hooks on the back.
How to put on the Diono car seat cover?
There are several ways to fit the Diono car seat cover. You can use the straps included with the car seat or the straps included with the car seat cover. You can also use the clips included with the car seat cover. nine0003
How do I remove the cover of the infant car seat?
There are several ways to remove the cover from the baby car seat. One way is to use a small knife to trim the edges of the cover. Another way is to remove the cover from the seat using a seam ripper.
How to replace the seat cover?
There are several ways to replace the seat cover. You can remove the old case and replace it with a new one, or remove the entire case and replace it with a new one.
Can car seat covers be washed? nine0003
While car seat covers are technically washable, it is not recommended to do so as the fabric may be damaged. Instead, car seat covers should be replaced when they begin to show signs of wear.
How do I deep clean my child car seat?
There are several ways to deep clean your child car seat. You can use a vacuum cleaner with a crevice tool or use a bucket and a sponge. To clean the fabric, you can use a mixture of mild soap and water or wipe the seat with a dry cloth. nine0003
How long can the Diono car seat be used? ?
The Diono car seat should be used up to 12 years of age.
How to remove the Diono headrest?
There are several ways to remove the Diono headrest. One way is to use a flathead screwdriver to pry off the screws that hold it in place. Another way is to cut the straps that secure it to the seat with a knife.
How to assemble Diono Radian?
There are several different ways to assemble the Diono Radian. The easiest way is to simply snap the car seats. Another option is to use the included strap to secure the car seats in place. If you have a child car seat, you can also use the included adapter to fit it into the Radian. nine0003
How do I remove the First safety cover?
There are several ways to remove the safety cover from the car seat first. One way is to use a hair dryer on low heat. Another way is to use a vacuum cleaner with a hose attachment.
How to clean car seats at home?
There are several different ways to clean car seats at home. You can use a vacuum cleaner with a hose attachment, a bucket and a sponge, or a mixture of water and vinegar. Be sure to read the instructions that came with your car seat before trying any of these methods. nine0003
How to install child car seat covers?
There are several different ways to install child car seat covers.