How to Install a Tire Inner Tube Properly
Because you don’t want your tire inner tube to split and fail before its time, it is important to complete your inner tube installation in the proper manner, without any wrinkling, twisting or pinching. Whether you’re installing tractor inner tubes, ATV tire inner tubes, industrial tubes, trailer tire tubes or inner tubes for farm implements, light trucks, trucks and buses, OTR or low tractor trailers, the process is essentially the same.
First, Consider These Quick Hits about Inner Tubes
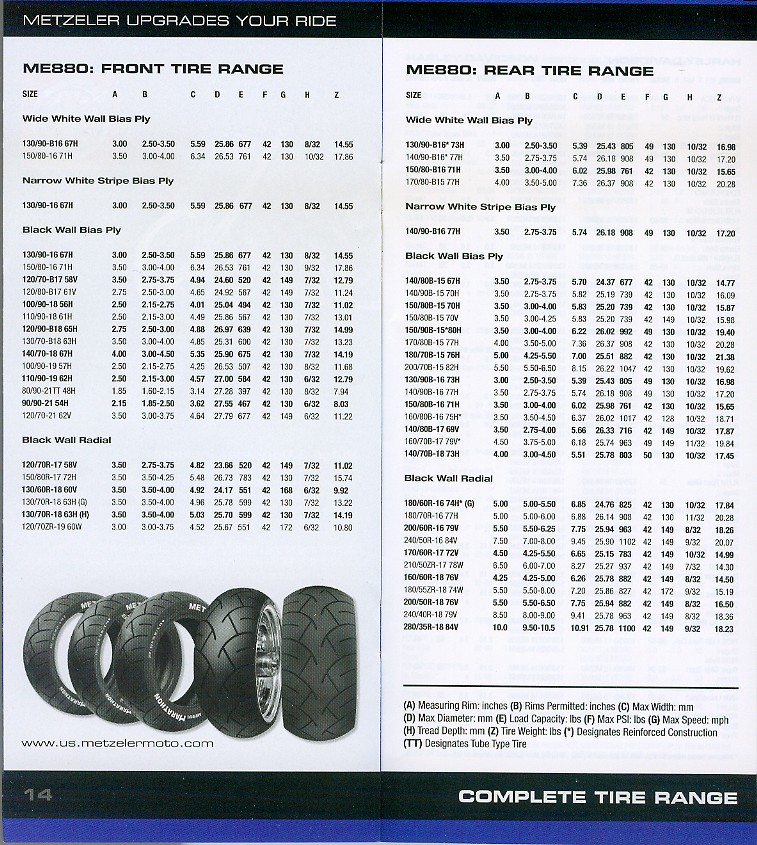
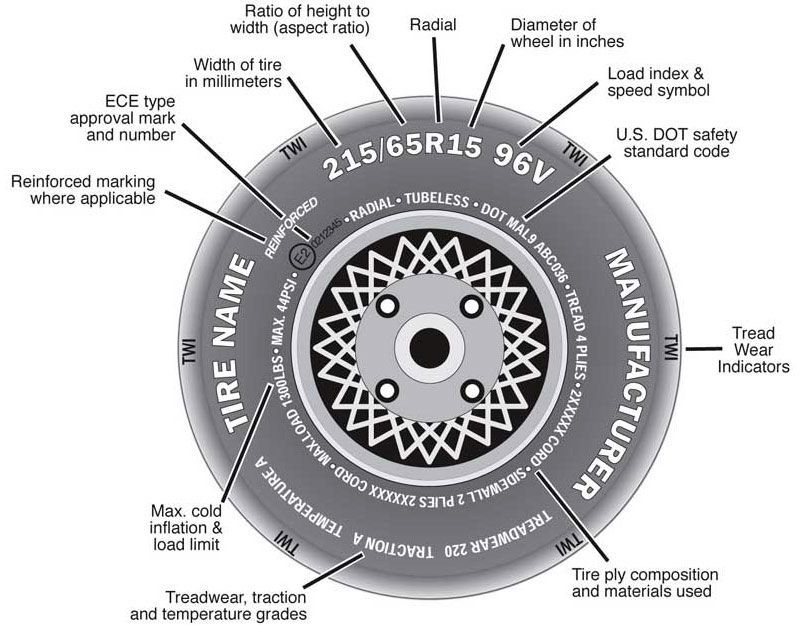
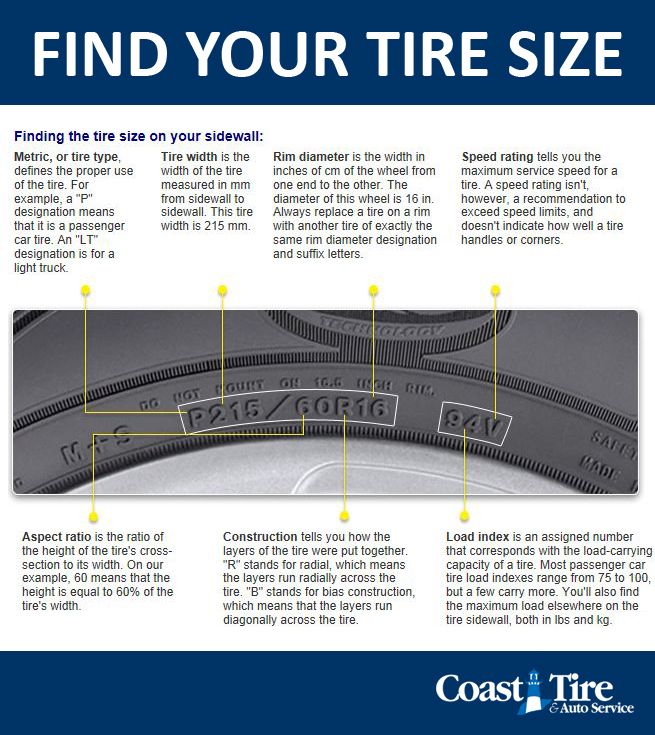
*Inner Tube Sizing: To find the size inner tube you want, check the size information on the sidewall of the tire. Tubes, because they’re made of rubber with a range of stretch, will generally fit several tire sizes that have the same, or near the same, space for an inner tube.
*Radial Tubes vs. Bias Tubes: Because bias tires and radial tires are manufactured differently, you cannot use a bias inner tube in a radial tire without risking heat build-up and blow-out. Radial tubes, which are made from a rubber compound that has more flex, can be safely installed in both radial tires and bias tires.
*The New Tube Is Smaller than the Old Tube because the old tube has been stretched and relaxed and has taken on the tire’s shape. New tubes start out smaller than the tire.
*Tools You Will Need to Remove and Install an Inner Tube: It’s always helpful to have all the tools you’ll be using at hand before you start your inner tube removal and installation. You’ll need pliers, a tire iron or other pry tool, a rubber mallet, a valve core removal tool and an air pump.
Step by Step Inner Tube Removal and Installation
Getting the Old Inner Tube Out of the Tire
Before Installing the New Inner Tube
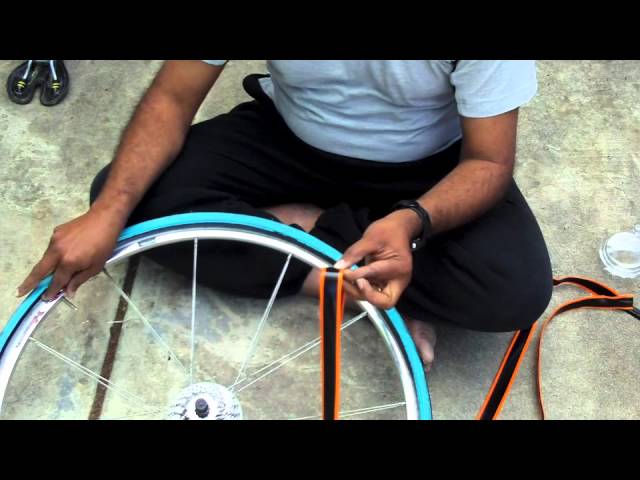
Installing the New Inner Tube
Unlike cheap tire tubes that can blow out and fail quickly, RubberMaster Inner Tubes and Flaps are made from premium rubber and are factory-tested for top air tightness, aging resistance and high temperature resistance for longer service life.
Posted by Nicole Wakelin Know How
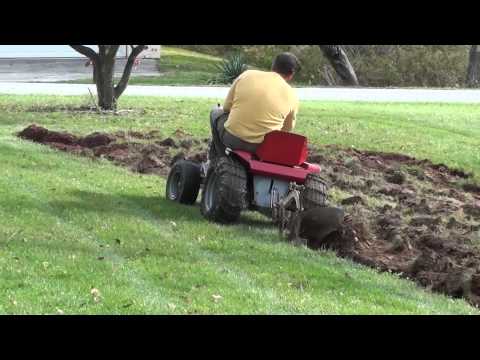
Knowing how to replace a tire tube comes in handy when you need to fix a flat on a wheelbarrow, snow blower or lawn mower.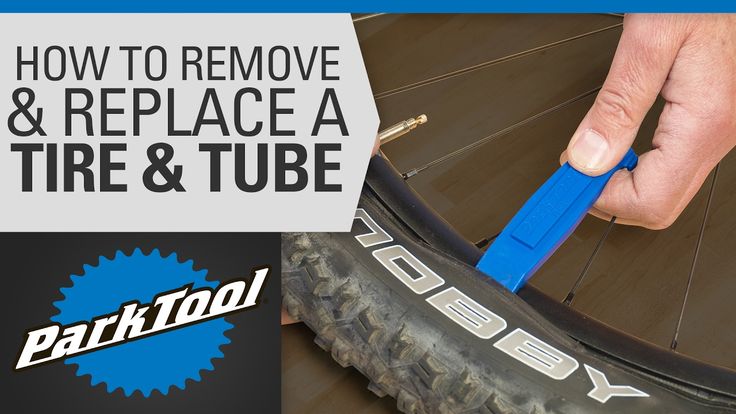 It’s not hard to do, and it’s something even a novice can manage. Here are the steps you’ll need to replace a tire tube, as well as some additional tips.
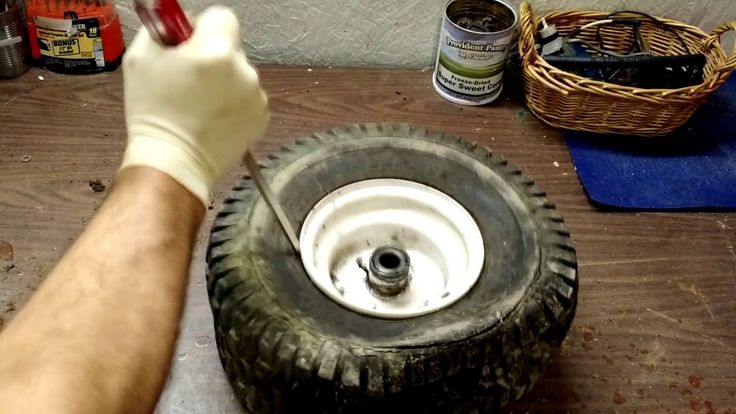
Make sure you’re in a well-lit area with a level surface and you have eye and hand protection. When you’re dealing with a piece of inflated rubber it’s possible for items to go airborne as you work, and there might also be dirt or other debris stuck in the treads that could scratch your hands. Once you’re ready, remove the tire. Next let any remaining air out of the tube by either removing the valve stem core, or simply pressing on the valve core until the tube is completely deflated.
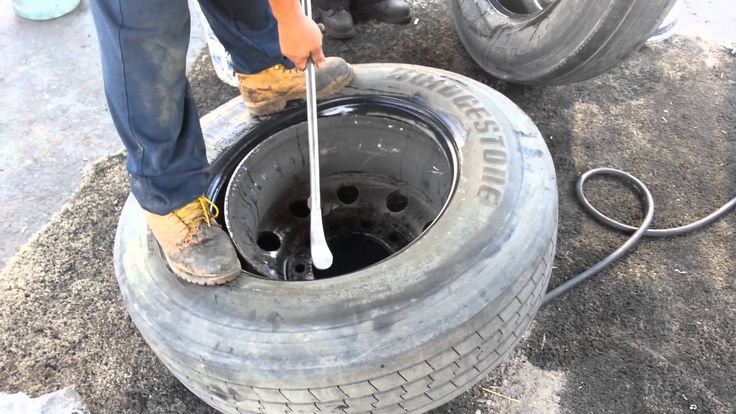
How to Remove the Tire from The RimYou’ll need oil and two tire bars for the job. Start by spraying the rim and seal with oil, and then let it stand for a few minutes. Next, slide one tire bar between the rim and the tire near the stem. Use the second tire bar to slowly pry the tire over the rim, going around the circumference.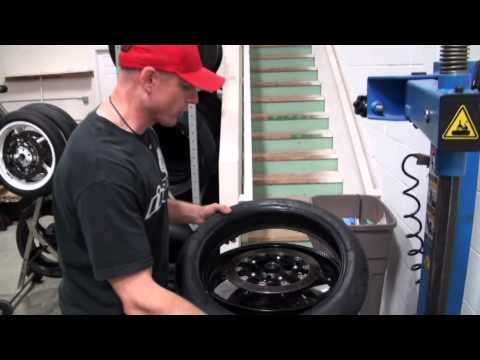 You don’t have to remove it completely. You just need one side free so you can reach in and remove the damaged tire tube.
To insert the new tube, carefully slip the stem through the hole in the rim so you don’t damage the stem. Put the stem nut on the stem, which should help keep it from slipping as you slide the tire back into place.
Now it’s time to break out the tire bars again. Use one tire bar to pull the tire back over the edge of the rim, and then use the other tire bar to slowly, and carefully, slip the tire into place. Make sure that it’s lined up correctly, and double check that you haven’t snagged the tube in the process. Take your time to avoid damaging the tube.
Once the tire is back in place, all you need to do is inflate it, and you’re ready to go. Replacing a tire tube is something anyone can do with only a few tools, some oil and a little effort.
Check out all tire tube repair products available on NAPA Online or trust one of our 17,000 NAPA AutoCare locations for routine maintenance and repairs. For more information about tire tube repair, chat with a knowledgeable expert at your local NAPA AUTO PARTS store.
Categories
Know How
Tags
flat tire, flat tire repair, lawn tractor, riding mower, snow blower, tire care, tire maintenance, tube, valve stem
Nicole Wakelin covers the automotive industry as a freelance journalist for a variety of outlets. Her work includes news pieces, podcasts, radio, written reviews, and video reviews. She can be found in The Boston Globe, CarGurus, BestRide, US News and World Report, and AAA along with lifestyle blogs like Be Car Chic, The Other PTA, and She Buys Cars. She is active on social media with a large following on both Twitter and Instagram and currently serves as Vice President of the New England Motor Press Association.
There is a lot of controversy on the net about whether a tube is put in a tubeless tire and what the consequences of repair are. Some users claim that in this case, the car behaves unpredictably. Others insist on the acceptability of the repair method.
Contents
Experts are also divided into two camps. On the one hand, put a similar wheel - harm the car. Opponents do not see anything terrible.
Before drawing conclusions and making a decision, all the advantages and disadvantages of the procedure must be carefully weighed.
The procedure has definite pluses and minuses, indicating the expediency of repair.
Dignity.
Disadvantages.
 Due to the tightness of the space, the camera does not fully expand. Also there are ribbed parts. Inserts rub the surface of the chamber.
 Thus, as an emergency option, the method will fit for an accurate overcoming of 100-200 km. With constant use - it is recommended to change the wheel.
Self-installation in a tubeless tube is done as follows.
 nine0010
 To eliminate the air bubble, some experts recommend slowly inflating the chute while lowering the nipple slightly into the socket.
The procedure is valid for all wheels, regardless of size, be it 14, 15 or r16.
Installing a camera in a modern cylinder on an alloy wheel is not allowed. The exception is the need for short-term rolling within 200 km. or use as a spare. nine0003
Damage to the rim or tire itself can provoke the need. Leakage is eliminated by inserting an independent pressure-holding cylinder.
If the slot is wide, the chamber may be forced out by internal pressure.
This can cause the wheel to explode while driving. Simultaneously with the imposition of a "fur coat" - a reinforcing element, the operation of the cameras is possible. nine0005
Modern rims are equipped with special hump rings. The parts are designed to hold the tire cord in a pressed state.
If the tire continues to be used, due to the lack of a retaining element, it will quickly be torn off its seat.
The formation of a hernia on the tire indicates damage to the inner layer of the cord. If the fabric or metal base is destroyed, further operation of the product is categorically not recommended. nine0005
The same applies to installing a tube in a damaged tire. The additional insert does not have a reinforcing layer. The soft chamber is highly stretchable, making it useless to mount.
Usually tubeless tires can deflate in three cases.
If there are no obvious punctures, pay attention to the above factors or install a conventional camera inside.
In some cases special patches are allowed. In case of serious punctures, a part sealing the hole is attached from the inside by vulcanization or special glue.
This repair is not possible in every case. Long cuts, torn holes are not subject to sealing. The patch is squeezed out through the hole, which eliminates the effect of the repair.
[ad-pc-mob-pa154]
The standard procedure for mounting a tubeless valve to a wheel involves the use of a special tool. nine0005
Pictured is a jtc 3926 nipple wrench:
The procedure is as follows:
Leave a review
Vladimir Gavrilov
Approximate reading time: 4 minutes
19040
Category: Service Auto
Wheel manufacturers perceive the rubber chamber as archaic.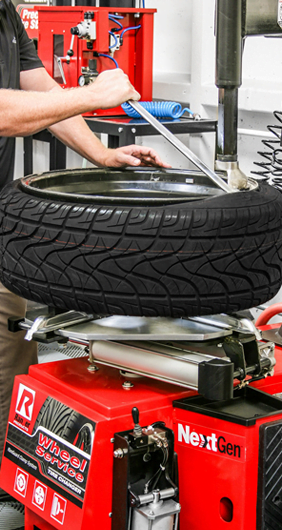 But sometimes it becomes indispensable for salvation from hernia and cuts.
There are situations when it is not possible to repair a wheel. Let's imagine that at high speed the car flew into a large hole and damaged two or three wheels. Hernias appeared on them, and one even burst. There is only one spare tire, it is not safe to drive with a hernia. How to be? nine0005
Or another situation. The attackers pierced three tires at once with a knife, and the patch (or flagellum) does not hold air pressure at the cut site. Masters issue a strict verdict: for replacement. But where on the way to get new tires if there is no money? And if there is, it is difficult to quickly find suitable wheels. Perhaps the inexpensive old models of wheels that are on the car have already been discontinued and no longer sold. Cunning sellers in stores offer to take new, 2 or 4 wheels at once as a set to ensure the unity of the tread pattern and the identity of grip properties. But it's hopelessly expensive.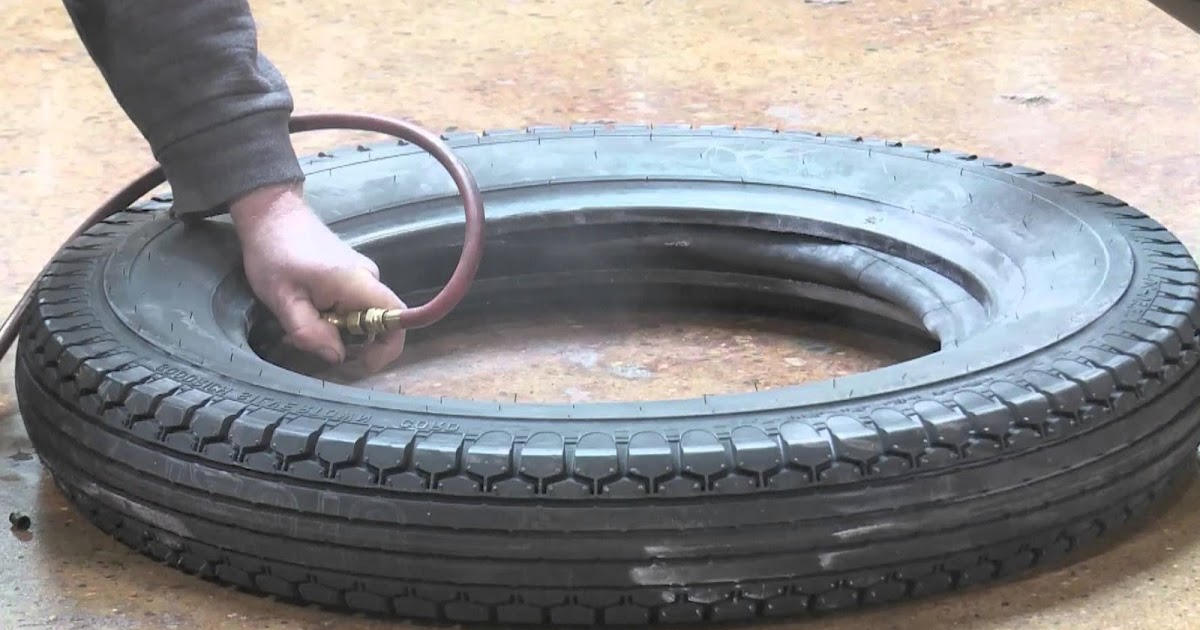 nine0005
You have to get out and look for temporary solutions to the problem. The most common of these is the installation of a camera in a tubeless tire.
It is strongly not recommended to do this, you can try it only in case of emergency. If you decide to experiment, then you immediately need to prepare for several troubles that may await on the road.
The fact is that a tubeless tire should work structurally without any layers inside. It has soft sidewalls that perform their functions only with uniform pressure inside the rubber. The tire then fits snugly to the disc, seizes it with its edges and, with the help of a sealant, sticks under the action of friction forces. nine0005
But if you stick a foreign layer there, the tire will work differently. Although the rubber chamber is stretched, in any case, it fits the tire from the inside loosely. The pressure on the edges is different. As a result, the rubber is deformed and poorly compressed from the sides.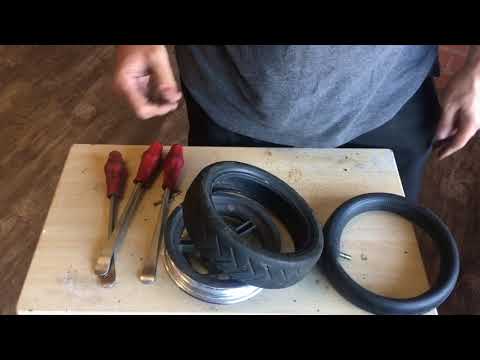 At high speeds, it works out bumps as it should. The car receives microplay, noticeable with active taxiing. As a result, due to the bending of the rubber, uneven tread wear begins. But this is not the worst. nine0005
Worse, when a tire with a chamber inside, due to lack of downforce, breaks and disassembles during sudden braking or maneuvering. And this threatens a sharp loss of control. And then - how lucky.
In addition, an air gap in the form of a bubble is guaranteed to form between the tire and the bladder when the pump is inflated. At speed, such a blister moves inside the wheel and causes imbalance. The wheel beats and heats up, the steering wheel vibrates. Driving becomes not only dangerous, but also unpleasant. nine0005
However, you can use the camera to get to your home or workshop if the wheel is damaged.
The tire fitters will apply the patch. The chamber will hold the air pressure, and the tire, as an outer casing, will take the load.