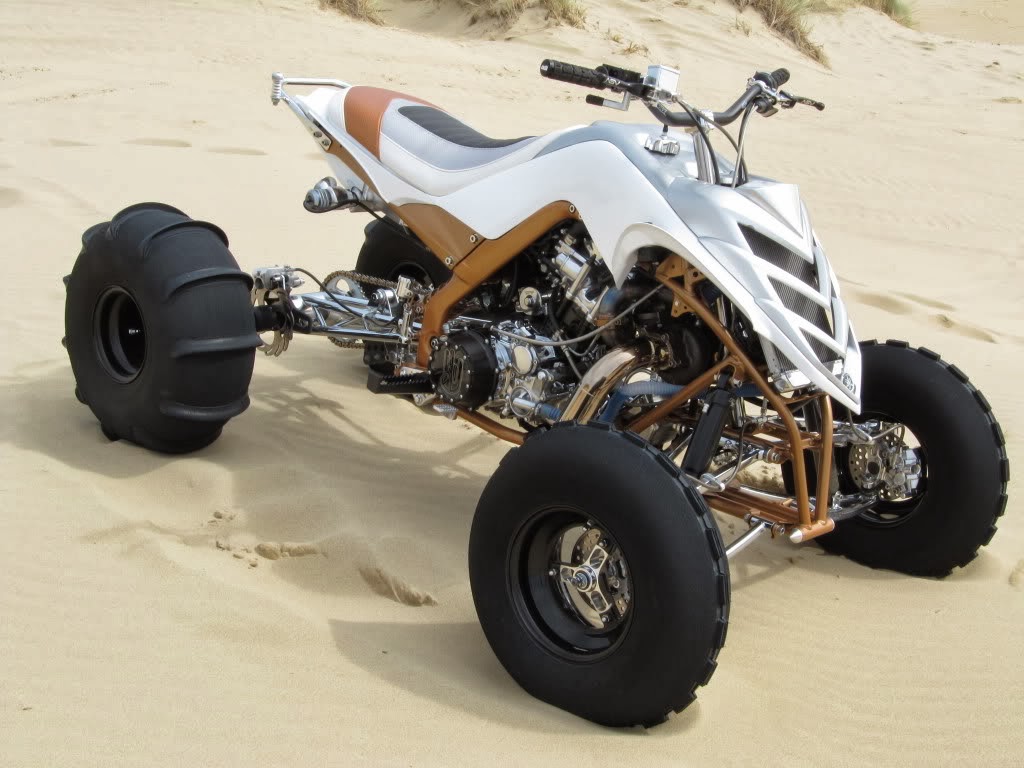
Fullbore Innovations has over 40 years of knowledge and experience in creating custom plastic additions for recreational vehicles like ATVs and UTVs. Our team of design professionals can help create stylish and useful accessories for your all-terrain vehicle. Our products can provide you with intricate designs and detailing for whatever you require for your offroad vehicle. Using thermoforming processes allows us to create a great product that has a faster lead time and a much lower cost than other products. For a quality custom plastic for your ATV or any other recreational vehicle, call the thermoforming Portland experts at Fullbore Innovations. We have become the unrivaled experts in custom forming of any formable plastic and high gloss TPO, on both a large and small scale, as well as perfecting custom vacuum thermoforming of these materials.
In the Pacific Northwest, using ATVs, UTVs, and other recreational vehicles is one of the most popular hobbies among residents and visitors. With many different terrains and climates in the areas around Portland, keeping your recreational vehicle looking great and staying useful is essential. That’s where Fullbore Innovations comes in. We can create many types of plastic components, using different methods to create them. We also have our very own line of aftermarket kits for your vehicles. Whether you need a small amount or have a large order, we can make your vision come to life and create a product that will last.
We can use a wide variety of materials that can be formed to achieve different mechanical properties. Here are some types of materials that can be used to create a bevy of different products for your offroad vehicle:

Looking for something specific? Give us your ideas, and we can make it come to life! Our team of experts knows what kind of materials and designs make for the most durable components for your vehicle. Some of the different types of plastic forms we can create are:
And much more! With our skilled team of thermoforming professionals, we can make just about every accessory that you need! With Fullbore Innovations being a local plastic thermoforming company in Portland, we know the type of gear your offroading vehicle needs for the terrains and climates of the Pacific Northwest. Your vehicle takes a beating, whether you’re racing or just riding for fun, so make sure that your custom plastics are durable and efficient.
Our mission at Fullbore Innovations is to provide the ATV and offroading industry with the most innovative aftermarket body plastic on the market. Our goal is to design products that exceed industry standards through stellar re-design and the use of proprietary materials. Our product line was developed for riders by riders, and we plan to maintain that level of service and support in the years to come. With fast turn around times and competitive pricing, Fullbore Innovations is your local choice for expert custom plastics for commercial thermoforming and offroading vehicles!
If you’re wanting to change the look of your ATV without needing to spend the money to buy all new plastic body parts, one option is to paint the existing plastics. There’s a quick and easy way to get this done, and a longer more professional approach. Either way, it’s cheaper and more rewarding than buying new ATV plastics all together.
Most ATVs come with colored plastics already, maybe with some printed graphics on them. Some ATVs may even have hydrographics or water transfer printing done.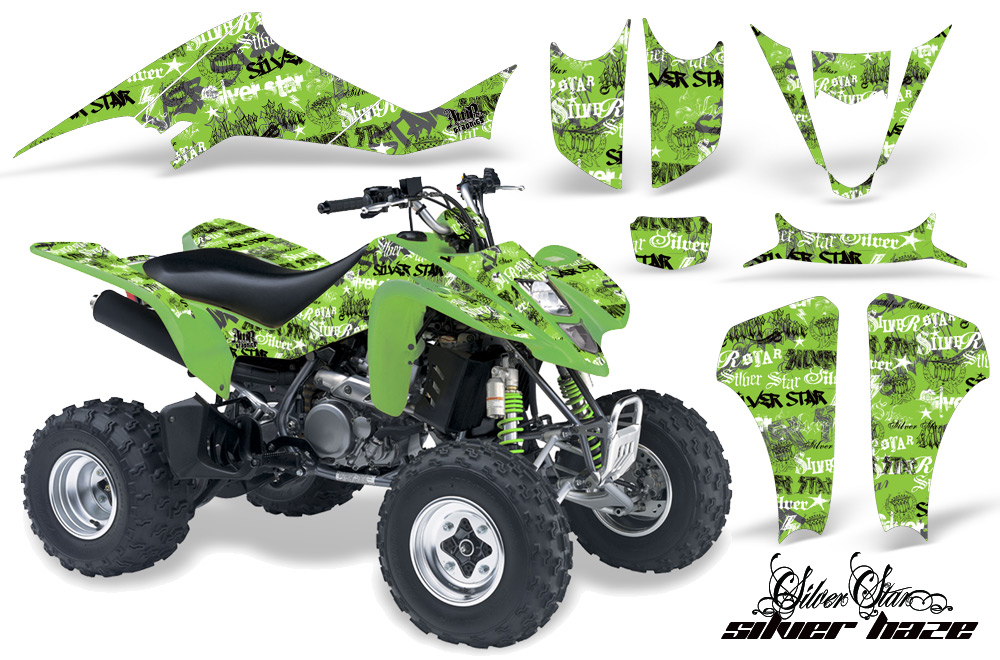 This can lead to some pretty cool designs that would be almost impossible for the average person to recreate with spray paint or other painting methods. I go over hydro dipping in more detail below.
In general, to paint ATV plastics, you’re going to need to clean the plastics and sand them down, then remove contaminants in the plastic that prevent paint from sticking. After you’ve done that you’ll want to use a primer, paint, and top coat to seal and protect the paint job. I will go more in depth below with a step by step guide.
If you don’t want to go through all that trouble, there is a quicker method. It probably won’t last as long as taking the professional approach, but it works well. Before you begin either method, you’ll want to make sure your plastics are in good condition. Check out this article on Repairing ATV Plastics if you want to fix them up a bit before painting.
This method is the easiest most straight forward way to paint your ATV plastics.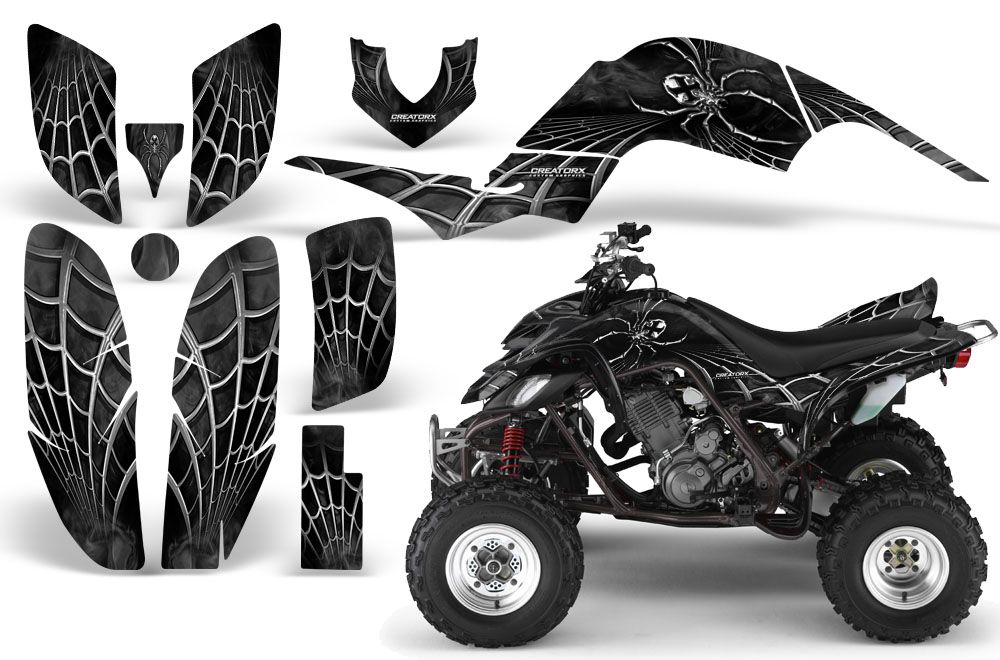 Simply get a can of this Krylon Fusion Spray Paint For Plastic from Amazon. It can’t get much easier than just spray painting right?
You will first need to take all the plastic pieces off the machine that you want to paint, unless you’re really good at taping off the painting area. Every time I try to just tape off the area, I end up still getting paint where I didn’t want. It’s up to you on this one, I take the plastics off the quad from now on.
It’s also easier taking the plastics off because you need to clean them before applying paint. It’s best to use a bucket of warm soapy water, take extra care to get all of the dirt and grime that will prevent the paint from sticking. Use a rag or sponge to thoroughly clean the plastic parts.
Krylon claims that you don’t need to apply a primer before painting with Krylon Fusion paint. I’m a little skeptical about that, but it’s up to you. I’ve just seen the paint last longer when a primer is used. You might be ok if you’ve cleaned the plastic well enough.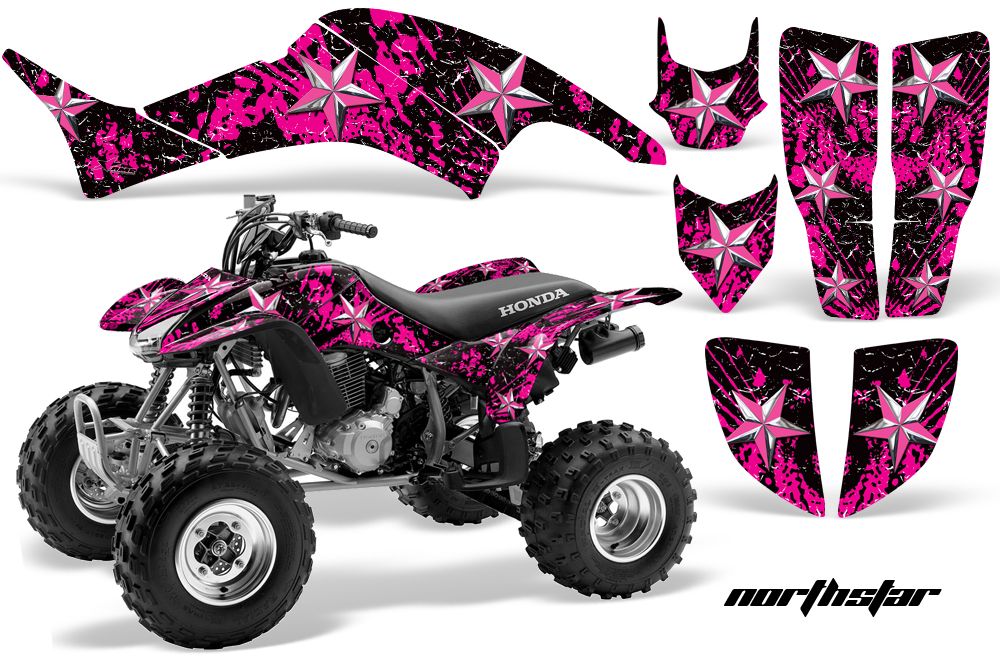
Now you’re ready to paint, I’ve done this before by hanging the plastic from a tree with a rope. But this can also be done by simply laying the plastic on a bench or outside. Try to get into an area about 65 – 70 degrees if you can to help cure the paint.
I recommend painting from the bottom up. If you spray from the top down, then when you get to the bottom the over-spray will get into the top and make it look grainy. You should try to spray in light coats to avoid the paint running. If you spray too much in area the paint will lift. It’s up to you how it looks after the first couple coats if you need another one.
The paint itself will dry in about 15 – 30 mins but it’s recommended to wait 24 hours before handling. Also, it will take a week before the paint is chip resistant, according to Krylon.
The biggest problem with this method is it doesn’t last a long time. Chipping and cracking after a couple years is pretty common with this approach.
Hydro dipping is only in the article because I think it’s one of the coolest ways to paint something.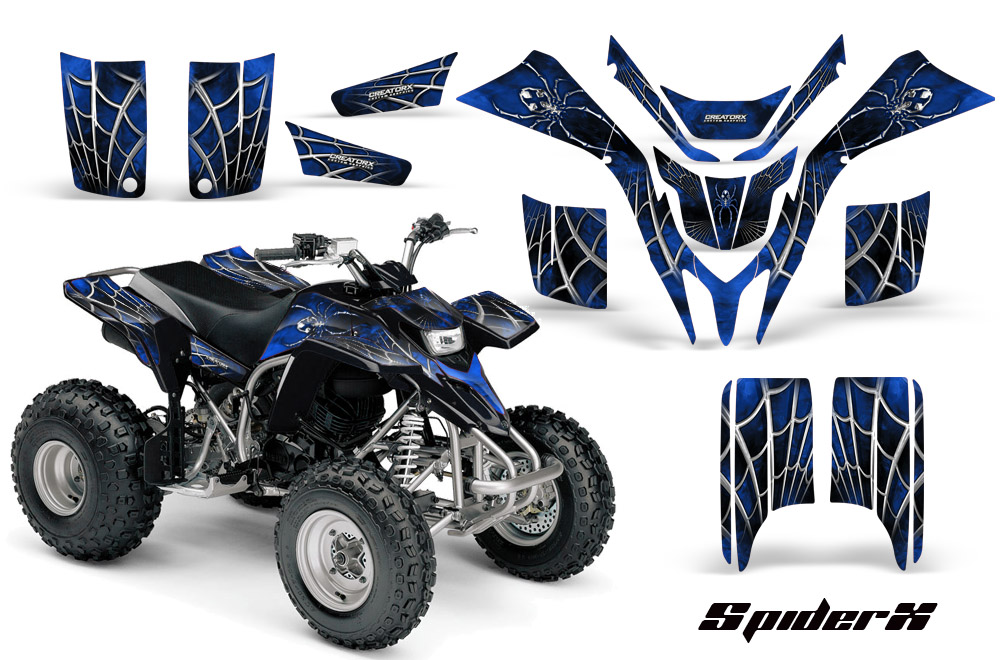 You may have seen this before. They lay a graphics film over a bucket of water and as they dip something into the film adheres to it giving it a cool graphic design paint job.
They do sell kits you can use at home for pretty cheap, like this HydroGraphics Kit From MyDipKit on Amazon. I can’t vouch for this myself because I’ve never tried it out. I do know, to get it professional done at a place is usually gonna run you somewhere around $500.
I’ve seen the hydro dip paint jobs hold up pretty well too, but again, those were professionally done. Not to mention you can get some pretty awesome looking graphics on your quad. It will definitively turn some heads.
This is not that hard to do, but it will take some time. A lot of sanding, cleaning, and waiting for paint to dry. First, take all the plastics you want to paint off the machine. You can’t do this method with the plastics on the machine, it just won’t work.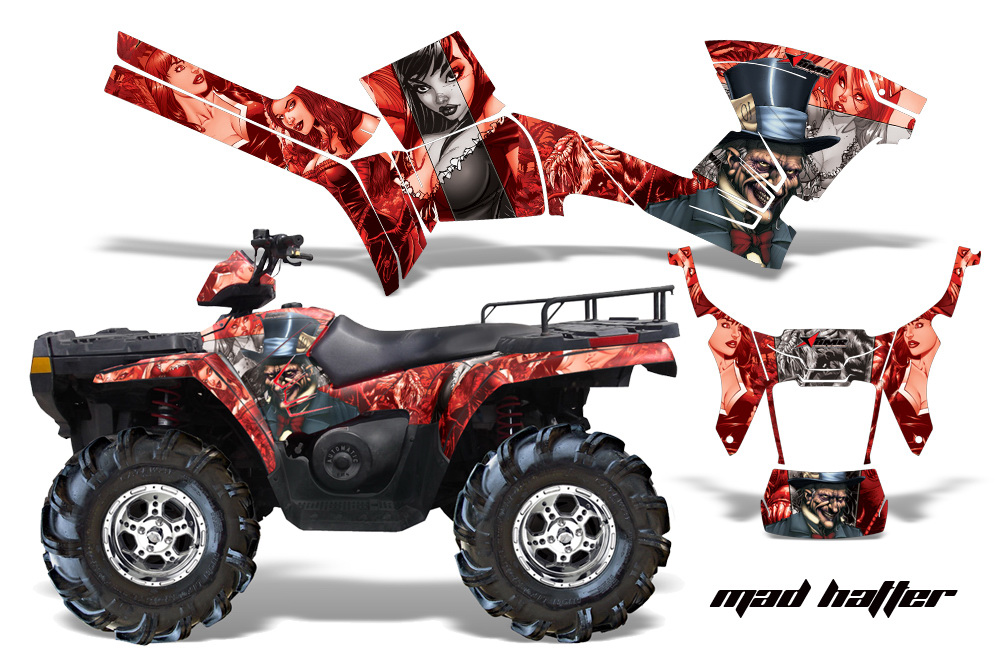
Start by cleaning the plastics thoroughly with warm soapy water. This is just to get all the dirt and dust that you can off the plastic. Next sand the plastic with 180 or 200 grit sand paper. You don’t want to press hard enough to create wells in the plastics so be careful.
Over time, ATV plastic exposed to the sun and other elements will get a thin coating on them. The point of this step is to remove that coating.
Use a scouring pad or scuff pad like they do with burnt on stuff on the dishes. Like a Scotch pad or Brillo pad. Use whatever cleaner you’d like for this step, 90 – 95 percent alcohol works or even carb cleaner if you have any laying around.
Make sure to scrub good this time, not to wear out the plastic but to get a good scrub on all parts of the plastic. This will determine how well the paint sticks to the plastic, it needs to be super clean.
You should sand with 200 grit sand paper again if you notice any spots you missed the first time around before starting with the sandblaster.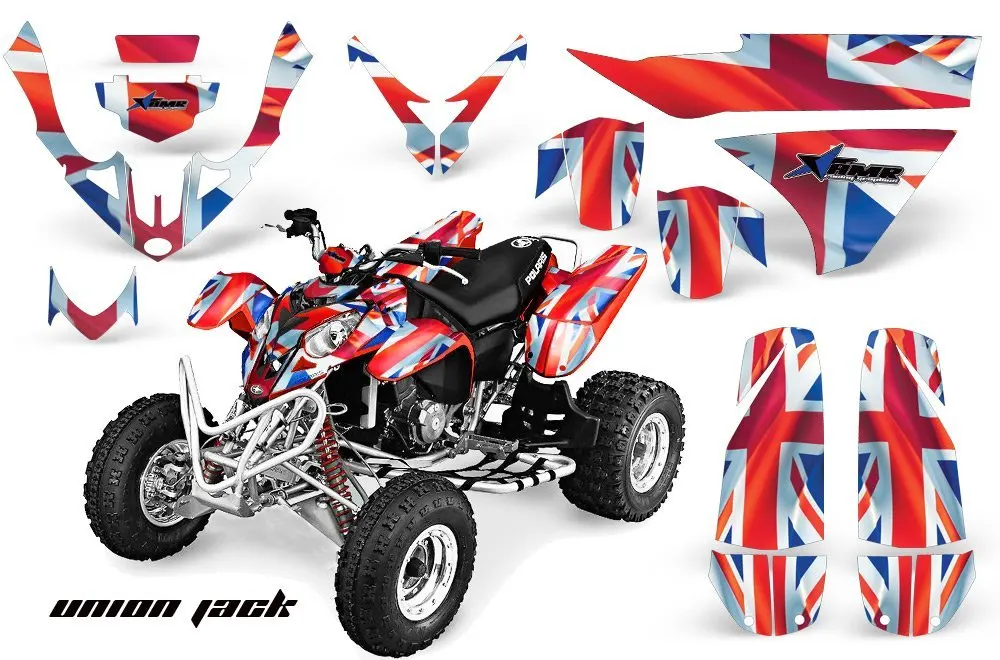 Use 80 grit aluminum oxide in the sand blaster.
If you don’t have a sand blaster, sand with 400 grit sand paper and scrub again with a cleaner. It’s best to use a sandblaster, but if you can’t, do the best with what you’ve got right?
Get the plastics dry and spray down with a surface cleaner or degreaser of your choosing. Something like this Panel Prep Surface Cleaner and Degreaser from Amazon will work just fine.
Spray a nice heavy coat of this stuff onto the plastics and give it a minute to work. This will dissolve any contaminants still on the plastics surface that might prevent the paint from sticking. After waiting a minute or so, wipe the cleaner off with a paper towel or rag.
Now apply an adhesion promoter of some kind. This will help keep the paint stuck the plastics for a long time.
It helps keep your paint job durable and prevent chipping and cracking in the future.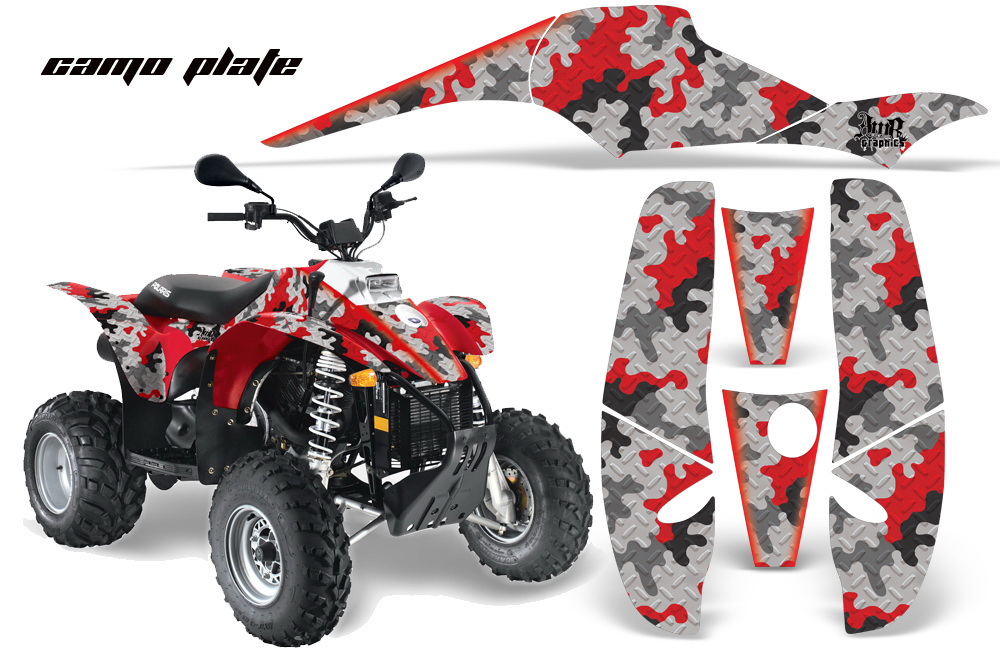
I use this Polyvance Plastic Magic from Amazon. It’s an aerosol spray like a can of spray paint and it’s nice and easy to work with. Apply two coats of this, making sure to let it dry completely.
You will need to let the first coat flash before applying the second. You’ll see it sort of change color and it should happen pretty quick.
Now apply a coat of a high build primer of your choice. Here’s a link to a 16oz Grey High Build Primer if want to stick to the spray cans.This step is important for filling any scratches left by the sanding or sandblasting steps. Or any existing scratches you had that you want covered.
Wait for the primer to completely dry before continuing. After the primer has dried, sand it down with 320 – 400 grit sand paper. A lot of primers dry with a thin top coating you need to remove. Plus this will smooth out the surface for the next step.
Before applying the flexible sealer, now is a good time to fill any gouges and big scratches with some type of flexible filler like Putty Flex. Let cure and sand down until smooth to match the rest of the plastics.
The flexible sealer is for use over any primed plastic parts. You could skip this step, and a lot of people do because of how expensive the sealers can be. It’s not totally necessary, but will extend the life of your paint job for sure.
The all season sealer will protect against cracking due to the heat of summer and cold of winter. Here’s a link to a good option if you want to check it out. It’s the All Seasons Waterborne Flexible Bumper Sealer from Amazon.
Let the sealer dry completely before continuing.
Finally, the actual painting step. Use a paint and clear coat of your choice, if you still want to use spray cans the Krylon Fusion for plastic we talked about above will work. When selecting a top coat, make sure there is a flex additive in it or add one yourself.
Let the paint dry between coats and don’t put too much paint on at once.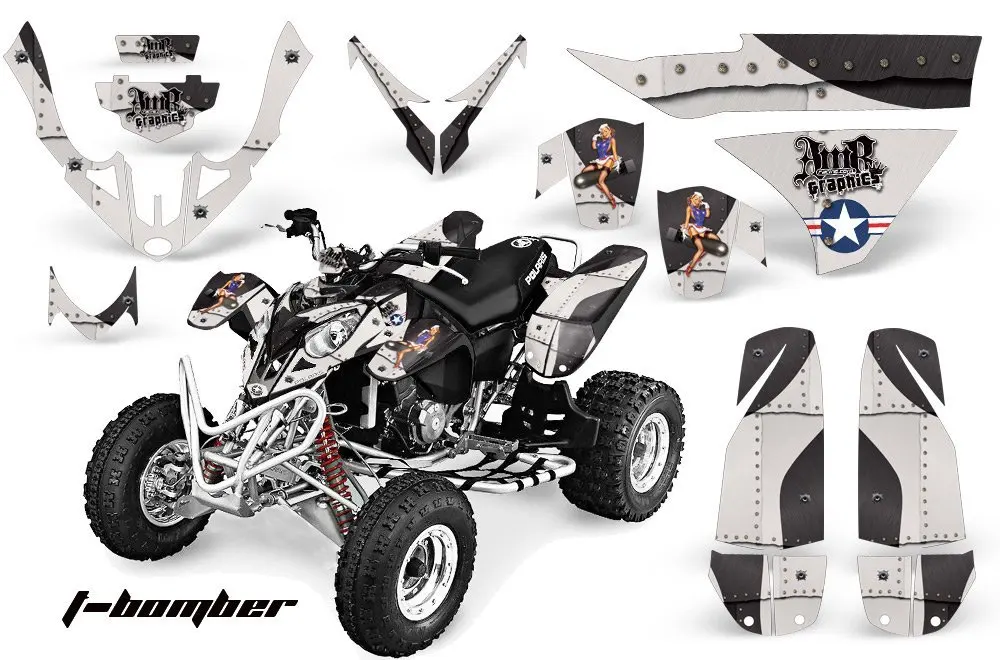 The paint will run and you’ll have to sand down and start over. If you do need to sand down the paint, just sand down to the primer or sealer, I would start with a higher grit like 600 – 800 and drop to 320 if you need to. That way you don’t have to re-do those steps.
That’s it! it’s really not too hard once you get going. It can be time consuming waiting for all the different primers, sealers, and paints to dry though. Just to recap, the quick method works great, just won’t last for years and years. It’s definitely a lot easier though.
If you want your machine looking pristine, go with the professional method. your time and effort will surely show once you’re done.
Sharing is caring!
Back Next
Tags:
How to make a homemade ATV with your own hands - drawings and videos.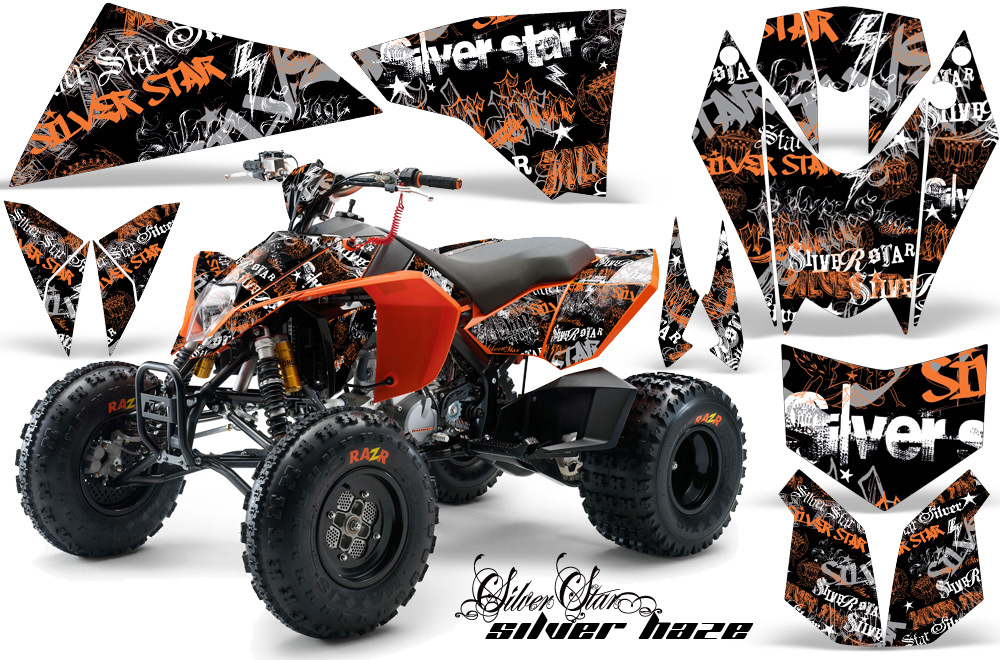
It is not uncommon to find an old motorcycle in a garage or somewhere in the country. In such cases, the thought appears, and not to make an ATV out of it? By and large, any engine is suitable for a quadric, but I must say that an overly powerful car engine will make a car of very large dimensions, and it will be inconvenient to drive.
We won't bother too much, a good old Soviet Ural motorcycle will be enough. A homemade motorcycle-based ATV is a great solution. If you have a different model, it's okay, do what you have.
The first problem. which will get in our way is the cooling of the motor. Since we have it with air cooling, in the summer there will be a problem with overheating, in order to prevent this, you need to make forced airflow. The question is how to make airflow on a Soviet motorcycle. Since the cylinders will be found behind the wings, this is not so easy to implement. Moving the seat closer to the steering wheel is not an option, in which case the legs will be very close to the boilers. It may not affect it in any way in winter, but in summer you can easily get burned. Also, it can cause overheating. It's good that the boxers have really amazing traction and the potential to easily perform a sure and undemanding driveline. This option attracted our attention, especially knowing that liquid cooling is possible in mass production. There are a lot of articles on its installation on the Internet. Do-it-yourself videos on the topic of ATVs can also help you in the manufacture of a four-wheeler based on the Urals.
As for the frame. there's not much to experiment with. The obvious choice fell on strong round steel pipes and a metal profile. Usually the best solution is to build an additional frame around the motorcycle frame itself. But I must say, this does not always lead to an ideal solution to problems. Here already it is necessary to look at each individually.
Gradually we come to the suspension and transmission. The ideal solution for the rear suspension, without question, will be a dependent suspension with the exception of the differential.
You absolutely do not need it, and since you are building an ATV, it will not be very useful either. It is not worth changing anything if your motor drive is chain standard. We do it. In this case, the implementation process is simplified, the subordinate number is quickly selected, and the power loss is much less, since the weight is less.
Not everything is as smooth as it seems, because the chain needs an eye and an eye. If the chain breaks, it will be necessary to re-adjust the length of the new one, since it is extremely difficult to find an analogue.
Of course, it would not be bad to install independent suspension back. But since we make an ATV with our own hands, this option is no longer possible due to the complexity of the implementation.
The front suspension is usually made by yourself, ATV drawings will help you with this. We advise you to do it on the basis of the Oka car. If you got down to business even more seriously and decided to make an all-wheel drive model, then front-wheel drive VAZs will help you.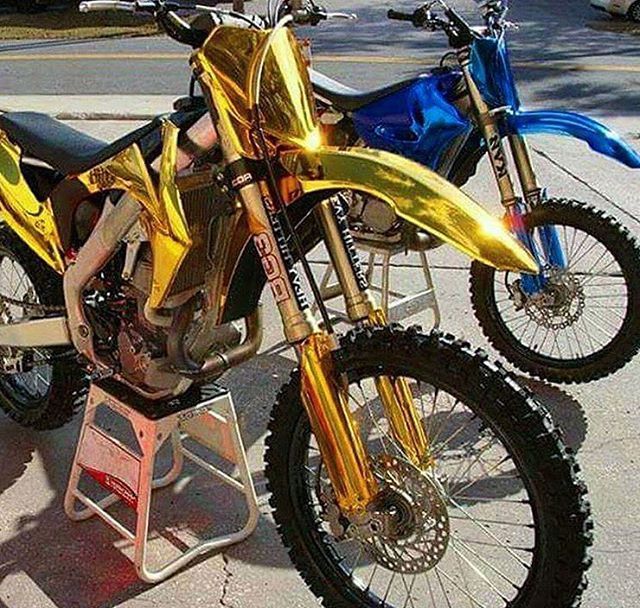
We picked up an interesting video about a self-made all-terrain vehicle
If we somehow helped you in creating a four-wheeled homemade iron horse, then this is a big plus for us. But remember that when creating homemade ATVs according to the drawings, you will need at least a little experience as a welder, mechanic and electrician. So we advise you to buy ATVs in Yekaterinburg.
And if you have made a four-wheel drive motorcycle with your own hands, you can consider that you have accomplished a feat in general. Indeed, in this case, you have to manually produce a large number of parts. Only a turner with extensive experience is capable of this. And if you buy all these parts in a store, then, in my opinion, it’s easier to buy a used ATV and not suffer.
:
| Image | |
|---|---|
All-terrain vehicles on auger: description, options, price, photo. Despite a very wide selection of vehicles for hunting in a variety of conditions, there are no absolutely universal ones. Various snowmobiles do not know how to swim, let alone walk through marshy swamps. There are various types of amphibians, but they are designed for large transportation and are used mainly in the army. | Feedback :0pcs |
| Swamps are good. But it's expensive... October 24, 2008 Bogs are good. But expensive | Feedback :0pcs |
| Crossovers with low fuel consumption: characteristics, description, photo Gone are the days when SUV owners were indifferent to the amount of fuel consumed by their car.  Now the off-road vehicle has moved with a wide step to the masses, has ceased to be an attribute of the elite, and in general - an irreplaceable thing due to the state of the roads of our vast Motherland. The consumer boom spurred manufacturers to develop the off-road niche. And so it developed-... | Feedback :0pcs |
| Bought a new crossover ssang yong new actyon Sent. car ownerM. 28 August 2009 10:41:12 | Feedback :0pcs |
| Hyundai santa fe new - description In April 2012, the 3rd generation of the successful Hyundai Santa Fe crossover was presented in New York. | Feedback :0pcs |
What to do with the quadric with the onset of cold weather? Owners have two options. First, you can continue to use it. Secondly, if you do not plan to ride, you should prepare the equipment for long-term storage. This process, called “preservation,” will help keep the vehicle protected from corrosion and damage. In the spring, the ATV will be almost immediately ready for operation. The experts of the Sport-Extreme motorcycle online store will tell you about what actions it is desirable to take in the article.
Although ATVs are considered primarily summer vehicles, after some “adaptation”, the equipment can also be used on snow for recreational trips (hunting, fishing) or technical work (for example, snow removal). Not always and not all owners have such opportunities and desire. And now let's talk about the main recommended list of work to prepare the quadric for "hibernation", which will allow it to be re-opened in the spring as quickly as possible.
Flush your Iron Horse thoroughly. To do this, you can use a special foam, which then needs to be thoroughly washed off. After that, let the motorcycle dry well and apply lubricant to all necessary parts and assemblies that are susceptible to rust.
Plastic parts should be treated with a protective agent. We lubricate the exhaust pipe with an anti-corrosion compound (for example, WD-40) and plug its hole with a special plug or just a rag. This will prevent rusting and ingress of dust, insects and rodents. With the same tool, it would be nice to go over all unpainted and polished metal areas, as well as chips and scratches.
During lubrication, we carefully inspect the workpieces to see if individual elements, such as nuts, screws and other parts of the joints, are securely fastened.
It makes no sense to leave gasoline for the winter, it degrades. If your quad has a plastic tank, drain all fuel from the tank, carburetor, and hoses. To do this, run the engine at idle.
On the contrary, it is better not to leave a metal tank empty: corrosion can occur from the accumulation of condensate inside. Therefore, it is better to fill the tank with 1-2 liters and add a fuel stabilizer. After that, start the engine and let it idle so that the fuel and stabilizer fill the entire system.
If your ATV has a two-stroke engine, it is best to replace the spark plugs with new ones, no matter how long ago you last did it. On a four-stroke engine, simply checking their condition is enough.
Some ATV owners prefer to postpone this event until spring. But it's not right. Old oil, coming into contact with products of the fuel system, can have the same aggressive, corrosive effect on the inside of the engine as acid.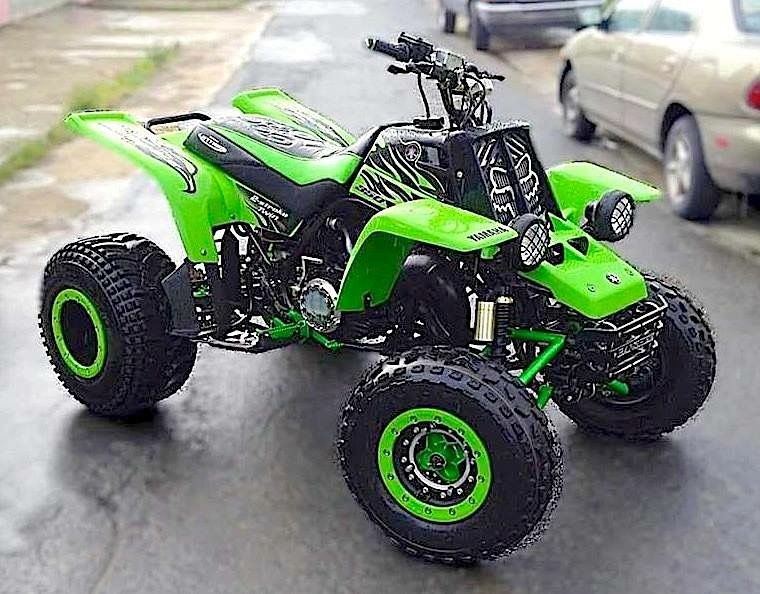 Therefore, it is better to fill in new oil, replace the oil filter and let the engine run for several minutes so that the composition covers all the moving parts of the motorcycle. During the winter, once a month, if possible, it is also worth turning the motor several times, without starting, to renew the lubrication of the parts.
Remove the air filter (or replace it with a new one) so that it does not dry out during long-term storage, and rodents do not make a lair there during the cold weather. Replace the filter cover.
If the battery is not used, it discharges rather quickly, especially at low temperatures. Therefore, do not leave the battery as it is: its service life will be significantly reduced. You can remove the battery and store until spring in a heated room, periodically monitoring its charge and recharging if necessary. The battery must always be charged!
You can also connect a charger to the battery, which has a technological or so-called floating mode - it will not consume so much electricity, it will turn off when fully charged. So you can keep the battery charged all winter.
Over time, tires tend to deflate, so before sending the ATV for the winter, it is better to pump them up to the maximum and, if possible, check their condition once a week.
The best place to store motorcycles is a dry garage or shed, for such places you can use not a film for covering, but a breathable coating. But, of course, not all owners can afford this. If you have to leave the ATV outside for the winter, cover it with a special cover or just waterproof tarpaulin. Wheels should not be left on concrete. You can raise the quadric above the frozen coating with the help of bars.
If you spend a little time and properly prepare your motorcycle for long-term storage until spring, then by the opening of the season it will be in excellent condition. You can do this yourself or seek professional help from the specialists of the Sport-Extreme technical center.