If you plan on driving your ATV through deep water or mud, getting a snorkel on your machine is something you might want to consider. A snorkel will help keep water out of your engine, so you can get through some pretty nasty areas on the trail without damaging your ATV.
If you get yourself into some deep mud or water for too long, your engine could stall. Your air intake could take on water causing major problems and costly repairs. I’ve done this before, as you can see in the picture, and that quad didn’t have a snorkel on it.
Luckily I was able to shut the engine off before major damage was done, but still it ruined the day of riding for us. I need to be towed out of the muddy water, then we had to open the air box and wait for everything to dry out before we were able to get the quad running again. If that ATV had a snorkel, there would have been no problems.
Snorkeling your ATV is when you install a system onto your engine that will allow air to get where it needs to even in deeper water or mud. You will most likely see risers or stacks sticking up from the quad to capture or release air safely above the water line.
After you install a snorkel on your machine, the only part you need to worry about keeping above water is the opening of those stacks.
Snorkeling your ATV is most useful for getting though deep water or mud. It will keep water out of the most important parts of your engine that are only supposed to subject to air. Feeding clean air safely to your engine to keep you riding through wet environments.
The main components you will need to snorkel are the air box, your clutch belt intake, and clutch belt exhaust. The clutch belt intake and exhaust will both need their own snorkel. If you try to connect them, the intake will be getting the heat from the exhaust and will overheat and wear out your clutch belt.
You may want to snorkel your exhaust ports as well. If you’re giving the engine enough gas going through the water, that pressure should prevent any water from entering the exhaust. But if by chance water does enter through your exhaust it could cause major problems. This will most likely happen if plan to sit idling in the water.
It’s also a good idea to water proof your electrical connections. I’ve heard of people snorkeling their electrical box, but that seems like overkill. The point is to just prevent water from getting to the electrical parts of the engine.
Other areas to snorkel might include thing like your crackcase breather tube or differential vents and carb vents. If you’ll be hitting the occasional mud pit or stream crossing, the air box, clutch belt, and electrical stuff need to be taken care of as well as the carb breather if your engine has a carburetor.
There are some pretty good kits available on the market for most machines. The snorkel kits will vary from quad to quad because they are all set up a bit differently. A snorkel kit will be more expensive than making your own, but will come with everything you need and make for an easier quicker install. Plus the kits might even come with some kind of warranty.
You can use this link to find a Good ATV Snorkel Kit on Amazon. Just be sure to get the right one for your machine. They kits will vary a bit and the parts are custom made for each different engine.
I don’t need to go over installation here because the snorkel kits come with instructions that are really easy to follow along with. You will need some basic hand tools to get the snorkel kit installed and you’ll be all set.
Making your ATV snorkel can be fun and won’t cost you too much money either. I’ll admit, a lot times it won’t look as nice as the professional snorkel kits you can buy, but if you do it right it will work all the same.
The cheapest thing to use is just some good old pvc pipe. You can find pvc pipe at any home repair store like Home Depot or Lowes. It’s best to know the path you’re going to take first and plan out how many bends, how much pipe, and how many 90 degree connectors you will need.
First, locate your air box and see what you’re going to need to snorkel it. A lot of quads already come with a factory snorkel, they just don’t go very far. In this case you can hook some pvc right to that factory snorkel and just extend it up as high you’d like.
I’ve seen some people use pool hose to navigate around the engine easier than you could with pvc pipe. It looks a little raggedy with the duck tape and all in this picture, but i’m sure if you secure it right and use some better connectors you can get a decent looking snorkel system going.
If you have a carburetor on your engine, it’s pretty easy to just extend the carb breather tube that’s already existing on the quad. You can find little tube connectors at most auto parts stores like Napa or Autozone. The just get some tubing and extend the carb tube up to a safe area on the machine.
Do the same thing for the front and rear differential breather. These lines are usually already ran pretty high up onto the quad up near the handle bars. But if you want them to be even further up out of the water it won’t hurt to extend them.
Snorkel kits or snorkeling your ATV may be illegal in some states. I think for the most part it’s allowed on private property either way. But some states don’t allow snorkeled machines on public land.
Check your local laws before riding any modified machines on public land.
Sharing is caring!
Sort By: Featured ItemsNewest ItemsBest SellingA to ZZ to ABy ReviewPrice: AscendingPrice: Descending
Products Per Page: 812162040100
Columns: 1 2 3 4 6
Add to Cart
Snorkel Your ATV
Now: $299.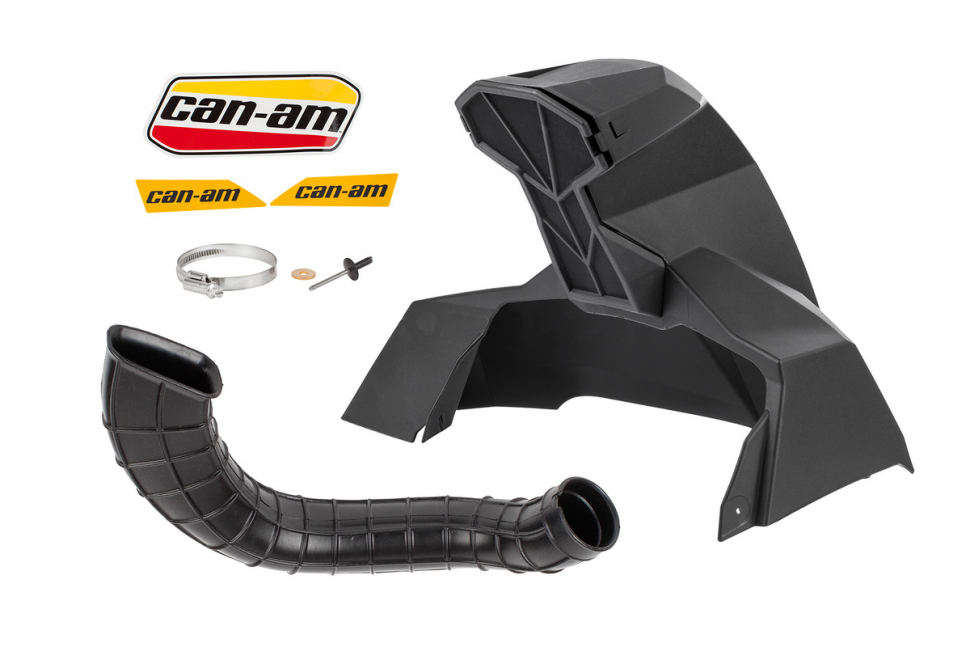 95
95
Protecting your Polaris RZR 200 engine and venting points from mud and water ingestion is essential when riding in harsh areas. These snorkel kits are designed to relocate the factory air...
Add to Cart
Snorkel Your ATV
Now: $189.95
Protecting your Yamaha Big Bear 400 (00-12) engine and venting points from mud and water ingestion is essential when riding in harsh areas. These snorkel kits are designed to relocate the...
Add to Cart
Snorkel Your ATV
Now: $229. 95
95
Protecting your Honda Rancher 420 engine and venting points from mud and water ingestion is essential when riding in harsh areas. These snorkel kits are designed to relocate the factory air...
Add to Cart
Snorkel Your ATV
Now: $179.95
Protecting your Honda Rancher 420 engine and venting points from mud and water ingestion is essential when riding in harsh areas. These snorkel kits are designed to relocate the factory air...
Add to Cart
Snorkel Your ATV
Now: $229. 95
95
Protecting your Honda Pioneer 520 engine and venting points from mud and water ingestion is essential when riding in harsh areas. These snorkel kits are designed to relocate the factory air...
Add to Cart
Snorkel Your ATV
Now: $229.95
Protecting your Honda Pioneer 700 & 700-4 engine and venting points from mud and water ingestion is essential when riding in harsh areas. These snorkel kits are designed to relocate the...
Add to Cart
Snorkel Your ATV
Now: $315. 95
95
Protecting your Polaris Ranger 500/570/ETX Midsize engine, belt, and venting points from mud and water ingestion is essential when riding in harsh areas. These snorkel kits are designed to...
Add to Cart
Snorkel Your ATV
Now: $299.95
Protecting your Suzuki King Quad 400 engine, belt, and venting points from mud and water ingestion is essential when riding in harsh areas. These snorkel kits are designed to relocate...
Add to Cart
Snorkel Your ATV
Now: $329. 95
95
Protecting your Suzuki King Quad 450/500/700/750 engine, belt, and venting points from mud and water ingestion is essential when riding in harsh areas. These snorkel kits are designed to...
Add to Cart
Snorkel Your ATV
Now: $349.95
Protecting your Polaris Sportsman 450/570 engine, belt, and venting points from mud and water ingestion is essential when riding in harsh areas. These snorkel kits are designed to relocate...
Add to Cart
Snorkel Your ATV
Now: $315. 95
95
Protecting your Polaris Ranger 1000 engine, belt, and venting points from mud and water ingestion is essential when riding in harsh areas. These snorkel kits are designed to relocate the...
Choose Options
Snorkel Your ATV
Now: $34.95
These SYA Warrior Snorkel Risers are custom injection molded and add a unique look to any ATV or UTV. Features: Removable snap in pre-filter tip, which can be unglued for easy painting and...
ATVs
Motorcycles
Electric bicycles
Electric transport
Bicycles
Garden equipment
Equipment
Miscellaneous
Accessories
Parts
Spare parts for
modelsFluids
Who has ATVs will probably agree with me that this car is a beast, and if with it there is also a trailer, in general, you can do a lot of useful things. And they can perform quite a lot of functions: plow your garden with a plow, transport, carry, clean snow with a special blade, or in another way with a snow shovel. In this case, we will focus on transportation. For example, use a trailer for ATV in chores, in the transportation of things.
Quite a lot can also be carried out on the grills or the trunk of the quadric itself, but in the process operation, many understand the lack of space on the trunk and hard and soft saddlebags and acquire for their use a trailer intended directly for a quad bike. Trailers are most in demand in villages, but on dachas. Where to bring the land, where the boards, a puddle can be sprinkled with sand, fishermen and hunters to load the boat, gear, motor. A much needed item economy.
It remains to be decided what kind of trailer to choose. The price varies from 1500 to 2000 dollars. Per fancy even more (up to 4000). Decide what you need a trailer for transportation of people or all sorts of things? From here and dance already.
Also available consider buying a car trailer from the hands, but probably for it is not quite suitable for a quad bike, it will be hard for quads with a small cubic capacity It will be quite inexpensive, and there is a lot of choice in the ads. But there is one BUT ... will it be convenient to transport it in the forest? because the trailer is much wider quadra. Movement between trees will be difficult, which is important and common on fishing and hunting, it will also probably become heavy. In this case all-terrain qualities disappear completely. Probably a car trolley inappropriate option.
Enjoy a trailer from a walk-behind tractor - generally squalor. The only plus is its width, even already a quad. And the rest, only cons: the suspension is unreliable, not much load, the wheels are too small, you can’t go far on such off-roads, the size body like a basin))). And you can’t develop speed with such a trailer, wheels probably fall off)). Instead of this trailer, it’s probably easier than ordinary bags for ATV buy
The only one in my opinion, the cheapest and most reliable option is to make a trailer for an ATV with your own hands, unless of course you want to spread big money to strangers uncles.
Parts it is better to purchase a home-made trailer separately, and not to take pieces from old ones trailers, so as not to digest anything and not to cut.
So let's start with axes. Probably the most important part in the trailer. We buy an axle in a store, they are sold assembled, or from disassembly, preferably already with a suspension and maintenance-free hubs of the most common and inexpensive wheels, for example from "classics". There is a small snag, they are all wide, 170 centimeters, but we you need about 120. Therefore, you still have to cut a little. But shortening the axle will still be easier than sawing a car trailer in half, to screw him up. So, we cut the axis in half with the help of a grinder, cut off a piece from the middle part, with the expectation that it should turn out to be about 120 centimeters in the docking of the halves and the installation of wheels. This is done in order to you could bring your cart where the ATV will pass.
Next we will join the axle halves. It is necessary to choose a pipe with such a diameter that the ends of the axis went inside the pipe without a gap or with a very small one, for maintaining the collapse, it should be zero. Insert axles into a pipe segment strictly in the center, boil the ends in a circle. First stage passed, the axis is ready and the length we need. A good plus of her in the following is that she has platforms (fastenings) for installation of a platform.
Next, we think how and from what we will make a drawbar. For those who do not know, for reference, I will say, drawbar is what pulls the trailer.
His variant construct from rectangular steel profiles. choose size themselves, depending on the planned load on the trailer. The length can also be of arbitrary shape (we choose from the calculation of the length of the goods, the longer load, the correspondingly longer drawbar). The center of gravity should be on axis. For reliability, we weld small reinforcements for fastening the drawbar. We do in free form, as they say, who has what imagination.
Select the length and the width of the site on ours. Since we do it with our own hands, it is possible in advance choose your size. It should be easy to transport, I I think the dimension should approximately correspond to the ATV.
Next step think the coupling itself. We pursue the goal of convenience and speed of docking. In my opinion, the most appropriate is to use the standard set, which can be found in stores in the public domain - a tow ball and a ball self-locking hitch.
Ball We weld from behind to the device (beam) available on the ATV. Device the hitches are bolted to the drawbar. If necessary, shorten the length of the bolts.
Getting Started frame design. The frame must be suitable for the purpose of the trailer. We take steel profiles, measure the desired shape, cut with a grinder, weld among themselves as planned. I think at this stage there should be no who have questions. The manufacturing structure is elementary.
Single the nuance must be taken into account when welding parts of the frame - a flat surface. Drilling holes in the welded frame for attaching the bottom. We cut the bottom out of thick plywood, fasten to the frame with screws, preferably with countersunk heads, I will explain why. Will not interfere with unloading with a shovel and installing boards. trailer weight should be within 50 kg. In conclusion, you can cover the surface anti-corrosion coating for durability, or beat with a thin iron. With use, of course, the surface will wear out, as a result of which coverage will need to be updated.
Register such a do-it-yourself trailer is impossible for one simple reason: ATV does not have a rear differential, so use in conjunction with trailer is prohibited and not desirable for tire integrity. In spite of the impossibility of registration, a homemade ATV trailer will serve you long service and will help out in many situations, and even if he is skilled in his hands is a profitable solution to the problem.
Neat case for an ATV or a snowmobile is not such a simple thing. Yes, you certainly may do without it, but it is much more pleasant with it.
Covers for ATVs can be roughly divided into three main types. These are models for transportation, as well as long-term or short-term storage.
Shipping covers are needed, as the name suggests, for transporting equipment on trailers or in pickup trucks. They are especially relevant in winter, when you want to save your loved one. snowmobile from aggressive reagents. A good transport case is a must should have secure straps. It is important that it is tight transport, did not sail and did not clap. Ideally, it should be designed for a specific vehicle model. Then he clearly stretches over the steering wheel, wraps around the windshield and so on.
A in places increased friction on plastic in the correct models sew an additional slippery fabric.
Covers for short-term storage look, as a rule, easier. They are sewn from more thin material and provided with an elastic band passed through the bottom. because every day fasten tie-belts under the dirty belly of the quadric or wet belly "snowball" pleasure is small. Such covers occupy a minimum volume in folded up to fit in a small pouch.
Intermediate position is occupied by covers for long-term storage. They are made from more thick fabric, take care of ventilation and, in addition to elastic bands, provide belts.
Source
Source
Related materials:
Motorcycle trailers: types and description
from Kherson Notebook
How to install a do-it-yourself snorkel on an ATV?
The snorkel allows ATV riders to ride through shallow streams, puddles, marshland without any problems.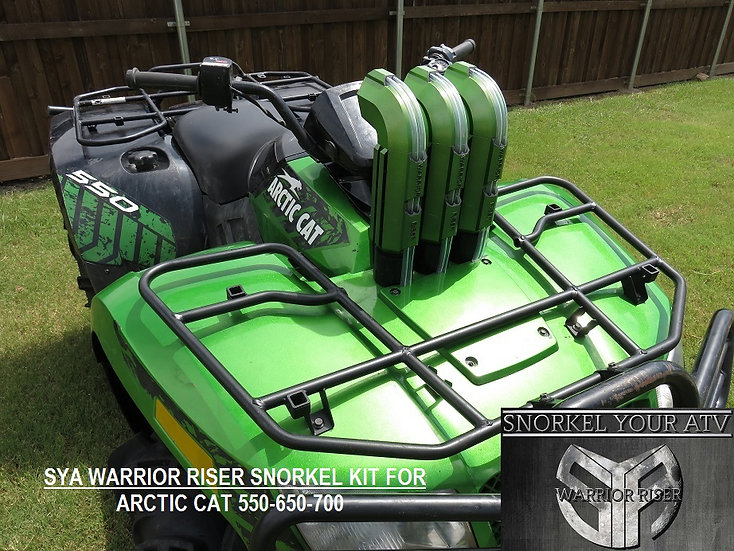 This device is available for purchase. But it is quite possible to make and install a snorkel on an ATV with your own hands. If you plan to overcome water obstacles, the ATV must be properly prepared. You can make different types of snorkels for an ATV with your own hands. Popular models of four-wheelers are sold in our MotoGO online store https://motogo.com.ua/kvadrocikly/. You can also order accessories and equipment from us.
Before you make and install your own snorkels for an ATV, you need to understand what such a component is intended for. This is a device that prevents water from entering important parts of the vehicle. It does not allow avoiding unpleasant consequences when overcoming water obstacles.
Water can get on the variator, motor. To avoid this, a snorkel is installed. This is a tube that acts as an air intake. It is not difficult to install a snorkel on an ATV with your own hands. Even a beginner can handle this task.
It should be understood that when overcoming a deep ford, when the water is at the level of the headlights, it is necessary to plug the gearbox outputs. Failure to install a snorkel will result in costly engine repairs in the near future.
Do-it-yourself ATV snorkels are made from different materials. It is important to consider how the tubes will be placed on the structure. This needs to be carefully considered at the planning stage. There are some tips on how to make a snorkel for an ATV. To do this, you need the following:
All components are sold in plumbing stores .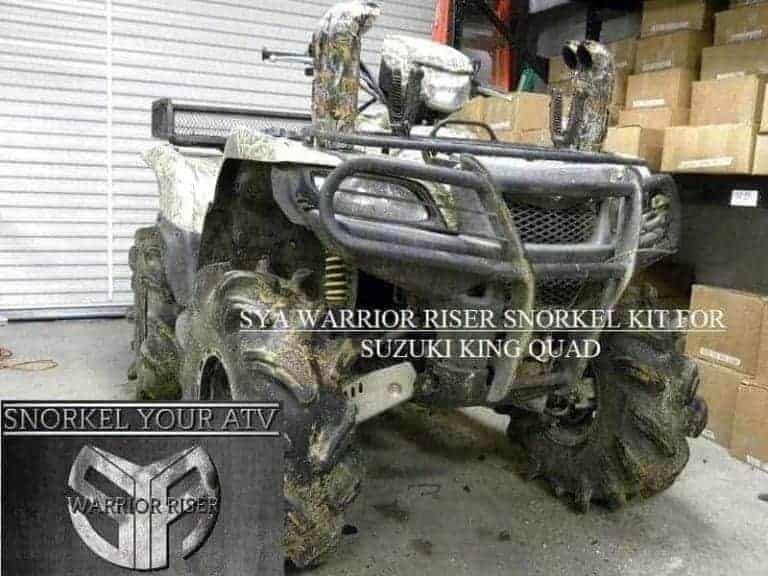
To install the snorkel with your own hands on an ATV, you need to perform several sequential steps:
