You probably sharpen your kitchen knives on a regular basis, but when’s the last time you bothered sharpening your scissors? Probably never. That’s too bad, because sharp scissors cut quickly and cleanly, and restoring dull scissors to razor sharpness is no more difficult than sharpening knives.
Now, you can purchase sharpeners specifically designed for sharpening scissors, but here are four other ways to sharpen scissors with tools and materials you probably already own.
⚠️When using either of the first two techniques mentioned below, it’s best to unscrew the scissors, and sharpen each blade individually. If the blades are riveted together, keep one blade out safely out of the way when sharpening.
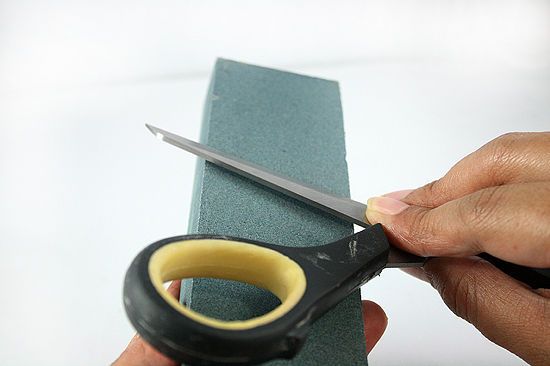
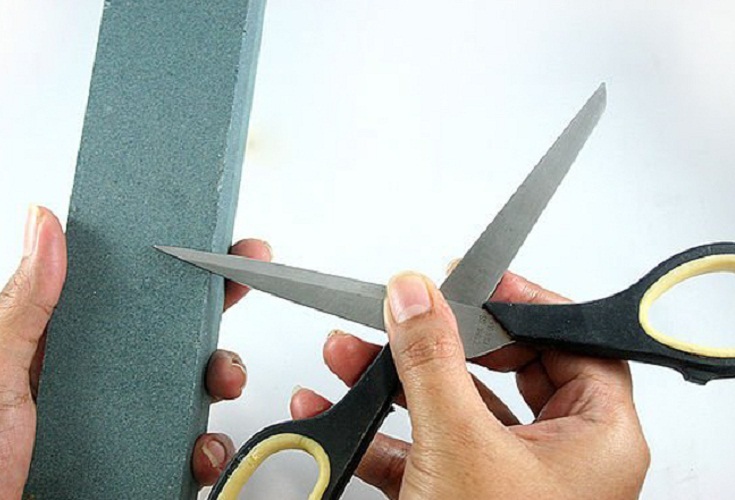
A sharpening stone, which is sometimes called a bench stone or whetstone, is the simplest, most traditional way to sharpen scissors. The stone has two sides: typically one coarse 400-grit surface and one finer 1,000-grit side. Always begin sharpening on the coarse side of the stone.
Start by wetting the surface of the stone with either honing oil or plain water. Then, lay the inside surface of the scissor blade flat on the stone. Apply light downward pressure and draw the blade across the entire length of the stone, moving from the base to the tip. Depending on the dullness of the blade, 10 to 20 strokes will usually suffice.
Shop at Amazon
$129 at Lowe's$125 at Home Depot$117 at Walmart
$21 at Amazon$27 at Overstock
Now 44% Off
$28 at Amazon
Next, use a permanent marker to draw a black line along the blade’s beveled cutting edge.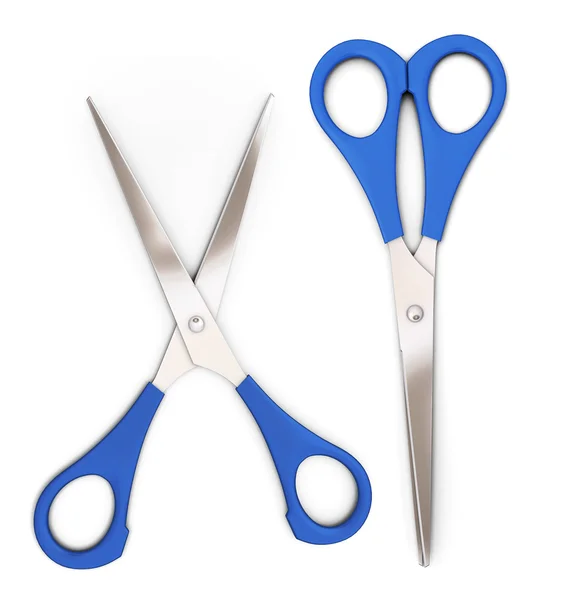 The line will act as a visual guide, indicating when the entire edge has been sharpened. Set the blade on the stone and adjust it so that the beveled cutting edge is flat against the stone.
While maintaining this angle, draw the blade across the stone five or six times. Stop and check the black ink line to ensure you’re holding the blade at the proper angle. Continue sharpening until the black ink line is gone and the entire edge is shiny, indicating the blade is sharp.
After sharpening, check for burrs along the inner edge of the blades. Remove the burrs by laying the inner edge of the blade flat on the stone and then drawing it very lightly across the stone.
Now, flip the stone over, wet the surface, and hone the blade’s cutting edge to super-sharpness by drawing its beveled edge across the fine-grit side of the stone. Again, 10 to 20 strokes are sufficient.
Repeat the steps described above to sharpen and hone the other scissor blade.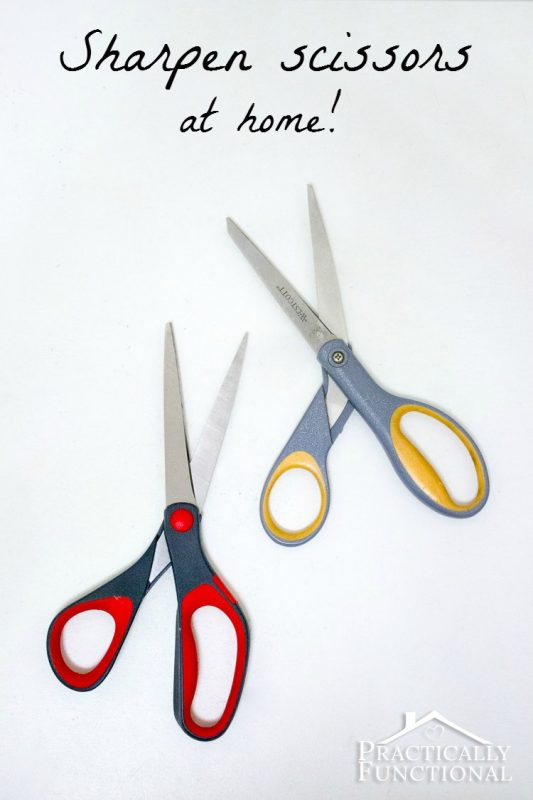
A handheld rotary tool, which is often called a Dremel tool, is a super-versatile electric tool that accepts a wide variety of accessories, including rotary abrasive stones, which are ideal for sharpening scissors.
⚠️ Always wear safety glasses when using a rotary tool.
Start by securely clamping the scissor blade into a vise with its beveled cutting edge facing up. Next, place an aluminum-oxide grinding stone into the rotary tool and tighten the collet nut. While holding the tool firmly with two hands, turn on the motor, and set the grinding stone very lightly against the beveled edge.
Now—and this is important—hold the stone at the same angle as the beveled edge and keep the stone moving at all times. If you stop in one spot for even a second, you’ll grind a hollow spot into the blade.
Using very little pressure, pass the rotating stone across the beveled edge from base to tip eight to 10 times. If you feel any burrs on the flat side of the blade, grind them off with the stone.
Repeat the above steps to sharpen the second scissor blade.
The two sharpening methods described above are required for scissors that are very dull or damaged. However, if your scissors are still working, but cutting roughly, then try this trick: Take a sheet of 150-grit aluminum-oxide sandpaper and fold it in half so the abrasive surfaces are facing out. Now, use the scissors to cut the sandpaper into narrow strips. Be sure to make full-stroke cuts to expose the entire cutting edge of the blades to the sandpaper.
The abrasive particles on the surface of the sandpaper will act as tiny sharpening stones, honing the cutting edge of both blades simultaneously.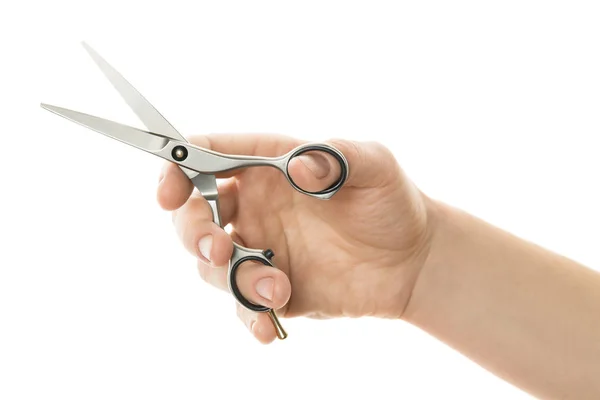 Wipe the blades clean with a cloth or paper towel to remove any abrasive grit. Test the scissors by making several cuts into scrap paper. If necessary, repeat the process.
This technique is similar to cutting sandpaper, only you use aluminum foil. Again, this will hone slightly dull scissors, but it won’t sharpen scissors with very dull or damaged blades. Start by tearing off a piece of foil that’s about 12 inches long. Then, fold the foil sheet several times until it’s at least six layers thick.
Now, use the scissors to slice the foil packet into 10 or 12 strips, using full-stroke cuts. Test the sharpness of the scissors by cutting some scrap paper. If necessary, cut several more foil strips until the scissors cut quickly and cleanly.
Finally, wipe the blades clean to remove any tiny bits of aluminum.
Joseph Truini
Joe is a former carpenter and cabinetmaker who writes extensively about remodeling, woodworking, and tool techniques. He has written eight books and is a contributing editor to Popular Mechanics. He also appears on the Today’s Homeowner TV show, and co-hosts the weekly Today’s Homeowner Radio Show. Joe writes from his home in Roxbury, Connecticut.
A good quality pair can serve you well for years.
Each product we feature has been independently selected and reviewed by our editorial team. If you make a purchase using the links included, we may earn commission.
Did you know that Martha carries a pair of small embroidery scissors with her at all times? She uses them for everything from cutting ribbon for a present to snipping a loose thread from her jacket. It's just one of the many ways they benefit our lives every day. Scissors are tools, and it helps to use the ones with the right size, shape, and blade for your project. It's not hard to stock the house with scissors of all kinds; simply think of all the times you reach for a pair and make sure you have the right ones nearby. Designating certain scissors for certain tasks will actually make them last longer. "When you cut paper, you dull scissors," says Cam Wiegmann, manager of Henry Westpfal & Company, a family-owned cutlery store in New York City. "When you go back to cut fabric, it's not going to work."
Here's how to keep your carefully chosen pairs in tip-top shape for snipping.
Water and dish soap will suffice for most gunk that builds up after repeated use. Bill Tate, of Bill's Sharpening Service in Comstock Park, Michigan, recommends using paint thinner (in a well-ventilated area) to remove any sticky residue or other stubborn dirt from the blades of scissors. For glue that's dried on, you can also use the rough side of a sponge and an acetone nail-polish remover. If they're rusty (from age or water contact), wipe the blades with a cotton ball soaked in white vinegar.
Oil the joint of the blades with a soft cloth to the screw area every few months. This keeps the blades moving smoothly and without friction. Mark Allen, owner of Mark's Sharps, a sharpening and equipment-repair shop in Seattle, suggests a few drops of lightweight multipurpose oil (like 3-in-One Oil, available at hardware stores). Rub all the excess oil off before using the scissors again.
When you have to work hard to make scissors cut, it's time to have them sharpened. If you're not certain whether they're ready for sharpening, try this test: Slowly and gently close the scissors on a piece of thin, silky fabric; if the fabric folds on the sides of the blades instead of being cut, then the scissors are dull.
It's a good idea to have your best scissors (such as sewing shears) sharpened by a professional. Henry Westpfal Company is one of the best scissors sharpeners around. Established in 1874, the store has used the same tool to sharpen scissors for more than a century: a wet sharpening stone in the shape of a wheel, much like the ones used during the 1800s.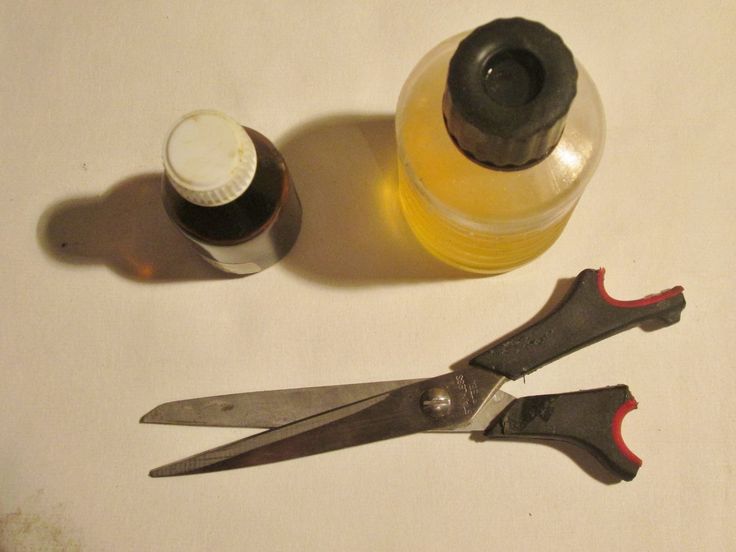 In fact, Henry Westpfal's does such a good job that Martha recommends you send your scissors there for sharpening even if you don't live in New York City. Sharpeners often do work by mail. You can, however, sharpen your scissors at home if you have the right tool. Martha uses a Fiskars Desktop Universal Scissors Sharpener for her everyday scissors. (It should be noted that at-home fixes-like cutting into extra-fine-grain sandpaper or double-folded aluminum foil-are less precise and can ruin your scissors.)
If you have to rummage through a crowded drawer each time you need a pair of scissors, you're keeping them in the wrong place. All that banging can scratch them, nick the blades, break the tips, or knock them out of alignment. To keep your scissors in shape between sharpenings, protect the inner edges by always closing your scissors when you're not using them. The best thing to do is keep them in something. Many pairs of scissors come in a sheath, pouch, or gift box; if so, don't throw it away. Use it to store the scissors-and to protect them. If the scissors didn't come with one, make a sleeve out of felt. Never keep a pair of scissors in a humid place, such as the bathroom; the moisture in the air will cause the scissors to rust.
Use specialty pairs for their intended jobs: fabric shears for sewing, paper scissors for wrapping and crafts. This will keep all the blades sharp longer. When in use, get a better grip on scissors by wrapping their handles with soft linen-and-cotton twine. Roll five feet of twine into a bundle small enough to pass through the finger holes. Beginning at the base of one handle, secure the free end of the twine with your thumb, and loop it around the handle; pass the bundle back through the loop, and pull tight to create a half-hitch knot. Continue around the handle, aligning the knots to form a herringbone pattern around the handle's outer edge.
And remember, paper is dulling to any kind of scissors.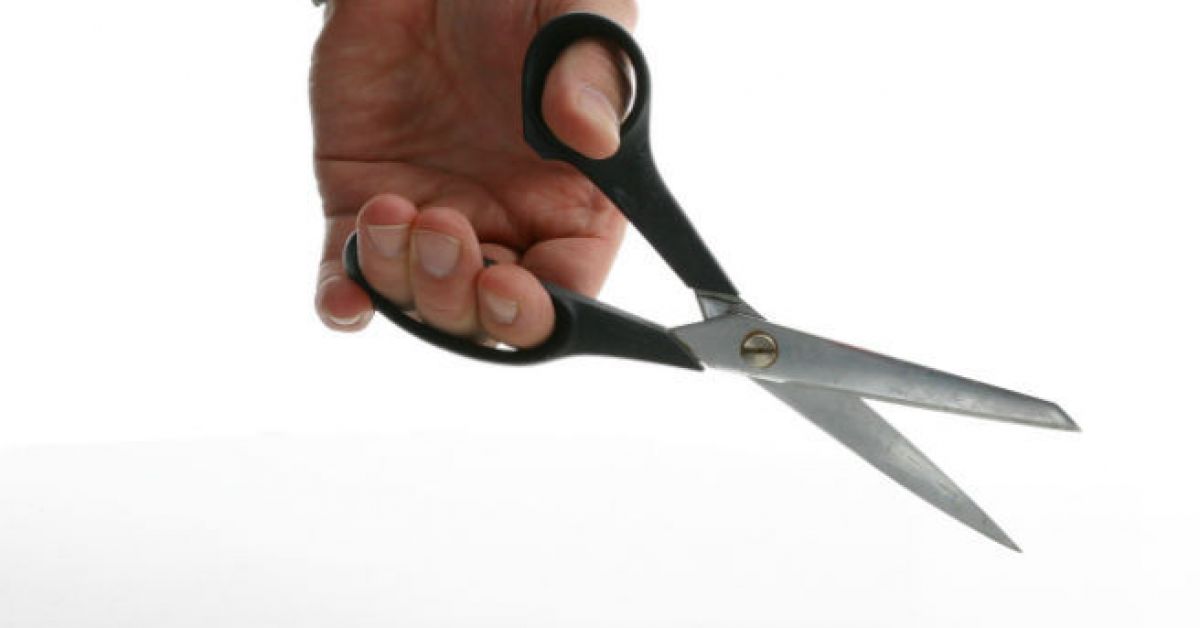 So, keep your fabric and paper scissors clearly marked (Martha likes to use sharp-tipped permanent markers for this purpose) so that you don't use your more expensive fabric scissors on paper.
This one of the most common tools that every family has for cutting all kinds of materials does not always do its job well enough.
Rough work is caused by improper sharpening of the blades or unbalanced movement of the cutting edges.
Removing them is fairly easy for anyone with the usual set of sharpening tools. To do this, it is necessary to present the principles of creating a cut.
The article provides advice to the home craftsman on how to sharpen scissors and adjust their blades for proper do-it-yourself work at home, with explanations along the way with pictures, diagrams and a video.
Article contents
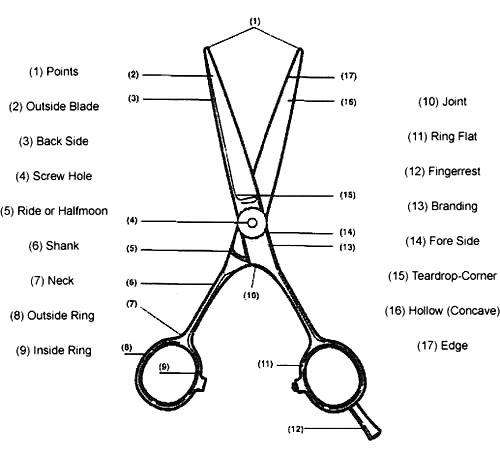
To understand the principles of sharpening and setting the tool, one should represent its design, the basics of cutting the materials being processed.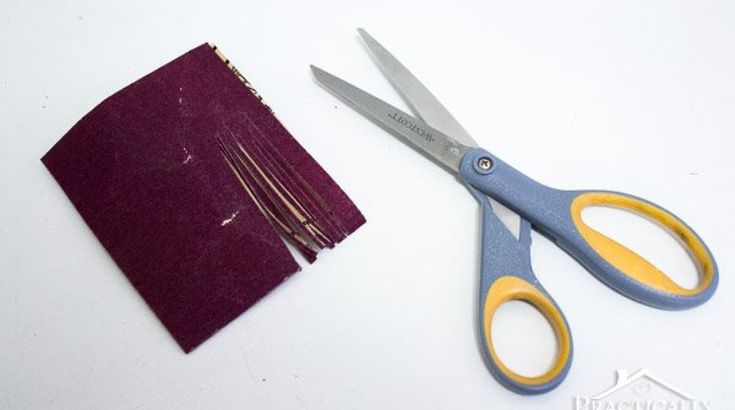
The well-known children's riddle about two ends, rings and studs fully reflects the design and principle of operation of this tool.
Scissors consist of two symmetrical halves connected by a common axis of rotation. The cutting force is created due to the occurrence of a torque, the value of which is affected by the length of the lever.
Knife blades have working surfaces ending in a cutting edge. The ends can be of various shapes:
The axis of rotation is usually carried out by a screw mechanism with the possibility of a slight adjustment of the preload.
Hairdressing scissors have the best surface shapes. They are designed for fine hair cutting work, made of durable steels with well-sharpened cutting edges moving in the opposite direction.
The cutting edge of each half slides on one side along the common cutting plane towards the material being processed. The cut is created due to the sharpness of the supply of the blades and their minimal approach to each other.
The sharpening of the blade, in contrast to a conventional knife, is created by a one-sided approach.
Please note that each tool is made to work in certain conditions. For example, hairdressing scissors are made even. The loads they experience are minimal. It is undesirable to use them for other purposes: it is easy to damage.
Garden shears can cut tree branches, and their blade surfaces are formed with three zones of developed loads:
This uses the effect of creating a bending moment through the lever: approaching the workpiece to the axis of rotation increases the shear force, and moving away reduces it.
Any scissors can work poorly for two reasons:

If the scissors are made of steel of soft alloys, then when high loads are applied to the blade, the latter can deform, move away from the cutting plane. In this case, they will additionally bend the material, and not cut it.
This defect is easy to detect if you look at the gap between the offset blades.
The cause of edge discrepancy can be:
In the first case, it is enough just to tighten the screw: the scissors will cut normally. If there is a bend in the plane of a thinner blade (they are most often created of different thicknesses), then it should be given its original shape.
Hairdressing scissors are unlikely to be brought to the ideal level in this way.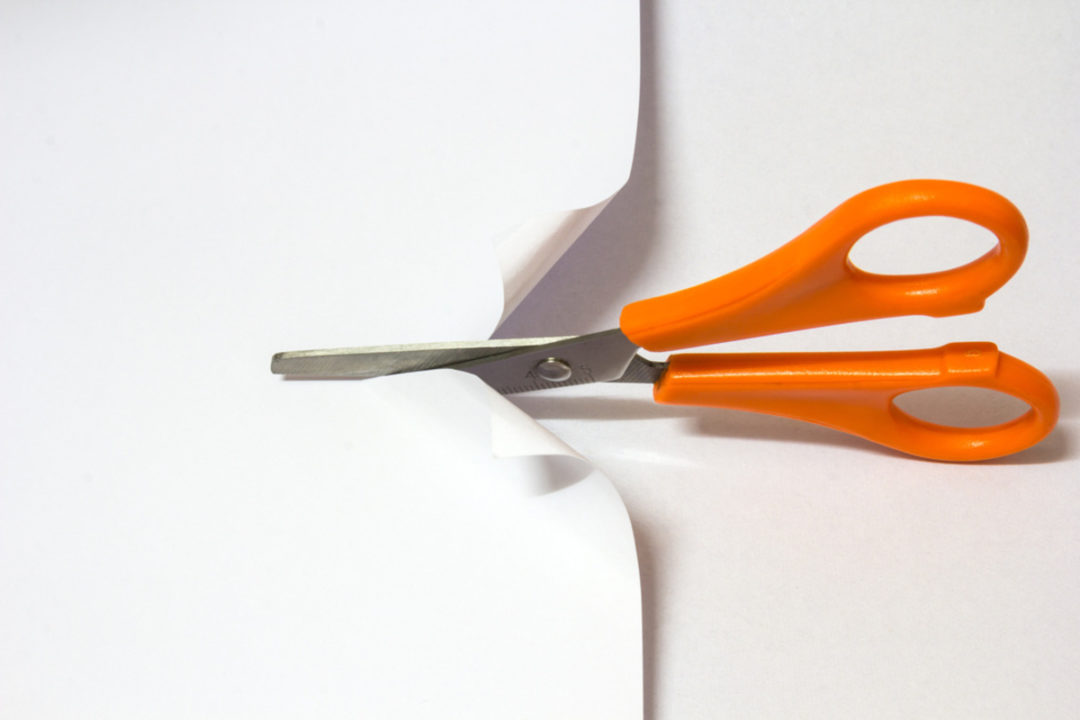 However, household models designed for cutting paper or fabric can be adjusted by making a convex bend in the surface so that when processing the material, both blades come into contact while being in a common cutting plane.
The metal of a scissors blade, like a knife, wears out over time.
Periodically it needs sharpening, formation of the surface of the cutting wedge. Depending on the purpose of the tool, the edge is formed:
Hairdressing scissors do not polish their edges when sharpening. Thin grooves from fine-grained abrasive materials, located on the supplies, hold the hair well when cutting.
Professional approach angle is formed on special machines in the factory. It must be preserved and supported. The article does not consider factory technology, but publishes simplified methods available to the home master to bring household models into working condition.
The scissor blades are set apart and alternately pulled through the slot prepared in the tool. The supply metal is ground with abrasive materials. Rotating discs can be used for this. All notches and irregularities are removed to a single level.
Various types of sharpeners can be purchased from Chinese online stores.
When sharpening, scissors should be well fixed or held tightly in the hand, resting it on some stationary object, for example, the surface of the table.
The cutting surface of the file must be in one plane only. This technique provides the same sharpening angle along the entire length of the blade. Its factory value must not be violated.
If there is a large cut on the surface of the file, then it may be necessary to additionally polish the approach with another tool.
It is advisable to disassemble the scissors, but you can also work assembled. The technology is the same as when sharpening a knife on these devices. The supply is placed on the surface of the grindstone, the blade is led in one direction, all the time they maintain strictly one angle of inclination. The abrasive material is periodically moistened with water, removing particles of cut metal.
The photo shows the work on a homemade grindstone made from ceramic tiles with their own hands.
If the shape of the blade differs from a straight line, having a convexity or concavity, then the direction of sharpening movement is changed by 90 degrees.
Consider the most affordable sharpening tool:
Choose grades with the smallest grains - zero. Cut it along the entire length of the blade. The abrasive material of the sandpaper, passing under the cutting edges, sharpens them.
The material is folded into several layers, cuts are made along the entire length of the blade.
This method works on the previous one. Scissors should work along the entire length of the blade.
Grasping the neck with both blades, make cutting movements along their entire length in both directions. Surfaces are being polished. Therefore, the plane of the inlets is placed in the optimal direction for their alignment.
By squeezing and unclenching the scissors, they are simultaneously processed along the entire length of the blades with the inserted needle.
A characteristic feature of this tool is the curved, curved blades. It is better not to start processing them without good locksmith skills and round fine-grained diamond-coated files.
If the nail scissors start to work poorly, first try:
It is recommended to do bending only as a last resort, using a specialized tool.
To consolidate the material, I recommend watching the video Serg578 "Sharpening the blade of scissors in 2 touches."
If you have any questions, then ask them in the comments.
Useful Goods
Advertisement
What are the parameters of scissors that need to be monitored so that they work efficiently and for a long time? Mainly - for two:
With the sharpness of the blades, everything seems to be clear - if they become dull, then the scissors begin not so much to cut the hair as to chop it.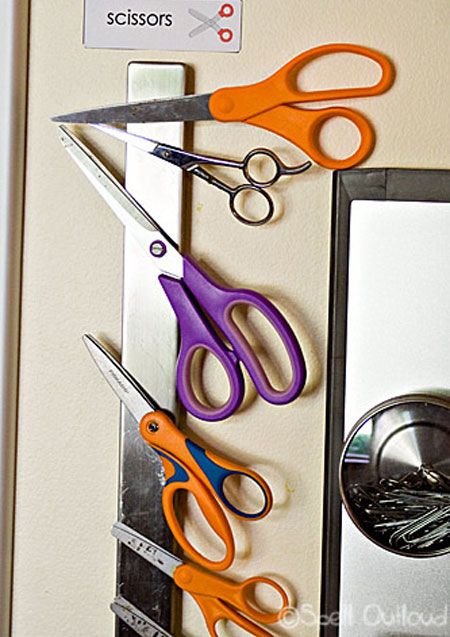 They crumple, wring, sometimes they even begin to pull out - you can’t work with such scissors.
And in principle, this is clear to any person, even completely far from hairdressing.
But the second point - the correct convergence of the canvases - is a thing less known, but no less important. It happens that the master realizes its significance just when he ruins his first scissors because of her.
No, you don't need that. Let's figure out now how to understand that it's time to regulate the convergence of the canvases.
Reading time: 3 minutes.
There are two blades of scissors. They are connected by a screw or a screw group - it presses the canvases against each other with a certain force. Due to this force, the scissors cut perfectly - but due to it, friction occurs. It is to protect against excessive friction that scissors should.
However, if the screw presses the blades too hard - no amount of lubrication will help, the friction will become too high and severe accelerated wear of the working surfaces will begin.
An additional "bonus with a minus sign" from such an incorrect setting of the scissors is that excessive friction will affect your working hand. She will get tired (of course, because you have to put more strength into each movement), plus you can bring closer and intensify occupational diseases of the hand.
An interesting thing is that wear is accelerated even with such a tuning error. First of all, the screw group usually fails - from too free hanging, it becomes unusable very quickly. However, canvases also get it - instead of even pressure, which they basically cope with, one canvas performs peculiar micro-impacts on another.
And another problem associated with insufficient blade tension is the falling quality of the haircut. Instead of an even cut, scissors continually strive to break the hair.
I hope you understand the seriousness of this moment and intend to prevent such an ignominious death of your main working tool. Now you are faced with the question: how to understand that the scissors require tension adjustment?
Properly adjusted scissors should close about halfway - that is, the top point where the blades are joined should be about halfway along the length of the blades.
If you understand that it is time to adjust the scissors - adjust. How to do it? Depends on the scissors.
In the simplest models (I don’t know why you need them, but it happens), where the blades are fastened not with a screw group, but with an ordinary screw, you can adjust them with an ordinary screwdriver. In principle, this usually applies not even to hairdressing scissors, but to stationery and other "Muggle" scissors - because a simple screw is so imperfect that it is almost completely abandoned in hairdressing scissors.
In scissors with an advanced screw group - that is, for example, in Mustang Professional scissors - a special key of a suitable shape is used to adjust the scissors.
There are different approaches to this key - many manufacturers, for example, prefer to sell this key for separate money. Well, we do not understand them ... How can you not respect your customers so much? In general, an adjustment key is supplied with all our scissors.
After the first changes in tension have been made, repeat the test. Is everything the way it should be? If not, adjust again. Everything is clear, in principle.
Throughout you can see the original chip - a numbered tension screw. Hairdressers have repeatedly sent us special thanks for it - after all, it allows you to constantly control the tension of the scissors, while doing a special test not every day, like other hairdressers, but very rarely.