|
What to do when a rock keeps you from rollin'. By Josh Piven EMERGENCY SITUATION: You’re mountain biking on Mount Mitchell when a rock punctures your tire. Foolishly, nobody has a patch kit. How do you get moving again? SOLUTION: You could try doing a very long-distance wheelie—assuming you punctured the front wheel. And assuming you knew how to pop a wheelie in the first place. But this probably won’t help your guys earn their Cycling merit badge. However, there are a couple of better (and safer) emergency fixes that may. If you have a bike pump and some tape but no patch kit:
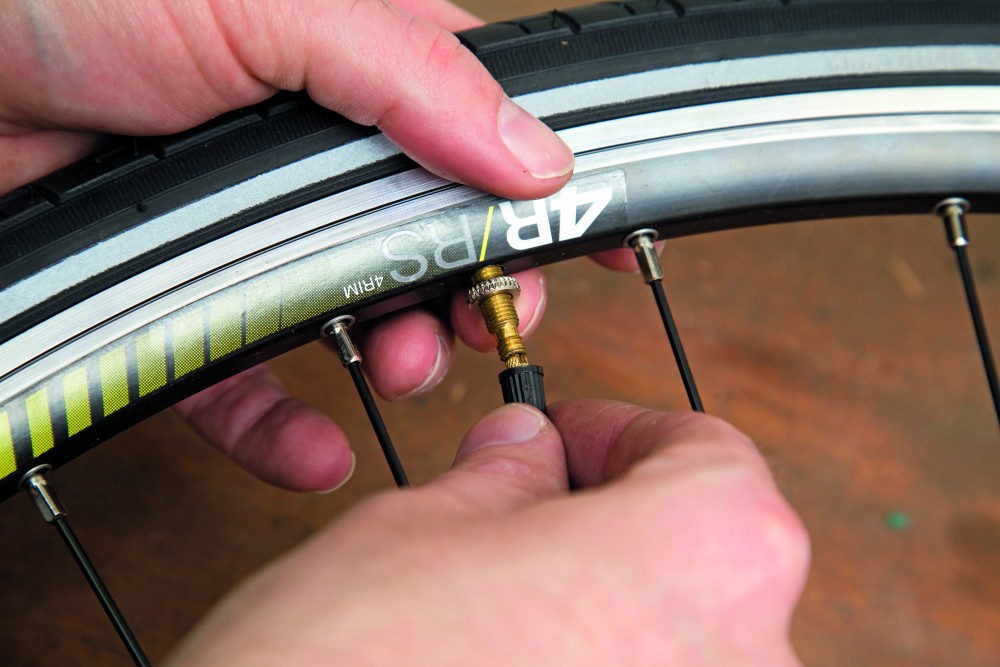
First, turn the bike over and examine the tire. If the breach is obvious, mark it with a dab of mud or some chalk. Then, using tire levers or a flat-blade screwdriver, carefully remove the tire and its tube. If the breach isn’t clear, you’ll need to locate it. There are a number of ways to do this. If you’re near a stream or other body of water, submerge the tube and squeeze it to force any remaining air out. Track the escaping bubbles to locate the hole. You can also fill a pot or pan with water from a canteen, provided you’re not broken down in the desert, of course. If no water is available, squeeze the tube while holding it next to your face; you’ll feel the air escaping. Mark the hole. Cut a three-inch piece of electrical or duct tape. Believe it or not, materials contained in patch kits often aren’t as effective as good-quality tape. Place the piece of tape over the hole, making certain the hole is in the center of the strip. Wrap the tape completely around the tube. Put the tube back in the tire and the tire back on the rim. Add air to the tube using the pump. Ride back to camp. Avoid rock-hopping. If you have no patch kit, no tape, and no pump: First, raise your right hand. Remove the tire, leaving the damaged tube in place. Next, begin pulling up as much grass as you can find. You’ll need lots. Take care not to pick thistles or anything with thorns, or you’ll be mending your fingers as well as the tire—and you’ll probably further damage the tube. Next, stuff the tire with the grass, packing it in until the inside of the tire is full. Carefully put the tire back on the rim. You may need to add more grass as some falls out. Ride back to camp slowly. Be prepared: First-aid kits often include plastic-coated medical tape. In a pinch, you can substitute this for electrical or duct tape. If you’ve punctured the rear tire—and you have the proper wrenches—consider putting the front wheel on the back before making your repair. Particularly if you’re riding with a heavy pack, more of your weight will be above the rear wheel. Josh Piven is the co-author of the Worst-Case Scenario Handbook series. www.joshpiven.net. Top of Page September - October 2009 Table of Contents |
Is it a good idea to take duct tape on a bike tour? It sure is! Duct tape is the perfect item for emergency bike repairs when you need to hold something together.
When it comes to choosing which pieces of equipment to include in your bike touring gear setup, don't overlook one of the greatest gifts to mankind – Duct Tape!
It's a perfect item to use in an emergency when you want to hold something together. It may not look very attractive, but it will hold up well until you can replace the broken part or find someone who can fix it better than you.
You don't need to carry around a whole roll of duct tape when cycling either.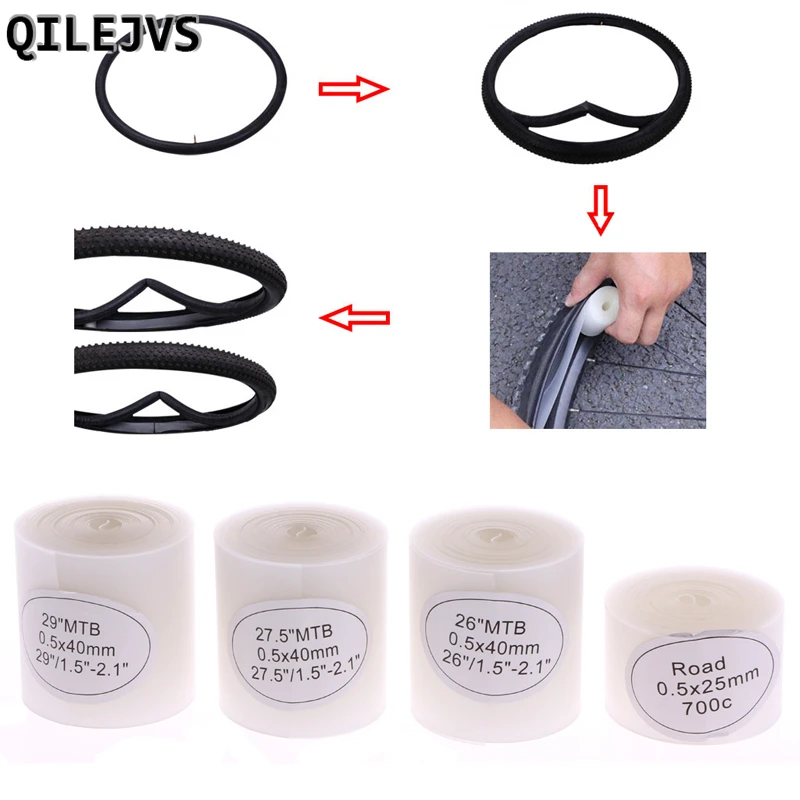 You can simply cut off a few feet and wrap it around a tire lever, bike pump, or perhaps even part of the bike frame.
There's many ways that duct tape can come in useful on a bicycle tour. Here's some ideas of how to use duct tape on a long distance cycle trip.
All you need is duct tape to patch up your inner tube – it's not ideal, but it might get you out of a fix.
You can use duct tape to cover the hole and at least go down the road for a short distance. If there’s no puncture repair kit in sight, use some more tape to cover up your hole until you have time to fix it properly.
Related: Why is my bike pump not working
When you break an arm on your sunglasses, duct tape can come to the rescue. With a little ingenuity and some patience, you can fix those broken shades so they're as good as new! Definitely a good tip if you're cycling miles from anywhere in the blazing sun.
Did you know that one of the best ways to fix a broken bike light mount is by using duct tape? It's quick and simple but most importantly, it works! It will also work with broken Go Pro mounts and water bottle cages.
Are you cycling in an area where you seem to be getting more punctures? Is your rim causing punctures? Protect your inner tube by using two layers of duct tape, saving you from a string of flats, until you can get to a bike shop to fit proper rim tape.
Want to get rid of those pesky loose flapping cables on the bike? Do it with duct tape! It’s quick and easy.
Tent poles can break in a number of different ways. The most common one is when you're putting up the tent and there's too much tension on the poles. You might also find that the string snaps inside the poles.
You can use duct tape to hold broken poles in place, or you can make a temporary splint out of sticks if the pole has been snapped clean off.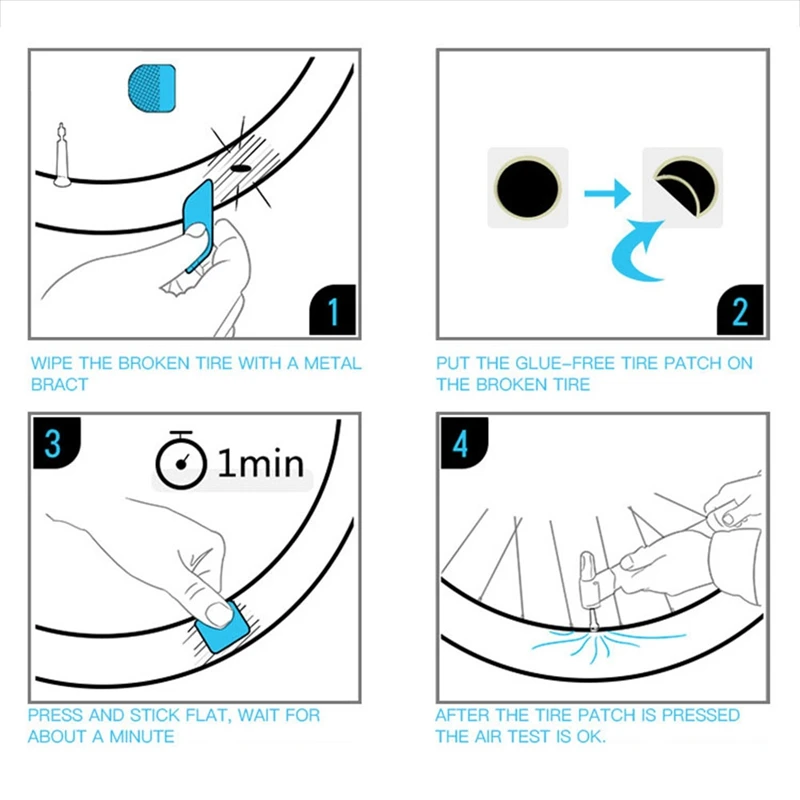
You can use duct tape to seal any worn areas in the shoe so you don't need to worry about a hole, sole separation or mesh upper blowout. Of course, getting some good quality bike touring shoes in the first place might mean that you never have to do this!
You might have a hole in your panniers, or perhaps they're rattling a lot? Broken panniers can rattle an awful lot, secure it tightly to your bike with duct tape.
If you don't have a sewing kit, quick repairs to clothes can be made by taping any tears. Useful for Gortex jackets and the like! The same theory can be applied if you tent gets a hole.
Duct tape along with string and perhaps a T-Shirt will hold a broken saddle together nicely until you can get it fixed properly or buy a new one.
For those who are planning a long-distance bike ride, you’ll be surprised to know that some of the most creative ways of packing food for your journey is by duct taping the containers closed. This way you won’t have to worry about spilling everywhere inside your panniers!
A few commonly questions about using electrical or duct tape for emergency repairs include:
Duct tape is a fantastic temporary alternative for repairing bicycles' problems. Duct tape is water resistant (you can also purchase a waterproof variation) and is easy to carry with you on a bike. You may even get a tiny pocket-sized version of it.
If one of your tires (not inner tubes) has a gash in it or a torn sidewall, you can use duct tape on the inside of the bicycle tire to temporarily ride on. You'll still need to replace the tire as soon as you can though at a local bike shop.
If you have an inner tube puncture, using a proper patch kit is always going to be the best way to fix it.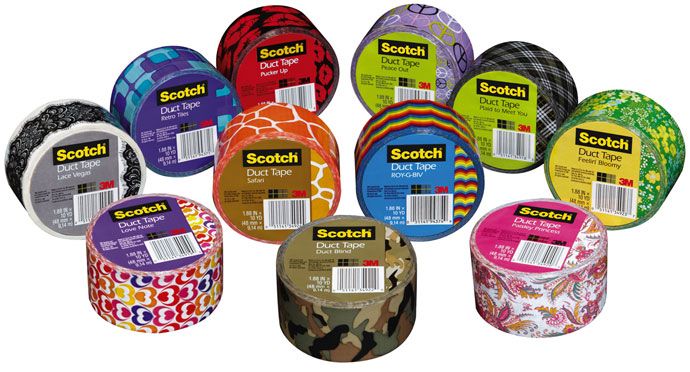 Occasionally, you might find your rubber cement has solidified though, so you could use duct tape as a temporary measure to stick the patch on the tube.
If you have a wide rim and can find a way to narrow the width of the tape, you could potentially use duct tape as emergency rim tape. A better option would be to use electrical tape if possible.
You might also want to check out these other bike touring tips and guides:
– Dave Briggs
Dave wrote this travel guide about using duct tape for emergency bike repairs after years spent cycling all around the world.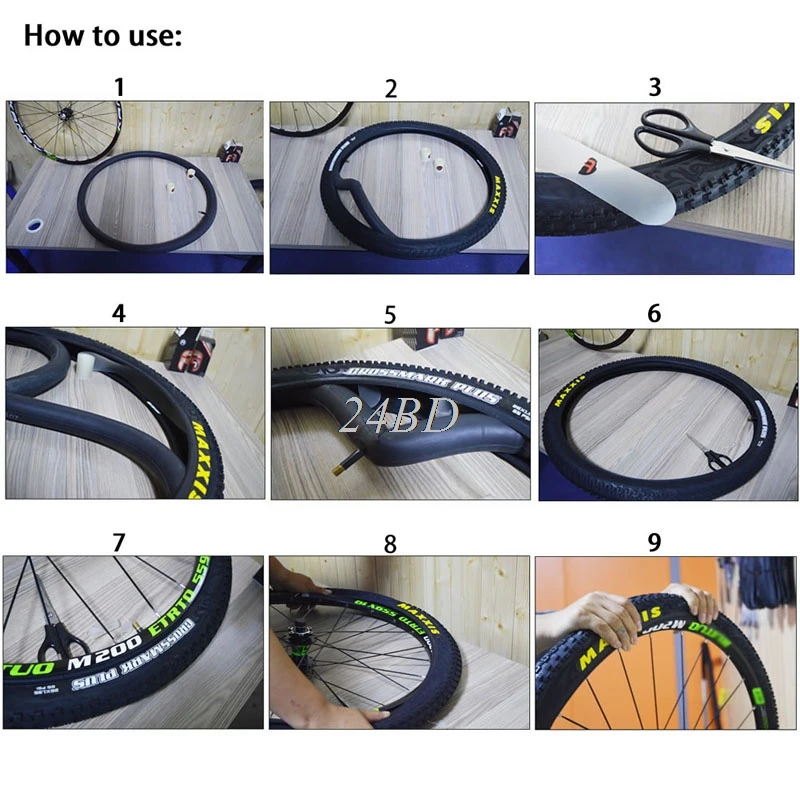
Check out two of his long distance bike tours here: Cycling from England to South Africa and Cycling from Alaska to Argentina.
Follow Dave on social media for travel, adventure and bike touring inspiration:
views 31877
If you do not know how to seal a bicycle inner tube, then everything is quite simple - you only need glue and a patch. But wrenches, hexagons, disassembly, a container of water and a vise will also come in handy. The set is enough, so you can carry out repairs in any conditions.
Do-it-yourself repair of the bicycle chamber is carried out according to the following algorithm:
 The wheel is disassembled with a flat object. Before sealing the bicycle inner tube, it must be completely lowered and removed;
 Sealing a bicycle wheel tube is easy - just remove it, patch the puncture site with a patch and put it back in place.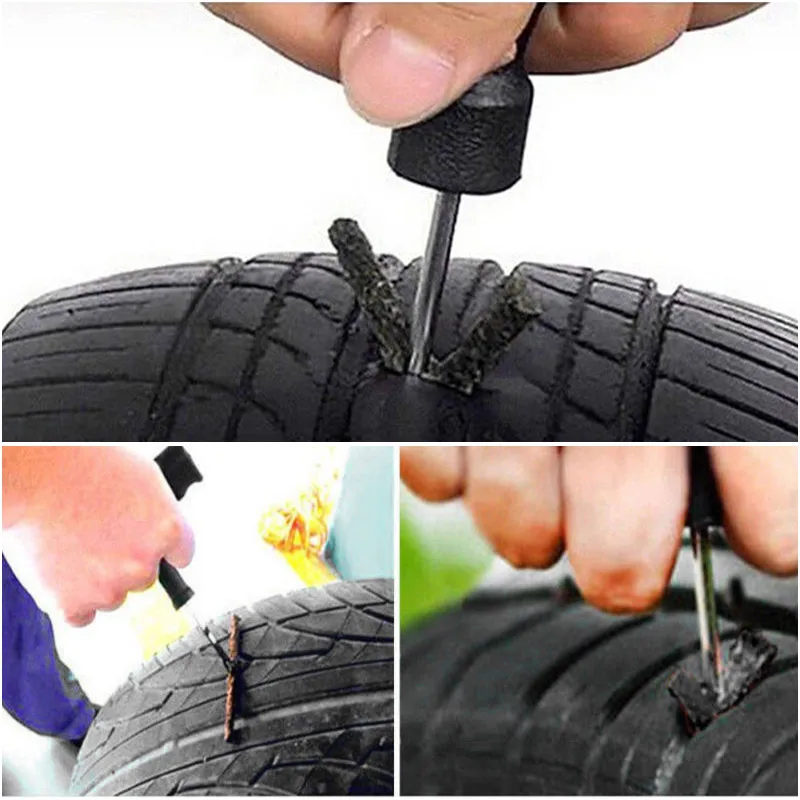
How to seal the bicycle chamber with a repair kit is understandable, but what if it is not there, but the repair is necessary? For example, a patch can be made from any rubber. Any glue is suitable, but the main thing is not to choose industrial.
There are also critical moments. In some cases, it is necessary to close the hole without glue and without removing the wheel. The patch is applied so that when inflated, it is pressed with strong pressure. But in this case, you need a pump.
If you don't have a rubber patch, a dampened plastic bag or duct tape will do, but only if you don't know how to seal the inner tube of your bike to get home, because the wheel won't withstand heavy loads.
Another option is vulcanization. This requires special tools, but the result is reliable. The point is that the patch and the camera are pressed against each other. Thanks to heating, both elements form a single whole. Before you seal the camera at home, think about vulcanization.
Even if you know how to properly seal a bicycle inner tube, it's worth learning how to avoid a puncture.
One of the most interesting options is cameras that can be sealed by themselves. Resin or a special gel is poured inside. When a breakdown occurs, the substance flows into the puncture point and seals it. In this case, it will be possible not to think about repairs for some time, but it will still have to be done sooner or later.
It is worth following a few simple recommendations to prevent a puncture:
 There may not be a breakdown the first time, but it will not always be so;
 These simple tips will help you avoid punctures and save time on repairs, although they will not take much time. But, nevertheless, it is better to prevent trouble than to deal with its consequences.
back to the list of articles
No cyclist is safe from a puncture on the way. Damage to the wheel is easy - just run into a sharp stone, glass or rebar. Therefore, try to always have a minimum set of tools with you - a pump, patches for holes, glue, “mongers” and grout. Such a set will definitely help to seal the bicycle chamber if an unexpected hole occurs.
Contents of the article:
On long trips, it is better to take a spare camera with you in order to solve the problem with a hole as quickly as possible. If the breakdown happened unexpectedly and there is no spare wheel with you, you will have to remove the damaged wheel and repair the punctured chamber. Let's take a look at what to do in such situations.
Remove the damaged wheel from your Iron Horse before you seal the tube:
An important point - if the bike is equipped with hydraulic brakes, then carry out all the manipulations as quickly as possible, since air can enter the hydraulic system in an inverted position. To prevent damage to the brake and shift knobs, place a blanket under the bike before turning it over. This will reduce the likelihood of accidental scratches and chips on fragile controls.
After removal, carefully inspect the wheel for foreign objects stuck in the rubber, which can cause subsequent holes.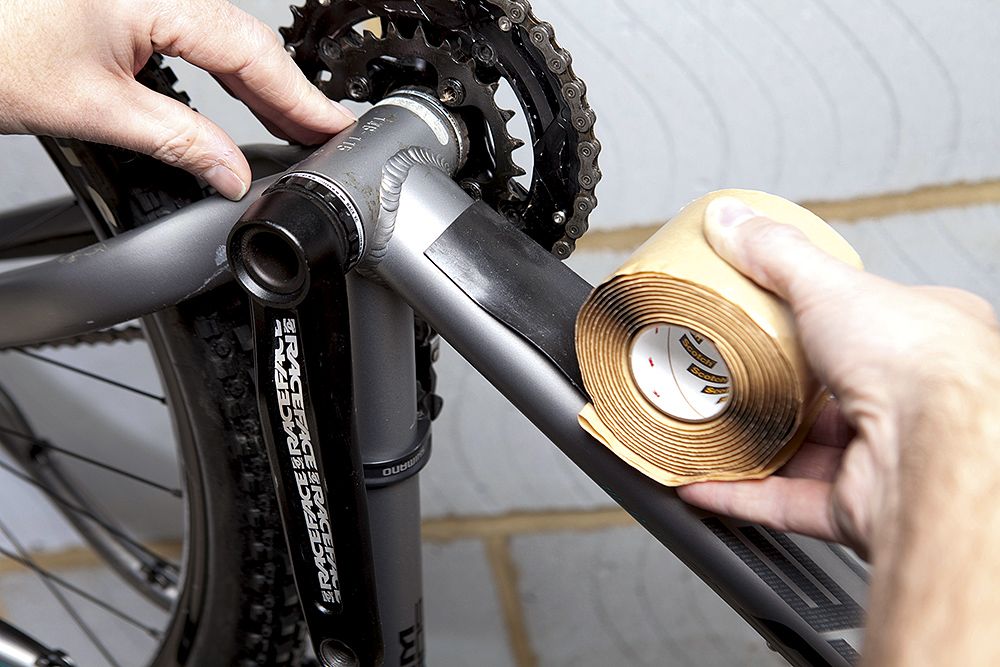
After that, you can proceed to the beading:
Then remove the chamber for future repairs.
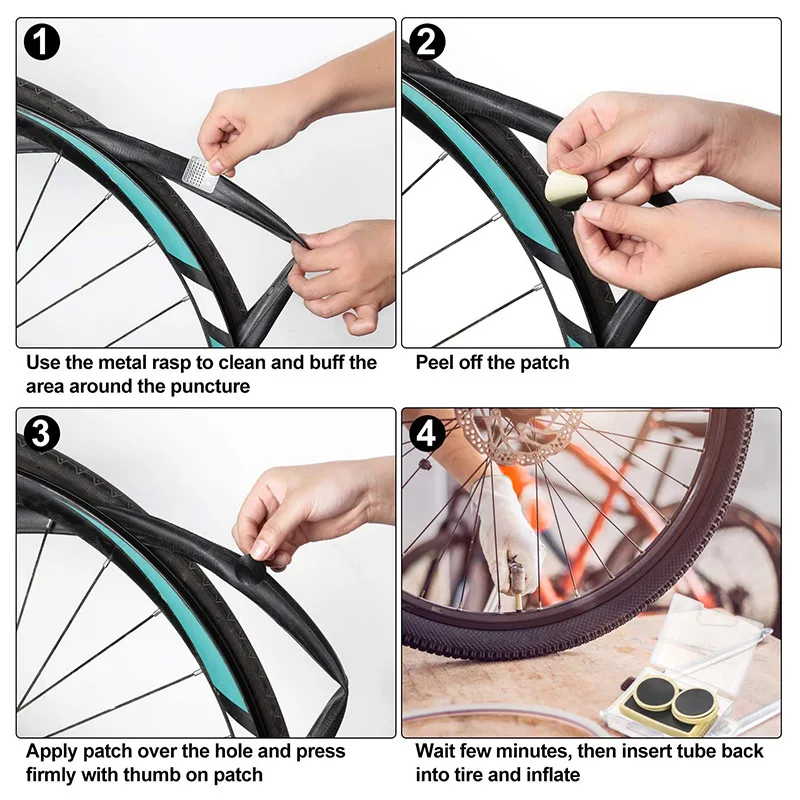
Before sealing the bicycle inner tube after removing it, you need to find the place where its tightness is broken. To do this, re-inflate the chamber with a pump and conduct a thorough inspection. You will immediately see a big hole. Otherwise, you will have to make a little effort to search.
First, hold the camera to your ear and try to find the hole by ear. At the site of the hole, you will hear a slight hiss and feel the movement of air over the skin. Another option is to put the camera in water. In the place where it is pierced, you will see small, upward bubbles.
Once you have pinpointed the puncture site, be sure to mark it with a pen or duct tape so you don't lose it later. There may be more than one damage, so it is important to find and label them all.
Always clean the surface of the inner tube before sticking it on. This will create better adhesion of the rubber to the adhesive and increase the life of the repaired wheel. Use fine grit sandpaper for sanding. It is necessary to process the surface until it becomes matte.
If you have not taken care of the availability of a special repair kit, then you can use a stripped piece of an old tire as a patch for the bicycle inner tube. Apply a couple of drops of rubber adhesive to the patch and the chamber in the area of damage, gently spread it over the surface, press firmly. This is best done with pliers, after placing a piece of cloth under them. Check the edges of the patch, the rubber should be carefully glued around the entire perimeter.
For repairs, it is better to use a special glue that is designed for rubber, it is usually found in bicycle first-aid kits, but the usual “Moment” will also work. But it is not advisable to use superglue, it destroys rubber, and it is unlikely that it will be possible to fix the problem with it.
Once you have glued the inner tube on the bike, you can put it back on the wheel. Check the insulation tape inside the rim, put the inner tube in there and fill the tire. Be precise and careful not to damage the wheel further.
Attach the wheel to the bike, following the direction of travel exactly. Then proceed to inflate the chamber, checking its tightness in the process. You may not have noticed another hole or you may not have glued the main patch well. If the air does not descend, the repair can be considered completed.
Repairing a bicycle inner tube at home is much easier than in the field. To do this, you do not need to have any special knowledge and skills. Only a minimal set of tools is required.
Taping a bicycle wheel with a repair kit is an easy and cheap way to restore its integrity at home. Such a kit usually includes special glue for rubber, patches and sandpaper for stripping.
How to work with the repair kit is described in detail in the attached manual. It usually consists of the following steps:
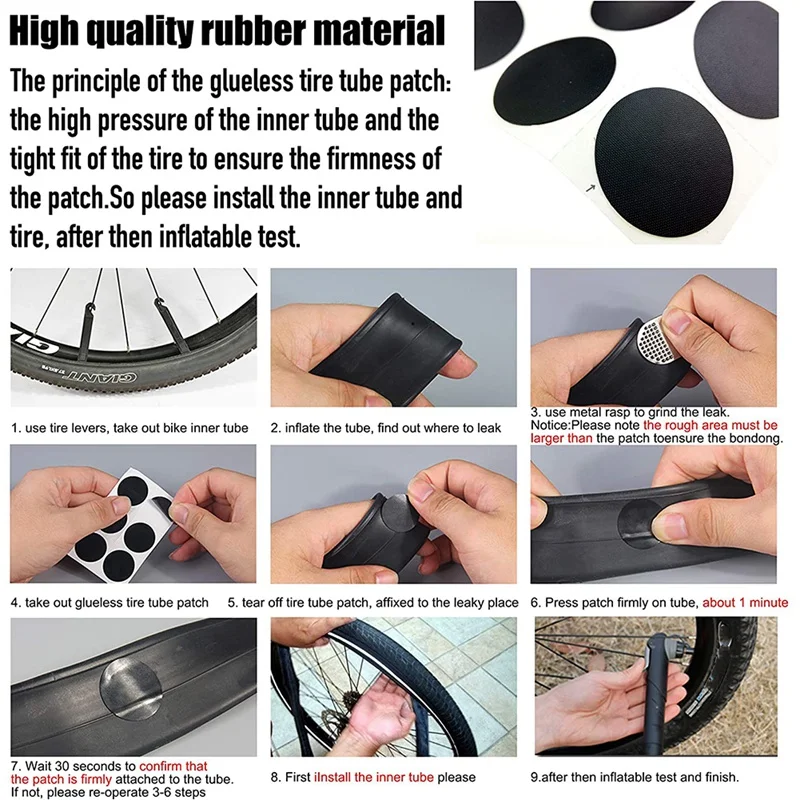
Keep the patch pressed for 10 minutes while the glue dries. The exact time will be indicated in the attached manual.
We have figured out how to glue the bike inner tube with a repair kit. Now let's look at how to fix the wheel in the case when there was no repair kit or patches with you. Glue will come to the rescue. It is important that it is suitable for bonding elastic materials. However, it is better to use this method only in really emergency cases, since the composition of some types of glue can destroy the rubber coating, and instead of one puncture after a while, you will get a couple of new cracks.
The convenience of this method is that no additional manipulations need to be carried out with the damage site - neither degreasing nor rubbing:
You can then place the camera in its place.
Sometimes you may not have glue at hand, but you need to get rid of a hole in the wheel to get home. In such situations, a patch is made from a piece of rubber, preferably of industrial origin, which is applied to the damaged area so that when the chamber is inflated with air, it is strongly pressed against the tire. In the absence of rubber, you can use a regular plastic bag or adhesive tape. However, it should be borne in mind that such repairs do not withstand heavy loads.
You can also use the vulcanization method to seal the bicycle inner tube. Usually it is used for car wheels, but it is also applicable for a bicycle. To do this, you will have to arm yourself with special equipment, but in the end you will get an almost new camera. The essence of the method is that the patch and the chamber are clamped and heated to such a temperature that the rubber begins to melt.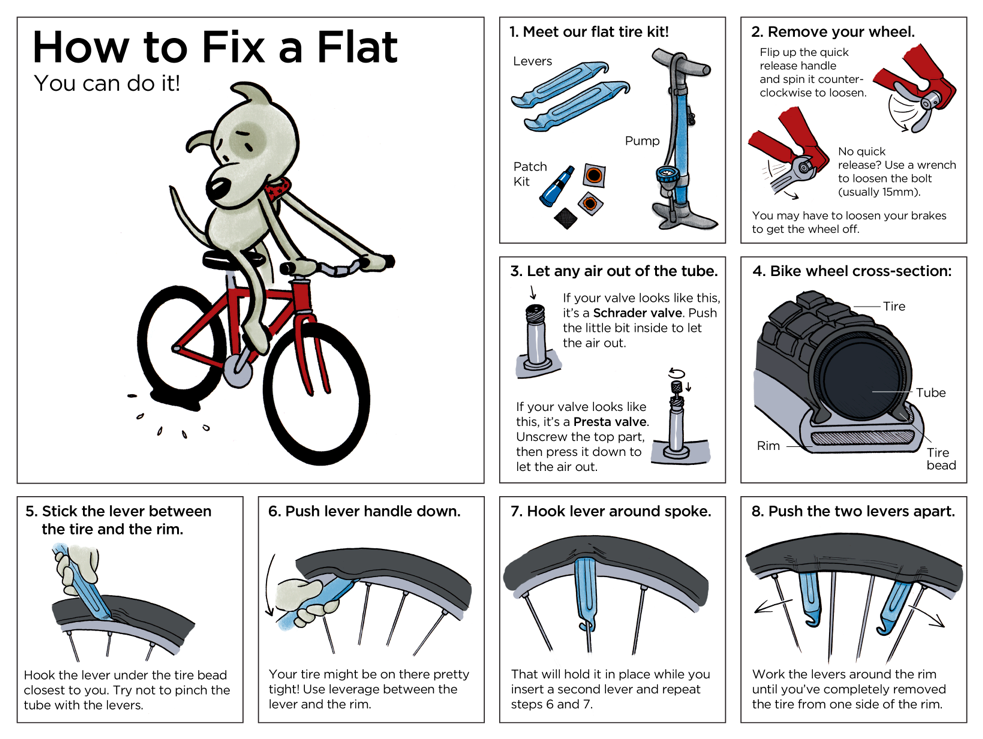
Vulcanization is much more reliable than conventional chamber bonding, but is more expensive. For such repairs, at a minimum, you will have to buy a vulcanizer and follow strict safety rules.
Modern technologies have gone far ahead and offer new ways to solve old problems. So, today in specialized stores you can find unique self-sealing cameras. Inside they contain a resin or a special gel, which, when damage occurs, penetrate into it and securely fasten the crack.
These tubes are good to use on long trips, when the chance of accidentally puncturing the wheel increases dramatically. On them you can easily reach the end point of the route. However, further repair of the wheel is still necessary.
Taping a tube tube on a camping bike requires a little ingenuity and creativity. In the absence of a first-aid kit, you will have to use any available means at hand.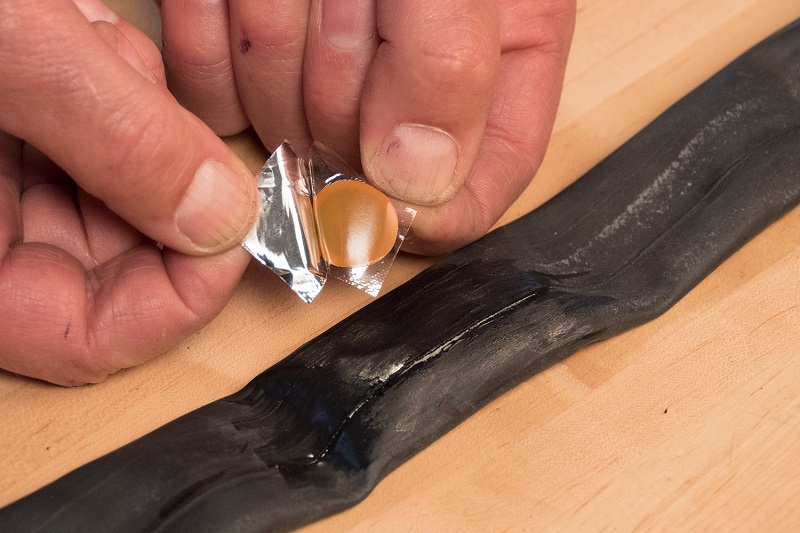
Try to find some adhesive tape, adhesive tape or tape in your belongings - this will greatly facilitate the problem of repairing a wheel. In an emergency, you can even peel off a sticker from the bike frame, if there is one.
Locate the damaged area and bleed the chamber. Cut out 4-5 patches of various sizes from the existing material. Fix on the puncture first the patch that turns out to be the smallest, then the larger one, and so on, until the largest. If you have adhesive tape, then the patch can be wrapped with it in several layers. The repair will not be durable, but it will definitely allow you to get to the desired point.
If your tire is damaged unexpectedly and you don't have the tools to repair it, there are at least 3 emergency methods you can use:
