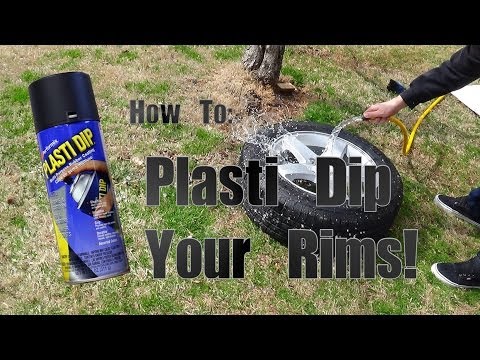
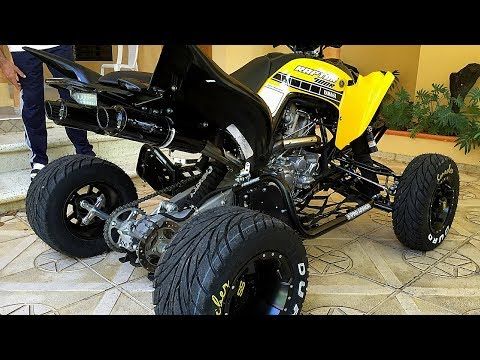
Wheels. They’re delicate, they’re important and they’re probably the first thing on your car to have a scratch. They were never a good paint candidate because they’re such a crucial part of your car’s look. But since about 2010, chemical makers have been formulating…formulas that look great and are 100 percent temporary, the most famous of which is Plasti Dip.
However, the company wasn’t birthed in 2010 when rattle cans of the stuff became popular. It has been around since the early ‘70s creating all manner specialty rubber coatings. It started out as a way to add a non-stick coating to your tools.
Now, black is back. Almost every manufacturer offers at least black rims, if not a whole “murdered-out" package. Thankfully, if you didn’t get your car murdered out, you can do that with a couple cans of Plasti Dip. By the way, it comes in all colors of the rainbow now, and people have been known to throw a coat of gloss over the matte surface for that extra shine.
I left my Mustang wheels in satin finish.
Here’s a step by step process for dipping your wheels; along with the video above I’ll add some of my own tips and tricks.
Step 1: Clean the crap out of your wheels. Spray them with soap and water and wipe them dry. Clean off all of the brake dust and wash them again, making sure to get into the nooks and crannies.
Step 2: Either protect your car's sensitive parts or take the wheels off. Our guy “throwsomediponit” uses a painter’s tarp to get behind the spokes and cover the brake parts. I took my wheels off and cut a round piece of cardboard to stop the overspray. Either way will work. He also sprays the Plasti Dip right on to his tires. I protected mine by slipping playing cards between the rim and tire. If you spray it on thick enough, you can always cut the excess with a razor blade.
Step 2.5: Warm. One thing I didn’t try was warming up the cans in a bucket of hot water. But Throwsomediponit swears by it.
Step 3: Spray. The first coat is light, maybe 50-60 percent coverage. Try to get it from every angle. Throwsomediponit says rotate the wheel after the first few coats and get the undersides. I had the wheels off the car, so I just rotated around the wheel as I was spraying. The second coat should be thick and wet, and be sure to dab off any drips with a clean rag. Coats 3 and 4 are also thick. Remember, the thicker you put it on, the easier it will come off. If the wheels are still on the car, rotate and spray more. Wait about 20 minutes between each coat.
Step 4: Finish. Remove the playing cards or painter’s tape around the edge, or trim with a razor. Remove the brake protection or put the wheel back on the car.
Step 5: Repeat for the rest of the wheels.
You can throw a coat of removable gloss on your wheels, or not. And Plasti Dip isn’t the only company out there either. Dupli-Color has a product, as does Rustoleum and AutoFlex. You’re supposed to remove it and recoat it once a year or so, though I’ve left mine covered for a few years now and the only problem is when you have new tires installed, the machine rips up the edges.
Overall, it’s a great way to change the look and feel of your ride without spending much money. And the coating works on almost everything, not just wheels. Mirror housings? Sure. Grille? We wouldn’t advise it but yes. Roof panel? Why not. You can always demurderize it later when styles inevitably change.
Jake Lingeman Jake Lingeman has been with Autoweek since 2006 and career highlights include driving the Silverstone Circuit in England, taking the Corvette ZR1 around Road Atlanta and going to the 24 Hours of Le Mans.
Plasti-dip is a rubberized coating that can be applied to certain parts of vehicles for an enhanced look. I’ve used plasti-dip on several vehicles through the years to add black accents. In my opinion it holds up better than paint—especially when it comes to wheels. In this tutorial I’ll walk you through 3 super quick steps to plasti-dip your 4runner wheels (or any wheels), for a badass appearance.
Total time to plasti-dip wheels: 2—3 hours
Total cost of materials: ~$20
Hopefully you already have a clean rag and soap to wash your 4runner, but if you don’t you’ll need those as well.
Before you apply any plasti-dip to your 4Runner wheels, you’ll need to make them sparkle. Apply your favorite car wash detergent, or even regular dish detergent will work fine get in all the nooks of your wheels. Plasti-dip needs to be able to adhere to the metal of the wheels. If dirt is in between the plasti-dip and metal, it’ll weaken the bond.
After you vigorously scrub your wheels, I want you to do one more thing…
Wash them again. Seriously, scrubbing the wheels properly is tedious, but if you do it right, the plasti-dip will hold up for years (provided it’s not destroyed on trails!)
Important: After washing your 4runner wheels, you must let them completely dry. There shouldn’t even be one drop of water anywhere in sight. Make sure you allow the little nooks around the lug nuts and seams between the wheel and tire to dry completely.
This looks silly, but it’s a cheap and effective way to keep the plasti-dip contained within the area of your 4runner rims. If the rubber plasti-dip gets applied to your rubber tires, it’s not the end of the world, but it’ll peel after a short amount of time, making your wheels look weird.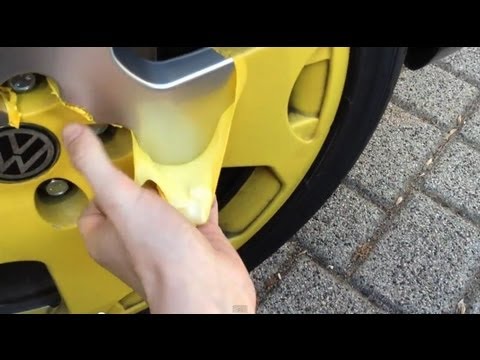
I learned this technique from someone smarter than me on the internet, but forgot who!
You’ll need to do this for each wheel. It takes a little less than a full deck per wheel. Make sure you overlap the cards a bit to prevent them from falling out or allowing plasti-dip to spray through to the tire. I also recommend doing this in a garage or a day with no wind otherwise you’re going to have a bad time.
This is an optional step, but keep in mind if you or a auto shop do any maintenance on your wheels that require wheel removal, the plasti-dip will get stripped from the lug nuts. So you’re better off just omitting it from them to begin with. I think the silver lug nuts on all black wheels on the 4runner looks better anyway!
Important: It’s best to apply plasti-dip when the temp is above 65 and below 85F. I made the mistake of plasti-dipping my front grille during a heat wave when it was 95F+. It created really uneven patches and the texture is fuzzy.
Not required, but I highly recommend grabbing the can gun tool that can be slid onto any aerosol can (spray paint, plasti-dip, etc). It makes even coats of spray painting and plasti-dipping a breeze.
Once your wheels are clean, dry, and lined with playing cards, begin to spray your wheels with plasti-dip. It’s that simple.
Important:
Once you’re happy with the coverage on your wheels, I recommend letting your wheels dry overnight to ensure the plasti-dip is cured completely. Don’t drive your 4runner until it’s cured!
Enjoy your new plasti-dipped wheels my friend. I like to employ a little extra sheen with some armor-all or similar tire foam.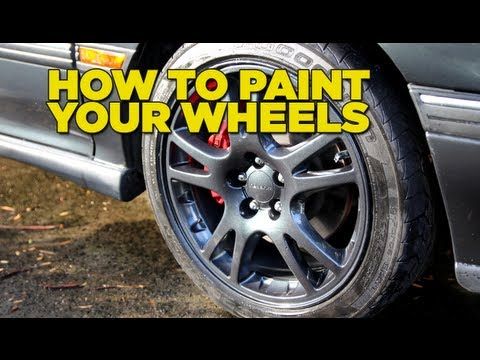
I wrote this post almost year after my application. I’m in New England and ride through moderate trails, snow, slush, salt, and ponds / rivers / creeks. The plasti-dip has held up very well. There’s been a little peeling around the lug nuts due to routine vehicle maintenance, but nothing noticeable unless you stare at the wheels. The moment you spray tire foam on it, it looks good as new!
If your plasti-dip comes off for whatever reason, don’t fret. You can just spot-spray plasti-dip to fill in missing patches or holes. Apply the same light coat logic I mention above. It blends very naturally and you shouldn’t need to do anything more!
Questions or thoughts? Let me know in the comments below!
Like Loading...
0003Related materials
Tire inflation with nitrogen and 7 more wirings at the tire fitting
In the middle-end of autumn, car owners storm tire shops.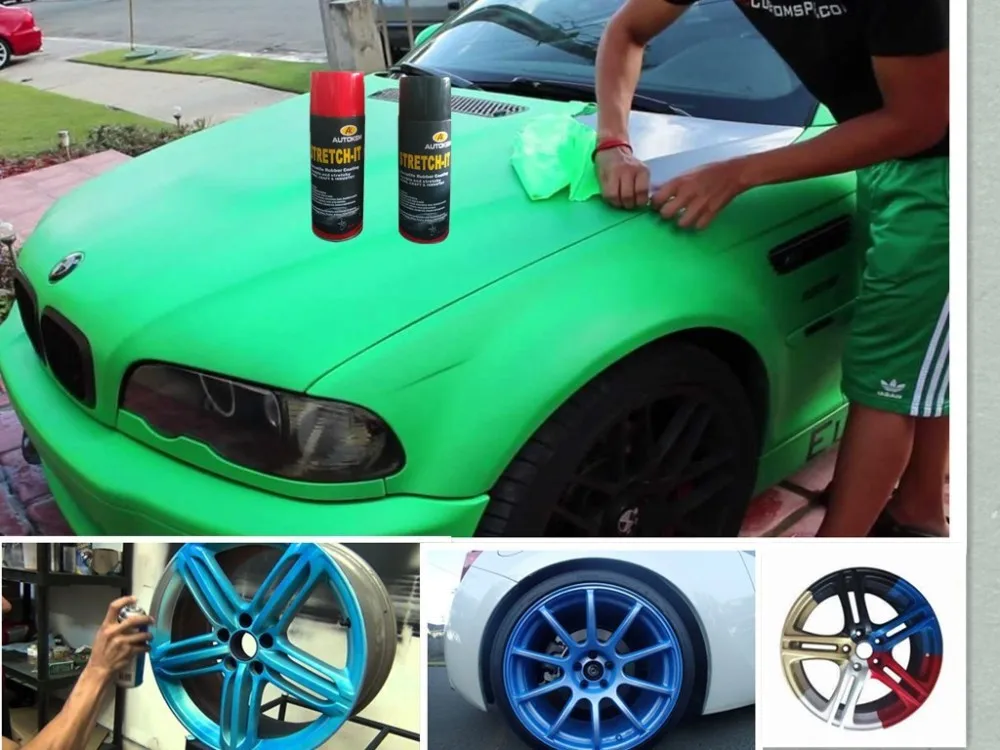 However, you can disassemble the wheels yourself. We'll show you how to do it. We will need a special tool, as well as a screwdriver to unscrew the wheel valve, and a couple of pryers to help remove the tire from the rim.
To rid the rim of the tire, we bought a simple but very useful device - a mechanical wheel beader. There are several options on the market, but we chose the one produced by the Sorokin company. It is inexpensive. Thanks to the ability to adjust the retractable linkage, tires can be removed from discs of different diameters. You just need to select the desired position of the rod and tighten the two bolts holding it, after which you can start working.
Related materials
Is it possible to pump up a wheel without a compressor - the experiment "Behind the wheel"
We took a 16-inch wheel. It is more convenient to remove the tire if you put it on the floor. In order not to scratch the aluminum disc during work, we will place a sheet of foamed polyurethane under it, which is used in construction for sound and heat insulation. We unscrew the cap on the valve, holding it with a finger, unscrew the spool so that it does not pop out under air pressure. The tire starts to deflate.
Before carrying out work with the help of a special tool, it is necessary to moisten the working edge of the disc with a penetrating liquid. Otherwise, we risk damaging the disk. Also, the liquid, having seeped under the edge, will facilitate the removal of the wheel from the humps.
We apply our device to the disk. Its hook in this case should protrude from the mandrel by 7–8 cm. For reference, this is one hole on the retractable rod. With a hand, we press on the device from one side so that it goes under the protrusion of the disk, and we wind the hook under the disk from the opposite side. We spread the levers of the device in different directions. The main thing is not to try to throw off the tire immediately, but to move it off the hump gradually. Otherwise, the tire may be damaged. Please note that the device should not be inserted near the wheel valve.
Related materials
Changing shoes correctly: everything you need to know about discs
Pulling out and moving the tool, slowly move the tire off the hump around the entire circumference. You can hold the side of the flight attendant, where there is no hook, with your foot. Having removed the tire on one side, turn the wheel over and do the same work on the other. Don't forget about lubrication. By the way, it is not necessary to use a liquid, a silicone composition is also suitable.
We removed the tire from each side of the humps. It remains to take mounting blades and completely remove the tire from the disk. We process the belt with penetrating lubricant. It is advisable to get on the inside of the rim, this will make things easier. We start the first blade under the tire. It is convenient to do this in the area of the wheel valve. We take the assembly aside in advance so as not to damage it during work. Hold the mount with your foot. We insert a second spatula next to it and lift the edge of the tire with it. We do this along the entire inner circle, also gradually. We removed the tire from one side of the disc, it remains to do the same on the other. We turn the wheel. We wind the blade behind the disk and begin to remove it from the tire. As soon as we succeeded, we can consider that the work is over.
Taking apart the wheels yourself is easier than you think. The main thing is to stock up on the right tool and free time, as well as take into account the characteristics of rubber.
Please send all questions and suggestions regarding the Technical Environment series to: [email protected].
Our new video
New Russian sedan at the price of Vesta on tests "Behind the wheel"
When will the Russian electric truck EVM Pro appear? Details known
Test of the most modern in the history of the Volga GAZ-3111
Like this post? Subscribe and you will always be in the know!
Driving in Zen
News smi2.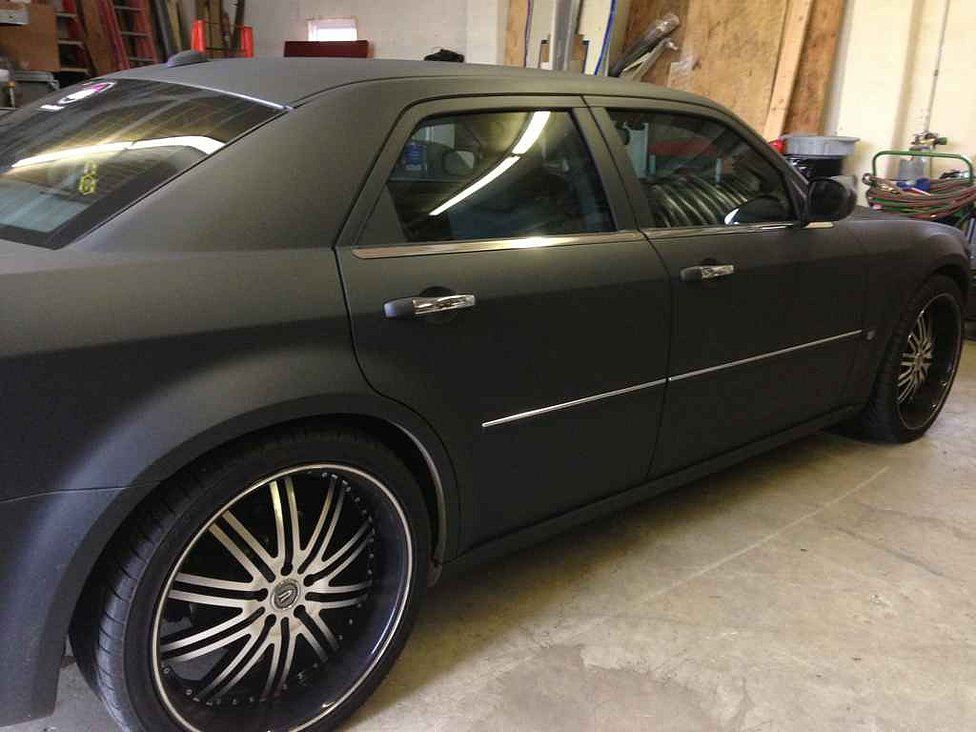 ru
ru
Vladimir Gavrilov
Estimated reading time: 3 minutes
9185
Category: Auto Maintenance
Many drivers are in no hurry to buy additional wheels for winter use, they use the same wheels they used in summer. Well, tires twice a year go through a harsh operation of disassembly and reassembly, which does not improve their condition. Vyacheslav Subbotin, an automotive expert, captain and engineer of the GazReid Sport rally team, tells what kind of damage a wheel can get due to poor-quality work.
The vast majority of tire shops use old and worn equipment. People who work there are not always highly qualified, because the working conditions are difficult, and the turnover is high. As a result, not everyone and not always can remove and put the tire on the disk well. There is a high risk of damage to the side rings of the tire.
The point is that the tire beads must not stretch. When installed correctly, the tire fits snugly against the rim of the rim and ensures the tightness of the tire. For these purposes, split or continuous bead rings are made of several layers of strong steel wire, which are then covered with a hard cord and a layer of rubber. The rings create a solid profile that holds the tire firmly to the rim. However, if the rings are pressed through, the tire will lose strength and begin to bleed air. A little at first, and then a daily swap will be required. Naturally, driving on such a wheel will already be problematic.
One wrong beading can ruin a tire. Damage is most often caused on a broken mounting machine. In addition, the disk itself deteriorates during tire fitting. If the light-alloy wheel is hit or dropped, then scratches and even chips of the upper lacquered layer appear on it.