Push starting a vehicle is a way of starting an engine if the battery is dead or does not have sufficient charge to turn the starter motor. This method of starting the engine is also known as bump starting or popping the clutch and is usually used for manual transmission vehicles.
Is there a similar method to starting automatic vehicles, specifically your ATV, if the battery is not operating at optimal capacity? Generally, only ATV’s with certain types of automatic transmissions can be push-started safely. If you try to push-start an automatic ATV with the incorrect transmission type, it will at best not start and, at worst, cause damage to the transmission.
If your ATV can be push-started safely, then here are 3 steps to get your ATV started.
There may only be three steps to this push-start procedure, but there is more to the three steps than what first glance portrays.
Remember: Before trying any push-start method on your automatic transmission ATV, you need to make sure it is capable of starting using this method and that no damage will be caused by attempting this method!
Many ATV riders will tell you that you cannot push-start an automatic ATV, and in most instances, they are correct. Some automatic transmissions require the parts of the gearbox to be rotating before a gear can be selected, while others rely on the compression of a running engine to engage the clutch.
There are, however, some ATVs that can be started using this method, particularly if they have hydraulic pumps.
 The incline that you use as a starting point will, therefore, need to be high enough and have a steep enough angle to achieve this purpose.
This process can be an exhausting undertaking if you are doing is all using man-power. Pushing an ATV up a hill may require what some would consider superhero-type strength! After pushing your ATV to the top of a hill two or three times, you will begin to wonder why you started off-roading on your ATV to begin with!
The physical effort required to perform this task repeatedly may prompt you to employ another method to gain the necessary momentum to start the ATV. You may try towing your ATV with another ATV or behind a truck.
This is, however, a potentially hazardous way to try and start your ATV, and you should weigh up the risks to determine if it is really worth it.
If you struggle to push-start your ATV or your transmission does not allow for this starting method to be used, you may want to try one of these other methods to get your ATV fired up!
Another method commonly used to start vehicles with battery problems is to use jumper cables from one vehicle’s battery to another.
The idea behind the jumper cable method is that the vehicle with a battery that is in good working order will supply a charge to the problematic battery. This charge should be enough to allow the engine to be started.
This is a well-known and widely used method in vehicles that are of the same type but requires some care when you are attempting this method with vehicles that are different.
For example, using another ATV to connect to your ATV battery is a safe method. Make sure the batteries are connected positive to positive and negative to negative. Start the donor ATV and wait a few minutes while it delivers charge to the ailing ATV. It sometimes helps to keep the revs slightly elevated on the ATV that is doing the charging. After a few minutes, try starting the ATV normally with the leads connected and the second ATV running.
If the ATV is still struggling to start, you may want to try and let it charge a bit longer before trying to start it again.
A second example is using a car or truck to provide the charge, and this is where some additional care needs to be exercised due to the differences between the two vehicles.
When using a car as the charging vehicle, you can connect the cables to the battery as normal, but leave the car turned off. Do not switch on the ignition or start the car as the differences in the electrical systems may cause damage to your ATV or the car.
With the batteries connected, wait a couple of minutes for a charge to build up in the ATV battery and then try to start the engine of the ATV. Hopefully, you should be able to get your ATV running after a couple of attempts.
If your ATV battery is completely dead in that it does not even power the ignition lights to some degree, then the problem of starting your ATV takes on a different dimension.
With a completely dead battery, it may be possible to get the engine started using the push-start or bump-start method, but the battery may not hold the charge. If your battery is in this condition, it will not be able to successfully store a large enough charge to start the engine after the ATV has been switched off.
If you are using the cable start method, you may fail to get the ATV to start at all. This is because this method depends on the good battery being able to charge up the flat battery to the point that it can start the engine. If the flat battery is faulty and unable to hold a charge, then this method may not work to get the ATV started.
If your battery is in this condition, the only solution is to replace the battery with a new one. This should solve much of your ATV starting problems.
If the battery is the cause of your starting problems on your ATV and the methods already mentioned are not achieving any success for you, then you may wonder if there are any other options.
Unfortunately, due to the simplicity of the way the battery system works, there are not many different ways to achieve a current flowing in the circuit. Your only other option may be to take your ATV to a mechanic for a professional diagnostic to be run to establish the problem.
Some methods are purported to work, such as connecting a drill with an impact socket to the flywheel nut and running the drill in reverse. If the ATV is in neutral, the ignition is on, and the kill switch is in the on position, the drill can turn the flywheel sufficiently to induce a current in the coil enough to provide a spark.
This method may seem easy, but it lacks some practicality, as it only works on smaller engines and requires you to have a drill and impact socket on hand at the time your ATV won’t start!
Starting issues caused by battery problems are notorious for appearing at the most inconvenient times, such as when you have no tools at hand or a fellow off-roader to help you out. This should not be looked at as a downside to the activity, but rather as a part of the adventure that is ATV off-roading!
Choose to learn from the experience so that you are better prepared the next time the problem occurs, or you are in a position to help another off-roader who suffers from the predicament!
Happy ATV’ing!
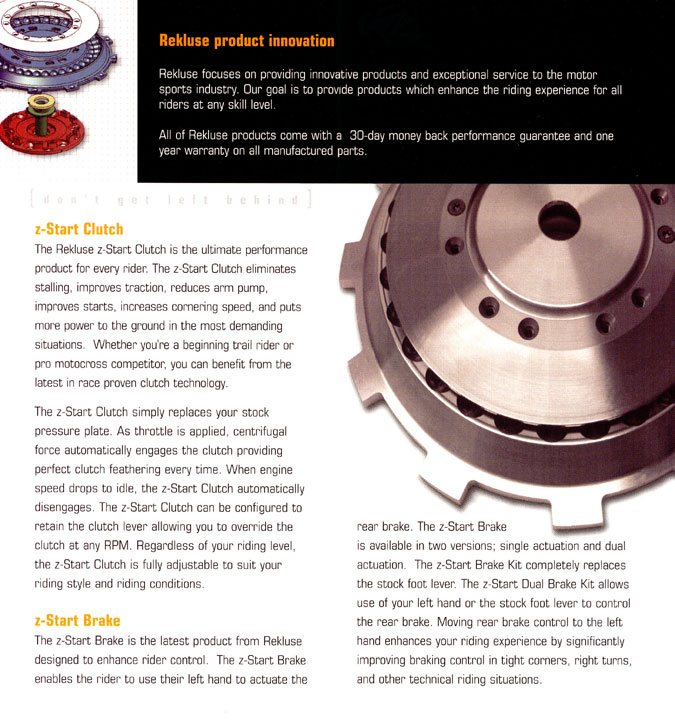
An ATV that has a clutch is considered a manual transmission ATV, unlike an automatic transmission ATV that does all the shifting for you. Driving a manual ATV is actually pretty easy once you get the hang of it. After a while it becomes second nature and you will be able to ride without even thinking about it too much. You will need to be able to coordinate between your hands and your feet to shift. I will go over step by step exactly how to start, get into gear, and shift with a manual ATV.
First, lets go over the components you will need to know to drive an ATV with a clutch.
 This brake will activate the front tires only.
It’s best practice to start the quad when it’s in the neutral gear. It is possible to start the ATV in any gear as long as you hold in the clutch lever. Remember, when you pull in on the clutch lever, you’re essentially putting the quad in neutral, as long as you’re holding in the clutch.
If you start your quad in gear, you need to pull in on the clutch and start the engine. Be careful though, if you let go of the clutch with the engine running and the transmission in gear, you will stall and could do damage to your transmission. I only start mine in neutral so that way I can let off the clutch and the quad will idle, and I suggest you do the same.
To get into neutral before starting the quad, you need to pull in on the clutch lever and use your left foot shifter to find neutral. Neutral is usually located between 1st and 2nd gear. You typically won’t be able to get into neutral from 2nd gear though. You should shift to 1st gear by clicking down on the foot shifter, all the way down to 1st gear. Then lightly shift a half click up into neutral. A full click up from 1st gear will put you into 2nd gear, a half click up will put you into neutral.
This is the part that everyone gets hung up on, I know I did when I first learned. It’s really not that hard once you get the hang of it though, it takes some practice. Don’t let yourself get discouraged too easily and you’ll be just fine.
Start off by being in neutral with the engine running. Pull in the clutch lever and hold it in. Now shift into 1st gear by pressing down on the shifter with your foot. To start accelerating, you need to give it some gas with the throttle while you slowly let out the clutch. You have to do these at the same time, that’s what usually gets people.
When you feel the clutch engage, the quad will start to move forward and you can let go of the clutch all together. You’re now in 1st gear moving forward. Be careful though, if you come to a stop without pulling the clutch back in, or getting back into neutral, the ATV will stall.
It may help to just practice getting the quad moving in 1st gear using the clutch and throttle for a bit. Every quad is a little different so it’s hard to say how much throttle to give, and how far to let the clutch out before it grabs. A good starting point though is to try about half throttle, and let the clutch out slowly until you get a good feel for it.
If you keep stalling your engine, you’re either not giving enough gas or you’re letting the clutch out too quickly. If the front end lifts up on you, you’re probably giving it too much throttle when you let the clutch out. It may take patience to get the hang of, but just take it easy and practice.
Once you’ve got the ‘start driving’ part down you’ll want to go faster. Luckily this isn’t as hard as getting the quad moving in the first place. To shift up a gear you want to be about 75% or more of the rpm range for your engine. You typically want to shift up in the higher rpm ranges or you will just bog down the engine. For example, being in 4th gear but only going 5mph will give you no power, and you might even stall.
To shift up, you have to let off the throttle and pull in the clutch lever all the way. With your left foot, pull up on the shift lever into the next higher gear then let the clutch out and give it throttle. Keep in mind when switching from 1st to 2nd you need to do a full click up to shift, a half click will put you in neutral.
If you feel more comfortable slowly letting the clutch out and giving gas at the same time like you did to start in 1st, that’s fine. It is not necessary though. That’s why I think shifting between gears is easier than starting out in 1st. Because you can just let off the gas, pull in the clutch, shift, let go of clutch all together, and give it gas again. You’ll be able to do this faster with time, and it becomes second nature after a while.
To downshift you do the same steps except press down on the shifter with your left foot. Keep in mind that if you down shift at a high speed you will red line your engine and could cause damage. Downshifting is only really needed when you’re slowing down. What I do is just hold the clutch in whenever I’m slowing down, and once I’ve slowed to the speed I want, I shift down into the gear best suited for that speed, and let the clutch out.
You really do need to know what gear is best for the speed you’re going. Unlike shifting up through gears, you can shift down through multiple gears at a time depending on how much you slowed down. If your ATV doesn’t have a speedometer, the best you can do is just get a feel for what speed you’re going and what gear you should be in.
This is the easiest part, but the most important, you should definitely know how to stop before you even try riding an ATV with a clutch. To come to a complete stop simply let off the throttle, hold in the clutch, and apply the front and rear brakes until you’ve stopped moving. You can down shift while you’re slowing down or wait until you’ve stopped to down shift all the way to 1st gear. Either way, it’s important that you hold the clutch in this entire time. Once you’re into 1st gear, do a half click shift up into neutral. Now you can let off the clutch and the engine will idle.
The front brake is applied by using the front brake lever on the right side of the handle bars. The front brake is typically about 3/4 of your stopping power. Some people never even touch their rear brakes at all, which is fine. To use your rear brakes apply the foot brake by your right foot. The rear brake becomes more useful when you start to learn more advanced braking and cornering, or if you just like to skid to a stop.
That’s it! now it’s time to practice, a lot. You’ll get the hang of it and you’ll want to start trying more advanced maneuvers in no time. As always, remember to wear proper safety gear. At the very least, make sure you wear a helmet, goggles, and a decent pair of boots. If you want to check out some gear I’ve tried, tested, and recommend myself, check out the Recommended Gear section of this site.
Sharing is caring!
www.istockphoto.com
enough. Therefore, the question of whether it is necessary to squeeze the clutch every time before starting the engine is still relevant. The opinions of the townsfolk on this matter are divided, but what do the experts think? The answer was found by the AvtoVzglyad portal.
Kristina Izvekova
In the last century, when the grass was greener and there were no traffic jams, drivers did not even have such a question - everyone automatically squeezed the clutch. However, since the collapse of the USSR, the auto industry has made a serious leap forward: the cars have become technically more advanced, and the need for some manipulations simply disappeared. And therefore, many thought about whether it is necessary to squeeze the left pedal before starting?
To find out, just pick up the car's operating manual - so you definitely do not miss and do not harm the units. But if there is no time and desire to read a long and boring manual, we will try to explain briefly and to the point.
www.carzrus.net
The opponents of this manipulation claim that only beginners can use the clutch. Like, they will park, leaving the car in gear, but they will safely forget about it - they will start up without touching the pedals, the car, which is logical, will twitch and drive into a fence, another vehicle or a wall.
But then another question arises: how will the squeezed clutch save them from a collision? The car will still slowly roll if it is at an angle, but for now, a completely “green” driver will realize what's what, it will be too late. It is better then to advise them to make it a habit to start the engine on the “brake”.
This is where their arguments essentially end - rather weak. Those drivers who, on the contrary, call for depressing the clutch before awakening the engine, prove their case much more convincingly.
1170904
computerizedautopro.com
442608
The depressed clutch allows you to start the engine without disturbing the gearbox shafts, which in turn removes additional load not only from the transmission itself, but also from the starter. In addition, since less electricity is used, it is easier for the battery to operate. And especially in the frosty season, when she already has a hard time.
Yes, when the clutch is depressed, the crankshaft thrust bearing suffers, forced to work almost dry, because the oil does not immediately reach it after a downtime. But it is worth noting that repairing a starter is much more expensive for a car owner, and therefore we choose the lesser of two evils.
By the way, some cars - in particular, Hyundai Solaris, Ford Focus and Renault Megane generally refuse to "wake up" until the driver presses the clutch. Yes, there are no options here - we always press the left pedal.
sinistermousemove.art
Technicians are of the opinion that it is still necessary to depress the clutch in winter. The loads on the electrical system at low temperatures are already too high, and ignoring the left pedal, we repeat, you put additional work on the nodes. Yes, the thrust bearing will live longer, but you suffer with an “unreasonably” discharging battery and reduce the starter life.
As for the warm season, here - experts advise - you need to look at the situation. If the engine starts without problems without the clutch depressed, then do not touch the pedals. It is extremely unlikely that you will cause serious damage to the units in this way.
Let's add that it would not be superfluous to look at the machine's instruction manual at your leisure. Read it once and you will never be tormented by doubts again.
257516
Why the traffic police, if there is a service from insurers
40872
Subscribe to the Avtovzglyad channel:
Car service, repair, battery
Published updated 9009.04.2021 ATVs0
Contents
New models of ATVs are equipped with an electric starter. Therefore, problems with starting almost never arise. But in older models, manual kick starter can be installed. With him, beginners sometimes have difficulties.
To start the ATV, do the following:
Start the CFMOTO 500 ATV with a manual starter?
Watch this video on YouTube
Paradoxically, but sometimes the owners of ATVs simply forget to pour gasoline into the tank. Therefore, before proceeding with the diagnosis, it is worth checking the fuel level.
It is not uncommon for the cause of the problem to be insufficient battery charge .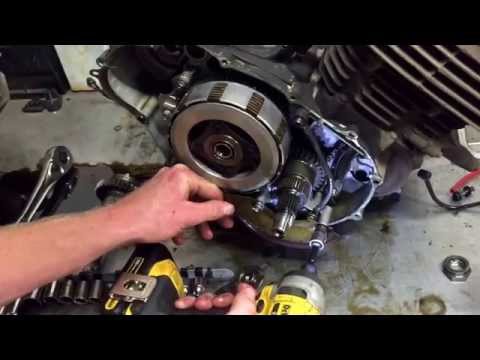 It can be charged at home. If the ATV is small, you can purchase an additional battery. The cost of batteries for budget models is relatively low.
How to start an ATV?! If the battery is dead!? Life hacks! Subscriber reply | Irbis Atv 250s | SJ8Pro
Watch this video on YouTube
If the battery is good, but the starter does not work, it may be worth looking for the cause in the starting system. It is necessary to try to close the contacts, which are located on the starter relay. To do this, you need to use a screwdriver. The relay is usually located under the seat. Two thick wires are connected to it.
If you need to find a way to start the ATV without a key, you can also follow these steps. This technique will be effective only if the system is not controlled by the central computer . Otherwise, blocking will work.
If, after the manipulations, the engine starts up, then the problem is in the launch system . Otherwise, you will need to look for the cause of the malfunction further or visit a service center.
Each ATV has a stop button on the steering wheel. Usually it is red. This button is responsible for turning off the ignition, it turns off the engine . If you do not bring it to its previous position, the engine, of course, will not start. Therefore, it is worth checking in what position the "Stop" button is located.
Another security system provided in ATVs is a special check. This is a cable that is attached to the ATV at one end and to the driver at the other. If the latter falls off the ATV while driving, check flies out and the ignition turns off. You won't be able to start the vehicle without this receipt either. If this part is lost, you will need to look for the appropriate contacts and close them directly.
Another possible reason why the ATV won't start is a blown fuse.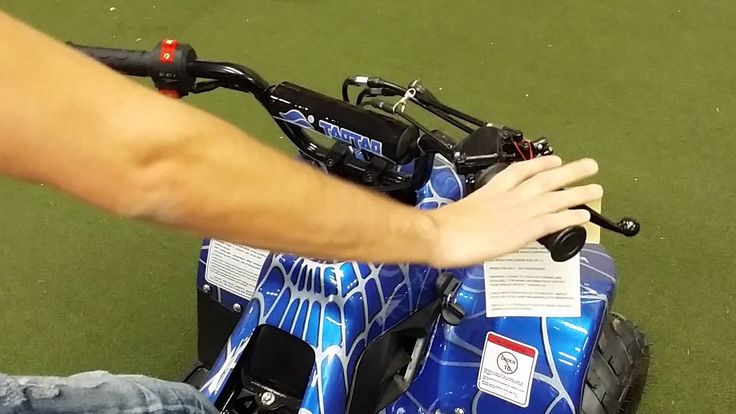 If the ATV is small, there is usually only one fuse. He is located next to the battery . The suitability of this part for operation can be assessed visually. The cost of the fuse is cheap, so it is better to have several of these parts in stock.
If there is no spare fuse, and the failure happened away from home, you can insert wire instead. This is a temporary solution that will allow you to get home. It is impossible to constantly replace the fuse with wire. You can burn much more expensive elements of the system.
This part is located under the seat or next to the motor (depending on the model). It's a small box with wires coming out of it. They are connected to the ignition coil. It is difficult to assess the health of this part, so it is better to contact a service center with a similar problem.
If the spark plug wire is broken or the ignition coil is broken, it will not be difficult to check the operation of these systems.