Fat Bike Tire Pressure 101 - Video from the Fat Bike Asinine Youtube Channel. Subscribe today!
Fat Biking Accessories and Apparel - Fat Bike Asinine Store
Tire Pressure for fat biking can be quite the adventure when you’re first starting out. It seems like everywhere you look someone has a different opinion. A regular bike pump won’t even register pressure below 10 psi. So how do you even know where to begin? In the world of fat biking the answer can be complicated.
First, there’s a huge difference between having tubes in your tires or going tubeless. Believe it or not the giant tubes help to support the sidewalls of the tire a bit. Fat bike tire tubes are very durable compared to regular size mountain bike and don’t seem to be effected by "snake bite" style punctures.
You’ll notice the difference if you go from tubes to tubeless when airing up your tires. It seems that tubeless tires need a little more air pressure to keep shape.
That being said, it’s important to experiment with different tire pressure whenever possible. The more you know how they feel at varying amounts, the more easily you’ll be able to select the correct pressure for your rides in the future. Go to high and you’ll be bouncing off of everything. Go to low and you’re bound to get a nasty rimshot. Not to mention the extreme rolling resistance you get when going too low.
I have gone over unpacked snow and loose sand with 1-3 psi. While you can ride over anything like that with super low tire pressure, the rolling resistance is almost 100%. Meaning every pedal stroke only moves you a short distance before you come to a full stop. Not too fun, but great for exercise and training.
I recommend that you purchase an air pressure gage that is designed for low pressure. Here’s the reliable one I use and recommend as it's small and packable.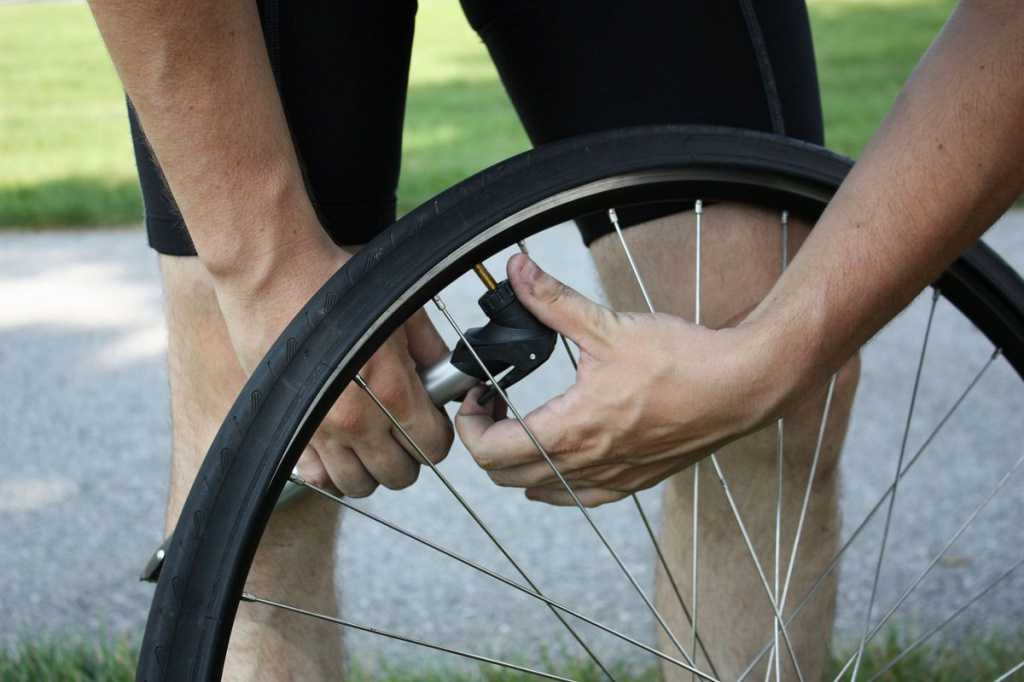 Meiser Presta It’s very portable and gives readings for fat bikes and mountain bikes up to 30 psi. It’s designed to fit a Presta valve. With a gage like this you can really hone in tire pressure for fat bikes. 12 psi in the fat bike world is actually pretty high believe it or not. Couple this gage with a small handheld air pump and you can experiment while out on the trail (of course the small size pump will take a little extra effort to inflate fat bike tires).
Average weight rider of 170 lb. - For a good starting place use the chart below. *Use a little more air for heavier riders:
The above chart is a great starting off point and should get you confidently riding a variety of terrain in no time. Doing a "squeeze check" with your hands on the tires will help you learn to air your tires without a gage. It's more about feel than anything for fat biking tire pressure. I prefer to ride with a little more pressure in the back tire since that's where my weight is. The front tire I like to be softer so it has some shock absorbing properties.
In general, your fat bike will let you know if you have the wrong tire pressure. If you go too low then the sidewalls of your tires won't hold up and you will be out of control while riding around even the smallest turns. Plus, you will begin to experience "auto turn" where the fat bike can't maintain a straight line and goes where it wants to. Just get out there and experiment with different tires and tire pressure, try tubeless if you can and just have fun learning. You'll be an expert in no time! For more fat biking tips and information check out the Fat Bike Asinine Youtube Channel and subscribe today.
Fat Biking Apparel and Accessories Store http://fatbikeasinine.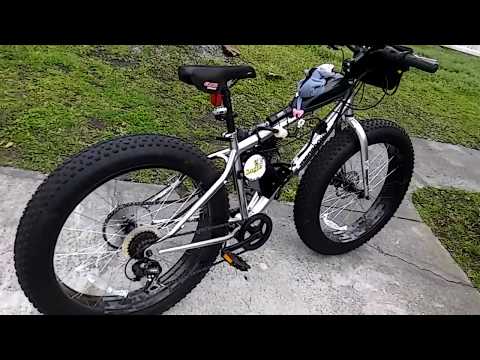 com/
com/
Thanks for reading. Look for regular blog uploads from Fat Bike Asinine. It is going to be fun. If there’s anything you think would be good to discuss on this blog send an email to [email protected] Until Next Time… Go Fat Biking!
Disclosure: Some of the links below are affiliate links, meaning, at no additional cost to you, I will earn a commission if you click through and make a purchase.
Although gaining in popularity, many people still see fat bikes as a bit of a novelty. Whether it’s on the trail or outside the garage, these odd-looking contraptions attract a lot of attention. It’s unsurprising that whenever I show off my fat bike (which I do often), people’s attention usually goes straight to the tires. And for good reason. The tires are what set fat bikes apart from their other two-wheeled cousins. Once onlookers get over the initial shock of seeing such a cartoonishly-large tire, the question of fat bike tire pressure usually comes up.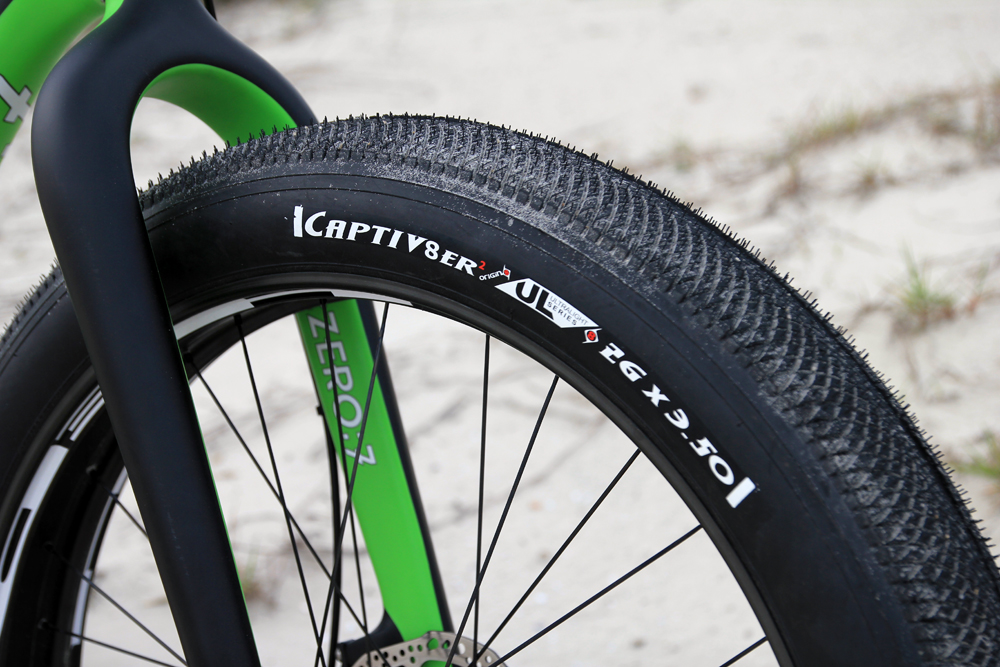 The answer often catches people off-guard because the pressures are so low.
Of course, there are good reasons for using such low pressures. And, while they always remain low, they can vary depending on riding conditions. This is true for both summer and winter fat bike riding. On top of that, fat bikes use pressure so low that a standard floor pump will have a hard time measuring them.
By following the basic guidelines outlined in this article you’ll be dialing-in the tire pressure on your fat bike like a pro in no time.
Sound confusing? Don’t worry, by following the basic guidelines outlined in this article you’ll be dialing-in the tire pressure on your fat bike like a pro in no time.
Many people are surprised to hear that I use tire pressures of between 4.5 and 6.5 PSI (pounds per square inch) in my fat bike tires, depending on conditions. But these numbers aren’t that far-fetched when you consider the large volume of the tire and how they are going to be used.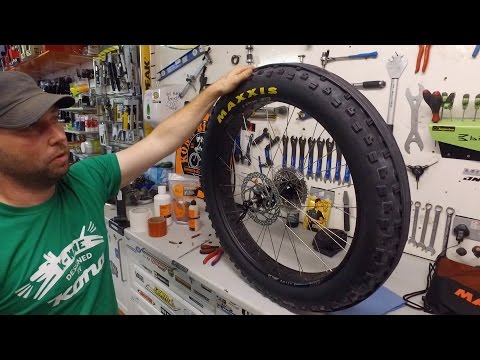
Note: For those who prefer to measure their tire pressure in Bar, 14.5 PSI is equal to 1 Bar.
As a comparison, let’s look at the pressures in a few different types of common tires:
Of course, these numbers are for informational purposes only. Each of the pressures used in these different types of tires will depend to some degree on usage conditions and user preference. But when you look at them next to each other some patterns begin to emerge.
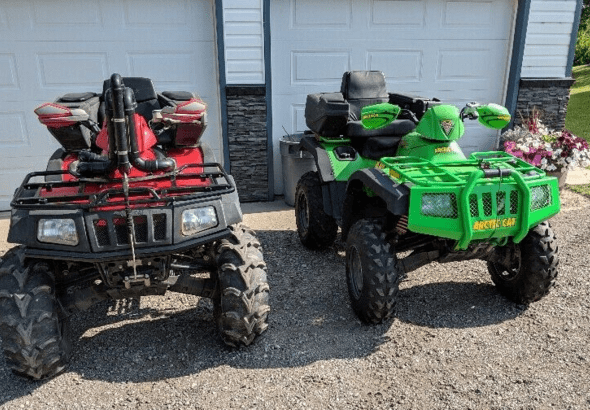
As tire volume increases, the desired pressure decreases. This is evident when comparing the road bike tire against the mountain bike tires and the car / truck tires against the ATV tires. In essence, a larger volume tire with lower pressure will have a similar feel to a lower volume tire with higher pressure.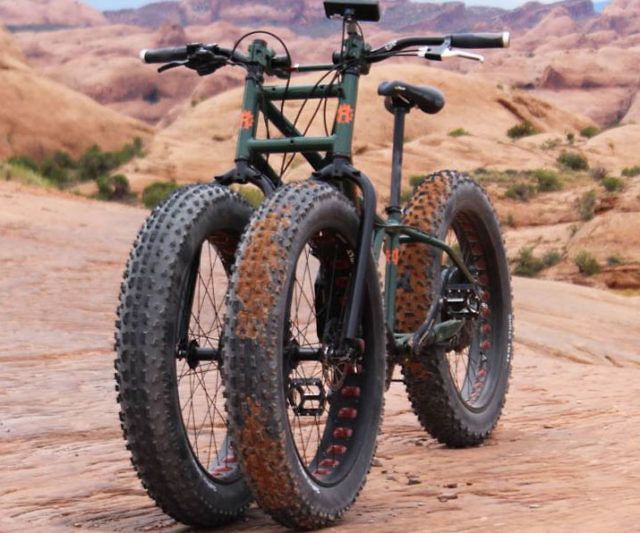
In addition, the tire pressure is lower again in tires that require more traction on potentially uneven or soft surfaces. For example, the nature of mountain biking means a mountain bike tire will require more traction over uneven or soft surfaces than a road bike tire will.
What we can take away from these patterns is that fat bike tire pressure is so low because of the combined effect of large tire volume and the need to use them on soft and/or uneven surfaces. It all boils down to the larger the tire volume, the lower the pressure, and the more need for traction or float, the lower the pressure again.
The volume of the tires on your fat bike is constant—it doesn’t change. So if conditions were always the same, you could pick a tire pressure (say 5 PSI), set it and forget it. But fat bike conditions can vary widely: soft snow, ice, sand, asphalt, etc.
These conditions can change from ride to ride (and even within the same ride) and will affect how you set your ideal tire pressure. Let’s take a closer look at how and come up with some solid tire pressure numbers to use as a starting point.
When it comes to fat biking, soft snow conditions have different traction/float requirements than hard-packed snow, and the same is true for riding on sand vs. riding on asphalt. There are two ways you can change the traction characteristics of your fat bike tires: swap tires with different tread patterns or change the tire pressure. Here we’re concentrating on the most convenient and cost-effective of the two methods, adjusting the tire pressure.
When it comes to tire pressure, it doesn’t really matter whether you’re riding on soft snow or sand, asphalt or hard-packed snow and ice. It only really matters whether the surface you are riding on is hard or soft.
Of course, things like ice can throw a bit of a wrench into the works and in this case you might want to consider studded tires.
I’ve covered the pros and cons of studded fat bike tires here.
Generally, soft conditions in winter exist after a snowfall (before the trail has been groomed or packed by riders), or when the air temperature rises to the point that hard-packed trails begin to melt and soften. In snow-free conditions, soft can mean sand or wet/muddy trails (even on a fat bike it can be bad form to ride wet or muddy trails).
In either case, the goal here is to try and stay on top of the snow, sand, or mud and not get bogged down.
Some would say that simply the sheer size of a fat bike tire should keep them floating on soft surfaces. They would be right, to a degree. But float and traction can be further increased through pressure adjustments. And for soft conditions, low tire pressure is the name of the game.
When riding in soft conditions like these, you want your tire to float on top of the snow rather than cut through and get bogged down. (Luke Marshall/RideSphere)
Low tire pressure is ideal in soft conditions because when you sit on the bike, weight is applied to the tires and the low pressure allows them to flatten out. As they flatten out, the surface area increases. This spreads out the weight over a larger area, allowing the tires to float on top of the snow (or at least not sink as far as they would with less surface area).
At the same time, the enlarged surface area also improves traction in soft or loose conditions.
Hard-packed trail conditions usually come about in winter when a route has seen significant use and no new snow. Add some minor daytime thawing and an overnight freeze to the mix and you can end up with winter fat bike trails that are hard as a rock.
In summer, most dry singletrack would be considered hard-packed as would man-made surfaces such as asphalt.
In these conditions, float is no longer an issue but rolling resistance becomes a consideration.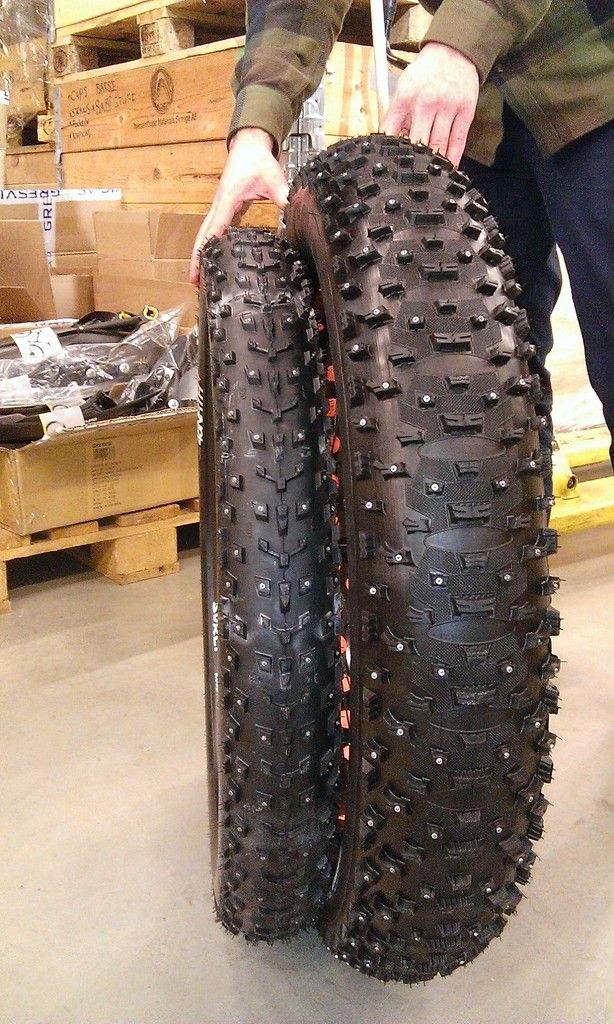 Very few people are looking to make their ride more difficult than it needs to be. Most of us would rather ride farther and faster than shorter and slower. To do this, we want our tires to have as low rolling resistance as possible. And this means increasing the tire pressure.
Low tire pressure increases surface contact and float, but it also adds to a tire’s rolling resistance. Increasing the tire pressure reduces the surface contact and thus the rolling resistance of the tire. This all means that you will be able to ride farther and faster with the same amount of effort just by increasing your tire pressure.
It’s great when you are confident that trail conditions are either consistently hard or soft. It makes deciding on a tire pressure easy, and you’ll know you have the right one for the job.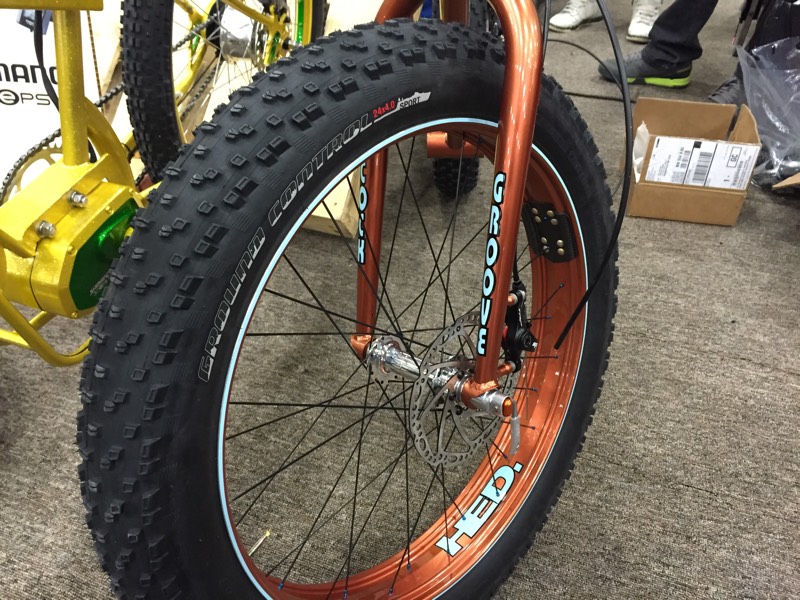 But trail conditions aren’t always that straightforward.
Much of the time, your ride will consist of some mix of hard and soft packed conditions. What to do then? Compromise!
Mixed conditions, like this new snow over hard-packed snow, call for compromise when it comes to tire pressure. (Luke Marshall/RideSphere)One option for dealing with mixed trail conditions is to change your tire pressure on the trail as conditions change. But this is time-consuming and if conditions are truly mixed, it’s impractical. You’d be spending more time off your bike adjusting pressures than riding. Instead, I would suggest simply setting your tire pressures to ones that are in-between what you would use for hard or soft conditions. This way you will retain some float when conditions are soft and minimize rolling resistance when conditions are hard.
This is all great in theory, but let’s get down to some practical numbers we can actually use. Here are the tire pressures I use for the conditions discussed above:
NOTE: These pressure suggestions are based on a 5-inch width fat bike tire. In order to match the performance of these pressures to a 4-inch tire, they would need to be slightly higher. Also, please keep in mind, these are just a starting point. Rider weight, rim width, and other factors will determine what pressures will work best for you. Experimentation is key!
Now, it may seem that the differences between these pressures are small, but when using pressures this low, these small numerical differences have a big practical impact.
This leads us to another issue. How to measure tire pressures when they are this low and the differences are so small.
Most floor pumps and small hand pumps won’t even register tire pressures as low as 4.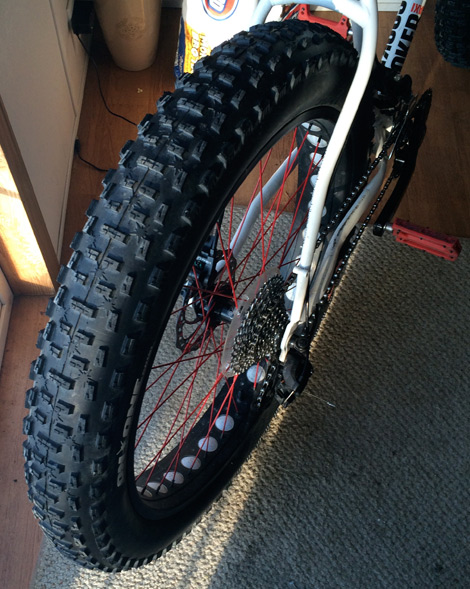 5 psi, let alone be able to accurately gauge the difference between 4.5 and 5.5 psi. This is where a low pressure gauge comes in.
Of course, some riders are happy to go by feel alone, and this is certainly an option for determining your tire pressure. But if you want to be able to reproduce different and specific tire pressures time and time again, you’ll need a low pressure tire gauge.
Most low-pressure gauges aren’t attached to a pump. They are standalone devices used solely for the purpose of measuring tire pressure. They are more accurate than most floor pump gauges and in many cases will measure pressures to one-tenth PSI.
Most are small and can easily fit in a hydration pack or hip sack so you can take one with you as part of your fat bike kit.
I don’t carry one with me on rides. But I always use one at the trailhead prior to each ride to dial-in my tire pressure.
Below is an example of a small gauge made by Topeak, the D2 SmartGauge.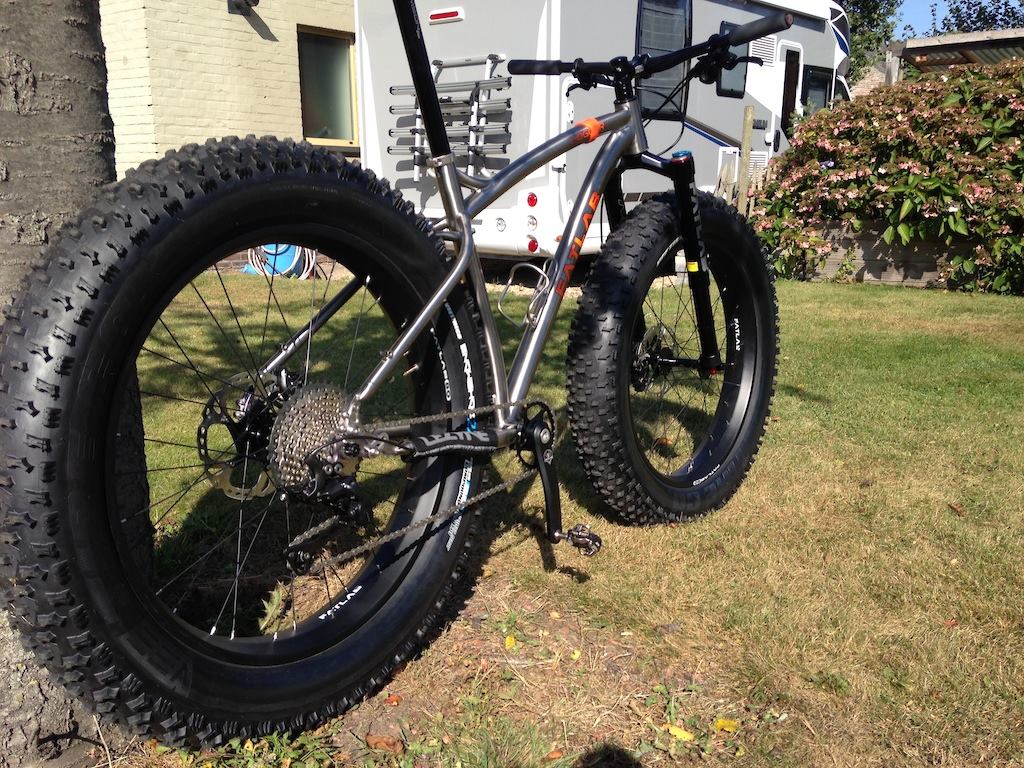 It is capable of measuring low and high tire pressures, so it can be used on all of your bikes. It displays readings in PSI or Bar and fractions thereof.
Buy USA / Canada:
While trail conditions (hard, soft, or mixed) are the main factors in determining fat bike tire pressures, it’s worth considering the following points as you search for that tire pressure sweet spot.
Low tire pressure means better float and traction. But taken to the extreme, low pressure can do more harm than good. You don’t want to lower your tire pressure too much as this can lead to flat tires.
If you use tires with tubes, extremely low pressure can result in pinch flats. This occurs when the tire folds too much under pressure and pinches the tube between itself and the rim. Some of the time this results in a hole in the tube and loss of air pressure.
Tubeless fat bike tires allow riders to lower the pressure without needing to worry about pinch flats; however, they can have issues of their own. The most common issue is ‘burping’ the tire. This happens when the bead of the tire momentarily separates from the rim, releasing air. Sometimes the amount that escapes is unnoticeable, but large amounts of air can escape this way, leaving the tire flat. Fixing this is simple: just refill the tire with air. A ‘burped’ tire rarely sustains any damage.
At the other end of the spectrum, it is also possible to over-inflate a tire. Many fat bike tires will come with a max psi rating imprinted on the side of the tire. For example, a 45Nrth Dillinger 5 tire calls for a maximum pressure of 30psi. It is rare that you would want to inflate a tire to, or above this rating. This can result in poor ride quality and possible injury.
Inflating a 5-inch tire such as the Dillinger 5 to 30 PSI would result in a very rough ride. Even on hard-packed surfaces, this amount of pressure is overkill; something as high as 10 psi would result in a very firm ride with minimal rolling resistance.
The only time you might want to inflate a tire to its maximum PSI rating is when attempting to seat a tubeless tire onto a rim. In this case, it is sometimes necessary to inflate the tire past the pressure you would use on a ride to make sure the bead fully pops into place on the rim. Again, this is only temporary. Once the bead is seated, the pressure can be lowered to something more comfortable for riding.
A tire should never be inflated past its maximum PSI. Doing so can result in damage to the tire and even injury.
Just as over-inflating a tire can produce a very rough ride, low tire pressure can help smooth things out. If you’re more interested in smoothing out the bumps than about speed and low rolling resistance, using a low tire pressure can make your ride more pleasant. This is the case whether you’re on a fully rigid (no suspension) fat bike or a full suspension one.
Lower pressure allows the tire to conform to small and medium-sized bumps and objects on the trail. As a result, the tires soak up some of the impacts those bumps might have as they travel from the tire through to your body.
As with everything else in life, there is no one-size-fits-all solution when it comes to fat bike tire pressures. Every rider is as different as the conditions of the ground they are riding on.
Think of this guide as a jumping-off point to find out what works best for you
The pressures we’ve discussed here are meant to be a starting point for you to experiment with and find what works best for you. Having said that, it is unlikely you’ll want to stray too far from the pressures outlined above. Anything significantly lower can result in flat tires and your rim coming in contact with the ground.
On the other hand, if you opt for significantly higher pressures than those discussed here you may be left feeling like the Flintstones riding on a piece of rock (I think that’s what their ‘wheels’ were made of).
Think of this guide as a jumping-off point to find out what works best for you. Get out there, have some fun and experiment!
If you have any questions or comments, please leave them in the comments section below, or you can contact me directly from our Contact page.
Don’t forget to Join the Sphere by signing up for our newsletter so you won’t miss out on any of our new content, events or special offers!
Measure the tire pressure of a wide-wheel bicycle with a pressure gauge. For inflation, due to the large volume of air in the wheels, it is better to use high-pressure floor pumps. They have a built-in pressure gauge that gives accurate readings, which is doubly convenient.
Tire pressure depending on C° of outside air
| Room temperature, °C | 1.7 | 1.3 | 1.0 | 0. 7 7 | 0.3 | 0.0 | 0.0 | ||||
| 4.5 | 3.5 | 3, 1 | 2.8 | 2.4 | 2.1 | 1.7 | 1.4 | 1.1 | 0.7 | 0.4 | 0.0 |
| 222222 5 | 3.9 | 3.6 | 3.2 | 2.9 | 2.5 | 2.2 | 1.8 | 1.5 | 1.1 | 0.8 | 0.4 |
| 5.5 | 4,4,40013 | 4.1 | 3.7 | 3.3 | 3 0 | 2.6 | 2.2 | 1.9 | 1.5 | 1.2 | 0.8 |
| 6 | 4.9 | 4.5 | 4 ,1 | 3.8 | 3.4 | 3.0 | 2.7 | 2.3 | 1.9 | 1.5 | 1.2 |
| 6.5 | 5.4 | 5.0 | 4.6 | 4.2 | 3.8 | 3.5 | 3, 1 | 2.7 | 2.3 | 1.9 | 1.6 |
| 7 | 5. 8 8 | 5.4 | 5.1 | 4.7 | 4, 3 | 3.9 | 3.5 | 3.1 | 2.7 | 2.3 | 1.9 |
| 8 | 6.8 | 6.4 | 6.0 | 5.6 | 5.1 | 4.7 | 4.3 | 3.9 | 3.5 | 222222 3,1 | 2,7 |
| 9 | 7.7 | 7.3 | 6.9 | 6.4 | 6.0 | 5.6 | 5.2 | 4.7 | 4.3 | 3.9 | 3.5 |
| 10 | 8.7 | 8.2 | 7.8 | 7.3 | 6.9 | 6.4 | 6.0 | 5.6 | 5.1 | 4.7 | 4.2 |
| 11 | 9.6 | 9.1 | 8.7 | 8.2 | 7.8 | 7.3 | 6.8 | 6.4 | 5.9 | 5.4 | 5.0 |
| 12 | 10. 6 6 | 10.1 | 9.6 | 9.1 | 8.6 | 8.1 | 7.7 | 7.2 | 6.7 | 6.2 | 5.7 |
| 13 | 11.5 | 11.0 | 10.5 | 10.0 | 9.5 | 9.0 | 8,5 | 8.0 | 7.5 | 7.0 | 6.5 |
| 14 | 12.4 | 11.9 | 11.4 | 10.9 | 10.4 | 2222 9.9 | 9.3 | 8.8 | 8.3 | 7.8 | 7.3 |
| 15 | 13.4 | 12.9 | 12.3 | 11,8 | 11.2 | 10.7 | 10.2 | 9.6 | 9.1 | 8.6 | 8.0 |
| 16 | 14.3 | 13.8 | 13.2 | 12.7 | 12.1 | 11.6 | 11.0 | 10.5 | 9.9 | 9.3 | 8.8 |
| 17 | 15. 3 3 | 14.7 | 14.3 | 13.6 | 13.0 | 12.4 12.4 12.4 12.4 12.4 | 11.8 | 11.3 | 10.7 | 10.1 | 9.6 | 18 | 16.2 | 15.6 | 15.0 | 13.9 | 13.3 | 12.7 | 12.1 | 11.5 | 10.9 | 10.3 |
| 19 | 17.2 | 16.6 | 16.0 | 15.3 | 14.7 | 14.1 | 13.5 | 12.9 | 12.3 | 11.7 | 11.1 |
| 20 | 18.1 | 17.5 | 16.9 | 16.2 | 15.6 | 15.0 | 14.3 | 13.7 | 13.1 | 12.5 | 11.8 |
What is the optimum tire pressure for a fatbike depends largely on the weather season. You can calculate the required value using the following formula:
P = (P 0 + P atm ) × (1 + a × Δt) – P atm
where:
P – desired pressure at outdoor temperature t;
P 0 - initial pressure at room temperature t 0 ;
P atm - atmospheric pressure;
a = 1/273°C -1 - constant temperature coefficient;
Δt = t - t 0 – temperature difference between outdoors and indoors;
t – outside air temperature;
t 0 – room temperature.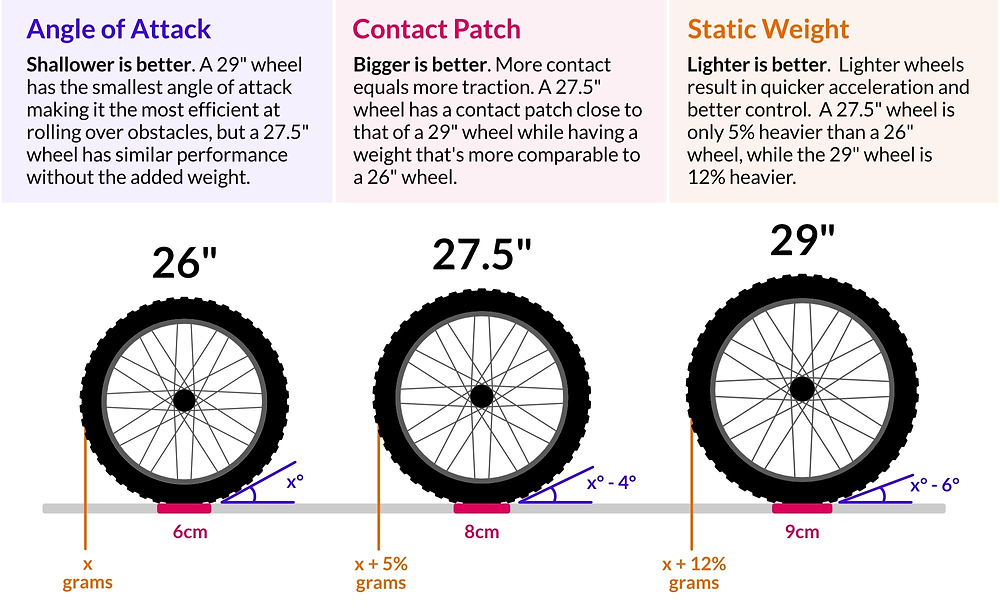
The units are Atmosphere, Bar, Psi or Kilopascal. All units are converted to one another using the formulas:
Fat bikes are easy to distinguish from other types of bikes due to their most recognizable feature, the fat wheels. Fatbike wheels are 3.5 to 4.8 inches wide. Tire pressure varies from 5 PSI (soft, easily flowing around all sorts of obstacles on the way) to 30 PSI (hard as a stone). The ability to change the pressure depending on the conditions of use of the fat bike provides it with the versatility and qualities of an all-terrain vehicle.
Weakly inflated tires seem to spread, smoothly bypassing all the bumps, and allow you to drive on almost any terrain: rocky or swampy terrain, sand, grass, snow. But it is more difficult to pedal and enter turns with weak pumping. Therefore, to drive on a relatively flat surface, the pressure in the wheels of a fat bike is increased to a standard value.
Created and named the fat-bike Mark Grunwald, Alaska-based founder of the Wildfire Fatbike Company. He sought to provide the bike with high cross-country ability on snow and soft soils. To do this, the decision was made to stretch the widest 3-inch tires at the time on 80 mm rims to a width of about 3.5 inches. As a result, the contact area between the tires and the road surface increased. Over time, various companies began to produce wide tires and equip "all-terrain" bikes with them.
Fatbikes are identical in design to mountain bikes. They have the same attachments: brakes, cassettes, chain, system, switches. But the fatbike also has wide wheels that provide it with excellent cross-country ability even in difficult places. Thick tires allow you to use the fatbike all year round, including riding on loose ground, snow, mud and off-road.
How much to pump the wheels on a fatbike depends on the terrain you plan to ride. Tire pressure can be from 0.2 to 2 atm. The lower it is, the better the tires wrap around stones, tree branches and other bumps on the way. Thanks to the large volume of air inside the wide chambers, tires at low pressure hold their shape confidently and provide the ability to move in almost any conditions.
Fat bikes are single speed. Typically, these bikes use a rigid fork. Wide tires provide a smooth ride and effectively absorb bumps, which eliminates the need for additional shock absorbers. Fatbike weighs 14-17 kg, including tires - 1.3-1.5 kg, rims - about 1 kg each, camera - 450 g, rim tape - 140 g. Together with the hub and spokes, each wheel weighs about 3.3 kg. If an electric motor is installed on the wheel axle of a fat bike, the mass of the motor, controller and battery is added to the weight of the structure. But there is no need to pedal.
Fatbike wheel diameters vary: 20, 24, 26 inches. The main components of the wheels are:
 It is located in the center of the wheel, holds the spokes and provides rotation. Affects driving safety and rolling. Fatbike bushings are characterized by high strength and increased length, usually 135, 142 or 150 mm.