1A Auto Team 1A Auto Blog Home
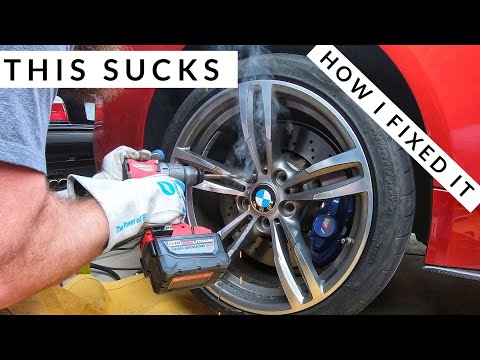
If the tire won’t come off after the lug nuts have been removed, there are a few steps you can take to get the wheel off. This post and video reviews how to remove a stuck tire yourself with a few simple tools and how to keep this problem from reoccurring.
In these examples the tire has an aluminum rim and corrosion is sealing the wheel to the brake disc.
4 Different Methods to Remove a Stuck Tire
With the vehicle well supported, tighten one lug nut and pull the tire off. The lug nut may prevent the tire from pulling off unexpectedly.
See this in the video above at 0:24.
If the above method does not work and the tire is still stuck, tighten the lug nuts on loosely by hand and lower the car to the ground. Lowering the vehicle and putting weight back on the wheel might pop it loose.
See this in the video above at 0:39.
At this point, if the tire doesn’t loosen, shake the vehicle from side-to-side.
See this in the video above at 0:59.
If the above methods don’t work, place a long pry bar to the back of the rim and try to jostle it free without hitting any brake lines or other parts.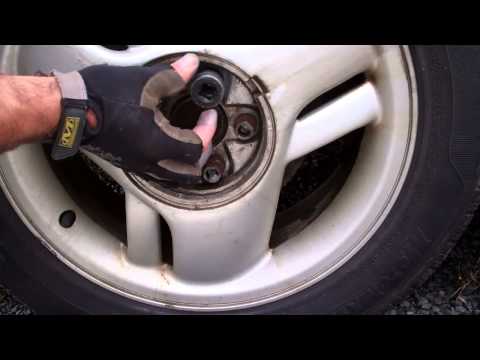
See this in the video above at 1:26.
Once the wheel moves and breaks free, remove the remaining lug nuts and remove the wheel.
To prevent a tire from sticking, apply a dab of anti-seize compound and lightly coat the back of the rim. Spread and remove the compound with a paper towel.
If you do not have anti-seize compound, dip a paper towl into the motor oil and apply a thin coat to the back of the rim with the paper towel. Don’t apply too much so motor oil doesn’t leak onto the brakes.
Once the back of the wheel is coated, put the wheel in place.
Summary
Having a stuck wheel on your car can be really frustrating, especially when you got a flat tire by the side of the road. Here are a few tips on how to remove a stuck wheel easily
You have a flat tire, and you jack up the wheel, but it refuses to come off. What could have happened?
Changing a wheel should not be this hard, but a wheel can get stuck due to rust accumulation. This corrosion appears in the area between the wheel and the hub. This makes it hard to remove the wheel because it feels permanently welded to the hub.
If you are changing the wheel alone and there is no one to give you that necessary muscle, consider some of the following tire removal tips.
If you leave your car in an area exposed to snow and road salt, then these elements can get into your aluminum alloy rims and into the hub, where they cause corrosion. These corrosive elements tightly glue your wheel to the hub, making it almost impossible to replace a worn-out tire.
It is not only aluminum wheels that have this problem. Steel wheels are also affected, and it can happen under any climate conditions after some time.
We recommend purchasing some synthetic grease to apply to the wheel hub and rim to prevent this problem from happening. Do this the moment you purchase a new car or during the first wheel replacement.
So let’s find out the best methods of removing a stuck wheel.
RELATED: What is Cross-Threading a Wheel Nut/Stud?
Here are a few tips from me, which I usually use to remove stuck wheels. Remember always to use safety equipment and get help from a professional mechanic if you are not sure about how to do it. Follow these steps to remove a stuck wheel:
Total Time: 10 minutes
If you are near a service station or a garage, you can use this simple trick to remove a wheel stuck on your car. Loosen the wheel stud nuts but do not remove them altogether. Just loosen them 1-2 turns. Lower the car and drive a few feet forward and backward. Repeat this process on level ground. Jack up the car and remove the nuts.
The wheel should have loosened, and you should now be able to remove it. Ensure that when driving the car, the nuts are not so loose that they fall off. You should also drive very slowly, so as to avoid any accidents.
If you have aluminum alloys or steel wheels, then the likelihood of rust/corrosion developing on the hub is high. You can use a rust removal lubricant to loosen the wheel. For this procedure, first remove the wheel cap and spray the wheel studs. You can use lubricants like PB Blazer or Liquid Wrench.
After spraying the studs, do the same in the area where the wheel intersects with the central hub. Give the spray around 15 minutes, and then try to get the wheel loose again by giving it a slight punch or kick.
After jacking up the car, remove all wheel bolts or nuts except one. Use your foot to hit the tire while it is off the ground. Check that your car is standing on the jack stands safely. Rotate the wheel and hit it with a kick again. With continuous effort, the wheel should separate from the hub, and you can then comfortably remove it after unscrewing the last bolt.
This method of removing a wheel stuck on the car is better than using a hammer to hit the stuck wheel. The force from a hammer will destroy the wheel rim and bolts. Once you have removed your tire, use some sandpaper to remove any rust on the hub. The next time you re-install the wheel, apply some anti-seize.
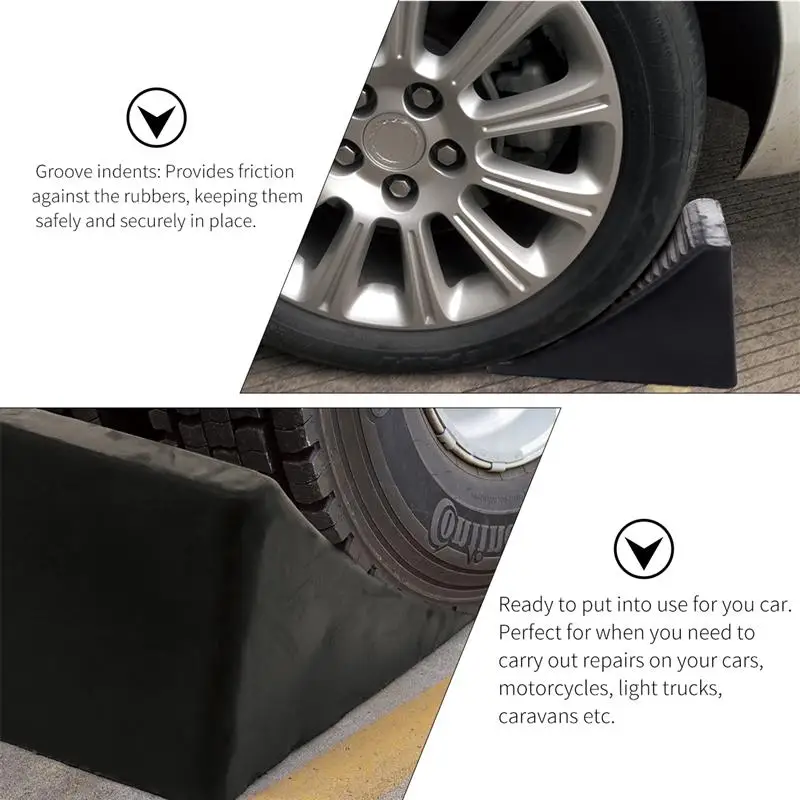
While this technique is not safe, you can try it out when you have run out of options with a wheel stuck on the car. The first stage is to jack up the car. Before proceeding, ensure that the car is secure on the jack stands. Find lumber measuring 2X4 inches and place it in the space between wheel and tire.
Pick up a heavy-duty hammer and then get under the car. Place the lumber across the wheel and tire and use your hammer to hit the lumber. This will free up the wheel and enable you to carefully remove it from the hub. It is important to note that this method can be quite dangerous because you are under the car. If your jack stands fail, the car will collapse on you, killing you instantly. You also need to be quite strong to use the hammer effectively for this purpose.
This is the method I’m using myself, and it has solved this problem thousands of times. Spray some lubricant around the wheel hub and bolts if possible. Then place some protection on the rim at the point where you put the crowbar.
Get a long crowbar and put it between the rim and wheel spindle or control arm, depending on the best location. Check the image above.
You need to be a little bit careful with this technique, as it may damage the rim. However, it is an incredibly effective method that works every time.
If you have tried all the techniques mentioned above and your wheel is still stuck, you may be forced to take it to a tire service station. This is better than hitting the wheel with a hammer and destroying your bolts, hub, and rims. Just be honest and tell them that the wheel is stuck.
Having a wheel stuck on the tire is not a pleasant affair – especially when you are in a hurry. The main cause of a wheel stuck on the tire is when corrosion forms in the area between the rim and hub. This corrosive element acts like strong glue and can cause problems removing the wheel from the hub. There have been various solutions proposed to remove the tire, each with its set of pros and cons.
The easiest technique to remove a stuck tire is to find a lubricant and spray it into the spaces in the rim against the hub. The lubricant is effective in dissolving the rust formed.
You can also jack up the car and leave one bolt on the wheel. Use your leg to hit the wheel until it comes loose. Some people use a heavy hammer or torch to dislodge a stuck tire, but this can cause damage to the rims. It also requires some muscle.
Learn more:
Categories: Tires, Guides
The motorcycle gives a feeling of freedom, allowing you to discover new routes. However, in reality, this freedom can turn into a trap in an instant if you are unlucky enough to puncture a tire somewhere in the middle of the road. The feeling of annoyance will be ten times stronger if there is no way to fix a punctured wheel. At this point, it remains only to hope for cellular communication and help from other drivers on the road. Therefore, consider the basic recommendations for repairing a motorcycle tire on the road.
Always keep a rubber band or tire repair insert in the trunk. This simple tool will add peace of mind on the road. It will be much better if you learn how to use it in advance. You don't want to be the guy who has the right tool but lacks the skills to fix a problem, even something as simple as fixing a tire, do you?
The repair technology for tube and tubeless tires is different, but both types are subject to restoration (at least to such a state as to get home). Repairing a tubeless tire is easier. Repairing a tubed tire requires removing the wheel, removing the tire, and removing the tube to install the patch.
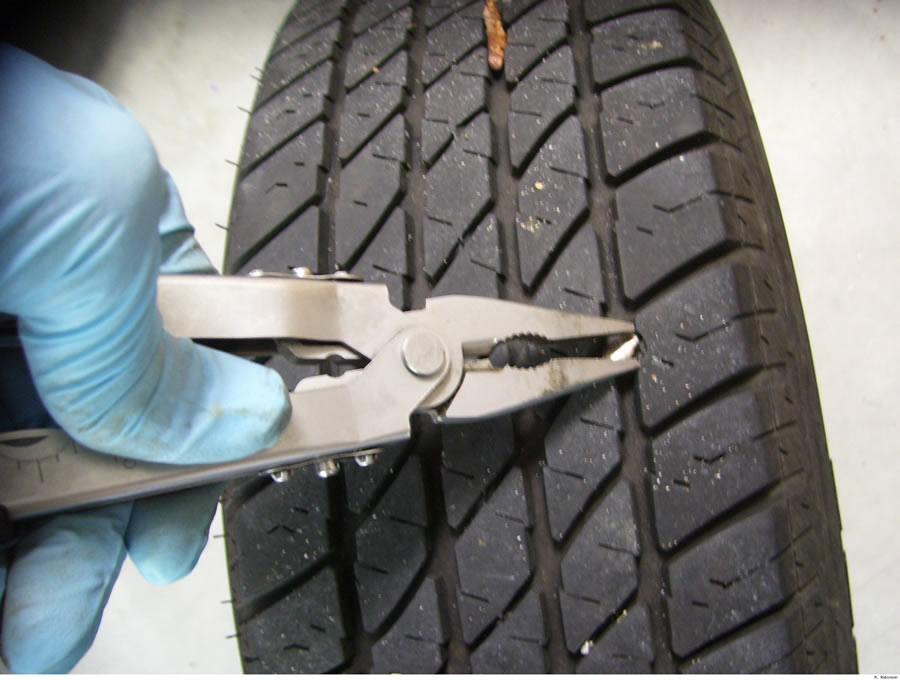
So you run over a nail, screw, glass, or that damned sharp stone and punctured a motorcycle tire. If the object that caused the damage is still in the rubber, the first step is to remove it. Pliers are great for this. Therefore, you should always keep this tool in the trunk: with it, you need to grab an object sticking out of the tire. Try to pull it out along the same path that it entered the tire so that the puncture does not increase and become torn.
After removing the object, clean the edges of the pierced hole. To do this, the repair kit must have a special tool - a tool for cleaning holes. All debris and rough edges must be removed to create a surface for patching.
Then you need to install a patch. Different kits offer different types of patches, so you should read the kit's manual to complete this step correctly. However, there are two main types of patches: long cord patches and fungus patches. Some kits may include adhesive to bond the patch to the tire rubber.
Patches or cord inserts are supplied with an awl for installation. It is necessary to bend the cord in half, and thread one half into the tool. This is necessary for a tight fit of the material. Next, bring the cord into the hole until it protrudes above the tire by about 1 centimeter. Then you can pull it out of the awl and put the tool aside. Take a knife and cut off the excess patch material by about 0.5 centimeter.
Fungus patches (plug and play type) require the use of a special tool for installation. Again, you must follow the instructions for the specific repair kit. Then stretch the patch material with pliers. When the puncture is closed, you can cut the patch over the tire.
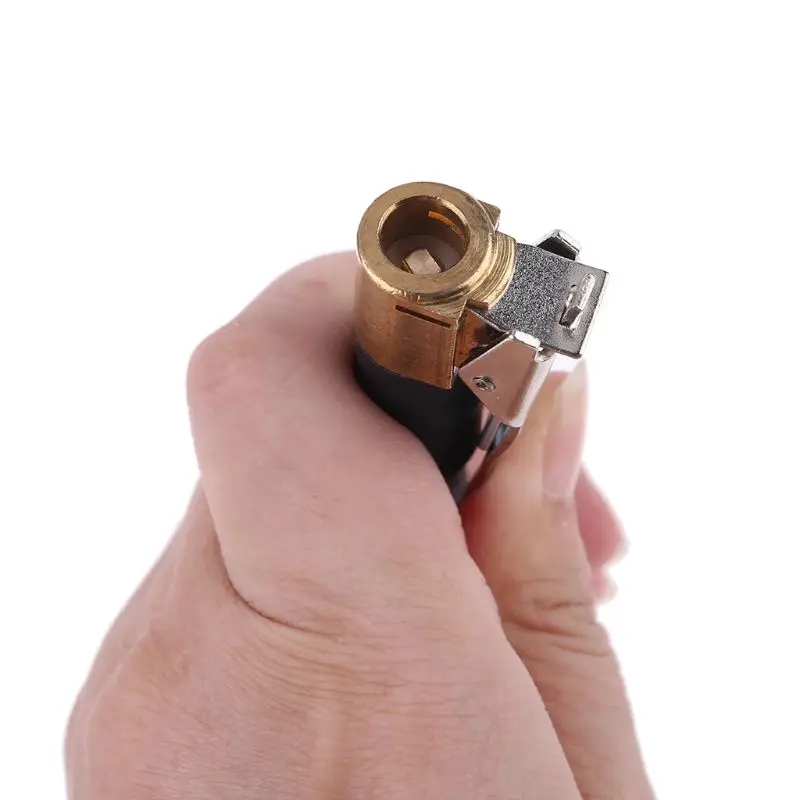
After installing the patch, the tire needs to be inflated. For repairs on the road, you will need either a 12V electric compressor that can be connected to the motorcycle's electrical system, or a CO bottle 2 . Carrying a compressor with you is not always convenient. A more compact and more portable option is to use the small CO 2 bottles in combination with the tire inflator. This is the fastest way to inflate tires on the road.
If possible, apply some soapy water to the patch to make sure it is airtight. If there is a leak, you will see tiny air bubbles around the repaired area.
On-road retreading of tube tires is a more labor-intensive process. If your motorcycle is equipped with such tires, then you will need a few more tools to repair them. In most models, you will have to remove and disassemble the wheel in order to get to the camera. The vehicle owner's manual should describe how to do this and what tools to pack in your luggage. In addition, you will need a tire removal tool. It makes the job easier.
Once the inner tube has been removed from the wheel, the remaining air must be completely bled out. The next step is to prepare the camera for patching. The repair kit should include a special scraper to roughen the surface around the punctured hole. This treatment is necessary to ensure adhesion of the patch to the chamber material.
After completing the preparation, you can start installing the patch. Follow the instructions in the repair kit manual. Some patches come pre-applied with adhesive, while others require the use of the included adhesive. It is necessary to place the patch on the damaged area of the tire and lap it firmly, moving from the center to the edge, to ensure a snug fit without air bubbles.
Now that the tube has been repaired, the tire needs to be checked to make sure the object that caused the puncture has been removed from the tire. Then you can install the camera and tire in place, after which it remains only to pump it up. If possible, the tire should be checked for leaks.
So, after retreading a tire yourself, the best solution is to immediately go to the nearest tire repair shop. Specialists will perform a much more efficient repair, guaranteeing driving safety.
For tube tires it would be nice to just replace the tube. According to many riders, the peace of mind that a new tire guarantees is much more than its small cost.
Tire repair kits are space-saving and easy to use. Every motorcyclist should have this kit in their gear to make quick repairs on the road.
Side cuts, bulges, or other tire defects are common. But it is far from always necessary to immediately start collecting money for a new set of tires, because there is a chance to repair the damaged one. Of course, it is always better to carry out repairs in a specialized service center, but you can often do it on your own. It is worth noting that it is easier to repair tube tires, since their design allows you to disassemble and eliminate the problem qualitatively, restoring the tire's performance. With tubeless products, this is far from always the case, since there a violation of integrity is most often critical and really serves as a reason to buy a new set of rubber.
Tube tires consist of a tire in contact with the road and a chamber into which air is pumped. Their significant advantage lies in the fact that in case of a puncture, you can simply replace the tube and drive on, because for the tire itself, a slight damage is not at all critical and, in general, does not violate its performance. But if necessary, you can repair the tire.
This is the first stage of the repair, for which it is desirable to remove the tire from the rim. Necessary:
Removing the wheel and then removing the tire from the rim and removing the tube from it is laborious work, but necessary to carry out the repair. All further actions are determined by the type of damage.
The most common injuries are punctures, side cuts and swelling of the "bumps" on the tires. All this, in most cases, is being repaired, at least for a short time, so that you can get to the nearest tire service.
Even a side cut tire repair, if not too big, can be done on your own. There is only one way to repair - patching. In the case of a side cut, it must be glued on the inside of the tire. It is advisable to use for this not simple thick rubber, but a reinforced compound similar to the one from which the tire itself is made - this will be more reliable. The most important thing here is to bring the edges together and press the patch well so that it sticks tightly.
"Bumps" are also treated by applying a patch to the inside of the tire at the site of swelling. At the same time, the swelling itself will not go anywhere, but the patch working as a substrate will not allow the wheel to wear out too quickly, since it restores its geometry to a certain extent.
In case of a puncture, it is necessary to glue the camera already, having also thoroughly degreased it beforehand. Here you can get by with standard patches from the repair kit. And you can not touch the tire - a small hole in it will not significantly affect performance and reliability.