Your ATV won’t start. It is a frustrating situation that many ATV owners and riders will face. Since this is a troubleshooting guide, we will begin with the very basics. The first place to look is the fuel gauge to ensure sufficient gas, followed by testing for a spark.
To check for the spark, turn the ignition to the ON position, remove the spark plug, and ground the hex part of the plug to bare metal on the engine. Clean up any spilled gas, spin the engine, and watch for a spark jumping across the gap. To test gas flow, remove the carburetor’s fuel line, hold it over a container, and watch the flow. It should be the full stream of the line size.
If the ATV has spark, fuel, and gas flow but will not start, what comes next? If you find yourself in this challenging scenario, don’t panic. There are a few more things to try before you should call for help. Run through this checklist after determining that your ATV does have spark and fuel but will not start.
Before running through an extensive list of complex problems and their solutions, start with the simple tests. If your ATV has spark and fuel but will not start, it could be something as simple as the run switch in the off position. Double-check the run switch as soon as you suspect engine issues.
If your ATV’s run switch is not in the ON or RUN position, put it there. Try starting the engine again. If that was the problem, of course, your ATV should start right up.
Check Your GearIs the ATV in park or in neutral? Checking your gear could be a simple solution to a simple problem, but people often overlook it. After checking for gas and ensuring a spark, always make sure that your ATV is in gear. Many ATVs are designed not to start unless it is in the right gear.
Put your ATV into the correct gear if need be, then try to restart it. With luck, this was the issue and you’re able to get going again with minimal troubleshooting.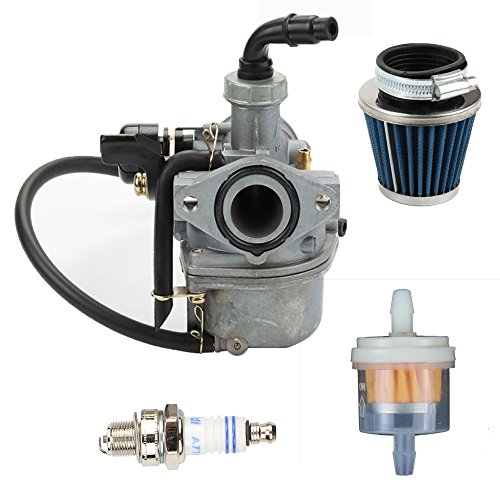
If you are not experiencing a simple run switch or gear issue, the battery could be the problem. This is the next step in your DIY troubleshooting checklist. Ideally, you have a battery tester in your traveling tool kit. Use it to check your battery’s status.
If it has a low charge or is dead, you can try boosting it. You may need to stop for the day to get the battery onto a charger. In the worst-case scenario, your battery won’t hold a charge and will need replacing.
If it does turn out to be a battery issue, consider investing in a battery charger for the future. If your ATV sits unused, you can plug it into a trickle charger to prevent unwanted drainage.
Consider Fuel QualityYes, you have gas, but how old is it? If you are trying to run your ATV using gas that has been sitting in the tank too long, that could be your problem. Degraded gas is not ideal for your ATV, and the machine may refuse to run.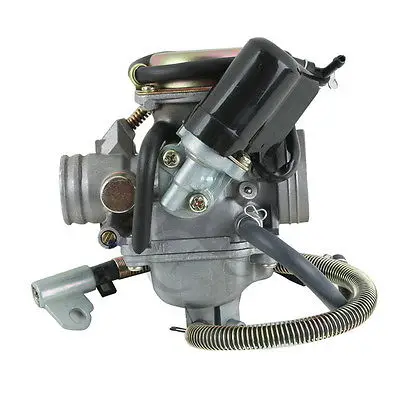 You may be able to change the fuel filter and replace the gas yourself. If you don’t want to or don’t feel comfortable, this is an easy job for a mechanic.
If you’ve gone through all of these steps and your ATV still won’t run, even though it has gas and spark, it could be an airflow issue. Exhaust needs to leave the system properly. And, the ATV requires air for combustion. If the engine isn’t getting enough air, the ATV will not start. The issue may lie within your air filters, which may need repairing or replacing.
Again, this is the kind of issue that might be within one’s DIY skills. However, if you are not comfortable handling these parts of an engine, leave it to the pros. You do not want to cause more damage with an at-home fix accidentally.
Other Engine IssuesOther engine and system issues could prevent an ATV from starting even with spark and fuel. An intake valve that is too tight is one example as this impacts compression.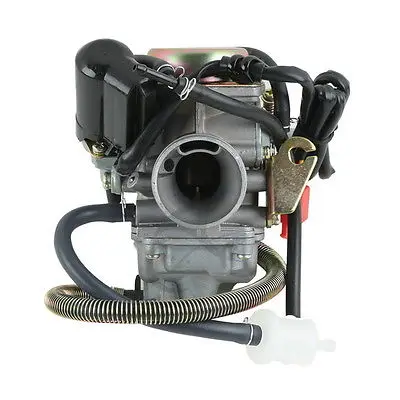 It could be a dirty carburetor or even a carb O-ring requiring replacement. If you are still stumped because the ATV won’t start when you have spark and fuel, it may be time to head to a mechanic for expert help.
Disclaimer: While we endeavor to keep the information on our blog up to date and correct, Maxtrade (Coolster) makes no representations or warranties of any kind, express or implied about the completeness, accuracy, reliability, suitability, or availability with respect to the website or the information, products, services, or related graphics contained on the website for any purpose. Any reliance you place on such material is therefore strictly at your own risk.
If your ATV engine is not getting enough fuel, it won’t run properly. You’ll notice it bogging down and just not having the power it used too. If you’re not getting fuel to the engine at all, it won’t even start for you.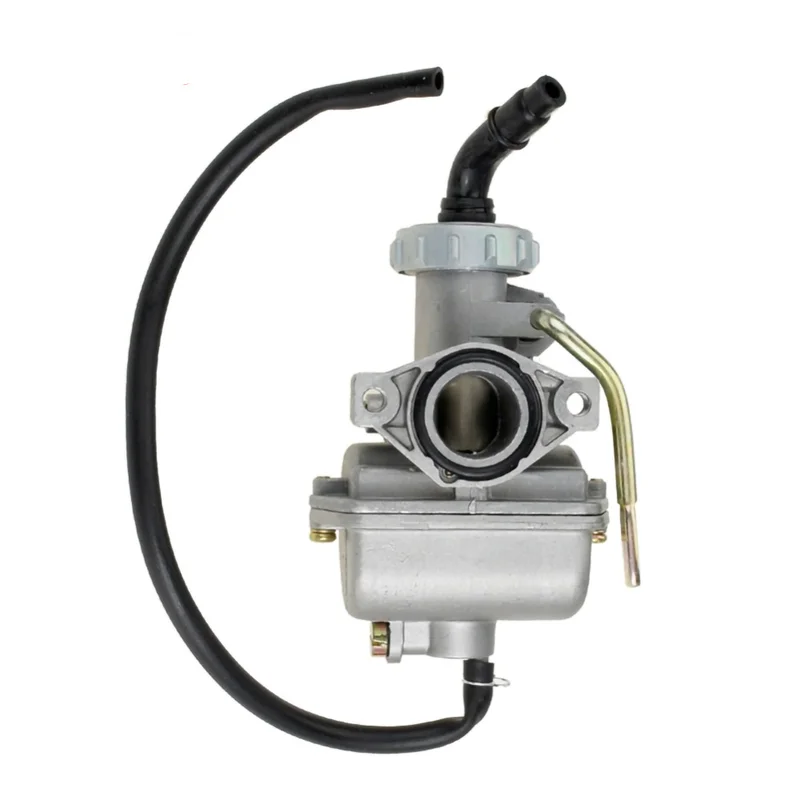
The most common reason an ATV engine is not getting fuel usually has to do with the carburetor. Either a stuck needle valve or a loose or cracked vacuum hose are the most common issues. Don’t worry, there are pretty straight forward things you can do to check where your problem is.
There are a few different reasons you may not be getting fuel to your engine. It’s not that hard to check the parts to see if their working properly. I recommend going step by step checking one thing at a time, eliminating possible issues as you go.
If you have a fuel injected engine, you can skip this next part and jump straight to the fuel injectors, fuel pump, and compression check sections.
I would first check the carburetor to help narrow down where you should start your investigation. All you need to do is spray a little carb cleaner or ether down the carb and see if your engine will fire up with that. Or you could pour a little gas in the carb and try to start it up.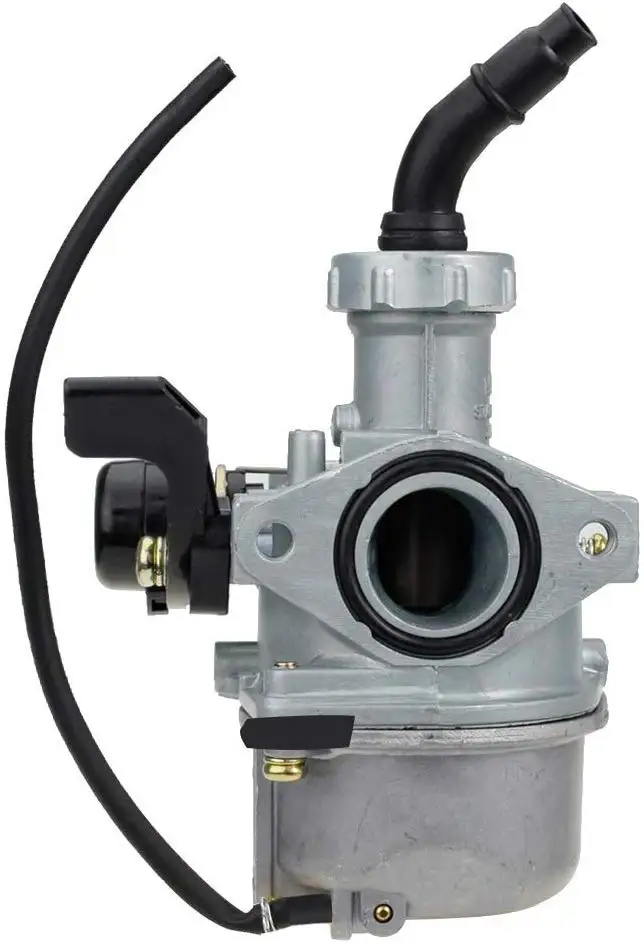
If it does start, and then dies right away, at least we know now it’s a problem getting fuel to the carb. We know that now because, when the carb has fuel, the engine will run. You should check to make sure fuel is getting to the carb now.
If it still doesn’t start at all, you may have a problem getting fuel from the carb to the engine. That is telling us the problem is further down the line. It could be an issue with compression if that’s the case.The engine doesn’t have enough compression to pull in the fuel it needs and stay running. I will go over how to do a compression check later in this article.
Another check to do with the carburetor is to adjust the idle mixture screw. I know it sounds too good to be true, but a lot of times this adjustment isn’t set right so the engine isn’t getting the right air/fuel mixture to run properly.
Ok, you sprayed something into the carb and the engine started up for a few seconds. Great, now we need to make sure the carb is getting the fuel it needs for the engine to run.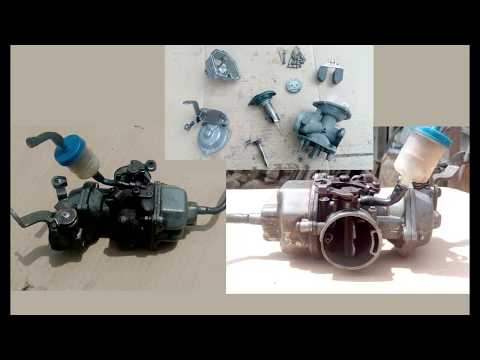 Disconnect the fuel line going into the carb and put that end into a bucket or something to catch the fuel.
You may need to take out any spark plug, or just unplug them, just in case. And try to start the engine and look to see if fuel is coming out of that fuel line. If there is, then you have no problems getting fuel from the gas tank and it is probably a needle valve or float problem.
If there’s no fuel coming from the tank down that fuel line, then you’re problem may be an issue with the fuel pump, if you have one, or an obstruction in the fuel line or shut off valve. I will go over how to diagnose the fuel pump later in this article.
If the needle valve in your carb is corroded, it will not allow fuel to flow to the engine properly. Same thing will happen if your float is getting stuck. You’re going to need to clean the carburetor and possibly replace those parts if they’ve gone bad.
First remove the float bowl to gain access to the carburetor insides.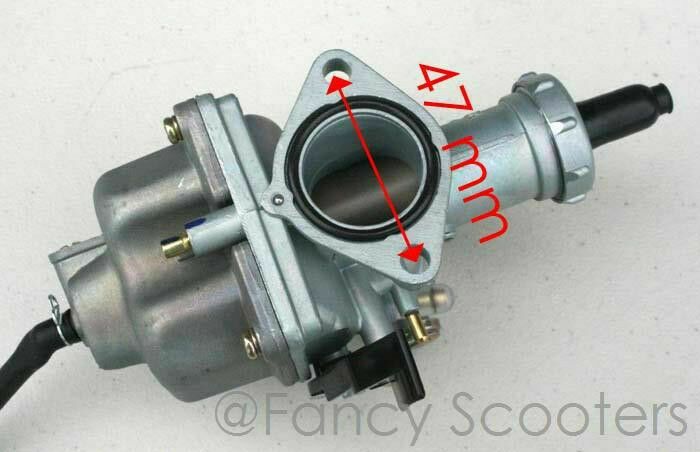 Then you can remove the pin holding the float in place. Before you do that, you can try moving the float up and down with your hands, the float should move freely and have no resistance feeling when moving it.
The needle valve will be attached to the under side of the float, here is a picture of what you’re looking for. You can try cleaning the needle valve using carb cleaner. Just soak the thing and let it sit in carb cleaner for a few hours.
If that didn’t help, or you just don’t want to do it, no big deal. Needle valve are pretty cheap online. Here’s an example of a Carburetor Float Valve Needle on Amazon to give you an idea of what you’re looking for.
You can also replace the float if you want to, usually you don’t have to but i would give it a good cleaning. Double check all the seals and everything since you’ve got the carb open, and clean out everything really good.
Remove Needle Valve SealCheck the bowl gasket, if this was bad, you would have noticed the carb leaking fuel before.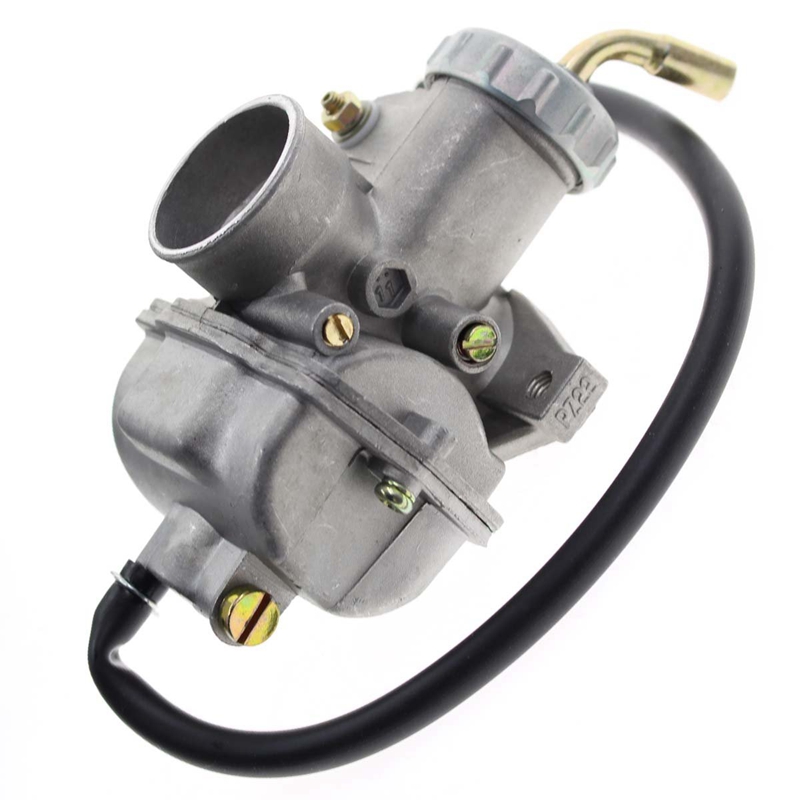 To check and replace the valve seal, you’ll need a pick or something to pull it from the carburetor. I’ve used a sheet rock screw before. Just thread the screw in a little and pull out the seal.
Check out the picture for an idea of what you’re looking at. Once you’ve removed the old seal, insert the new one and make sure it’s seated all the way.
You can do that with a metal punch or something, just make sure you don’t hit too hard because you could break the aluminum frame of the carb. Reassemble with new needle valve and you should be good to go.
Fuel injectors can get gummed up after a while if they aren’t cleaned regularly. The end of the fuel injector has small holes in it that the fuel passes through, creating a spray that enters the cylinder. If those holes get gummed up, the spray will be off, and you’re engine won’t run.
If you think it could be a problem with your fuel injector, I’d recommend trying to clean them first before buying new ones because they can be pretty expensive.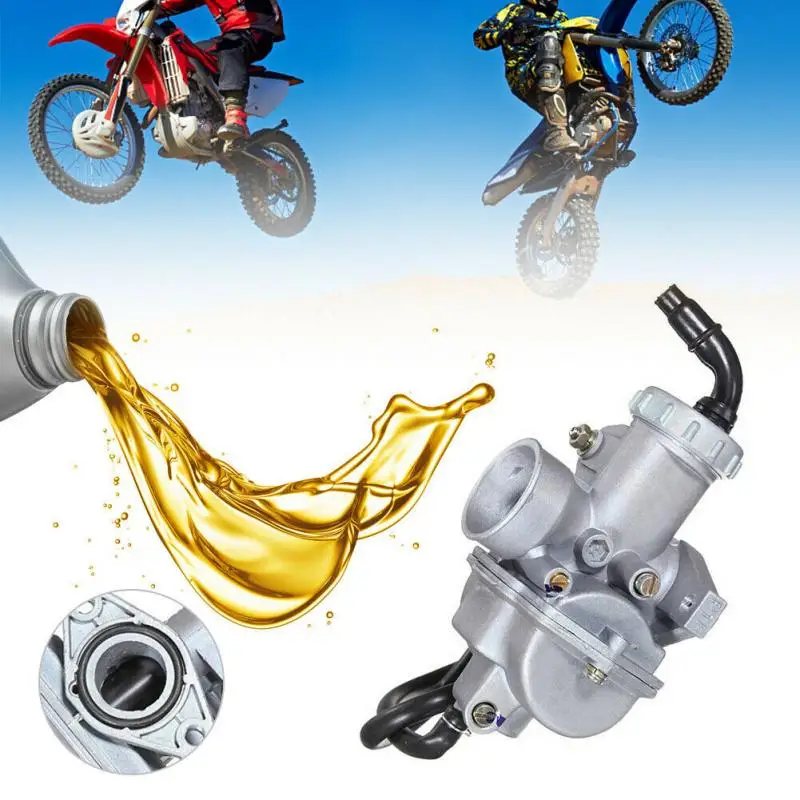 First, you’ll have to remove the fuel lines that hook to the fuel injectors.
You could always remove the fuel injectors completely and let them soak in some fuel injector cleaner. I use this B-12 Chemtool Thru-Rail Fuel Injector Cleaner but you can use any carb cleaner / fuel injector cleaner you want to.
If you don’t want to remove the fuel injectors completely you can try another method. You will still need to remove the fuel lines and let all the gas drain out of them. You will then fill the fuel line with fuel injector cleaner, and then reconnect the fuel lines.
Try starting the engine for at least 20 seconds. If it does start, don’t let it run for longer than 20 seconds. Then you want to sit and wait about 10 minutes or so. You need to give the fuel injector cleaner time to do its work. Repeat the process five more times, but only try to start for 10 seconds, and then let sit for ten minutes.
I know it’s not the official way to clean the injectors, but I’ve seen it work, and it can save you from all the work of removing the injectors.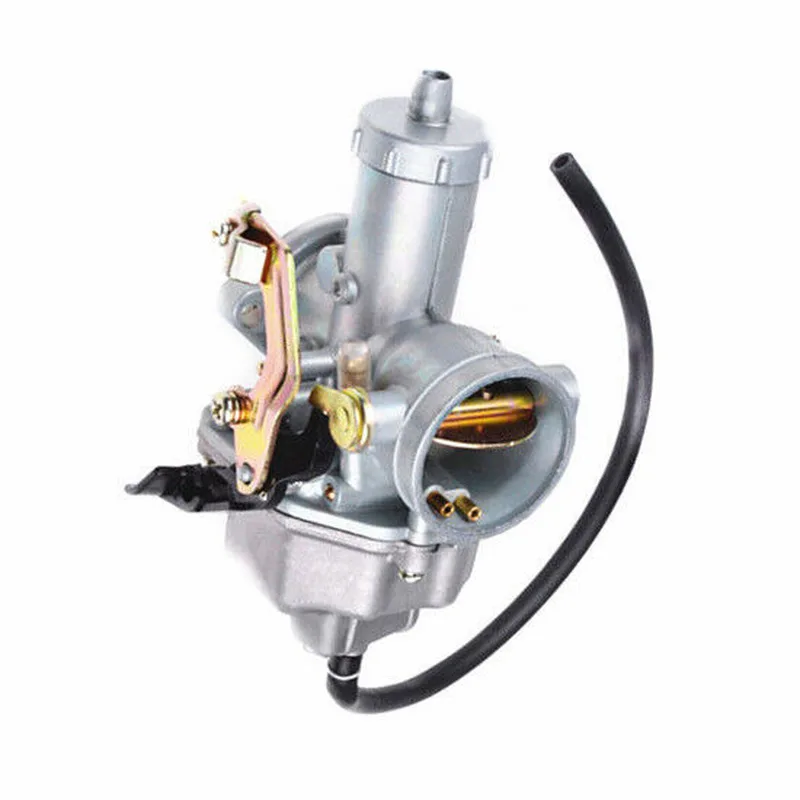 Once you get the quad running, you’re going to want to add a fuel additive to your gas to keep the injectors clean.
You should be doing this at least once a year anyway. I do it with my maintenance checks before spring begins every year. I usually just add some of this Gumout Complete Fuel System Cleaner to the gas tank before I start it up for the season.
I would say to try blowing air through the fuel pump to make sure fuel will be able to flow freely through it. But if you have a vacuum operated pump, you won’t be able to do that. There are diaphragms in there that could get damaged.
To make sure you’re vacuum operated fuel pump is working correctly, pull the vacuum line to the fuel pump off and crank the engine. You should feel a good amount of suction at the mouth of the carb.
The engine crates a vacuum pulse to the fuel pump, which in turn creates an amount of pressure that pushes fuel into the carburetor.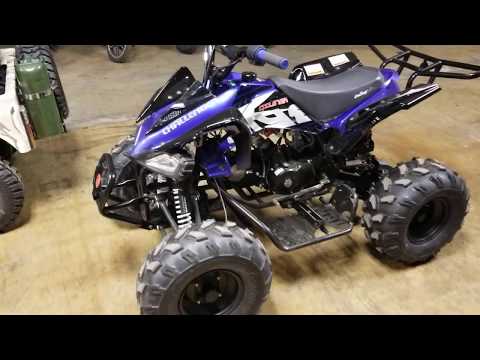 If you’re not getting good suction, try replacing the diaphragms in your fuel pump and make sure your vacuum lines aren’t cracked.
If you can, try cleaning the fuel line out and replacing the fuel filter to make sure you’re getting fuel to the carburetor. Inspect the fuel pump for wear and loose or cracked hoses. If there is no vacuum in the hose, you’re carb won’t get any fuel. This is most likely caused by a crack in the vacuum fuel lines or a bad fuel pump.
You may find it easier to just replace the fuel pump all together since they aren’t usually very expensive.
The compression check is pretty straight forward, you’re trying to see if you’re engine can handle the right compression to run properly. Without compression, you won’t get fuel and your ATV won’t start.
The steps are pretty simple if you have a compression tester kit. Basically, you remove the spark plug, hook up the compression tester and run the test. You just have to make sure your engine is at the down stroke in the compression cycle.
I go over this process in a lot more detail and explain step by step how to perform this test in my article, Top 7 Reasons An ATV Smells Like Burning Oil. If you weren’t getting good compression, but enough that the quad still ran, you would leak oil into the cylinder. Go to that article and scroll down to the leak down test section for a step by step guide on checking for compression.
Sharing is caring!
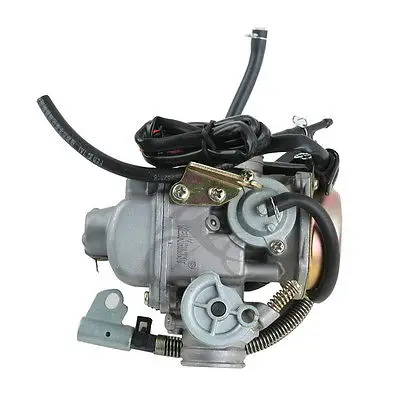
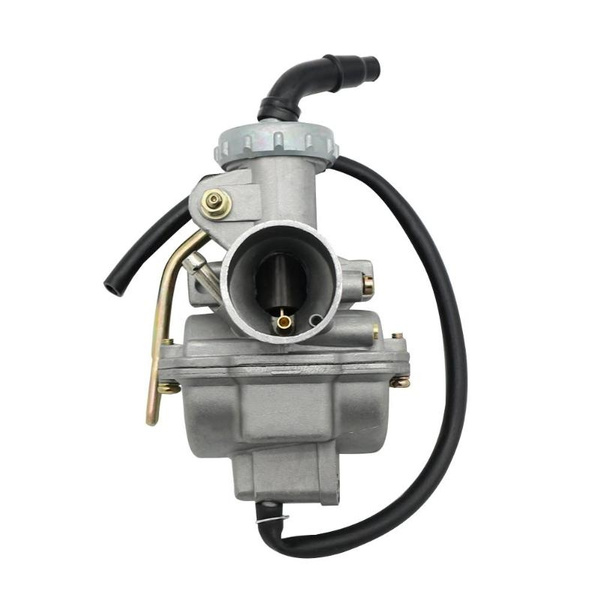
In order for the ATV to work like a clock, the rider needs to regularly carry out a complete maintenance of the equipment. And a key element of maintenance is ATV carburetor adjustment. Over time, the system starts to work incorrectly, which increases fuel consumption, worsens dynamics and other problems appear. So how do you adjust an ATV carburetor?
The operation and life of the engine directly depends on the quality of the fuel mixture.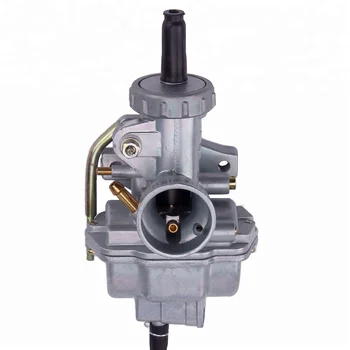 The carburetor is responsible for the preparation of the composition, but after prolonged use of the equipment, the settings “go astray”. This results in:

Many riders who decide to buy an inexpensive ATV simply do not spare the technique and ignore this procedure. But even if you plan to change your device in 1.5-2 years, adjustment is needed. The reason for this is increased fuel consumption. A quad with an untuned carburetor "eats" 30-40% more gasoline, and these are tangible costs.
So how do you adjust the carburetor on a Chinese ATV? For this you need:
However, it is important to remember that all adjustments are made only with a "clean" carburettor. This means that the rider needs to remove all the dirt from the node and flush the system to remove condensation and sediment from it.
Note: Just before adjusting, the engine must be warmed up to operating temperature.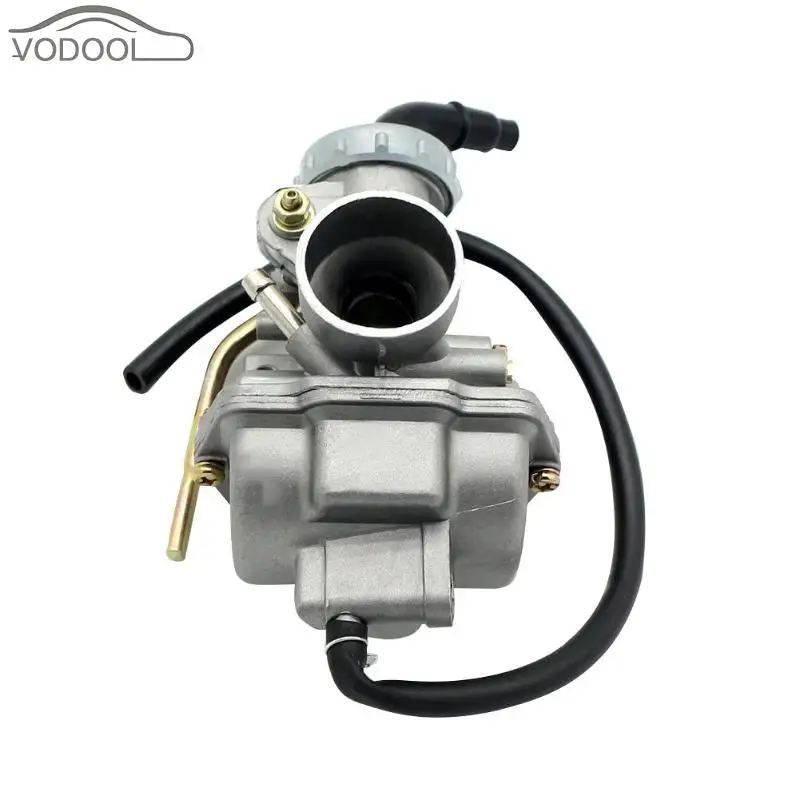
To set the carburetor idle speed, the float chamber must first be cleared of fuel. To do this, start the ATV, close the fuel cock and wait until the machine stalls (5-10 minutes). To speed up the process, you can take a little ride on the quadric. Of course, gasoline can be drained, but in any case you will have to warm up the device, so the first method of "removing" gasoline is more effective.
Then:

Read the manual before adjusting the carburetor on a 125cc ATV to be sure. Remember that the location of the bolts is different in different devices, so read the documentation in advance.
To evaluate the quality of the fuel composition, make a test run. After that, unscrew the candle, and evaluate its condition. If it is:
Also look out for these “symptoms”: damaged tip (electrode failure), oil deposits (damage to rings and caps), chips and inclusions (sign of motor failure).
To adjust the mixture you need to twist the needle cover and pull it out. To get the needle, pull out the cable. After that, move the ring in the required direction (lower - more air, but less fuel and vice versa). Then start the engine and make sure it doesn't stall.
The last step in adjusting the 125cc ATV carburetor is adjusting the petrol level. To do this, you need:
Note: Adjust as carefully as possible as system components are very fragile. Ideally, carburetor tuning should be done by a specialist.
06/16/2020 21494
Contents:
For normal operation of the scooter engine, a good mixture of gasoline, air, oil (for two-stroke engines) is required. This cocktail is prepared in a given proportion in the carburetor, so it is so important that the carburetor is always clean. Cleaning is recommended for every 1-2 thousand kilometers.
Signs of clogging may be:
- unstable operation when starting the engine;
- unstable idling.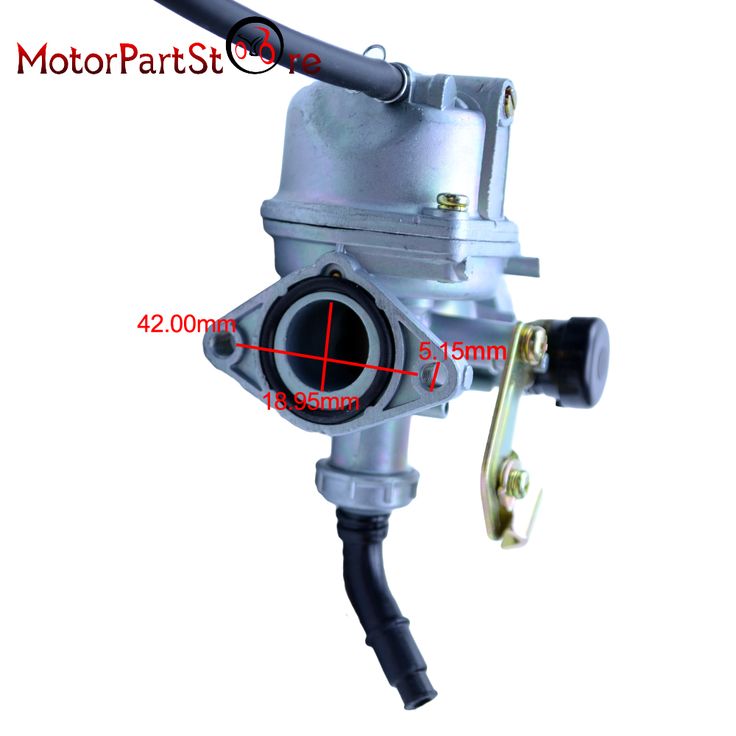
For the cleaning procedure, it is necessary to prepare tools and cleaning liquid:
1. Gasoline or a special cleaner for such work.
2. 10mm socket wrench with extension and universal handle.
2. Brush and bath.
3. Phillips and slotted screwdrivers.
4. Gloves and goggles.
At the first stage, unscrew 4 bolts and remove the seatpost, on some models the oil tank cap is also unscrewed. Then the air filter is removed, for which we release the cuff fastening clamp screw and 2 10 bolts fixing the housing. The rubber cuff of the filter housing from the carburetor can be pulled off with a certain force. Now you need to disconnect the gasoline and oil hoses. For this purpose, the loops of the clamps are compressed and the two hoses are pulled together. Using a 10 wrench, unscrew the nearest bolt to the intake pipe. Unscrew the second bolt inside.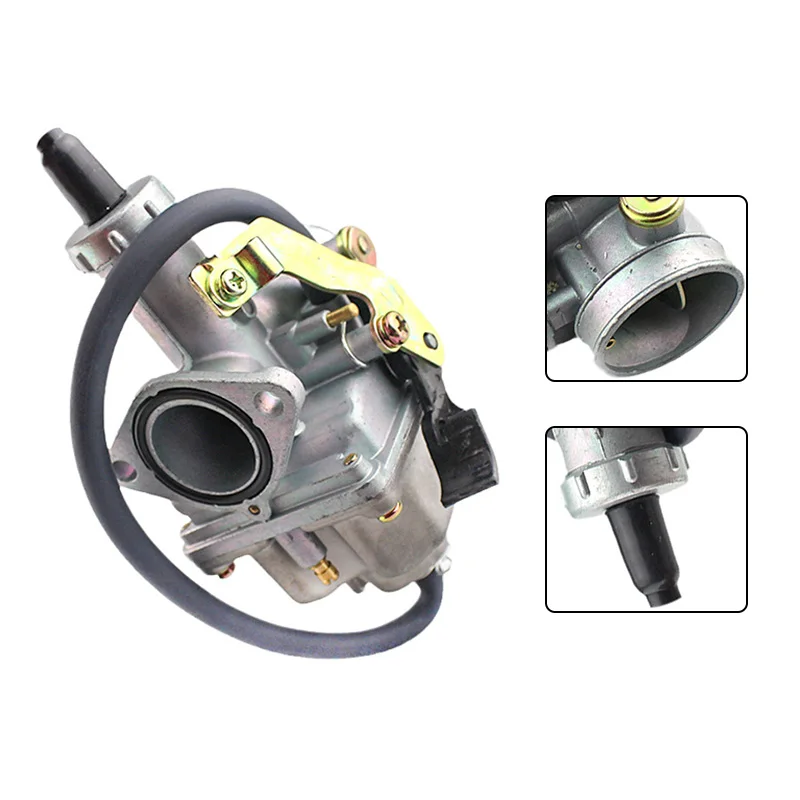 At the moment, 2 hoses have already been released, 2 mounting bolts have been unscrewed. Now you need to remove the device, unscrew the throttle valve cover and remove the throttle. For the final release of the device, it is necessary to remove the protective cover of the starting enricher from the latches and unscrew 2 screws from the enrichment clamp.
Before unscrewing the carburetor, external dirt is cleaned from it - oil, dust, sand. It is convenient to do this with gasoline poured into the bath. We put on gloves, take a brush and clean the outside. Now you need to shake the carburetor, rotating it in different directions to remove the remaining liquid. You can unscrew the transparent drain hose and drain the gasoline. It is convenient to work on a wide table, as small parts can be lost during disassembly.
Carburetor disassembly sequence:
1. First unscrew the 2 float chamber screws and remove the cover.
2. We study the device of the carburetor in the form of a white float, 2 jets (main and idle), a locking needle on the petal.
3. The float axle is removed and the float with the needle is released. Particular attention to small details.
4. Take a slotted screwdriver and unscrew 2 jets. You don't need to spin anything else.
It is convenient to work with a special cleaner - ABRO, VELV, KERRY - the more expensive, the more effective: a thin tube fits well into the jet, the sprinkler cap does not jam. The cartridge is under high pressure and plays the role of a kind of compressor with the injection of a special flushing fluid. Do not forget about safety precautions: if it comes into contact with the skin, the cleaner causes irritation, and serious burns can occur to the eyes. Safety glasses are a must! Cleaning should be done outdoors.
Insert the cleaner tube into the jets and blow through. We check the condition of all holes in the jets.