All Terrain Vehicles (ATVs) are designed to be ridden in the wettest, muddiest, and dustiest conditions, and most ATV owners have no difficulty getting their quad bikes dirty. But after the fun ends is when the hard part of owning an ATV starts — cleaning your quad and getting it back to its former shiny glory.
If you want to keep your ATV’s plastic parts looking like new, you need to adopt a cleaning and protection routine from day one. By following these few simple steps, the tedious job of cleaning your quad will be a lot easier. If your ATV is white, some additional steps may be needed to keep its original color and shine.
If your ATV is covered in caked-on mud and dirt, an important first cleaning step is to presoak it. This simply involves using a hose to spray your quad with an intense spray of water and leaving it to soak. Try to get the spray into all the smallest recesses. Use your hands to get rid of any big chunks of stuck-on grass and mud.
The next step is to blast off all the loosened dirt. Using a pressure washer is the simplest and most thorough way to do this. If you don’t have access to a pressure washer, you can use a hose with a nozzle turned to its most powerful setting. Clean off as much dirt and grime as you can, to make the rest of the cleaning easier for yourself.
Use a good automotive cleaner and a sponge to scrub all of your quad’s surfaces, paying particular attention to the plastic parts and the seat. For any rough or difficult-to-clean parts of your ATV, use a stiff brush to remove tough dirt. The detergent will help to get rid of any oily stains.
There are different ways to dry your quad, depending on what you have to hand. If the plastic is still wet, the heat of the sun and a lint-free cloth work really well. If you have access to an air compressor, it not only dries your ATV’s plastic surfaces but can also get into all the nooks and crannies that you can’t reach with a cloth. This helps to prevent rust spots developing in hard-to-reach areas where water can sit in pools.
Many ATV owners think polishing the plastic is a step too far for a vehicle that’s going to get covered in mud next time out. But if you want to keep your quad looking great, or at least try to reduce the faded and scuffed-up appearance of plastic surfaces, you shouldn’t skip polishing.
Once your ATV is dry and free from water spots, use a specially designed plastic polish on all the plastic areas. You simply spray it on and buff it until the surfaces shine. However, don’t use the polish on your seat, as you might find yourself sliding off the slippery surface on your next ride.
If your ATV is white, it might need some extra cleaning because even the smallest bit of dirt will stand out on white plastic surfaces, causing the white to become discolored. Take these additional steps to restore your quad to bright white.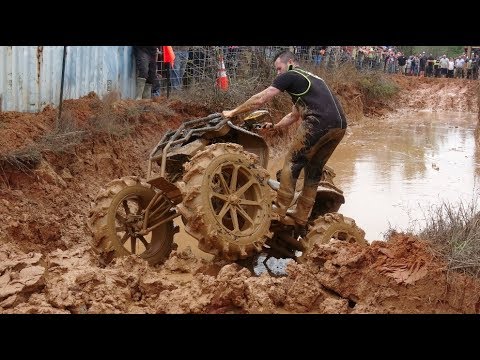
Fill a large bucket or bowl with one part water and one part bleach. Remove small white plastic parts from your quad and soak them in the bleach-water mix. For the larger parts, soak paper towels in the bleach solution and cover the discolored plastic with them. Be sure to wear gloves when using bleach.
Alternatively, you can buy automotive spray-on bleach products. Either way, leave the solution on the plastic for a while. Wipe the surfaces with a soft cloth, then spray them with a pressure washer or hose and nozzle. Afterward, dry the parts and admire your shiny white ATV.
To make your ATV’s plastics easier to clean, you could treat them with a good-quality plastic sealant spray before you go riding in the mud. The protective coating helps to repel water and mud. Instead of sticking to the plastic, muddy water will sit in beads on the surface. Your quad will still get dirty when you hit the muddy trails, but it makes it much lighter work of the cleaning afterward.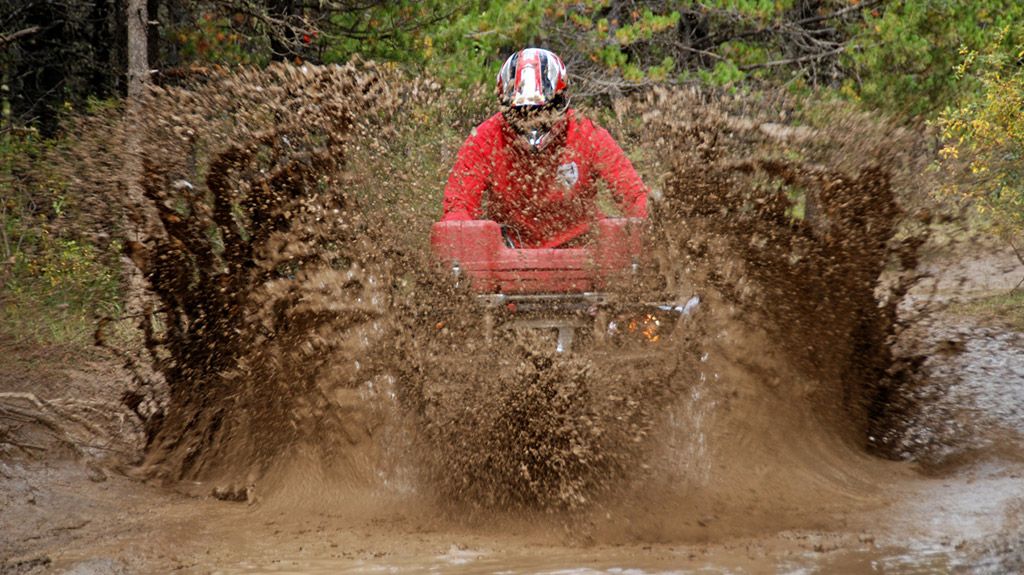
Before you use the sealant, your ATV must be thoroughly cleaned and dried to ensure the sealer will stick properly to the surfaces. Also, make sure you read and carefully follow the product’s instructions for use so that you get the lasting finish you want.
After that, it’s a simple job to apply the sealer to all plastic parts components you want to protect. Leave the sealer to sit for a couple of minutes, then buff the treated areas with a dry rag or a micro cloth to remove excess spray and bring your quad’s plastic surfaces to a shine.
The sealant is safe to use on all body surfaces, but you should avoid spraying the product on the engine or electrics. Also, you need to consider that some sealants, especially if they’re silicone-based, can make your handlebar grips and seat slippery, so it’s advisable not to coat those parts with the product.
As we mentioned above, you shouldn’t use polish or sealant on your ATV’s seat. Although these products will make your seat shiny, clean, and protected, they will also leave it slippery, making your next riding adventure potentially dangerous.
For cleaning and protecting your seat, the best product to use is a degreaser. It will remove the mud and water stains to leave it looking like it just left the showroom. Most degreasing products will do the job. You just need to ensure it’s compatible with vinyl and won’t damage the seat.
Following these easy steps will help keep your ATV looking its best. If you have any other tips for cleaning and protecting your quad, please let the team at Rydell Auto Group know, and we’ll pass them on.
Tags: ATV Detailing, Washing ATV
Posted in
Grand Forks Car Wash, Grand Forks Detail Center |
Comments Off on How Do You Get Mud Out of ATV Plastic?
Getting your ATV or UTV stuck in the big one and spending hours winching, roping, screaming, pushing and laughing to get it out can be entertaining. Some would say it is downright fun, including myself. Not the stuck part, but mud riding in general. Many companies have built themselves a very nice living out of aftermarket parts for this kind of muddy ATV and UTV enjoyment and the guy at the parts counter loves that he has something to do all day Monday when your broken machine comes into the shop. So, in short, it is fun if you can afford it.
So, let’s say you have a king’s ransom worth of fun over the weekend, but you are on a pauper’s income when reality hits Monday morning. What are some of the things you can do to ensure that your muddy ATV doesn’t gradually become a massive hunk of rusted steel? Simply know that the muddy soil packed into the framework, holding water and rotting the chariot you love has to be cleaned out. It needs to be cleaned out soon after the fun run over the weekend or it could harden and become part of that rig forever.
I know we all like to see the shiny tires and smooth super squeaky-clean plastics, but how often do you undress your machine to see the real ugly hiding beneath? Have you taken the seats out, side panels off as well as the skid plates down from the belly of your beast to examine the top spots for mud to hide? Do you know where all that mud has gone or better yet, where it is still hiding? Here is some food for thought as well as a few things to really look for when cleaning your rig the right way.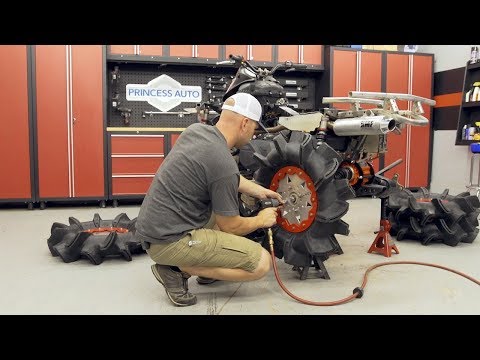
Possibly the favorite tool of off-road mud fanatics is a quality pressure washer. Blasting off mud and dirt from your plastics, wheels and radiator will save you time and frustration. Just be careful not to use the most powerful settings as you can damage radiator fins and even your plastics.
Check Price
 Chemical Guys Tough Mudder Soap and Foam Cannon
You can fight your way through the mud with a pressure washer alone, but like will be a whole lot easier with some soap. One of the best ATV cleaning products out there is the Chemical Guys Tough Mudder soap. You can pick this up in one-gallon jugs for about $20 and it will make your life much easier. According to the manufacturer, if you spray Tough Mudder Soap over dried mud and dirt, then the mud will slide right off. It is also made with surface release additives to make it harder for fresh dirt and mud to stick to the washed surface. We’d suggest picking up a foam cannon to go with this ATV plastic cleaner.
Check Price
When you are cleaning up your muddy ATV, don’t forget your wheels – especially if you’ve invested in some nice aftermarket alloy wheels. The Sticky Citrus gel is designed to lift and separate brake dust and off-road grime so you can easy wipe it away.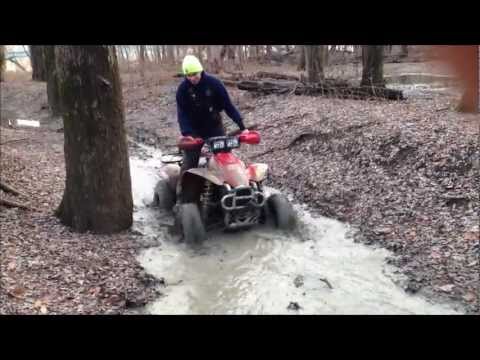 It’s also all natural and safe for the environment. It will work great with a scrub brush.
Check Price
To help remove mud from hard to reach crevices, it’s a good idea to pick up a couple of scrub brushes. This long handle scrub brush from Mothers has soft bristles that are great for cleaning mud and dirt out of your wheels and other places you can’t always reach by hand.
Check Price
Keeping a pile of microfiber towels in the garage is never a bad idea. They can be used for drying everything off or manually working an area of your muddy ATV or UTV that the soap and water couldn’t take care of. They can be used wet or dry and they hold onto an impressive amount of water and dirt. They also are a great option when using an ATV plastic cleaner, as you won’t have to worry about scratches.
Check Price
 Slick Products Shine & Protective Spray
If you really want your ATV or UTV looking its best, the final step is a product that adds some shine to your plastics and your tires. This is a silicone coating that not only makes for a great finishing touch, but it also helps repel mud and dirt from sticking to your machine in the first place.
Check Price
Skid plates on the belly of your ATV or SXS are meant to protect the underside of the machine, but the venting or drain holes in the shields will allow mud to pack into the bottom of the machine as well. Remove this protective shield and allow the spray from the water hose to rinse away the muck. Trust me when I say, there will be more than you thought could gather under there. Using a small thin brush to coax the grime out is also a great idea after the larger masses of clay have been removed. Even the suspension arm guards can hold onto mud and rocks in places where you might not think to look.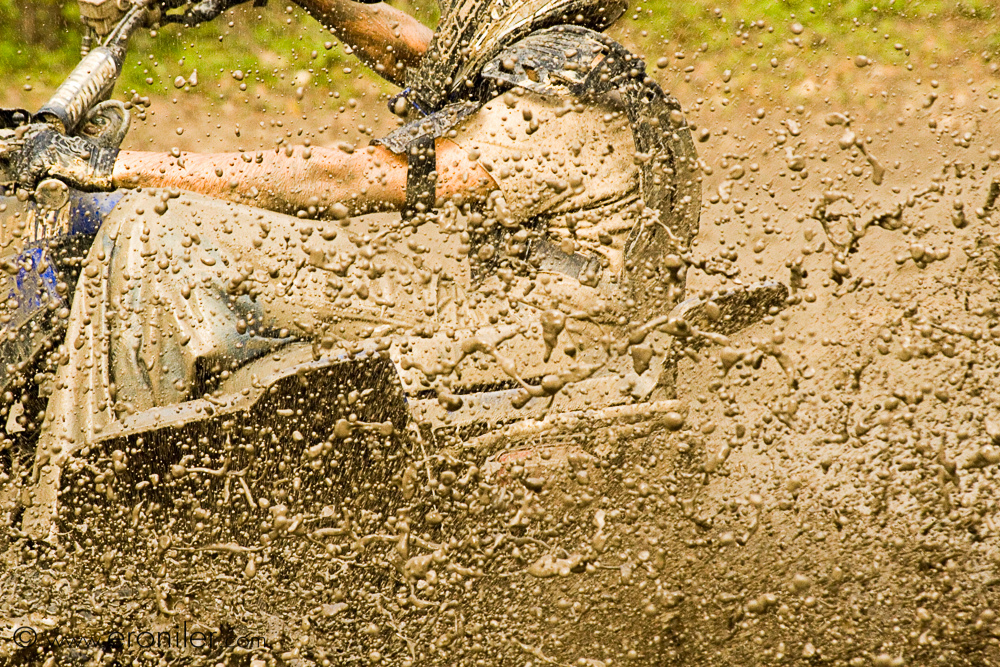 Be sure to check all of those panels thoroughly.
You’d be surprised just how much mud can get stuck under your skid plates.
Wiring as well as low hanging electrical components are also something else that suffers when a mud maniac decides his machine is tough enough to wear the muddy dress. Most wiring on both ATV and SXS is wrapped in a plastic protective loom or tubing that is split on one side. The split allows the wires to be funneled into the protective wrap easily, but it also allows mud and debris from the trail to get in. If the wires get enough sediment on them, that very sediment could cause chaffing and ultimately shorted wired inside the loom. The water could also eventually promote corrosion of the wiring. I do understand that no one wants to unwrap their entire wiring harness, but if you happen to have the plastics off and search nearest the more exposed areas of the harness like down in the flooring of the rig, that’s where the majority of the muck will be.
Mud can wreak havoc with your wiring. Take care to clean away as much of it as you can.
Small electrical servo operated items like the 4WD engagement controls as well as any sensors hanging low also need attention. Keeping them clean of piled on mud or debris is like buying extra insurance for the off-road machine.
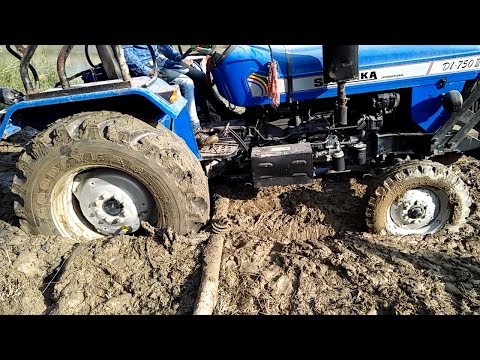
Many manufacturers will claim the framework of their machines have been double or triple dipped in a chemical that resists corrosion and then powder coated over the top. So, ultimately there should be no framework that would ever rust even on a very muddy ATV or UTV, right? Not exactly, my friends. I have seen brand new machines on the dealer lot with rusty evidence flowing from tight corners and spaces on machines where water and anything else that fits can get to raw steel. This is why you should always take the extra step to protect your investment after a good muddy run with friends. When you look at the framework of a naked ATV or Side-by-Side, you will notice many little places where mud can hide.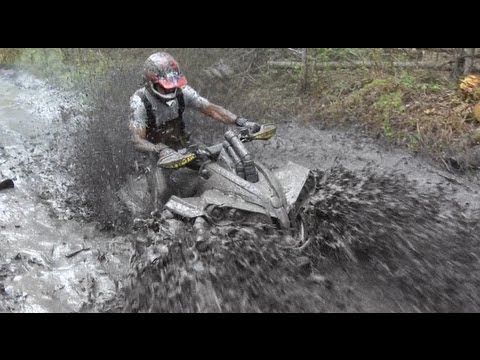 The spaces that cannot shed water or mud well need your help, along with a good water hose, to get them clean. Look in places where the framework comes together and forms any kind of shelf or cubby for mud to hide in.
A simple test to see if you have the cleanest machine in the woods would be to simply remove the “extended fenders” or side panels on your ATV or SXS. If it is sparkling clean under there, then you win for detailed cleanliness. However, if a huge chunk of muck mountain falls out then you need to pay more attention to the bath time for your rig. Simply rubbing your hand across the top of the headlight area on your SXS might bring to light some serious need of cleaning.
Another thing to remember is that when you are cleaning your muddy ATV or UTV, high pressure water can force sediment into seals. If you want bearings, ball joints and things that rotate to last a long time, simply use the low pressure garden hose to get in the really tight areas of your machine rather than your power washer.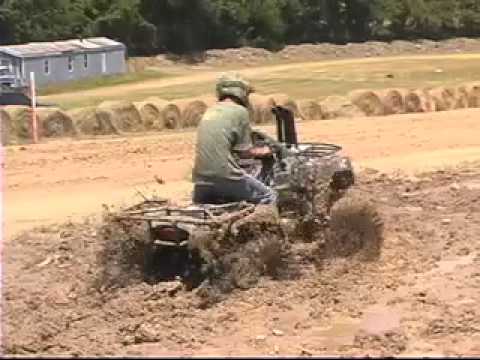
Cleaning a muddy ATV or UTV can be a big job, but it could mean your off-road steed lasts a few more years. That sure seems like it’s worth the effort to me.
August 31, 2021: Added a promoted product recommendation.
April 20, 2021: Added the wheel cleaner and protective spray to the list.
We are committed to finding, researching, and recommending the best products. We earn commissions from purchases you make using the retail links in our product reviews. Learn more about how this works.
Become an ATV.com insider. Get the latest news first by subscribing to our newsletter here.
Don't know how to clean a washing machine and why do it at all? We have prepared detailed instructions and the best ways to clean the machine from dirt.
Why clean your washing machine?
When should the machine be cleaned?
Cleaning the outside of the washing machine
Cleaning the powder and rinse aid container
Cleaning the tap water filter
Cleaning the drain water filter
Cleaning the internal elements and heating elements
When to use one or another cleaning method
How to care for a washing machine
Everyone must have heard that water in city water pipes is characterized by its hardness, as it contains a lot of salts, calcium and magnesium. If hard water is heated (as happens in a washing machine), all substances will precipitate and it is he who settles on the parts of the washing machine, forming scale.
In addition, the high humidity in the washing machine is an excellent breeding ground for mold and odors. Do not forget about the dirt that one way or another remains in the machine after repeated washes.
The washing machine must be cleaned in the following cases:
Maintenance
To prevent damage to the washing machine, it is necessary to periodically clean it.
Reduced wash quality
It may worsen due to incorrect water supply, water heating or other reasons. A noticeable increase in the time of the washing process and the cost of both water, washing powder and electricity.
Unpleasant odors
Can come from things and from the drum itself, which indicates internal contamination of the device.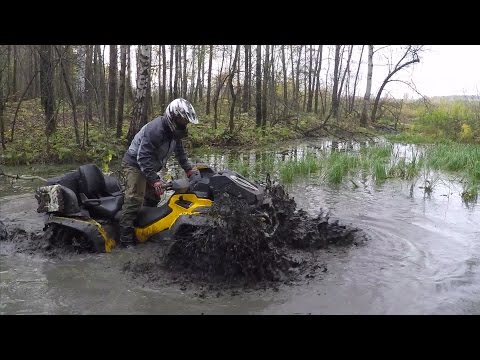
Malfunctions
If there are more and more cases of emergency interruption of the washing process or failure to execute certain commands.
Cold water
The water does not heat up enough due to a broken heating element or a large accumulation of scale on it.
The washing machine needs both internal and external care. It is better to start a complete cleaning from the outside, as this is the fastest in its care and will not cause much trouble. Before starting the procedures, it should be disconnected from electricity for safety reasons.
Washing the outer shell of the washing machine takes place in several stages :
1. Wipe all outside surfaces of the appliance with a damp cloth or sponge. If there is any strong pollution, you can add a little detergent.
2. Then proceed to cleaning the first filter . The filter is located on the hose through which water enters the unit. If there are no difficulties, it is better to unscrew it and be sure to clean it.
3. For safe cleaning, close the water tap, unscrew the hose, and then clean it with a cotton-tipped stick or wrap a piece of gauze. For better cleaning, the other end of the hose must be lowered into any deep container or sink, open a faucet with water and it will knock out all the dirt with pressure.
4. Start cleaning second filter. It is not difficult to find it, it is located mainly at the bottom of the machine and is responsible for draining the water. It is necessary to first drain the water from it and only then, as in the first case, clean the hose with a stick with a cotton swab.
When pouring any product into the powder and rinse aid tray, many do not think that this is a great place for dirt and fungus to accumulate. During washing, they can get on clothes and cause harm to health.
The container can be cleaned using various means.
With soda: mix with a sufficient amount of water 1:1 and pour into the tray. Leave for a while and remove the remaining dirt with a damp cloth.
Using vinegar: for 1 liter of water we need a glass of vinegar, put in a tray for 6-8 hours. At the end of the procedure, wipe with a cloth and rinse with waste water.
With citric acid: one bag of lemons is enough to clean the tray. Instead of powder, we fill the contents into the hole and put it in the wash at a temperature of 60 degrees without linen. The container will be perfectly cleaned, and the machine will have a pleasant smell.
If such cleaning agents are not available, then a simple rinse under water without these components will also not be superfluous. Remove the tray from the washer and simply rinse it under running water using one of the products listed. The hole in which the container is located also needs to be wiped with a damp cloth.
If all else fails and dirt or mold remains in place, it is necessary to resort to special household chemicals. When washing with chemicals, be aware of safety precautions and use rubber gloves.
Clogging of this filter may prevent the water from entering the machine in the required amount and it simply will not work. But it's not that hard to clean it up. You can free the filter from contamination yourself or with the help of a wizard.
First, turn off the tap from where the water comes from.
Most often, when installing a washing machine, these taps are specially assigned for its operation, which will not impede the flow of water to other areas.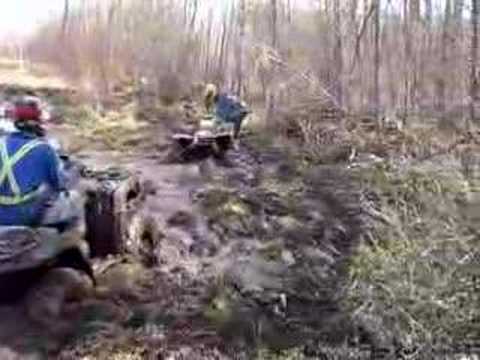
After turning off the tap, unscrew the supply hose. This design is always located on the back of the device from above. Basically, on all models, the hose is equipped with a large puff and a nut, which can be twisted with enough hand force, without the use of auxiliary tools.
You need to be prepared for the fact that water may remain in the hose and prepare a container in advance so that there is no unnecessary trouble.
So, the supply hose should be unscrewed from the nozzle of the washing machine, then remove the filter mesh - pull the filter housing out of the nozzle or simply pull the mesh insert out of the nut. Then the mesh is thoroughly washed under running water.
Do not forget:
Most often, when cleaning this filter, the machine is moved away from the wall. After connecting to the tap through which water is supplied, and transferring the machine to its place, check the tightness of the water.
If the connector is dry and there are no visible defects, then you can install the device in place.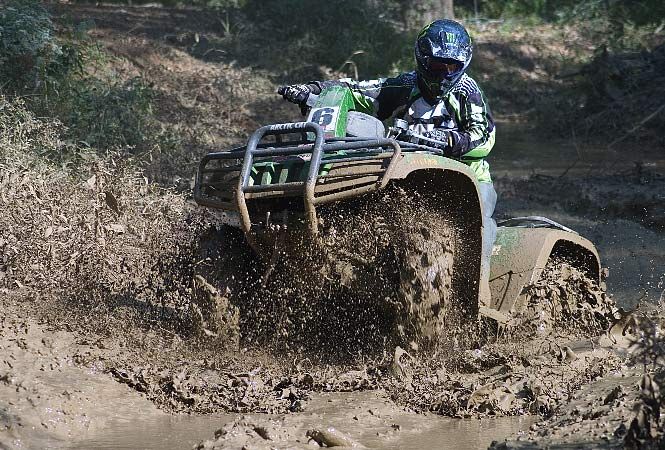
If water begins to ooze, turn off the water supply, spin it all over again, check that all parts are installed correctly. Check the quality and position of the sealing gasket: if the problem is in its incorrect position, it must be replaced.
If the position of the gasket is fixed and nothing leaks, we can safely install the machine in place and continue to use it in the usual mode
The cleaning process consists of a few simple steps:
1. It is necessary to open the cover that closes the filter. On many machines, it looks like a hinged door, which is located in front of the case, at the bottom of the machine.
2. After opening the cover, you can see the tube and the front of the drain filter. This is a round piece with a crossbar in the center, which must be turned along the thread in order to unscrew for later removal.
3. Beforehand, you need to prepare a container to collect the liquid that may be there, or spread a thick cloth.
4. If your machine has a hose or a thin tube, it must be removed from the retainer and lowered into a container, open the plug and drain the water.
5. This device must then be pulled out. You will immediately see the contamination of the device.
6. Remove all dirt with running water. But if visible flaws, plaque or debris remain, it should be cleaned with a brush and rinsed again with water.
After cleaning, the filter is replaced in reverse order. Do not forget to plug the drain tube and secure it to the clamp.
On some models of washing machines, the filter may have a slightly different design. But this is easy to figure out by reading the instruction manual. The principle of cleaning still remains the same.
Without proper care of the washing machine, you can easily face such a serious problem as a breakdown of the tubular electric heater (TENA). If the heating element fails, the machine may interrupt work both at the initial stage of washing and in its very heat. This breakdown completely blocks the washing process.
Since the heating element is constantly in water, scale is formed on it from calcium and magnesium salts. For prevention, they use a special softening filter, various means, or they clean the internal elements every month.
Using ready-made products is much better than traditional methods. Specialized preparations have an important advantage in that their composition can clean different device designs without harming others.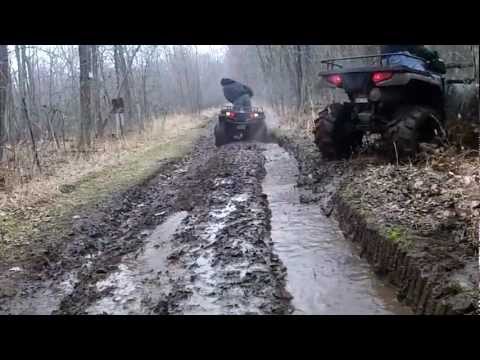
Overview of popular cleaning products:
Touted products like Calgon can only prevent and avoid limescale and contamination, they won't fix existing problems.
The citric acid cleaning method is one of the easiest and fastest ways to deal with lime deposits. To carry out internal cleaning, you need to pour acid into the powder tray and run the machine on the highest temperature setting.
Acid not only actively erodes plaque, but also perfectly cleans the drum and removes unpleasant odors.
Calculate the volume of the product from the volume of the drum per 1 kg of 20-30 g of acid.
A life hack for those who have never cleaned the internal elements of the machine: you can fill in the required amount of citric acid, start it at a temperature of at least 90 degrees and unplug the machine from the outlet in the middle of washing. Leave the machine overnight, and then start again.
This procedure should be carried out no more than four times a year and after each cleaning, check for residues of plaque and remove them.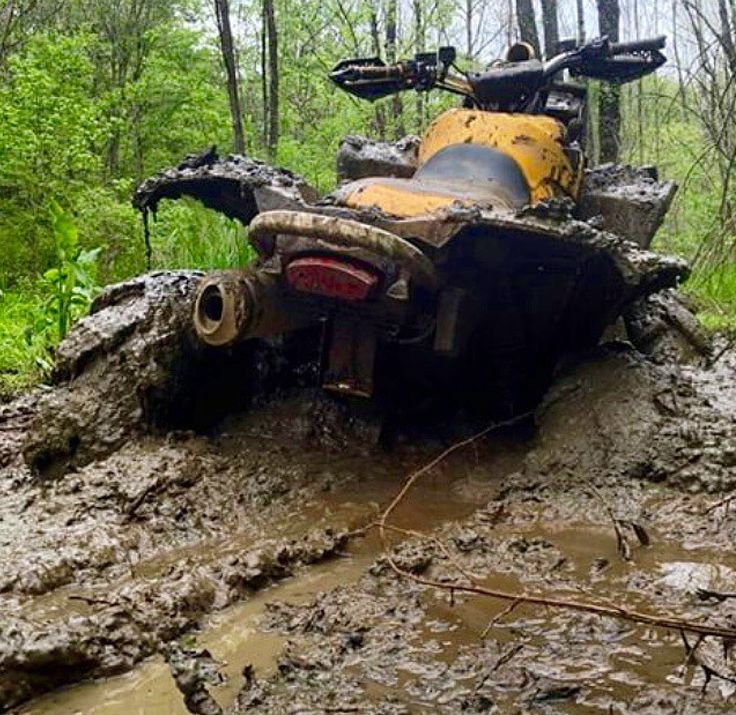
Using this cleaning method will help to get rid of limescale, mold and odor without damaging the complex machine mechanism. Soda can effectively clean the machine without the expression of human allergic reactions.
Baking soda acts as a disinfectant and cleanser. You can clean it as separate filters, a drum, a tray, and a completely washing machine. The filter of the machine can be covered with soda, rubbed with a soft cloth and rinsed with clean water. If the scale is not completely removed, you can repeat the procedure.
For cleaning, one pack of detergent is required, most of which fills the powder cavity to the maximum, and the rest is poured into the drum. Next, turn on the machine, setting it for the shortest washing time and the highest temperature that is possible in this mode.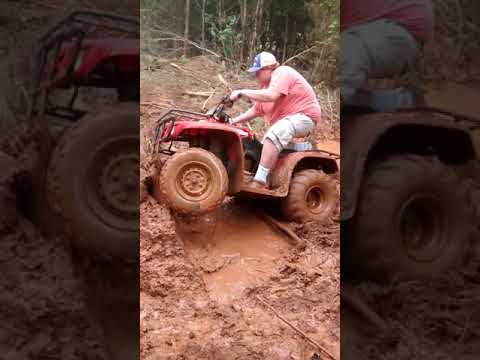
It's 95°C, the machine should be very hot, but you should get there before rinsing.
Set the appliance to pause for 1 hour. Then continue washing. After the cycle is completed, turn on the machine to the "Fast" mode at 30 °C. This cycle will remove the remaining whiteness.
Please note that no items should be placed in the drum when cleaning.
.
The surest way to protect your machine from damage is regular cleaning.