Updated on December 4, 2020
Black tire marks are an unfortunate reality of a car on your concrete driveway or garage floor. Here, we discuss how to remove tire marks from concrete or epoxy surfaces.
The method you use to remove tire marks depends on where the mark is in your garage or driveway.
RELATED: How to Clean Concrete
Removing tire marks from a concrete driveway
If your driveway has a decorative concrete coating, follow the following steps. This information also applies if you’re looking into how to get burnout marks off concrete.
See SUNDEK’s Maintenance Guide for detailed information on removing black rubber marks and grease or oil stains.
Get a cleaning estimate
From your local SUNDEK dealer
Removing tire marks from an epoxy garage floor
If your garage floor has an epoxy finish, follow these cleaning steps.
Caution: When searching online for how to clean tire marks off concrete, you might see alternate remedies such as Goof Off.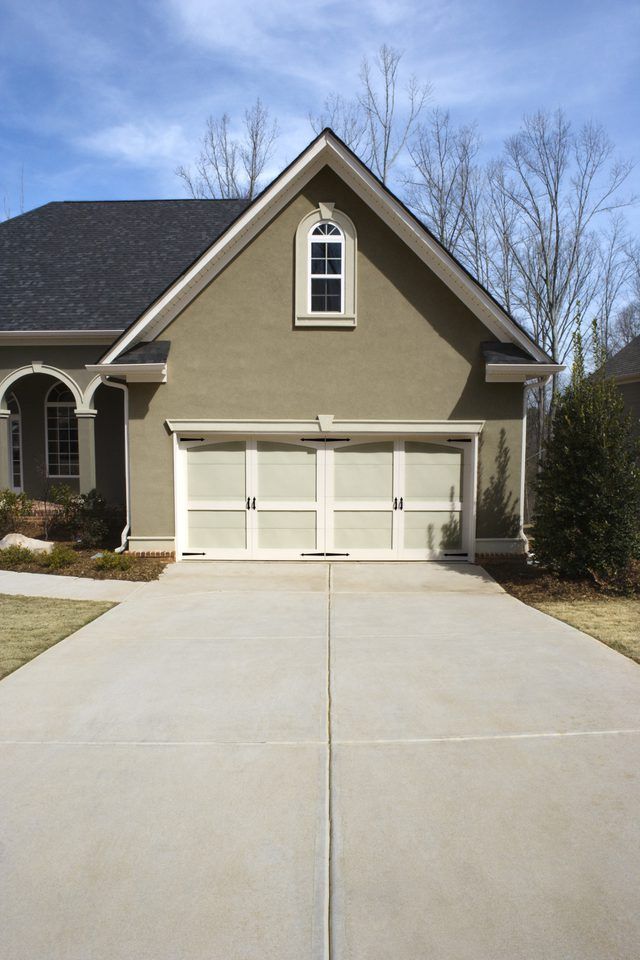 From experience, we have found Goof Off to be too harsh, so we do not recommend it to remove tire marks from concrete or epoxy.
If you have an alternate product you’d like to try, or you want more information about how to get tire marks off concrete, contact us.
Although you can’t prevent tire marks, you can prevent buildup that will make the tire marks harder to clean. We recommend hosing off and cleaning the affected area on a regular basis to prevent a heavy buildup.
Some customers place mats on the floor where their tires will be resting while parked in their garage.
If you’re curious why tire marks happen, Chris Sullivan provides a summary of the chemical process behind tire marks (from an article on ConcreteNetwork.com):
“This is a phenomenon called “plasticizer migration.” Plasticizer are polymer compounds added to rubber, glue and plastic to make them flexible. The rubber used to make car tires contains plasticizer to improve traction. But when the car is driven, the tires heat up, causing the plasticizer to soften and leach out of the tire. When a hot tire is parked or driven on certain types of sealers, the plasticizer migrate into and discolor the sealer. The better the tire quality, the higher the quantity of plasticizer —and the greater the chance for hot tire marking. Lower-quality tires are harder and contain less plasticizer, so they usually result in less hot tire marking on sealers.”
Related: Sealing Concrete Driveways
If your tire marks are especially stubborn, or you can't get rid of them completely, consider stripping and resealing your concrete or even resurfacing with a concrete coating.
It's time to get rid of that pesky tire scuff you've been meaning to clean up but haven't gotten around to. You've decided today is the day and you're wondering how to get tire marks off concrete. The answer is not as obvious as it might seem, but you may have realized that already if you've tried to wash it off to little avail. Luckily we've put together this guide on the best way to remove tire marks from concrete.
Here's our step by step guide on how to remove tire marks from concrete and get your driveway or garage floor looking pristine again.
Step 1. Clear the concrete floor of any debris
You'll want to make sure that you get all items off your garage floor or driveway. Make sure to cover up anything that might be in the way and could get wet or damaged. You'll also want to make sure you cover up any delicate plants in the surrounding area to ensure they are protected.
Step 2. Pour degreaser on the tire marks and let it sit
Use some concrete degreaser, like our CSP Degreaser, and pour it onto the scuffs and let it set for about 30 minutes while ensuring that you don't let it dry. The key here is to not let the degreaser dry, so continue adding more as needed to keep it saturated wet. During warmer months try to do your work in the cool part of the day and with less sun so it does not dry out as quickly.
While some people say that they only need to pour on the CSP and allow it to sit a few minutes and then it will power wash right off, we still find that scrubbing it with a straw brush usually gets it up better. Scrub the area using our high quality Straw Concrete Scrub Brush to move the degreaser around as it soaks in, and after the 30 minutes aggressively scrub it once more. You can also use a floor scrubber or floor buffing machine with the black aggressive scrubbing/stripping pad.
Step 4. Apply some more degreaser and continue scrubbing
You should apply some more degreaser after a few minutes and scrub some more.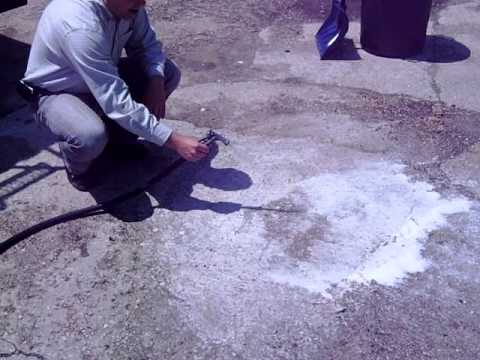 You won't usually need to do too much scrubbing at this point, but it's best to apply some more and give one last scrub.
Step 5. Wash it off with a power washer
You can use a power washer or a sprayer nozzle to wash off the degreaser. If you are indoors, you can use a mop to wash it off.
Things to keep in mind
The CSP degreaser/cleaner is great for normal tire marks. Especially in garages, homeowner driveways, and the such. For really intense and massive tire marks such as on a commercial driveway or parking lot, while it usually works fine, if the CSP degreaser isn't strong enough, then you may need to move towards a harsh chemical such as Xylene.
It's also important to note that the CSP degreaser will work to strip concrete sealers. So while it's great for cleaning and prep, you shouldn't use it on sealed concrete unless you intend to strip the surface of the sealer for re-sealing. Just be aware that you should only use the CSP degreaser sparingly on sealed concrete and understand that you are still slowly stripping the sealer.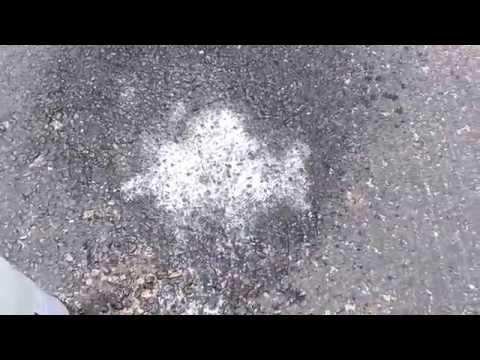
Planning to reseal? Make sure to check out our guide on sealing concrete and our Clear Shield water based sealer to ensure you get a long lasting finish on your newly cleaned concrete floor.
Add To Cart
View Product
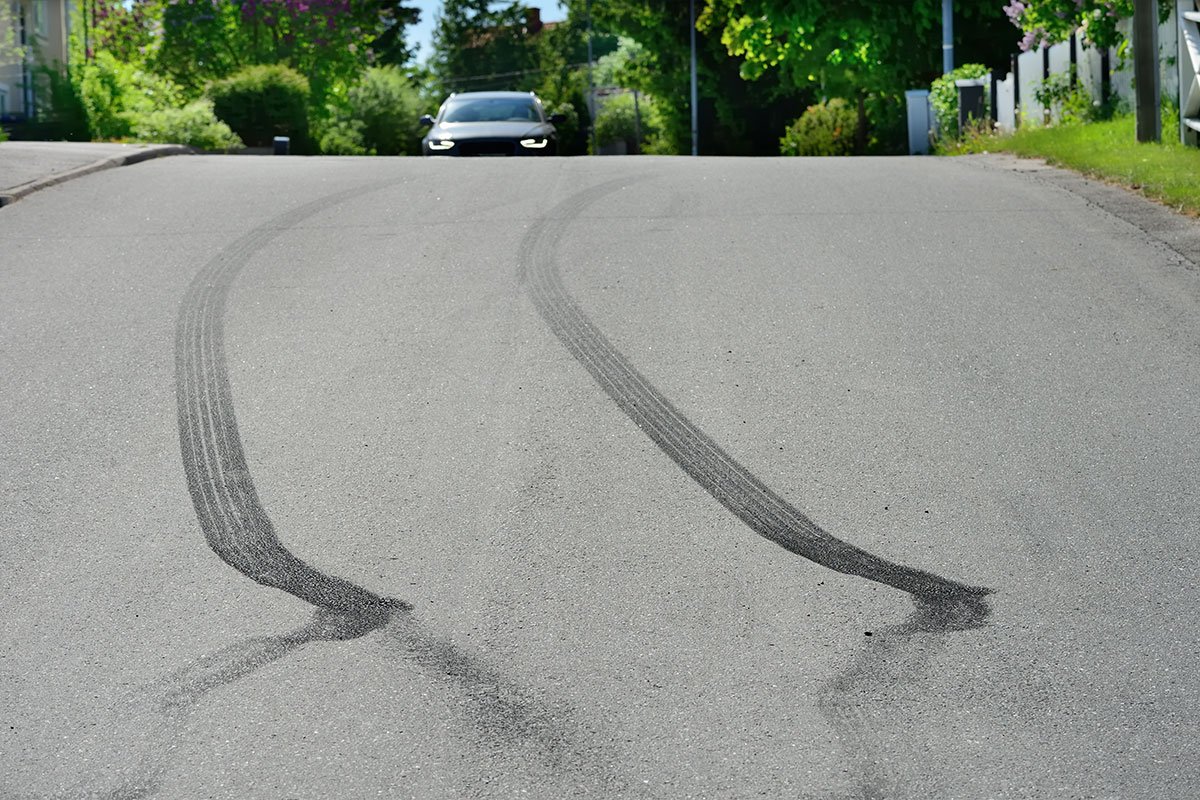
| Tire brake marks on concrete road are much more visible than on tarmac and they give your road a haunted look. Braking suddenly at high speed, grabbing car wheels, is the most common cause of brake marks. Follow these proven steps to remove brake marks from your particular road, and learn how to prevent future brake marks. Step 1: Prepare Yard Near Concrete Road Remove container plants and cover any flowerbeds and trail lights, nearest brake tracks with a light plastic tarp loaded with bricks or rocks. Move any toys or bikes away from the road. Step 2: Rent or Borrow a 9 Hot Water Pressure Washer0009 For this task you will need a hot water pressure washer rated up to 3000 psi to remove the hard rubber strip off the concrete surface. Step 3: Soak Brake Tracks With Industrial Strength Degreaser You can get industrial degreaser cleaners at your hardware or auto parts store. Apply a degreaser and let it soak into the brake marks for 10 minutes. Step 4: Clean Brake Marks Using a bristle broom, brush over brake marks to lift off rubber particles. Rinse your broom from time to time as you dust. Be sure to brush around the edges of the brake track to ensure you've cleaned it all up. Step 5: Rinse Brake Track Spots Adjust pressure washer to lower temperature, warm but not steaming, and rinse off brake track areas. Point the pressure washer nozzle down the road to the driveway, not to your lawn and flower beds. Step 6: Road 9 squeegee0009 With a squeegee, pull as much water off a concrete road as you can. Let the road dry for 3 to 4 hours, and park cars on the road. Step 7: Cover Your Road With Penetrating Insulator Buy a clear penetrating concrete sealant for your driveway. Apply it to the road when it has dried completely using a squeegee. Create an even layer of sealant over the whole road to shield it from rubber brake tracks. Avoid using film-forming sealer because they create a slippery surface and may change the color and appearance of your particular road. Step 8: Teach Your Family Drivers How to Avoid Slipping Explain to drivers in your family the negative effects of brake marks, and how slipping shows that you are a poor driver, not a skilled one. Brake wear, tire damage and wet weather collisions with road objects and other cars can result from slipping.
|
Little bitumen. It looks unpleasant, but it does not pose a danger to the body. The correct way to remove it is to give the special staff time to work, that is, do not try to immediately wipe it off with a rag.
The degree of harmfulness is 2 out of 10. It is most likely found on any car that, by the will of fate, has to drive on the roads. Somewhere there is more of it, somewhere less, but you will almost certainly find characteristic black specks on the body. Bitumen does not pose a danger to the paintwork (LCP), it is washed off from any surfaces, it does not eat into it over time, so there is no urgency - you can ride with it for as long as you like.
What to clean? Special anti-bitumen compositions - this is if you think. Petroleum based solvents. You can also use white spirit. At worst - kerosene or diesel fuel.
This mark can be identified as a linden that has eaten through the varnish. Such a stain is partially removed by polishing, but completely get rid of it fail.
The degree of harmfulness is 8 out of 10. Spring is the time not only for love, but also for resin. The degree of eating depends on the temperature: on a body warmed up under the sun - faster. It completely eats into the varnish and, if not removed in time, will remain forever - well, or until repainted. I strongly recommend that owners of cars with soft varnish, especially "Japanese women", especially hurry up with cleaning.
Resin should be removed as soon as possible. It eats up the varnish, craters remain on the paintwork, irreducible yellow spots on the light one. And the poplar one completely penetrates under the varnish and swells it from the inside. By the way, even a harmless-looking pear leaves marks that will have to be polished.
What to clean? Special formulations for wood buds. They are made on the basis of a mixture of solvents or citrus essential oils. Pros call such mixtures "oranges".
Whitish spots, mostly visible on a dry machine.
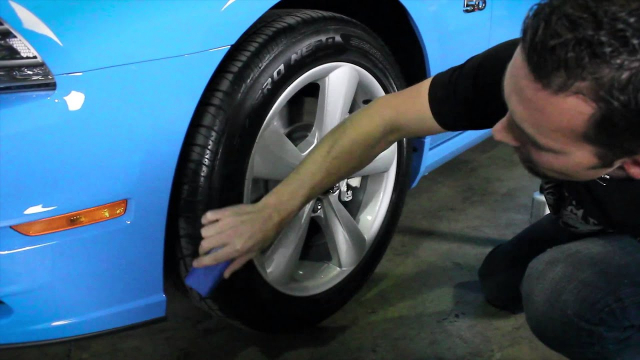
| Lime stains and poplar bud marks. The resin stain was defeated only by abrasive polishing: it is removed along with the top layer of varnish. Lime stains and poplar bud marks. | Two cars — a Ford Focus and an Audi A6 — stood side by side in the same parking lot, where lime leaked from the ceiling. At Focus, after removing the drip of lime, swollen varnish was found; it was not possible to return it to its original appearance even after sanding with abrasives. On the Audi, the varnish remained intact, but I had to polish the traces of damage that arose after the owner of the car tried to wipe off the lime on his own. The photo shows the process of removing these traces with a special acid composition - it is clear that a chemical reaction is taking place. Two cars — a Ford Focus and an Audi A6 — stood side by side in the same parking lot, where lime had leaked from the ceiling onto them. At Focus, after removing the drip of lime, swollen varnish was found; it was not possible to return it to its original appearance even after sanding with abrasives. |
Related materials
Correct the face - how to restore the shine to the body
The degree of harmfulness is 6 out of 10. Such traces appear mainly on those cars that are based in underground parking lots, but they can also make shopping center customers happy. The consequences reveal themselves in the form of irreversible marks on the varnish; it is not always possible to defeat them by polishing.
Can I clean myself? It will be possible to remove the streaks themselves, but it is not always possible to cope with the consequences of their activity - professional polishing may be required.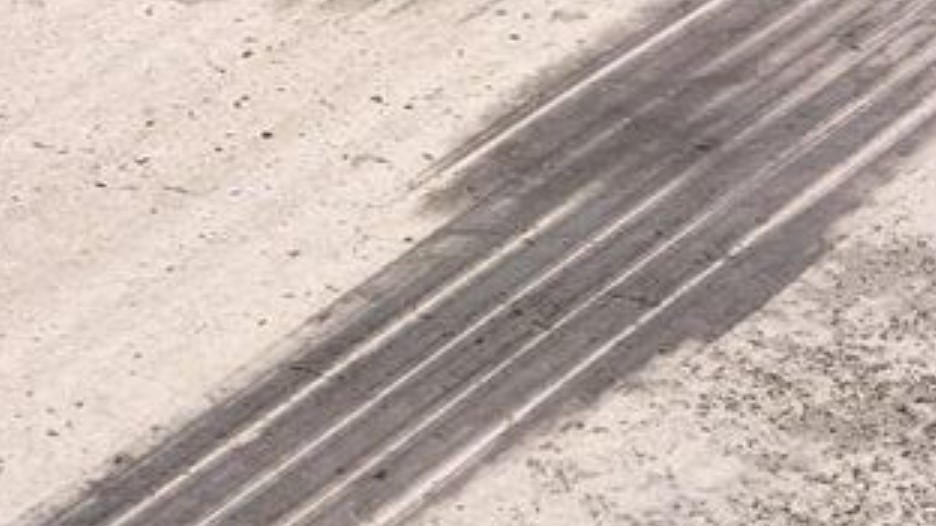 And then the color of the body part.
What to clean? Specialized acid formulations are best used. If the case is not the most severe, try working on the lime with vinegar.
This is usually hot brake pad dust that flies out during braking and settles on the body. Moreover, it does not just settle, but literally bites into the varnish. And then it starts to rust, revealing itself as red dots, especially clearly visible on light cars.
Harmfulness 4 out of 10. Unpleasant, but not fatal. It is difficult to assess the degree of harmful effect on the varnish, the damage is mainly aesthetic.
Can I clean myself? Yes, and with relatively little bloodshed - washing the car at the dacha or self-service car wash.
What to clean? Only special pH-neutral formulations that are labeled "disc cleaners" work well: they do an excellent job with such troubles.
 Reagents
 Appears as a yellowish oily film. They are especially noticeable on cars that are stored in warm parking lots.
The degree of harmfulness is 2 out of 10.
Can I clean it myself? During washing - yes.
What to clean? Anti-bituminous compounds, because the nature of the contamination is similar to that of bitumen.
Chitin, blood!
Insects that have eaten into the paintwork. And here you can’t do without polishing.
Insects that have eaten into the paintwork. And here you can’t do without polishing. Hazard rating 8 out of 10 It's hot, the traffic jam, the hood got hot - and went to collect the "harvest". Insects flatten themselves on the car, leaving characteristic marks that eat into the varnish.
Can I clean it myself? Possible. Sprayed, washed off - nothing complicated. But you need a special composition.
What to clean? If the car was not hot, and the insects did not spend too much time on the hood, then an ordinary car shampoo will do the trick. If the varnish is not hard enough, and the body was heated at the time of the murder, then special equipment is indispensable. And if the car sits for a week in the heat in the company of dead flies, then you will have to pay a visit to the polishers.
Nothing needs to be explained here.
Traces of bird droppings that were not washed away in time. At the car wash, they can no longer cope with this ailment - you will have to contact the polisher.
Traces of bird droppings that were not washed away in time. At the car wash, they can no longer cope with this ailment - you will have to contact the polisher.
The degree of harmfulness is 10 out of 10. Time is working against you. As long as the excrement is on the body, they will tend to penetrate deep into the paintwork. And even more: the substance passes through the paintwork to the metal, swells the varnish and damages the base paint layer. In this case, you will have to recolor the element.
Can I clean it myself? Not only possible, but also necessary - as soon as you notice.
What to clean? At least plain water or a damp cloth. If it was not possible to immediately wash it off with water, then no means will help: only polishing or repainting.
Related materials
Home remedies instead of car chemicals: expert advice
This is an epoxy-based paint with high adhesion and wear resistance. You can pick it up on wet markings.
The degree of harmfulness is 10 out of 10.
Can I remove it myself? If it's a simple yellow paint used to mark a parking lot, then alcohol, such as isopropyl alcohol, will do. Or a kidney remover. But if this is downright white markings, then it’s better not to even try - such paint will have to be removed by abrasive means. You can call on polishing clay to help, but after that the cleaned places will have to be polished.
What to clean? See paragraph above. It all depends on the wear resistance class of the markup. If alcohol-containing formulations fail, go to the professionals.
Related materials
Armor cosmetics: comparing protective body polishes
Painting drizzle flies from the facades of buildings, bridge supports and other metal structures during all kinds of repair work - the wind to help her. In general, whenever a city is put in order, the cars get into a mess.
The degree of harmfulness is 10 out of 10. Someone else's paint can stay on the body forever and force you to do a complete repaint.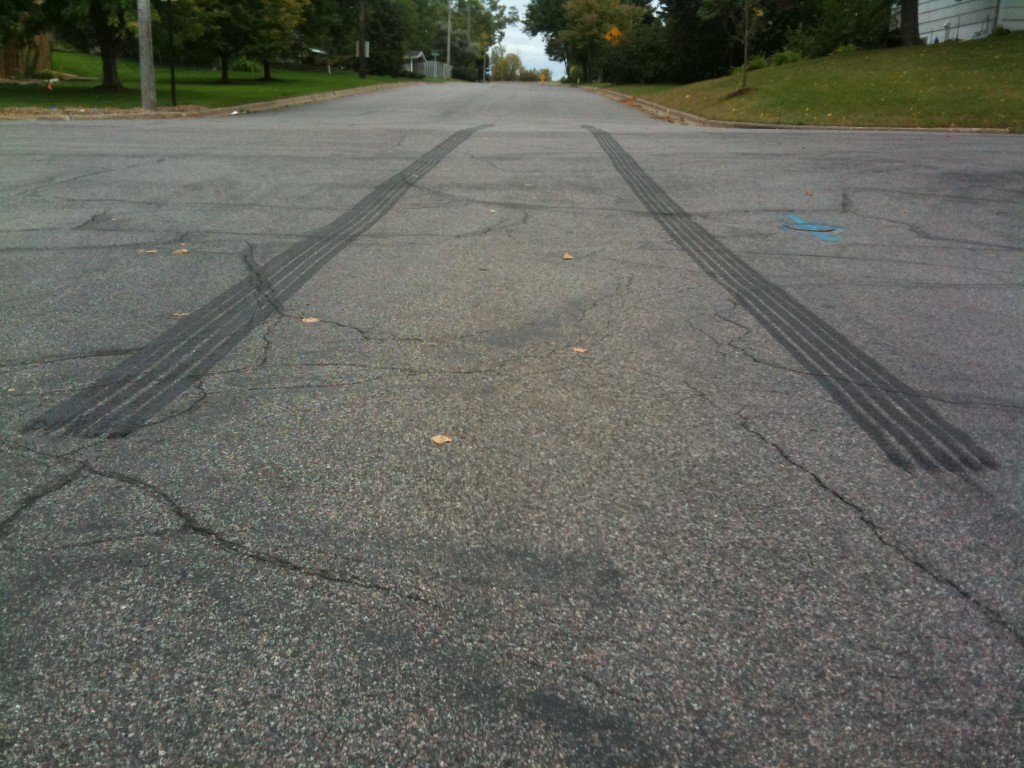
Can I clean it myself? Only if the contamination is fresh. You will have to use a solvent designed for this type of paint.
What to clean? Water-based emulsion, while fresh, can be washed off with water, dried, try to wipe with alcohol. Paint based on white spirit - white spirit, respectively. And if it is an industrial, especially resistant paint? In general, the main problem is to determine the type of paint. And we must not forget that the varnish can “matte” (become dull), and a vigorous solvent like “646” can swell the top layer of the varnish or completely remove it - in general, anything can happen. And then you have to polish the surface.
It is easy to find near the construction site: you never know where you have to leave the car in the city. A drop of concrete is a real nuisance.
The degree of harmfulness is 10 out of 10.
Can I remove it myself? Yes, if you have experience and chemical education, as well as a certain courage. If you have the above, look in building markets for a tile cleaner that washes away building mixtures.
What to clean? Will have to dissolve. Professionals use aggressive acids, which must be promptly removed from the paintwork in order to avoid damaging it. The procedure will have to be repeated several times. And in any case, in the final you can not do without polishing.
Related content
As a polish: testing car body paint care products
If you decide to deal with pollution yourself, there are a few simple rules to follow. After applying the cleaning composition to the surface, let it work. If normal flushing with water is not enough, microfiber should be used. In no case do not wipe with pressure - only with light movements. The most important thing: the machine must be clean during operation, otherwise you can scratch the paintwork. Most likely, sand is present in the body of pollution, and it will rub off the varnish on your car: a clean and smooth speck surrounded by a hazy halo will remain in place of the dirt.

 Concrete must be rated to withstand 4000 psi pressure, the standard building material for roads. Spray the brake tracks for 2 to 3 minutes with pressure water with water hot enough to generate some steam.
  Finish with a rinse at the coolest pressure washer setting.
 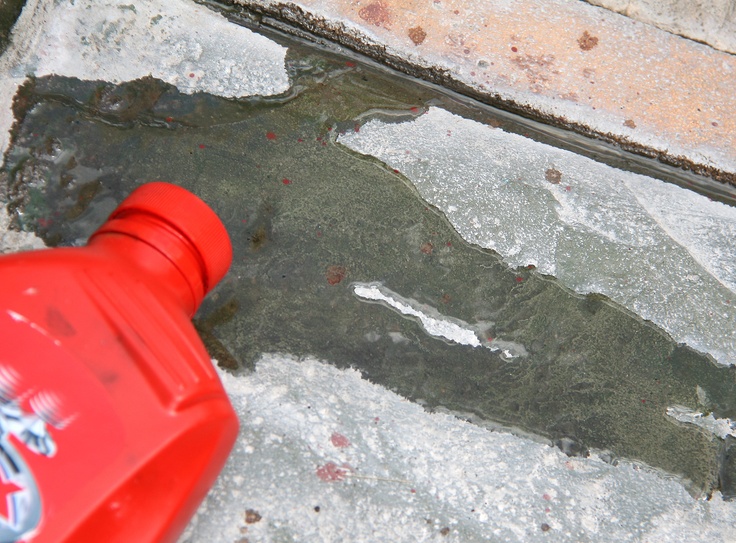 Show them how proper braking techniques can help prevent skids on the road.
 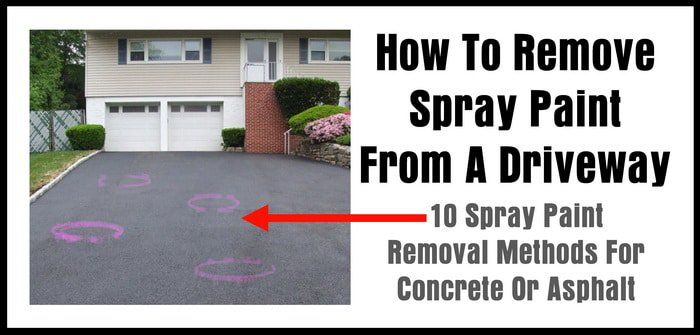 The resin stain was defeated only by abrasive polishing: it is removed along with the top layer of varnish.
 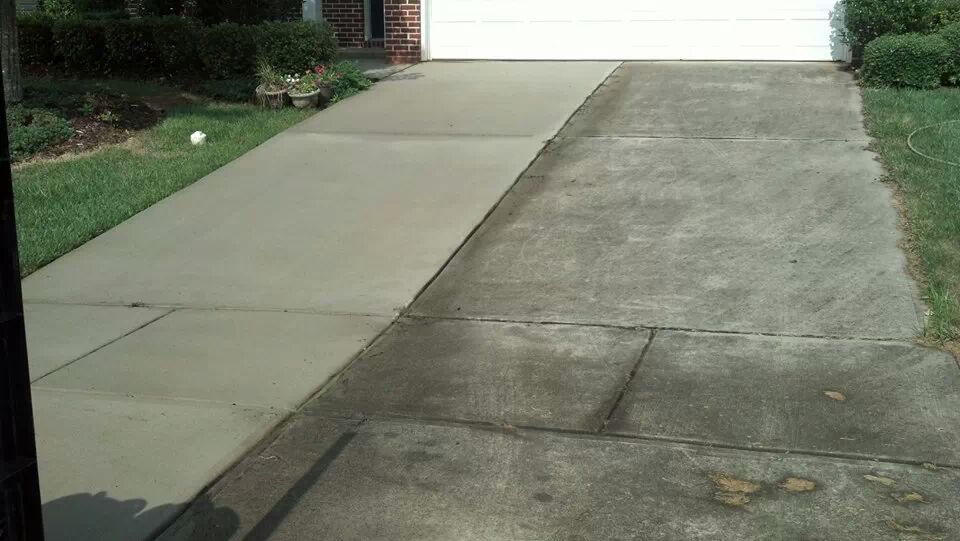 On the Audi, the varnish remained intact, but I had to polish the traces of damage that arose after the owner of the car tried to wipe off the lime on his own. The photo shows the process of removing these traces with a special acid composition - it is clear that a chemical reaction is taking place.