Learning how to remove a Presta valve core without a tool can be very useful especially when you need to replace the tubeless sealant, or seat an old tyre onto an old rim.
Riding bikes can require quite a few specialized tools, however, and it is quite easy to get caught out. There are a number of shortcuts and tricks of the trade that can be used in order to get around these situations.
So how do you remove a Presta valve core without the correct tool and how easy is it to do?
Table Of Contents
Most people have a pair of pliers kicking around their home somewhere. This solution is not ideal as it can damage the head of the valve, but if you have nothing else it will do the job. Simply hold the head of the valve with the pliers and twist anti-clockwise to loosen and clockwise to tighten.
Most people that ride bikes should own a chain tool, and if you don’t it might be worth considering one. Simply slot the head of the Presta valve core into the end of the chain tool, and twist anti-clockwise to loosen and clockwise to tighten.
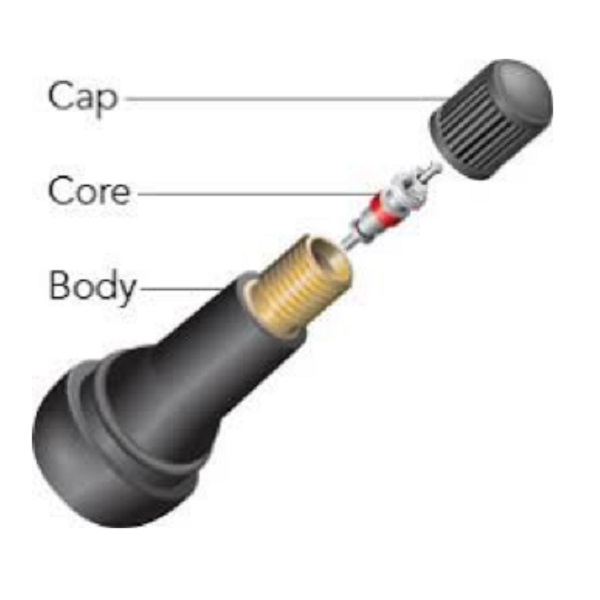
What Is A Presta Valve?The Presta valve is a commonly used valve found on bike inner tubes. The valve is the system by which air is pumped into the tire.
The valve is made up of an inner body and an outer stem.
The Presta valve was invented by the Frenchman Etienne Sclaverand and is also known as the Sclaverand valve or the French valve. The name Presta comes from the Latin word for fast or hurry.
The outer valve of the Presta is narrower in diameter than the other most common valve used on tires – the Schrader valve.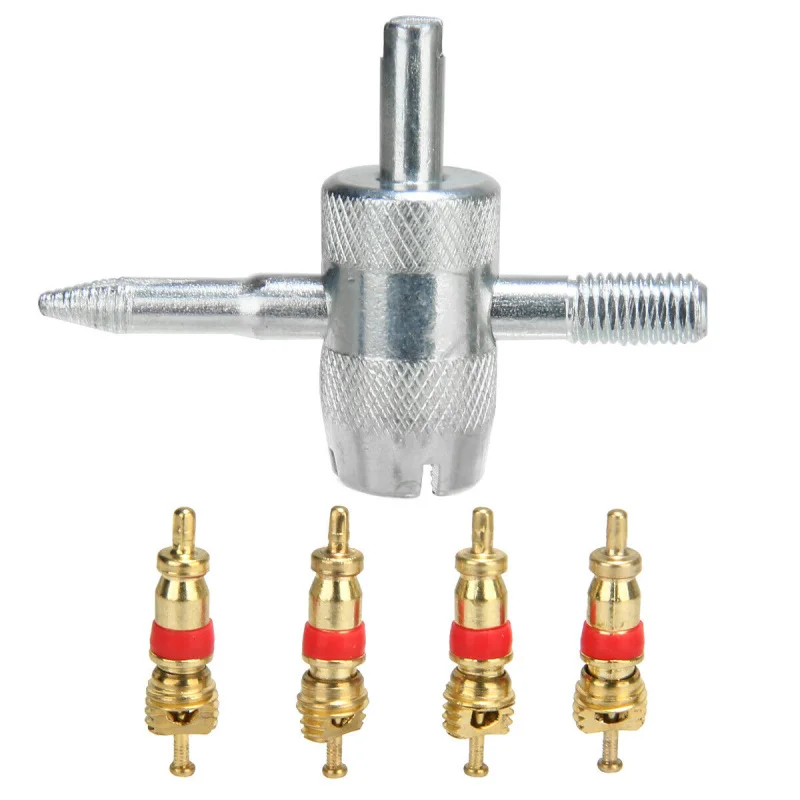 It is 6mm compared with the Schrader valve’s 8mm. The length is variable depending on what they are being used for.
The narrower diameter means that they need smaller holes on the bike rim. This means that they work better with narrow wheels without sacrificing strength. However, the narrower size also means that inner tubes equipped with Presta and Schrader valves are not interchangeable.
Are All Presta Valve Cores Removable?All Schrader valves are removable, but not all Presta valve cores are removable. However most Presta valve cores are removable.
How To Tell If Your Presta Valve Core Is RemovableHave a look at the valve stem. If you see that the valve is made up of two parts then that means it is removable. If the core is removable, that means that it can be used for a tubeless setup. Sealant can be added through the valve.
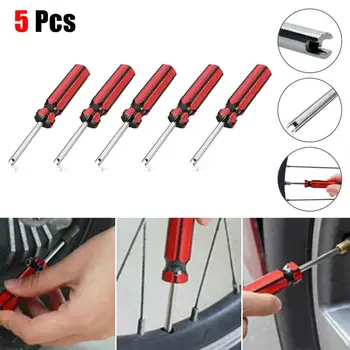
What Is A Presta Valve Tool?A number of different companies make cheap valve tools that work with both Presta and Schrader valves.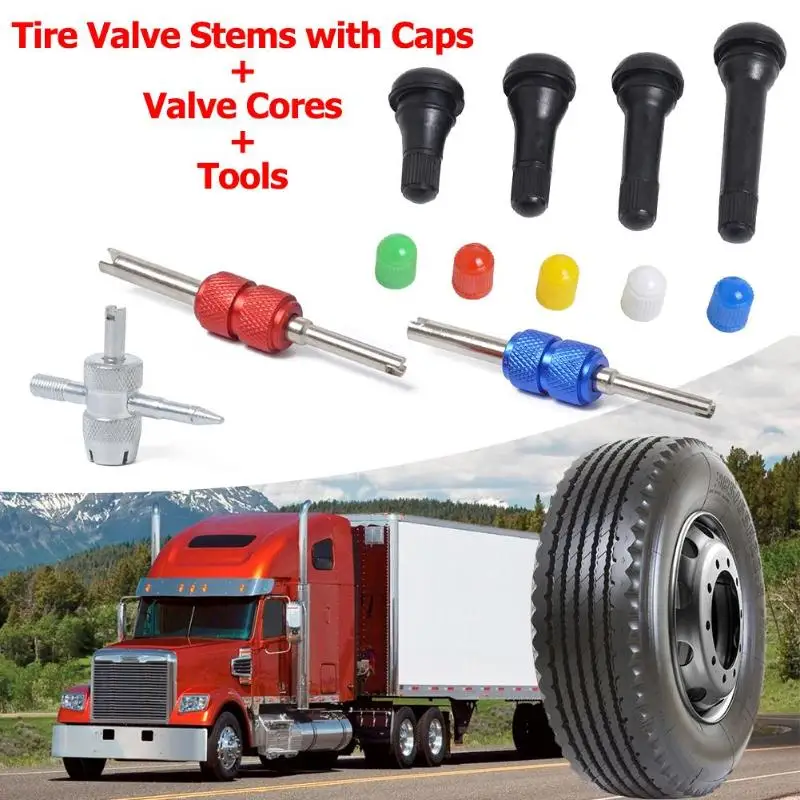 They attach to the valve and allow you to remove the core.
These tools cost about £10. They are easily available and small enough to take with you anywhere.
What Is A Presta Valve Tool?Is Presta Better Than Schrader?There really is no answer about which one of them is better or worse. Both of them have their own advantages and disadvantages. Some people have particular preferences, while other people are more prone to simply use whatever is available.
Schrader valves are more common, and sturdier and their core is much easier to remove.
Presta valves do not have a valve spring, which makes them easier to pump. They are also much better on thinner rims due to their smaller size, which makes them well suited for road bikes.
Presta valves are also lighter, although the benefit of the lower weight is fairly negligible, and they can handle pressure better. They are also better at staying unclogged, which makes them well suited for mountain biking.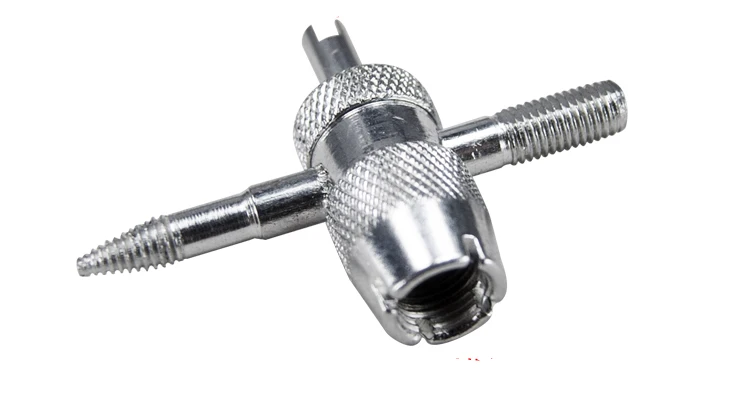
Presta valves are fairly robust. As with all things, they can break, but they are not known for being excessively brittle. In fact, if anything, they have a reputation for sturdiness. Just ensure you don’t bend the valve when removing the Presta valve core or it will break!
Can You Put Air Into A Tire That Has A Broken Valve Stem?No, however, It is fairly easy and inexpensive to replace the valve core. Simply remove the broken valve core and screw in a new core, being careful not to strip the thread or damage the rim tape.
Can Presta Valves Be Lengthened?Presta valves can be lengthened if needed using extenders. This might be necessary with deeper rims, such as those on aerodynamic race bikes.
If you are looking to get extenders for your valve, it is worth noting that there are different extenders for valves with removable cores and those without, so make sure that you check which one you need and buy the correct one.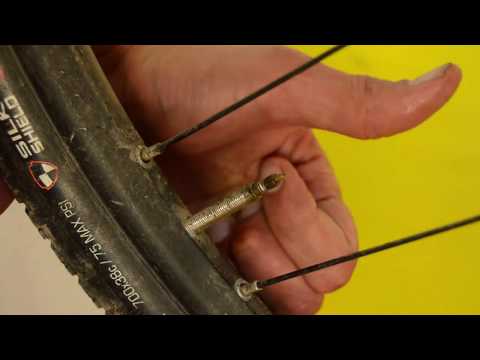
If you find that you need to remove a Presta valve core and you do not have the correct tool to hand then there is no need to worry.
A number of tools that you are likely to have lying around can be used to remove the core.
Pliers, such as needle-nosed pliers, can be used to perform the job. Vice grips will also work. However, the best solution to remove a Presta valve core without the tool is a chain tool or a number 11 spoke key.
If you do not have these to hand, then a little bit of ingenuity with whatever you have to hand can work wonders.
How to Remove a Presta Valve Core and Replace Tubeless Sealant?To start you will need to remove the Presta valve core and then remove the tire. You can see our full tutorial here: How To Fit Tubeless Mountain Bike Tyres | 9 Simple Steps
See our other tutorials here:
Ask a question, get an answer ASAP!
☰
×
GET A QUOTE
| Save Big on Auto Repairs | Get a Quote |
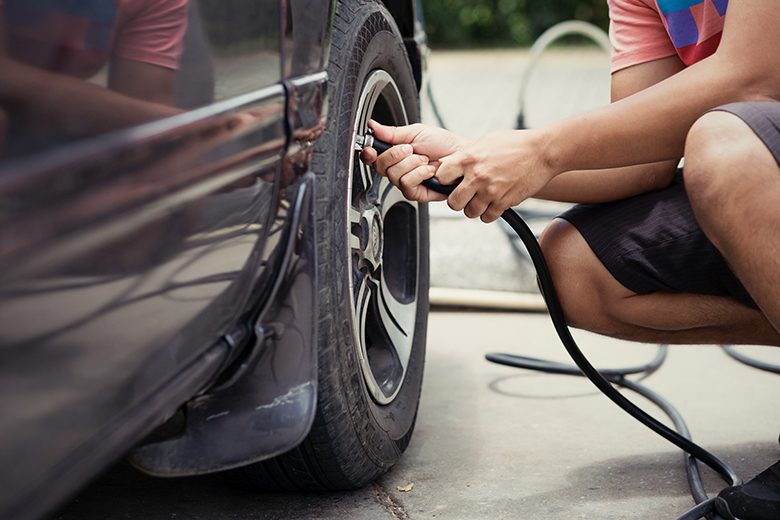
Tire valve stems are the valves located in a vehicle’s wheel where the tires are inflated from.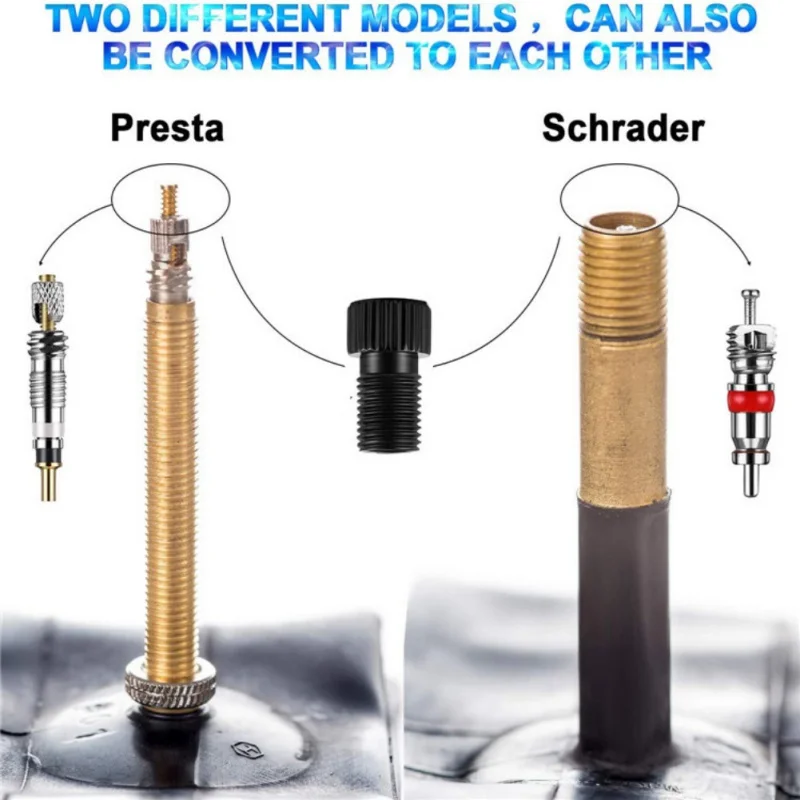 They contain a spring loaded valve core that seals itself using the air pressure inside of the tire. Over time valve stems may get old, crack, become brittle, or begin to leak, causing larger problems with your tire and your driving experience.
When valve stems begin to leak, the tire will no longer hold air. Depending on the severity of the leak, the tire may leak air slowly, or in more sever cases not hold air at all, warranting replacement of the valve stem.
In most cases the the fastest way to replace a valve stem is to take it to a tire shop and have them remove the tire and replace the valve stem using aid of a tire machine. However, for instances where this is not an option, a tire can be removed and the valve stem changed manually. In this step by step guide we will cover how to remove a tire from a wheel manually, using a tire iron, to replace the valve stem.
Materials Needed
Step 1: Loosen the lug nuts. Loosen the lug nuts of the wheel from which the valve stem is going to be replaced.
Step 2: Raise the car on jack stands. Set the parking brake, and then raise the vehicle and secure it on jack stands.
Step 3: Remove the wheel. Once the vehicle is raised, remove the wheel and set it flat on the ground with the outside of the wheel facing up.
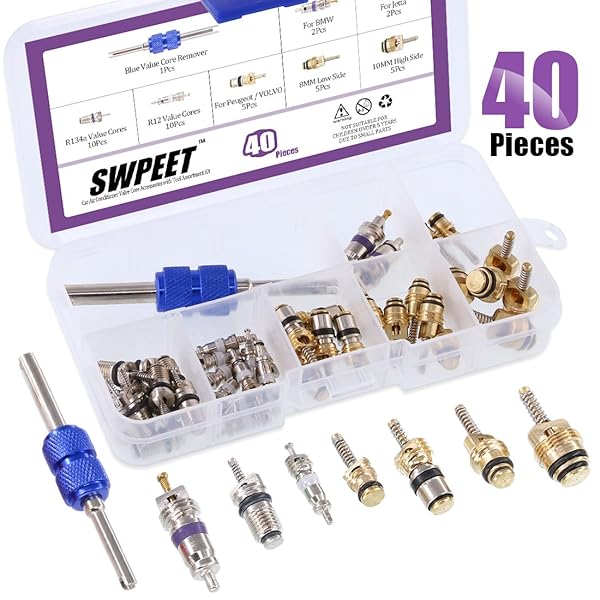
Step 4: Deflate the tire. Remove the cap from the valve stem, and then remove the valve stem core using the valve stem removal tool to release the air from the wheel.
Once the valve stem core is removed the tire should deflate on its own.
Step 5: Separate the tire’s bead from the wheel. Next, use the sledgehammer to break the tire’s bead free from the wheel.
Hit the sidewall of the tire using the sledgehammer in the same place until the bead breaks loose.
When the bead breaks loose you may hear a crack or popping sound, and you will see the inside lip of tire visibly separate from the lip of the wheel.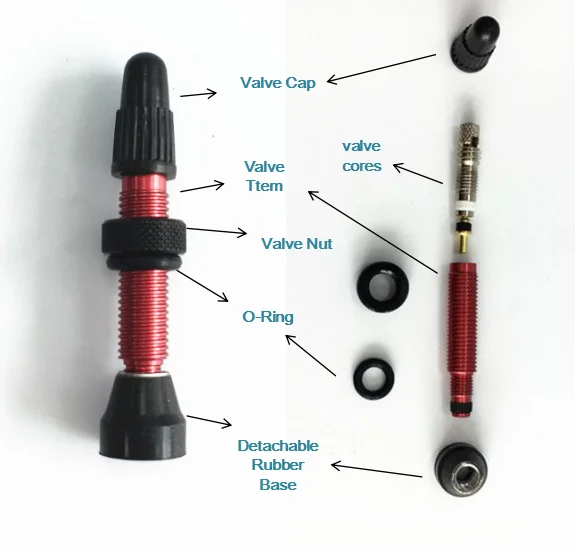
Once the bead has been broken, continue around the tire with the sledgehammer until the bead is completely broken all the way round the tire.
Step 6: Lift the lip of the tire up from the wheel. Once the tire’s bead has been broken, insert your tire iron between the edge of the rim and the inside lip of the tire, and then pry upward to pull the lip of the tire over the edge of the wheel.
Once you have pulled the lip of the tire over the edge of the wheel, work the tire iron around the rim until the entire lip of the tire is off the rim.
Step 7: Remove the tire. Grab the tire by its removed lip and pull it upward so that the opposite lip that was at the bottom of the wheel is now touching the top edge of the rim.
Insert the tire iron in between the the tire’s lip and the edge of the wheel and pry upwards to pull the lip over the edge of the rim.
Once the lip is over the edge of the rim, work the tire iron around the edge of the wheel until the tire is removed from the wheel.
Step 8: Remove the valve stem. Once the tire is removed from the wheel remove the valve stem. Use the needle nose pliers to pull the valve stem free from the wheel.
Step 9: Install the new valve stem. Take your replacement valve stem and install it from the inside of the wheel. Once it is in position use the needle nose pliers to pull it through into place.
Step 10: Reinstall the tire. Reinstall the tire onto the wheel by pressing it down over the the rim until the bottom bead clears the edge of the rim.
Then press the side of the tire down underneath the edge of the wheel, tuck your tire iron in between the lip of wheel and the bead, and then pry the bead over the lip the of the wheel.
Once the bead clears the lip of the wheel, work your way round the entire wheel until the the tire is completely installed on the wheel.
Step 11: Inflate the tire. Once the tire has been re-installed onto the wheel, turn on the air compressor and inflate the tire to the correct specification.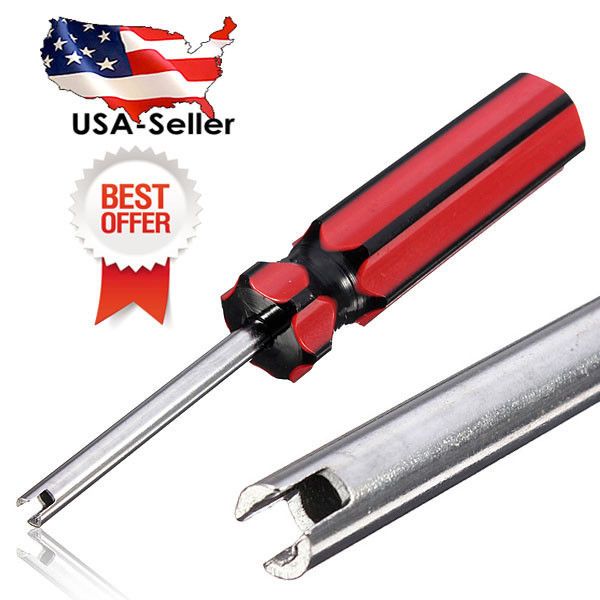
For most tires, the recommended pressure is between 32-35 pounds per square inch (psi).
Step 12: Check for leaks. Once the tire is properly inflated, double check to make sure that there are no leaks of any kind, and then reinstall the tire onto the vehicle and lower it off of the jack stands.
For most cases, the easiest course of action to replace a valve stem would be to simply take it to a tire shop, have the tire removed with a machine, and then have the valve replaced.
However, in the instances where that is not an option, a valve stem, and even a tire, can be removed and replaced manually with the correct tools and the correct procedure. If you find that there is a leak or damage in the tire and not just the valve stem, you may want to replace the tire entirely.
Tires
wheels
The statements expressed above are only for informational purposes and should be independently verified.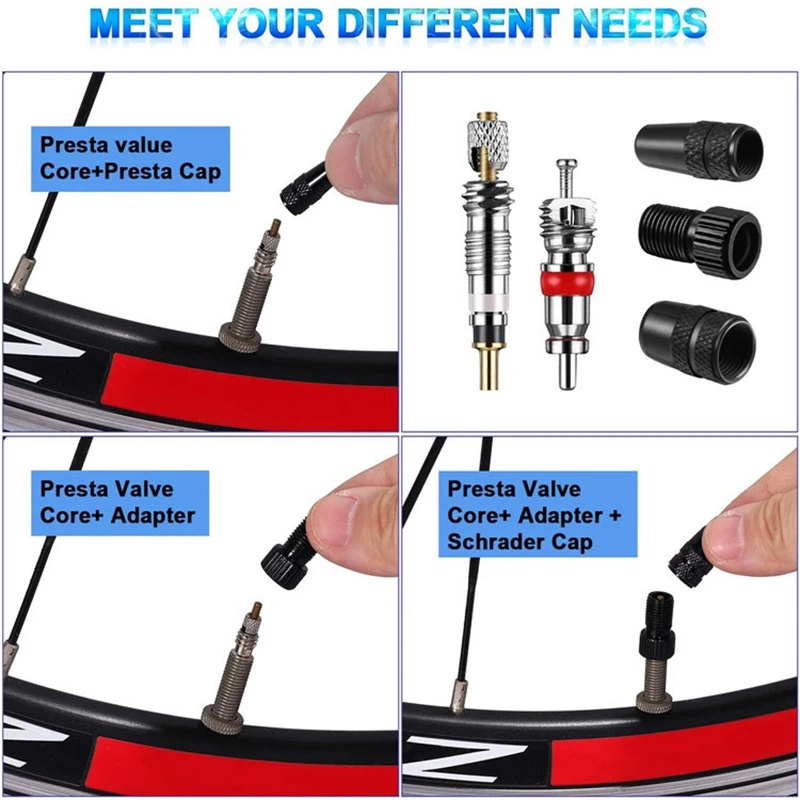 Please see our terms of service for more details
4.2 Average Rating
Service Hours
7 AM - 9 PM
7 days a week
Phone Number
1 (855) 347-2779
Phone Hours
Mon - Fri / 6 AM - 5 PM PST
Sat - Sun / 7 AM - 4 PM PST
Address
We come to you at no extra charge
Guarantee
12-month/12,000-mile warranty
Our certified mobile mechanics perform over 600 services, including diagnostics, brakes, oil changes, scheduled mileage maintenances, and will come to you with all necessary parts and tools.
Get a fair & transparent quote instantly before booking.
Earn up to
$70/hr
Apply Now
Our certified mobile mechanics make house calls in over 2,000 U.S. cities. Fast, free online quotes for your car repair.
GET A QUOTE
GET A QUOTE
How to Do a Tire Safety Inspection
Car tires are a big part of staying safe on the road.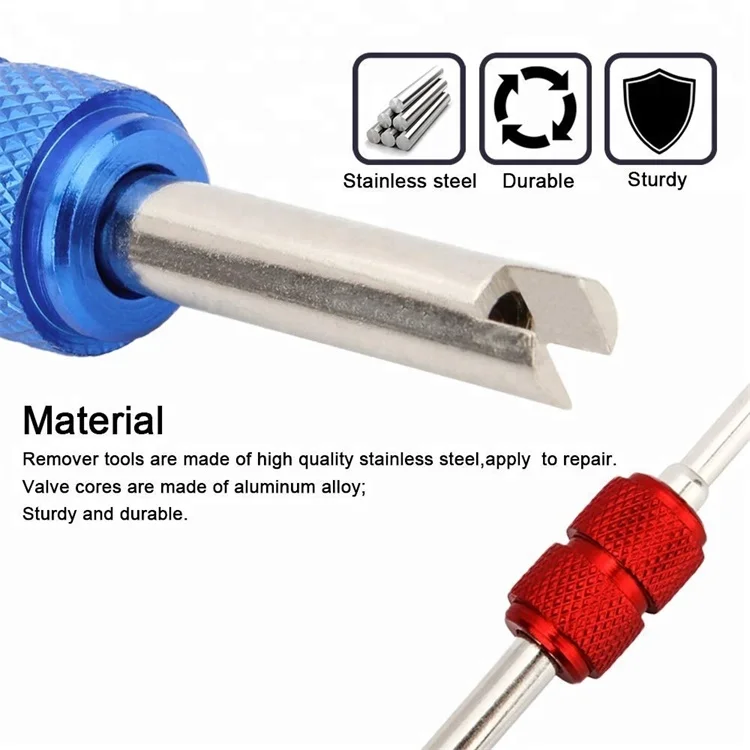 Check tire inflation, tread depth, and sidewalls to make sure they're in good shape.
How to Replace the Rear Hub Bearing on a Ford Explorer
Wheel bearings allow the car's wheels to give you a smooth ride. A howling or grinding noise is a sign that your hub bearing should be replaced.
What are the Best Car Tire Brands to Buy?
Car tires come as all season passenger tires, summer passenger tires, on-road light duty truck and SUV tires, and off-road truck and SUV tires.
Steering wheel vibration over 60 mph
Hello. This vehicle should not shake like this when driving at high speeds. If it only occurs at higher rates of speed then it either has a warped front hub assembly or it may have a problem with the alignment....
Car stalls when stopped, steering wheel locks up
Yes, this is a common problem with CX-9. Carbon deposits can build in the throttle body (https://www.yourmechanic.com/article/symptoms-of-a-bad-or-failing-throttle-body) causing a restriction in airflow and reaction time of the throttle plate causing stalling with no Check Engine Light or no diagnostic trouble...
How can you tell if my tires need to be rotated?
Hi, thanks for writing in. If it has been more than 5000 miles, then it is time. Also, you can take a look at the front and rear tires and move your hand over top of the tires in one...
Services
Estimates
Cities
Maintenance
Our service team is available 7 days a week, Monday - Friday from 6 AM to 5 PM PST, Saturday - Sunday 7 AM - 4 PM PST.
1 (855) 347-2779 · [email protected]
Read FAQ
GET A QUOTE

Mounting and dismounting process can be dangerous and must therefore be carried out by qualified workers using proper tools and procedures. Failure to follow these guidelines may result in the tire not being properly seated on the rim, resulting in a tire explosion that could result in serious physical injury or death.
1. Make sure the disc, tire and tube are compatible with each other.
2. Check that the tire is suitable for the machine. Use only rims recommended or approved by the tire manufacturer.
3. Use only special equipment and tools.
4. Disc must be clean and in very good condition (ie no damage, etc.). If necessary, clean the disc with a wire brush. In no case should a tire be installed on a rim with visible cracks, deformations, traces of welding repairs, etc.
5. The tire should be carefully inspected inside and out to make sure there is no damage. If damage is found that cannot be repaired, the tire must be replaced with another one.
6. If fitted with a tube, a new tube and valve must be used that is appropriate for the tire size. If a tubeless tire is installed on a tubeless rim, a new tubeless valve must be used.
7. Lubricate the rim and beads before assembly. Use only a suitable lubricant that does not harm the tire (do not use lubricants based on silicone or gasoline).
8. Vertical mounting recommended. In the case of horizontal installation, it is not possible to determine whether the lower bead has seated correctly.
9. Install the tire on the disc from the side diametrically opposite the valve (observe the direction of rotation, if indicated by the arrows). With the right leverage and repeated use, place the first rim over the wheel flange. Then apply a slightly inflated tube, talcum-coated (if used) inside the tire. Position the valve by loosely seating the clamping wheel. Plant the second bead, gradually raising it above the disc flange, ending at the valve.
10. Remove the valve core to seat the beads and center the tire. Inflation should be done slowly to ensure proper bead seating. Make sure the sides don't pinch the camera.
11. When inflating the chamber, keep a safe distance and use a safety guard, if possible fixed to the wall or with restraining chains. When taking a pressure reading, make sure that no part of the body is in the possible path of the valve mechanism or caps. It is recommended to use suitable pressure limiting sensors. A filter and desiccant should be used in the compressed air supply line to keep out moisture or dirt.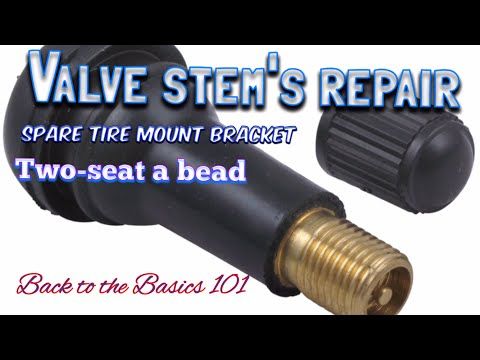 Under no circumstances should a hammer be used to shrink the bead.
12. Continue inflation. Make sure that the pressure does not exceed 2.5 bar, if the beads do not sit down and stand up exactly in relation to the middle of the wheel.
13. If the beads are not seated correctly, bleed the air, lubricate and re-inflate. Repeat until the sides are set correctly.
14. After correctly carrying out the above steps, replace the valve core and adjust the load pressure according to the table in the technical manual.
15. Make sure the valve does not touch discs, brake discs or other fixed mechanical parts.
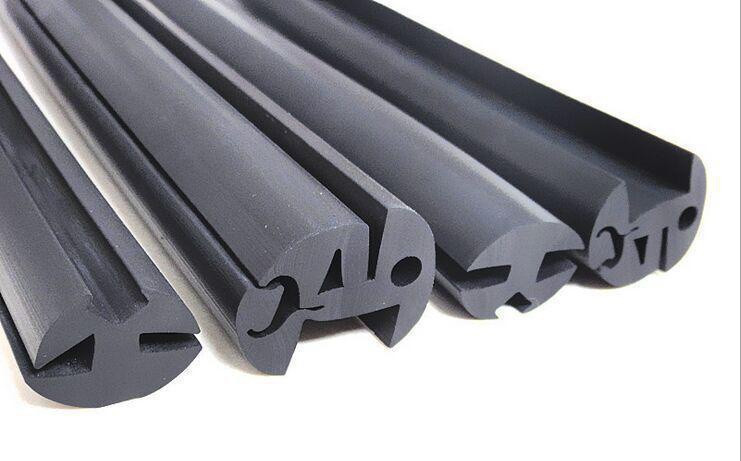
The tire valve is the tip that inflates the tire and ensures it is sealed. It is attached either directly to the inner tube or to the wheel rim. The tire valve is damaged while driving and must be replaced at the same time as the tires.
La valve d'un tire A car tire is a rubber tip that sits on the tire. The tire valve, fitted with a plastic cap, has two main functions:
The tire valve can be attached to the inner tube or to the rim, as is the case with tubeless tire valves. It comes in two types:
 When the pressure is too low, a warning light comes on on the instrument panel.
 In short, the tire valve prevents air from escaping from the tire, but also prevents dirt from entering the tire. Hence, it also plays a protective role. Finally, it allows, in particular, to make tire pressure and then maintain this pressure by keeping the air inside.
One of the functions of a tire valve is to seal it by keeping air inside the tire. But over time and miles, it can get worse as it is subjected to the pressure and centrifugal force of rolling tires.
Damaged tire valve can cause Air leak and pressure drop tire. The main cause of tire valve leakage is its age, and the mechanism it contains eventually fails.
The risk of tire valve failure is the slow release of air from the tire.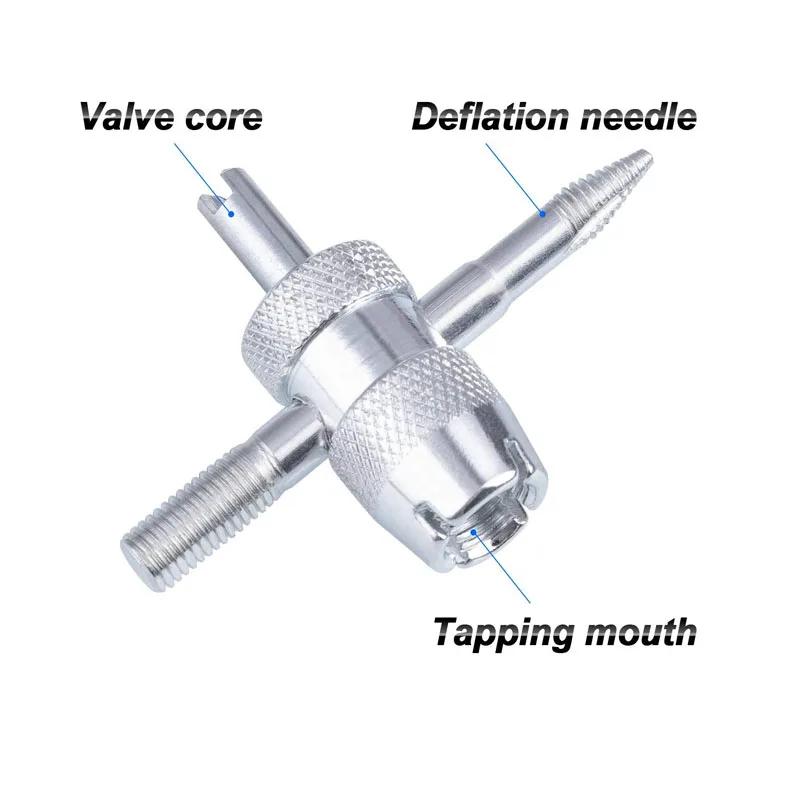 No matter how hard you apply pressure and re-inflate it, it will continue to lose air. However, driving with improperly inflated tires is dangerous: loss of traction, increased stopping distance, reduced tire life and risk of bursting.
Therefore, the valve in a leaking tire must be repaired or replaced. We also recommend replacing tire valves every time you change tires.
To change the tire valve, you must disassemble the wheel and separate the tire from the rim. You must use the valve stem puller to replace the . However, there are also CIP tire valve replacement tools, but these are often not compatible with electronic valves.
Finish loosening the wheel nuts and remove it. Lay it on the floor with the outer side up. Remove the tire valve cap, then remove the core with a valve stem remover. Let the tire go down.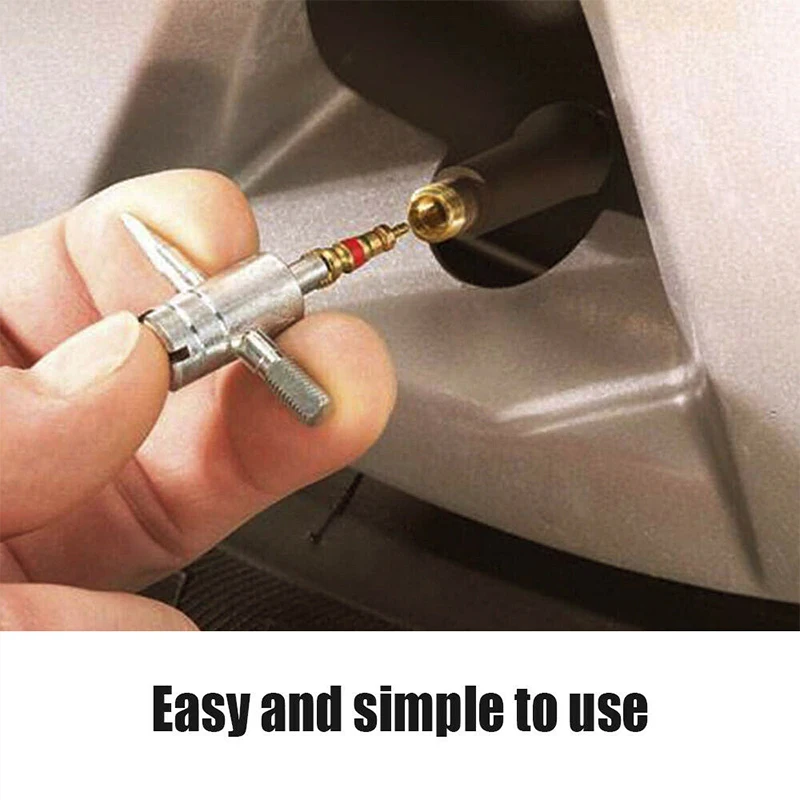
After the tire is deflated, you must detach it from the rim. You can use a sledgehammer all over the tire. Then, using an iron, remove the tire from the rim by inserting it between the tire and the edge of the rim.
Once the tire is separated from the rim, you can remove the stem from the tire valve. Use pliers to remove the old valve and install the new one in its place. You can then put the tire back on the rim and inflate it to the pressure recommended by the manufacturer. Complete the wheel assembly and check the tire valve for leaks.
The price of a tire valve depends on the type of valve, its size and of course where you buy it. You can easily find a new valve at a specialized automotive store or on the Internet.