Ever wondered why your brand-new tires are getting deflated so quickly? Or why your tires are getting flat even though there are no signs of puncture? The answer may be that your tire is leaking around the rim or the bead or someone intentionally slashed your tires.
Rim leak can occur due to several factors – the tire may not have been installed correctly, rim corrosion due to exposure to harsh environments (water, road salts, dirt, debris), and corrosion of the valve stem. This can also lead to your tires making an unwanted humming noise.
The corrosion of the aluminum rim can cause the metallic rim to swell and expand nudging the tire bead off the rim and ultimately resulting in a tire leak.
Fortunately, repairing a rim leak is straightforward and inexpensive which mainly involves cleaning the tire rim and applying a sealant to make the rim airtight.
Identifying a rim leak can be a very daunting task as it is not at all obvious and many drivers are simply unaware of this slow leak.
The easiest method to detect a rim leak is the ‘water-bath’ test. It helps if you have a big container with soap water in which you can submerge your tire but a simple bottle with a spray nozzle filled with soap water can also suffice.
Spray the soap water over the tire and look for bubbles appearing around the edge where the rubber meets the rim (known as the ‘bead’ of the tire). If you notice bubbles appearing around the rim, it is a definite sign of leakage around that area. Otherwise, if you do not see any bubbles, your wheel is air-tight around the rim.
Whether be it a tubeless tire or a tubed one, both are susceptible to rim leaks. Once you have identified that your tire has a rim leak, it is time to dismount the tire and get to repairs!
The following is a step-by-step guide for repairing rim leaks for your average daily-drive vehicle.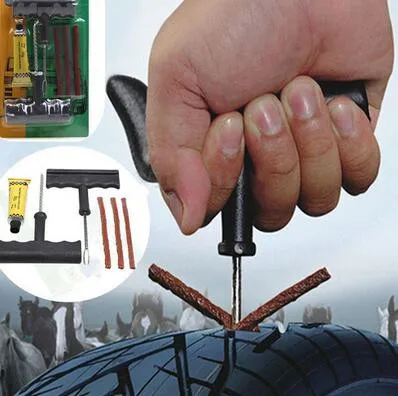 The same procedure can be followed for a tubeless tire as well.
Jack up your vehicle. Secure the jack and apply wheel wedges. Remove the lug nuts using an impact or a lug wrench from the tire and pull it towards you until it is completely dismounted from the vehicle.
You will need to deflate the tire in order to easily remove the rim from the tire. Locate the valve stem. You can use a nose plier, or a valve core removal tool specially designed for this task.
Using the nose plier, twist the metallic part of the stem counterclockwise to remove it. Take extra care in twisting it, gently twist it at the end as it shoots out once it is removed. Take care to protect your fingers from the high-pressure air.
Apply some lubricant (dishwashing liquid is easily available in homes) around the rim. Push down the tire with your boot and use a pry bar or tire lever to pull the rubber off the rim such that the lip of the tire rests over the rim. Apply more lubricant if you find it difficult to lift the rubber.
Once the rubber is lifted, you can manually remove the rim by hand or push it down on the rim to get it off. Flip over the tire. In a similar fashion, use lubricant and tire levers to get the tire off of the second lip of the rim.
Once you remove the rim, examine the edges of the rim. A common problem with alloy wheels is that corrosion builds up on the bead seal. You will notice signs of oxidation and corrosion on both sides of the aluminum rim.
These are caused when water or road salts infiltrate the rim and accumulate on the rim for an extended period of time wearing away the aluminum surface. This is the prime cause of slow rim leaks.
Clean the rim with sandpaper (150 grit sandpaper is a good option) or a wire brush thoroughly. You can use an air tool or manually clean the surface by hand.
Once you have cleaned both sides with sandpaper, it is recommended that you use polishing paper or acetone if available or even soap water for smoothing and further cleaning of the rim surface.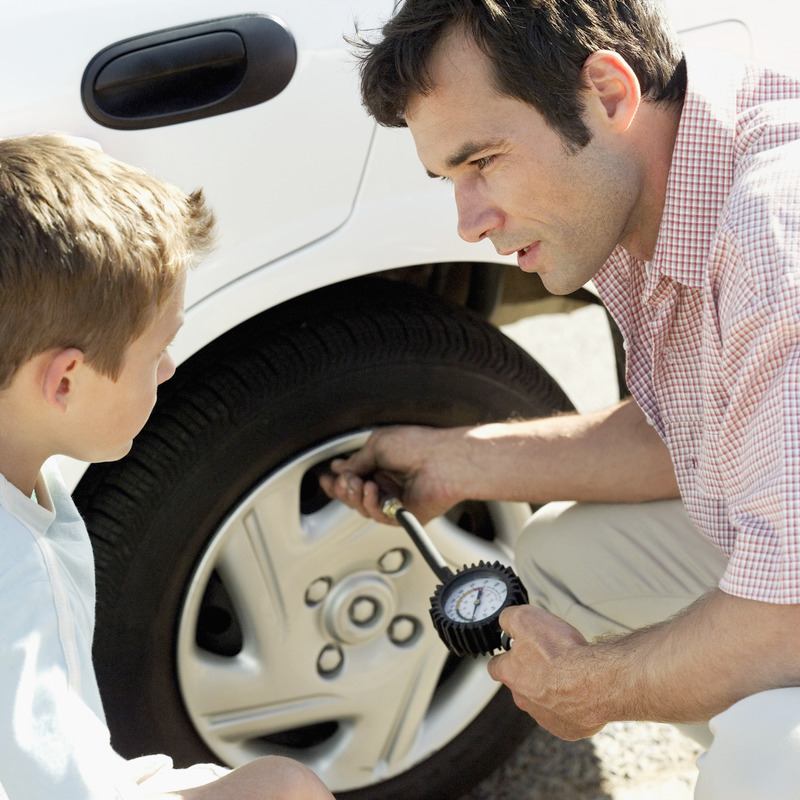
You may also notice the peels of aluminum coating on the sidewall of the tire. This is another indication that your tire was not sealed properly causing the tire to leak around the bead.
Or maybe your sidewall is damaged. Learn how much sidewall damage is too much.
Thoroughly clean the sidewall and inside of the tire with a cloth removing any dirt or contamination that had been accumulated.
Apply a bead sealer or a specialized tire solution (both readily available in the market) on the rim surface and of the tire using a paintbrush or any other tool. The chemical acts as a sealant for making the tire airtight preventing any leaks around the rim.
It is also possible that your tire may be leaking air from the valve stem of your vehicle as a result of a damaged stem. In that case, the best course of action is to replace your valve stem. Alternatively, you can apply the sealant on the valve stem as a temporary fix.
Once you have applied the sealant, mount the rim back on the tire. Use lubricant around the sidewall.
Position the tire around the rim and push it down with your boot such that one side of the tire is mounted on the rim. Push down on the wheel again and use tire levers or pry bar to strap the rubber onto the rim.
Once the rim is mounted, apply a good amount of bead sealer on the sidewall as well. Make sure there are no dry spots around the sidewall.
Inflate the tire back to the recommended air pressure (normal tire pressure is usually around 32-40 PSI). Apply the valve stem back onto the tire and let it sit for an hour.
After the tire is all dried up, check for rim leak again using the water-bath test. Spray the liquid soap around the sidewall and check for bubbles.
If you have followed our step-by-step guide, you will not notice any bubbles around the bead. This is a sign that your tire is sealed properly and ready to be mounted back onto the vehicle.
Mount the tire back onto the vehicle. Put the lug nuts back into each of the threads and tighten them firmly up until the point you cannot turn them anymore.
Take your wheels for a test ride to ensure your tires are operating as intended. Check pressure after 3 days to see if you notice any irregularities. If you have followed the mentioned procedure, the pressure should roughly be the same after 3 days.
Repairing a rim leak is quite inexpensive and straightforward. You can easily fix a rim leak at your home without needing to take your car to an auto-shop.
All it costs is a $15-20 bead sealer and your normal tire repair toolkit including tire levers, car jack, pliers, etc.
If you do not want to put in the effort yourself, you can save yourself the hassle and take your car to an auto-shop that can cost you anywhere from $65-400.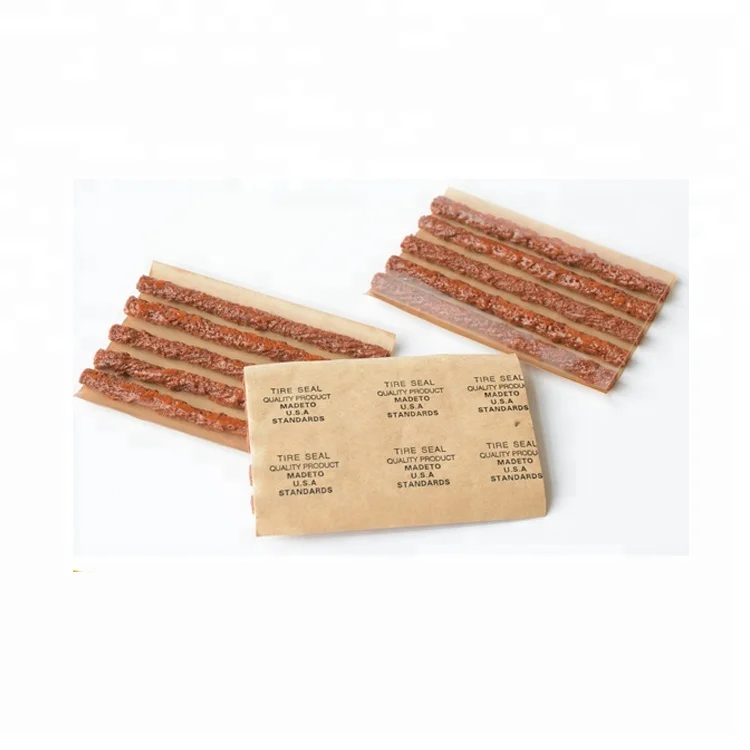
A tire sealant like fix-a-flat does indeed work on rim leaks, but it is not recommended as it comes with a few caveats. Firstly, you still need to remove your rim and clean it thoroughly.
Tire sealants are directly applied from the valve stem not requiring you to disassemble the tire but in case of rim leak, it is recommended that you clean the rim first by removing it and then apply the tire sealant/tire slime afterward.
The other caveat is that tire sealants make a lot of mess and completely fill up the inside of your tire making future repairs a real bother.
Seeing your brand-new tire flat out in a few days can be quite frustrating. You may think to yourself that there is no sign of puncture or any visible area of air leak, then how is it possible that my tire is leaking out?
The answer to your question would be that there may be several culprits of this gradual leak, you will have to test them out yourself, but the most probable one is that your tire is leaking air around the bead or the rim of the tire or you just bought tires from the worst tire brands without knowing!
Luckily, patching up a rim leak is a straightforward process, yet many drivers are unaware of the procedure.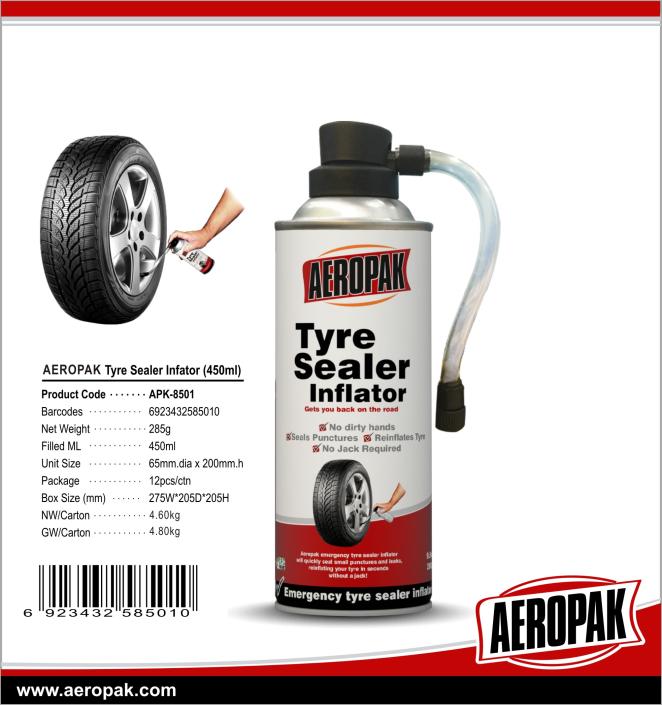 Follow these vital steps as per the procedure laid down in the article and always remain vigilant when it comes to tire maintenance and safety.
(Visited 15,918 times, 9 visits today)
After plenty of travel, your tires can be unpredictable. And it’s always incredibly frustrating to hear the slow release of air from under your vehicle.
But no matter what type of tires you have, a leak is inevitable at some point.
Whether your leak is caused by a metal screw or a chunk of glass, it will need immediate attention. Even a tiny, slow leak can cause big problems down the road. So, it’s best to tackle the issue as soon as possible!
However, taking your rig into the shop can take a big hit on your bank account… We’ve all been there. That’s when these questions pops up:
Can a mechanic fix my tire leak without having to entirely replace it? Do sealants work?
Tire companies and mechanics customarily tell us that sealants do not work and that replacing or plugging a tire is necessary. However, this is hardly the case!
There is a sealant out there that can fix leaking tires — without causing more problems in the future.
And while some companies might despise inexpensive alternatives, select solutions can save you lots of cha ching! $$
Don’t get us wrong, there are products out there that claim to work miracles and do not function as they claim to.
Fortunately, however, Berryman® Tire Seal-R continuously proves to live up to customers’ expectations — and more! This compound works to instantly seal off leaks with an innovative fiber technology formula that maintains its liquid state, keeping the tire from losing air pressure.
That’s why customers like Thad are giving testimonials like this:
“I bought a gallon from a farm store and pumped it in the tire. As I was airing the tire up, I could hear the leak, and then it stopped. Just like that! It’s been a week…and it’s holding pressure just fine.
Thanks for a great product!”
Along with preventing you from unnecessary tire purchases and overpriced maintenance services, our tire-sealant will even help lengthen your tire’s life! Applying part #1332 protects your tires from thorns, nails, and other sharp objects.
Yes, an investment that actually saves you money and time. It’s almost too good to believe.
But wait, there’s more! It also fixes porosity leaks in wheels.
Porosity leaks are pores or holes in the metal casting of the alloy wheels, often created by gases during production. They can also come about after wheels are damaged, worn and/or corroded.
These microscopic holes will slowly leak air from your tires — even if your tire is completely fine! Yikes.
Since the development of magnesium and aluminum alloy wheels, porosity leaks are becoming more and more common.
Driving tip: Having a set of dedicated winter wheels and tires can substantially prolong the life of your summer setup by limiting their exposure to salt, moisture and temperature extremes.
The good news about porosity leaks: You likely don’t have to replace the entire wheel, thanks to Berryman® Tire Seal-R. Simply seal the pores to stop the air leaks!
Some products out there seal the tire but do not stop the loss of air pressure, only giving you a limited amount of time to get your car to a tire shop. However, our sealant is a permanent fix, so it completely eliminates the need to go to a tire shop.
Not only is this product great for fixing a flat tire in your garage, but it also works for tires on bicycles, tractors, motorcycles, and more! An excellent all-in-one flat tire solution that’ll have your wallet thanking you.
Berryman® Seal-R® Tire Sealing Compound: Great for tractor tire ballasting.As customer IM said,
“After replacing three riding lawn mower tires and patching another, I started looking for puncture options vs. buying new tires… I’ve been using it for over a year now in three different riding lawn mowers, for all four tires.
No more flat tires!”
With its non-flammable, biodegradable, eco-friendly formula, it is safe to keep around the house and easy on the environment.
Have more questions?! Check out these frequently asked questions & answers on our “The Only Tire Sealant You Should Be Using” blog page.
With over 100 years of experience in the automotive industry, we’re committed to provide and produce products that meet the highest quality standards of performance and reliability.
Distributed across the country — as well as internationally — check out our product locator to find a Berryman® store near you, or visit our products page to learn more about Berryman Products.
Our Tire Seal-R lives up to its promises. Instantly seal and protect your leaks today!
If the first option is chosen - welding, then you should drain the water from the heating system, dry the leaking place and weld the crack.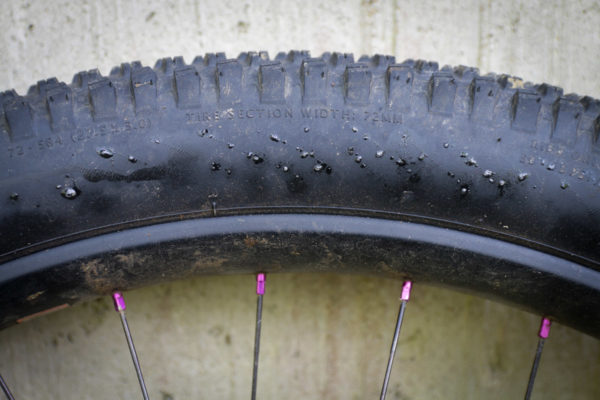 If the cause of the leak is through rust, then most often it will not be possible to weld and you will have to change the pipe section, i.e. cut out all the corrosion-damaged place and weld in a new pipe.
But welding is difficult, long, and for many it is not applicable. The easiest way is to make a "doll", i.e. wrap the pipe with material impregnated with sealant. To do this, we drain the water from the heating system, dry the leaking place, clean it from dirt, paint and rust. Now you can start gluing. As a material for a doll, it is easiest to use a medical bandage or burlap. As an adhesive, you can use building silicone sealant or liquid glass. The gluing procedure itself is simple. We coat the pipe with sealant at the place of gluing and thoroughly impregnate the applied fabric with the same sealant. Next, tightly wrap the pipe with a cloth and leave it for the time necessary for the sealant to dry. The thicker the doll comes out, the more securely it will hold. If the cause of the leak was corrosion, then the doll must be made wider, because.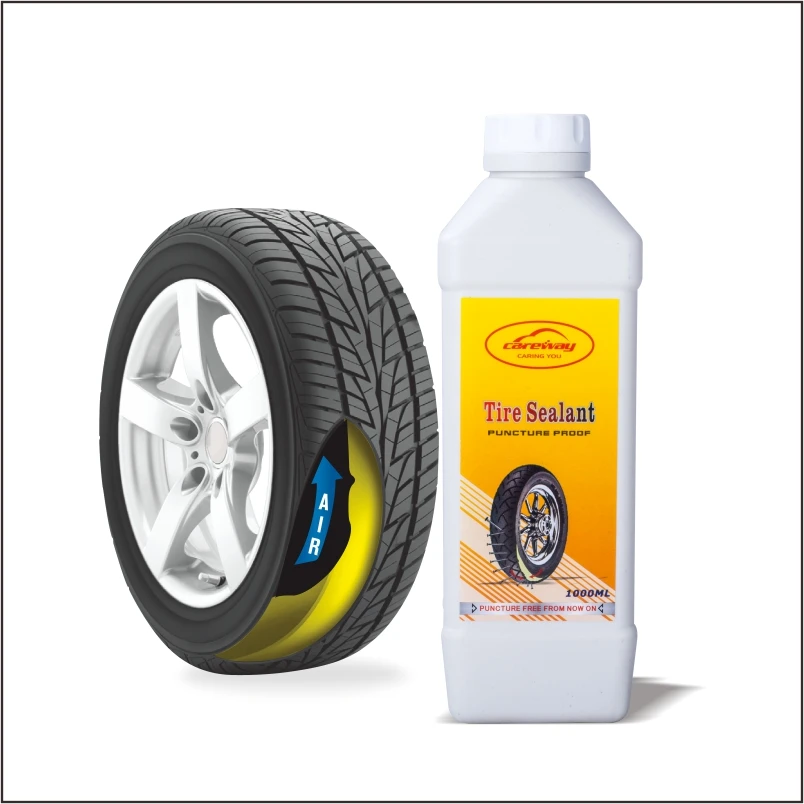 the narrow doll will soon start up again.
Instead of a doll, you can use "cold welding". This is a sealant that looks like plasticine. It is mixed with a hardener and sticks to a dry, well-cleaned place on the pipe. After hardening, "cold welding" will become like a stone. But if the pipe was not cleaned properly or it was even a little wet or damp, then this plasticine will not hold for long. Therefore, it is better to use a doll, because. she holds more securely.
If the junction of the pipes has leaked, then everything is simpler here - we unscrew the connection, clean the threads, apply a sealant for the threaded connections (this is either flax using paint or drying oil, or a special sealing tape), twist the connection back and that's it, the leak is eliminated. But if you don’t want to disassemble the connection or it’s not possible, then you can put a doll on the junction using the method described below.
Seal current heating pipes without draining water
If it is not possible to drain the water from the heating system, or the water has been drained, but the lowest pipe of the system is flowing, in which it is completely impossible to drain the water, then we need products that can stick to the wet pipe. Of course, welding and cold welding are not applicable here. And the same doll is applicable here, but only with a special sealant that can stick to a wet surface. Such sealants, as well as ordinary ones, can be purchased at hardware stores. The pipe is wiped from water and coated with sealant and wrapped with a cloth as soon as possible. But this will save only with a slight digging of the pipe. If the leak is more severe than slight digging, then rubber can be used as a temporary solution. The most common rubber from a car camera, for example. We cut out a strip of rubber and wrap the current place very tightly with it. After that, we take several worm-drive clamps (ordinary clamps for a screwdriver, which are used in cars to connect pipes and pipes) and clamp the rubber twist with clamps. In such a simple way, for some time, the leak can either be completely eliminated or partially reduced.
There are special repair kits for sealing pipe leaks, which include a rubber clamp with a valve.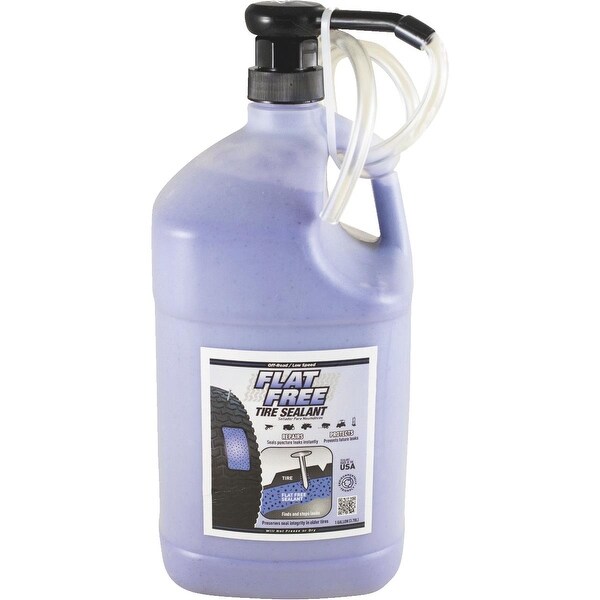 An open valve allows water to drain from under the clamp while it is being mounted and clamped. When the clamp is securely fixed, the valve closes, and the clamp begins to reliably contain the leak. Such a repair kit saves even with a strong leak, in which no other means will save.
By the way, if the water cannot be drained, then there is a way to temporarily dry the pipe in order to be able to seal or weld it. This purpose is served by means for freezing pipes, for example, "FREEZE PACK canister for freezing pipes" or "Apparatus "Moroz" for freezing pipes." Such a tool allows you to freeze water on both sides of the damaged area and, when the water pressure disappears, you can digest a piece of pipe or put on a doll.
In closing
If the source of the leak is through rust or a crack, then all dolls, bandages and repair kits are only a temporary measure, because. rust will develop, and the crack will spread. Therefore, all these funds can only be used to wait for the summer, to drain the water in the summer and change the damaged section of the pipe.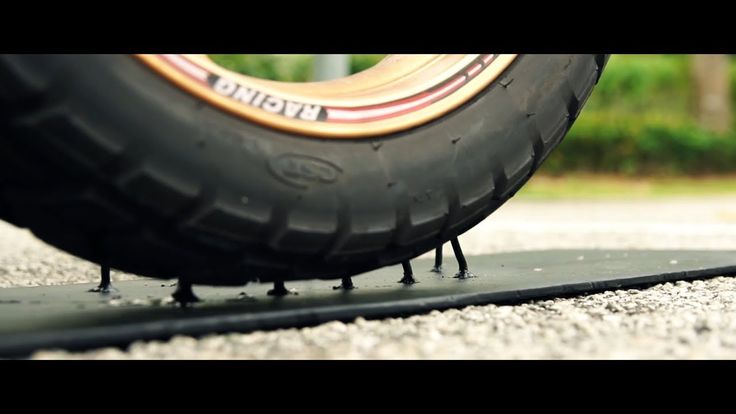 If the pipe is not welded in the summer, then there is a risk that the next winter, at the most inopportune moment, the flow will start again, which will flood the neighbors from below or bring other troubles.
Pipe insulation on the street and in the house: types, features, requirements
When constructing a roof made of metal tiles or corrugated board, sometimes a self-tapping screw gets past the crate. Either the installer's eye failed, or the boards were nailed incorrectly ... There are different situations. But after that, holes remain on the metal sheet that need to be repaired somehow. At the same time, both to maintain the waterproofness of the roof, and to ensure aesthetics. There are several ways to solve such a problem.
Blind rivet with wide rim
You can close the hole with a blind rivet. The main thing is to have a riveter and rivets on hand. Moreover, there are rivets with a diameter of 4. 8 mm, which coincides with the diameter of the roofing screws. It is very convenient that riveting with blind rivets is one-sided. Put some silicone or polyurethane sealant under the rivet head to make the roof waterproof. The place of embedding will not stand out much against the background of the rest of the fasteners - only a small tubercle is visible. If there is a spare paint, the rivet head can be touched up. Then it won't be visible at all.
A good way that does not require the purchase of additional materials. The technology is simple. A self-tapping screw screwed in by mistake is unscrewed. A piece of plywood or board is placed under the hole (preferably at least 5x5 cm, at least 8 mm thick) and the self-tapping screw is screwed in again. At the same time, it will already enter the base and press against the metal. The rubber washer will ensure tightness at the connection point. Considering that the self-tapping screw will be the same color as the metal tile, the installation error will be almost imperceptible.
There are special roofing sealants that allow you to repair the roof - close up a hole or gap. There are many such materials. Their main difference, on which the performance depends, is the composition of the components. There are based on silicone, bitumen, polyurethane. We recommend to pay attention to roofing sealant SOUDAL AQUAFIX. The sealant is based on a dispersion of plastics (polyacrylate). Differs in fast setting up to 2 minutes. Temperature resistance from -20 ℃ to +90℃. It is applied with a mounting gun and forms a colorless film resistant to displacements up to 10%. Excellent adhesion to metal and most other building materials. You can buy SOUDAL AQUAFIX professional sealant for roofing in our online store
Such material is also often referred to as "sealant tape". Its direct purpose is to seal cracks in roofing materials, gutters, water intake gutters. As a rule, the tape consists of two layers.